Are you hoping to make the Bree Racerback version, but you don’t have any galloon lace? No problem! I’m Anna, and I’m here to show you how to use knit, mesh, or stretch lace yardage to make this version.
Step 1
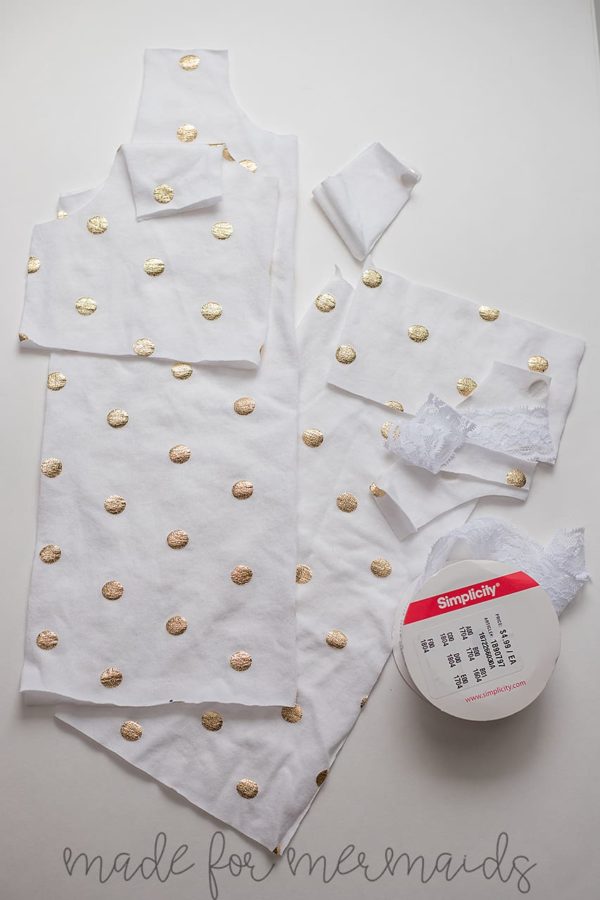
You’ll still cut out all the pieces, making sure to follow the stretch arrows on the pattern pieces and having your yardage with the stretch and the arrows matching up.
Step 2
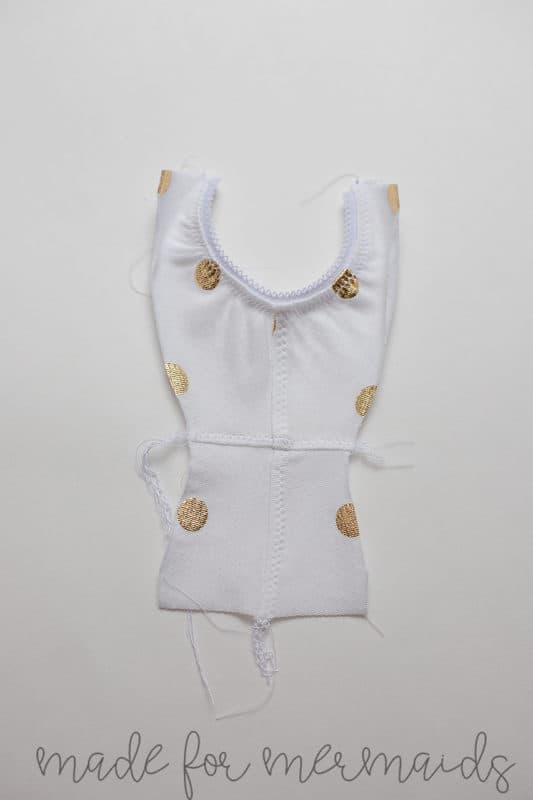
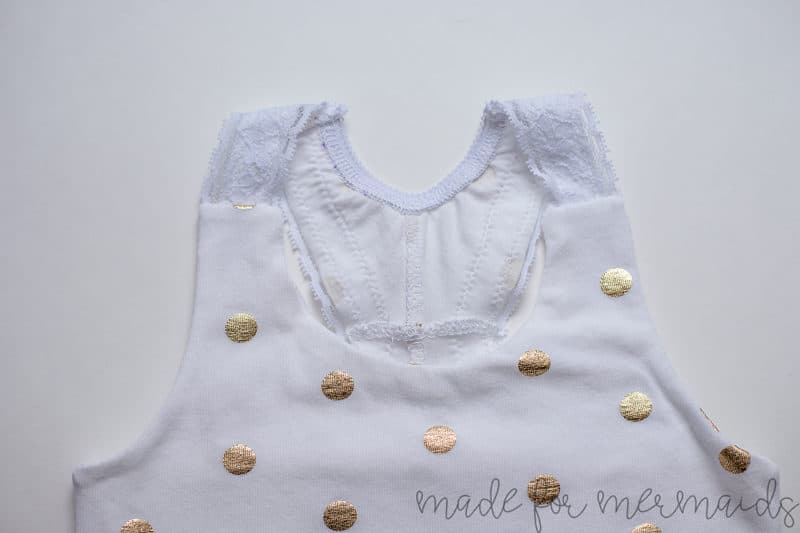
Follow the Bree tutorial for the racerback option. When you arrive at “Step 3: Racerback Back Straps” in the tutorial, follow step 3, and then finish the back neckline with either elastic (like shown) or the binding.
Step 3
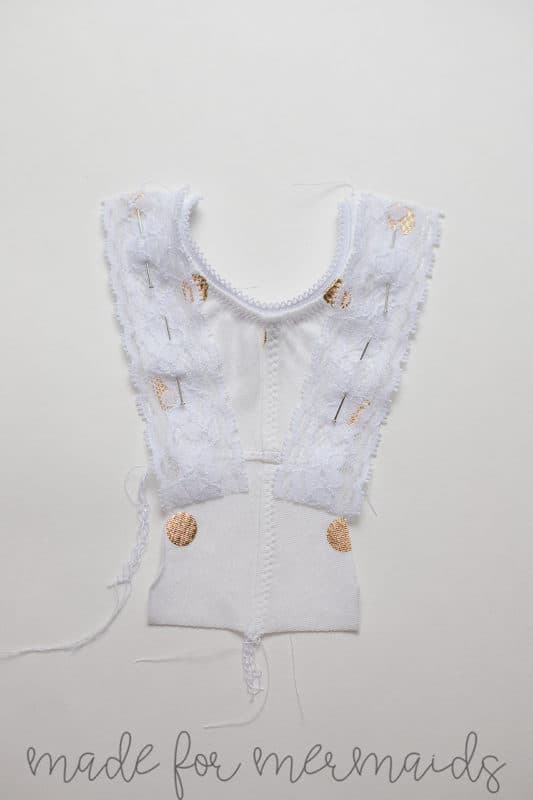
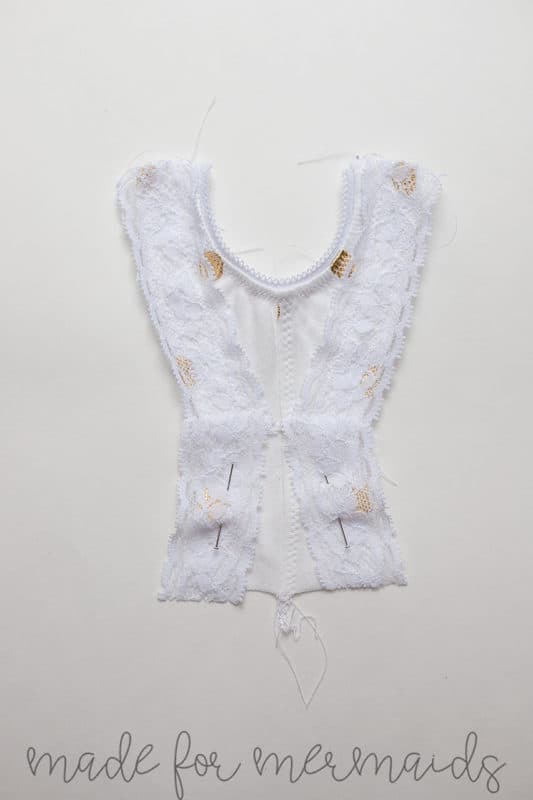
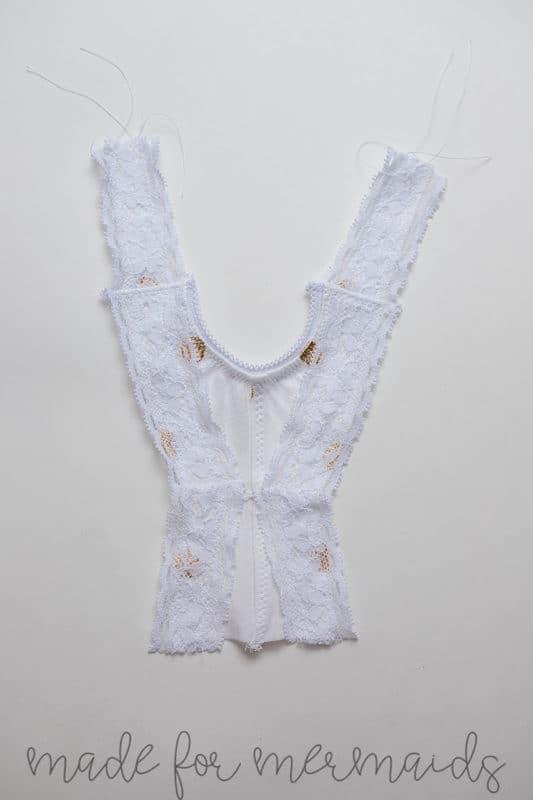
Next, you’ll need to determine whether you’re finishing with stretch lace trim, or binding. If finishing with the stretch lace trim, then you’ll cut two pieces to match the sides of the racerback. I placed by lace trim on the racerback piece so that there was 1/8″ lace overhang. Using a zig zag stitch at 1.6 width and 2.0 length, I edge stitched the lace on. Since I used a 1” stretch lace trim, I edge stitched the inner edge of the lace trim down too.
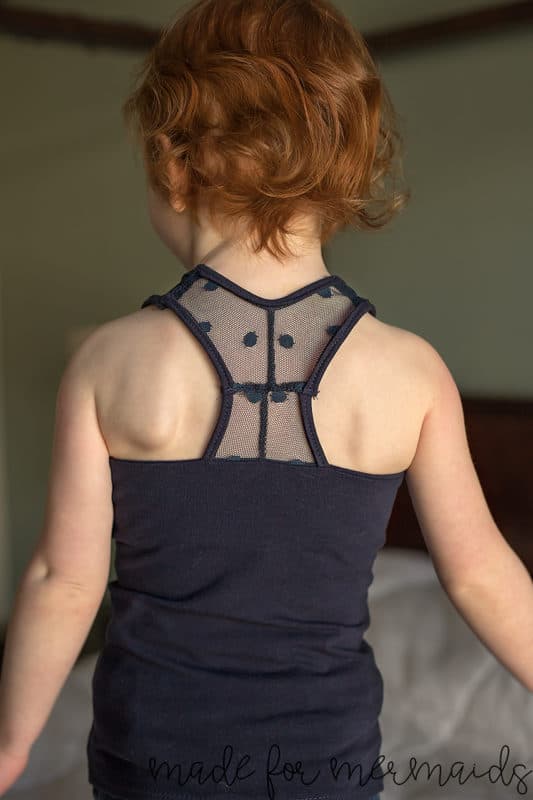
If you’re finishing with binding for the outer edges, I found it easier to sew the front strap pieces together first, and then attach them to the racerback, as shown in the last two steps on the bottom of page 11 of the Bree tutorial. I cut my binding at 1” wide to the length of the pieces. After cutting, I ironed them in half with wrong sides together and then brought the raw edges into the center fold, with wrong sides together, to make a double fold binding. I sewed them on using ¼” seam allowance and folded them over to enclose the edge. Here is an example of one using stretch mesh and cotton lycra for binding the edges:
Step 4
After sewing on the trim at the top, I then cut two pieces to cover the bottom of the racerback. I made sure to have about ¼” overlap at the center. I then edge stitched these in place.
Step 5
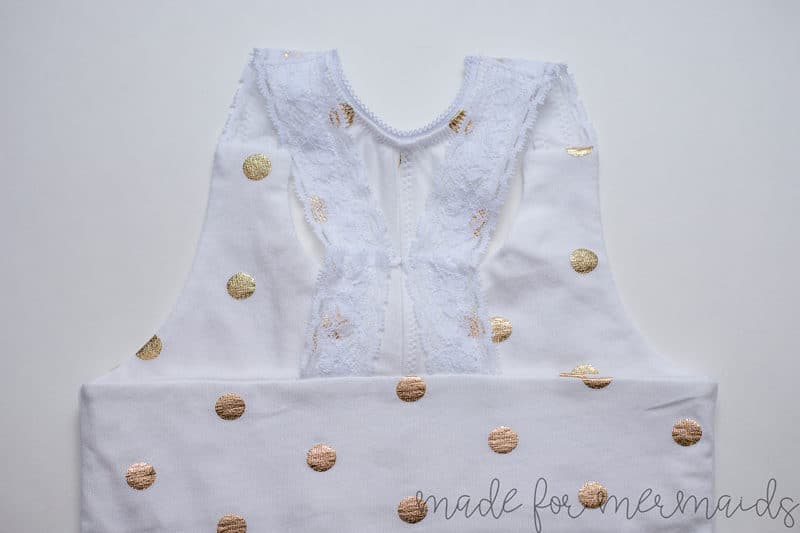
For the front straps, I placed the lace trim over the strap pieces and edgestitched both sides. I then attached them to the racerback pieces exactly as directed in the bottom step on page 11 in the Bree tutorial. For mine, I did cut the width of the jersey that I used by 1/8” smaller so that I could have the 1/8” overlap of the lace on the outer edge.
You should now be able to finish along with the Bree tutorial, continuing with “Step 4” to finish your racerback tank.
If you wish to have a more finished lace edge for the back pieces, you could certainly attach the lace trim prior to assembling the full back piece. Another alternative to finishing yardage would be to use Fold Over Elastic, or FOE, to finish the raw edges.
I hope you enjoyed my tutorial on how to use yardage to make the Bree Racerback. Make sure to share your makes with us in the Made for Mermaids Facebook group! Tag us on Instagram too, @madeformermaids.

Anna is a full-time mom to two little kids, and a part-time instructor at a local university. When she’s not in her sewing room, she can be found wandering the aisles of Target, or on her blog at Kainara Stitches.

Leave a Reply