Day 4:
Our sewing today won’t take long at all! Today’s steps include sewing our shoulder seams, and sewing up our back armscye.
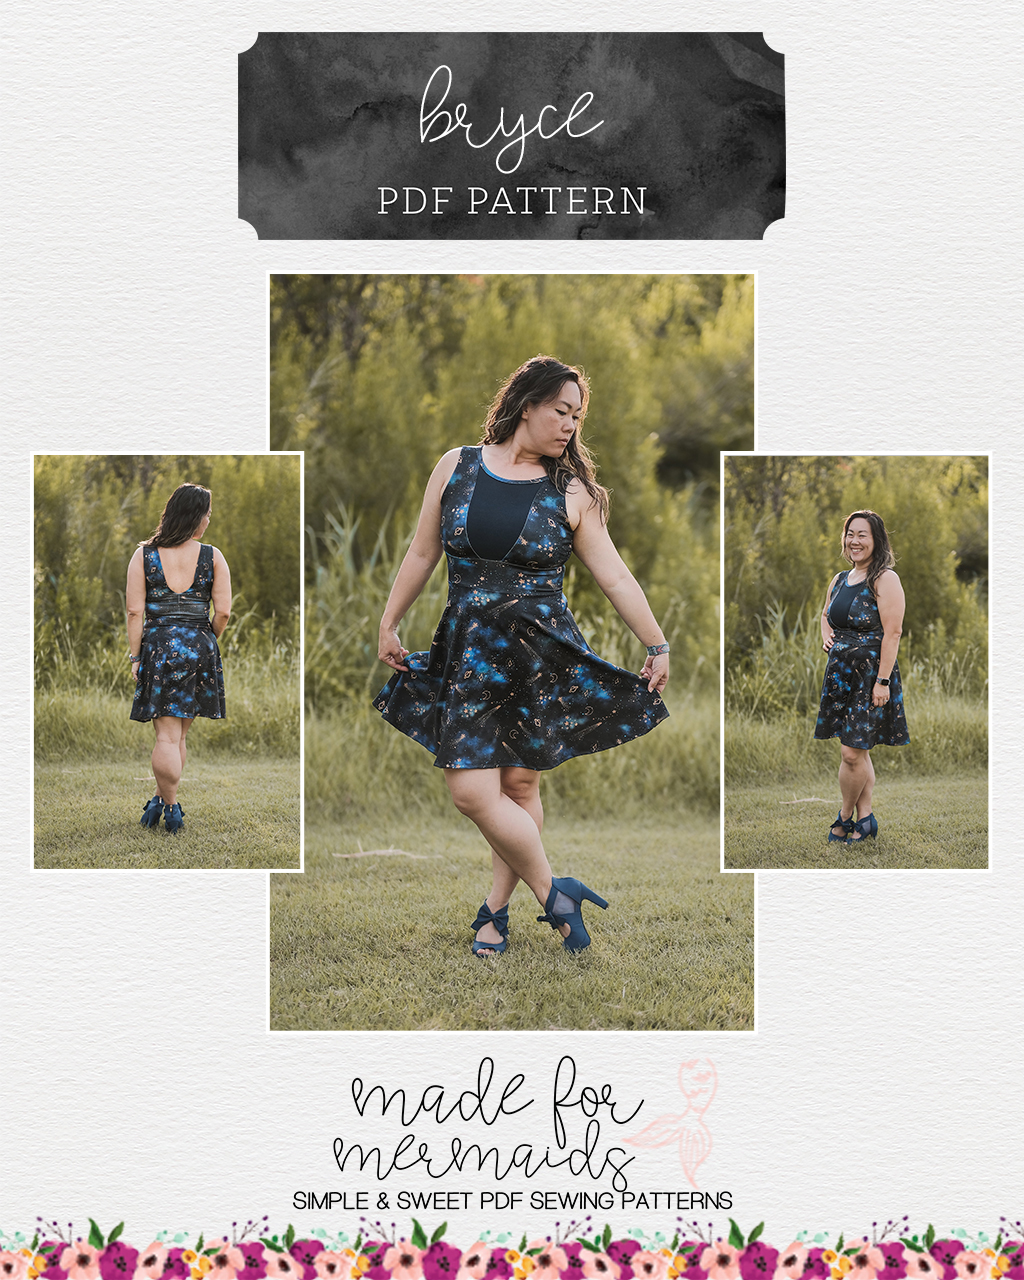
If you’re making a sleeveless Bryce per the pattern, you’ll enclose the shoulder seam by sandwiching the front bodice shoulder between the back bodice shoulder pieces, with right sides touching right sides. Your neck binding will butt up against the seam on the back bodice piece. I opted to baste mine first, just to be sure that I didn’t catch any extra fabric in my seam allowance. After you sew the shoulder seam, you’ll sew the back armscye as well, to enclose that seam.
If you’re making a Bryce with sleeves, today is really quick! You’re just going to sew your shoulder seam, and then you can choose to baste your back armscye. Remember that you will not need to do any kind of burrito roll or seam enclosure for the armscye on the sleeved version, since we will be adding a sleeve.
Don’t forget:
- Make sure you are taking an accurate and consistent seam allowance; seam allowance is already included on all pattern pieces. For Bryce, seam allowance is 3/8″ unless otherwise indicated.
- Keep your side seams open for now!
- Be sure to use a stretch stitch for all of your construction, with the exception of basting stitches.
Want to sew along with me? Check out today’s video!
If you have questions about sewing up your shoulder seams or back armscye, you are always welcome to post in our SAL group so we can help you! Be sure to check in each day during the SAL, and look for daily posts to enter our giveaways. We can’t wait to see what you create this week!

DAY 1: CUTTING + PREP
DAY 2: FRONT BODICE (OPTIONAL CUPS) + NECK BINDING
DAY 3: FRONT ARMSCYE + BACK BODICE
DAY 4: SHOULDER SEAMS + BACK ARMSCYE
DAY 5: SIDE SEAMS + SLEEVE HACK + CROP BAND
DAY 6: SKIRT
OUR SPONSORS:
Be sure to visit our friends at So Sew English Fabrics – let me know which fabric is your fave!!

Leave a Reply