
Buttonholes can be intimidating for even experienced seamstresses. But you shouldn’t let them scare you! We’re sharing some of our best tips and tricks today so you’re confident enough to tackle buttonholes on your own!
Tip #1: Interfacing!
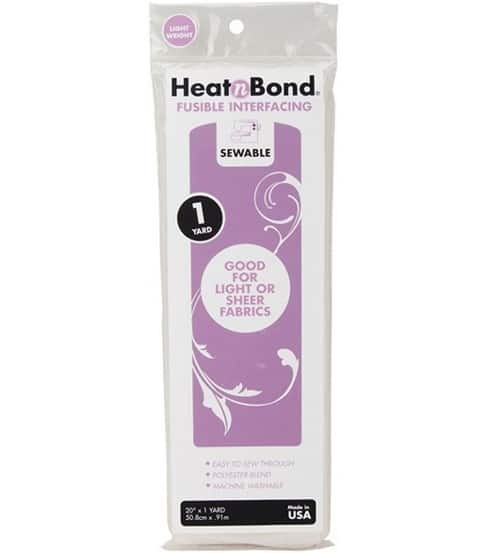
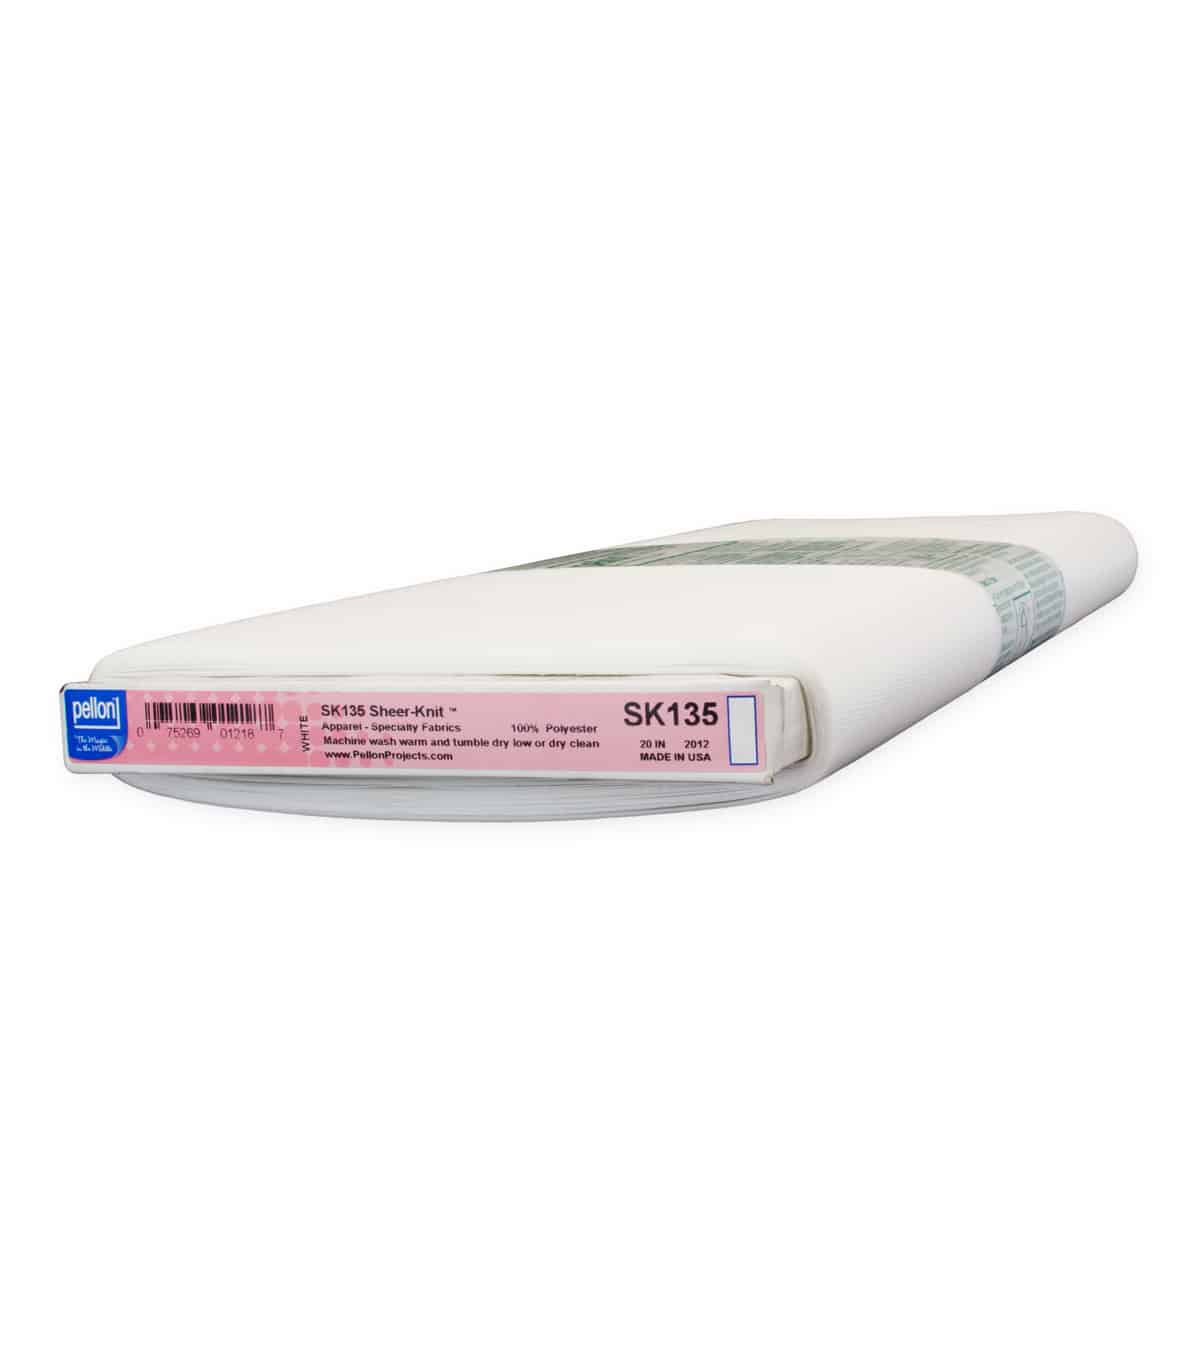
Whether you are using knit or woven fabrics, you’ll want to use interfacing to prevent the buttonhole from stretching out during wear, and to stabilize the fabric during stitching. If you are using woven fabrics, choose a lightweight fusible interfacing, purchased either by the bolt or pre-packaged. If using a knit fabric, choose a knit interfacing. If you don’t choose a knit interfacing, you will lose all the stretch in your fabric.
On that note: It is very important that you pay attention to the stretch of your interfacing when cutting your pieces. You want the stretch of the interfacing to go in the same direction as the stretch of your pieces; otherwise, again, you will lose all the stretch of your fabric.
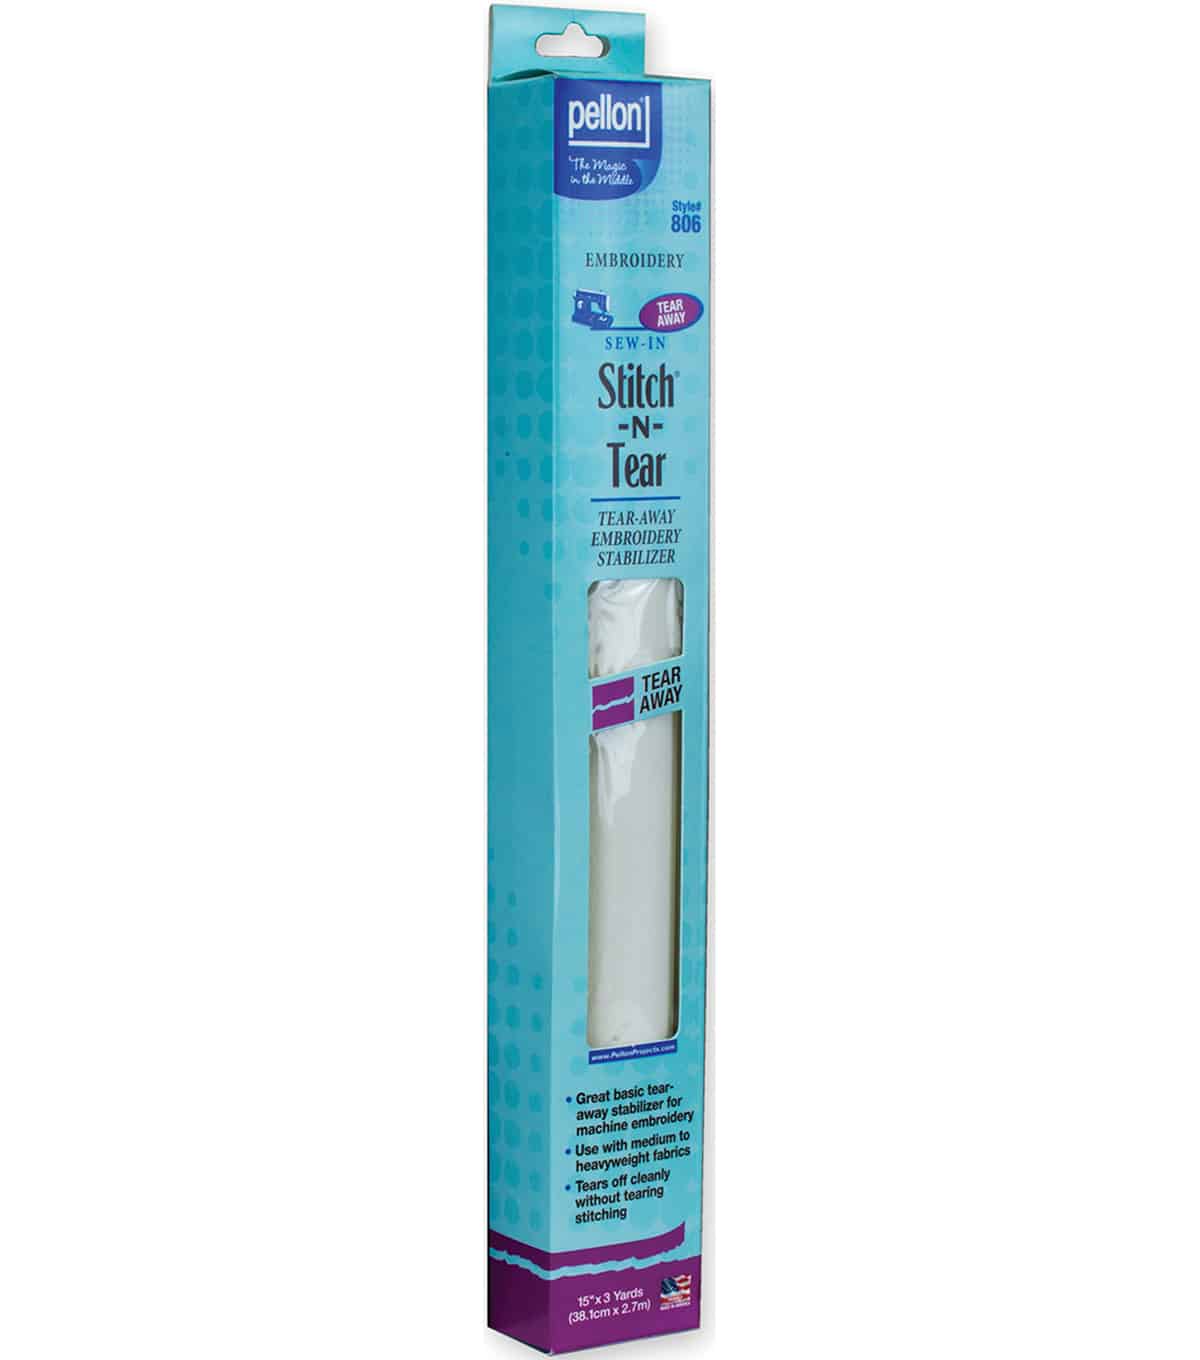
Tip #2: Stabilizer
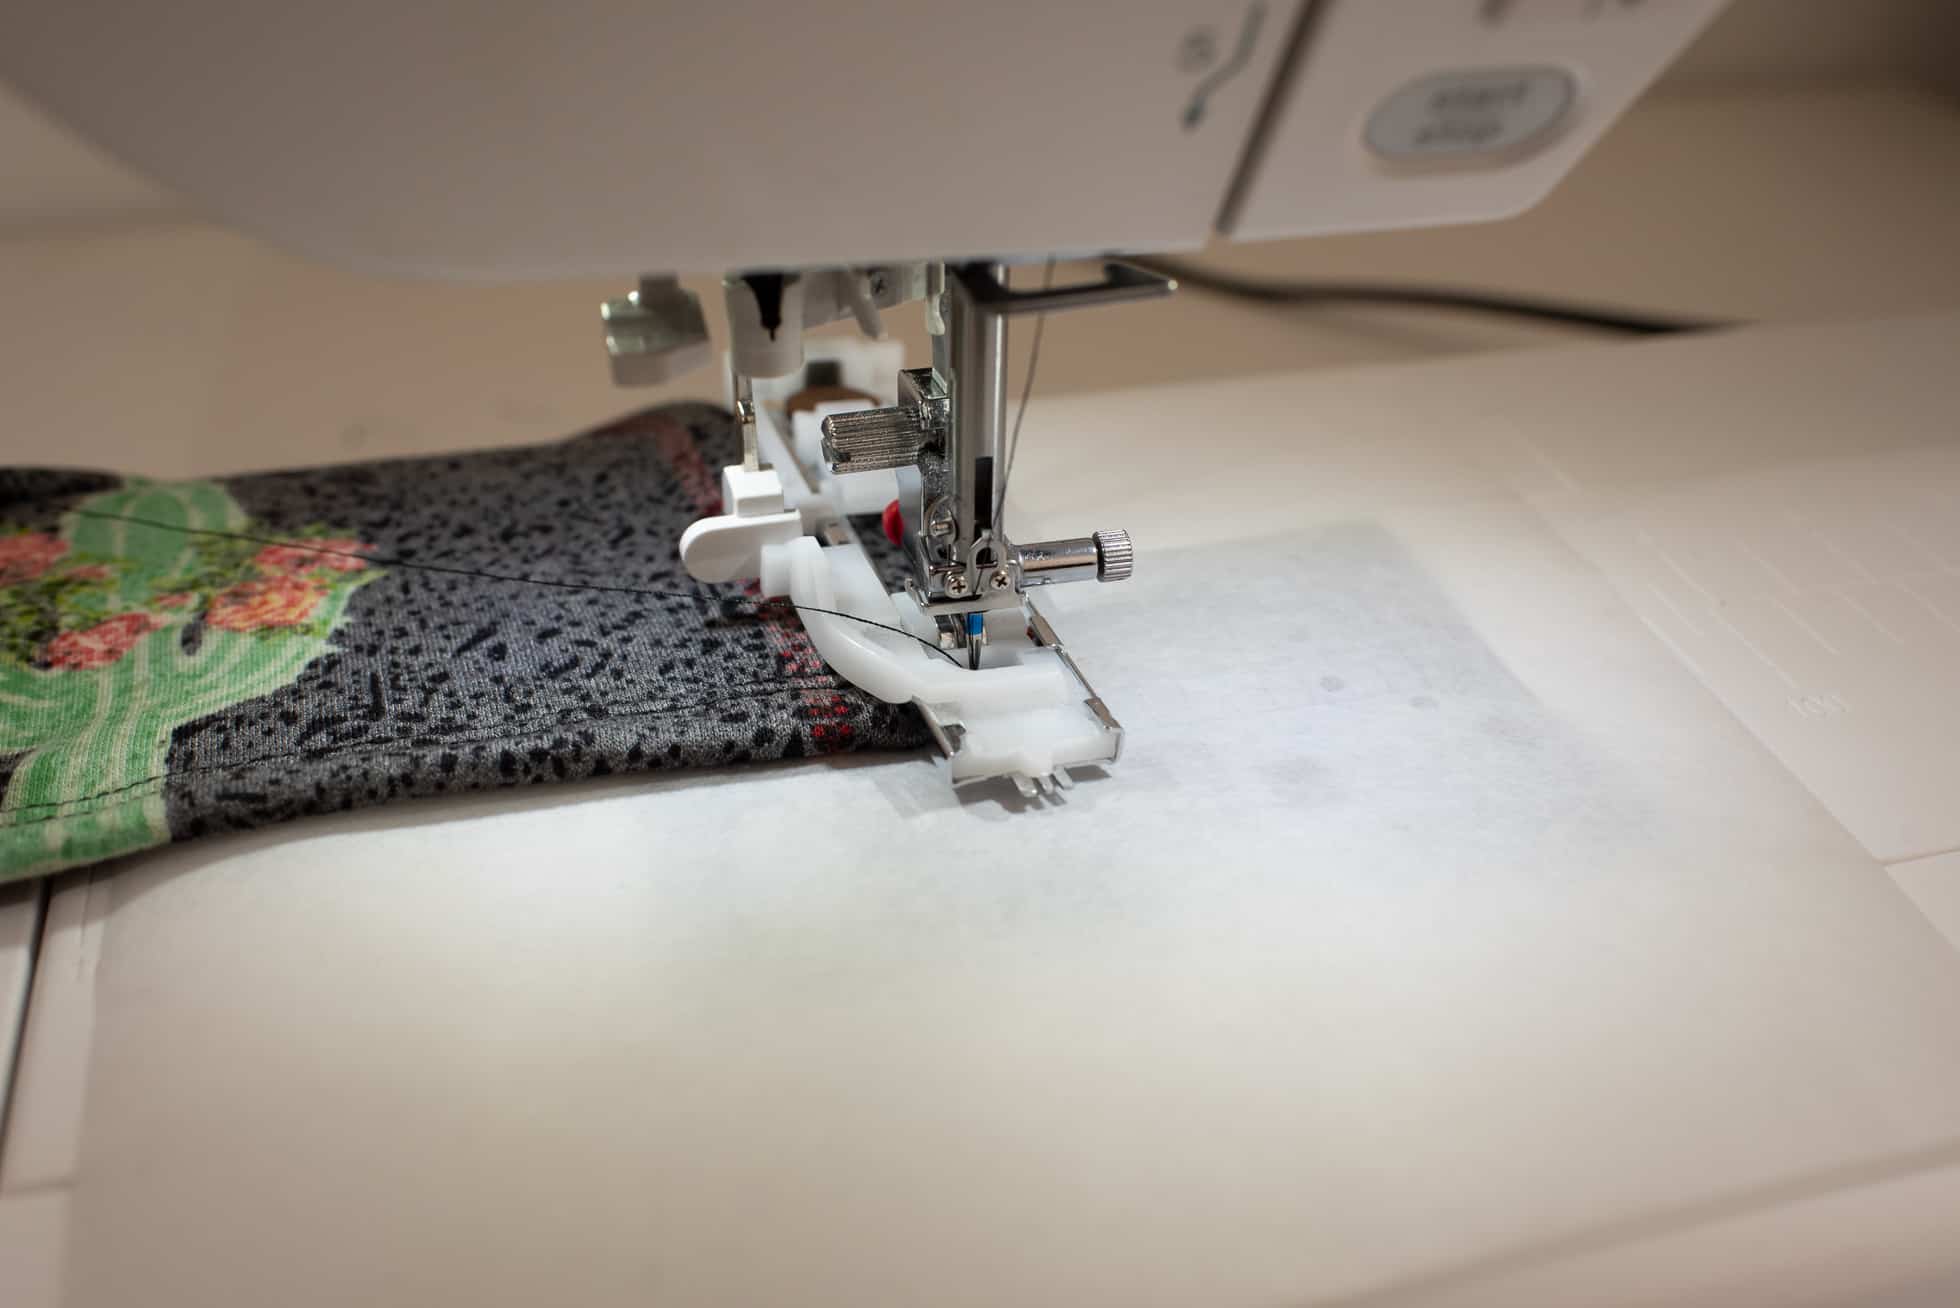
Using tear-away embroidery stabilizer is a game-changer! Do NOT skip this step! You’ll thank me later 😉 I use a large square of the stabilizer between the fabric and the feed dogs to prevent the fabric from getting caught in the feed dogs and to allow the fabric to flow freely as the machine is working. You can see in the photo below that the stabilizer is big enough to cover the entire base of my machine. I find this works the best for helping the fabric flow freely without getting stuck under the presser foot. Make sure you are purchasing tear-away stabilizers. There are similar packages that are adhesive – that’s not what you want.
Tip #3 Needles and Settings
I always like to switch to a new needle prior to sewing buttonholes, particularly when working with knit fabrics (unless I know I have just replaced it). Stretch needles can dull easily and will pierce through the fabric easier if they are new and sharp. If you can decrease the pressure on your presser foot, I like to do that as well, particularly if I’m going to be stitching over a seam. Once you have chosen the type of buttonhole you want to sew, if your machine has multiple options, you’ll want to place the exact button you will be using into your buttonhole foot. This is how your machine determines the buttonhole size. Follow the directions on your machine, and trust your machine. I can’t stress that enough. Too often when I first started sewing buttonholes, I tried to force the fabric through the process, and my buttonholes never came out right. If your fabric gets stuck, gently (very, very gently) help feed it through. Do NOT pull too hard, or it will skip forward too much and make the sides of your buttonhole uneven. I usually keep one hand on my fabric just to keep it straight as I’m stitching, and trust my machine to do all the work.
Tip #4: Keeping Everything Straight
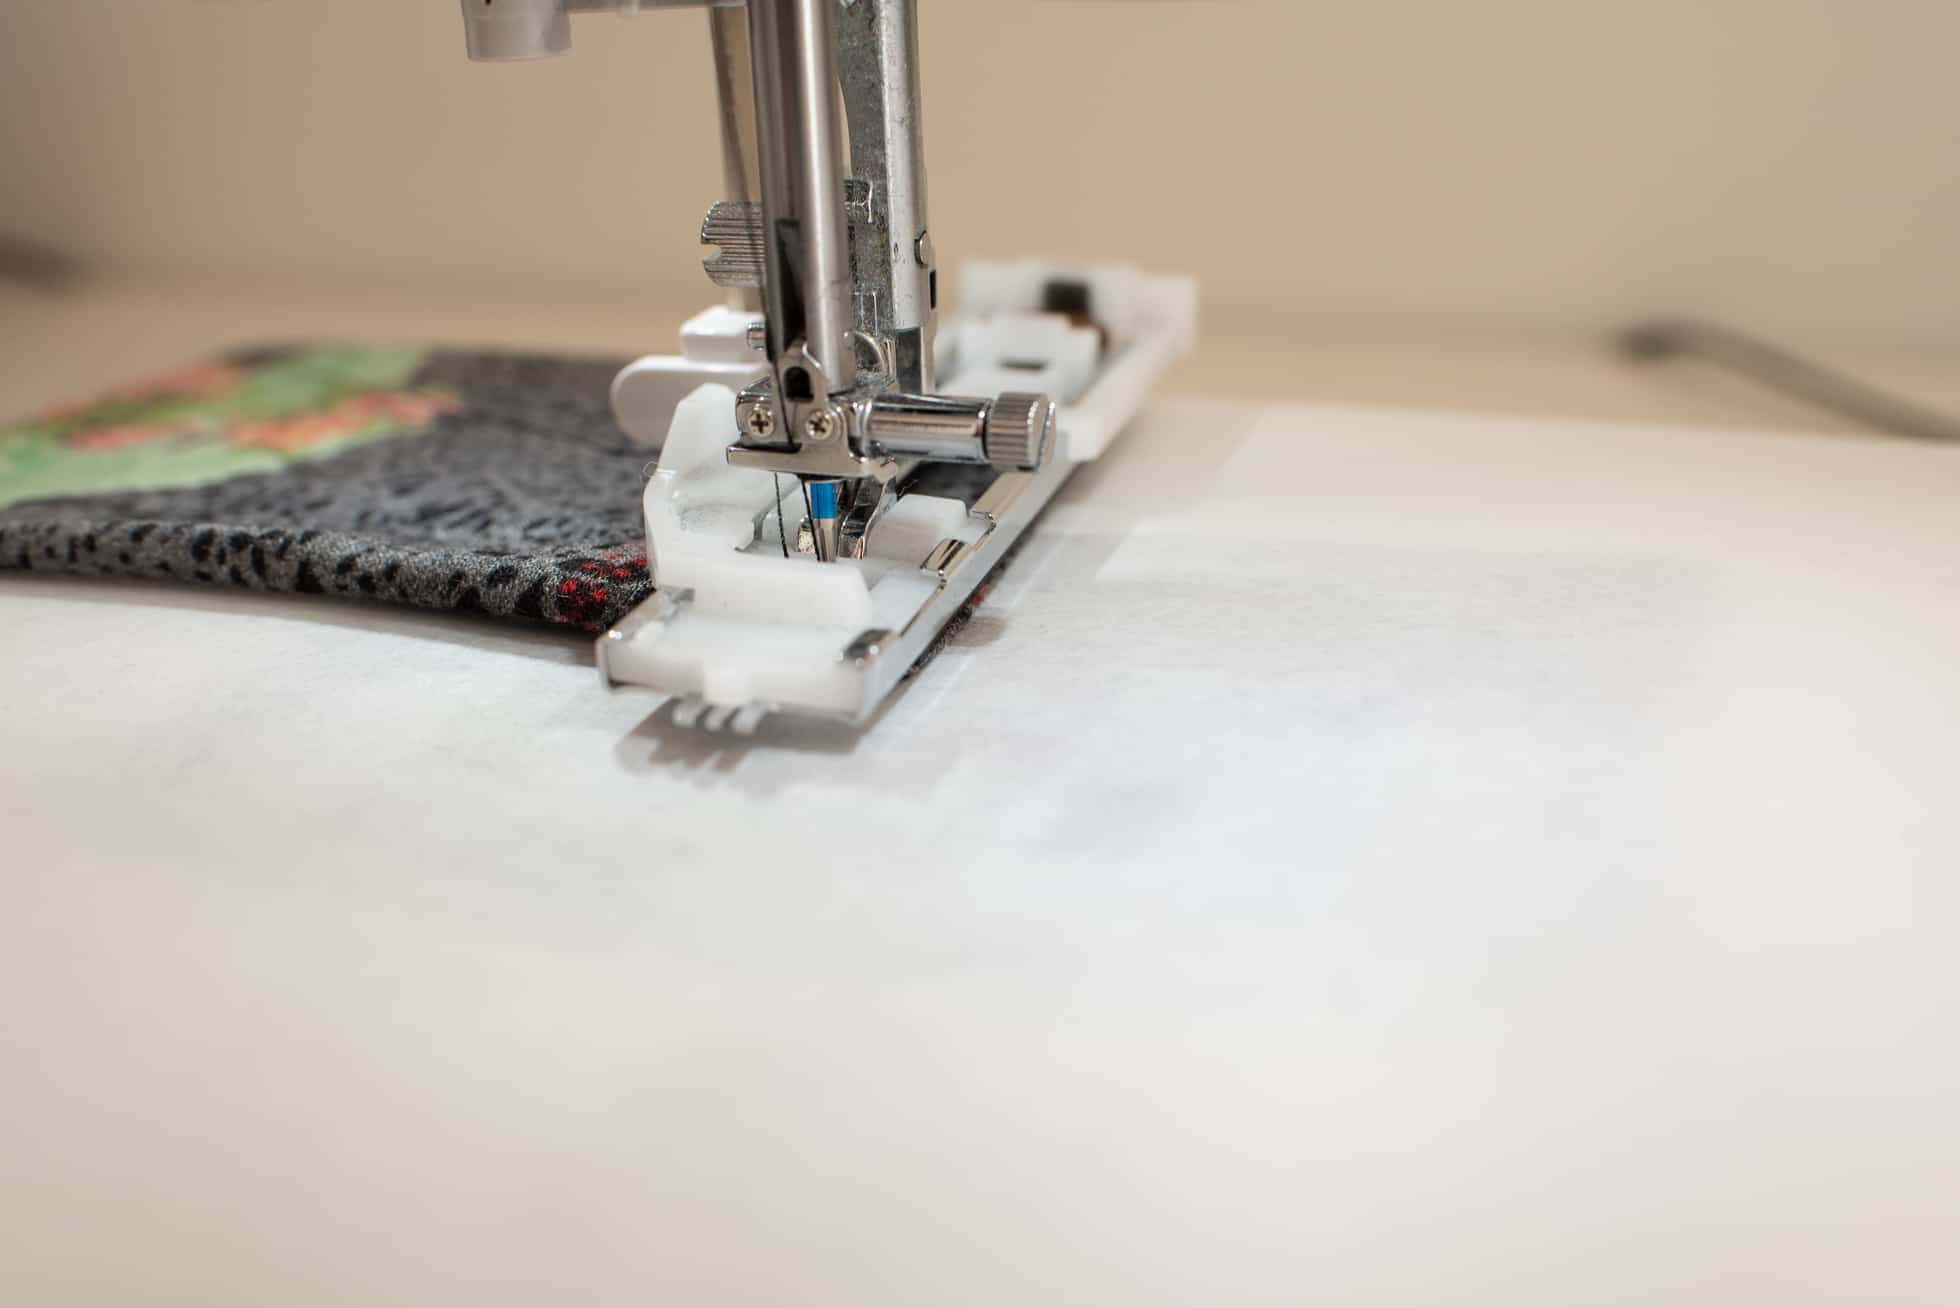
I might be a little OCD, so I notice immediately on my own garments if a buttonhole is even slightly off, and it drives me crazy! My favorite trick to keeping everything straight is to use my buttonhole foot as a guide! In the picture above, you can see that the folded edge of my fabric is up against the edge of the buttonhole foot. As my machine is stitching, I watch the folded edge of the fabric to be sure it is staying in the same place against the buttonhole foot.
Tip #5: Some Useful Tools!
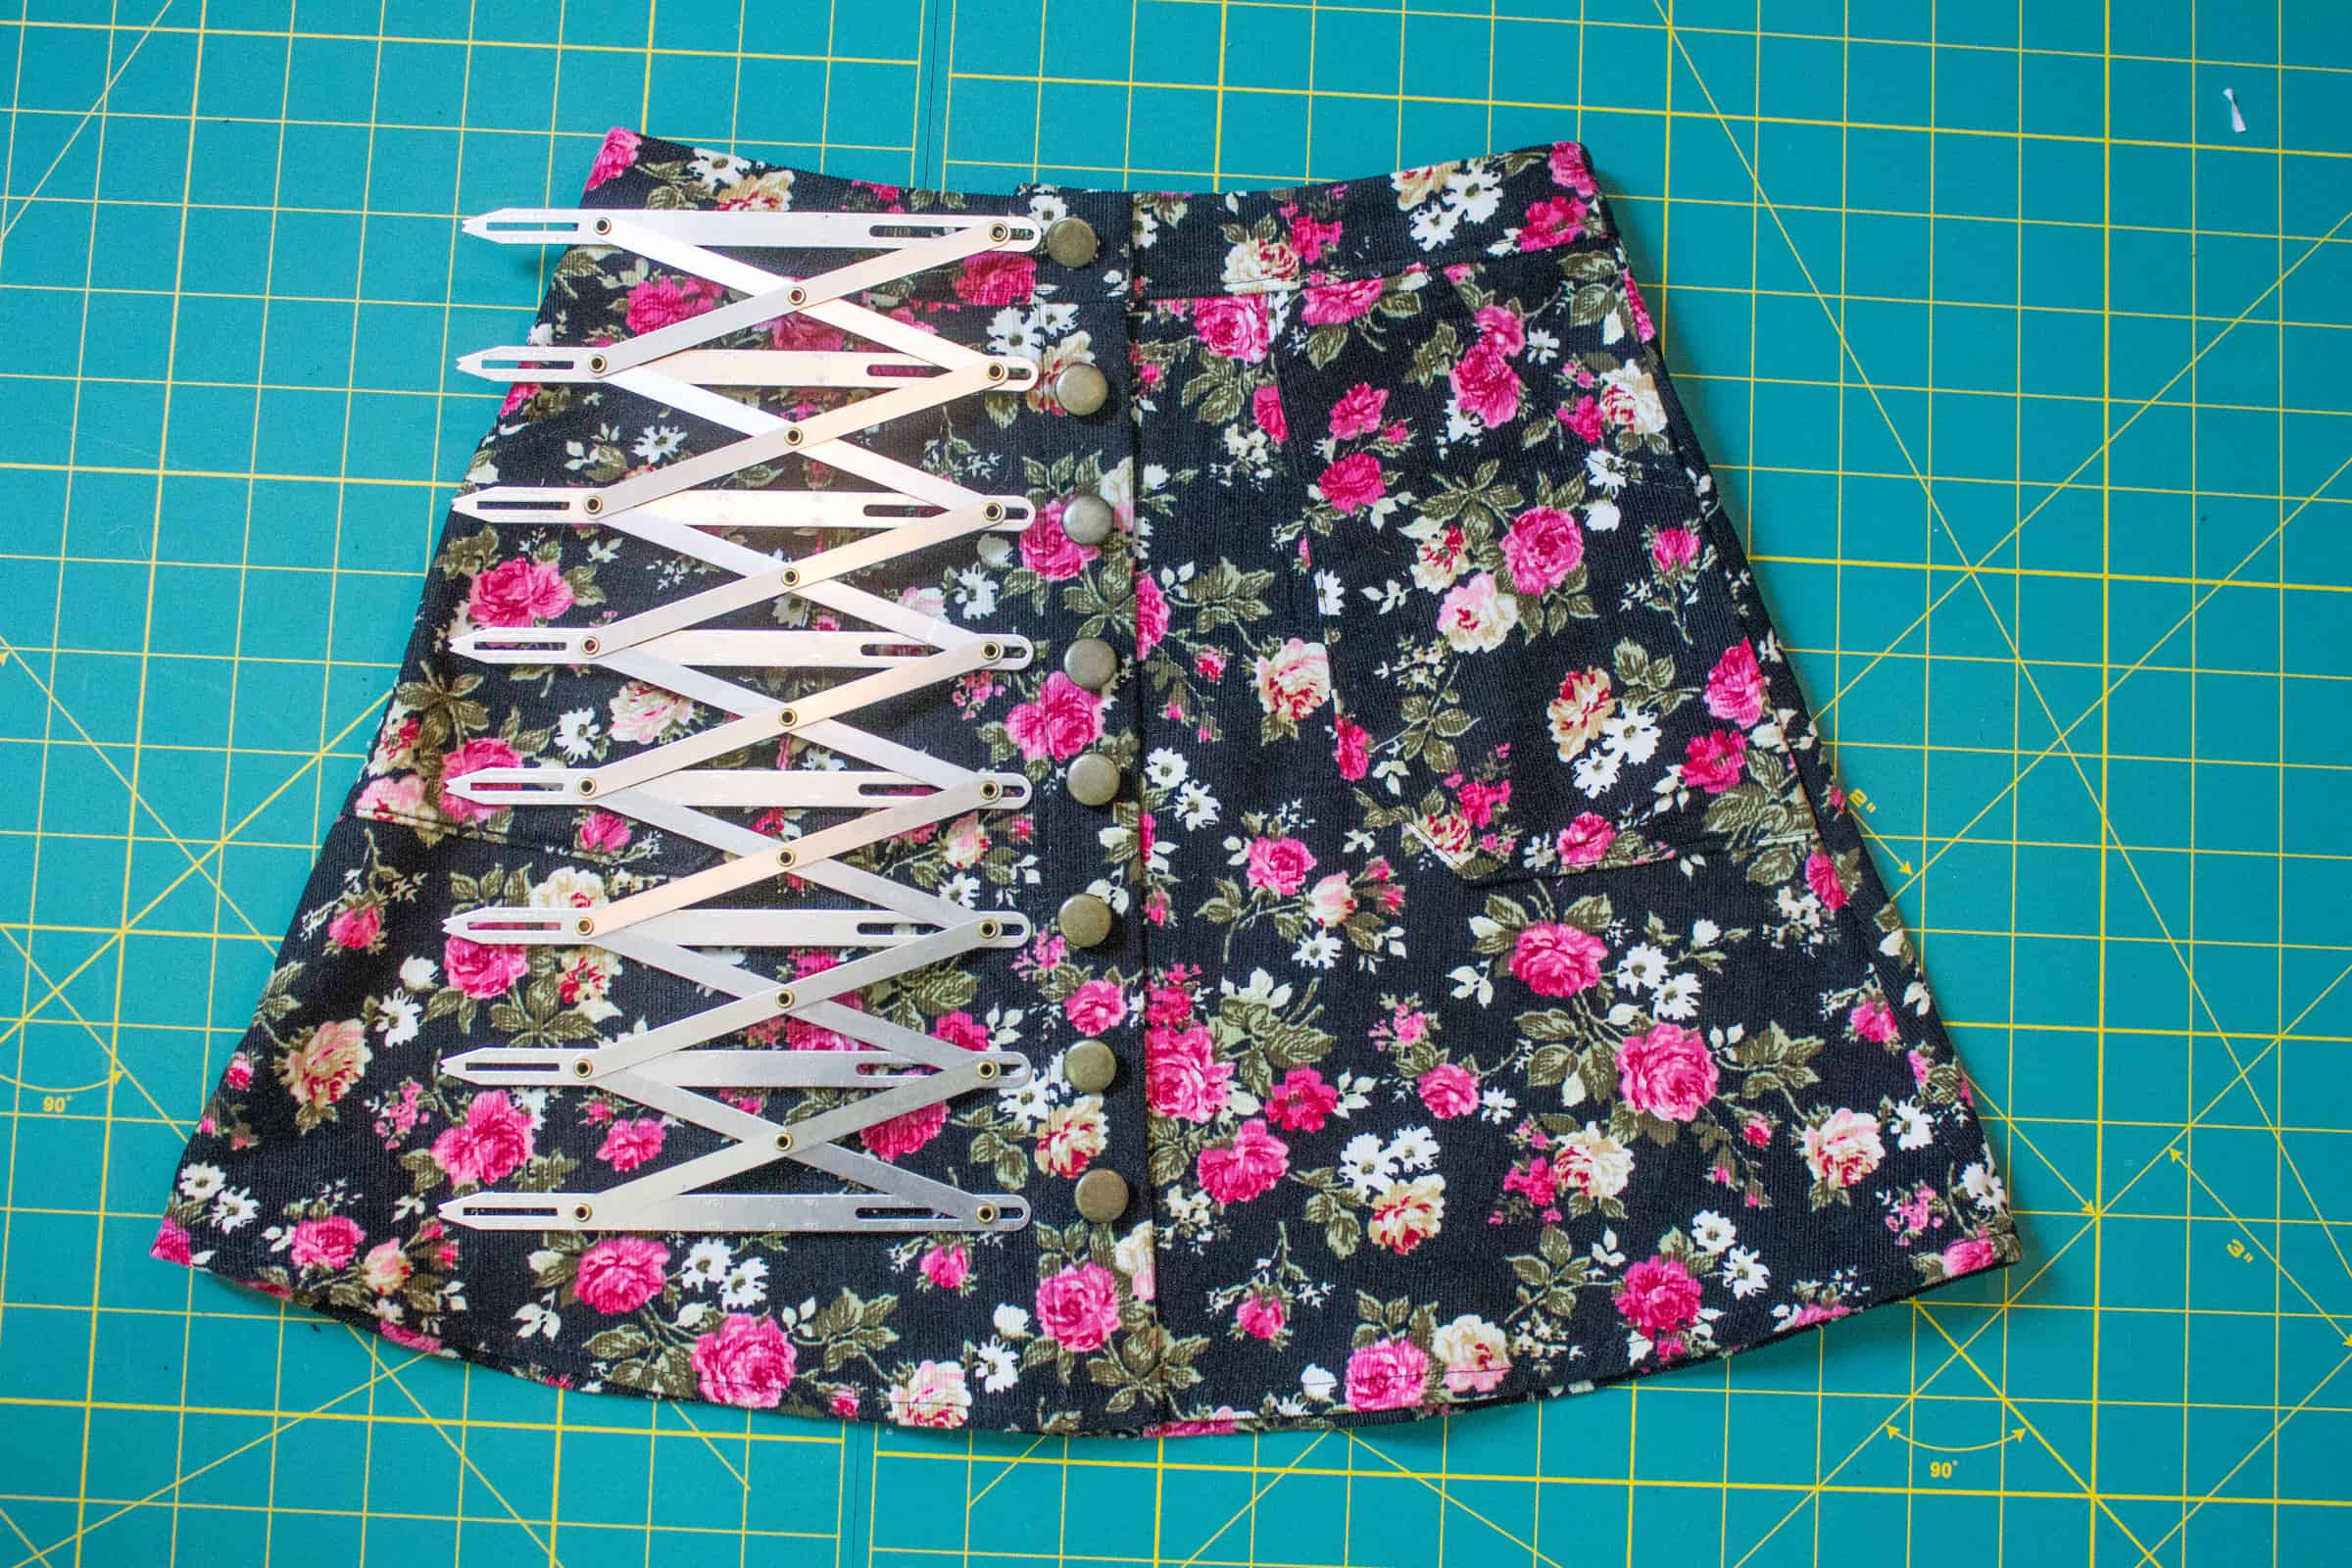
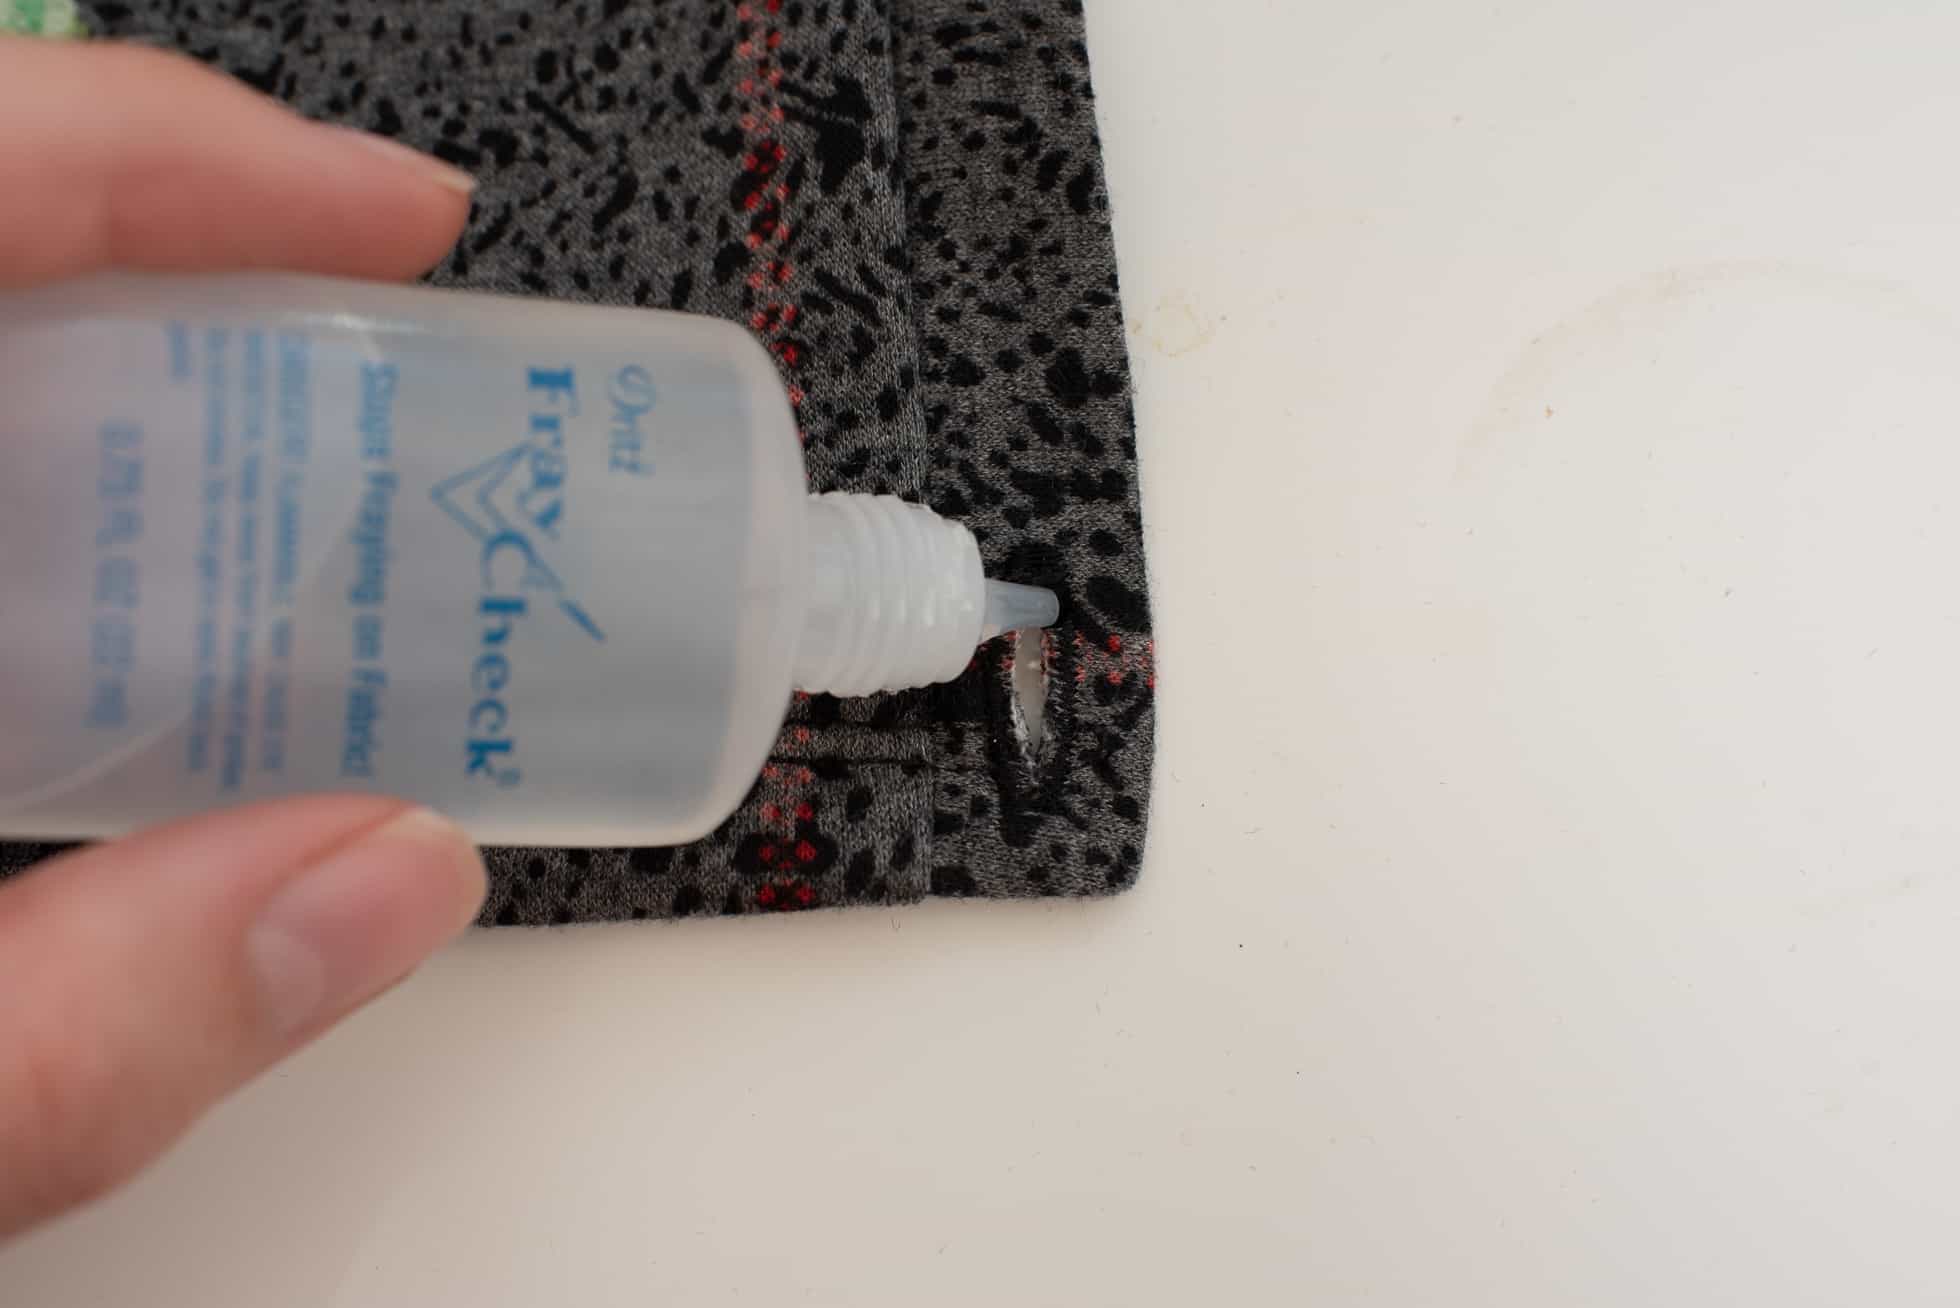
Nothing makes my head hurt more than a little math 😉 The expandable sewing gauge pictured above will help you perfectly and evenly space those buttonholes without having to do any of those calculations. Just make sure you’re taking into account the height of your buttonholes when you’re choosing your spacing. I like to make a test buttonhole to determine exactly how big the buttonhole will be and determine my spacing from there (example: If my buttonhole measures 1″ tall, I don’t want to have 1.5″ spacing, because then there would only be 1/2″ between each buttonhole – unless that is the look you’re going for, of course 😉 ). I also like to use either liquid stitch or fray check after seam ripping the buttonhole to hold the stitches in place.
We hope this post has given you a little more confidence in sewing buttonholes! Any more questions? Let us know in your Facebook Group!

Thank you! I used tear away stabilizer for the first time and it did the trick. I had to tear out a button hole 3 times before using the stabilizer.