Hudson Hoodie
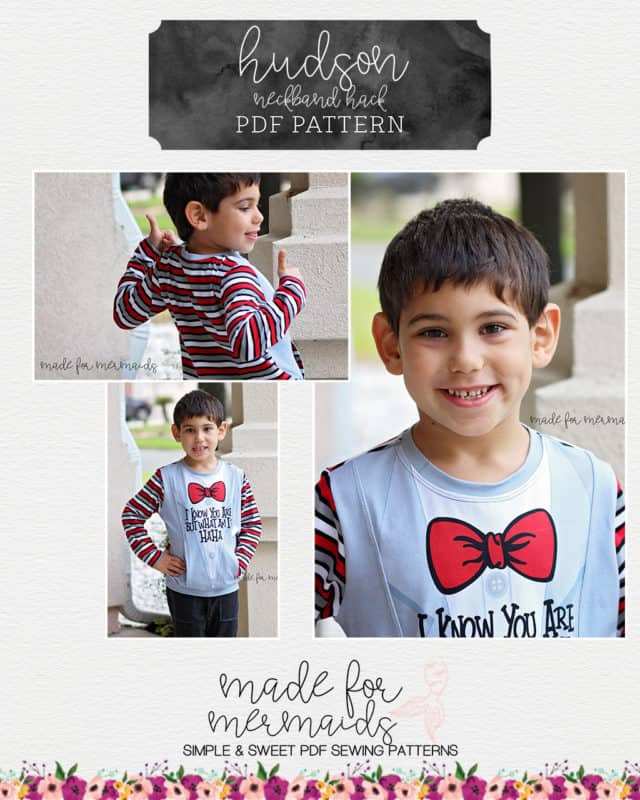
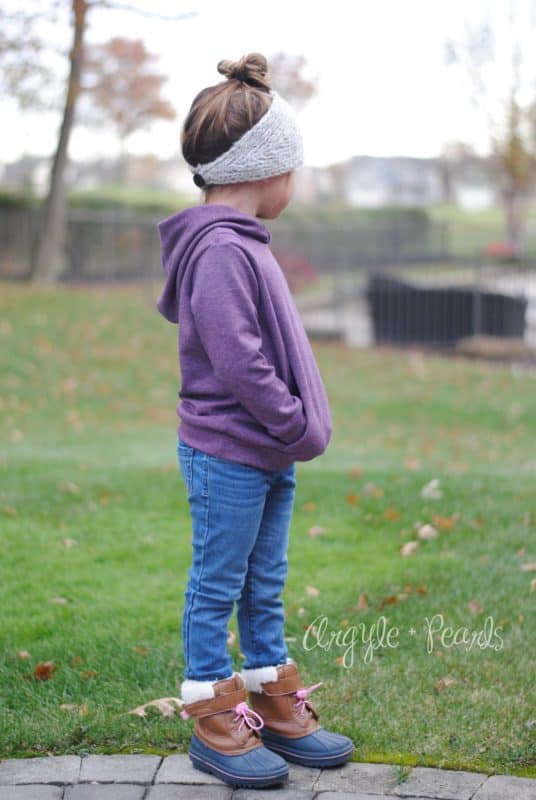
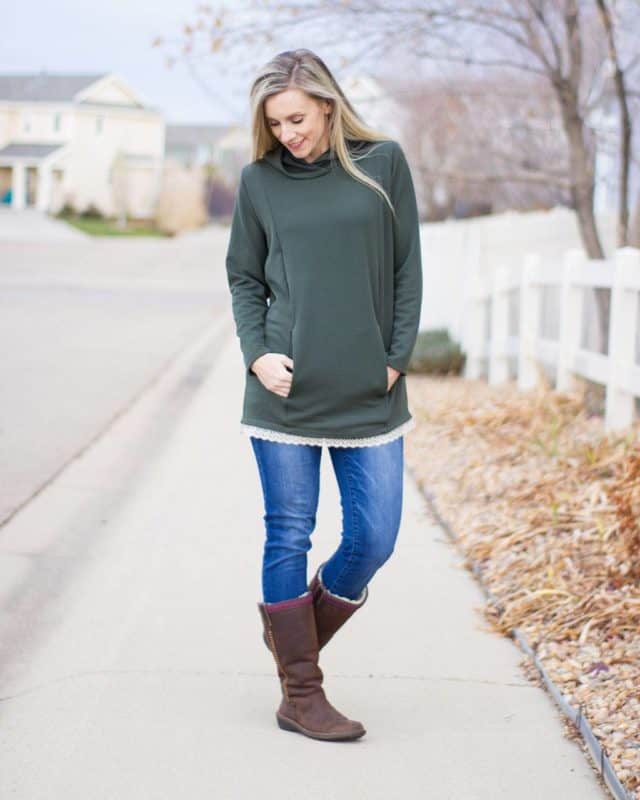
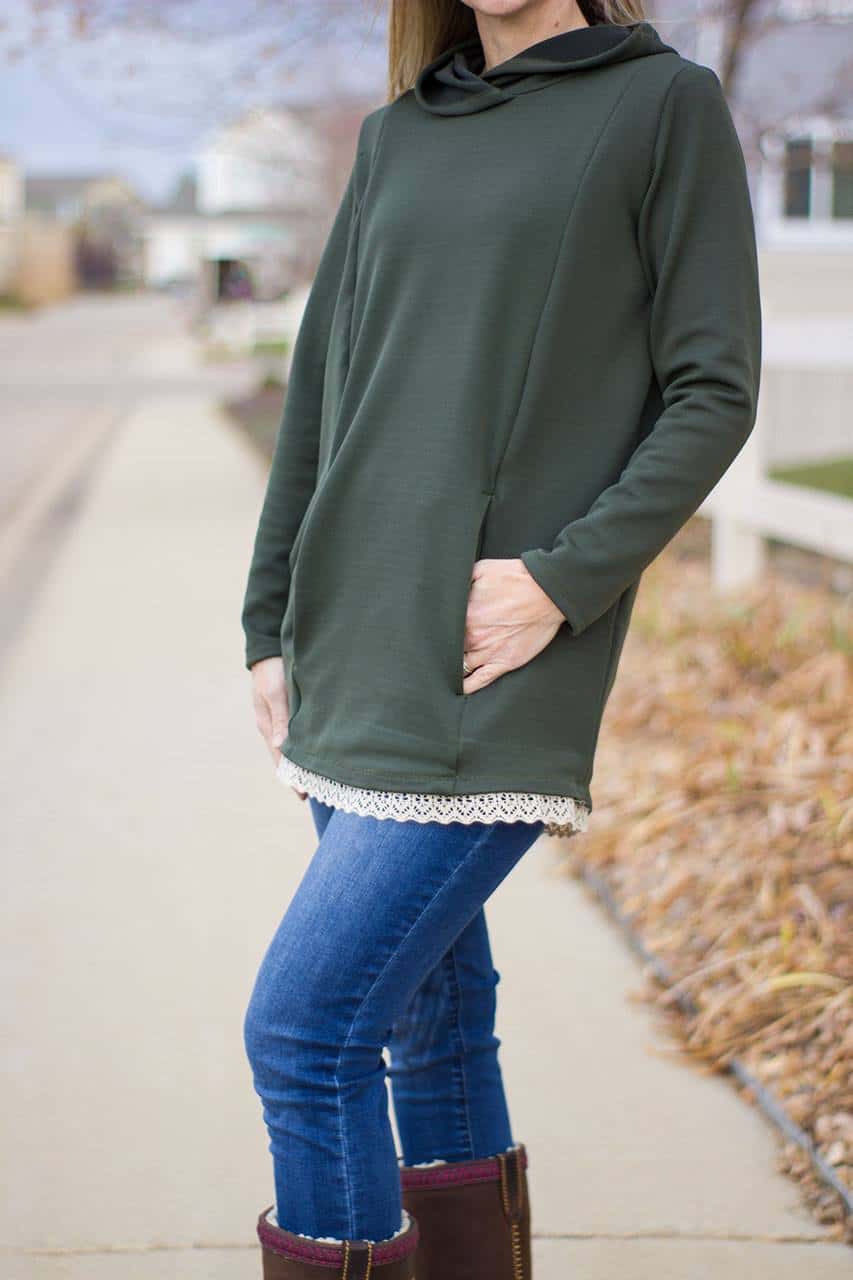
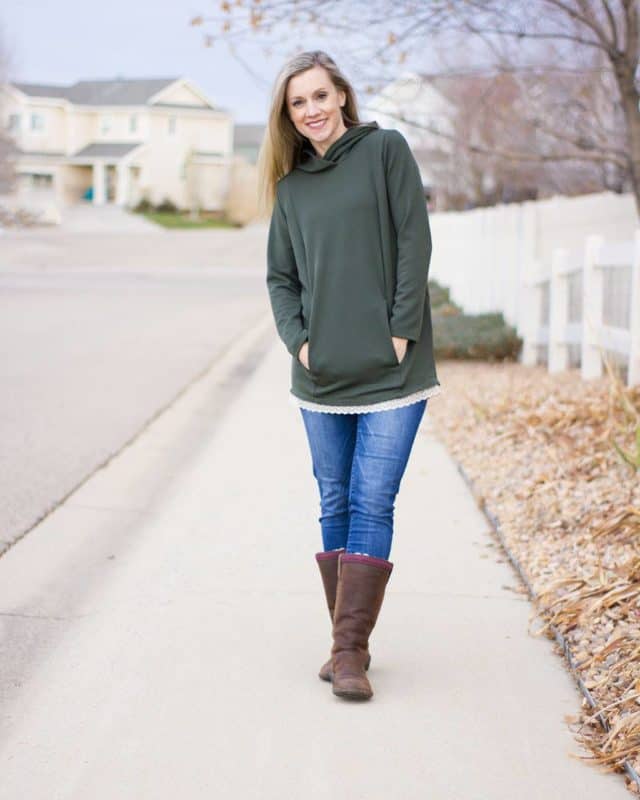
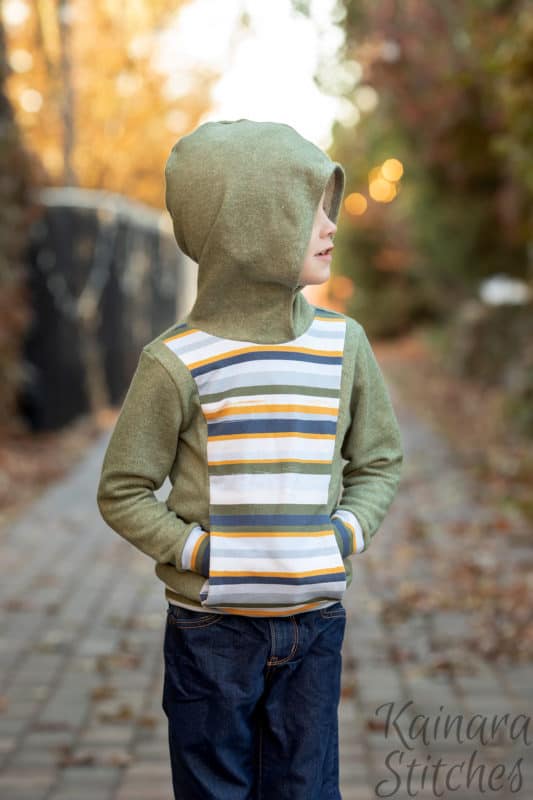
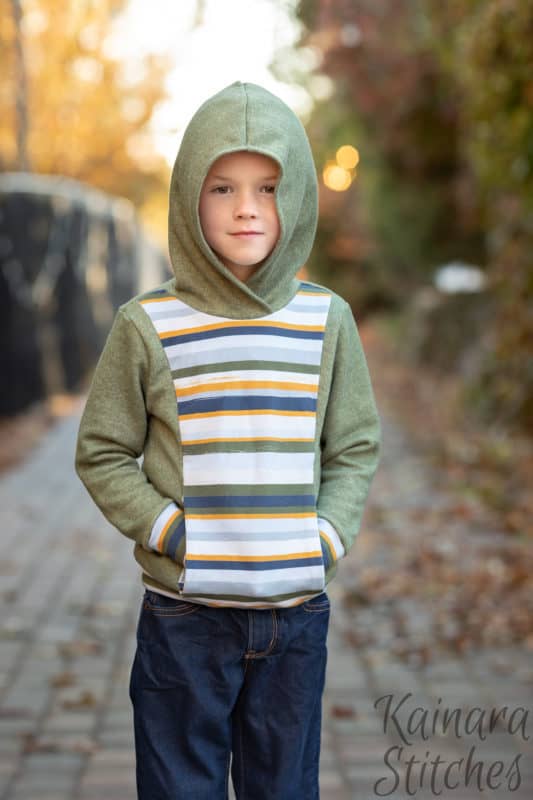
We’ve got the whole family covered with our newest release, the Hudson Hoodie! The Hudson comes in a unisex child’s version, as well as men’s and women’s sizing! This relaxed fit hoodie features: a lined or unlined crossover hood, with hemmed or cuffed long sleeves; an optional hidden kangaroo pocket with clean, finished seams; and can be worn as tunic length or as a top length for a “slouchy” look. The child’s version is available in sizes 1/2-14, Men’s in sizes XXS-XXXL with 3 lengths (short, average, and tall), Women’s in sizes Grey-Red. Hudson is drafted for medium weight knits with at least 30% stretch; you can use anything from super warm sherpa, to sweatshirt fleece, to French Terry, and so much more. Of course, we had to share a few of our favorite simple hoodies hacks with you!
Modifying the Hood
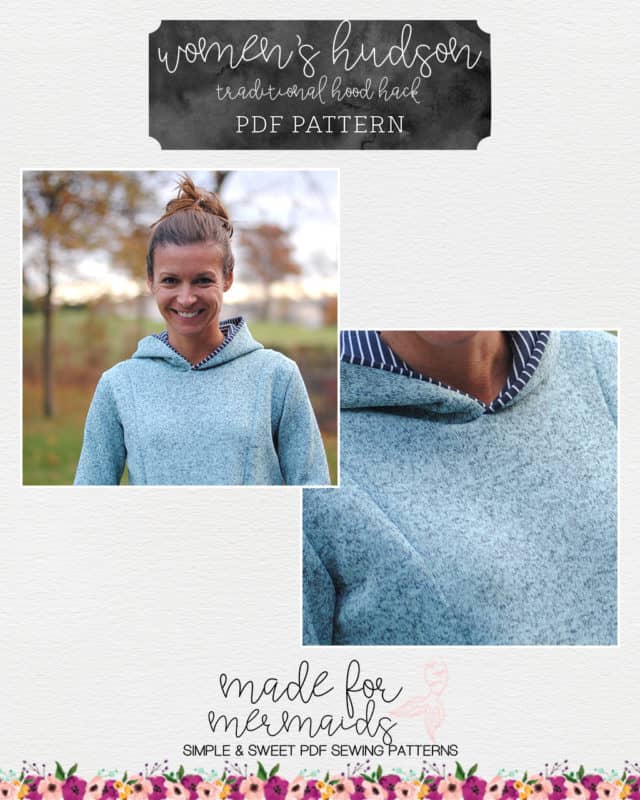
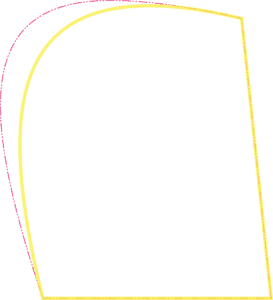
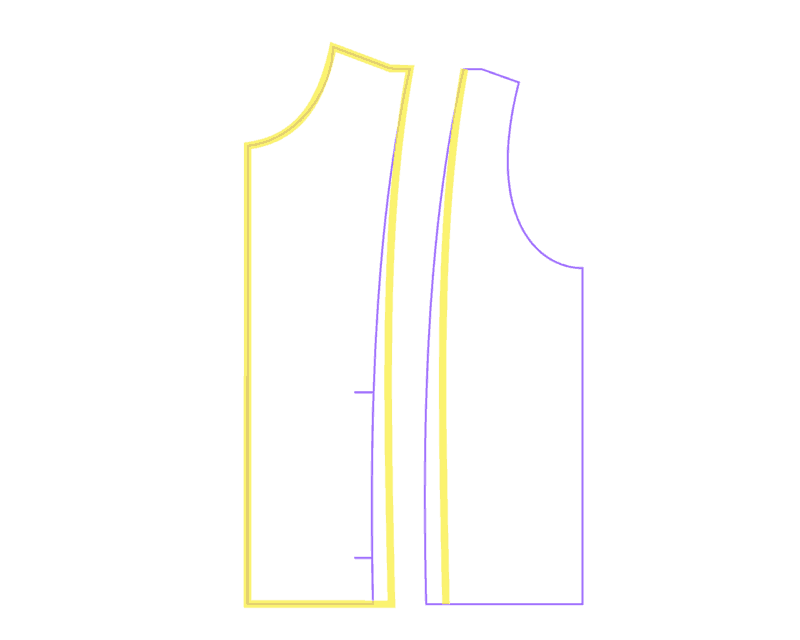
The Men’s and Women’s Hudson Hoodies are drafted with a slightly oversized hood to accommodate more head sizes, and those ponytails or messy buns women wear (I know I can’t be the only one rocking a messy bun 90% of the time!). The hood will be much more fitted with the lined hood version, as well as a fabric with lower stretch percentage, such as Sherpa, sweatshirt fleece, etc. If you have a smaller head, are making the unlined version with a more drapey fabric, or would just prefer a more fitted hood, you can easily adjust the curve for a more fitted look! Below is an example of the Pink size. You can see the modified version of the hood in yellow. Essentially I just brought in the back curve of the hood. Super simple adjustment that gives even more possibilities to the Hudson Hoodie! (Note: The child’s Hudson already has a very fitted hood. I do not recommend adjusting the curve on the child’s version.)
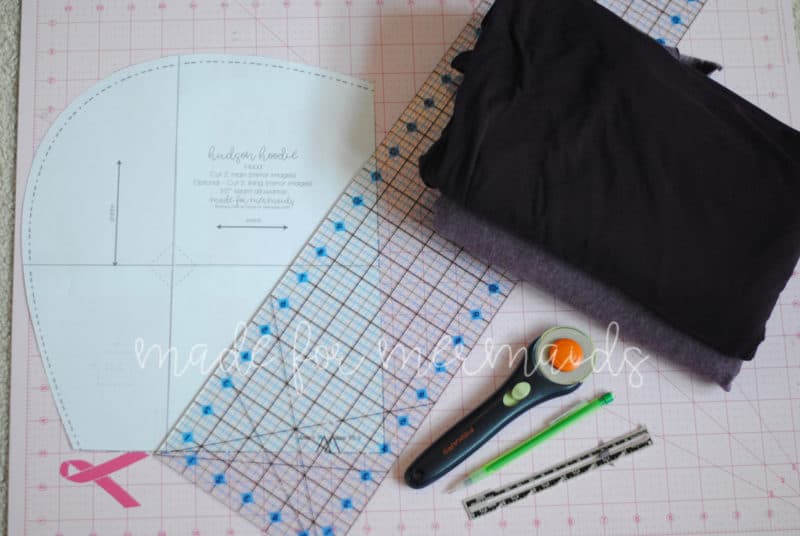
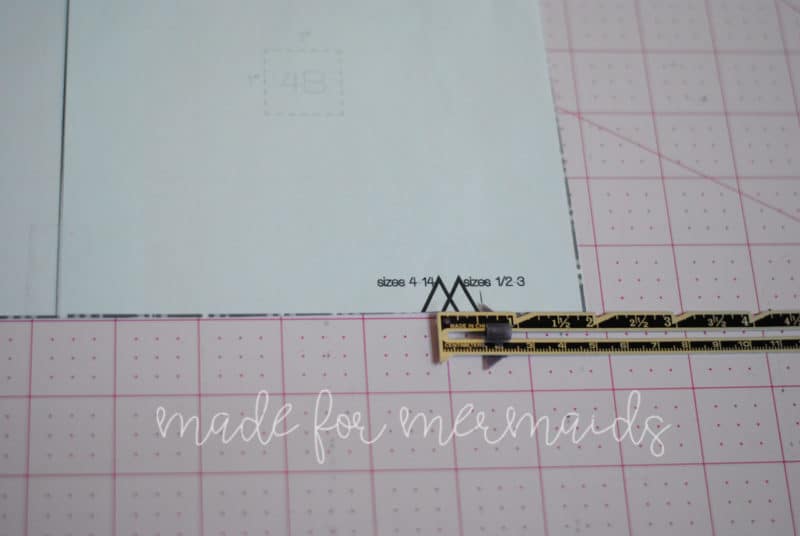
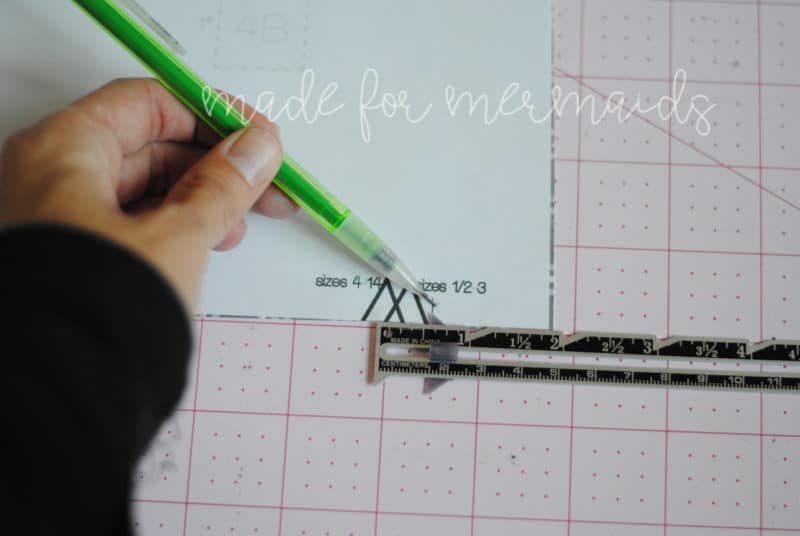
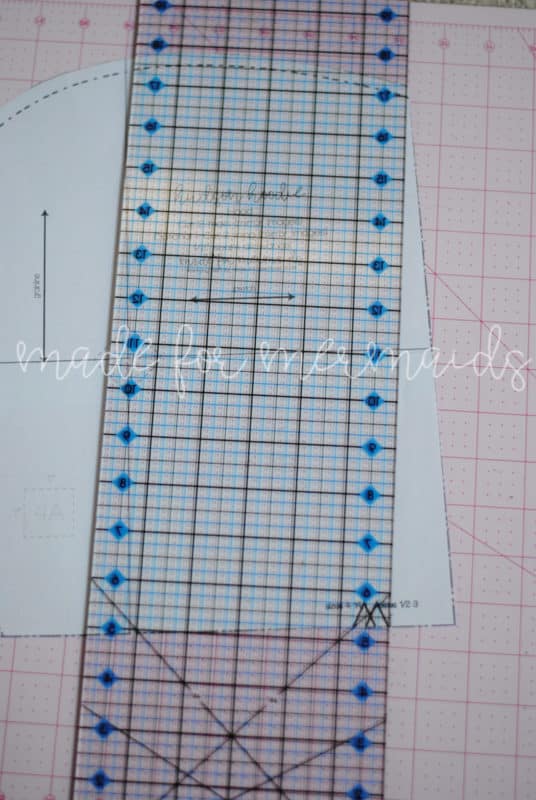
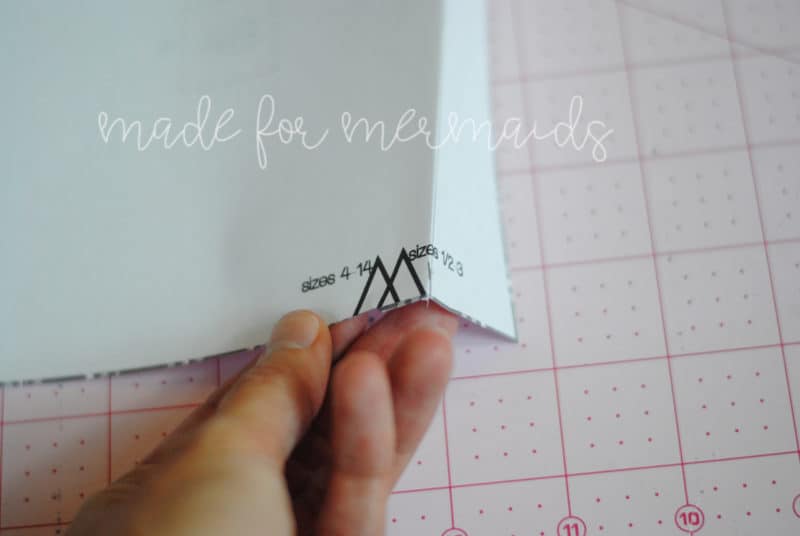
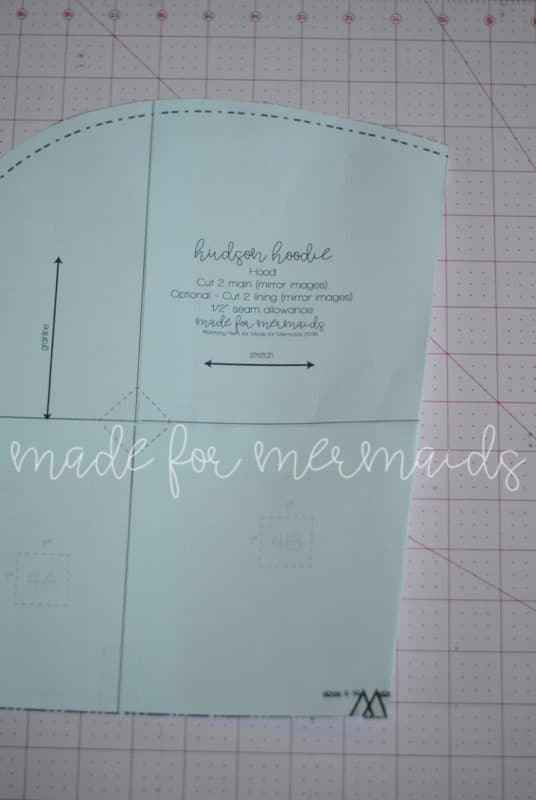
To start, you will need your main fabric (and lining fabric if choosing to line the hood), your hood pattern piece, a ruler, pencil and your cutting tools. You will start by finding the center point of your notch, and measuring 1/2″ out (towards the hood opening) from that point. Mark this spot, and then use your ruler to make a straight line from the top of the hood opening, down to this new marking. Fold your excess hood out of the way, thereby eliminating that crossover portion. Your new hood pattern piece is now a basic, non-crossover style hood.
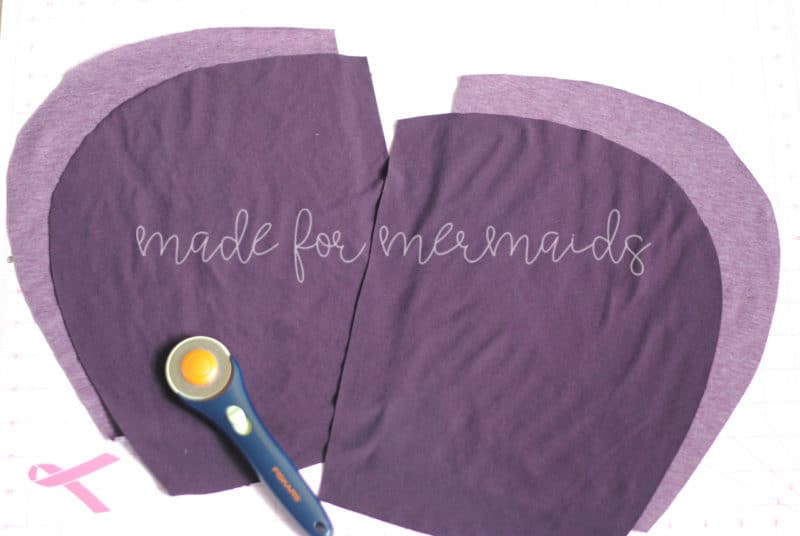
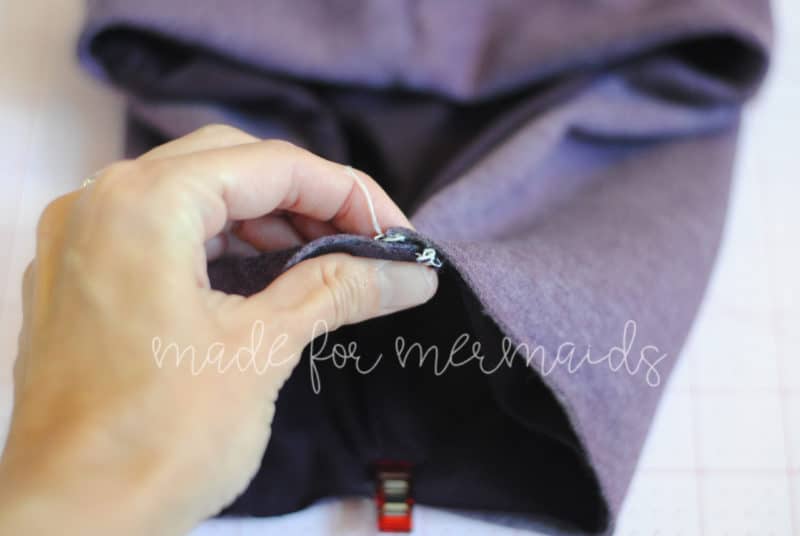
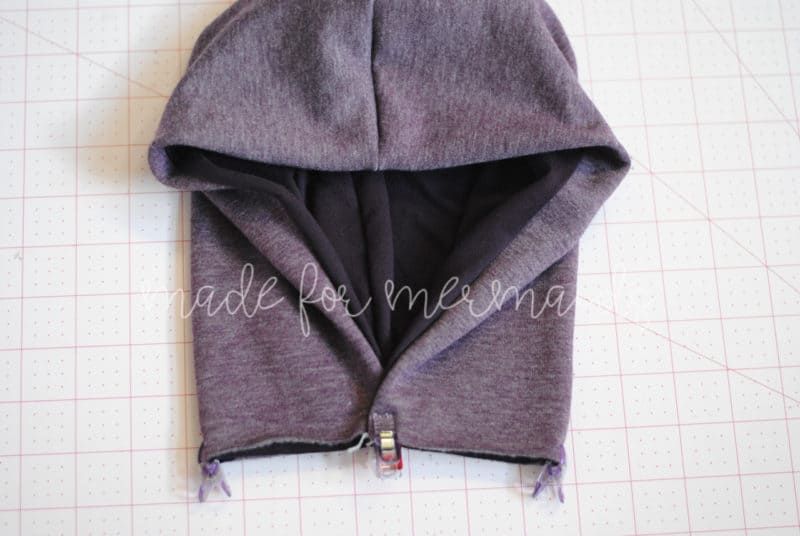
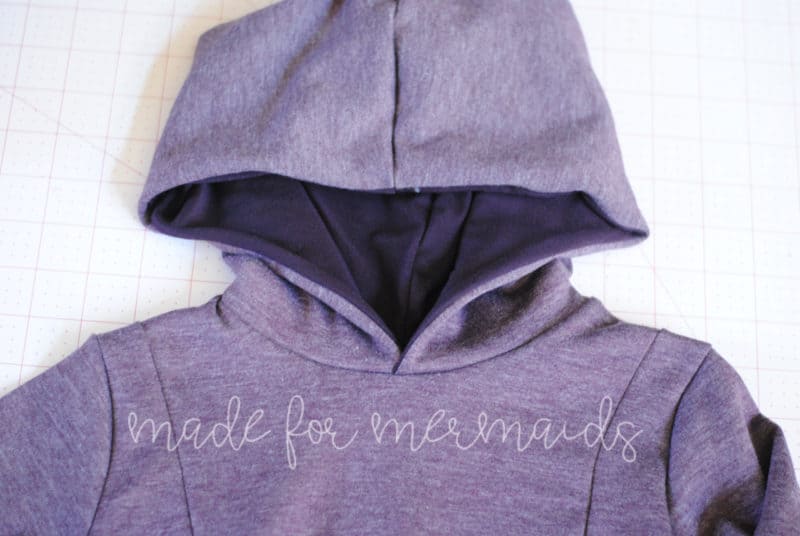
Next you will cut your new hood pieces from your fabric. You no longer need to cut the notches as we do not need them for matching up the crossover any longer. Using the pattern piece you just altered, cut two mirror images of your main fabric, and two mirror images of your lining fabric if choosing to line the hood. Sew the hood together according to the pattern, stopping when its time to overlap them. Instead of overlapping them the 2.5-3″ specified in the pattern, you will just overlap the front edges 1/2″… just enough to make sure the edges don’t shift and you end up with a gap when attaching your hood to the main bodice. Now you may quarter your hood and bodice and attach per the pattern.
Your finished hoodie now has a slightly different look to it, and all you had to do was fold some of the original hood pattern piece out of the way. 🙂 -Jody
Hemmed Hack
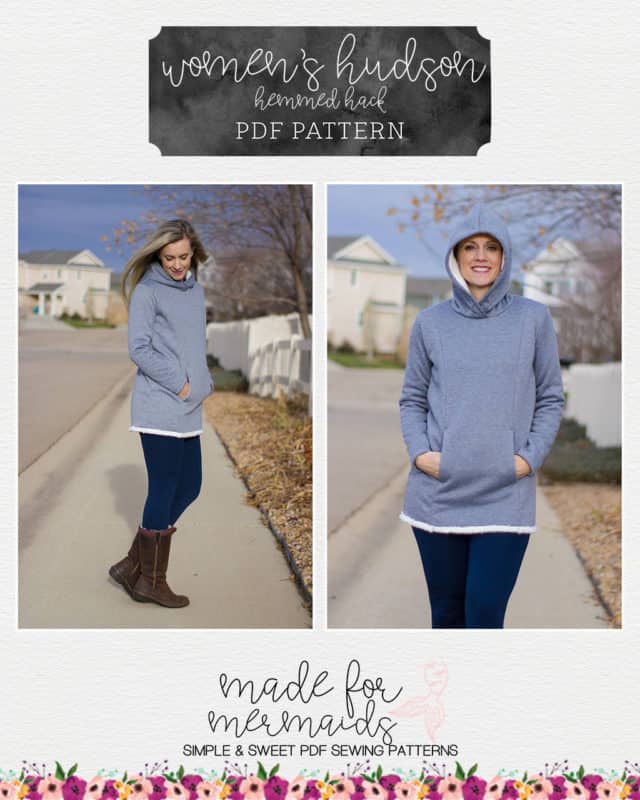
Perhaps you love the look of the Hudson but prefer not adding the band? In this simple hack, we will look at how to change the pattern to have a finished hem instead of the band.
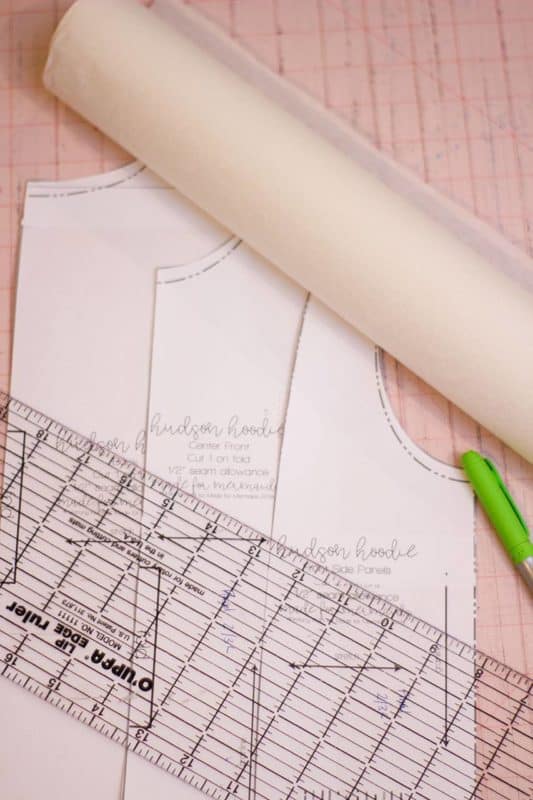
You will need to change three of the pattern pieces to create this hack. Gather your center front, side panel, and back pattern pieces. You will also need a ruler, paper, tape, and pen.
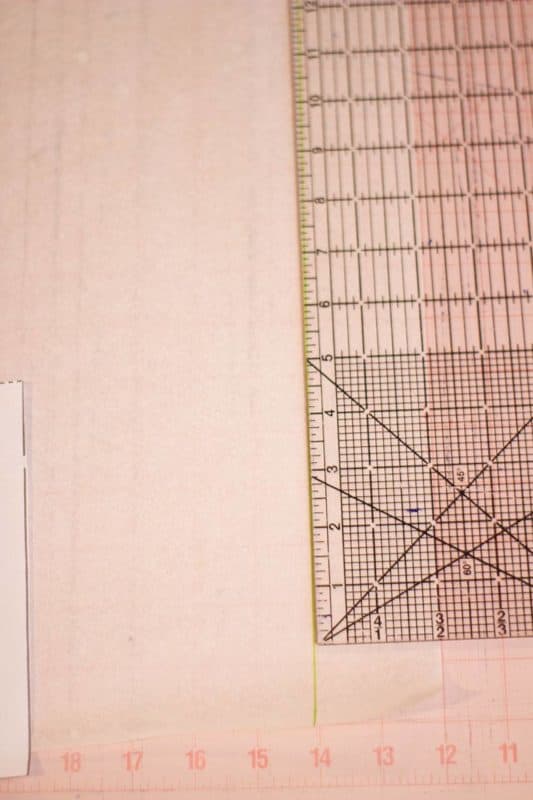
Determine the amount of length you need to add to your pattern pieces. You will need to add the finished band length to the bottom of your three pieces. For example, the children’s pattern has a finished length of 2 inches (5 inch band, folded in half is 2.5 inches minus the seam allowance = 2 inch finished band). Mark this amount on your paper and draw a line.
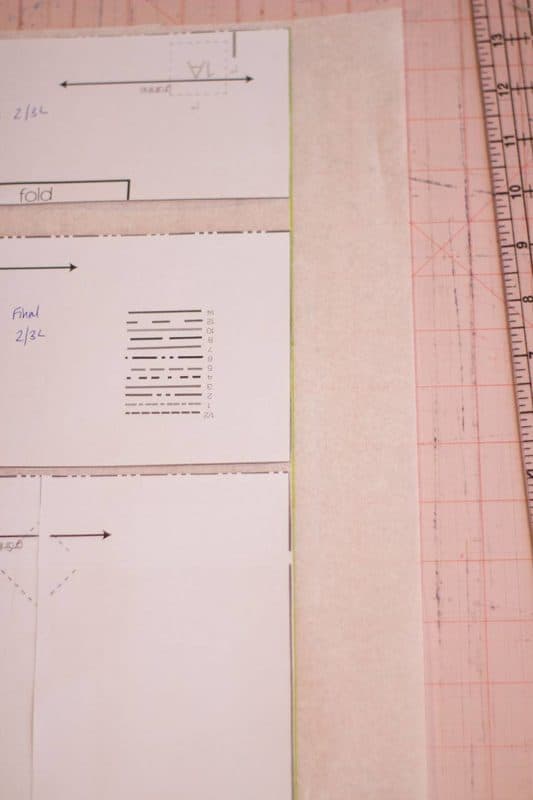
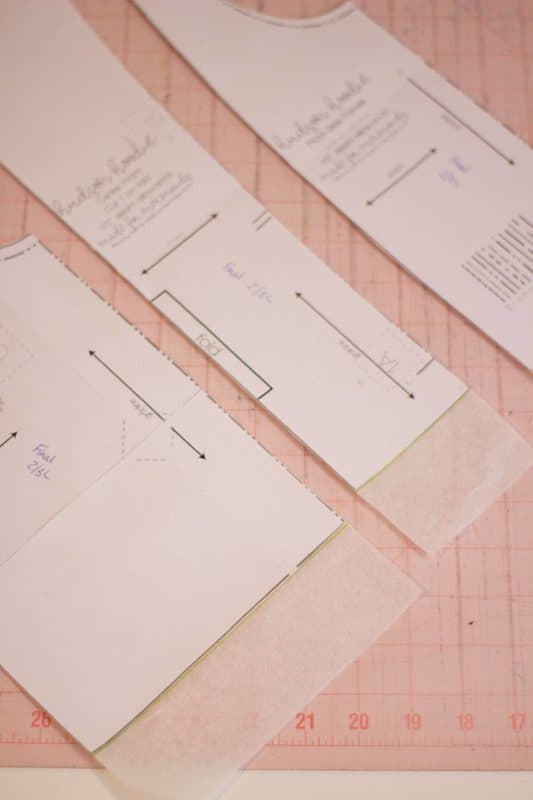
Lay your center front, side panel, and back pattern pieces on the line you marked and tape your pattern piece to the paper.
Cut out your new lengthened pattern, trimming your pattern on the sides to match. Cut and sew your pattern using your new pieces and do not cut out a band. Follow the regular instructions until the last step.
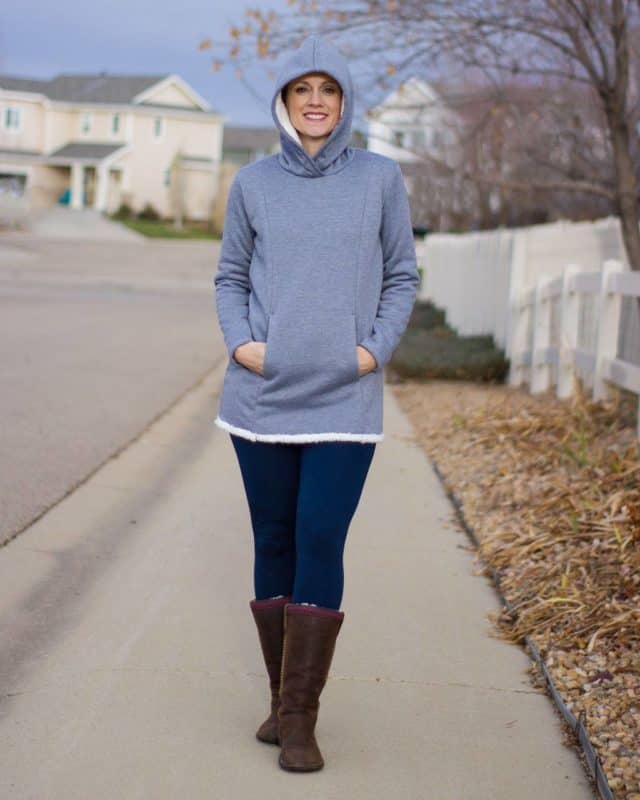
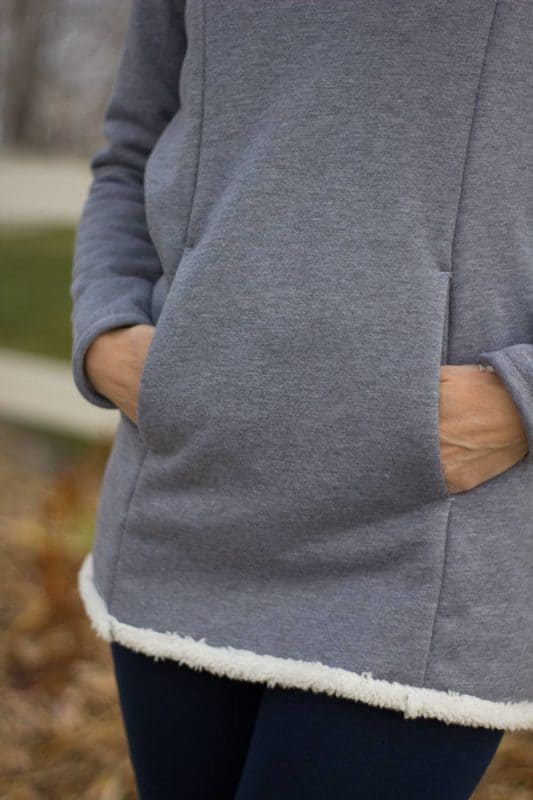
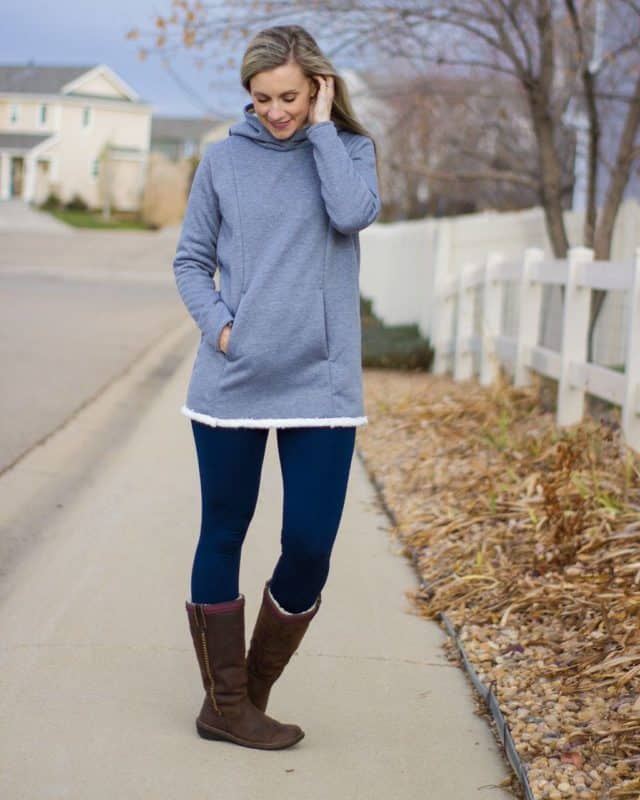
Instead of adding the band, press the hem ½ inch toward the wrong side of the fabric and topstitch. The women’s hem hack pictured features a Sherpa lined fabric. The hem was simply turned to the wrong side and topstitched to achieve the contrast hem.
This hack allows you to have a straight fit and more of a tunic look. It pairs well with jeans or leggings. – Shannon
Widened Pocket Hack
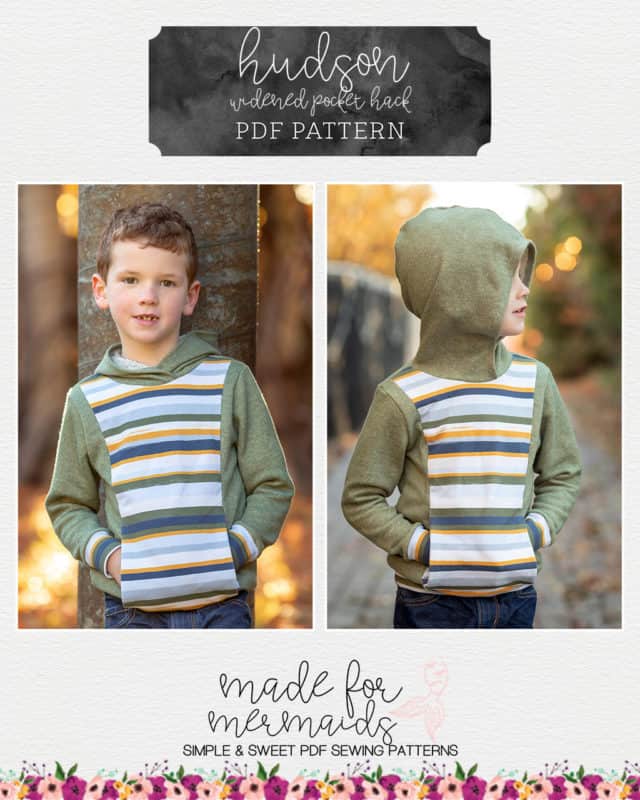
Does your husband or kid have bigger hands? Do you want to make the pocket bigger on the new Hudson, but you’re just not sure how? I’m Anna, and I’m here to show you how I hacked the Hudson to make the pocket wider.
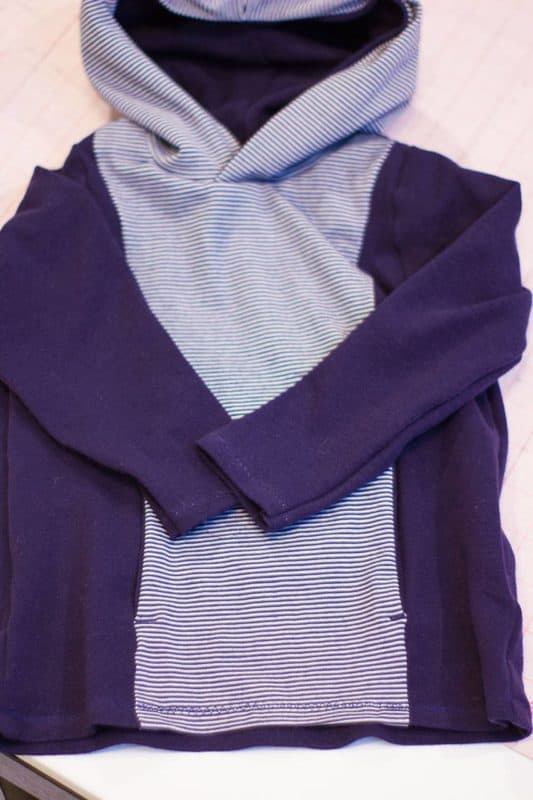
The first thing you need to do is grab all of your front pattern pieces. You’ll need the front center, side front, and the pocket. You’ll need to determine how much wider you want to make your pocket first. I added 1″ to my son’s pocket for the total width, so I increased the width of the center front pattern piece by 1/2″ since the piece is cut on the fold. I did the same for the pocket piece as well. I kept the 1/2″ width to the top of where the pocket would attach and then graded back to the original pattern markings so that the front would be the same width at the shoulder. It would also allow the hoodie to have the same look as the original pattern. The side front pieces will need to have the same width removed on the sides that attach to the front center, so that you width will overall be the same. The drawing below is a visual of what I did. You’ll just need to make sure and do the same for the pocket piece.
From here, you’ll sew up your hoodie following the same tutorial. Your pocket and center piece will now just be wider to accommodate bigger hands, or more fun treasures that your little might pick up. This also might be helpful if you have a tall, skinny kid too, that might have the hand size that coordinates with their height, but not their skinny width. I hope you found this post helpful. Enjoy your new Hudson hoodie! -Anna
We hope you love the Hudson hoodie for kids, women, and men just as much as we do! Don’t forget to share your makes in our Facebook group! We love to see what you create for you and yours. 🙂





Leave a Reply