Hi mermaids and pirates! I’m happy to bring you Day 1 of the frequently-requested Isabel/Mama Isabel sew-a-long! If you haven’t already, you can grab the girls’ or the women’s pattern, and check out the existing hacks from the original release.
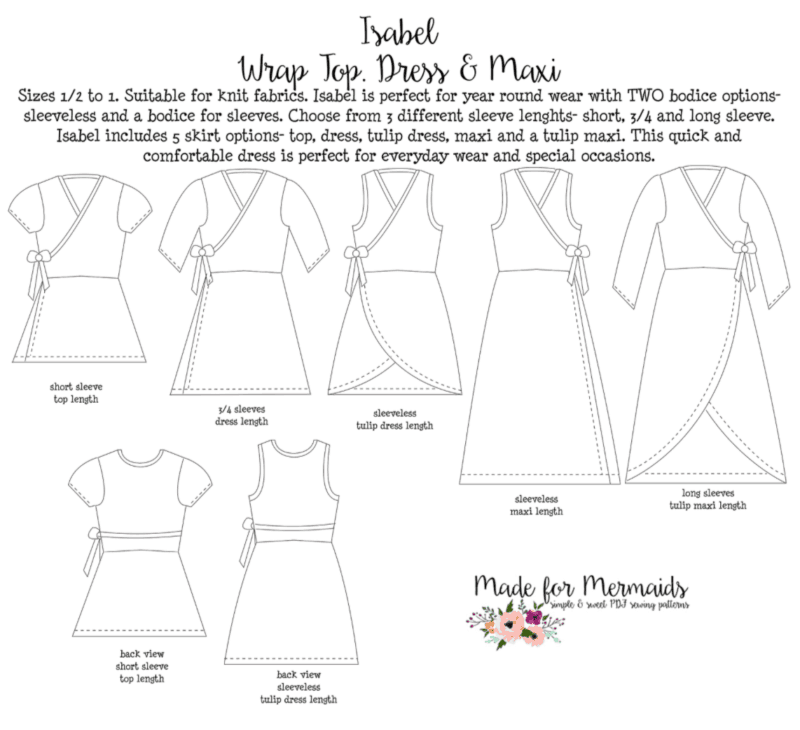
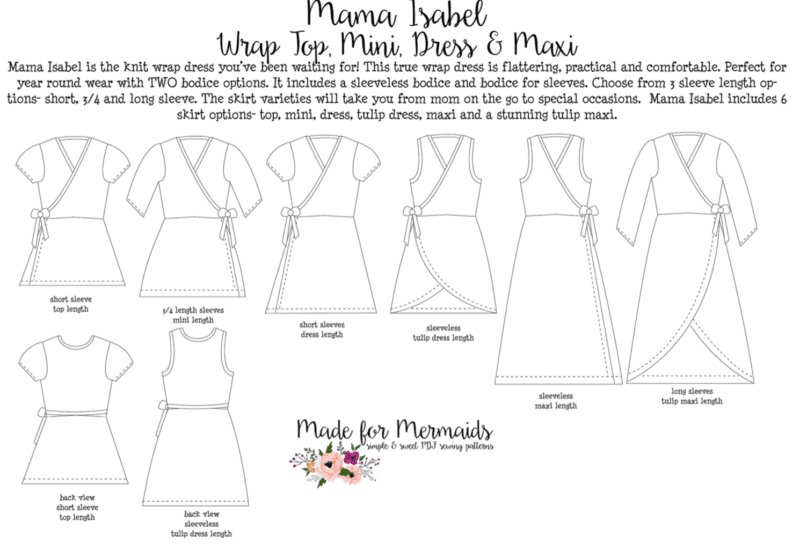
Isabel and Mama Isabel are suitable for knit fabrics – my favorites are rayon spandex, double brushed polyester, and modal blends! Isabel is perfect for year round wear with TWO bodice options- sleeveless and a bodice for sleeves. There are also different sleeve lengths to choose from, as well as five different skirt options (top, dress, tulip dress, maxi and a tulip maxi). This quick and comfortable dress is perfect for everyday wear, and just as easy to dress up for special occasions.
Before we get started, there is a ton of helpful beginner information between the M4M and P4P blogs, in case you are new to knits, or new to PDF patterns in general.
- New to PDF patterns? Check out our helpful tips here
- New to sewing with knits? Brittany has some great info here
- Need an FBA? Check out the P4P blog for tips on how to accomplish that
- Not quite sure how to measure yourself accurately? Don’t worry; check out the post here! For reference, Made for Mermaids drafts for an 8″ side waist (see the measuring post above for how to accurately measure). If you are adjusting for height, be sure to take your side waist in to consideration as well so that your bodice hits at the appropriate spot! The general rule of thumb is to add/subtract 1/2″ for every 1″ over/under 5’5″ you are, but where exactly you need that extra length added/removed will depend on your specific body!
- Having issues printing? Most issues can be resolved by using our FAQs/troubleshooting tips
- Not in our official SAL group yet? Join here 🙂
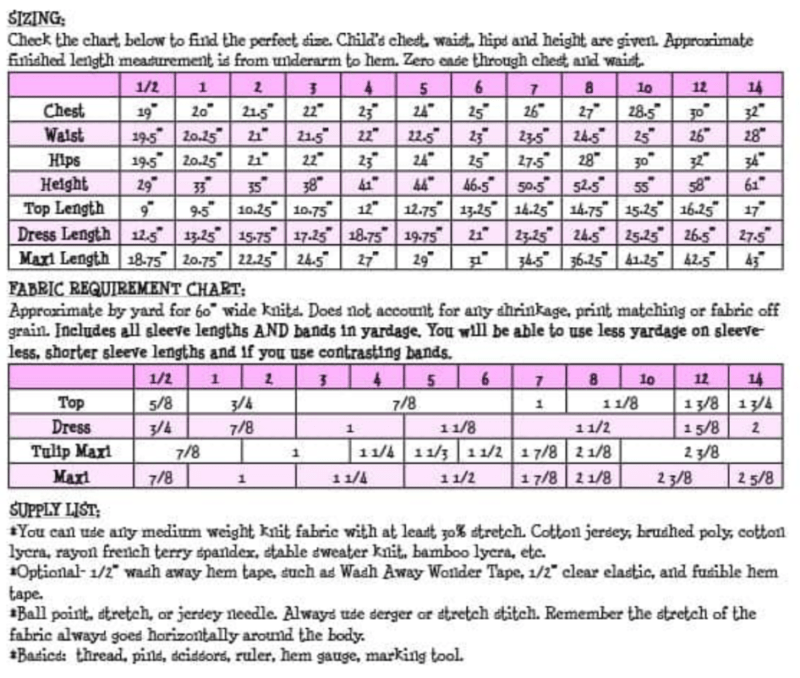
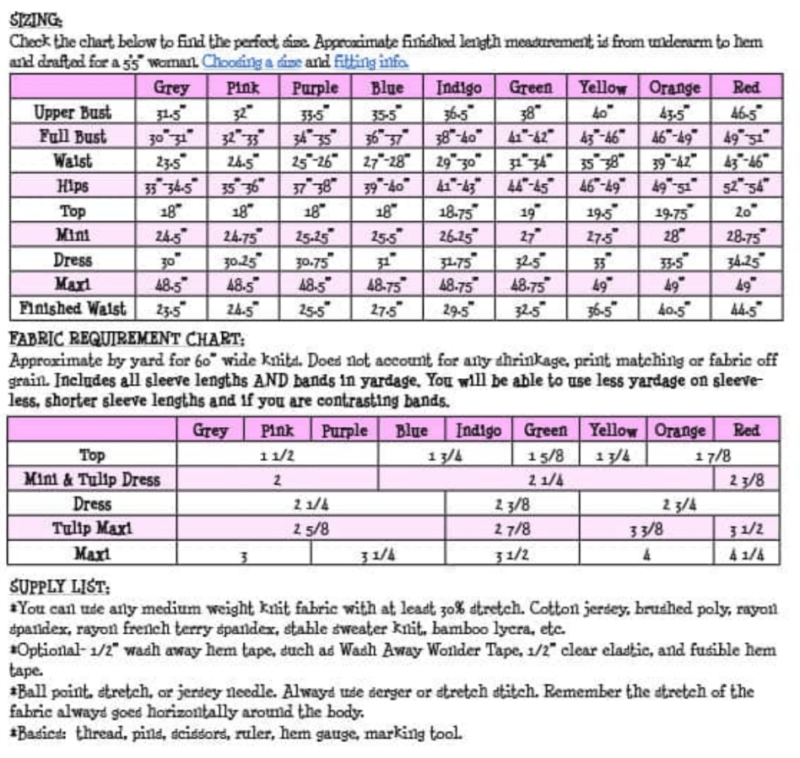
Our first day is all about prep! First, be sure to measure yourself (or the person that you are sewing for) accurately. An accurate measurement is very important to ensure a good fit! After you get your measurements, you’ll want to choose your fabric. You’ll need a medium-weight knit with at least 30% stretch.
- girls’ chart
- women’s chart
Next, go ahead and print your pattern! Be sure to print a test page and measure your 1″ square before you print the whole pattern. Making one of our hacked versions? Now is the perfect time to modify your pattern pieces, before you cut in to your fabric!
Modifying Neck/Hem Lines
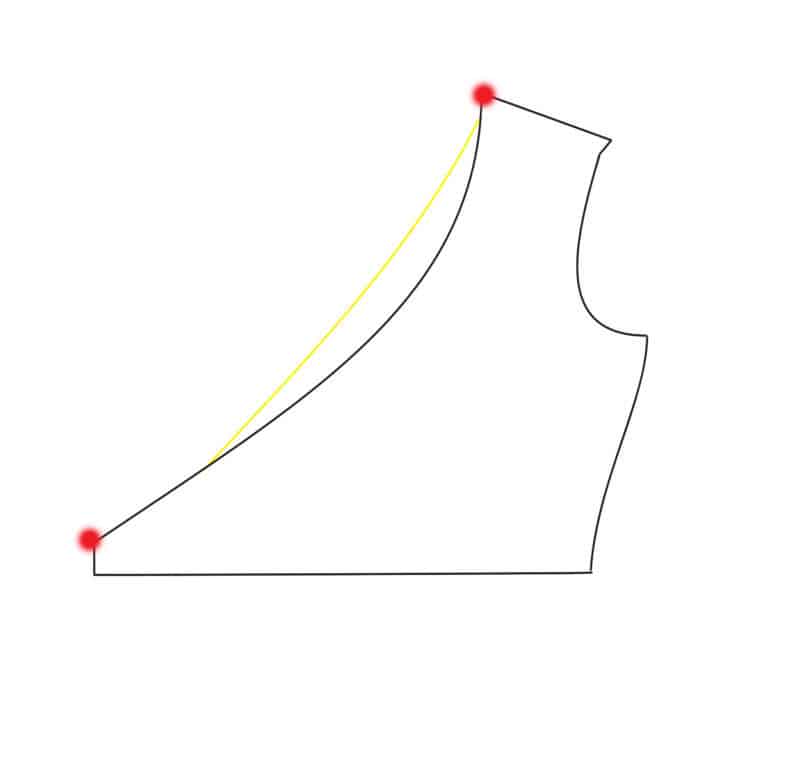
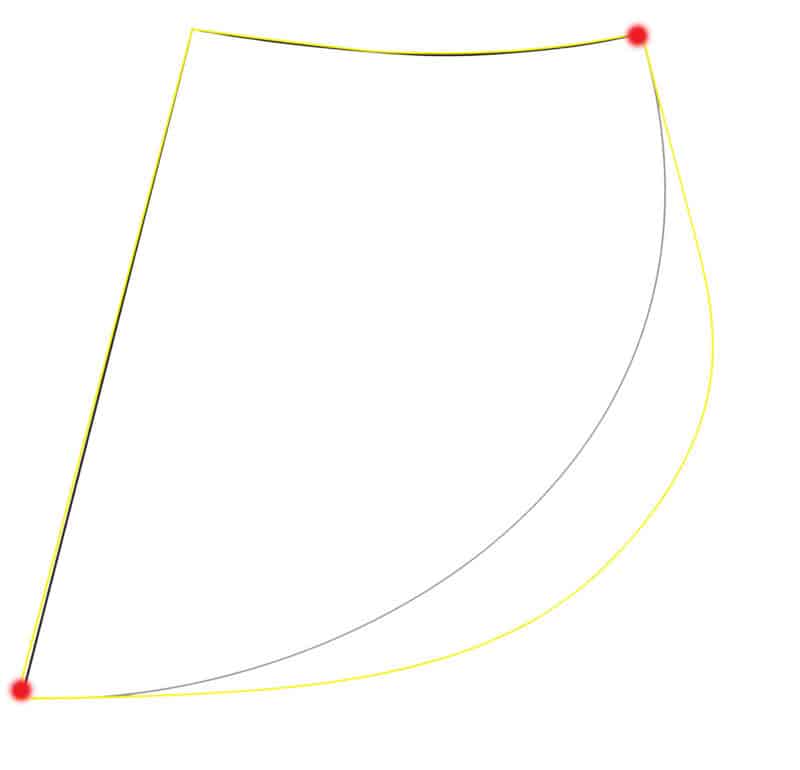
One of the most frequently asked questions we see when it comes to Mama Isabel is how to modify either the neck line or the tulip hem line for a little bit more coverage. You’re exact lines will vary depending on how much coverage you’d like, but the yellow lines below show the modified pattern pieces! For the bodice, you want to make sure you don’t make changes to the shoulder or the side seam (marked with red dots below), or you will have to alter your other pattern pieces as well. My suggestion would be to cut one front bodice with your modifications out of a piece of scrap fabrics so you can find the most flattering fit.
For the skirt piece, you can start the tulip hem much lower, but you will want to make sure that your side seams still match up. For both the skirt and the bodice pieces, you would cut two mirror images per the pattern tutorial.
- front bodice
- tulip skirt
Keep in mind, if you alter the neckline, you will also need to calculate a new neckband measurement. To do so, measure your new neck line. Calculate 90% of that measurement, add 1″ for seam allowance, and that will be your new neckband width. The length will stay the same.
Waistband/Separates Hack
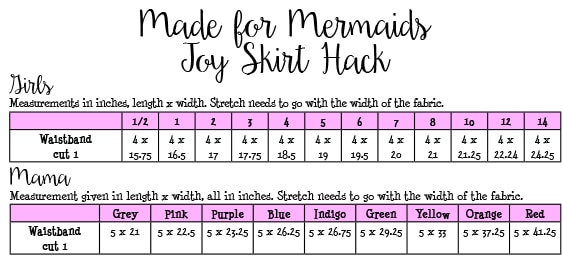
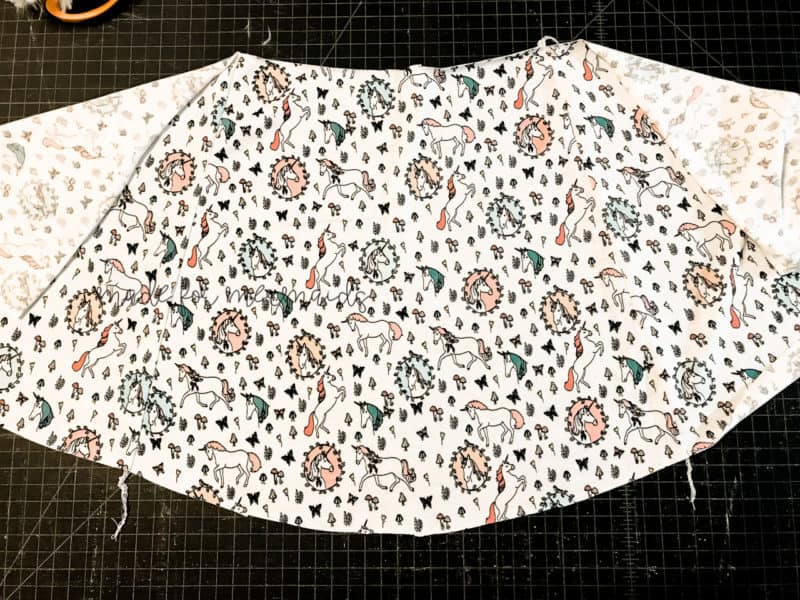
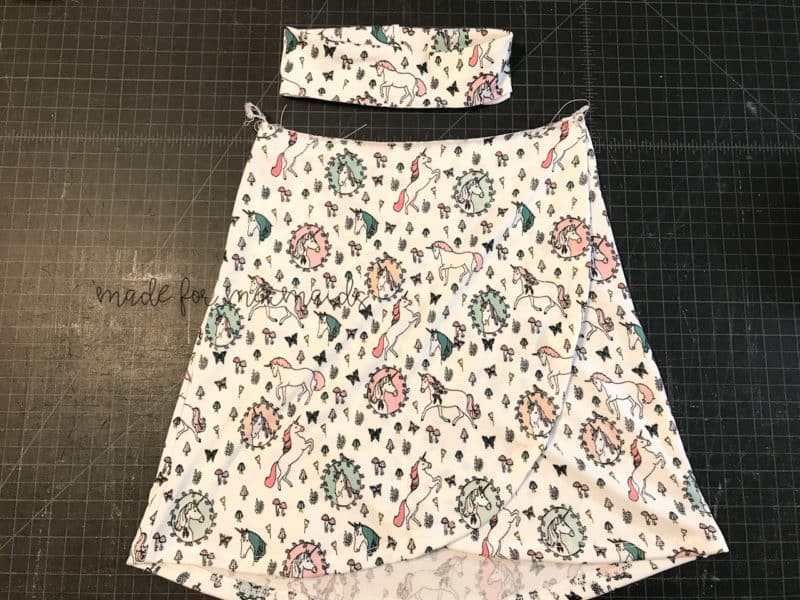
Adding a quick waistband is an easy way to make a separate Isabel or Mama Isabel skirt instead of a whole dress! You could use two back pieces, or a back piece with two front pieces! It makes a great skirt to throw over leotards for dance or gymnastics class, or to wear in your every day wardrobe! To start, use the “Joy Skirt Hack” charts to find your waistband measurement! If you’d prefer a folder yoga style waistband, double the length (for example, a size 1/2 girls would be cut to 8 x 15.75 instead of 4 x 15.75).
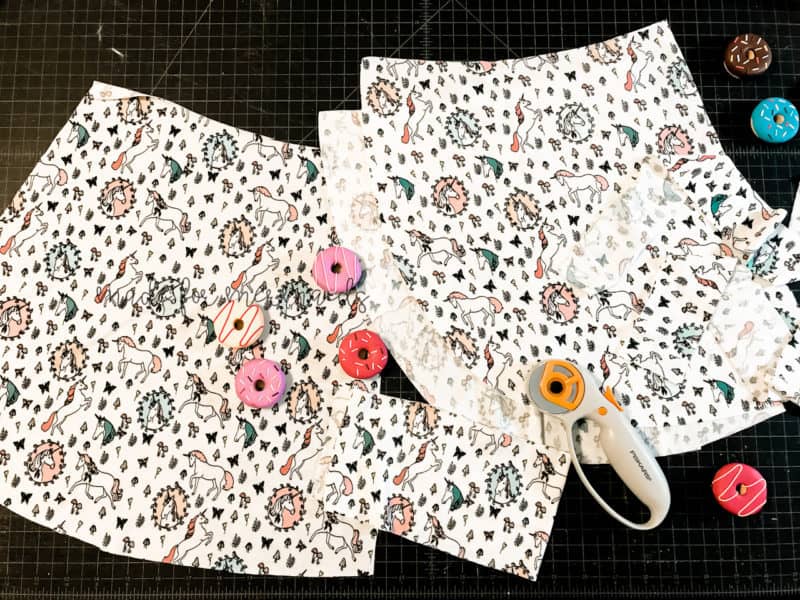
You do not need to cut the waist ties; however, I wanted to add a faux tie, so I cut the long waist tie. Place one front skirt piece on top of the back skirt piece with right sides together. Match up the raw edges, and sew your side seam with 1/2″ seam allowance. Repeat for the opposite side of your skirt.
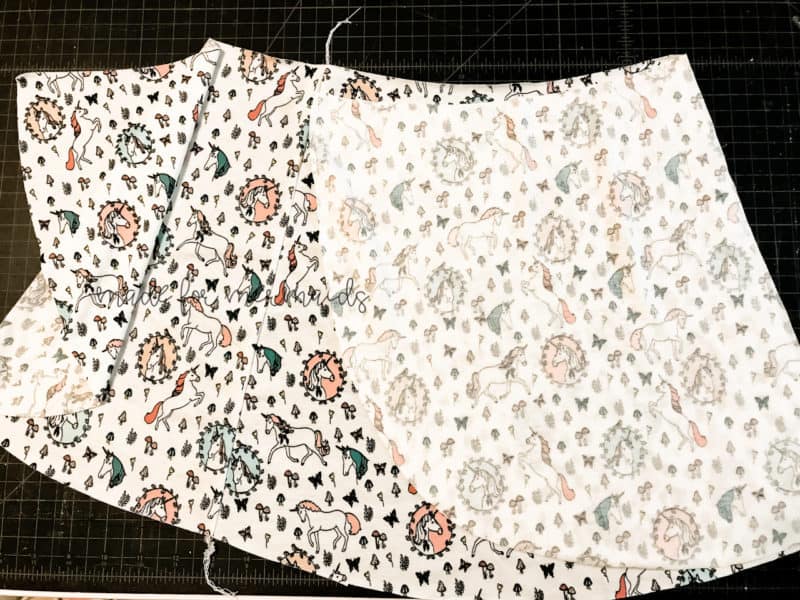
Baste your skirt fronts together. Fold your waistband in half widthwise with right sides together (like with any neck or waist band), and then stitch the short end with 1/2″ seam allowance to create a loop. Fold in half lengthwise, with wrong sides together. Pin the waistband seam to the center back of your skirt, and then quarter your waistband and skirt. Your waistband should be smaller than the skirt opening. Be sure to stretch the waist band evenly.
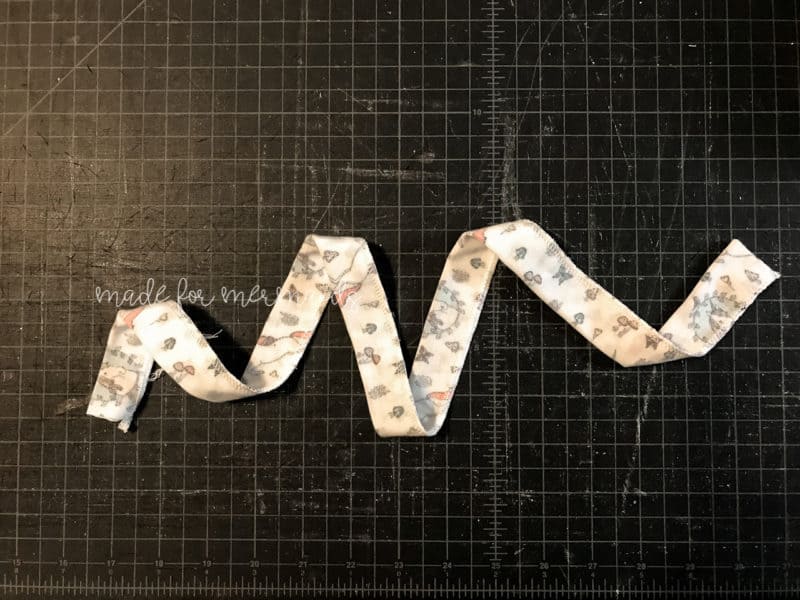
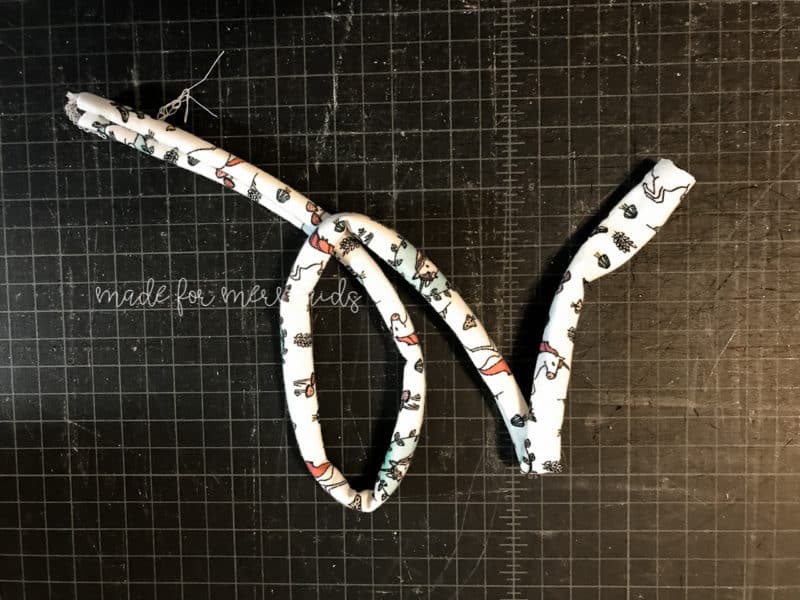
After you’ve attached your waistband, fold your waist tie lengthwise with right sides together. Sew one short edge and the long edge of your waist tie closed with a 1/4″ seam allowance. Use your favorite turning tool to turn your tie right side out, then give it a good press. Find the middle of your tie, and stitch it to your waistband; I placed mine just above the edge of the top tulip skirt. After you stitch in place, finish off both ends of your tie. I just folded over 1/4″, and then 1/4″ again and top stitched in place. Tie your faux tie, and you are all done!
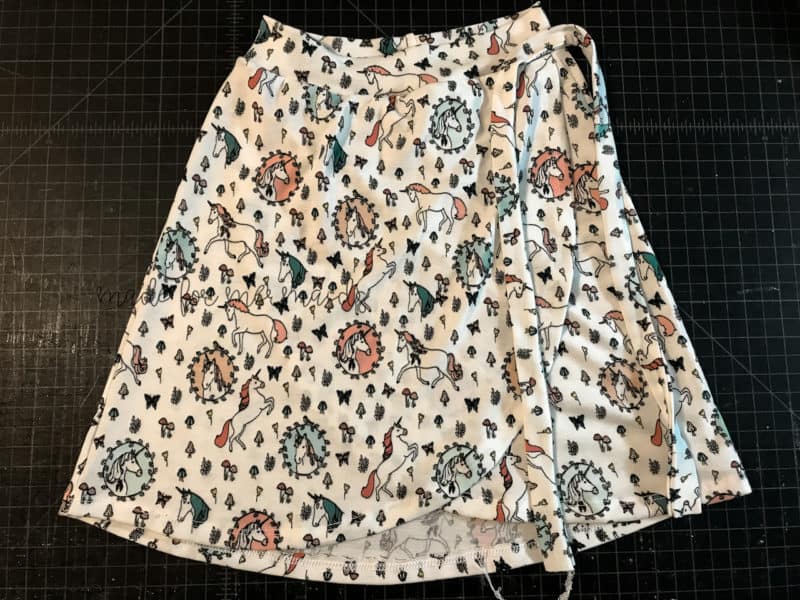
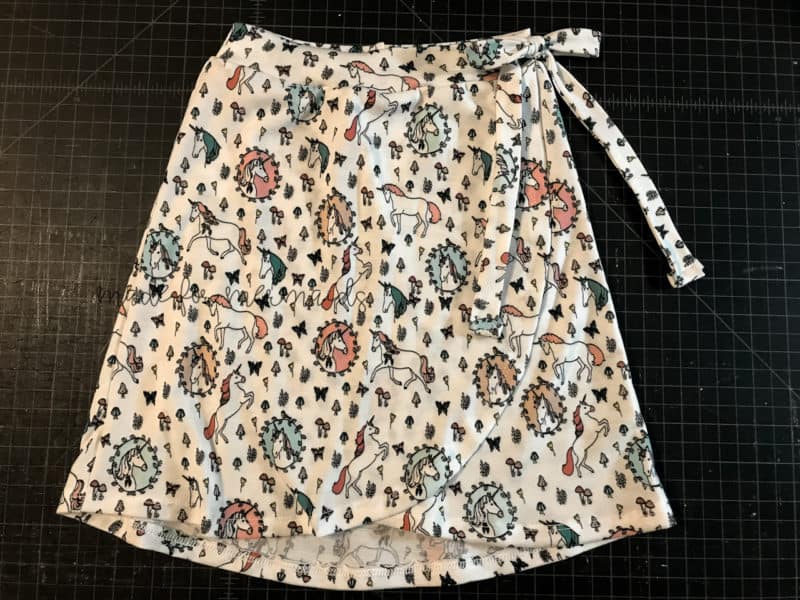
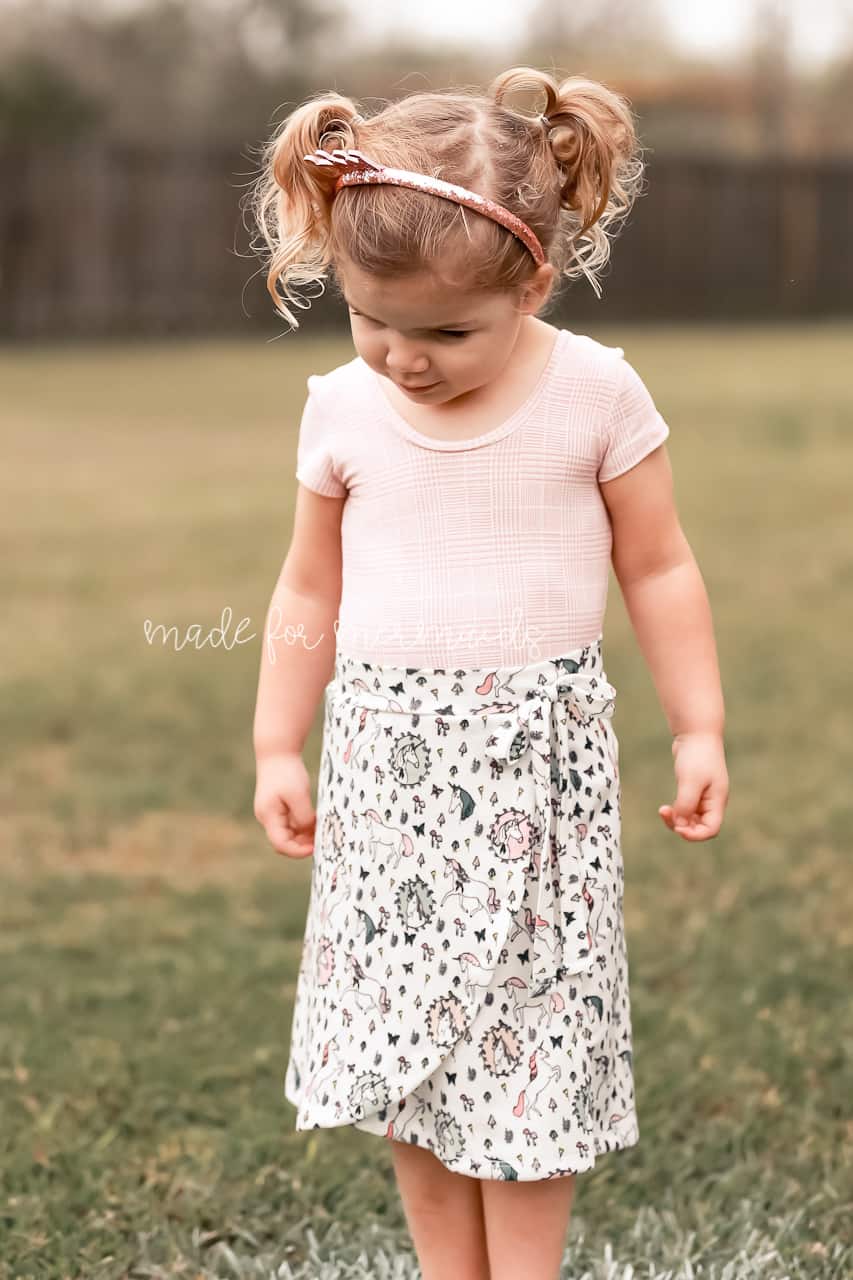
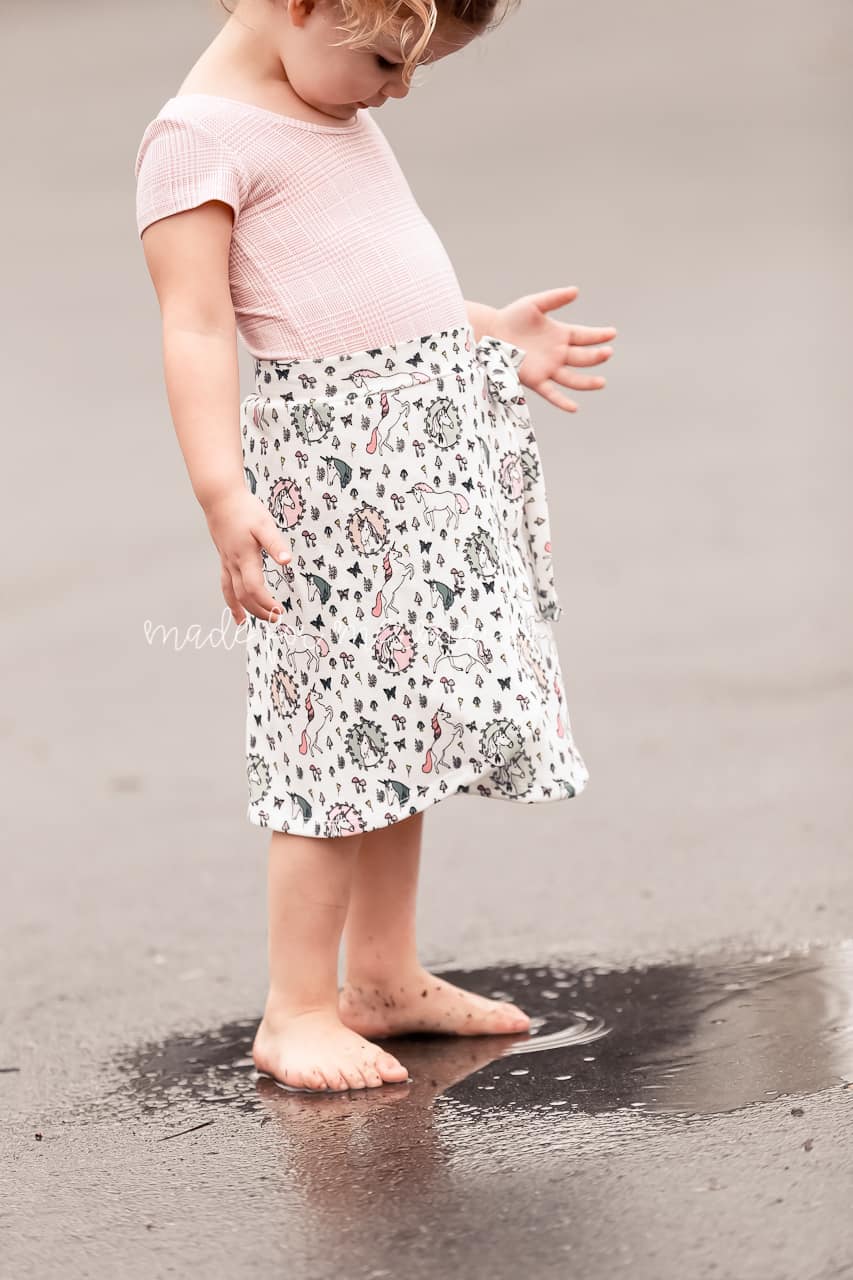
Faux Wrap Hack
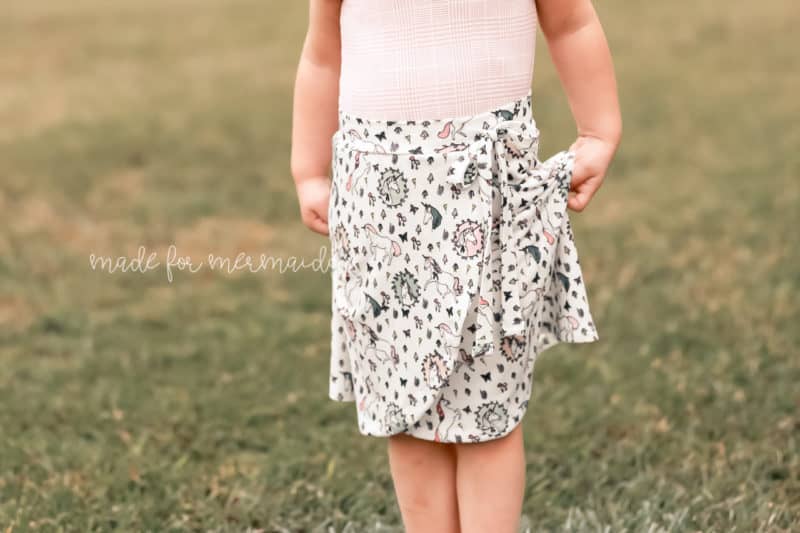
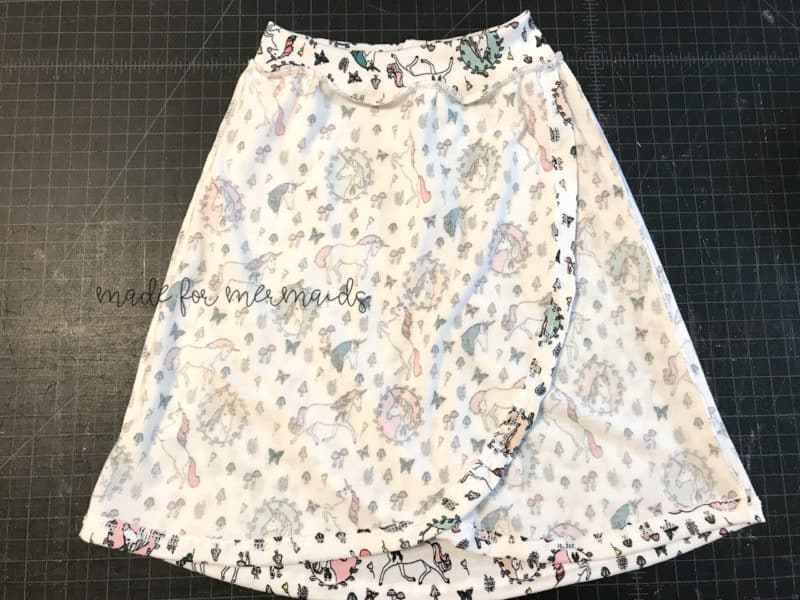
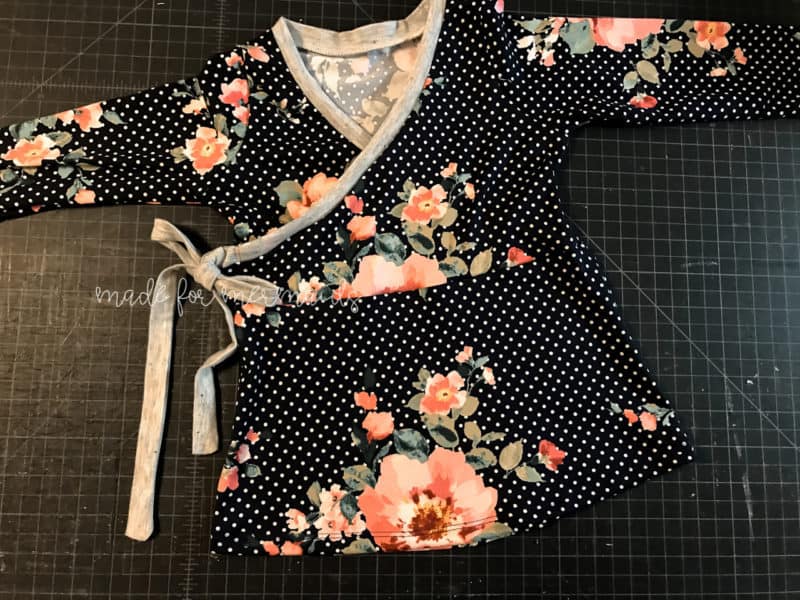
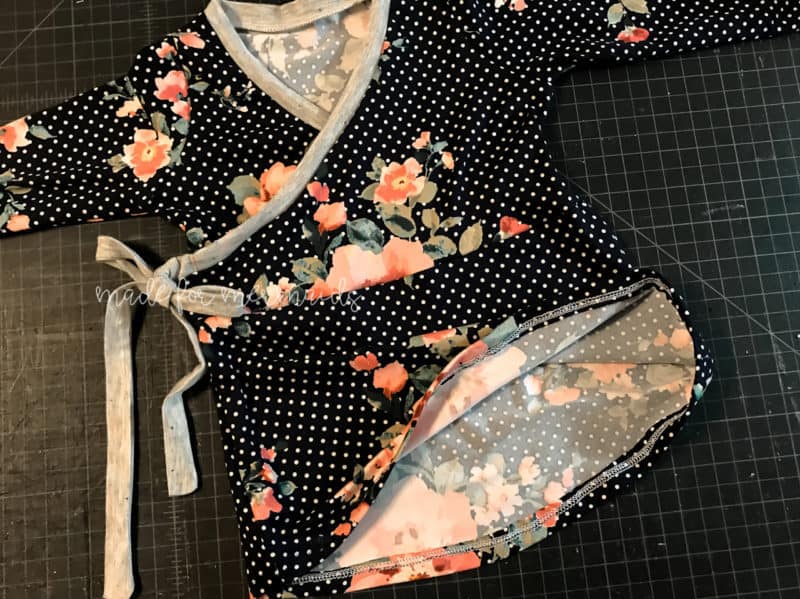
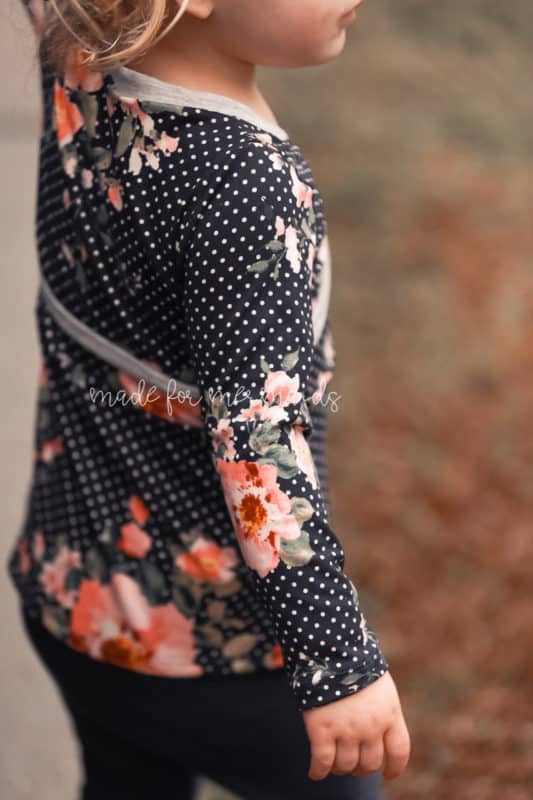
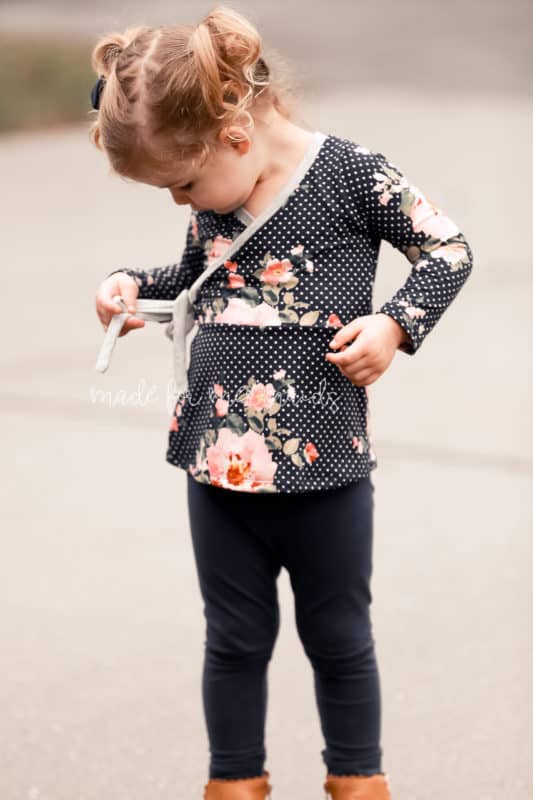
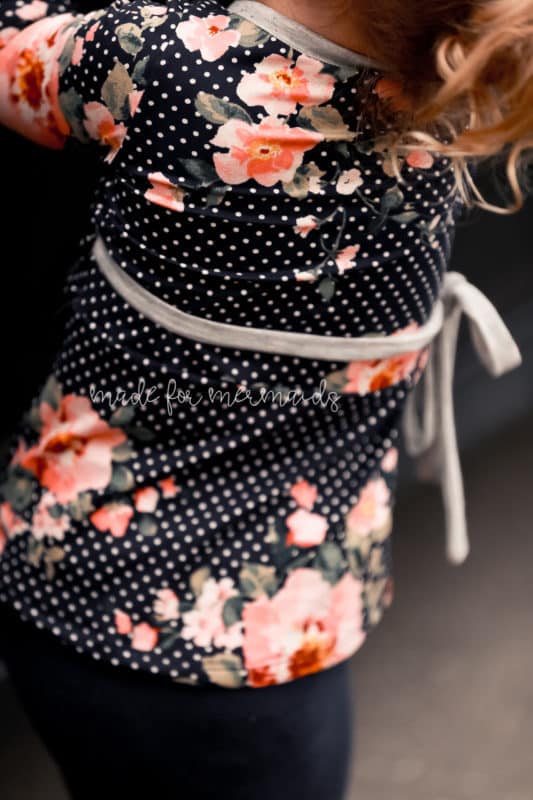
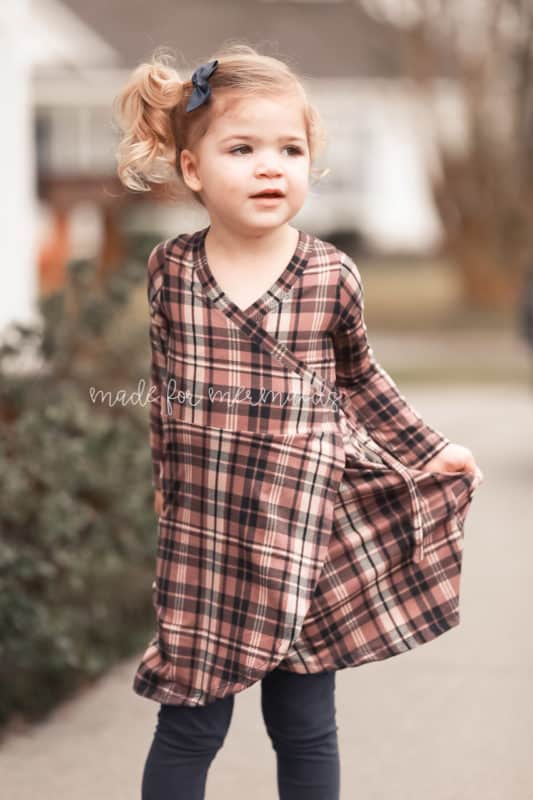
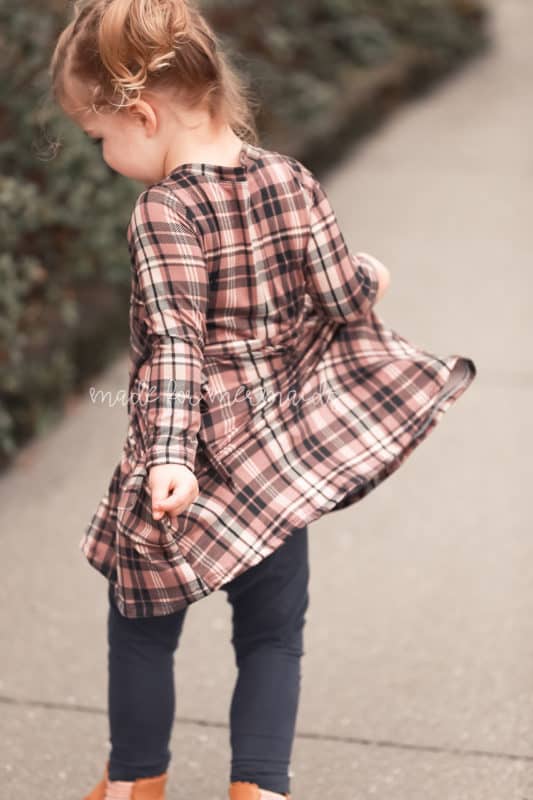
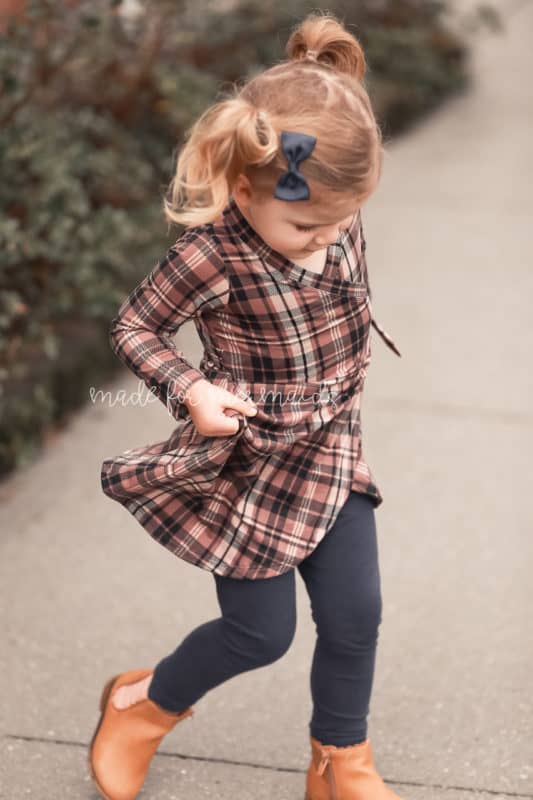
The faux wrap hack is another super easy way to change the look of your Isabel or Mama Isabel! I especially love this for little ones so you don’t have wardrobe issues while out and about.
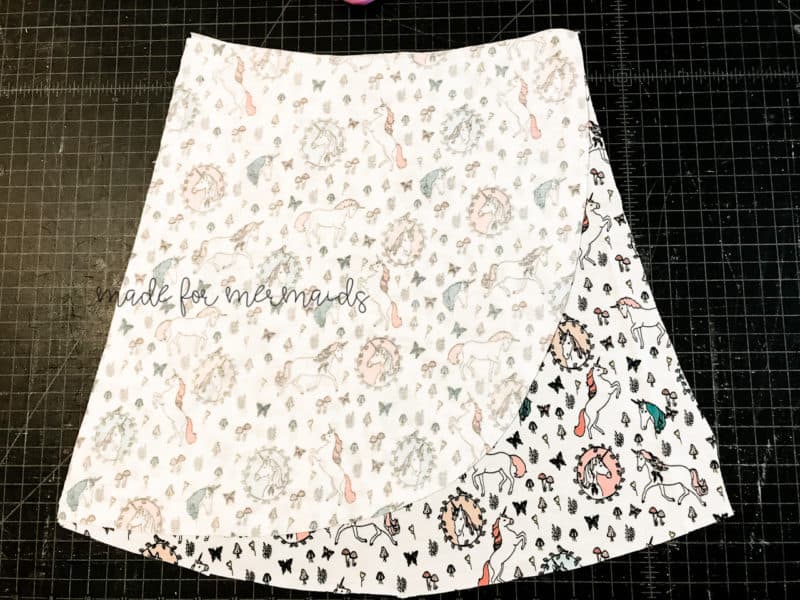
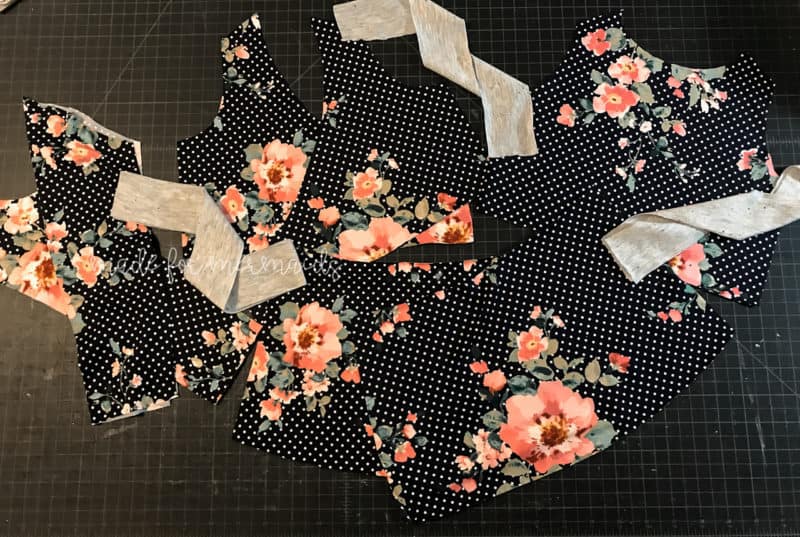
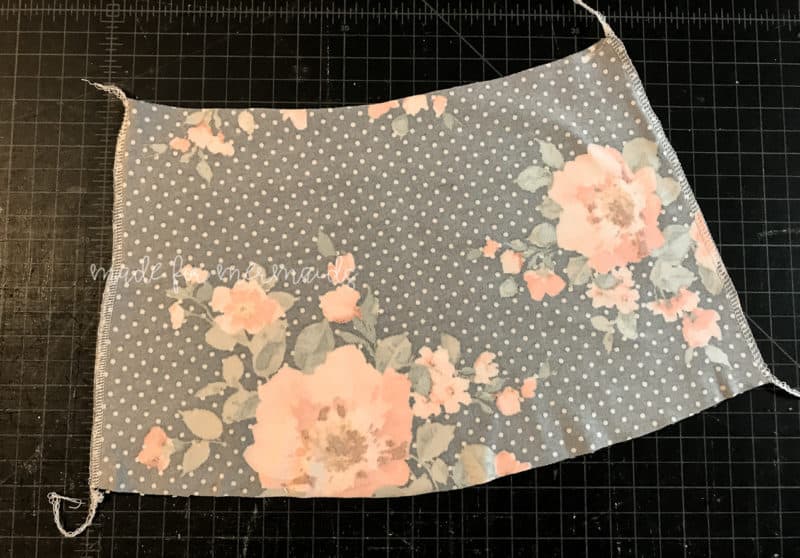
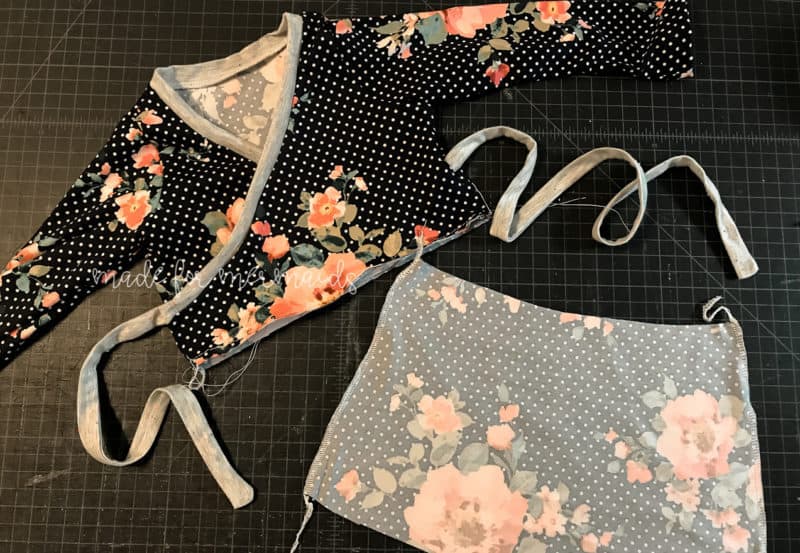
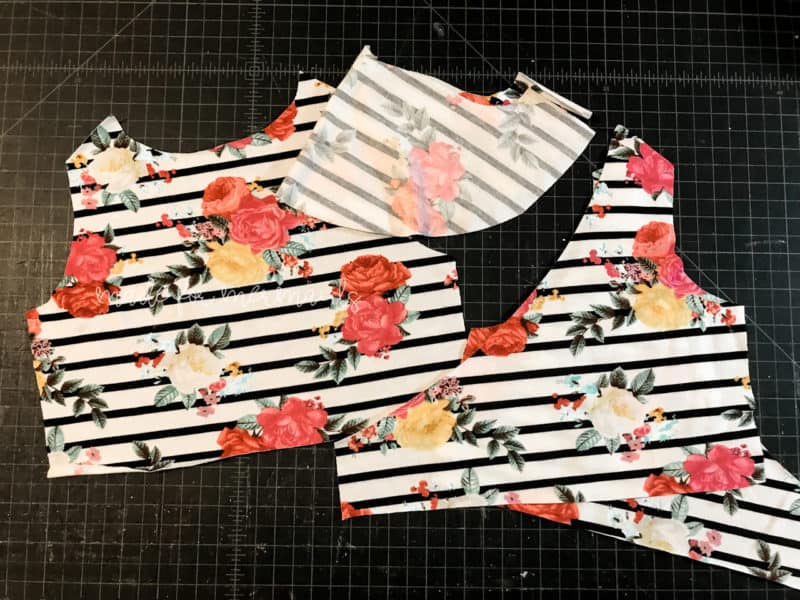
Cut out your fabric pieces; the only change I made for my version is two cut two back pieces and no front pieces. Sew the side seams of your skirt, with right sides together. Set the skirt to the side, and construct the bodice exactly per the pattern tutorial.
*You can still use two front skirt pieces if you prefer; you would construct the skirt pieces per the regular tutorial, and then baste the top raw edges of your skirt front pieces together after constructing. The rest of the steps would be the same as below!*
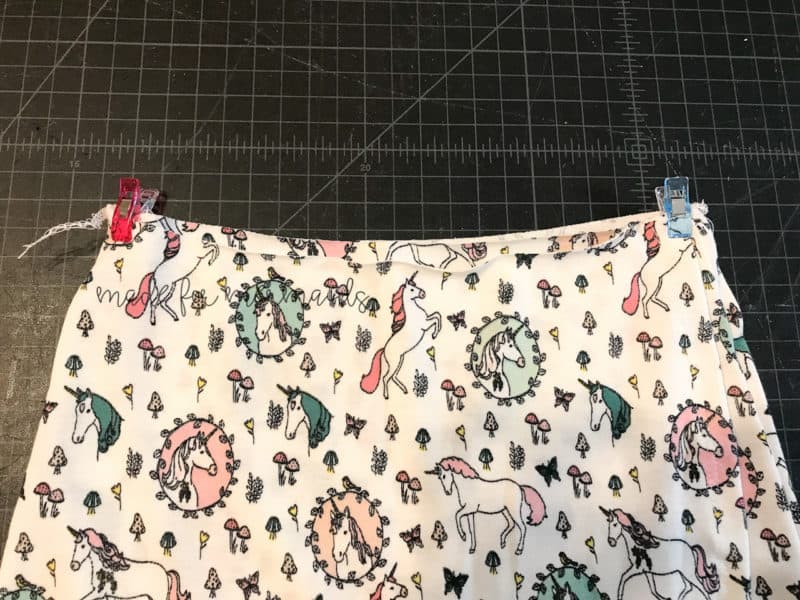
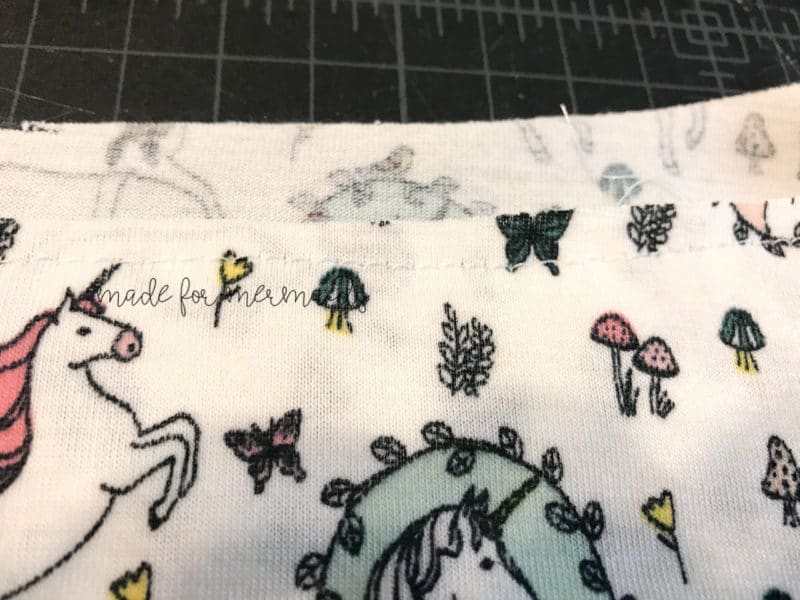
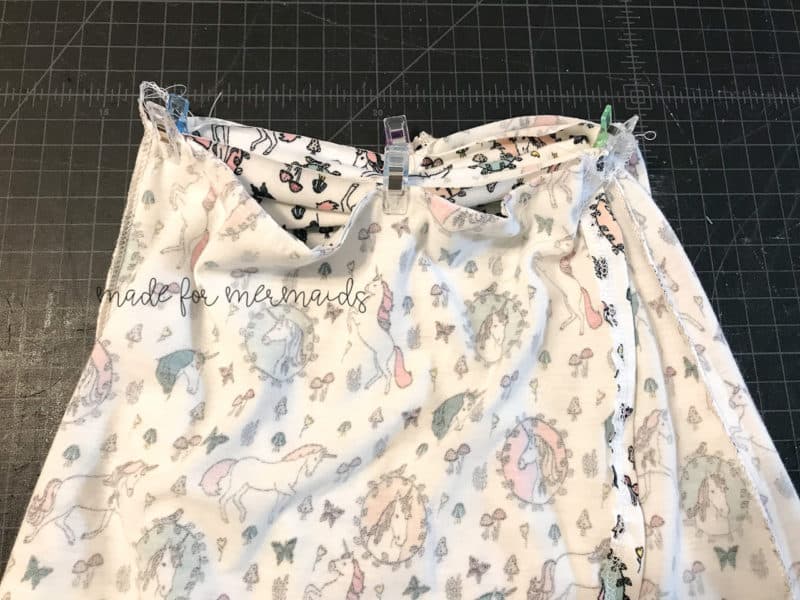
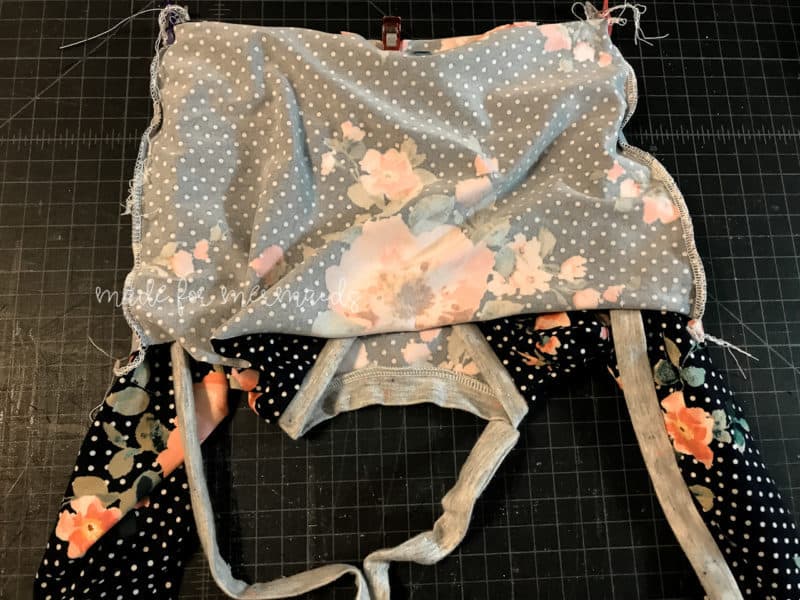
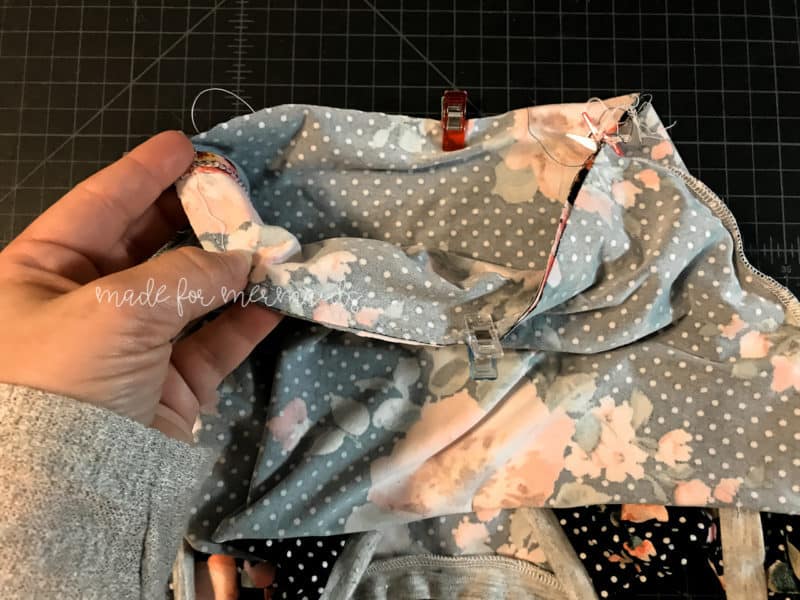
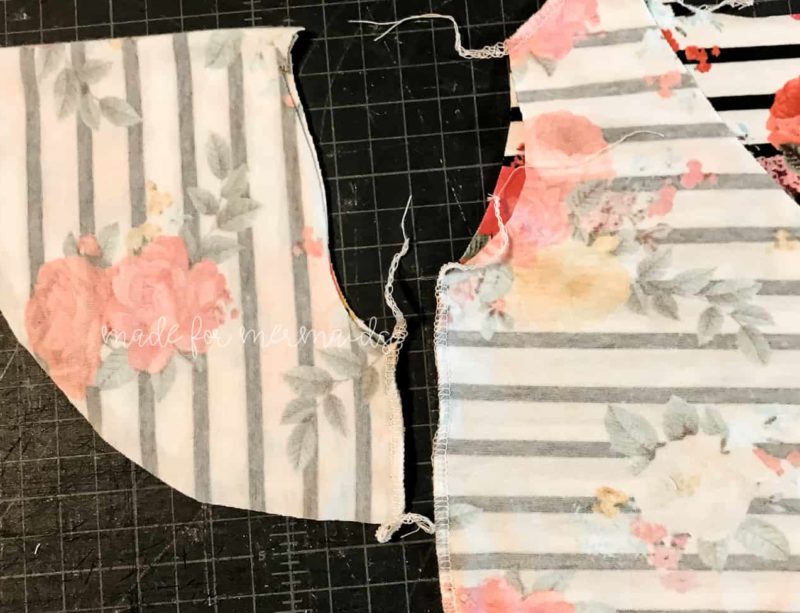
Baste your front bodice pieces together; this just makes it easier to keep all of your raw edges lined up. Turn your skirt piece inside out. Match the waist band of your skirt with the waist of your bodice. Pin or clip the side seams, and then pin or clip center back and center front. This should be an exact 1:1 match with no stretching involved. Stitch with 1/2″ seam allowance. Turn right side out, press, tie your bodice as you normally would, and enjoy!
Alternatively, you could omit the waist ties and simple sew the side seams of the bodice together with 1/2″ seam allowance, being sure to stitch all 3 bodice layers together.
Flutter Sleeve Hack
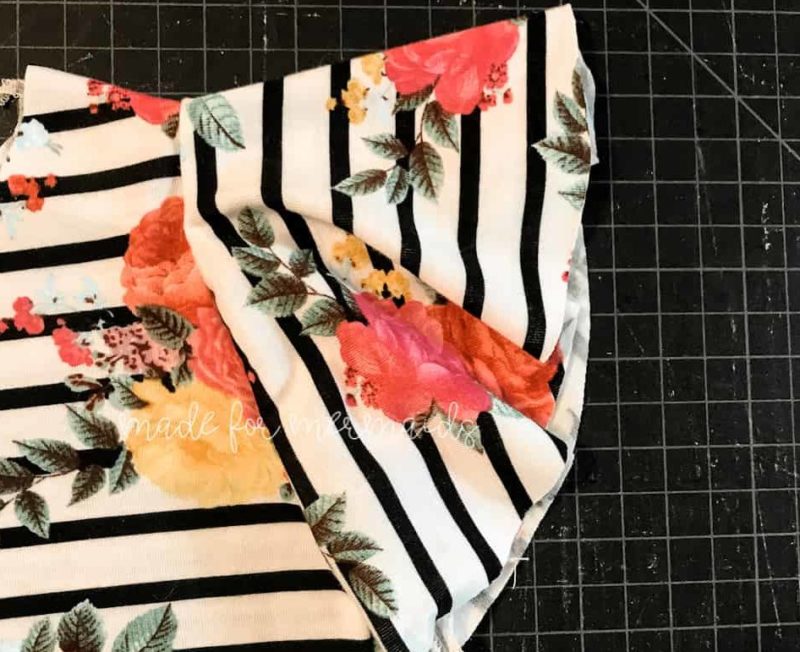
The flutter from the Sierra sleeve fits the Isabel bodice almost perfectly! Print and cut your Isabel pattern as usual, but replace the sleeves with the Sierra flutter sleeve (you can also use the flutter sleeve directions from the Ella SAL if you prefer). Stitch the short edge of your flutter sleeve with 1/2″ seam allowance. Turn right side out, and pin or clip to the armscye. You may have to ease the sleeve in a bit, but you should not have to do a lot of stretching. Sew together with 1/2″ seam allowance, and then turn right side out. Remember that the flutter sleeve does not include a hem allowance, so if you prefer the look of a hemmed flutter, you will want to add that extra length.
All set?
Once you’ve got all of your pattern pieces printed and assembled, go ahead and cut out your fabric so you are all ready for day 2! If you have questions about printing, putting your pattern together, or cutting your fabric, you are always welcome to post in our SAL group so we can help you! Be sure to check in each day during the SAL, and look for daily posts to enter our giveaways. We can’t wait to see what you create this week!











Leave a Reply