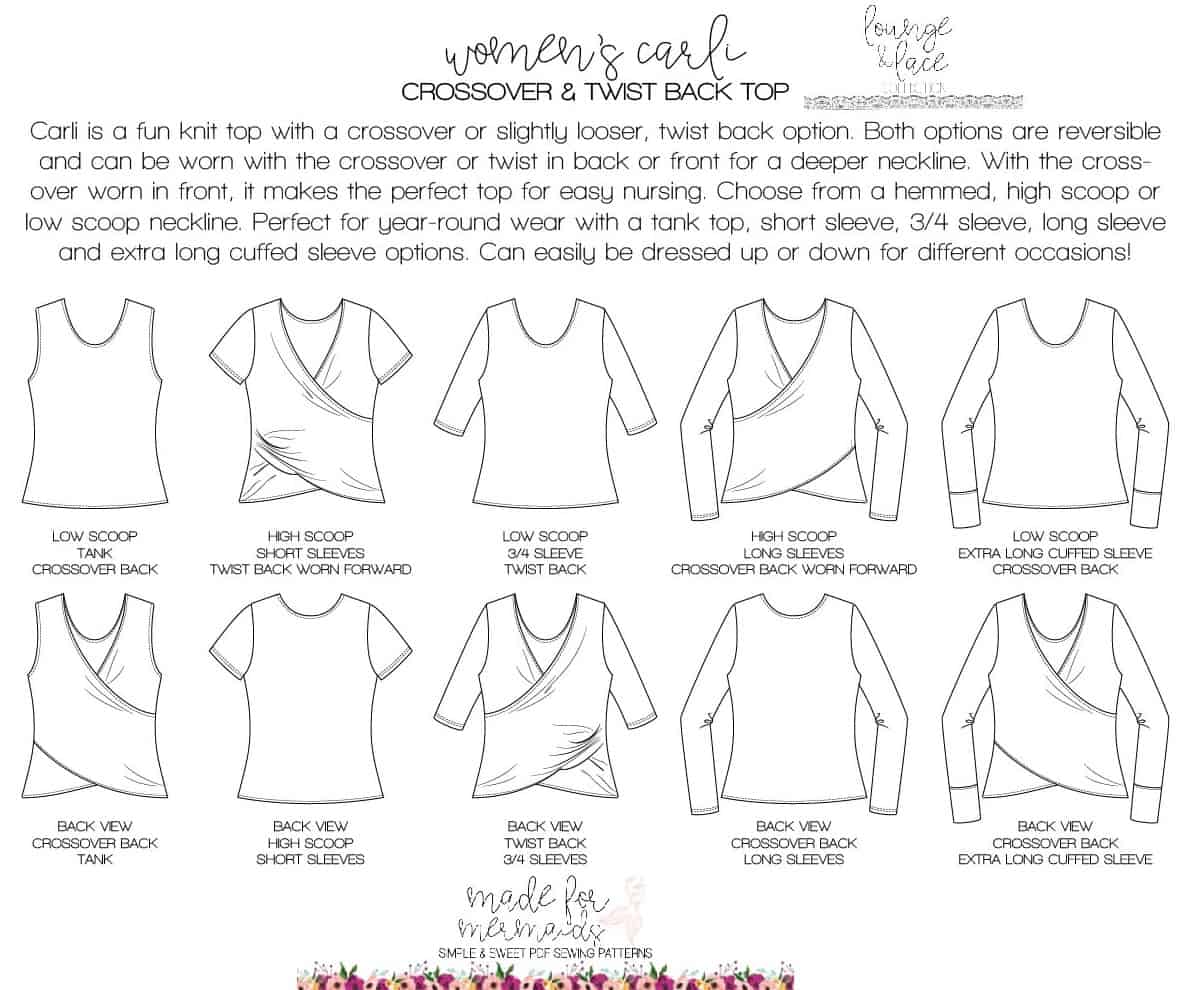
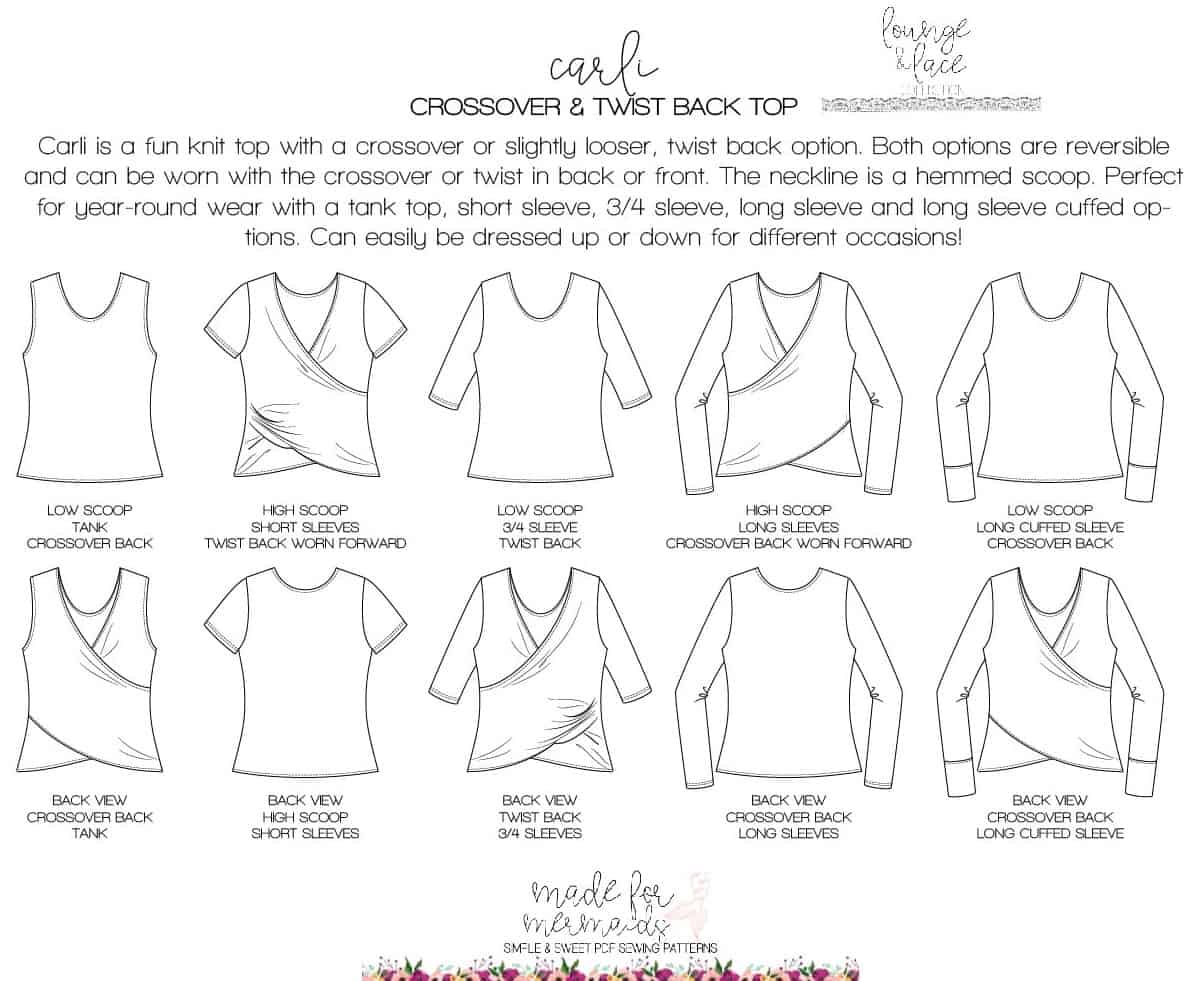
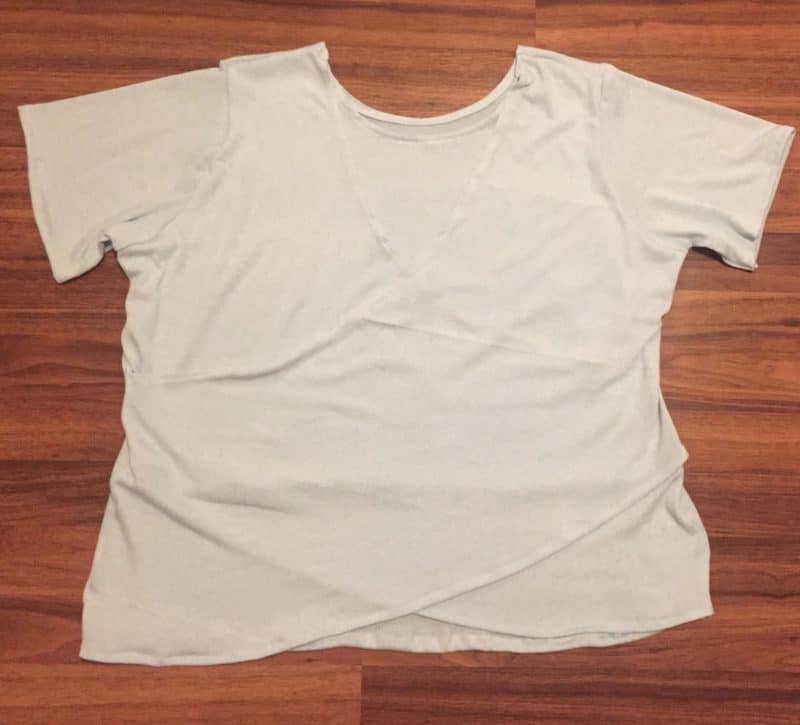
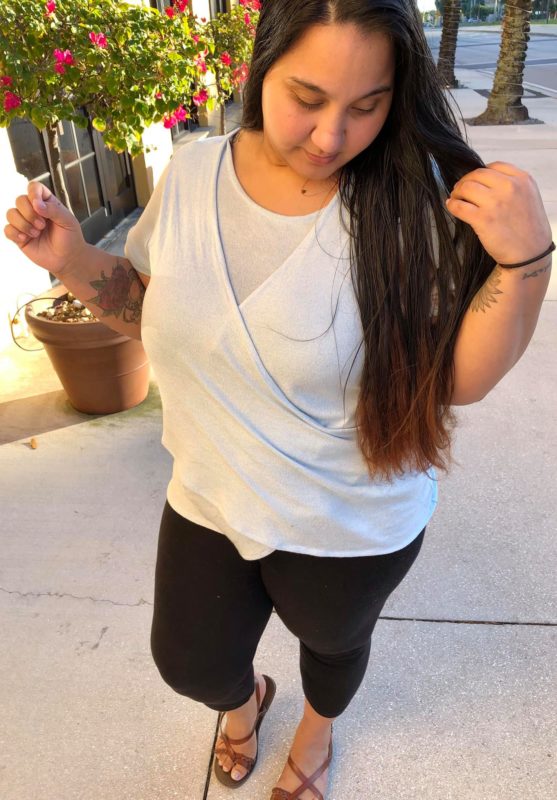
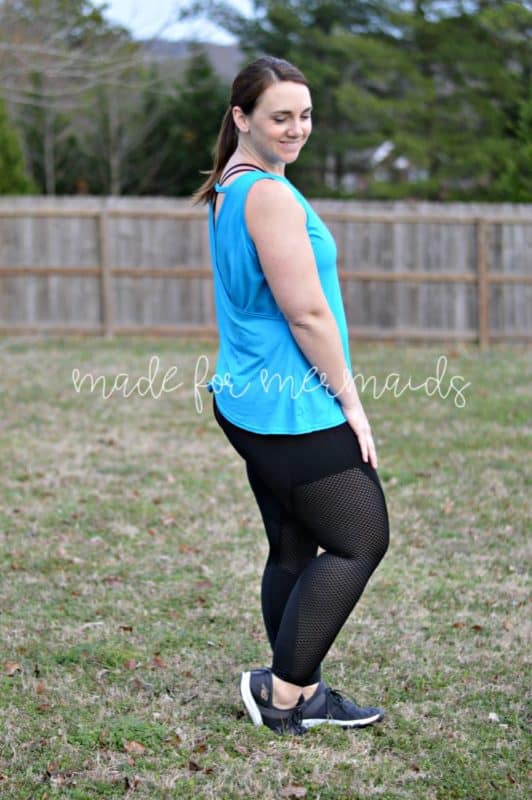
The Carli and Women’s Carli Crossover and Twist Back Tops are the two newest additions to our cozy Lounge and Lace Collection! Carli is a fun knit top with a crossover, or slightly looser twist back option. Both can be worn as reversible tops (though you may find the youth version too low for your personal fit preference without a modesty panel or cami worn underneath). Choose from a hemmed, high scoop, or low scoop neckline, and multiple sleeve options (tank, short, 3/4, long, extra long cuffed). Carli is a great addition to your Lexi Loungers as lounge or athletic wear, or dress it up to wear out on the town!
- Carli
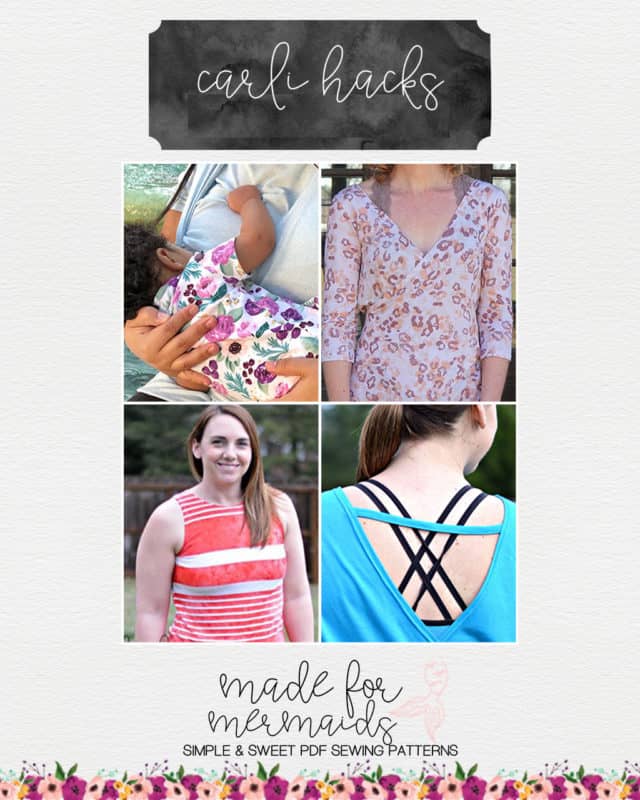
We have a few simple hacks for you, too, including two different styles of modesty panels! Read below to get all the details:
Modesty Panel Hack
For extra coverage, you can also make a modesty panel for when you want to wear the crossover part in the front. To determine the size of your modesty panel, you can measure your front bodice piece or the back crossover pieces. For this particular set, I measured the crossover pieces.
NOTE: Measuring the front bodice piece would give a slightly more fitted look for the modesty panel than you will see here.
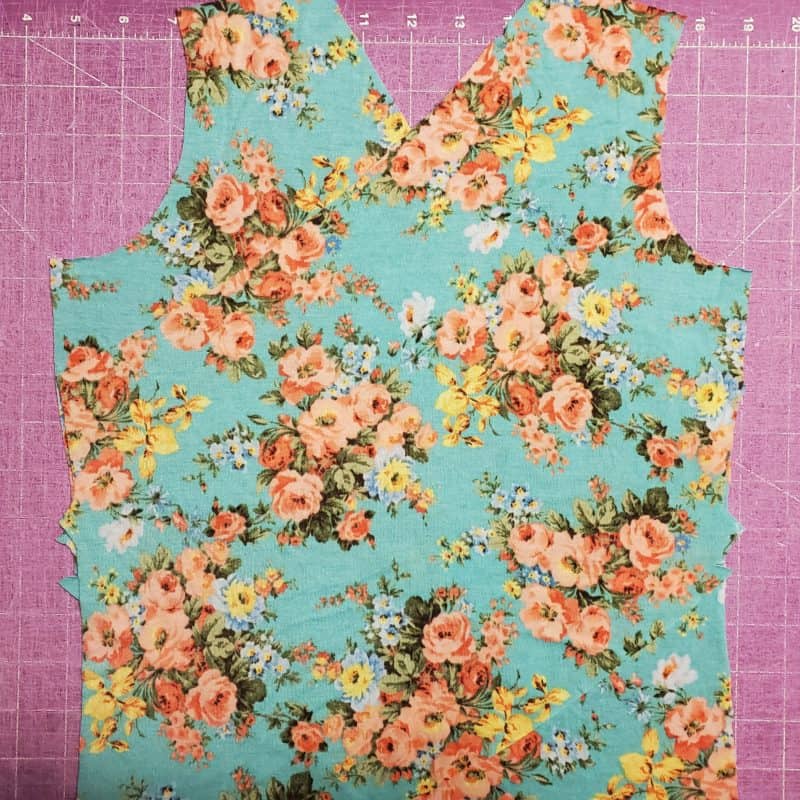
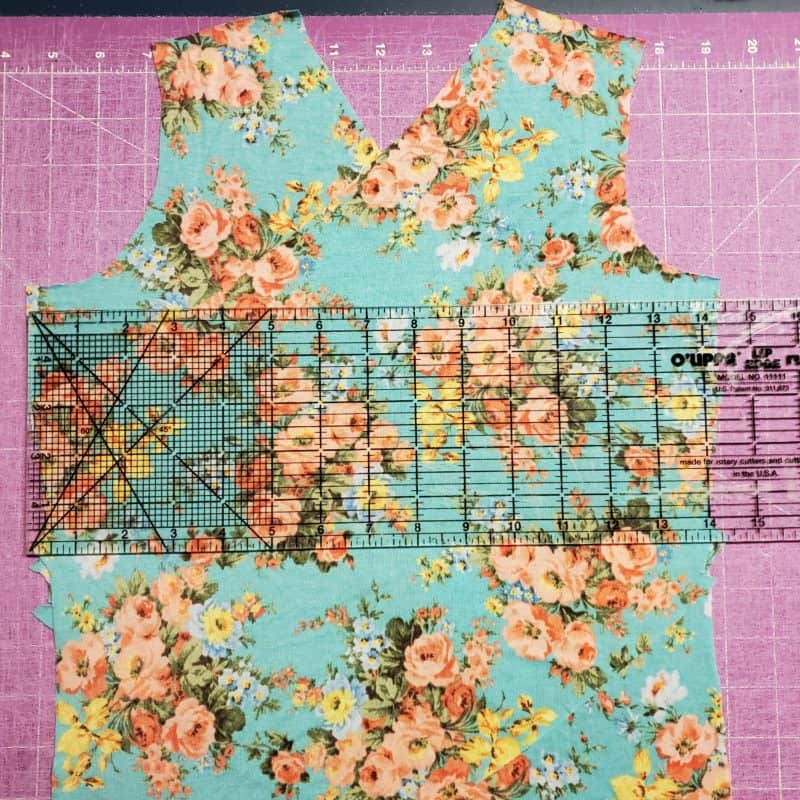
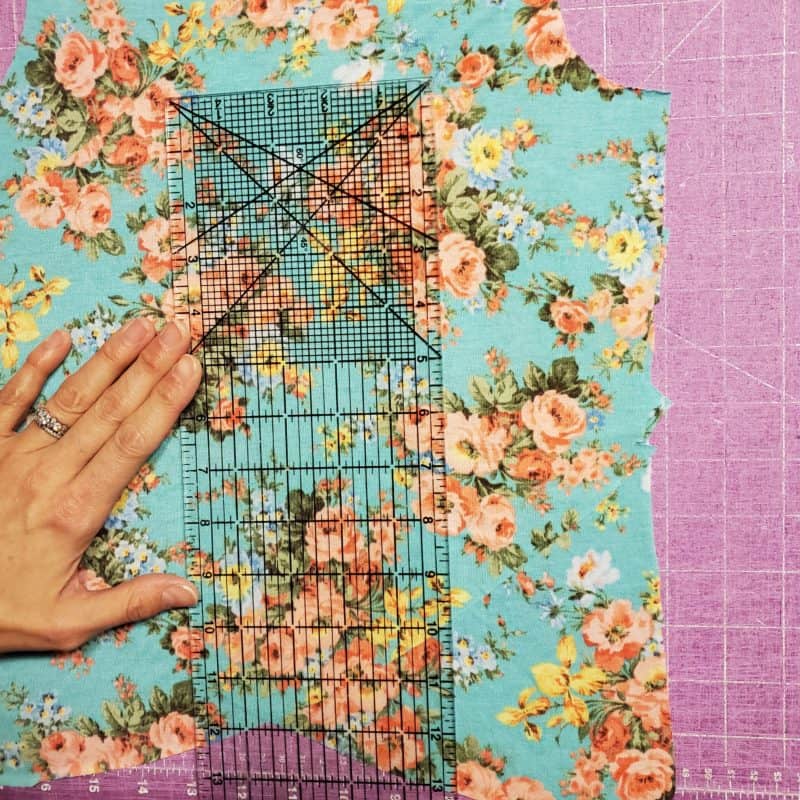
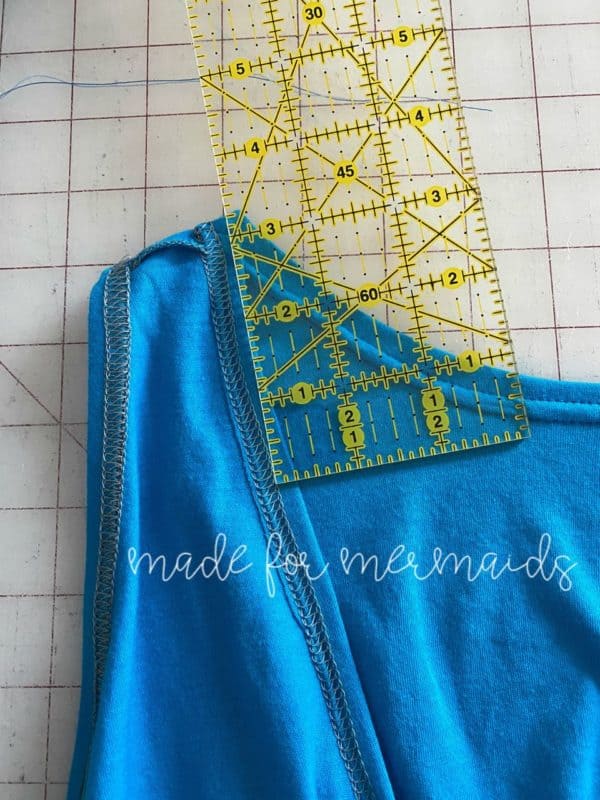
To use the crossover pieces as a guideline, line them up with the notches on the sides together. Use your ruler to measure the width of the panel piece you will need to cut.
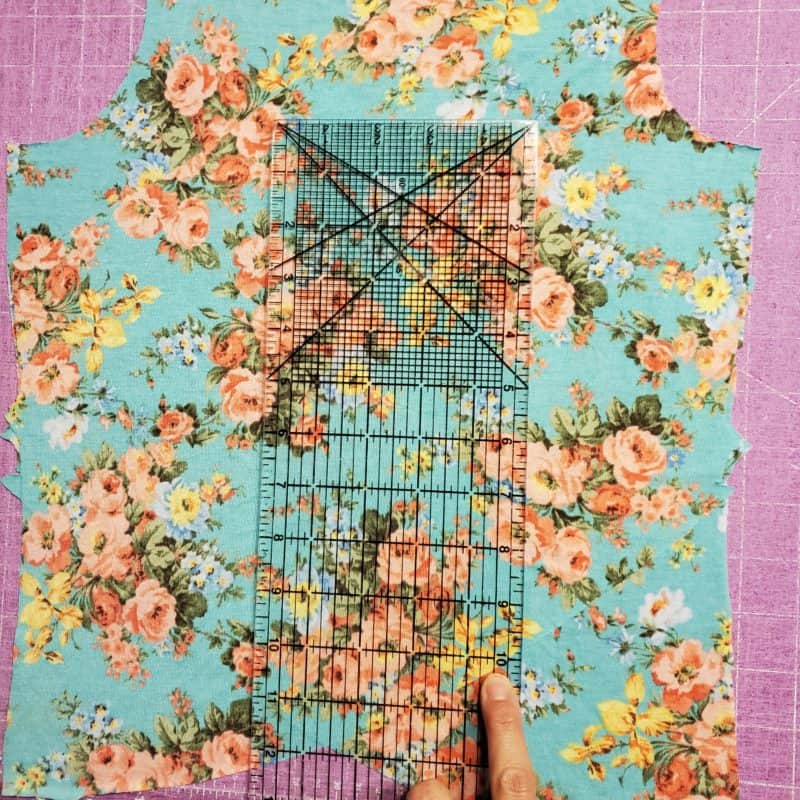
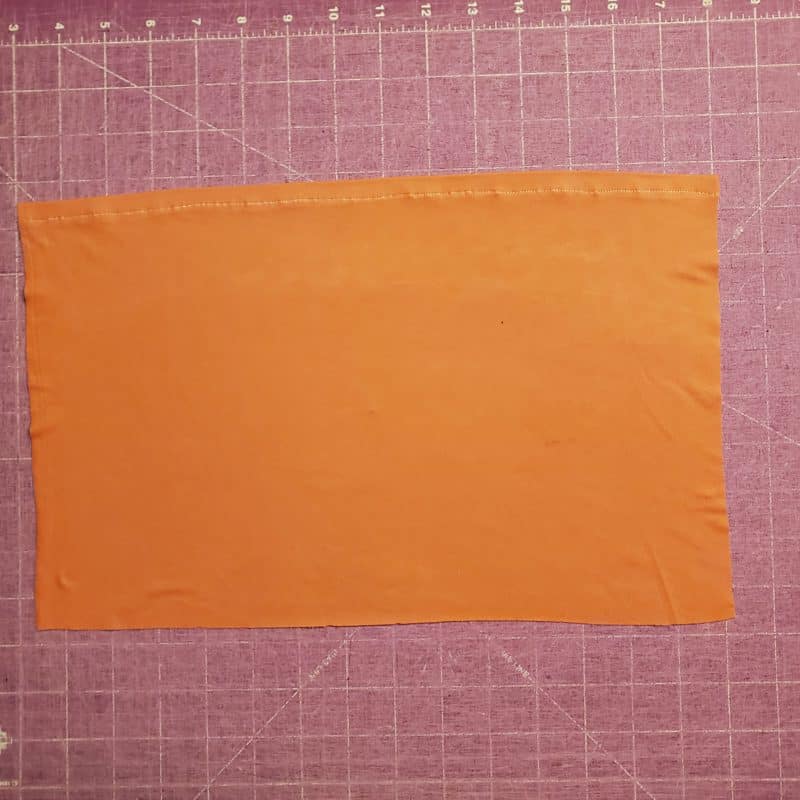
Turn your ruler to now measure the length of the panel piece you will cut. I didn’t want the panel to be showing at the bottom of the crossover pieces, so I cut my piece just over 14” wide and 10” long.
You will now follow the instructions in the pattern tutorial, through step 6. When you get to step 6, we will be hemming the top of the panel and basting to the crossover pieces prior to sewing up the side seams.
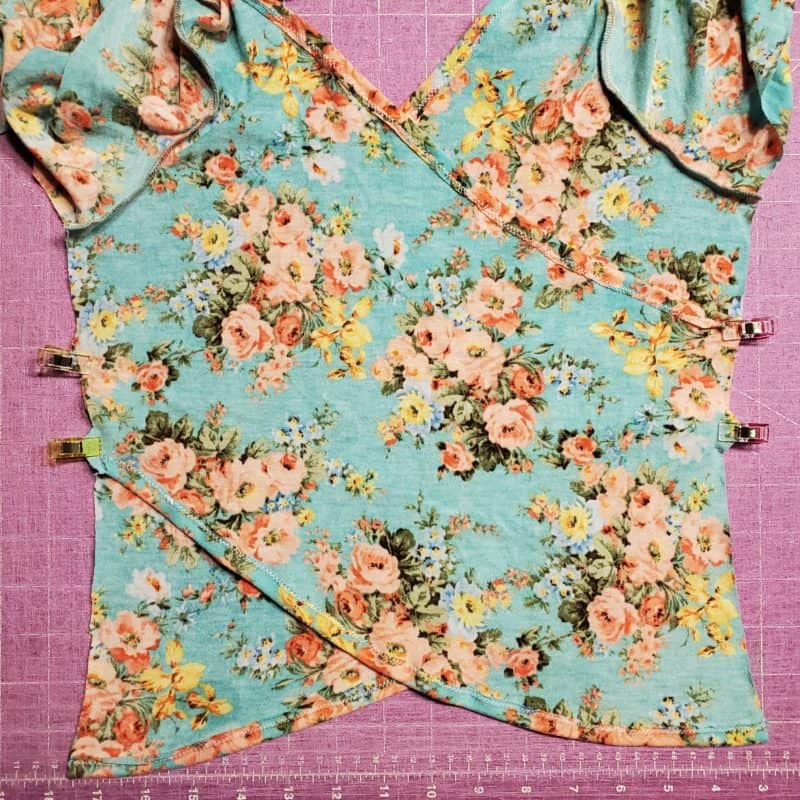
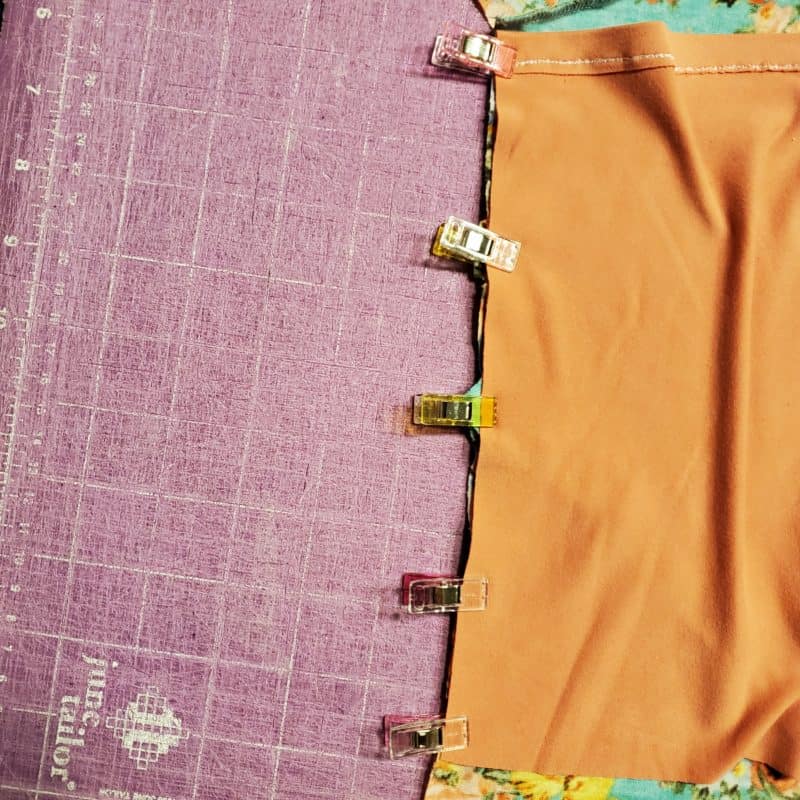
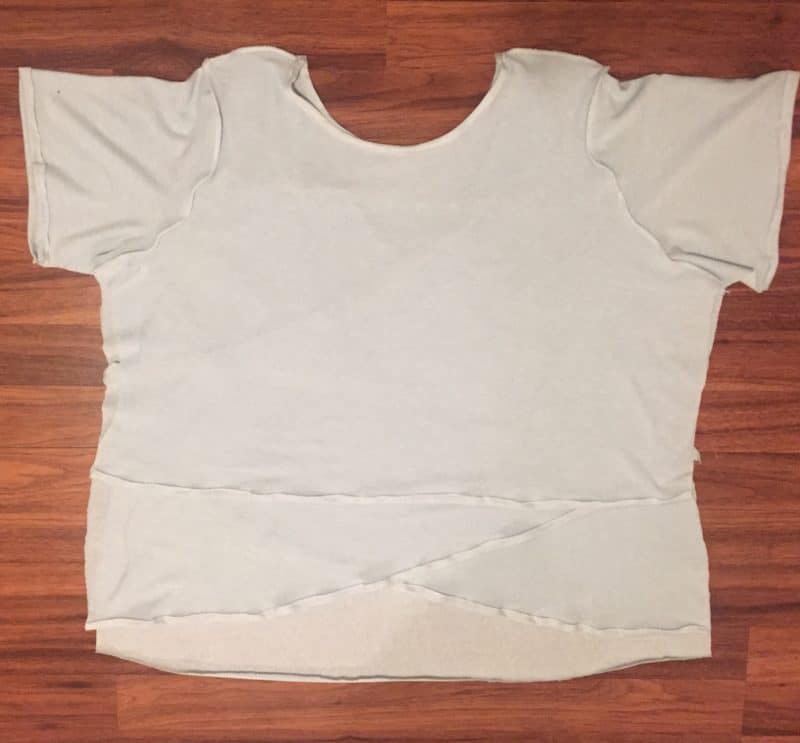
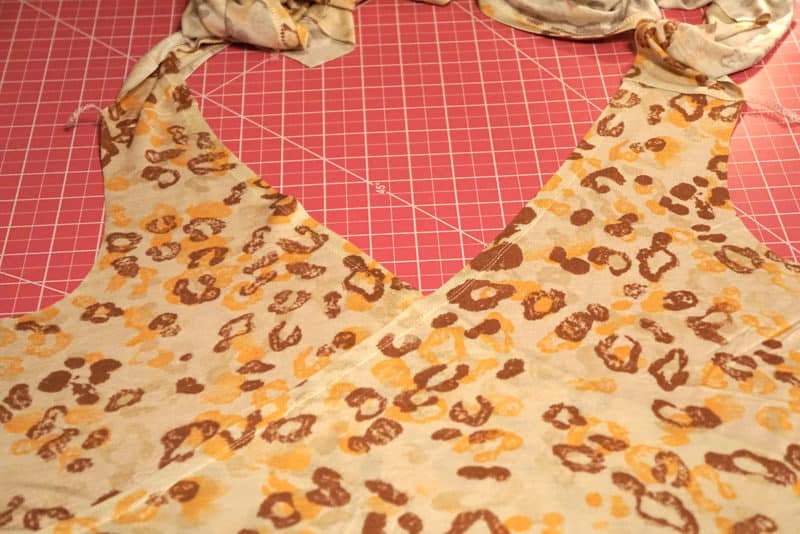
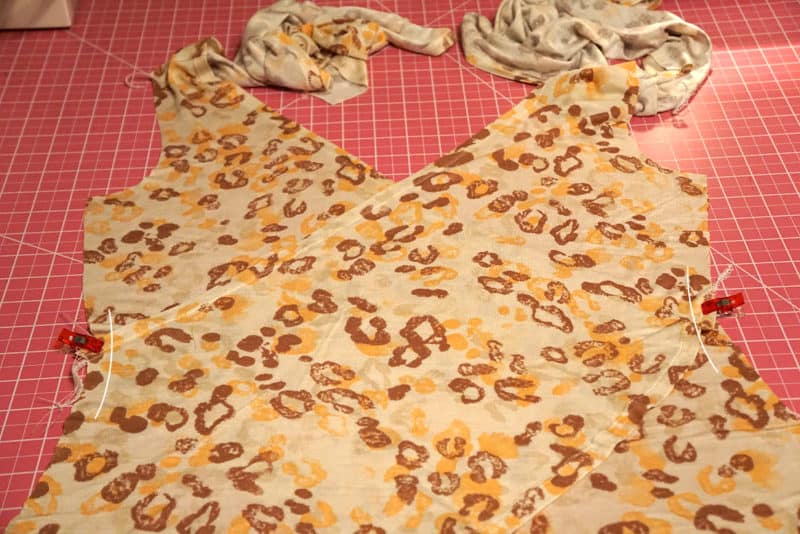
Hem the top of the panel. If your modesty panel will also be showing at the bottom of your crossover pieces, hem the bottom as well. Lay out your crossover pieces and clip them together at the notches. I am showing the wrong side facing up in this picture below:
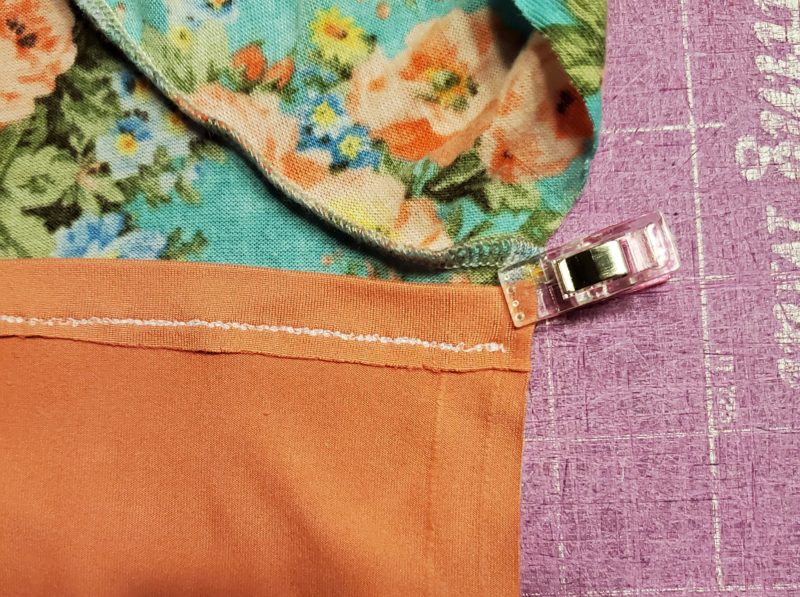
You will now place your modesty panel on top of the crossover pieces, right side down. Clip together on the sides. Placement can vary, but I like to place it just below the armsyce seam. Baste the crossover pieces and panel piece together.
Now you will continue with the pattern instructions, starting with step 7. Because I used the crossover pieces as a measuring guideline, my modesty panel will only be seen if the shirt gapes or my daughter pulls it open.
For a more fitted modesty panel/faux cami look, use your front bodice as a guideline for width.
Enjoy your hacked Carli with an extra dose of coverage.
❤
Lindsay
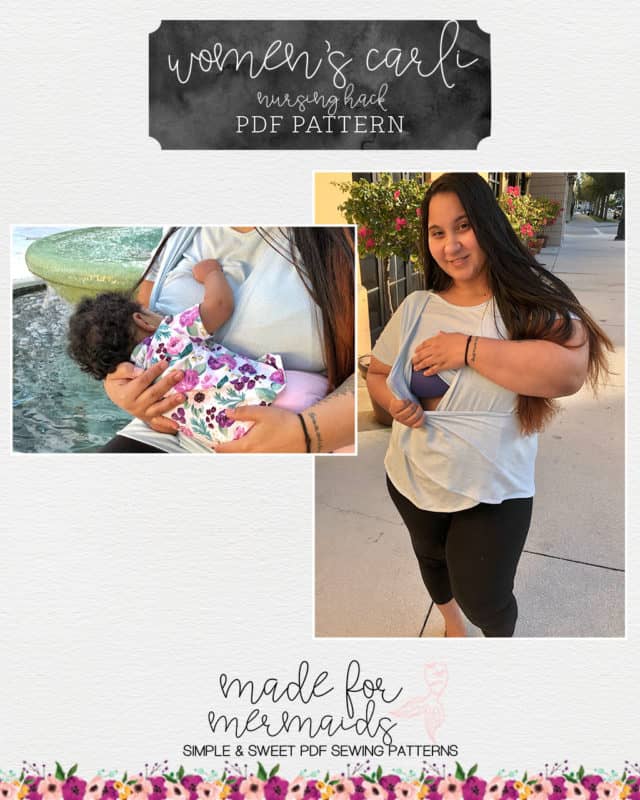
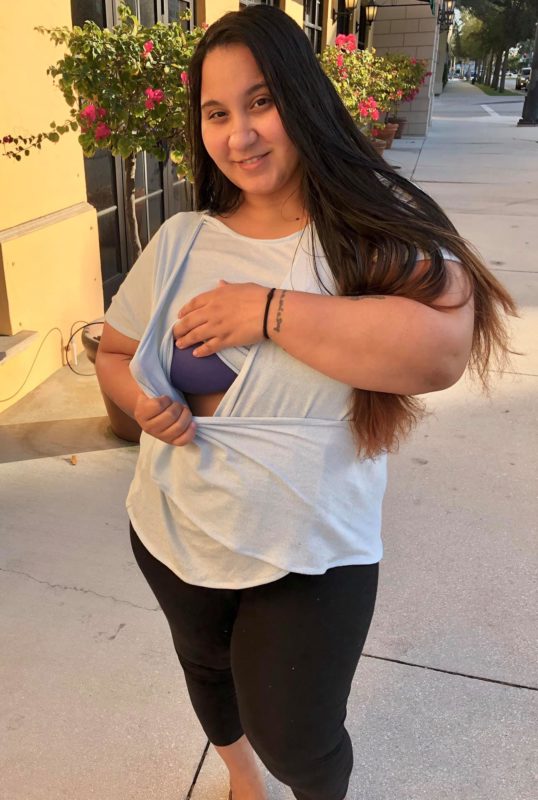
Nursing Hack
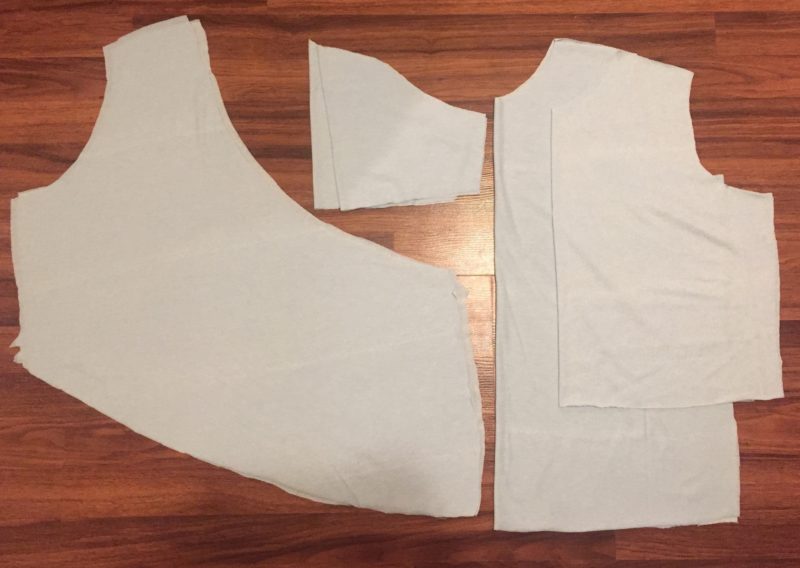
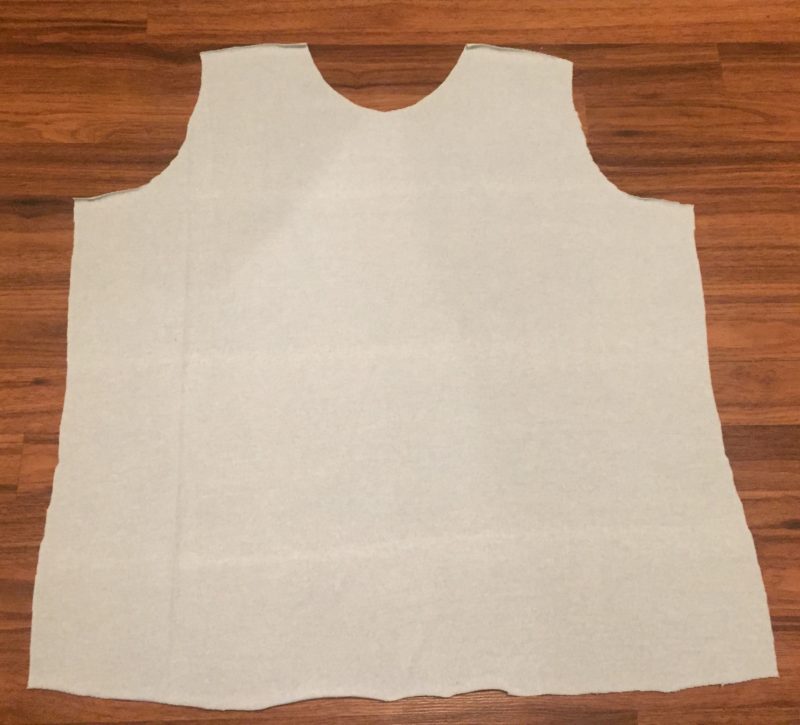
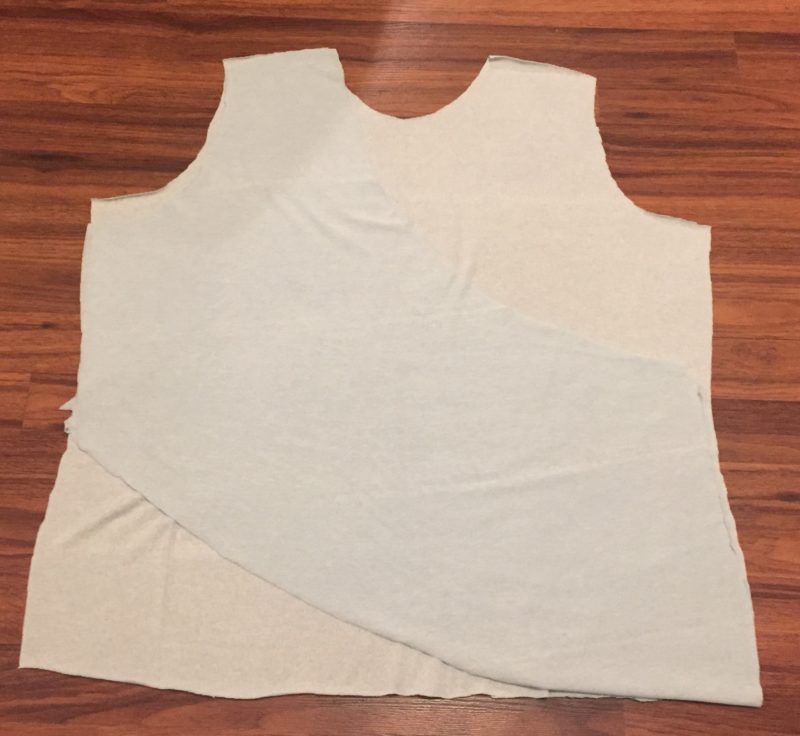
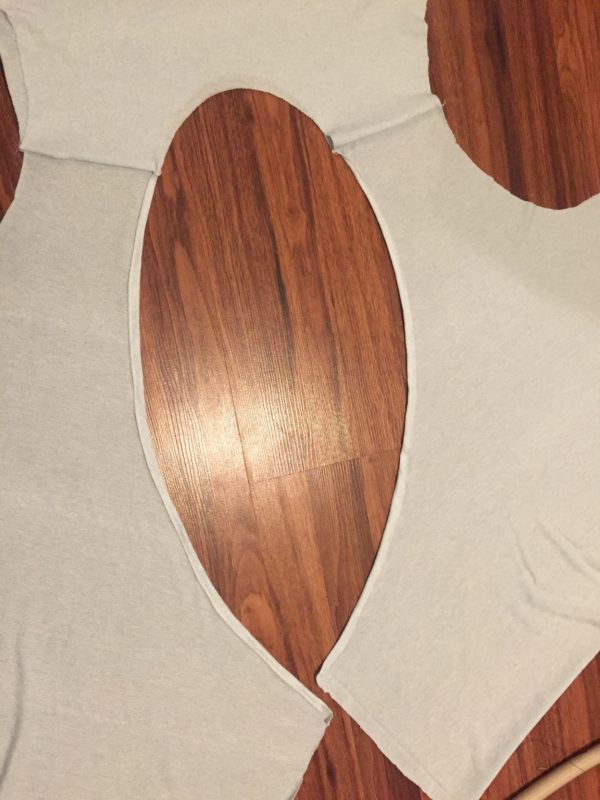
Cut out 1 front bodice on the fold. Cut another bodice on the fold, but you will cut this on on the waistline (this will be your modesty panel). Cut a mirror image of the crossover back bodice. Optional- Cut 2 sleeves (on the fold).
Place the front bodice down, right side up. With right sides together match the back bodice shoulder seams to the front bodice shoulder seems.
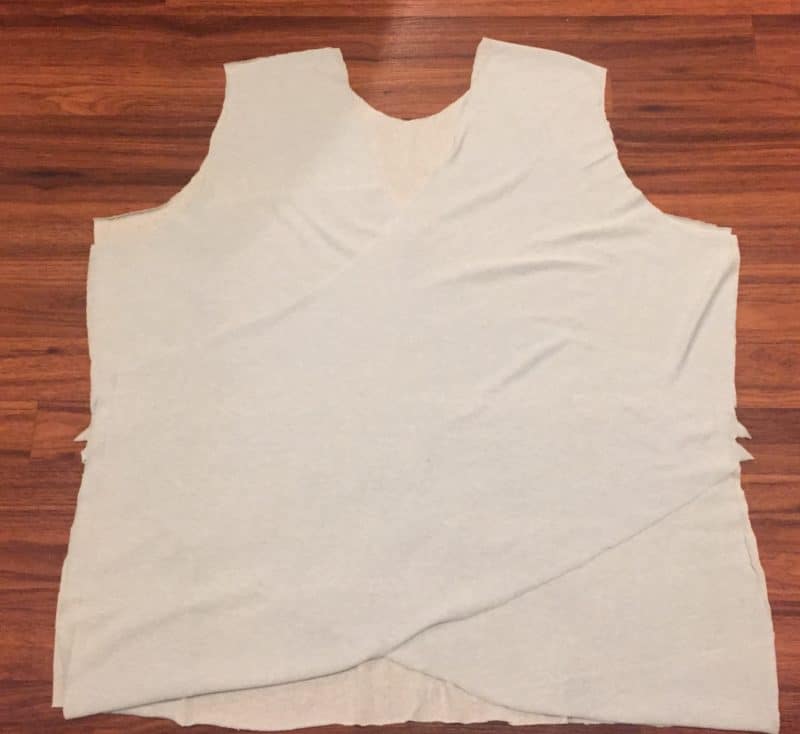
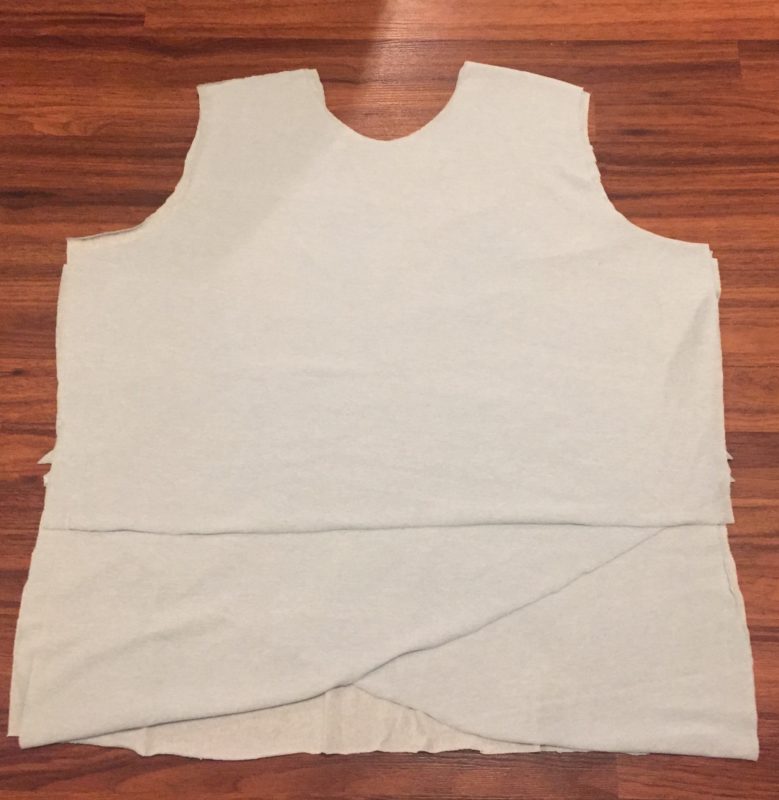
Repeat with other back bodice/ shoulder seam. Place the shorter front bodice down, wrong side up and pin in place. Sew together at the shoulder seams with a 1/2” seam allowance.
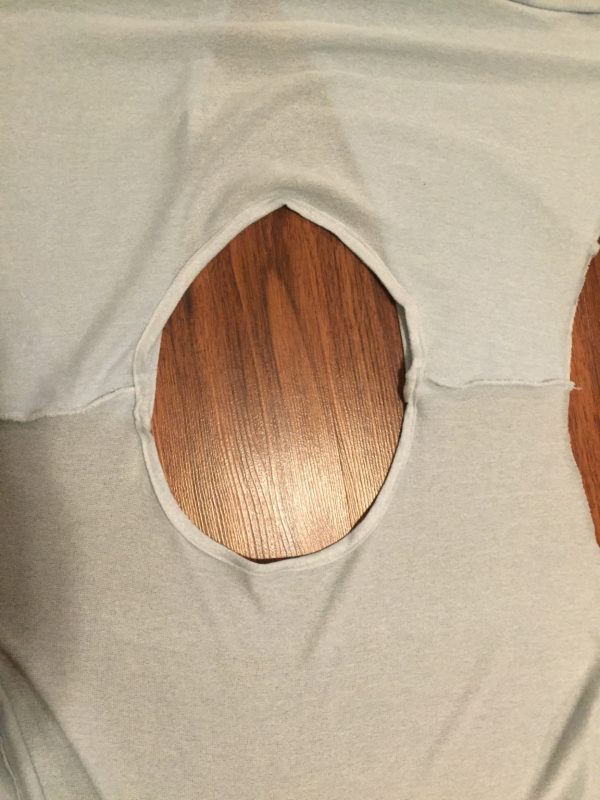
Hem the entire neckline by pressing the back bodice 1/2” towards wrong side, till you reach the shoulder seam. Hem both front bodice pieces by pressing 1/2” towards wrong side. Make sure you are hemming the modesty panel right side to the crossback bodice wrong side.
Hem the entire bottom curve on both back bodice pieces by pressing the bottom curved edge 1/2” towards wrong side. Hem bottom edge for modesty panel. Attach sleeves according to tutorial.
With right sides together, pin bodice front to bodice back and modesty panel, matching the sleeve edges and underarm seam.
Finishing hemming front bodice according to tutorial. That’s it! Enjoy! -Laura
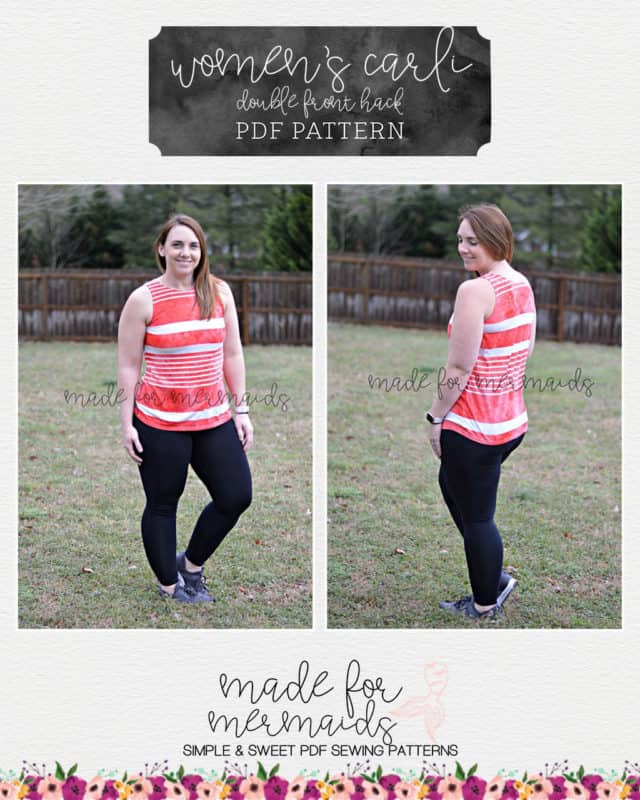
Double Front Hack
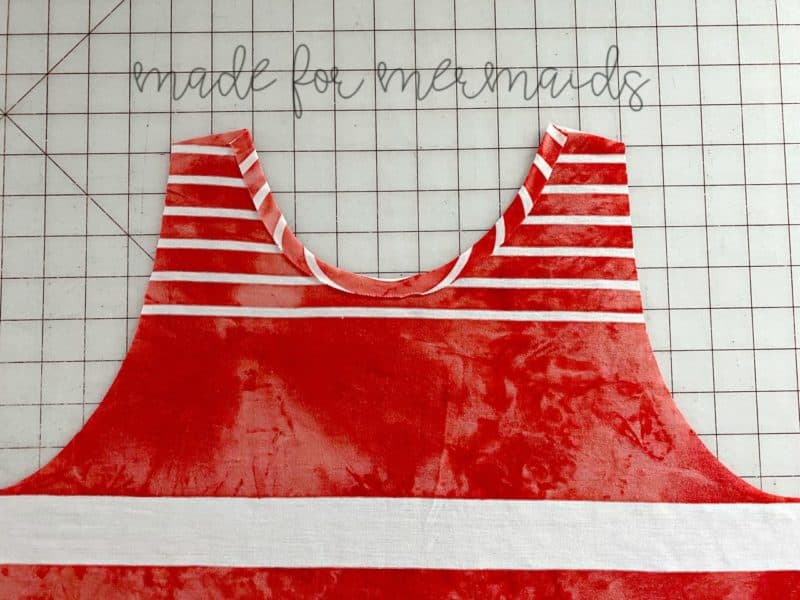
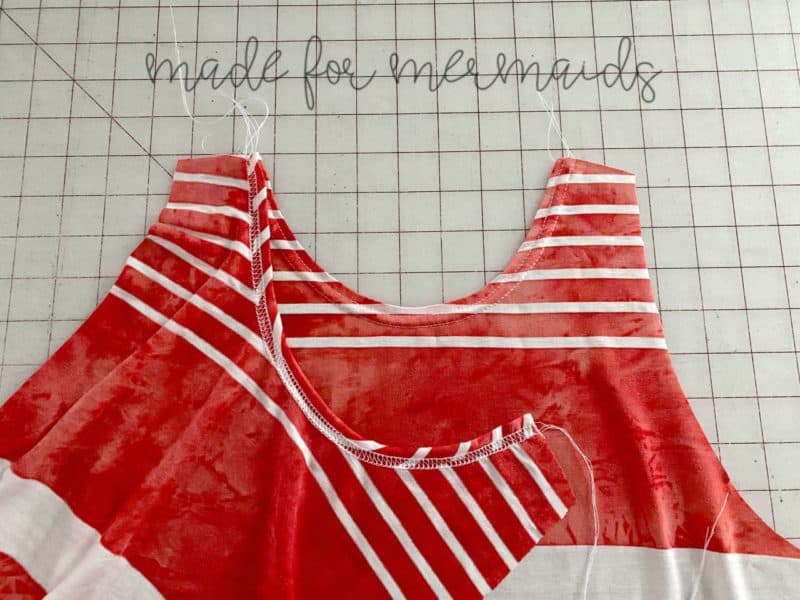
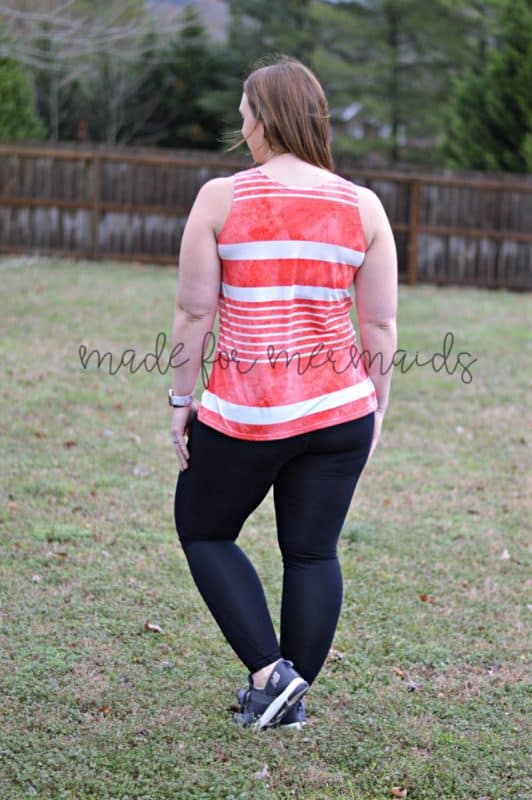
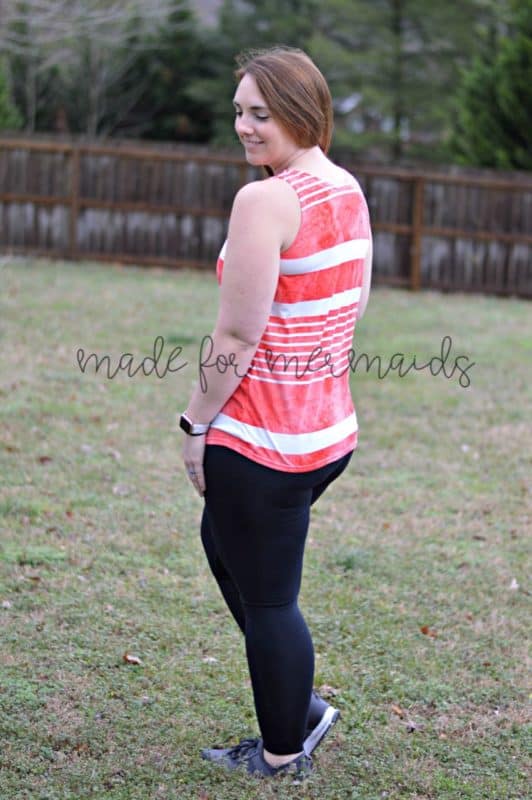
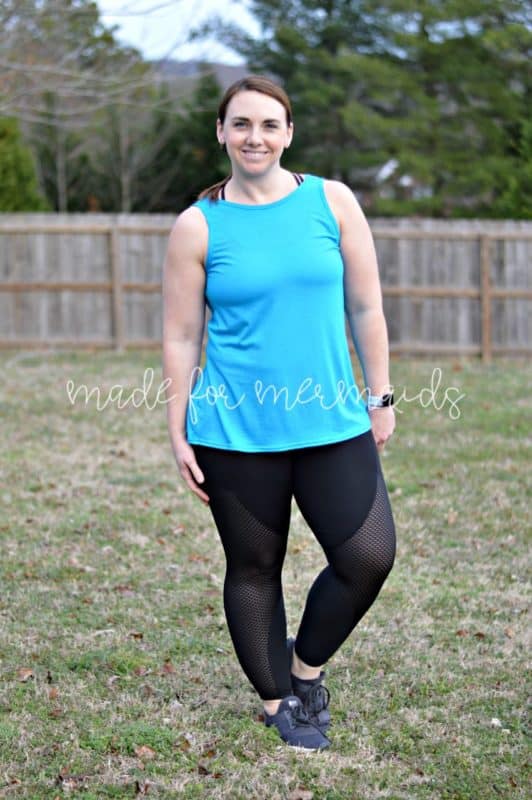
As soon as Catherine previewed this pattern, I realized the high neckline was so similar to my favorite RTW workout tanks right now. I made the perfect basic tank by using two front tank bodices. After cutting two front bodice pieces, press the neckline hem to 3/8″. (I used 3/8″ due to the 3/8″ finished tank armscyes.) Hem both necklines using your favorite hem method.
Next, sew both shoulder seams.
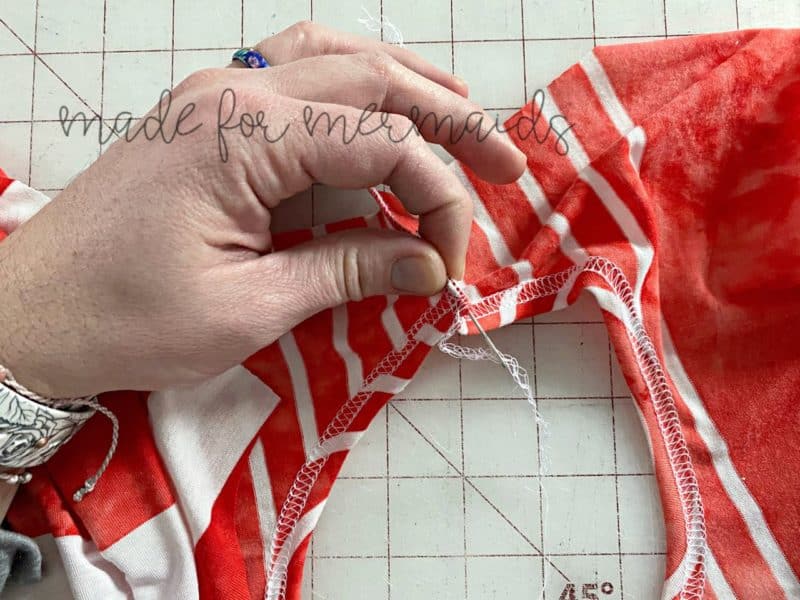
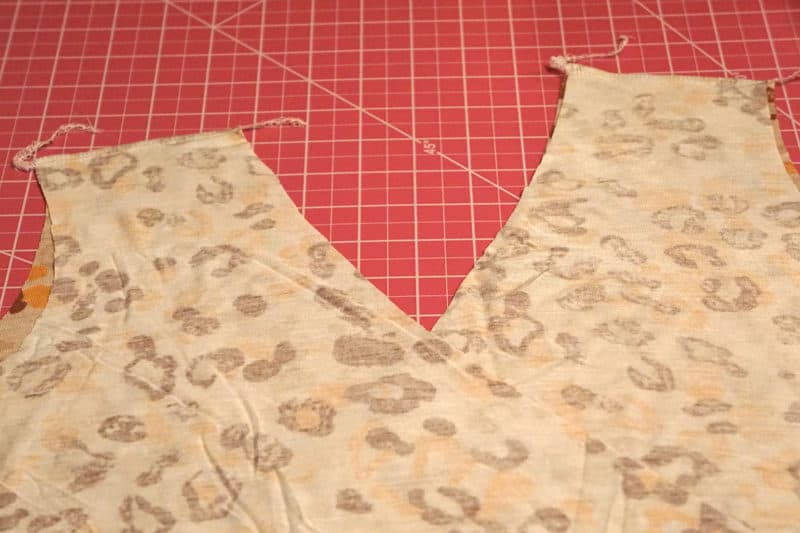
Tuck the serger tail back under.
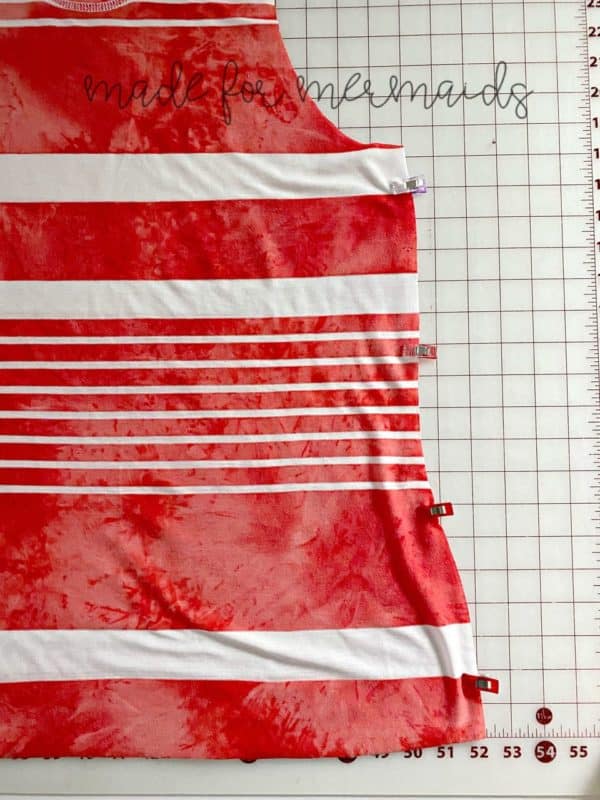
Pin and sew both side seams.
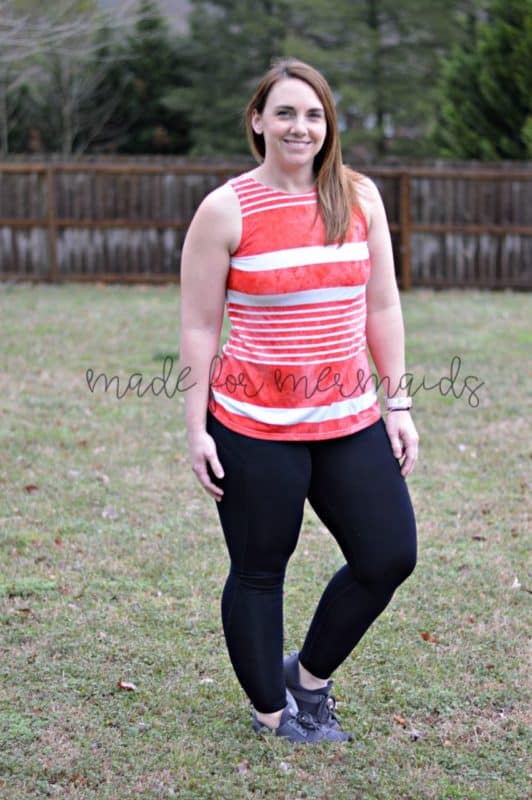
Then, hem the bottom and finish the armscye per the pattern instructions. Now you have the perfect basic workout tank!
Back Strap Hack
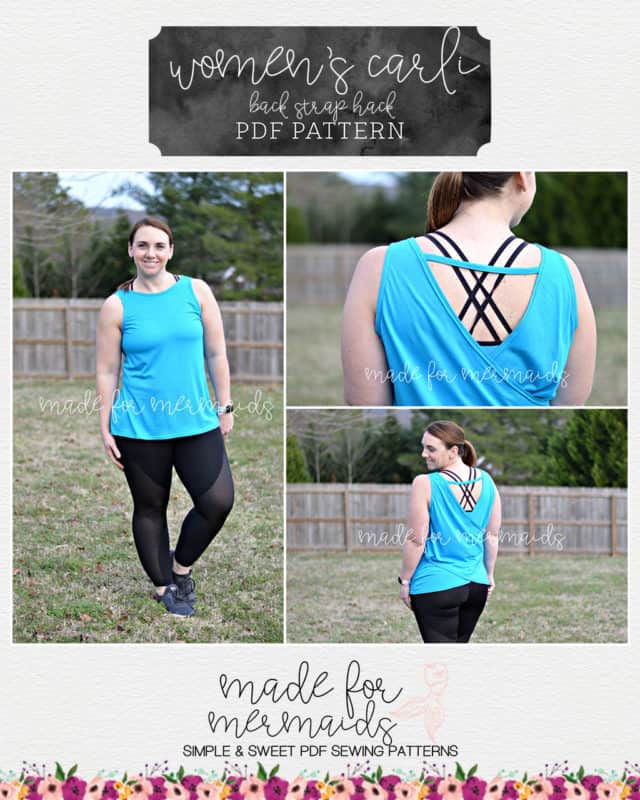
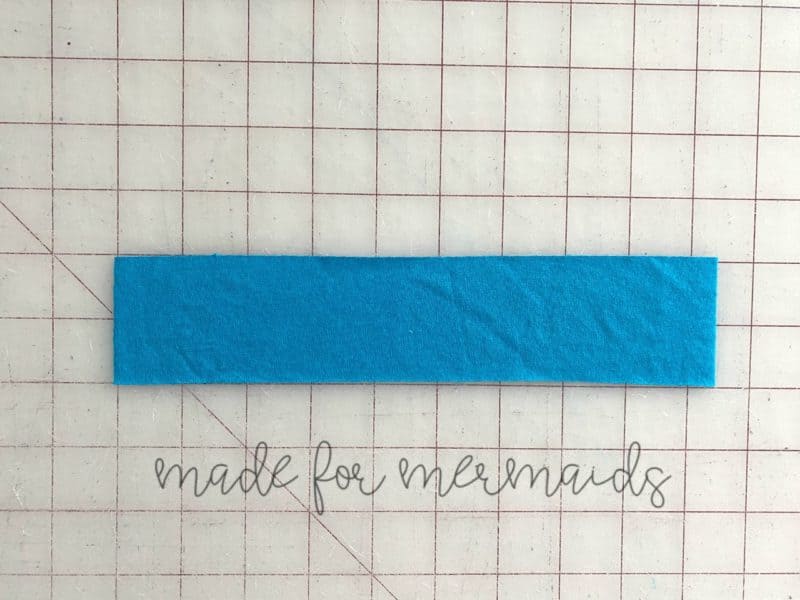
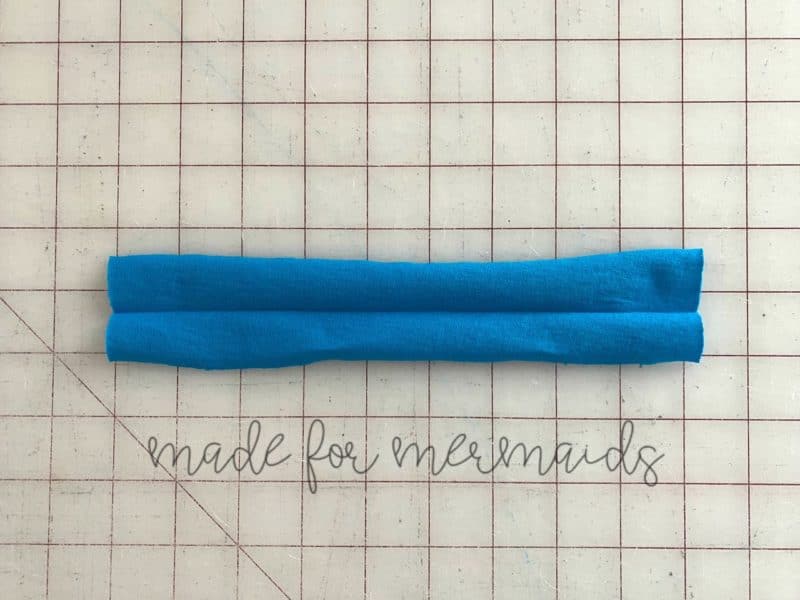
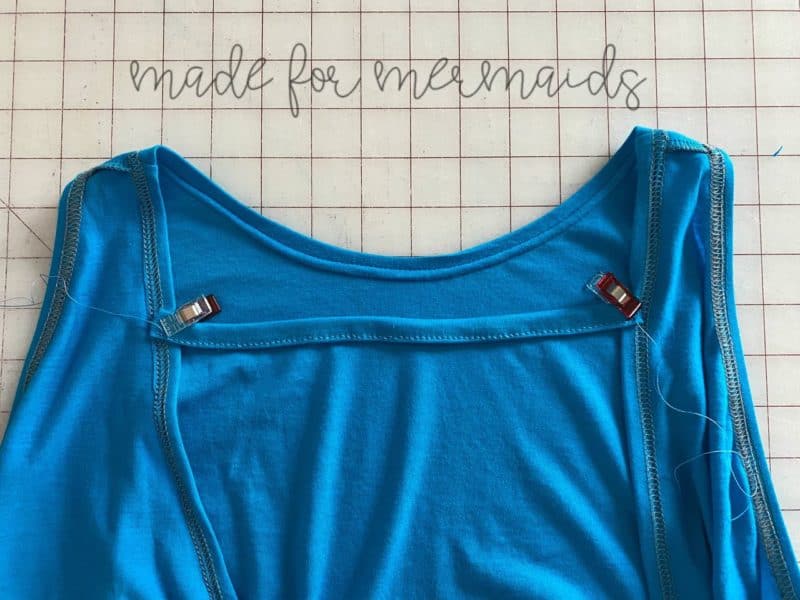
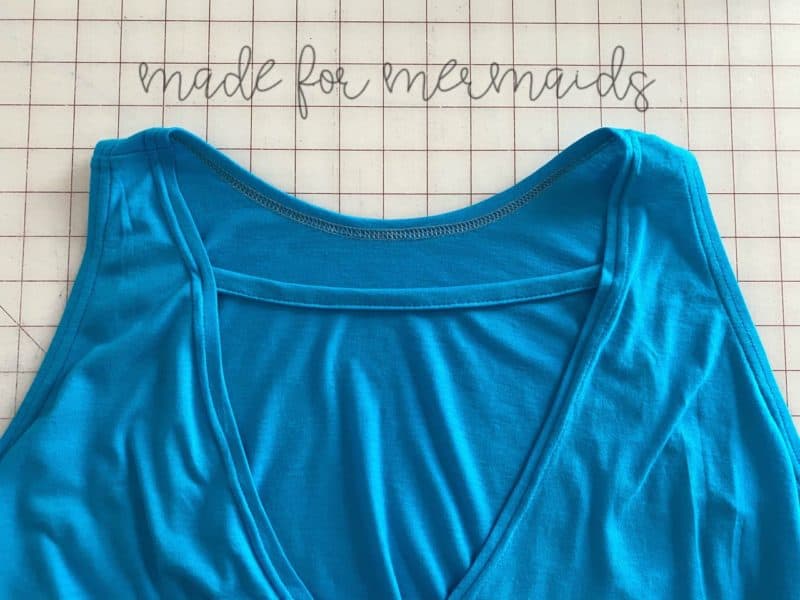
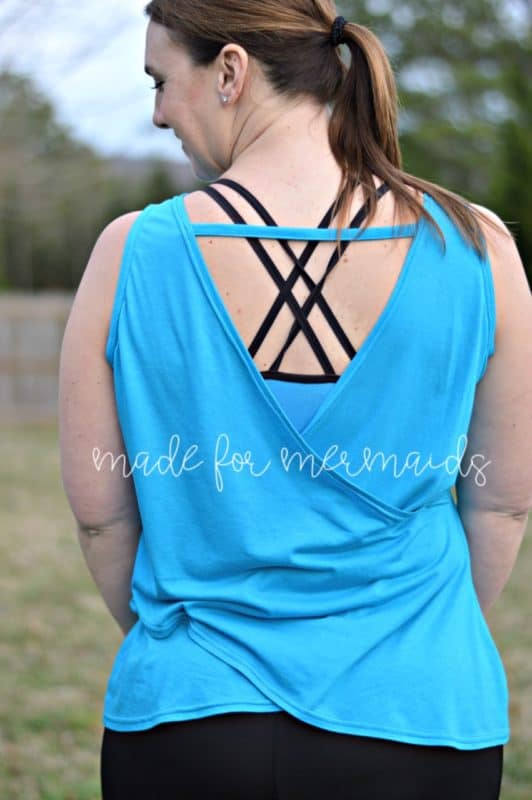
I love the tank Carli as an option for a workout top. I worked out in my version from pre-testing without it slipping off of my shoulders, but I wanted to prevent this from happening at all. Adding a strap to the back will do the trick! I used the measurement from the Women’s Stella for the length (2” by 9.5” for size green) and created a strap. You can also determine length by trying your Carli on, and cutting a strap to fit. Press the piece in half longways with wrong sides together. Open up the strap and press the top portion down to the center.
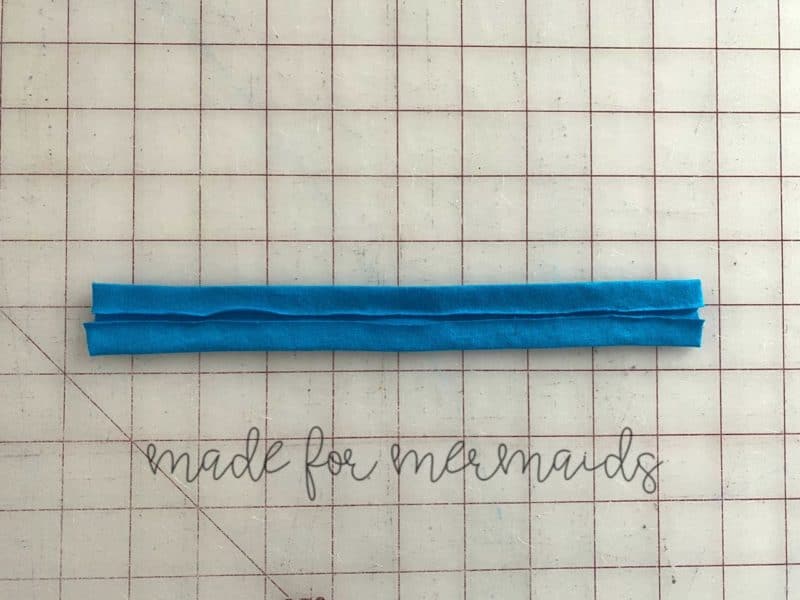
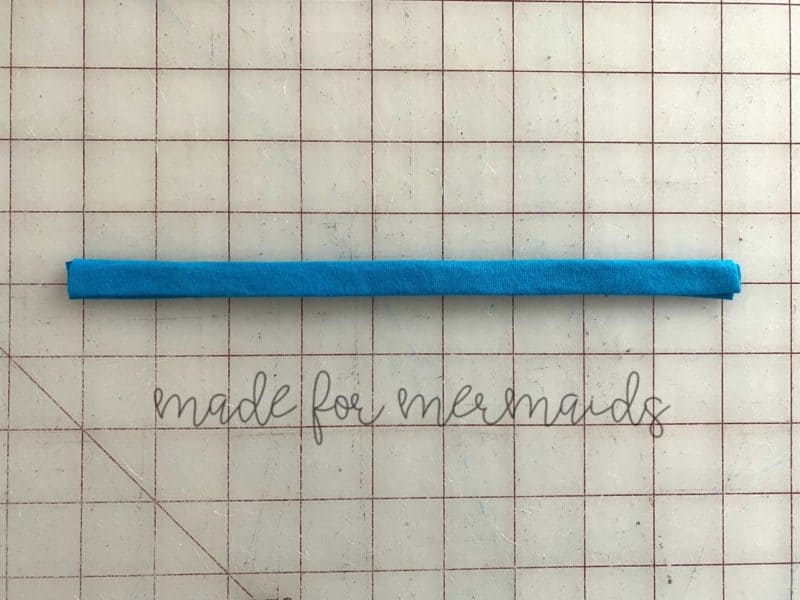
Press the bottom portion up. Fold the piece in half and edge stitch the bottom to secure the layers.
With the finished tank turned wrong side out, measure down three inches from the shoulder seam on the back bodice. Mark this spot with a pin or clip. Repeat with the opposite shoulder.
Pin the strap piece and baste in place. Try on the top the ensure the length and fit is correct.
Once you are satisfied with the location, stitch the strap down.
Now you can workout or wear the top without worrying about any slipping of the shoulders.
Double Crossover Hack
One of the Carli’s greatest features is the ability to wear it in multiple ways. If you’re looking for something a little more daring, consider this hack – a double-crossover!
Rather than cutting the “back” piece of the pattern, cut two additional mirror images of the crossover front.
With right sides together, sew the shoulder seams for each half of the top.
Hem the neckline and hemline of both halves. You will not be able to hem the bottom of the top in a later step so it’s important to complete all hemming at this time.
Lay out the “front” of your top, per the regular pattern instructions. Baste the overlap on each side, where clipped and indicated below.
Be sure not to skip this step. It will make your side seams so much easier!
Overlay and baste the “back” of the top, just as you did the first.
Follow the standard pattern instructions to set your sleeves and hem your sides.
If using a serger, pull your serger tails through your side seams at the bottom hem for a cleaner finish.
Don’t forget to check out our other Lounge & Lace patterns, hacks, and styling guides on the blog/website. We hope you love your new Carli pattern, hacked or otherwise! Be sure to share your creations with us over in our Facebook group and on instagram.















Leave a Reply