The Catherine Pattern has been available in the Made for Mermaids Pattern Shop for many years. This classic and comfortable style gets a fun new look with this pattern hack. Turn your Catherine Pattern into a sleeveless top or dress (or nightgown) with this easy tutorial. Here are two ways you can create this new look.

Sleeveless Hack #1 – Create a Binding
- Cut your Catherine Pattern pieces as usual but do not cut out any sleeves.
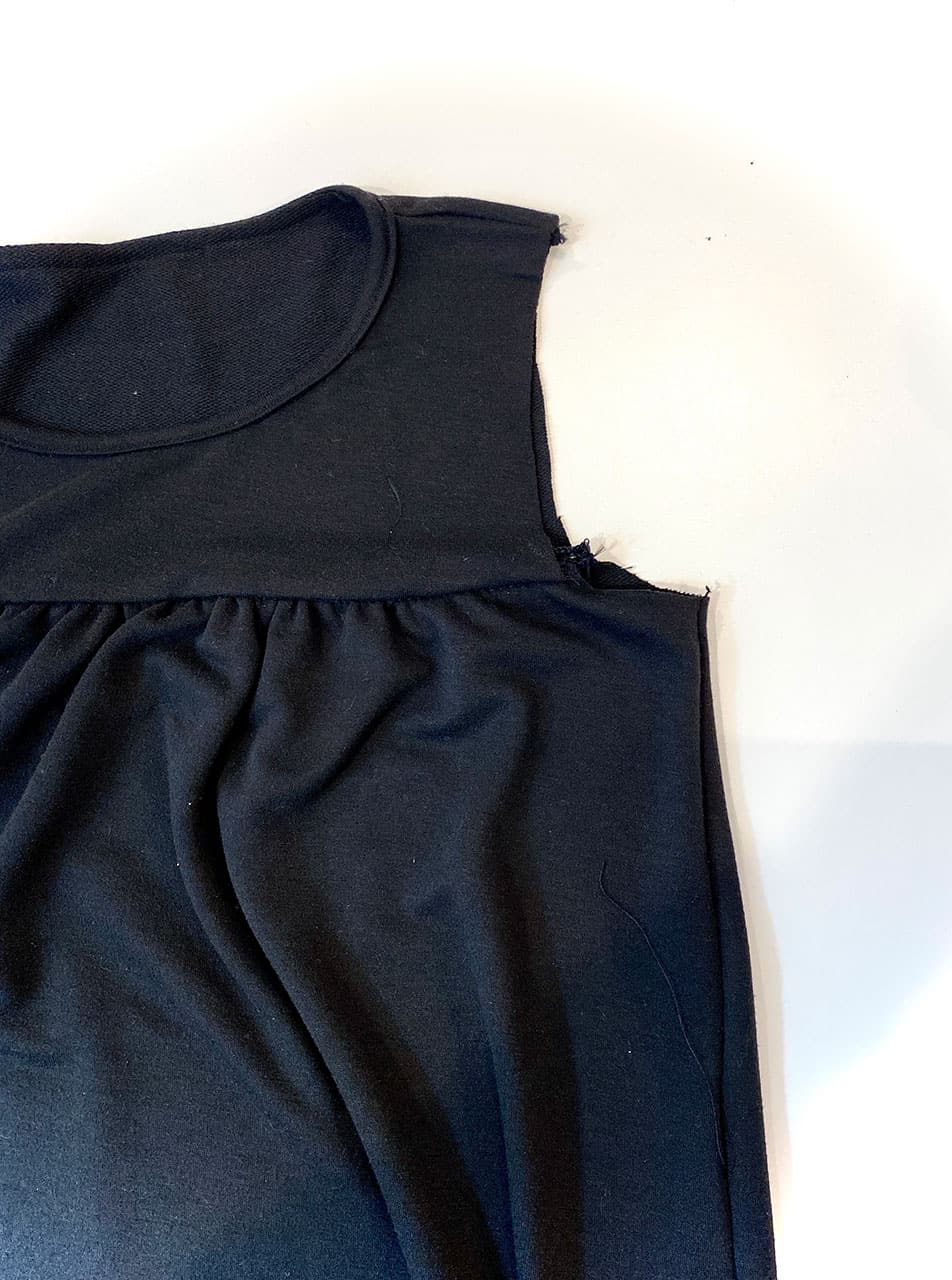
- Construct the pattern per the tutorial for the unlined yoke. You should have completed fronts and backs, attached the neck binding, and sewn the side seams.
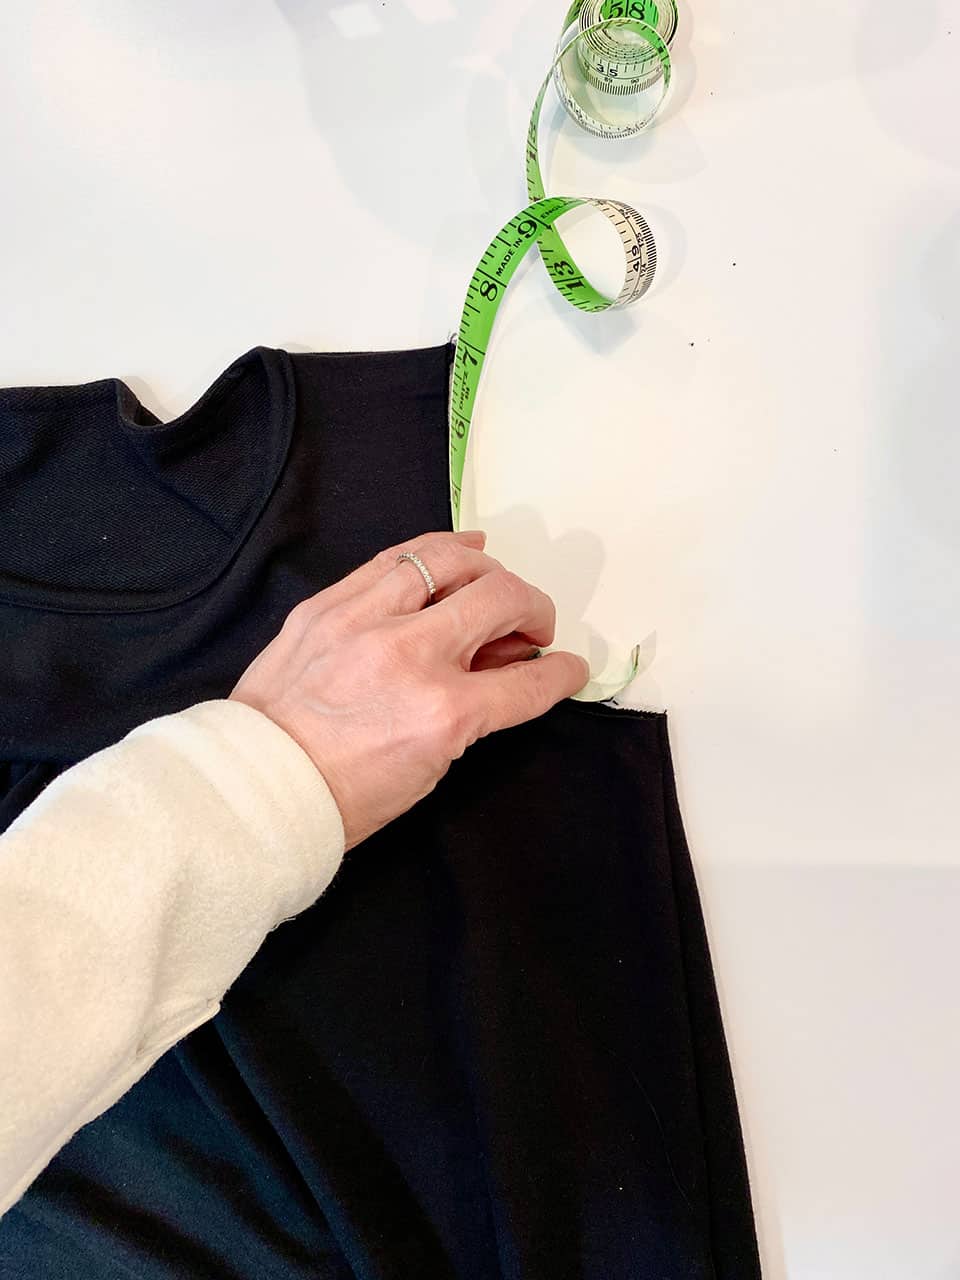
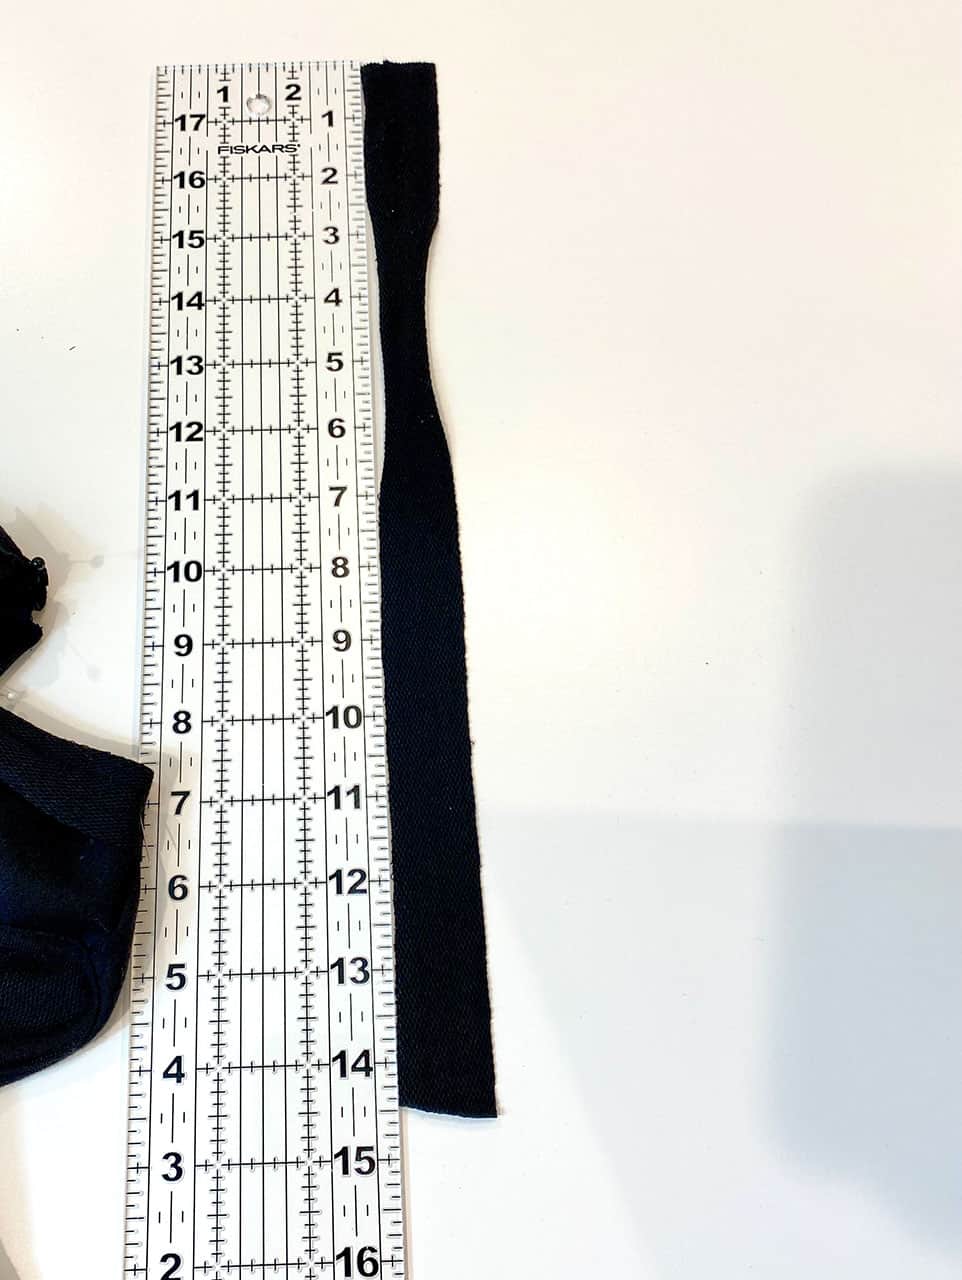
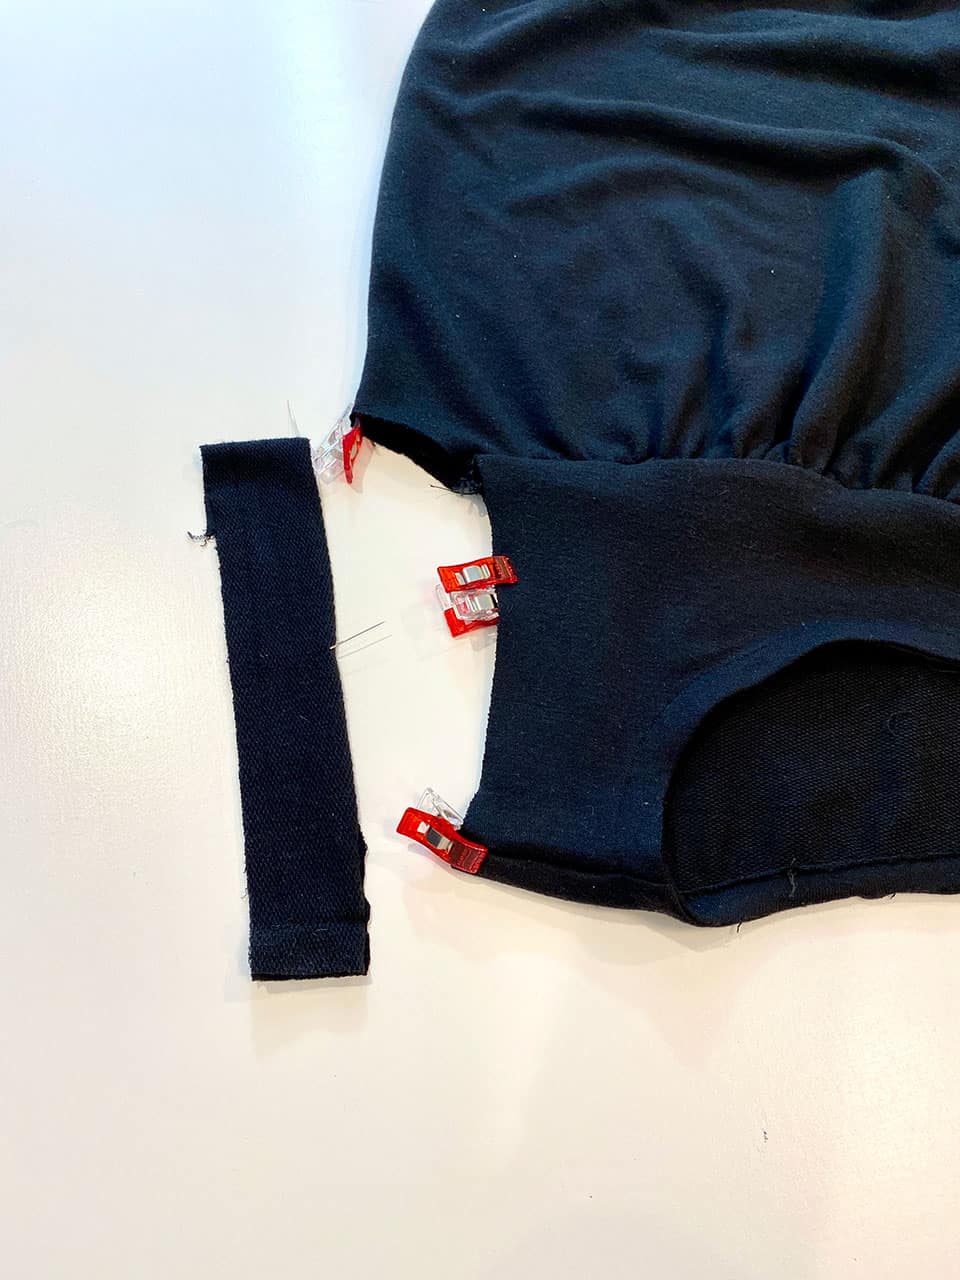
- Next, lay your Catherine flat on a table and measure your armhole. My hole measured 15 inches. Take this measurement and multiply it by .9. My new number was 13.5. Finally, add 1 inch to this number to account for seam allowance. This is the length you will cut your binding for the armhole. My final number was 14.5 inches by 1 inch width. Cut two of these arm bindings using your measurements and attach to the armholes in the same way you attached the neckline binding. (Armhole opening x .9) + 1 inch = binding length
- Lay your Catherine flat
- Measure your armhole
- Take this measurement and multiply it by .9; add 1 inch to this number to account for seam allowance
- This is the length you will cut your binding for the armhole
- Cut two of these arm bindings using your measurements and attach to the armholes in the same way you attached the neckline binding
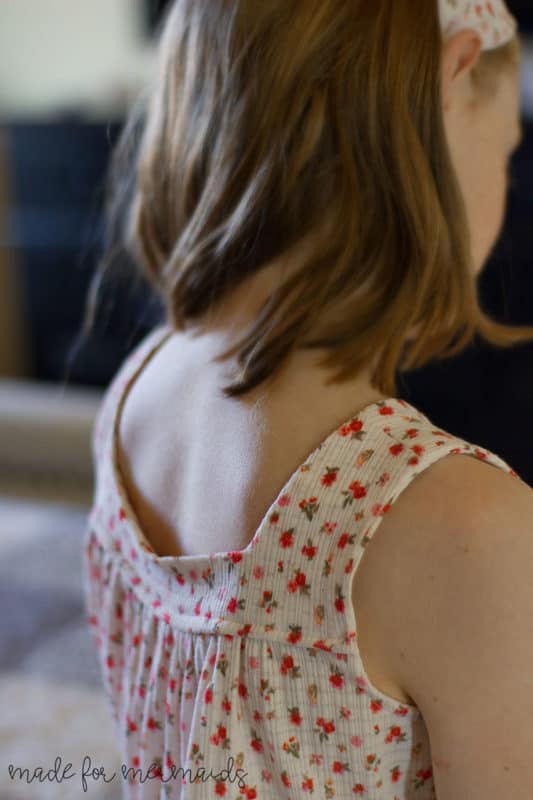
This dress is so light and airy, perfect for hot summer days or layering with a jacket.
Sleeveless Hack #2 – Lined Yoke
Another way to create a sleeveless Catherine is to use the lining option and create a finished edge using the “burrito roll” method. This finishing is not quite as clean
as option #1, since the underarm section is turned and stitched, but you can choose your preferred method.
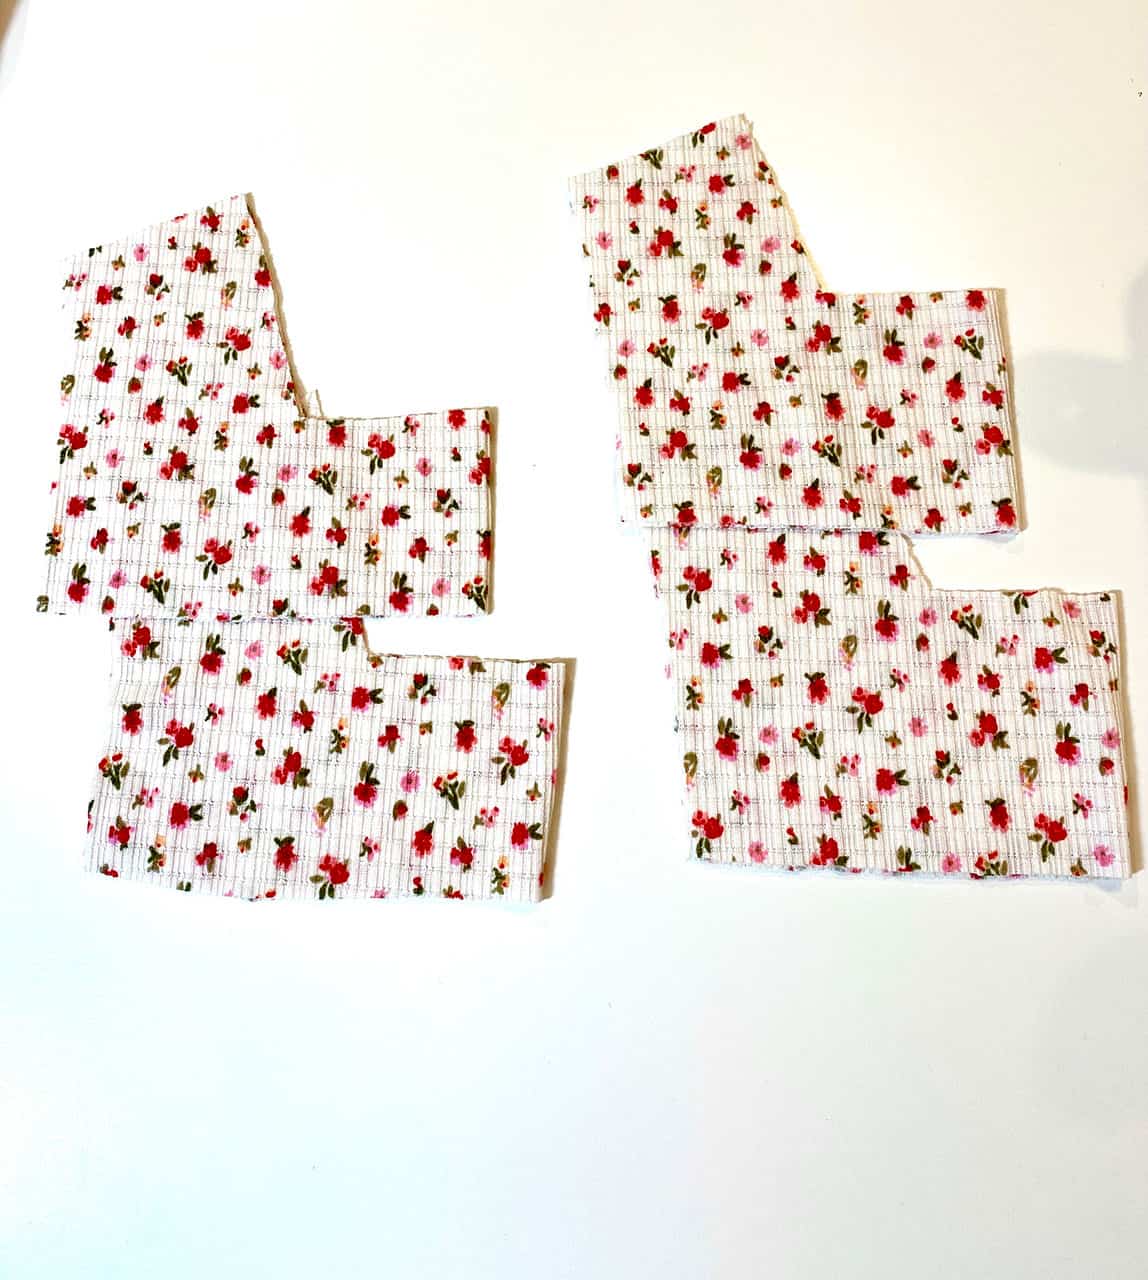
- Cut out your Catherine pieces, making sure you have two front and back yokes for adding a lining. Do not cut sleeves. For my version, I added 8 inches to the dress length and the optional ruffle to create a long nightgown.
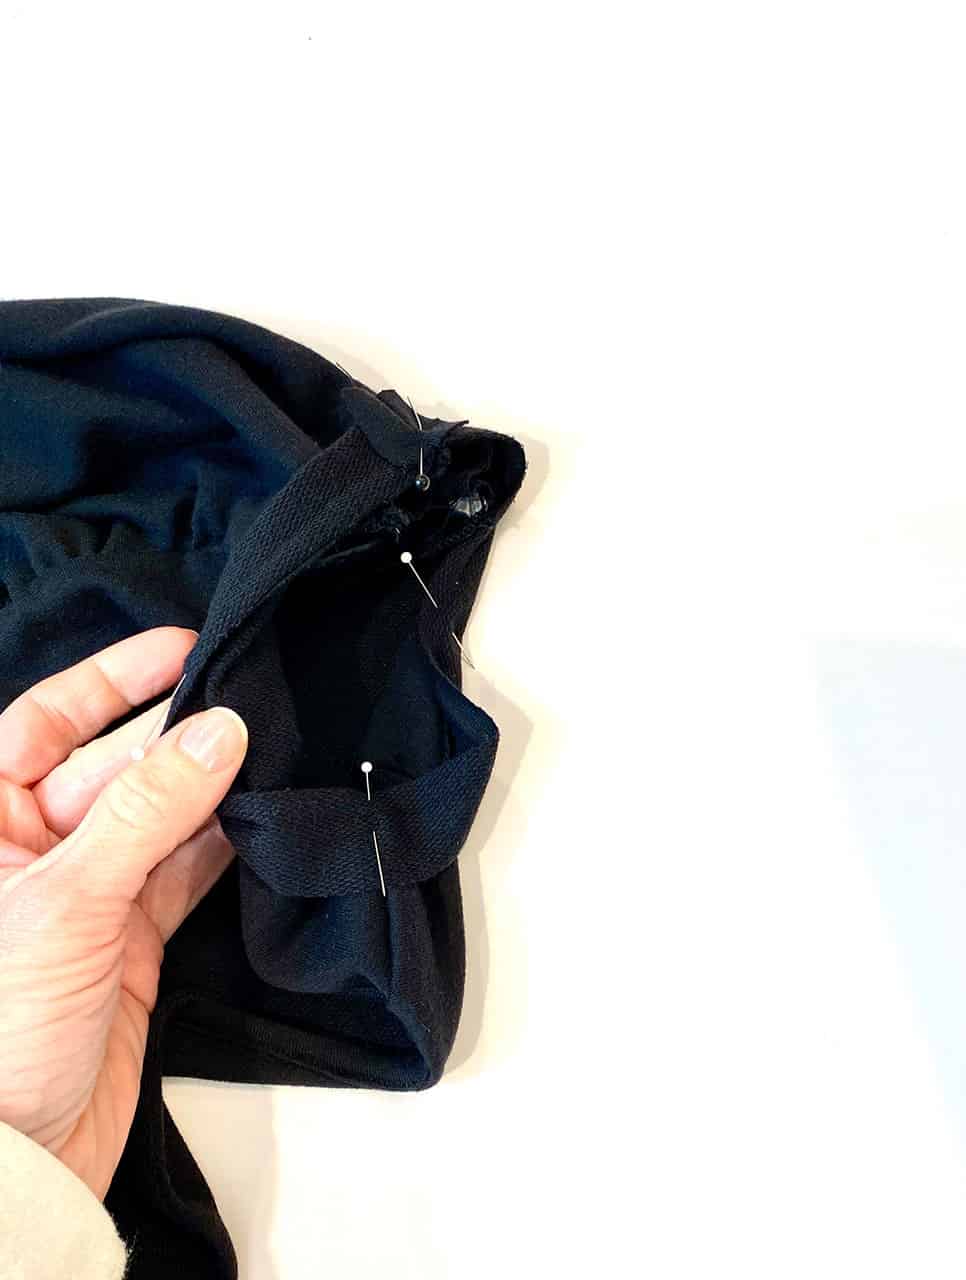
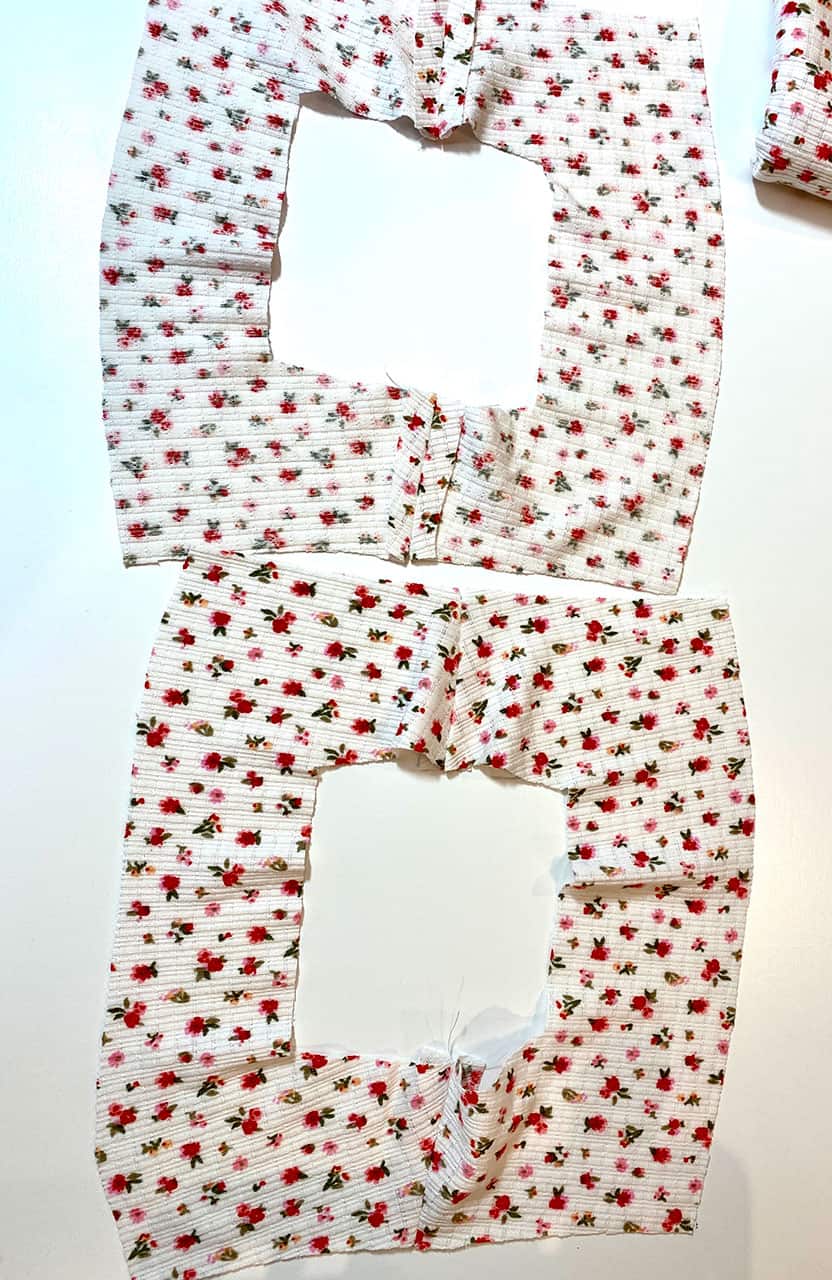
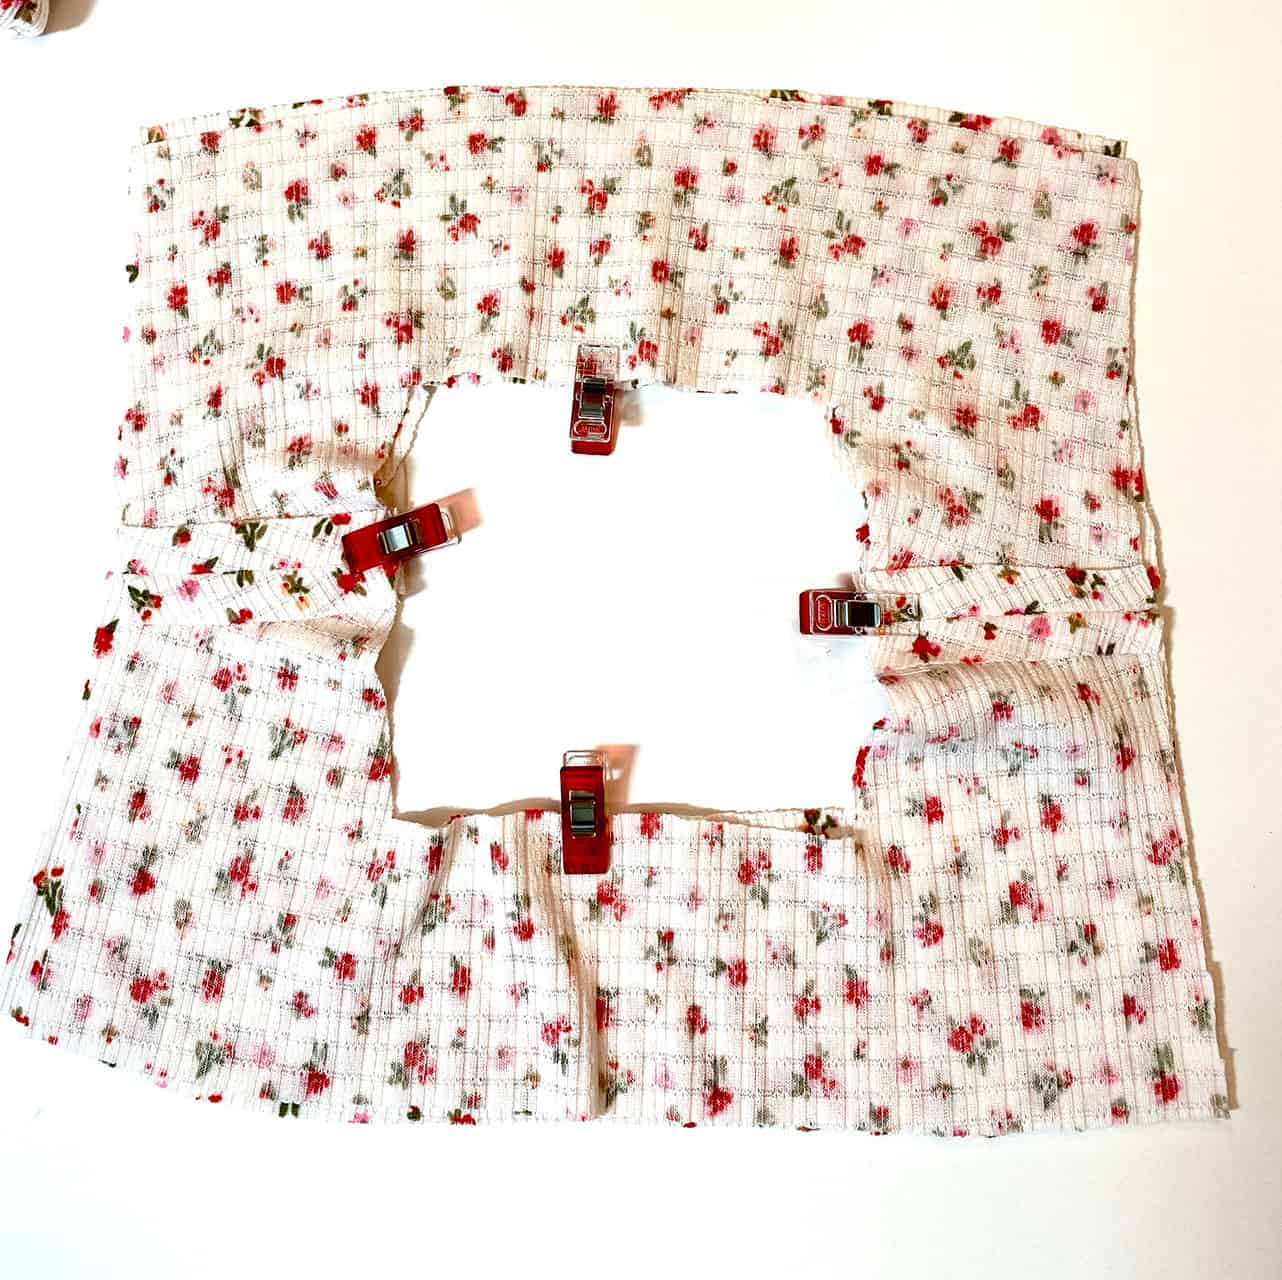
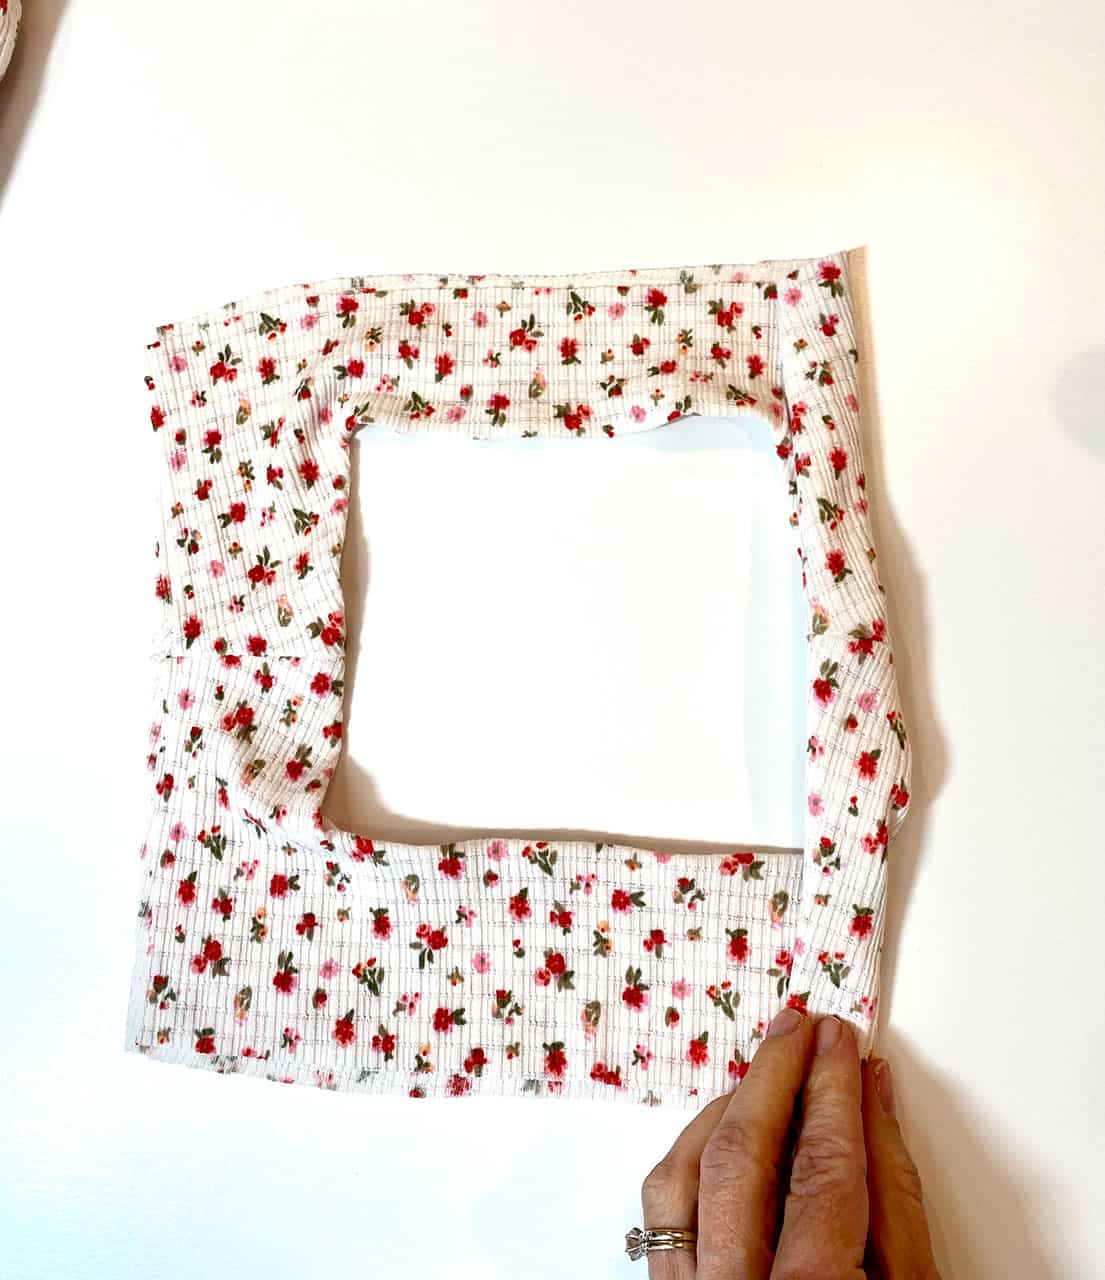
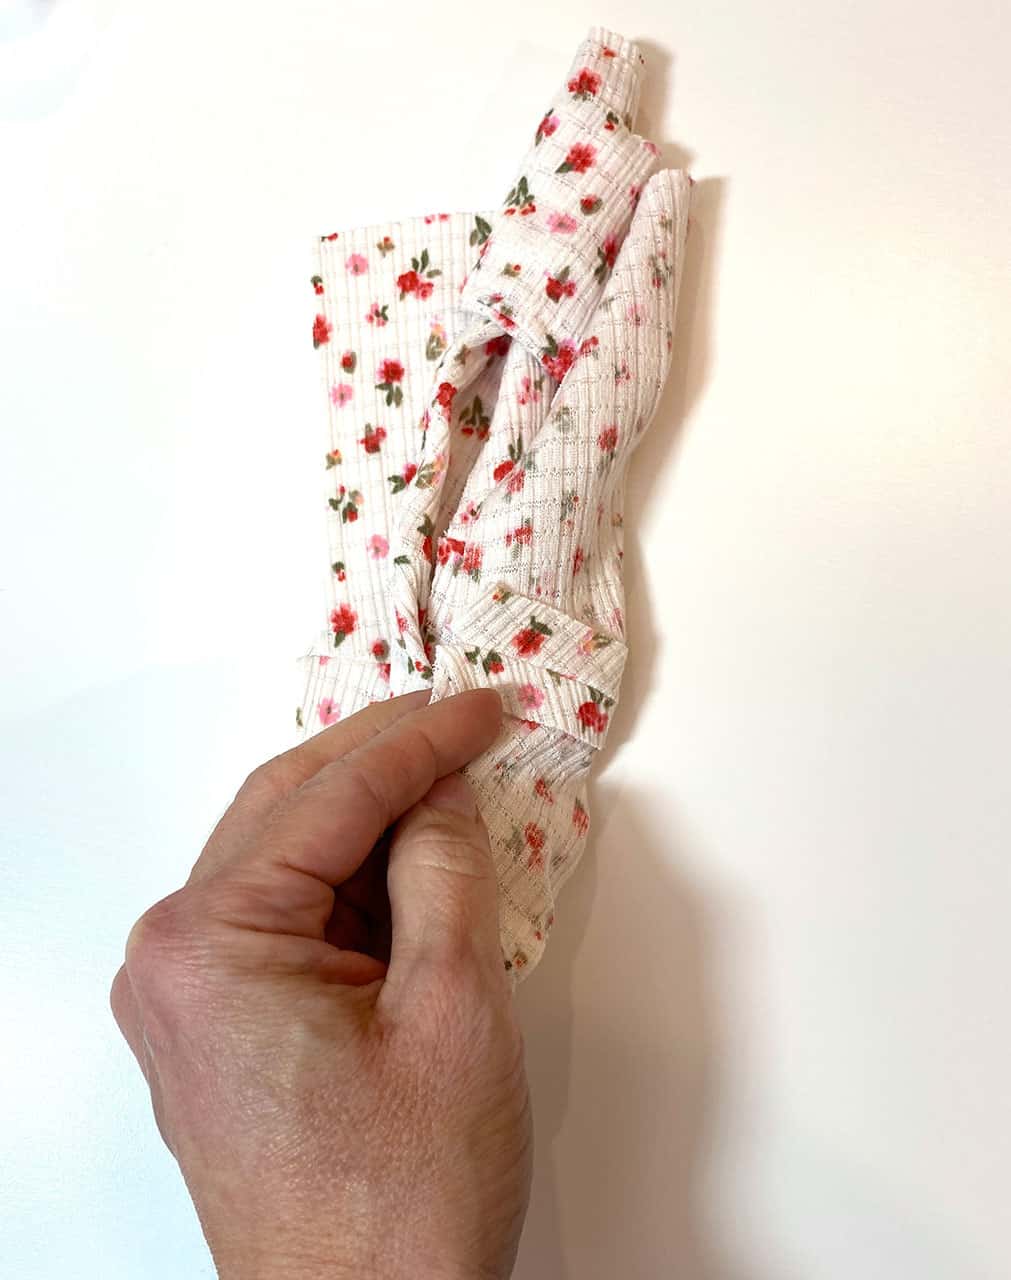
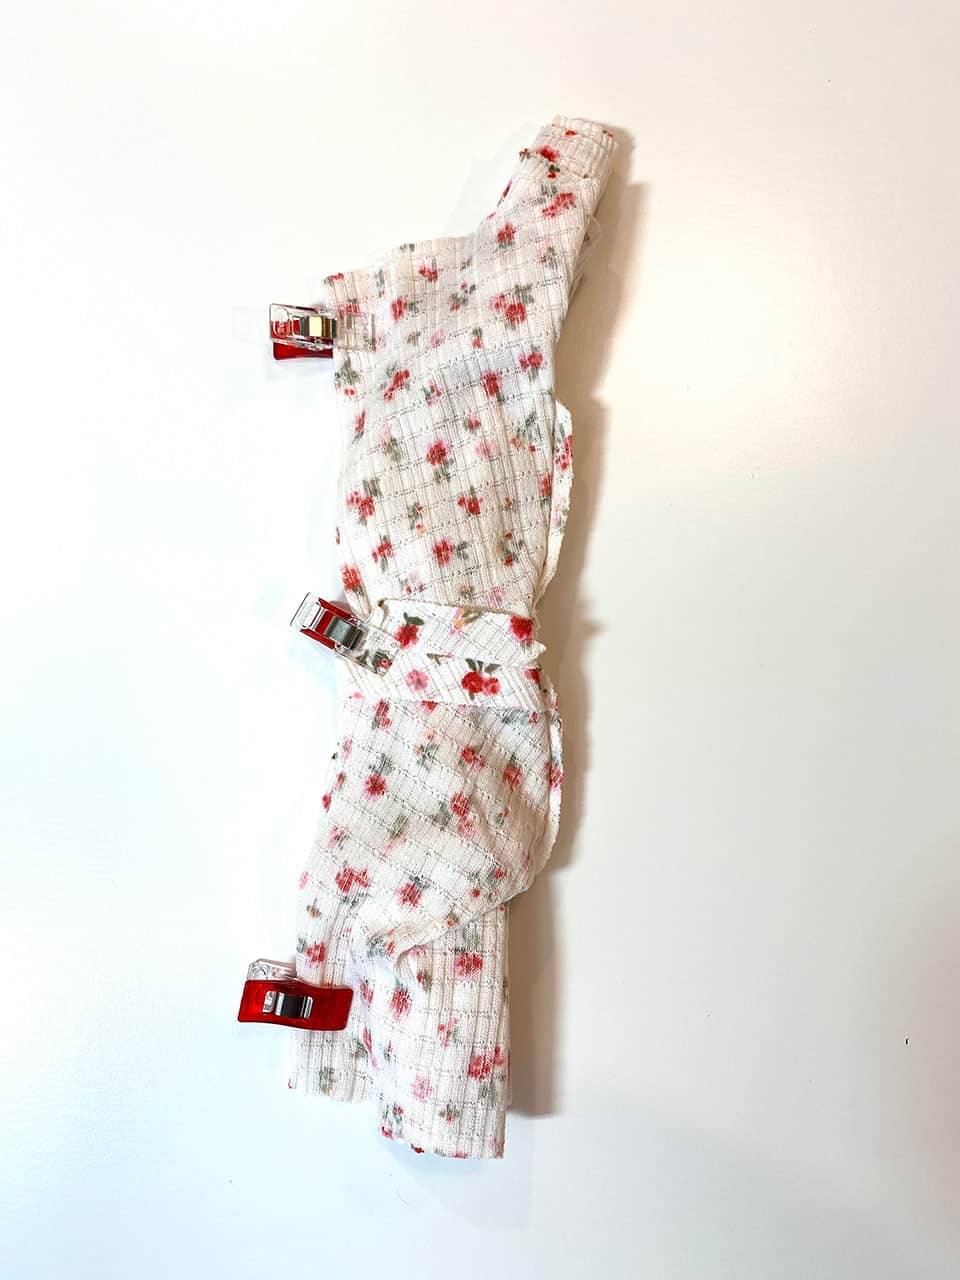
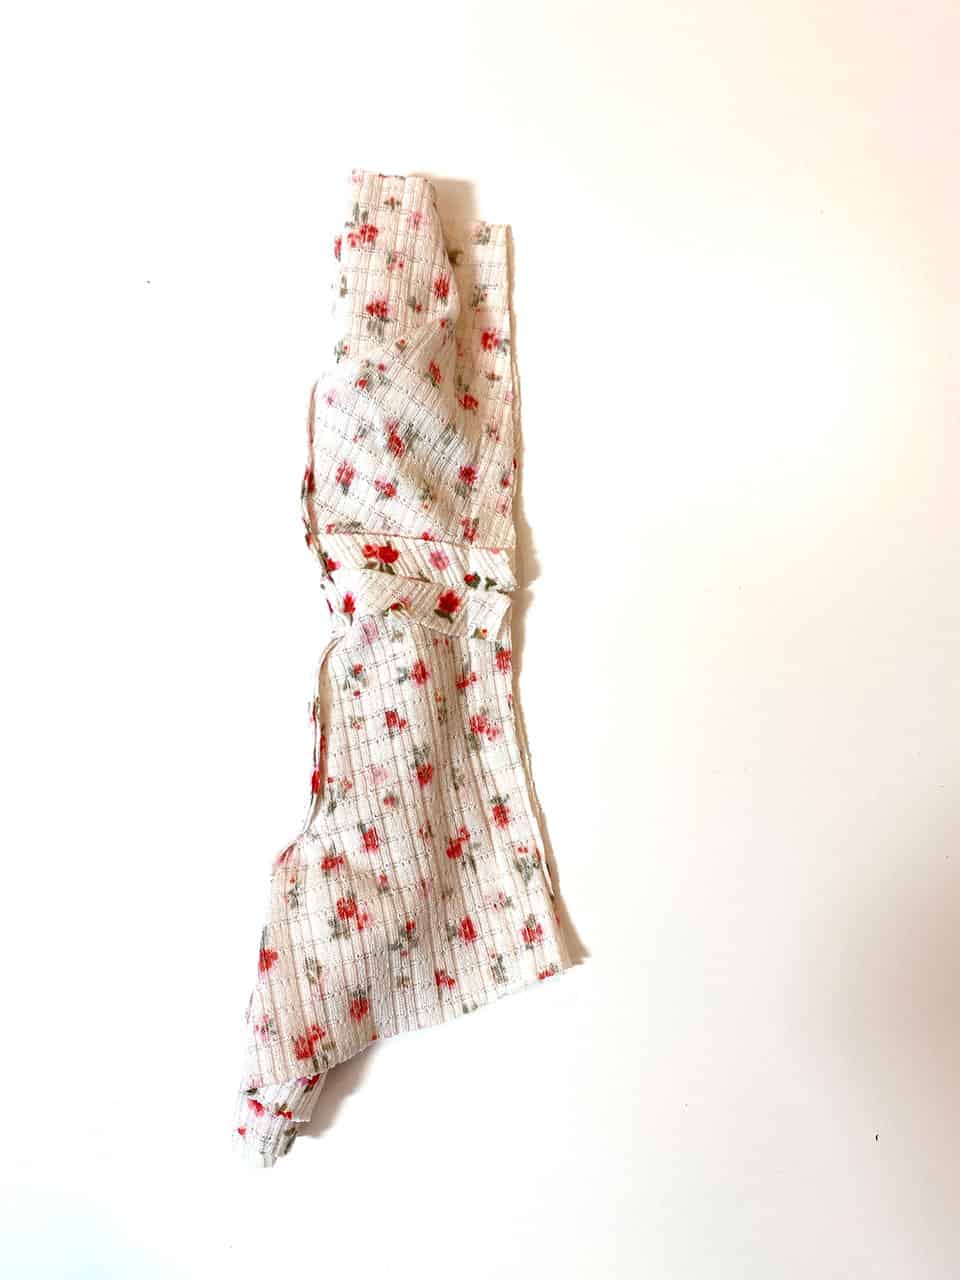
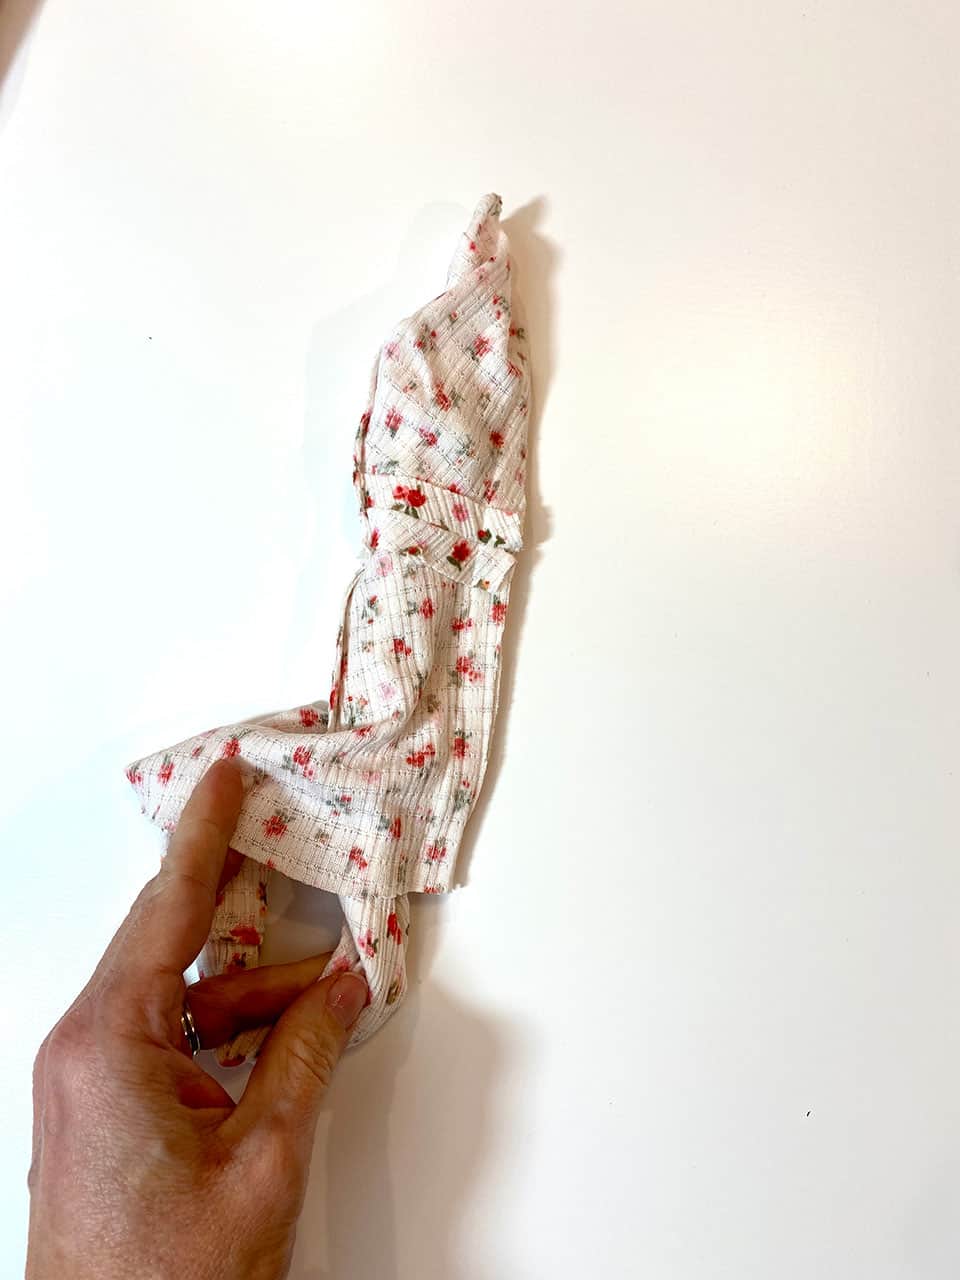
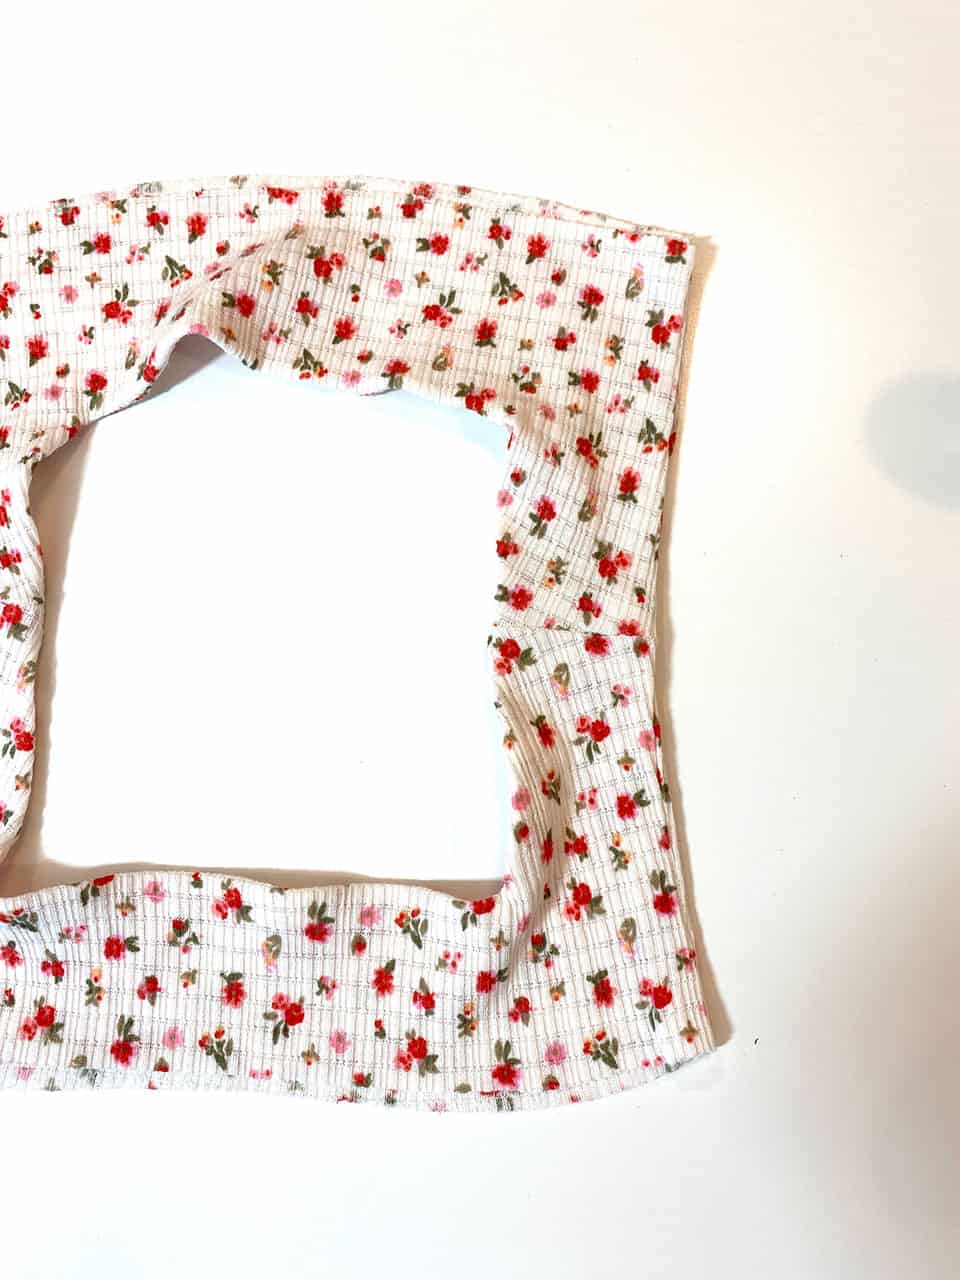
- Sew your yoke together following the Catherine instructions for a lined yoke. Once you have completed the neckline, lay your bodice out flat, right sides up. Take one side of your yoke and roll it tightly all the way until you come to the other armhole edge. Once you are at the other end, wrap the fabric from that armhole all the way around the rolled up portion. Match your shoulder seams and pin all the way down the armhole edge, encasing the rolled fabric. Stitch along the armhole, using a 1/2 inch seam allowance. Then gently pull the fabric back out and repeat on the other armhole, rolling up the now completed armhole.
- Sew your yoke together following the Catherine instructions for a lined yoke.
- Once you have completed the neckline, lay your bodice out flat, right sides up.
- Take one side of your yoke and roll it tightly all the way until you come to the other armhole edge.
- Once you are at the other end, wrap the fabric from that armhole all the way around the rolled up portion.
- Match your shoulder seams and pin all the way down the armhole edge, encasing the rolled fabric. Stitch along the armhole, using a 1/2 inch seam allowance.
- 1. Then gently pull the fabric back out and repeat on the other armhole, rolling up the now completed armhole.
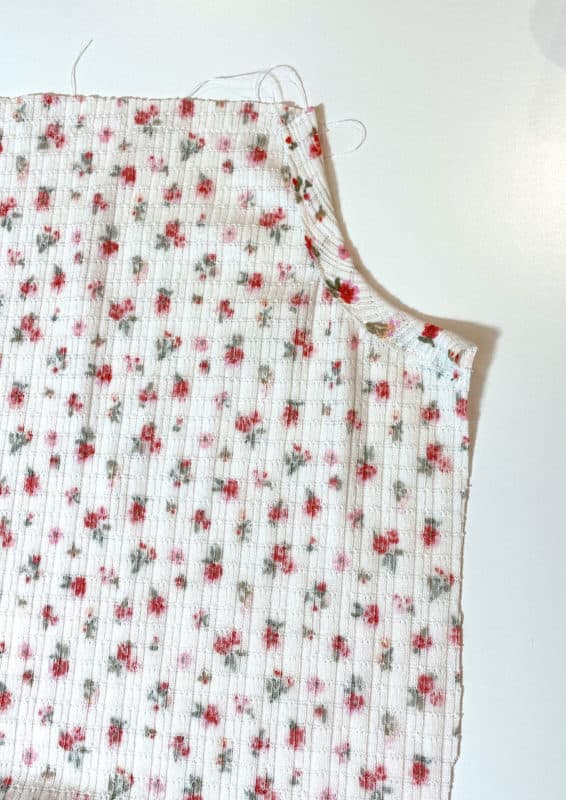
3. Prior to gathering and attaching the bodice front and back, you will need to turn under the seam allowance on the armhole curve. To do this, iron 1/2 inch toward the wrong side. It is helpful to use hem tape here to hold the fabric. Once pressed, edgestitch the turned edge. I like to use a long straight stitch.
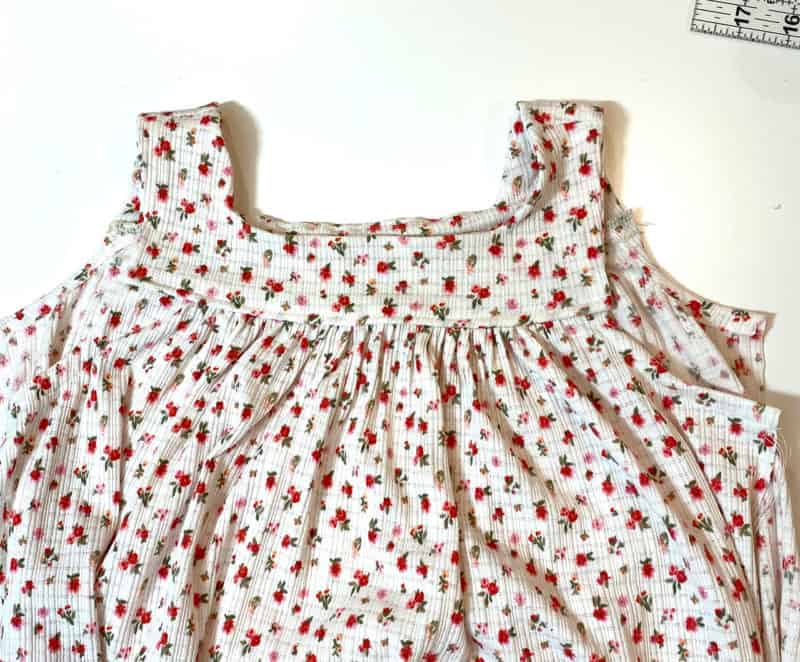
4. Now gather the skirt/top portion to fit the lined bodice, carefully line up the edges and stitch. Press the Seam allowance up and topstitch to tack it down to the bodice and prevent the seam allowance from showing. Then sew your side seams and finish the pattern according to the tutorial.
My daughter loves this nightgown sewn up in pointelle for a light and airy sleeping option.

Enjoy this fun new way to wear your Catherine Pattern.
Shannon







Leave a Reply