

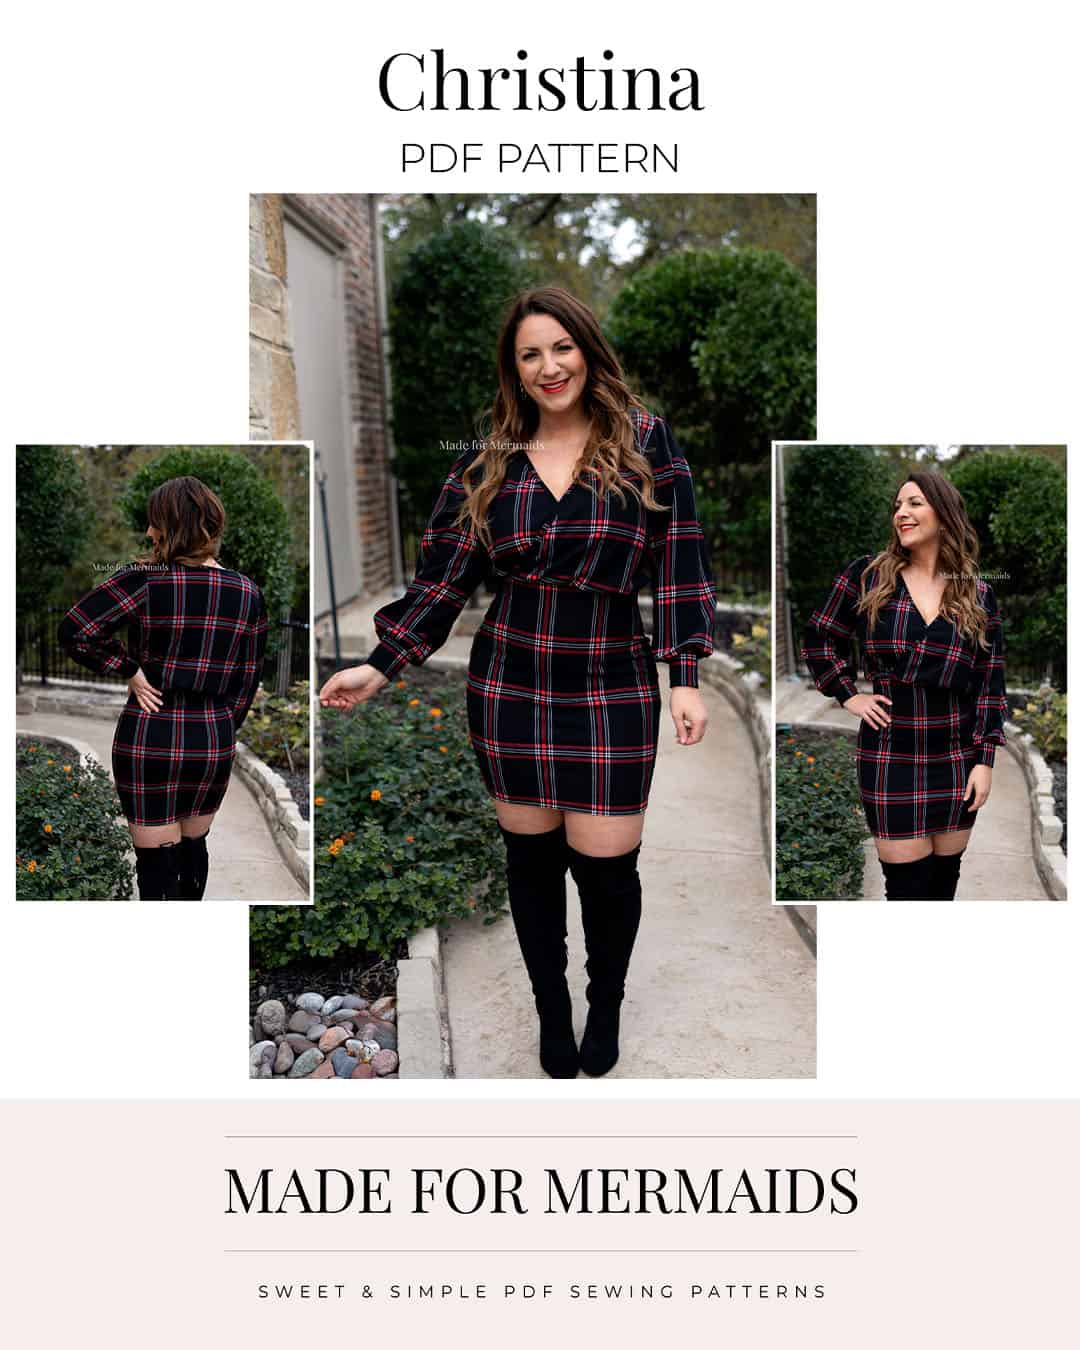
Catherine is bringing the heat AGAIN with the new Christina pattern! Christina is a crossover pattern with two blousy bodice options. For the empire waist bodice, choose between hemmed crop or top lengths. For the natural waist bodice, you can choose from waistband crop, hemmed top, plus a bodycon skirt (mini, dress, or midi). For sleeves, Christina includes short flounce, fitted short, 3/4, long, or gathered long sleeves with cuffs. I LOVE the midi dress option with the gathered long sleeves, but all of the versions that are testers sewed up were just perfect.


As usual, we have a few simple hacks for you if you’re looking to shake things up a bit. Check out our waistband tie hack, Loren Mash, and Circle Skirt Hack
Waistband Tie Hack

I can’t even begin to express how much I love Christina! The crossover neckline is so dreamy; no matter which option you choose, you’ll end up with a gorgeous and flattering garment! Speaking of options, I wanted to try adding waistband ties to the banded top option, and it truly couldn’t be easier!
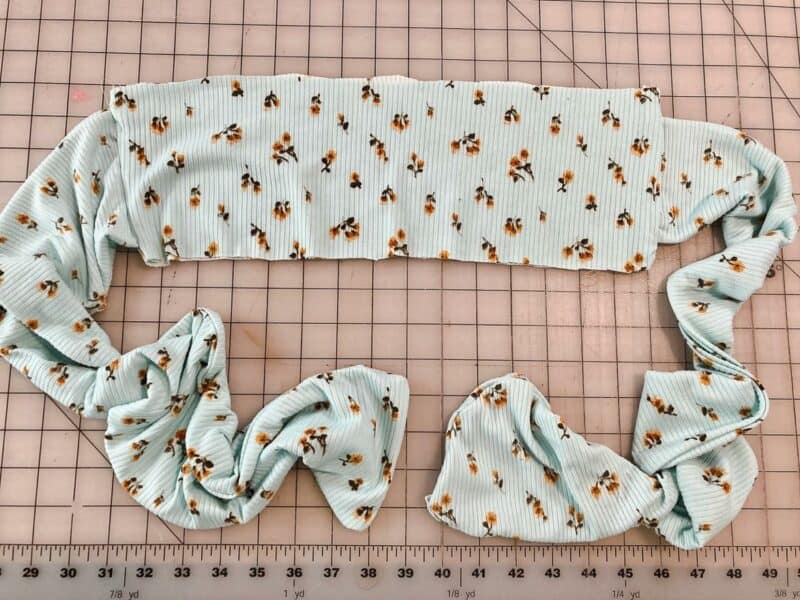
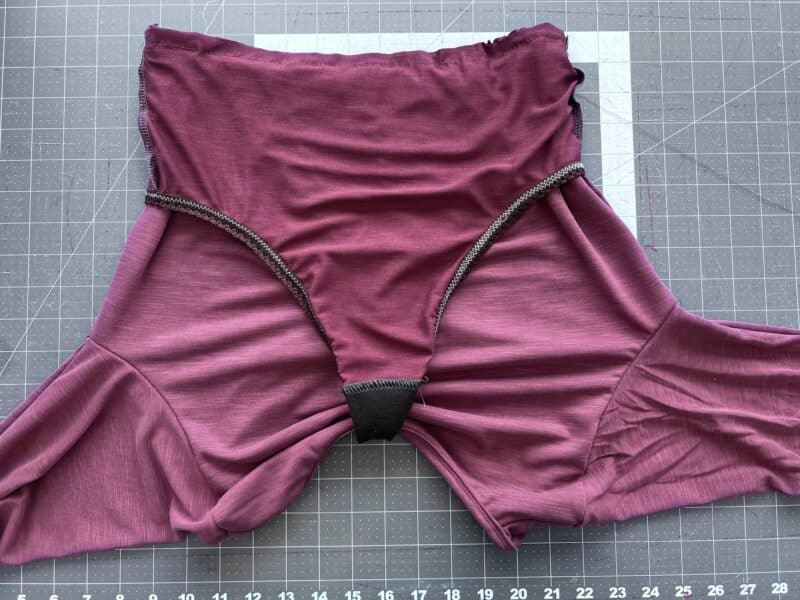
To complete this hack, you’ll need the Christina pattern plus a bit of extra fabric/scraps for the waist ties. Cut out the Christina Pattern with the banded top option. Either the natural waist or crop will work great for this. You’ll want to cut 2 waistband pieces, as opposed to cutting on the fold, so that we have side seams to insert our ties into!
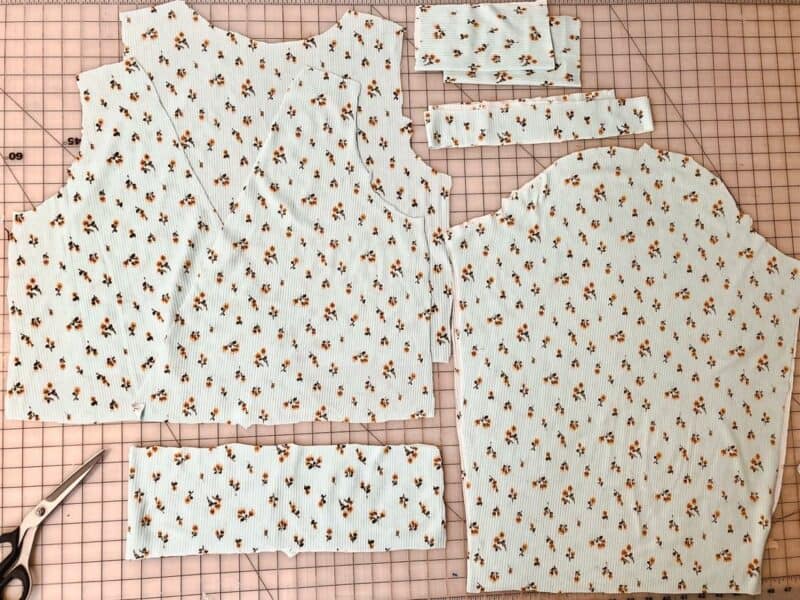
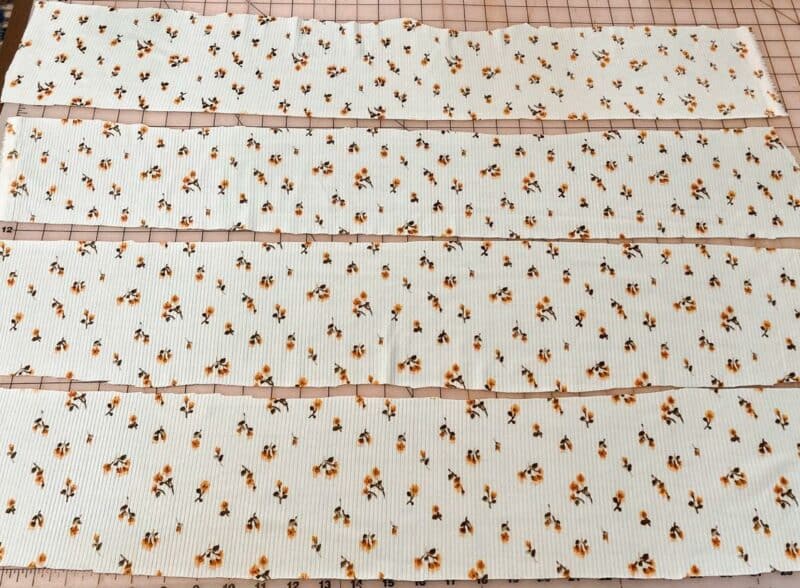
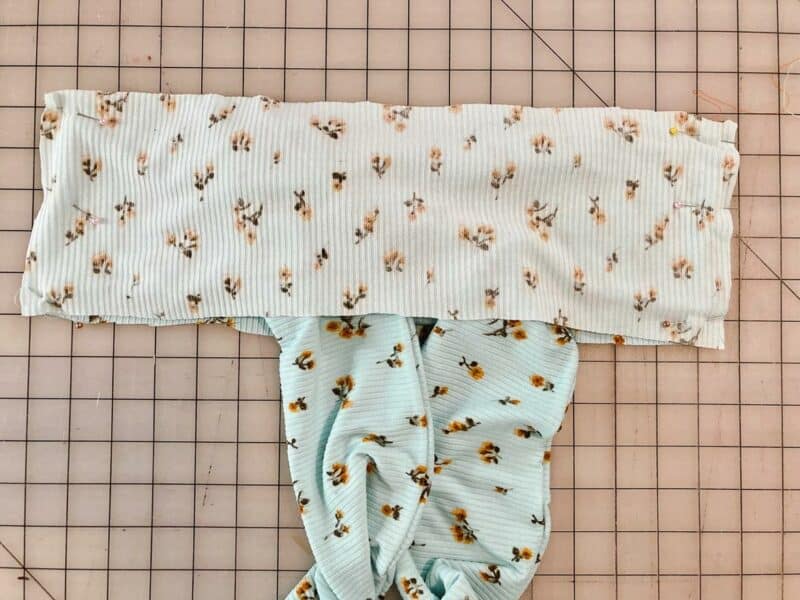
Next, you’ll want to cut 4 MORE waistband pieces. These will become your waistband ties. Place two of the extra waistband pieces right sides together and sew using a ½” seam allowance, leaving one short side unsewn. Turn your waist tie right side out and press. Repeat with the remaining two extra waistband pieces. You now have your waistband ties!
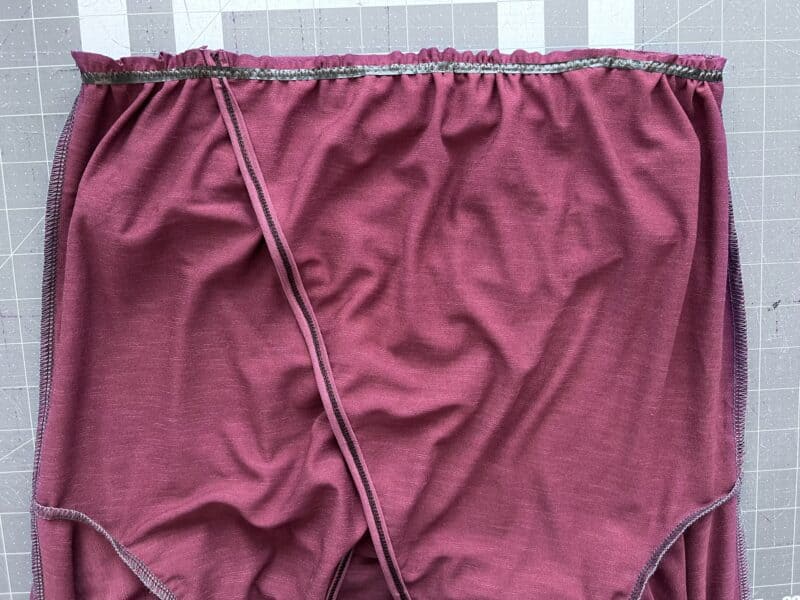
Complete the Christina pattern as written through Step 8. Sew together your waistband following the directions in Step 10, except you’ll want to sandwich your waistband ties on either side of the waistband and sew them together.
Attach your waistband, as usual, tie the band around your waist and enjoy your gorgeous Christina top!
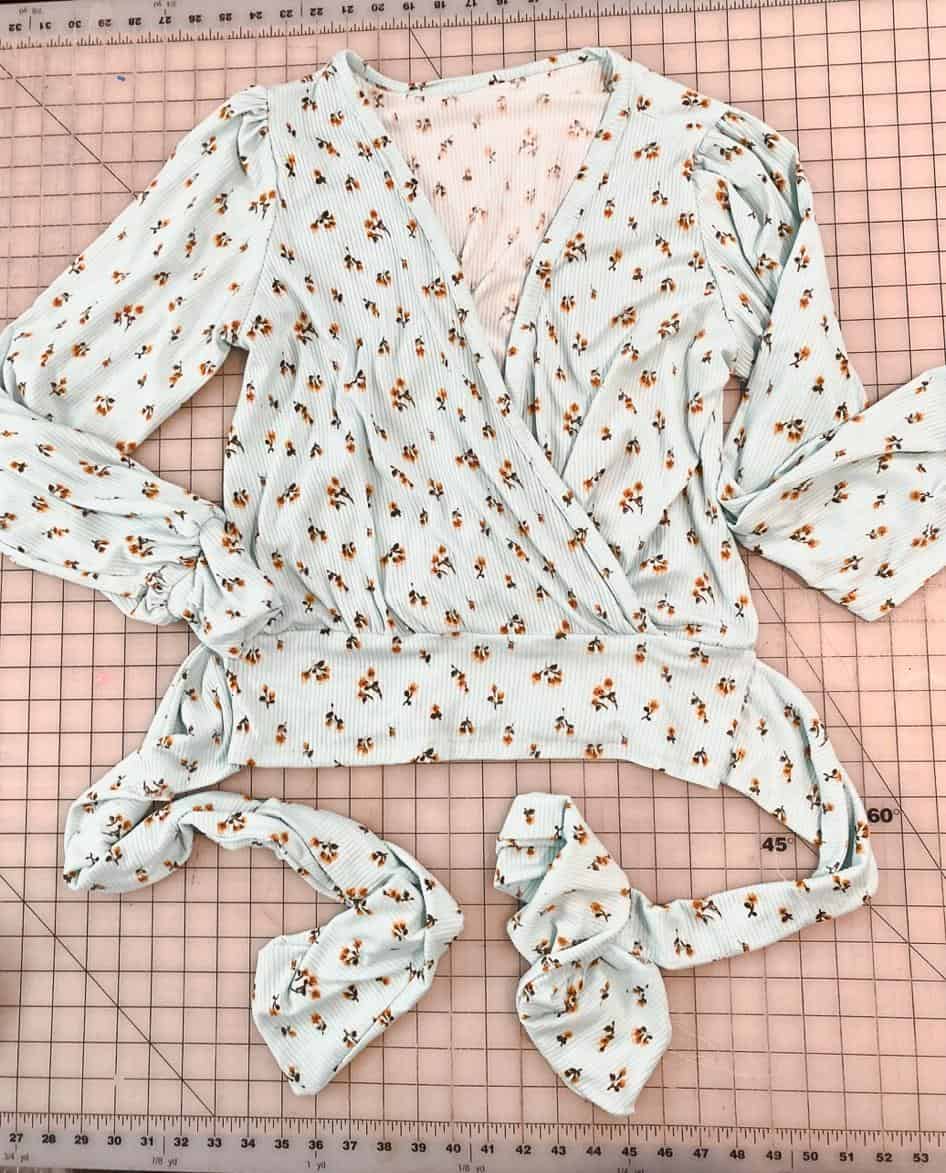
I hope you love this hack as much as I do! There’s just something a little sexy and a little sweet about a waist tie, and it makes this already amazing pattern even more fun to wear!


Loren Mash (Bodysuit Hack)

Hey friends! Sonia here showing this cute and oh-so-simple pattern mash – the new Christina pattern combined with Loren for a bodysuit! I have so many Pinspiration ideas saved for this look, and love how easily this combo makes all of those dreams come true! To start, you’ll need both the Christina and the Loren pattern, though I think this mash may also work with the Amalfi swimsuit bottoms if you already have that pattern and/or want fuller coverage back! What I was looking for is a fitted bottom that rises to the natural waist; the Christina pattern has a natural waist seam, so we can easily swap out the bottom half.

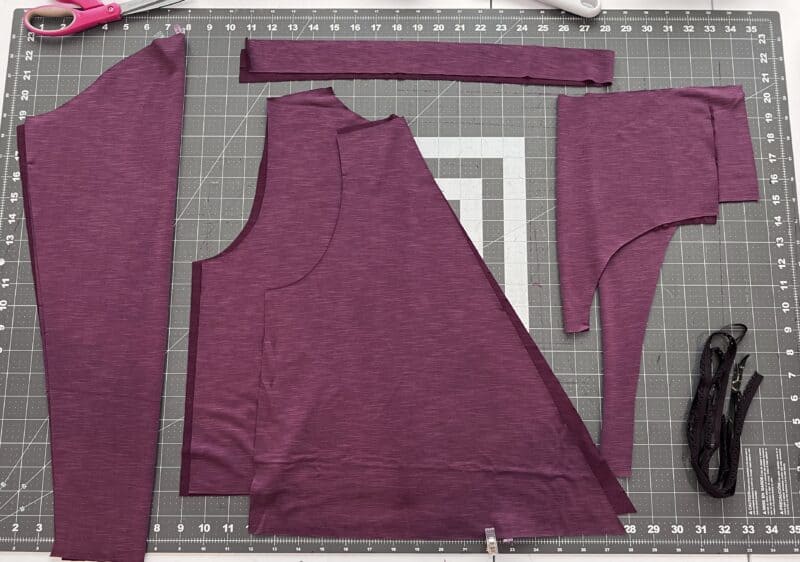
First, we will start by cutting out the bodice of Christina, including the front, back, sleeves, and neck binding. Don’t forget the waist elastic as well! You will then use the Loren pattern to cut the bottom front and back, along with your picot elastic. We will, of course, grade our sizes to ensure the best fit. This is especially important for the bottoms, as they are fitted!
Next, you will use the Christina pattern to assemble the bodice (sewing the shoulder seams, sleeves, and side seams, hemming the sleeves, and adding the binding). I like to baste the overlap in the front and then add my gathering stitches. I prefer to add my waist elastic later after I baste the top and bottom layers together, but you can do the step now if you prefer. Then, pop over to Loren’s instructions to assemble the bottoms (sewing the side seams, adding the liner and picot elastic, and sewing the crotch seam).
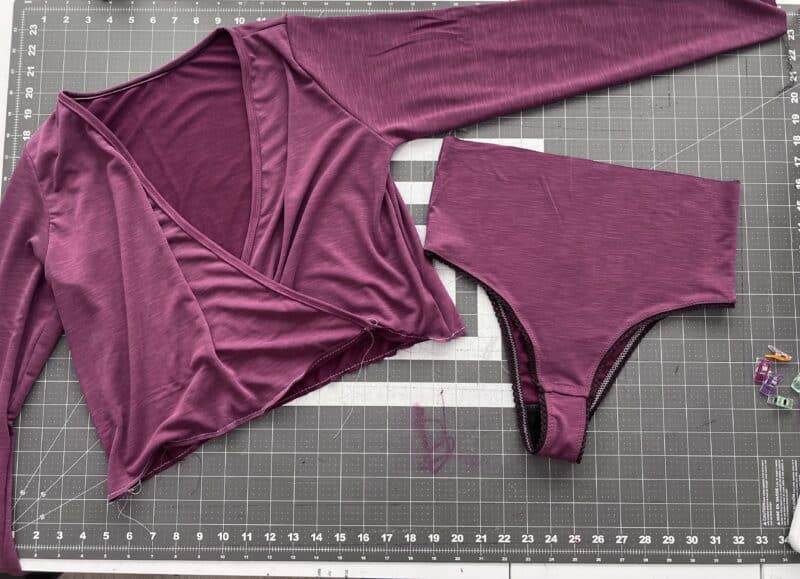
Then, in the same manner as Christina, you will slip the bottoms (right sides together) over the bodice and match up at the waist, making sure that your fronts and backs are touching each other. Here, I pin well and baste the two layers together.
Using a zigzag stitch, attach the waist elastic and remove the basting stitches.
That’s it! This is a simple mash because we don’t have to alter the pattern pieces at all, and I love the blouse style top with the bodysuit bottom, as I know it will stay perfectly put when worn with high-waisted jeans! Hope you enjoyed this hack!


Circle Skirt Hack

Hello, lovelies! How fabulous is Christina, eh? I love how drapey the bodice is, and while the fitted skirt is super hot, sometimes you want something with a little more twirl! Well, I’ve got a super easy mash for you – let’s add a half-circle skirt to the empire bodice!
This mash will work with any Made for Mermaids pattern with a quarter, half, or full circle skirt that attaches to a bodice. For a half-circle skirt, I used the Eloise pattern. I cut the same size as I would if I were making Christina as is, and it blended PERFECTLY.
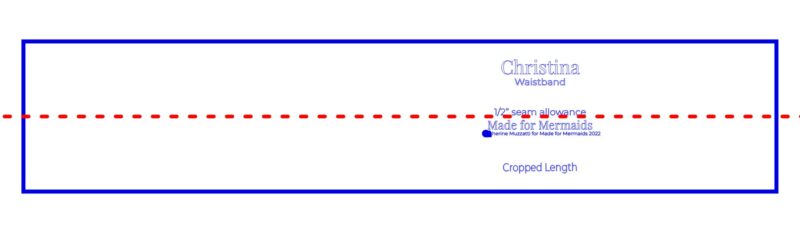
The only change you need to make to Christina is the waistband. Cut the waistband as patterned, but instead of folding it in half, you’ll cut it, so you have two waistband pieces, the main and lining. If your fabric is stable enough, you can cut it at half height and use a single layer, as I did with mine!
-

- Cut 1 waistband piece

-
- Cut waistband in half horizontally
-
- You now have two waistband pieces, a main and lining!

Assembly is easy. Sew up the pattern according to the tutorial. Attach the waistband to the bodice, and then attach the skirt to the bottom of the waistband. That’s it, easy peasy! I do recommend adding elastic to the seam on the waistband top and bottom to help stabilize it, so it doesn’t end up all wavy. I used knitted 3/8” elastic, and that held nicely.
Go ahead and hem, and you’re good to go! Get your twirl on and be FABULOUS!


Happy sewing!
~jess
Hood Hack / Rory Mash

Adding the hood from the Rory pattern is a super simple way to include a hood on the Christina pattern! First, construct the Rory hood using the Rory tutorial included in the pattern. You’ll also want to sew the shoulder seams of your Christina bodice.
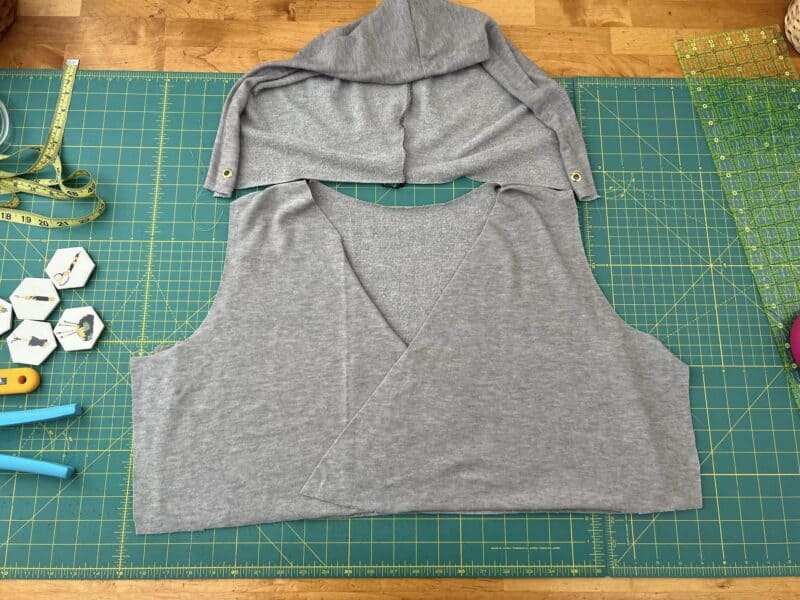
Pin the hood to the bodice, starting at the center back, with a 1:1 ratio. The end of the hood should stop just about 3-4 inches beyond the shoulder seam.
Next, measure the remaining neckline. Multiply the remaining neckline by .85 to determine the length needed for a neckline binding. My calculated length was 15, so I cut a 12″ x 1″ binding piece.
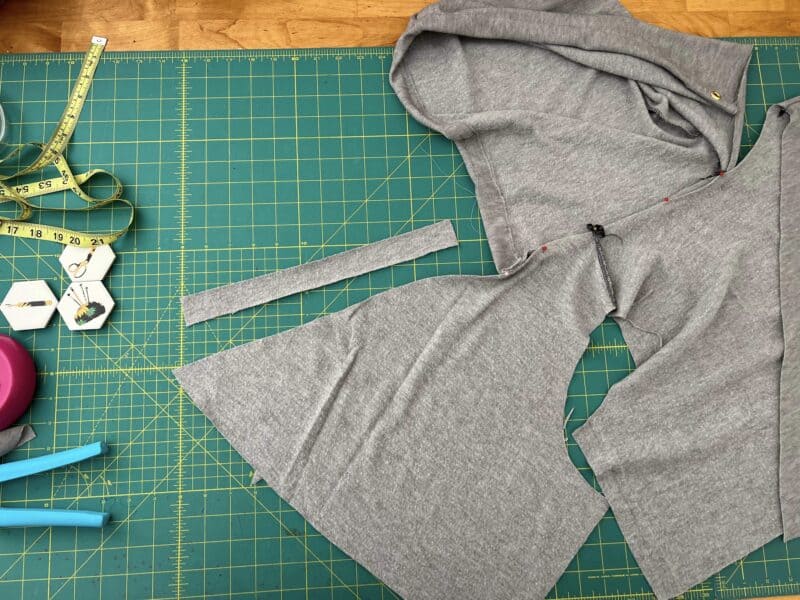
Attach the binding to the neckline, being sure to overlap the hood edge by 1/4″ or so. Then, attach the hood to the bodice with 1/4″ seam allowance.
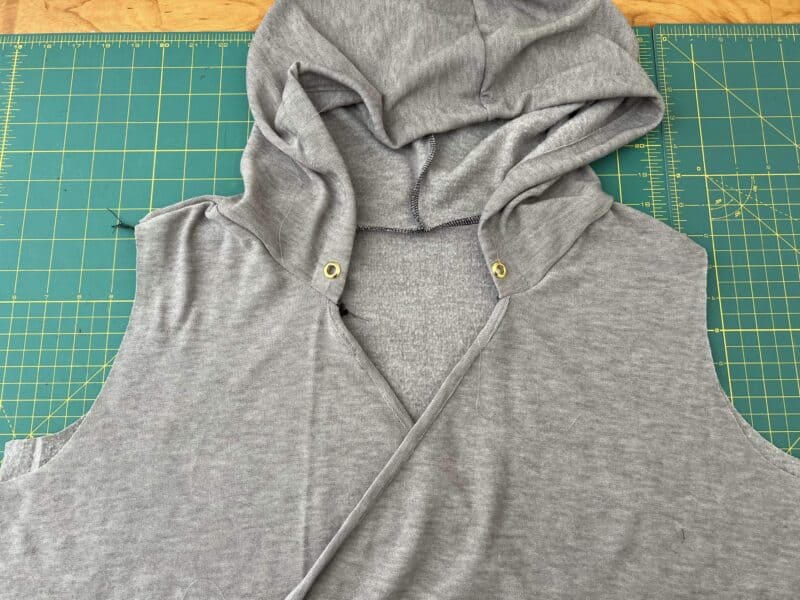


Finish up your Christina by following the Christina tutorial. That’s it – enjoy!!
-Willetta
We hope you love your new Christina pattern! Looking for the perfect fabric to use? For a limited time after the release sale, shop fabric that has been selected with the Christina in mind.

Leave a Reply