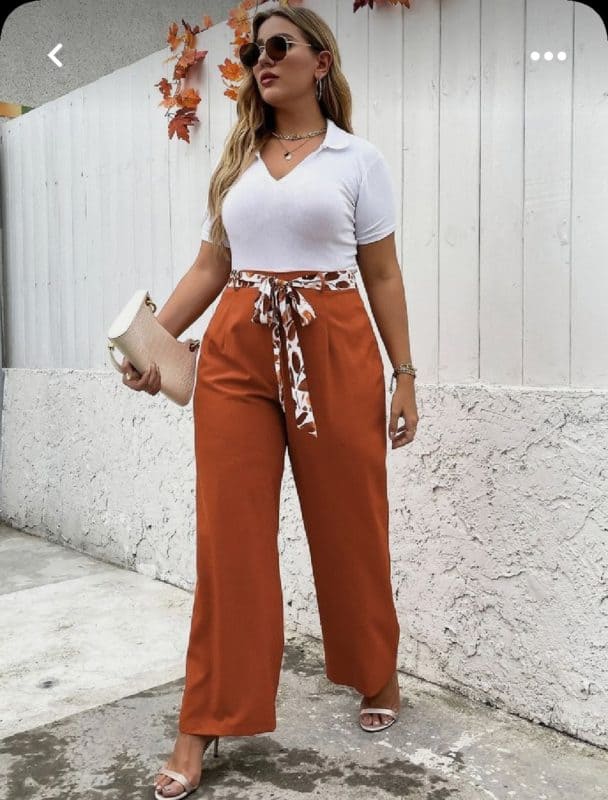
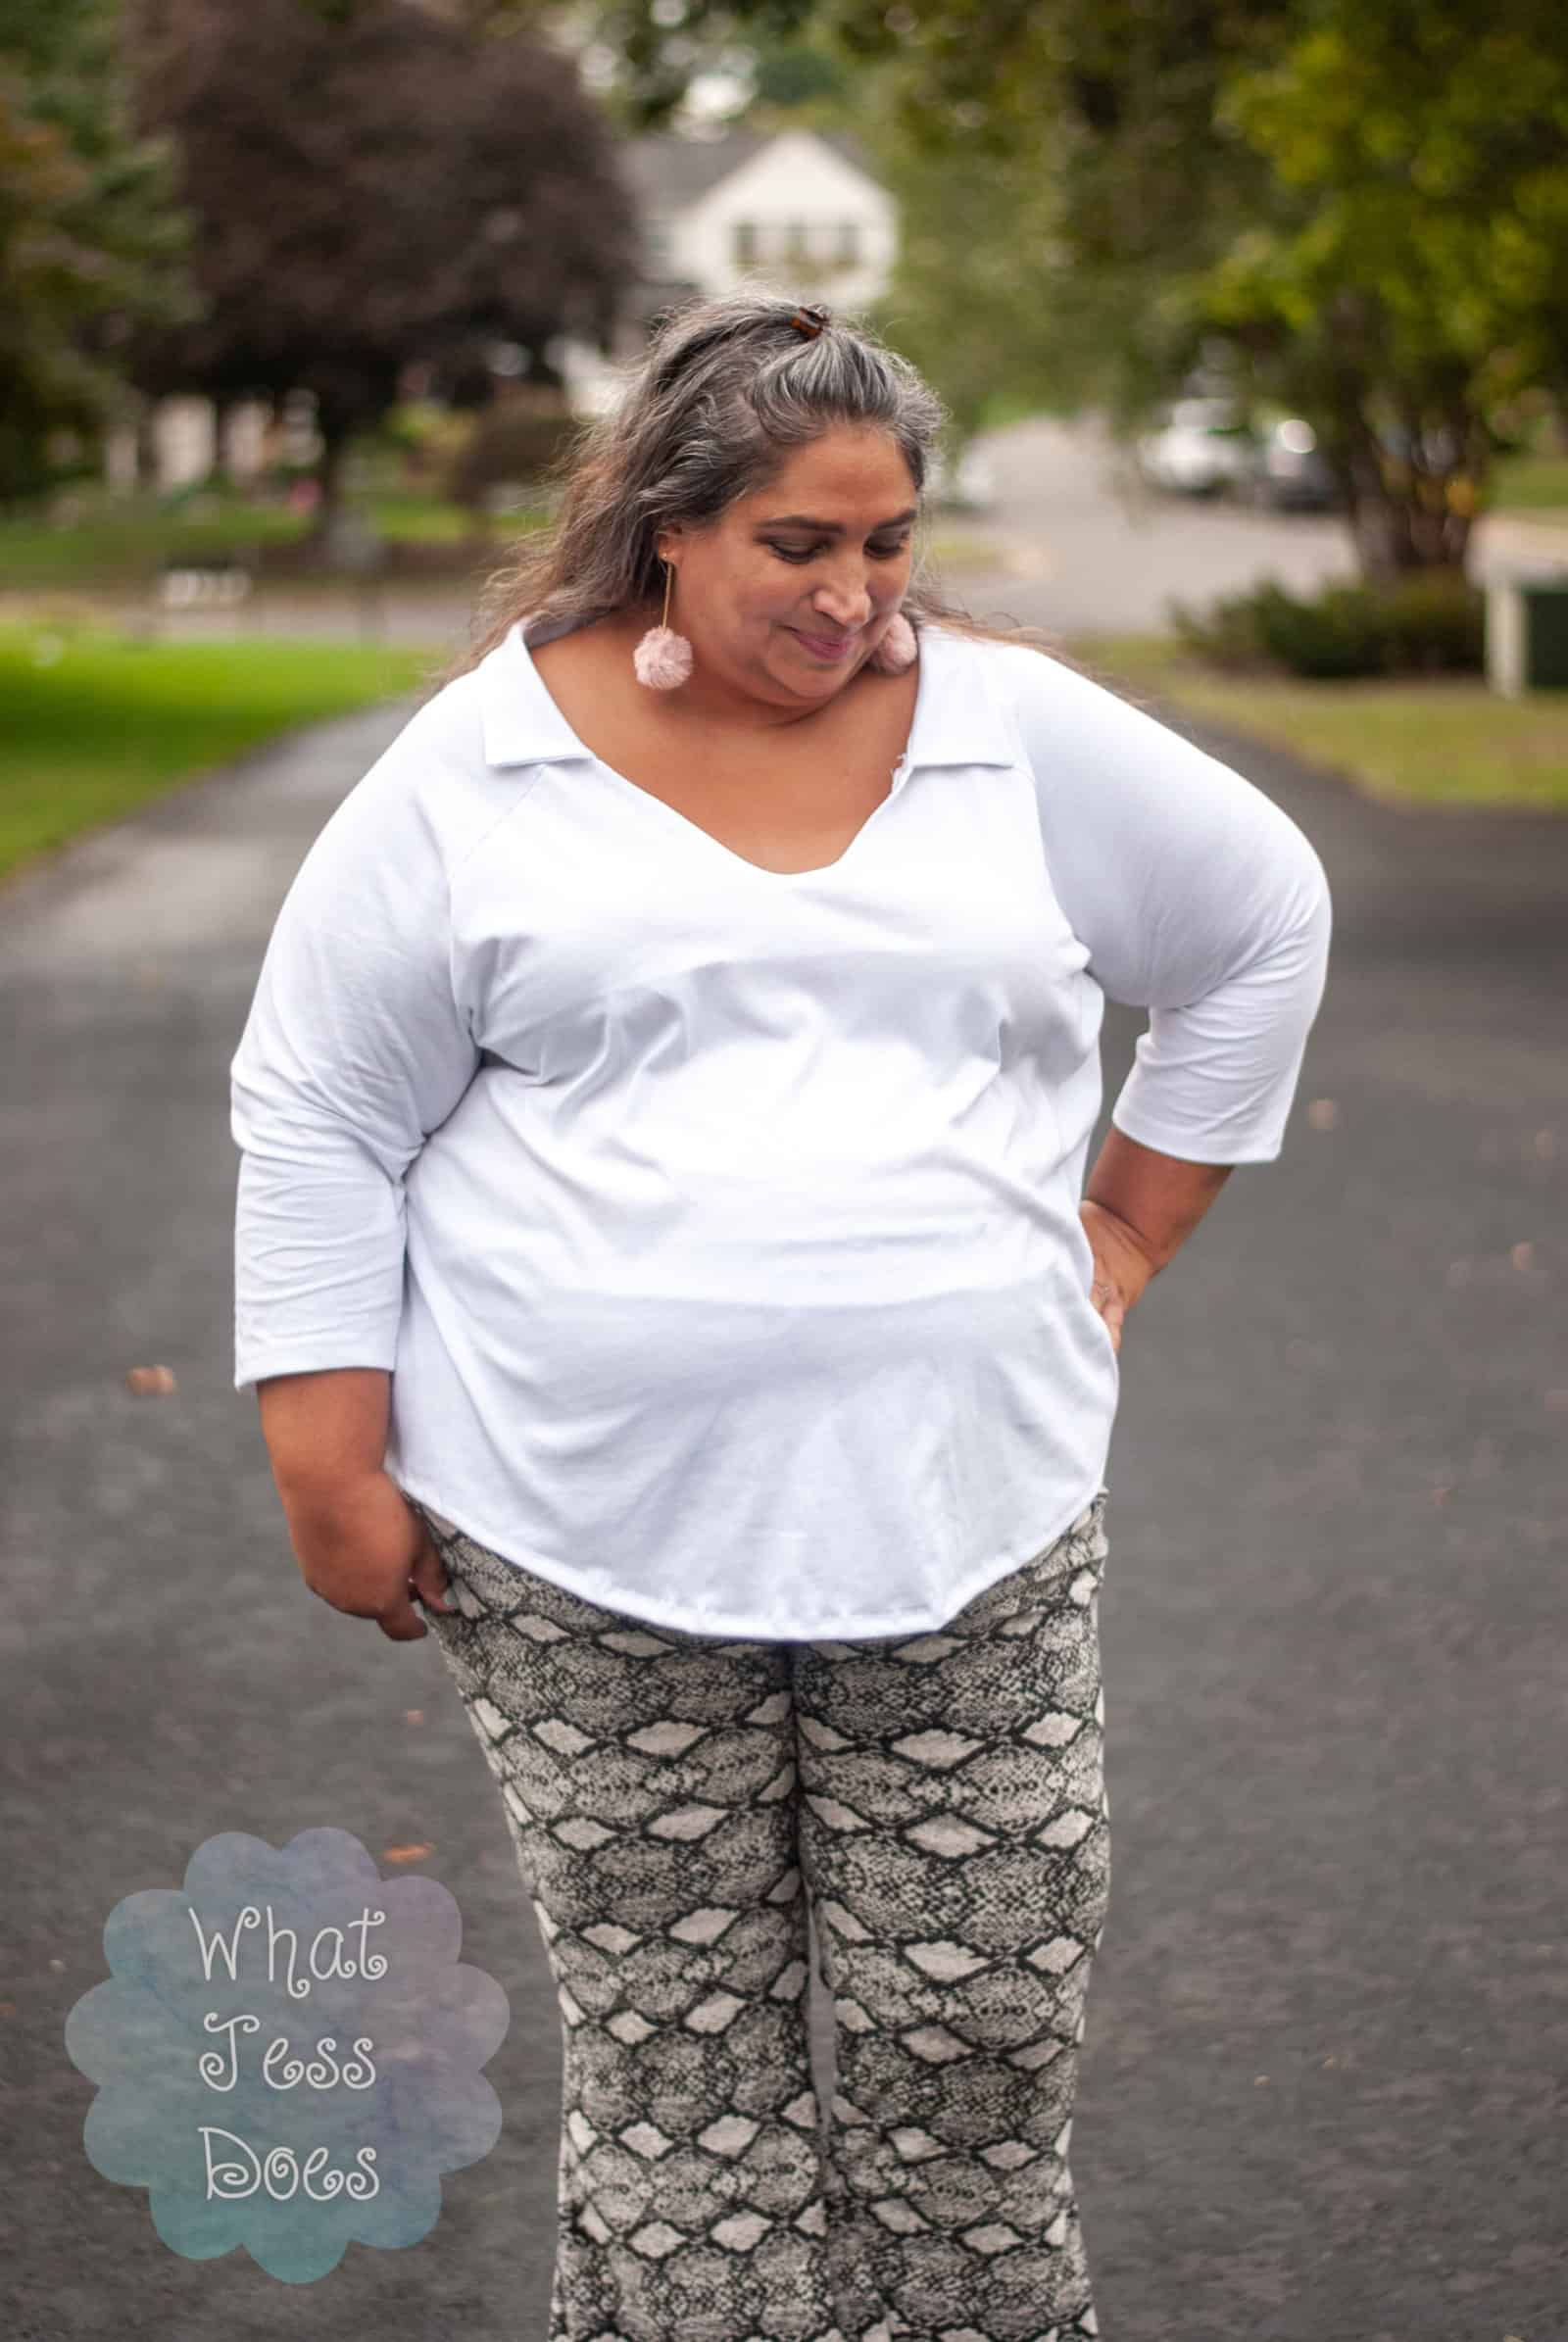
I saw this pic while perusing Pinterest recently. The top immediately drew my eye—a collar on a knit top is so simple yet so chic! Of course, the site was advertising the PANTS and not the top, so what’s a sewist to do?? Make your own! Obviously!
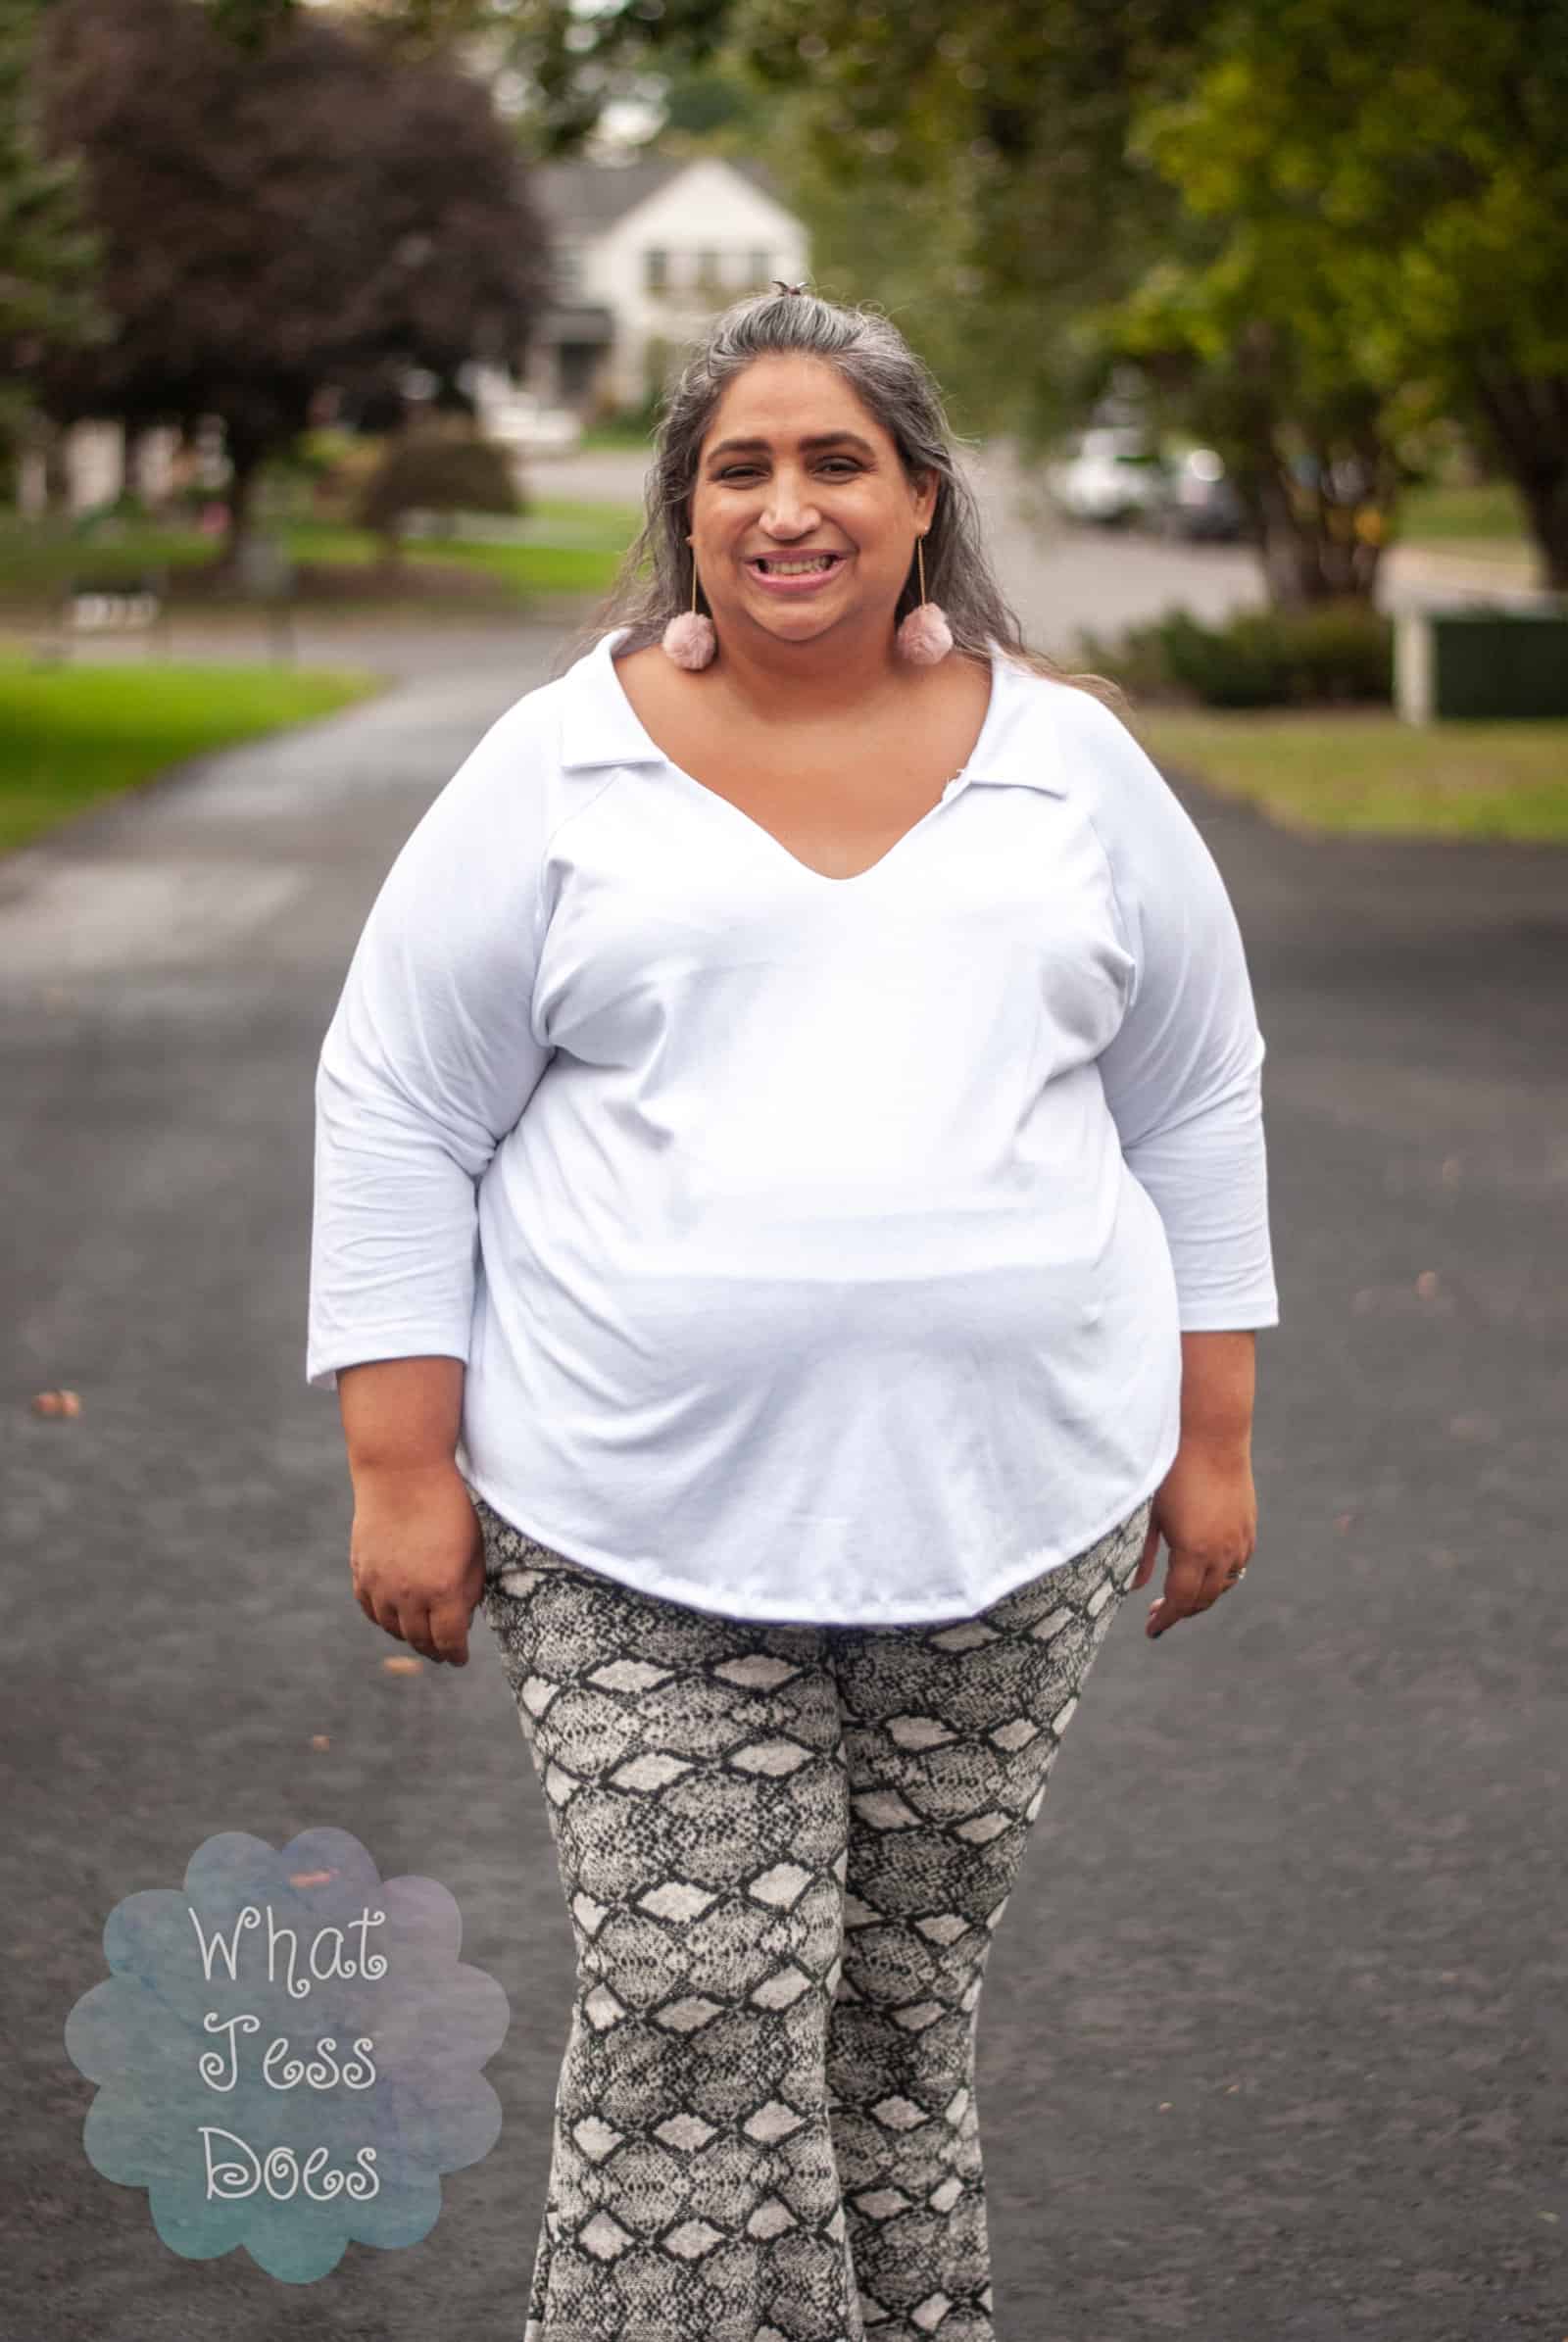
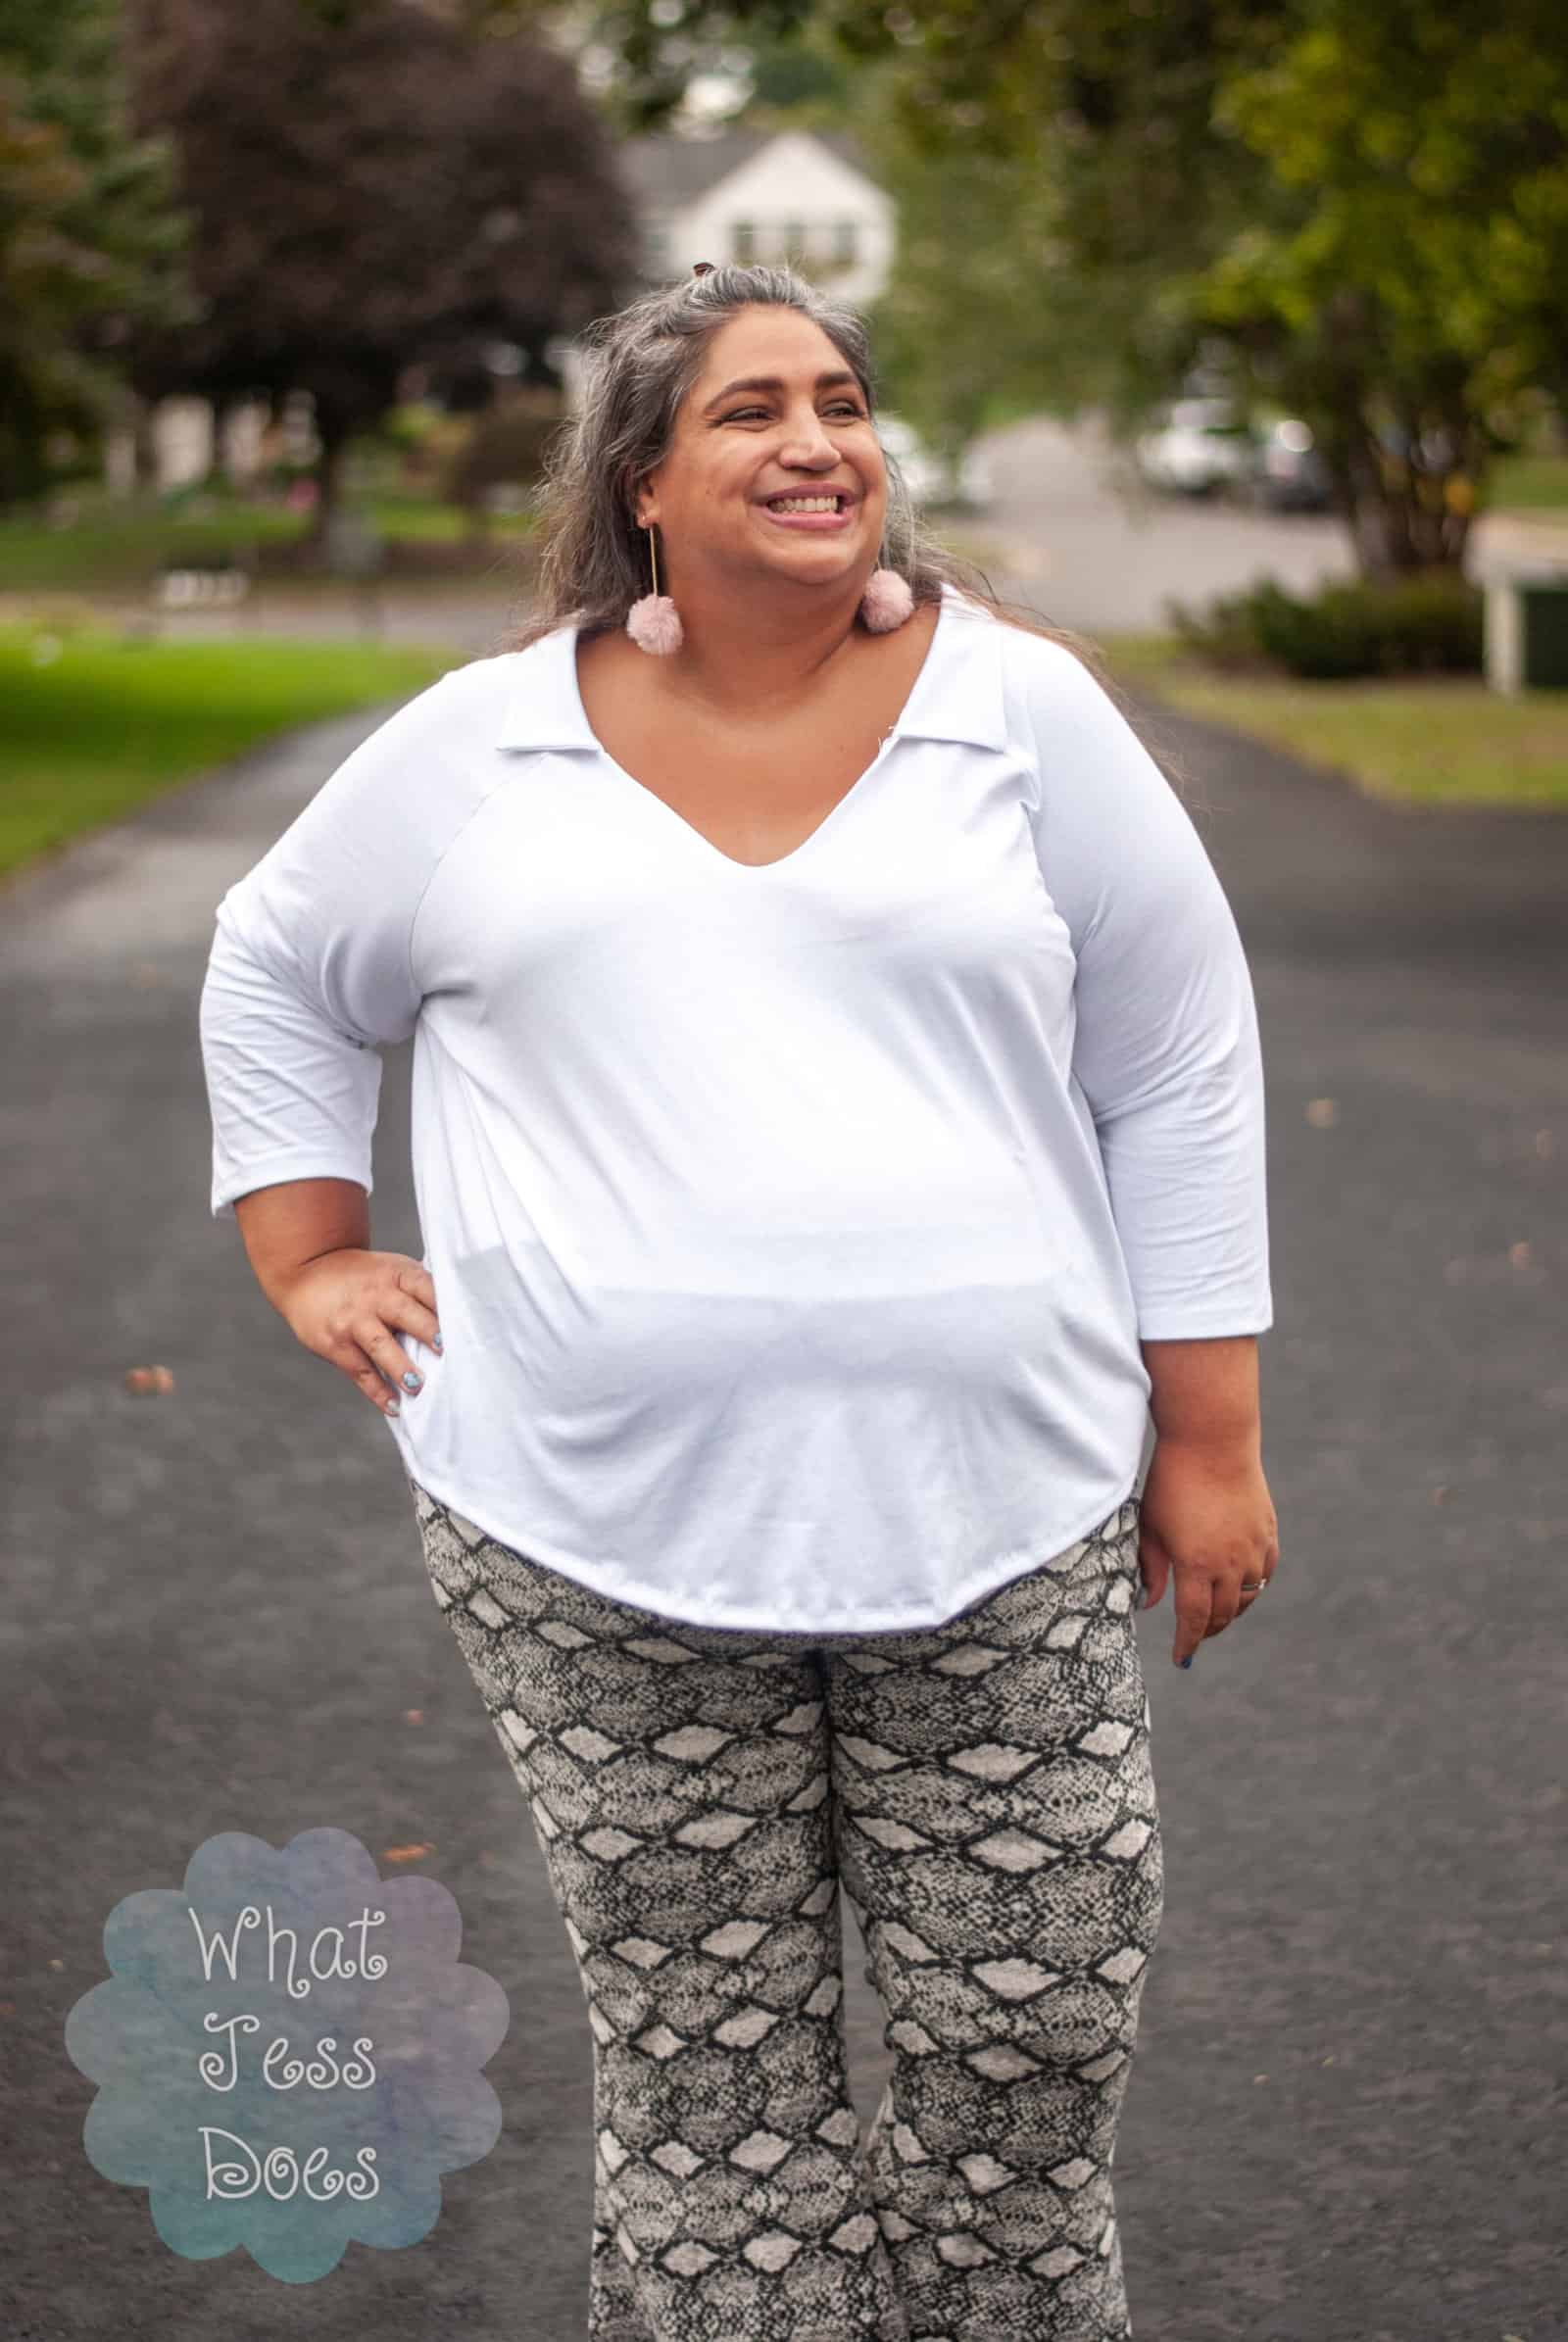
The basic top in my inspiration pic looked just like Rory, a raglan hoodie with a face v-neck. The inspo was a bit more fitted, but I opted for the looser fit of Rory. Just needed to grab a collar to complete the look. Luckily for us, the Made for Mermaids catalog includes Reese!
Now, Reese is a woven dress pattern, but I figured we could use the basic pieces to make it work! We just need the collar for this hack, but I see another hack in my future using the sleeve cuff pieces also (I ran out of fabric to make this top a long-sleeved top, so I didn’t try it this time). Originally, I was going to use the collar stand as well, and still might for the next one, but I wanted to figure out how to keep this as simple as possible.
Before we begin, let’s talk fabrics! I would definitely consider using mid-weight knit fabric for the bodice itself. You could use lighter weight knits, but it will be more difficult to get it to support and/or behave as a proper collar. I used a medium weight cotton lycra for mine and still had trouble. So, I’d stick with something slightly more stable for the shirt itself. For the collar, a heavier knit or even woven would work best. And most importantly, INTERFACING! I used knit interfacing here, but really wish I’d broken out the woven interfacing. Anything you can iron-on and wash would be perfect!
For the patterns itself, you will obviously need Rory for the top pattern pieces (front/back bodice, sleeves, front facing pattern pieces,) and Reese for the collar pieces (and sleeve if you choose to add those—you will follow the instructions for adding those in the Reese tutorial just as they’re written!) You do need the Rory hood piece but you’re just measuring that.
NOTE: As mentioned above, I originally cut the collar stand piece, but again, decided to keep it simple. You can totally install the collar as it is in the Reese pattern and it will look fab! I wanted to come up with a quicker, simpler way so I would actually do it again on future versions, and I feel like I got there with this method.
Let’s get started!
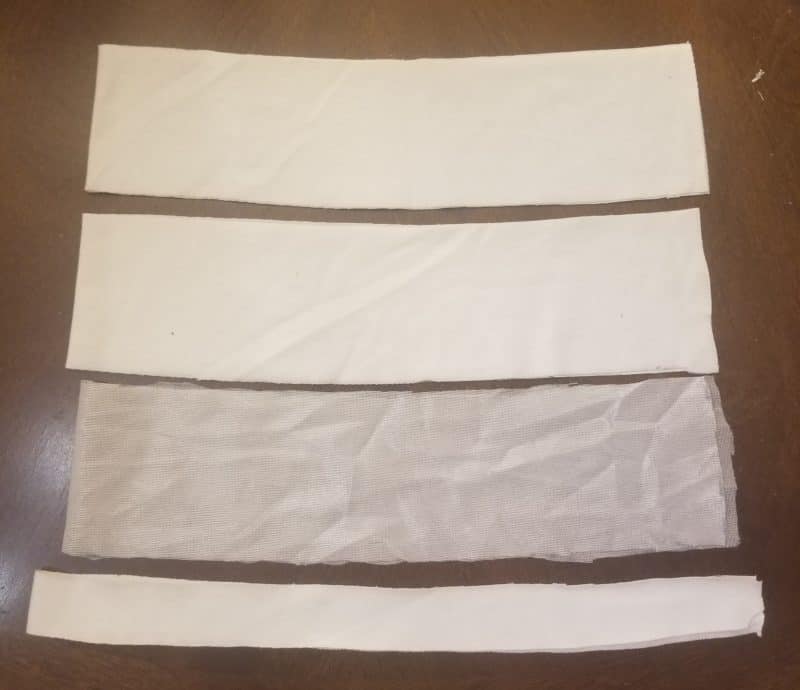
Measure the hood of Rory and cut a collar piece to match! This will be our baseline measurement for our collar. For my size (lilac) it was about 19.5”. So, I looked for the size of the Reese collar that matched that best, which ended up being a couple sizes bigger than my normal size. Since that put me at a size above the patterned range, I just moved my pattern piece off the fold a smidge to get the approx. 19.5” length that I got from the hood. Make sure you cut 2 collar pieces, plus 1 interfacing. You will also need a facing piece approximately 5/8” wide and the same length as the hood. OPTIONAL: You can add knit interfacing to your facing pieces for better holding power! Iron to the wrong side of the facing piece and you’ll be good to go!
Cut the rest of your pattern pieces out at this time. In total, you should have the following:
- front bodice (I used lower neckline but next time I’ll stick with higher!)
- back bodice
- sleeves
- front neckline facing
- collars (2 fabric, 1 interfacing)
- back interfacing (5/8” wide stripe the length of the hood for your size, as mentioned above)
- OPTIONAL: Interfacing for front and back facings
Now, it’s time to assemble our collar.
The instructions for this are in the Reese tutorial. Iron your interfacing on to one of your collar pieces, then sew both right sides together. Clip corners, turn right-side out, push corners out well (I used the corner of my sewing ruler), and PRESS! This is one time when I will INSIST you press your pieces. OPTIONAL: topstitch with a straight stitch around the edge of your collar.
- Assembled collar and back neck interfacing (it is longer to make sure it reached the front facing piece. Excess was trimmed once sewn.)
Sew the rest of your top! You really just need the sleeves seams sewn at this point, but I usually do the whole shirt first, and save the neckline for last.
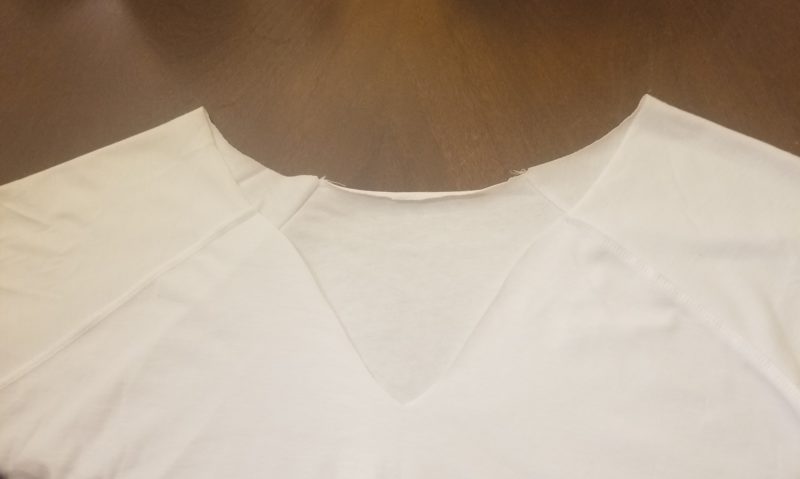
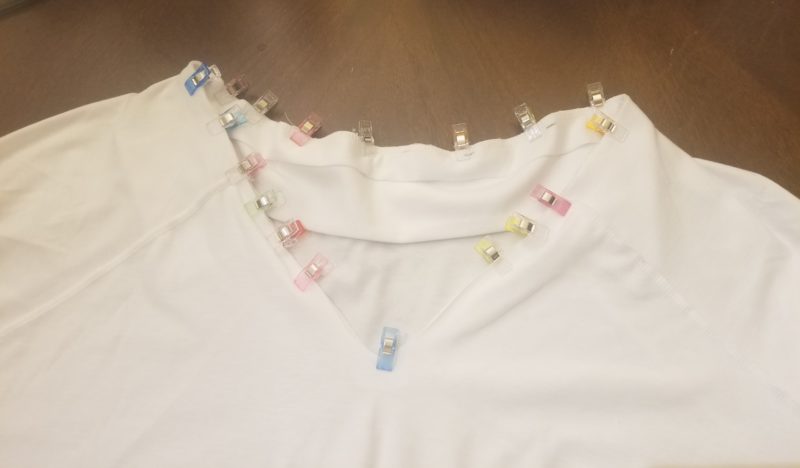
After constructing the shirt, we’ll attach our facing.Pin/clip your facing pieces right-sides together with your front neckline. Then pin/clip the back neckline facing to the back/sleeves. They should meet pretty closely to the front facing, but they may overlap a bit. Just match up the ends where they meet or overlap, pin/clip, sew, and trim any excess. Do not sew to your top yet, that’s coming up! You can leave the front pinned/clipped, but remove the back facing for a sec.
Next, we’ll want to add our collar. We are still right sides out with our top, don’t forget! With the back neck up, add your collar piece, centered, wrong side down (whichever you decide is the wrong side,) against the right side of the back. On top of that, add your back facing wrong side up, sandwiching the collar between the right side of the shirt and the right side of the facing. NOTE: If you find your collar wanting to shift around, you can baste it to the back neckline.
Now the fun part—sew the neckline on! I believe the seam allowance for this part of top is ¼” and that worked well for me. I started in the middle of the collar and went around from there.
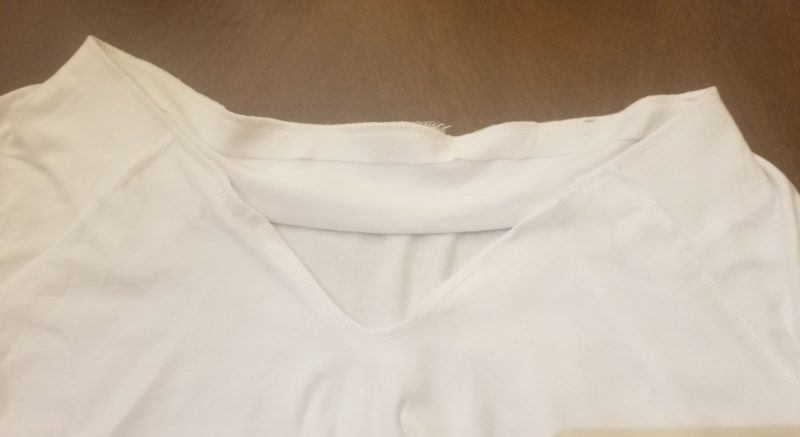
Once the collar is on,, go ahead and flip that facing down to the wrong side of the top and PRESS!
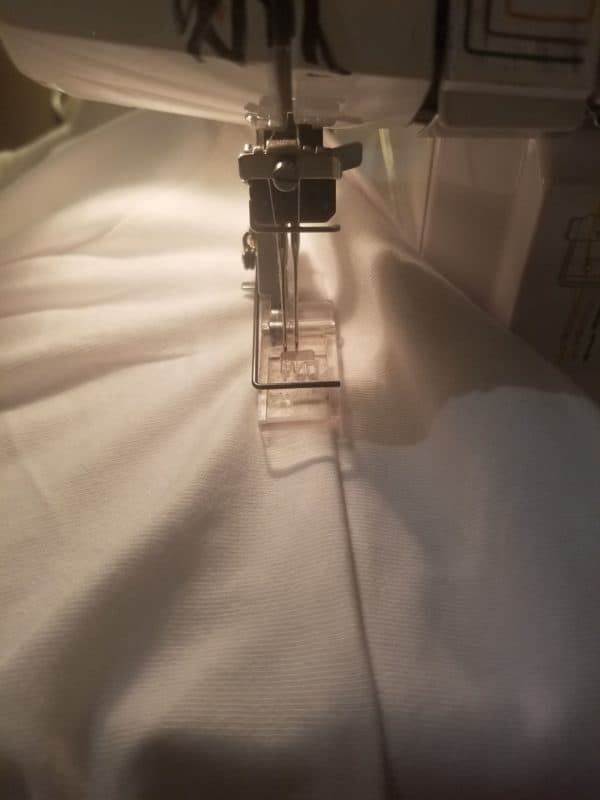
After pressing, you’ll want to topstitch all around. Again, I started in the middle of the collar and went around, pretty close to the neckline but not right on top of it.
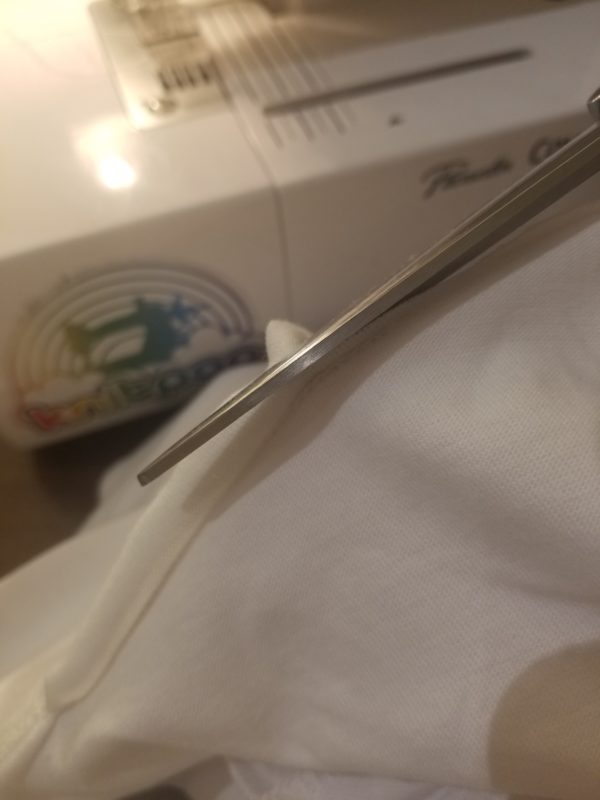
OPTIONAL: Trim your facing to the stitches, but do so carefully!
Finally, press and hem (if you haven’t already!).
That’s about it, folks! If you are having trouble with your collar staying put, you can press again, try steaming, or even add a couple of hand stitches to the underside of the collar to secure it.
Hope you give it a shot and love how it comes out! I know I used a lot of words but it really is quite easy to do! And I would LOOOOVE to see your pics if you try it, especially if you do the sleeves also! 😊
Happy sewing!
~jess w.





Leave a Reply