
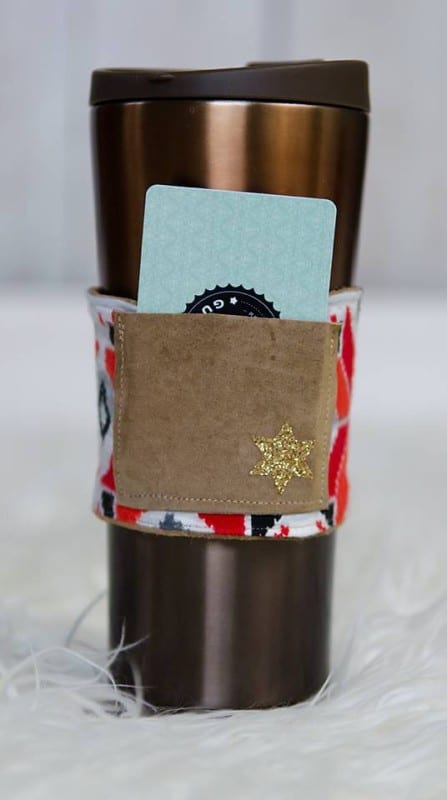
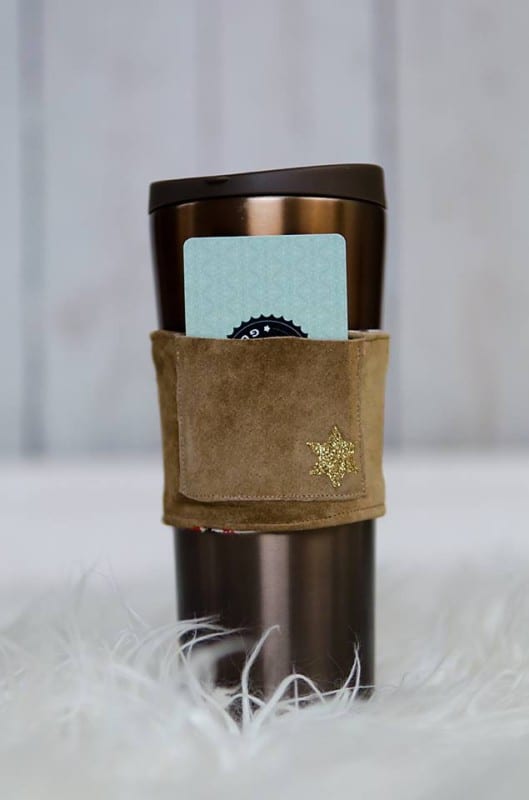
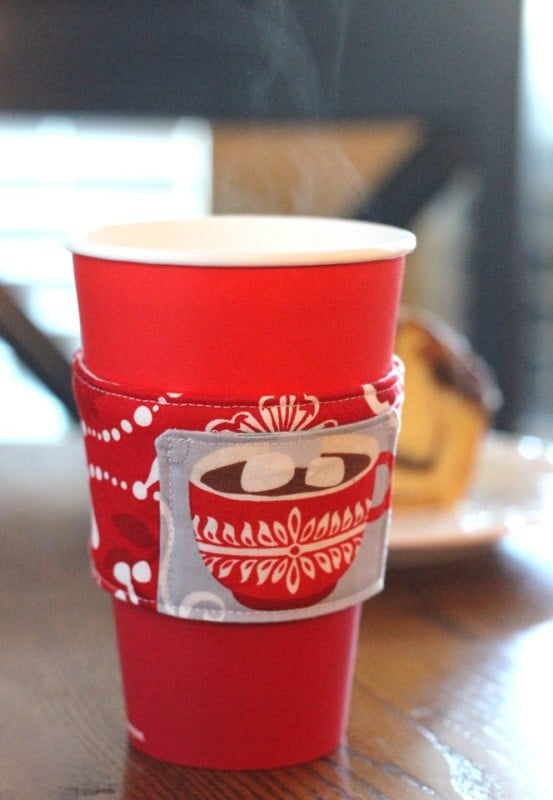
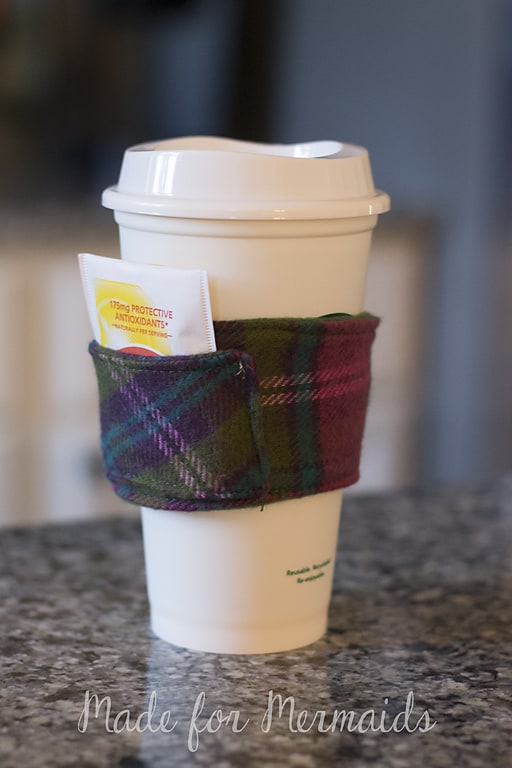
As you know, #teammegan LOVES coffee. Drinking it… giving it for gifts… did I say drinking it? 😉 Here’s a tutorial for making your own coffee cozy sleeve. This fits the reusable cups from Starbucks perfectly! (You can pick one up for about $2.) We’ve also added a pocket which is the right size for a gift card or tea bag! This is a great scrap buster, stocking stuffer and gift!
Go ahead and download your FREE pattern here!
Supplies:
*Fabric- any woven, quilting cotton, flannel or fleece
*Fusible fleece
*Velcro, Snaps, or Button for closure (Pick one!)
Step 1: Cut out your pattern pieces
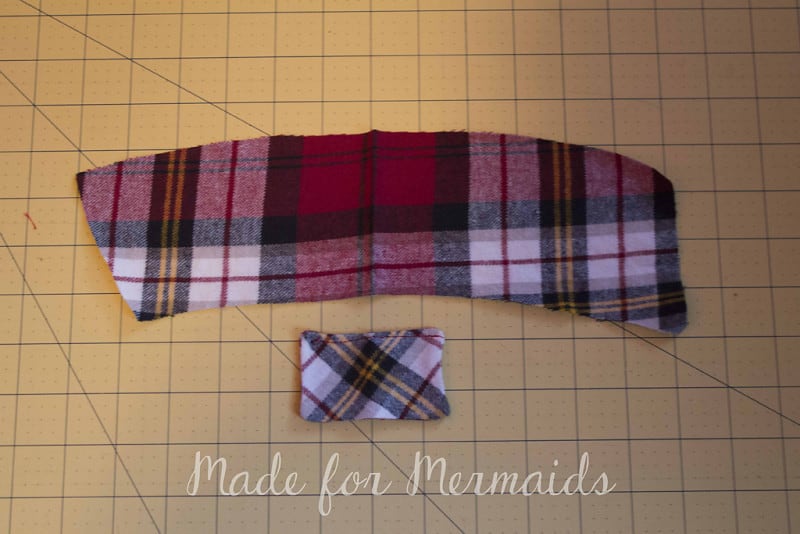
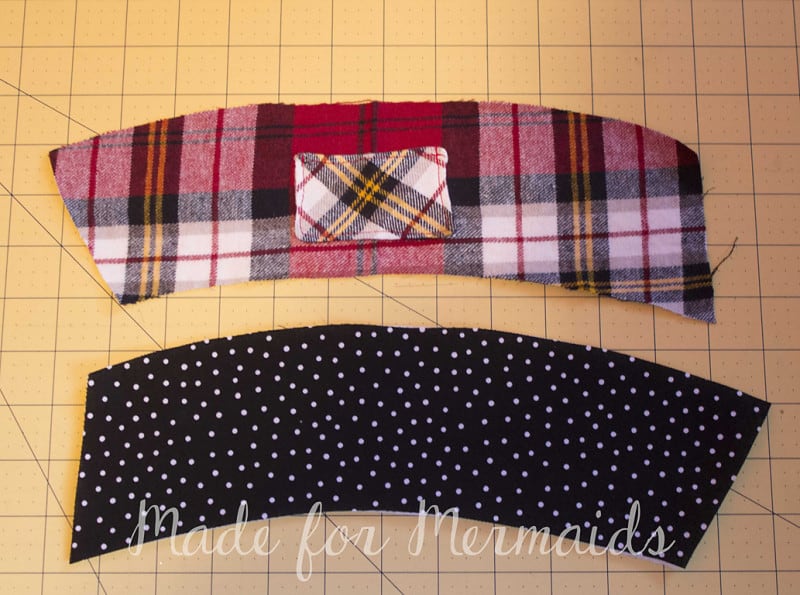
You will need to cut 1 front, 1 lining (mirror image), 1 fusible fleece, 2 pockets (optional). TIP: Don’t have any fusible fleece on hand?? No problem! Just use regular fleece for your lining fabric and you can skip the fusible fleece/step 4!
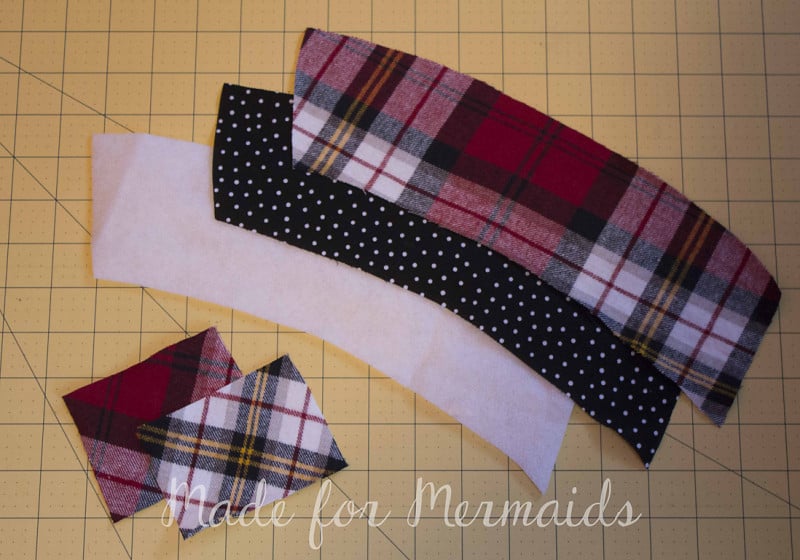
Step 2: Optional Pocket
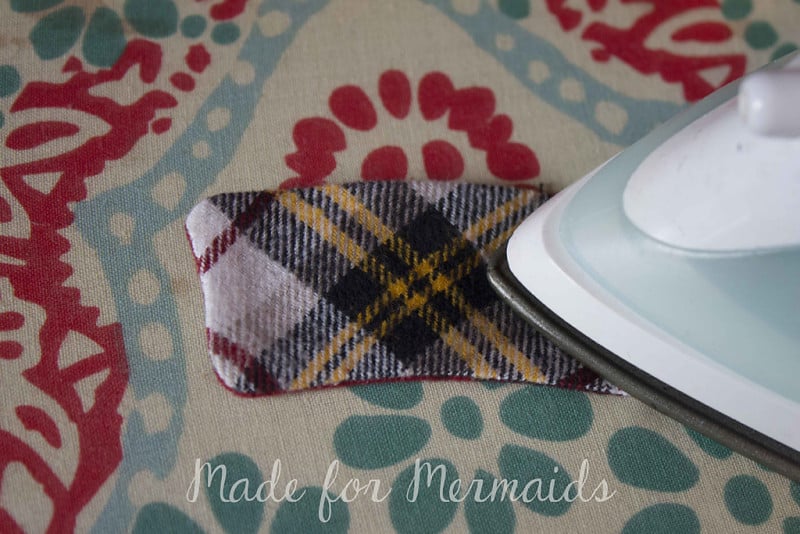
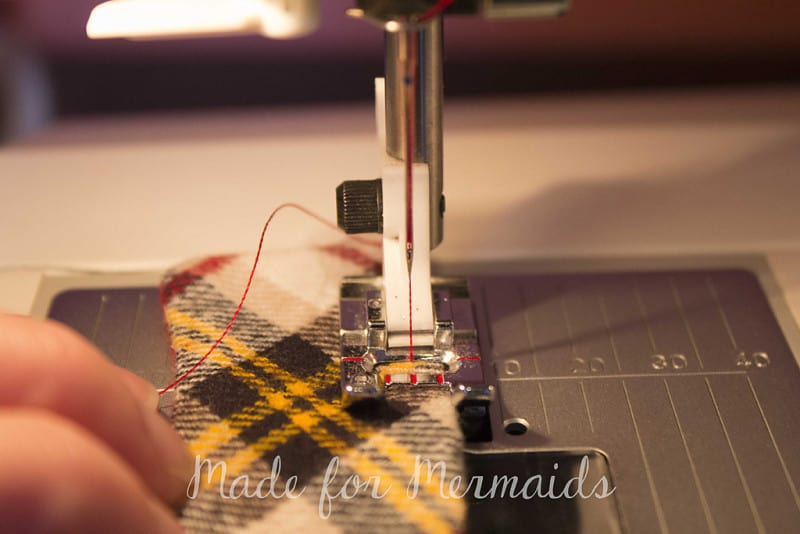
Place pocket pieces with right sides together and pin. Stitch around all four edges, leaving a 1-2″ opening for turning.
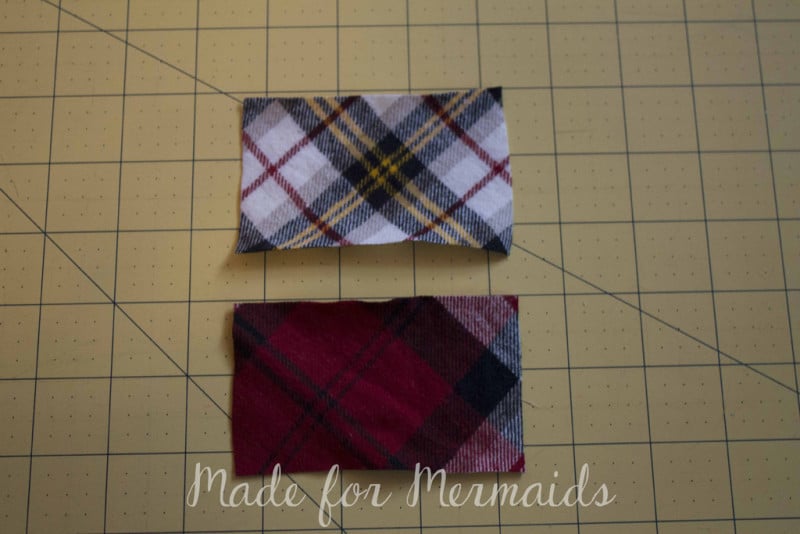
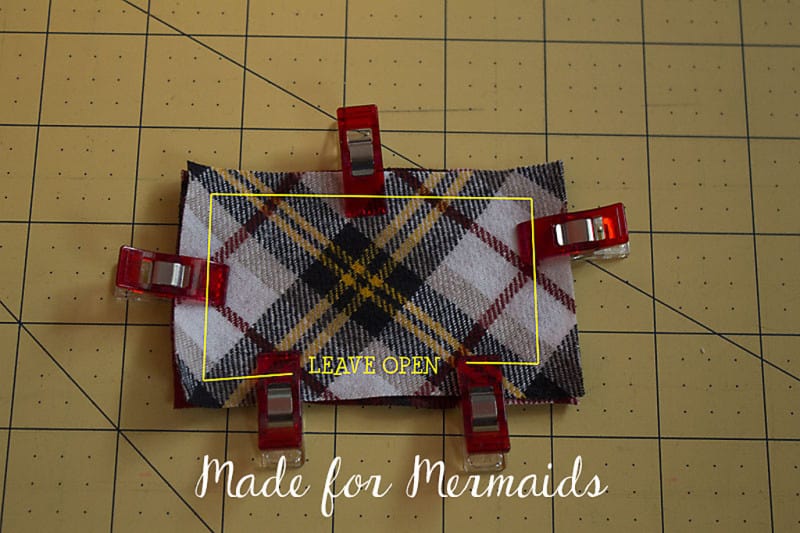
Clip corners and trim seam allowance to 1/4″. DO NOT TRIM THE OPENING!! Turn and Press well. Optional: top stitch the top edge of your pocket. Set pocket aside.
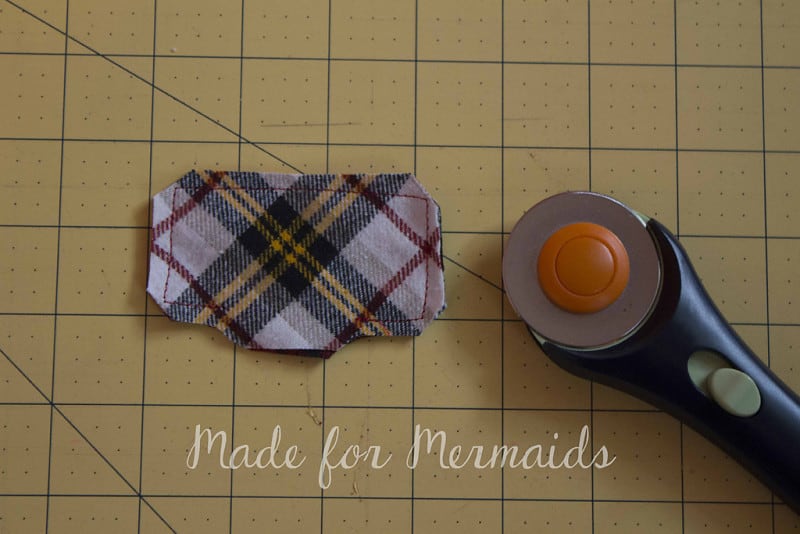
Step 3: Adding pocket
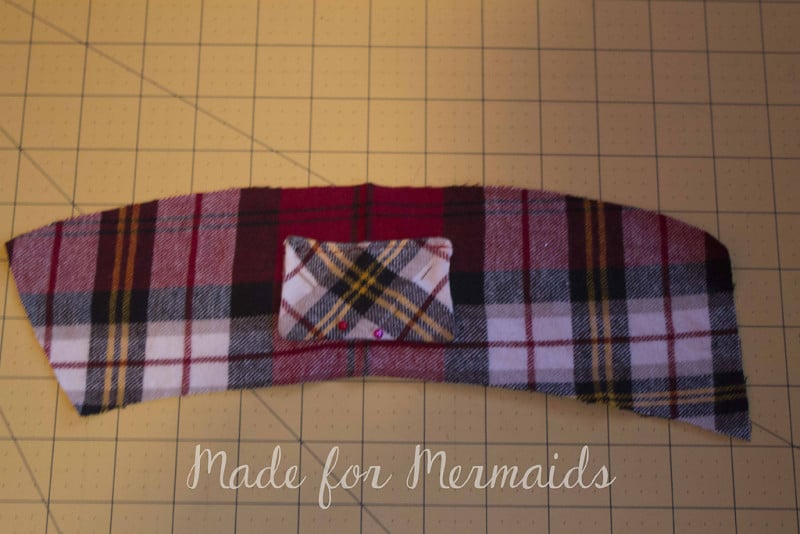
Press front and pocket in half to find center.
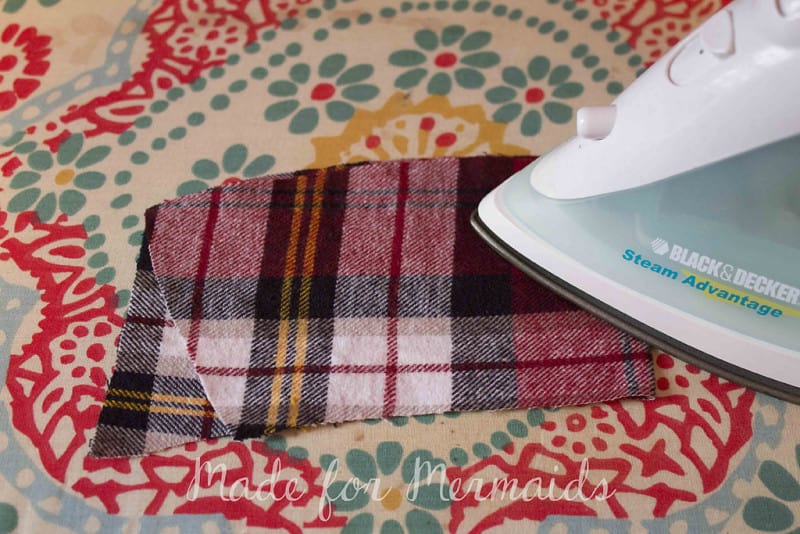
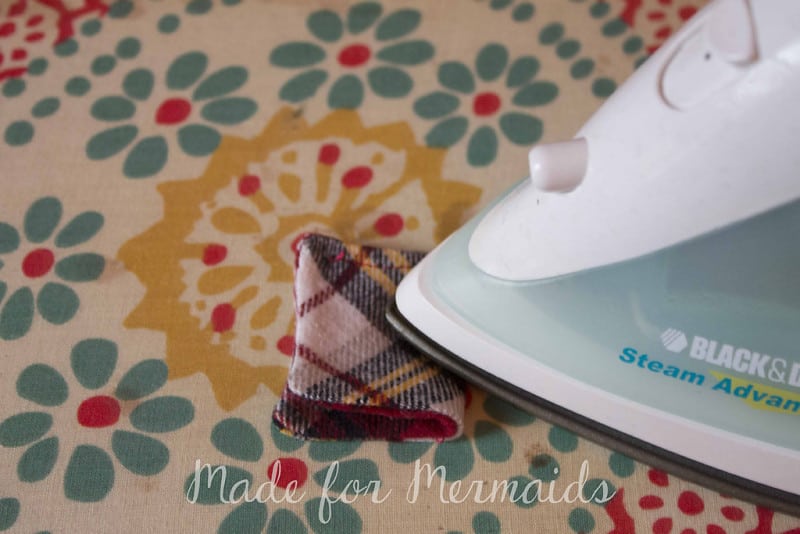
With right sides up, line up pocket and front creases. Pin in place. I like to place my pocket closer towards the bottom… but don’t put it too low! Remember your 1/2″ seam allowance! Edge stitch your pocket in place along the two sides and bottom edge, closing up the opening.
Step 4: Adding fusible fleece
***Remember… if you chose to use regular fleece as your lining. You can skip this step!!***
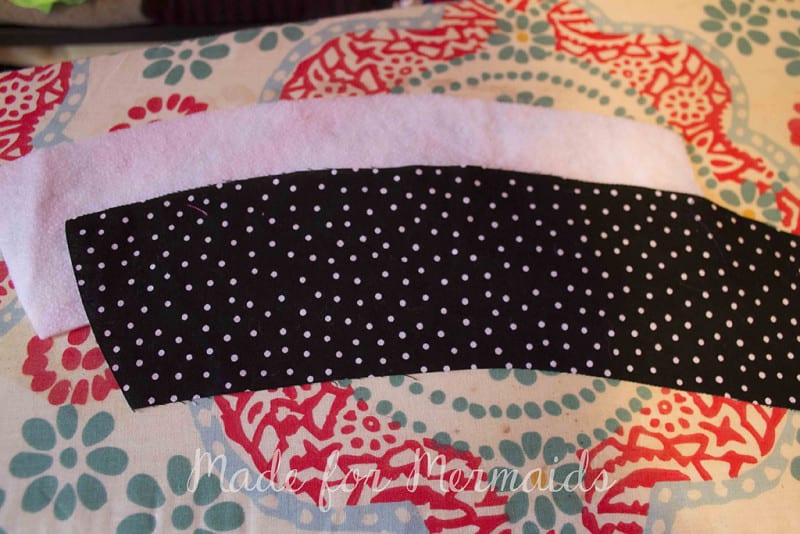
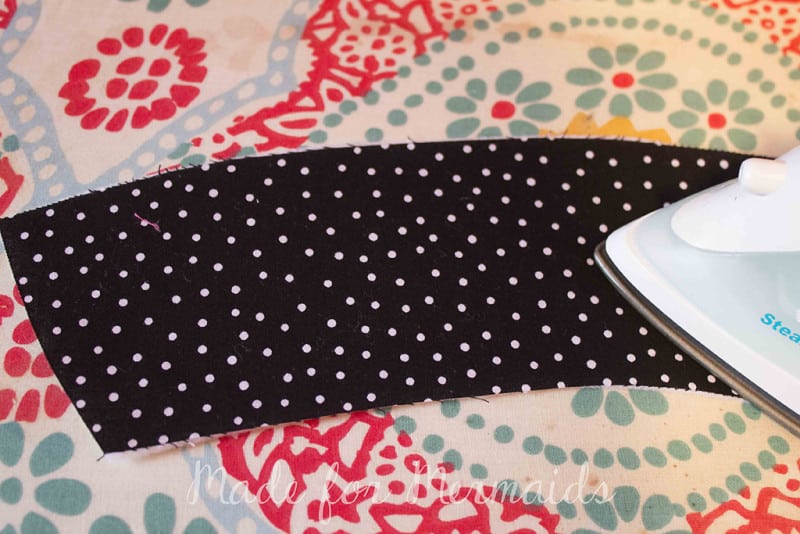
Iron on the fusible fleece. It doesn’t matter if you add it to the front or lining fabric. Whichever way you cut it, will work just fine. I happened to cut my fusible fleece so it matches my lining fabric.
Step 5: Constructing the cozy
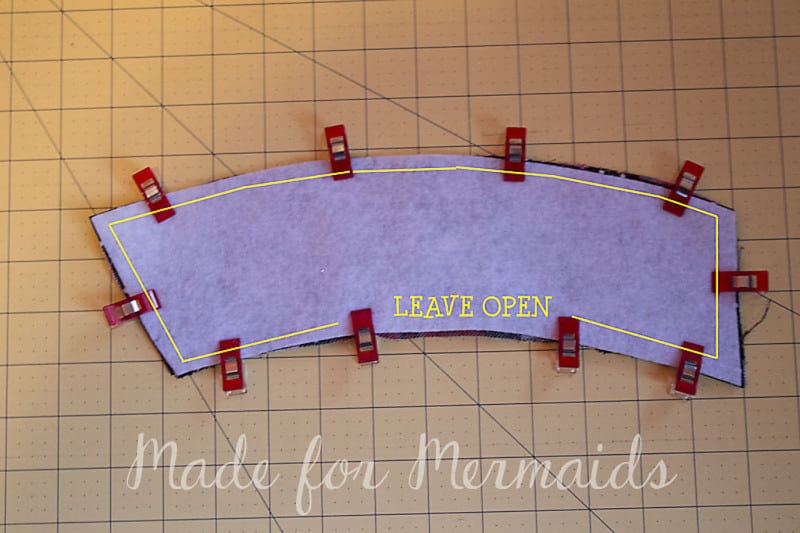
Place front and lining pieces right sides together. If your pieces don’t match up, then you may have forgotten to cut mirror images! Pin. Stitch around all sides, leaving a 1-2″ opening in the bottom center for turning.
Clip corners and trim seam allowance to 1/4″. DO NOT TRIM THE OPENING! TIP: You can use pinking shears to clip and trim at the same time!
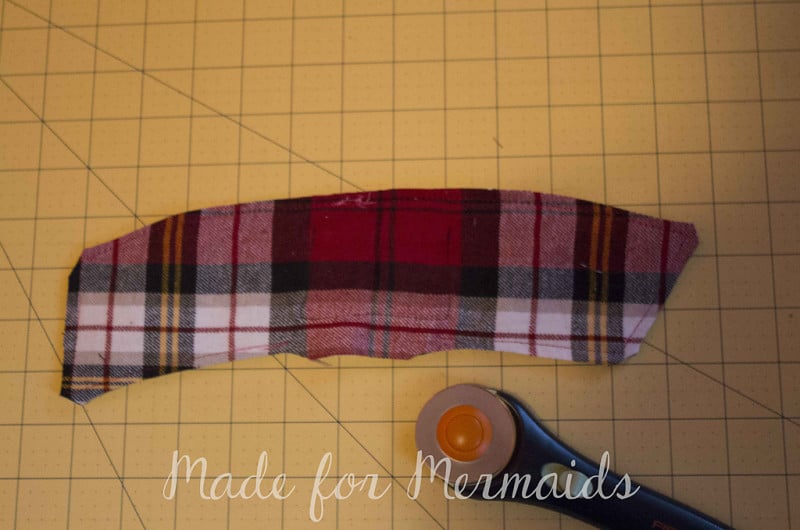
Turn and press well. Use a point turner or chop stick to push the corners out.
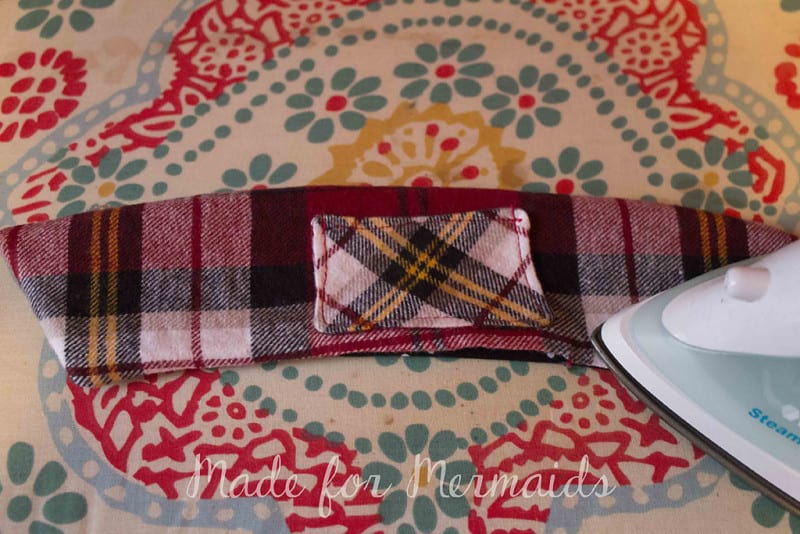
Step 6: Adding a closure
You can use velcro, snaps, or a button hole as a closure for your cozy. Some of our testers used a button and elastic loop closure. Wrap your cozy around your mug to determine placement.
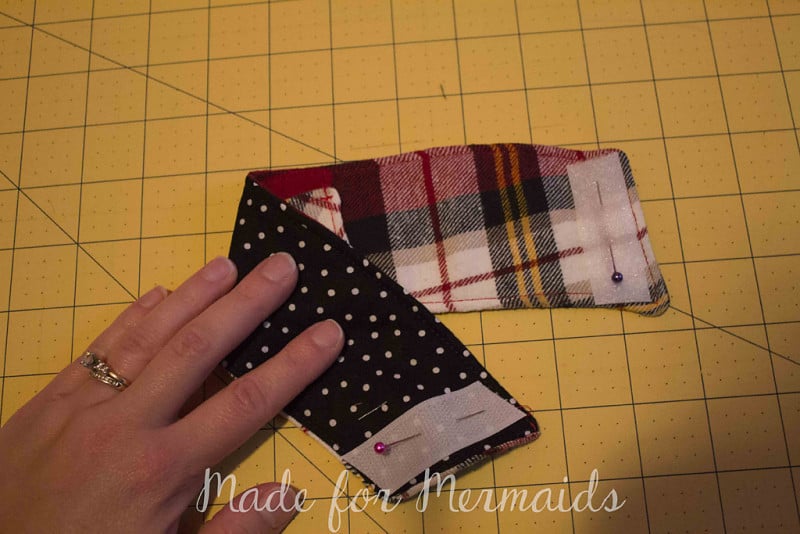
Velcro…
I used 3/4″ velcro. Cut your velcro so it is about the length of a short side. You will stitch one part of velcro to the main fabric, and the other will be stitch to the other end on the lining side.
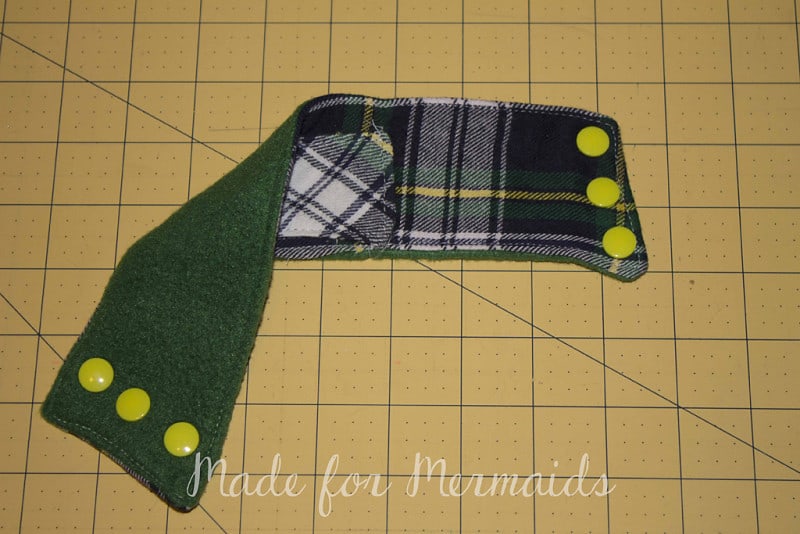
Snaps…
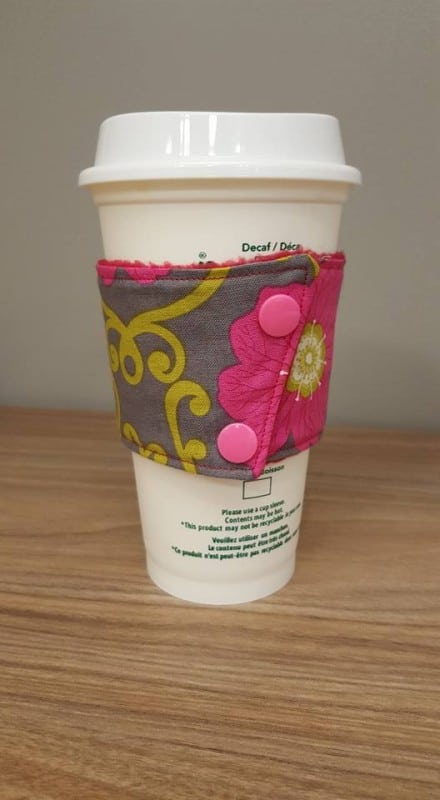
Use 2 or 3 snaps on the end main fabric. This will be the side that is seen. Wrap around cup and use a pen to mark where the other side of your snaps will go.
Buttonhole…
Make a buttonhole on one end. Wrap cozy around cup and use a pen to mark where your button will go. Stitch button on other end.
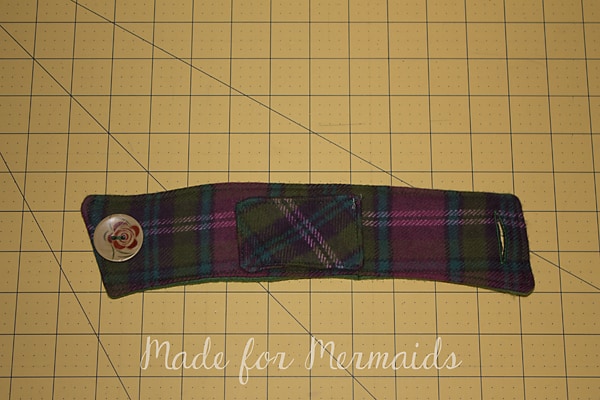
There you have it! I add a gift card, reusable mug and it makes the perfect gift for teachers, coaches, and all of your coffee or tea-loving friends and family! Here’s a coffee cozy montage from our fabulous testers:
Head over to the facebook group and share when you’ve sewn one or 10 😉 Don’t forget to check out the other 12 days of Christmas Freebies!
M4M’s 12 Days of Christmas Freebies
December 1 – 12, 2015
Day 1 – Mermaid Tail Blanket
Day 2- Tiffany Collar
Day 3- Sleep Masks







Love this! So perfect for that bunch of pretty scaps that I always swear I’ll do something with.