This post was created in partnership with Cricut. All opinions are my own. Affiliate links in post.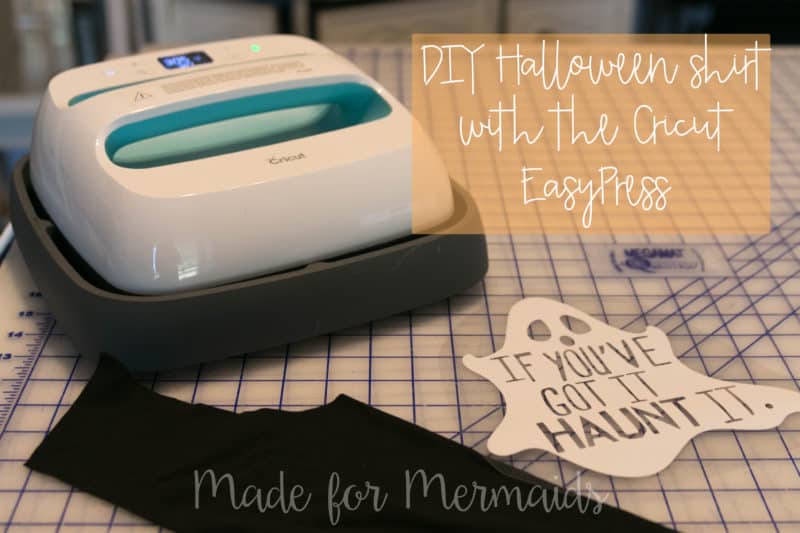
I’m doing a quick tutorial on how to make this adorable Halloween shirt today! Of course you can use the same tips to make ANY kind of HTV shirt you would like 😉

I used the new Kourtney knot pattern paired with the Bonny leggings. Such a cute, quick and practical outfit. My daughter wears this, or a similar combo, several times a week. I got this ADORABLE cut file from my friend Katy at Thread & Grain and it’s actually part of her Feature Friday and on sale!! HEYY! Use the code “FEATUREFRIDAY” to get a 30% off discount {ends tonight at midnight}. 


Now on to the shirt! I’m using the new Cricut Easy Press![]() on my shirt. I have a live demo on it {here}, with questions and answers in my FB group if you want to see! The first thing you do is cut out your pattern. I highly prefer to add HTV before sewing. If for any reason you mess up, you don’t have to toss an entire sewn outfit, just 1 piece. I also find it easier for placement and just pressing in general. Cut your HTV and start up your EasyPress so it can heat up. Cricut includes a cheat sheet with time and heat setting with the EasyPress, so just follow that or click here {I found one online, bc I MAY or may not have lost mine immediately…}.
on my shirt. I have a live demo on it {here}, with questions and answers in my FB group if you want to see! The first thing you do is cut out your pattern. I highly prefer to add HTV before sewing. If for any reason you mess up, you don’t have to toss an entire sewn outfit, just 1 piece. I also find it easier for placement and just pressing in general. Cut your HTV and start up your EasyPress so it can heat up. Cricut includes a cheat sheet with time and heat setting with the EasyPress, so just follow that or click here {I found one online, bc I MAY or may not have lost mine immediately…}.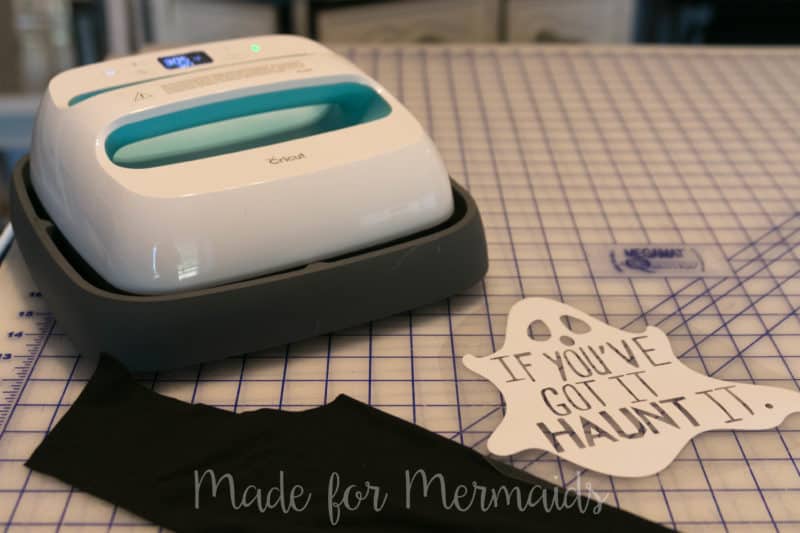

Next I lightly press my shirt to find the center. I guess you could eyeball it, but this takes a few seconds, so I don’t skip 😉 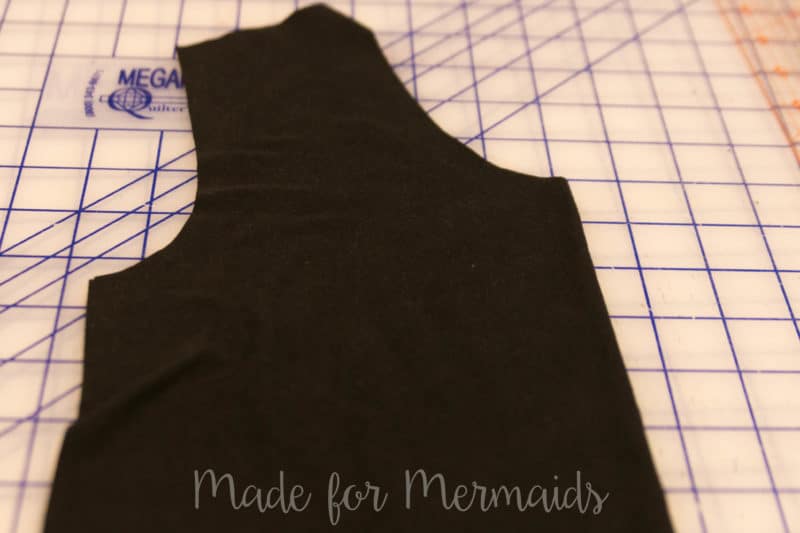
For my HTV placement, I use the armhole curve as a guide. I think in general it gives me the best idea on where I want my design. For this one, it’s a few inches under my center neckline. I gently fold my htv in half to find the center and line it up with my center crease on my shirt.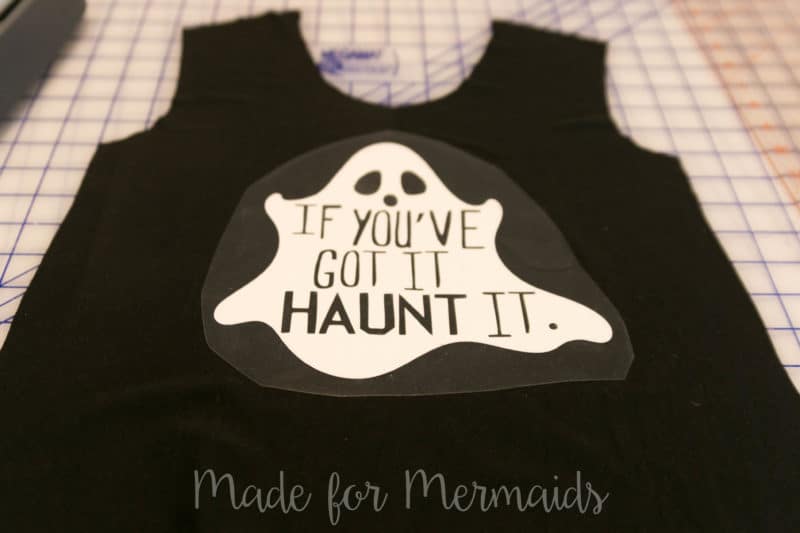
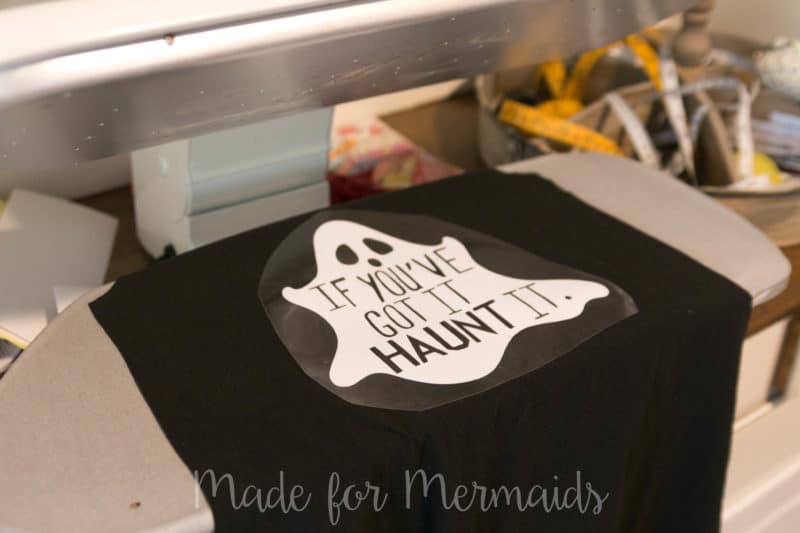
Now on to pressing. A great thing about the Easypress is it’s very lightweight and easy to get out if you don’t have a lot of space. A negative is that it doesn’t come with a mat or anything for you to actually press on. It recommends the following {directly from Cricut site}-
What to look for:
- A firm, flat surface for your foundation. A waist-high table is perfect.
- Great examples you have at home: craft table, kitchen table, wood table, butcher block, marble or wood cutting board.
- A suitable protective mat/layer. The layer on top of your foundation must be heat-resistant, have good insulation properties, and wick moisture.
- The ideal example you likely have at home: a fluffy cotton bath towel with even texture (no embedded patterns), folded so it’s about 3 inches thick.
What to avoid:
- Ironing board. It has an uneven surface and it’s not solid or sturdy enough to allow for gentle pressure.
- Corrugated cardboard. When pressed, it creates an uneven surface.
- Silicone baking mats/aluminum foil. Neither provide insulation and both get dangerously hot.
I tried my cutting table with a towel and it did not work well. So I pressed on my heat press surface. I think if I had a tile to place it on, it might have worked better. 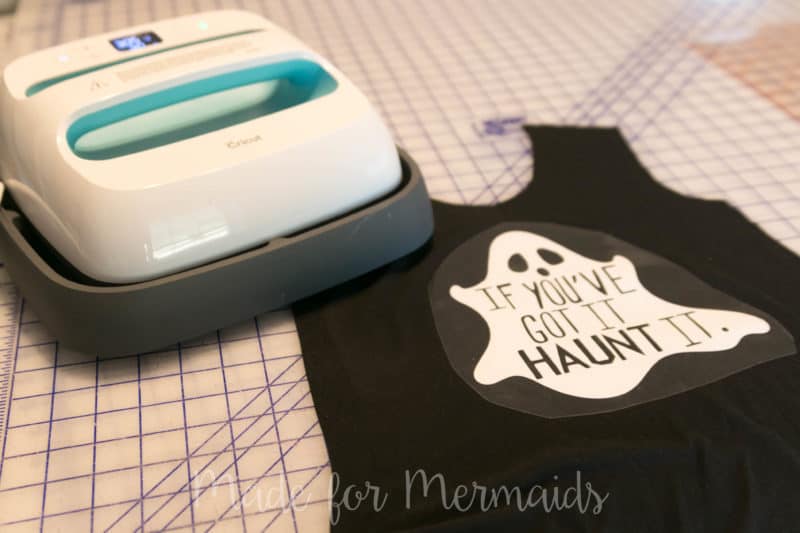
I actually carefully let my daughter help press it and she was so excited. I honestly NEVER let her around my heat press or even in my office when it’s on- it scares me to death- but I needed more hands for this post and my husband was at the Fire house- sissy none the less was excited to help- even for a few seconds. You press the Cricut symbol button and the timer starts. Apply light pressure while the timer is on. It beeps and you remove the press. The instructions say to apply and press on each side of your HTV. So you flip and press again on the wrong side.

Next peel your plastic from the HTV. Now just construct your pattern per your tutorial and Viola, the perfect Halloween shirt 😉 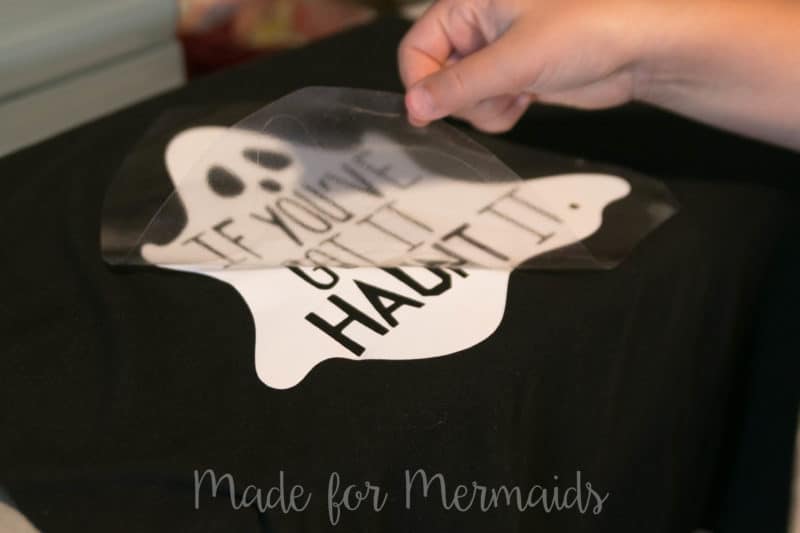
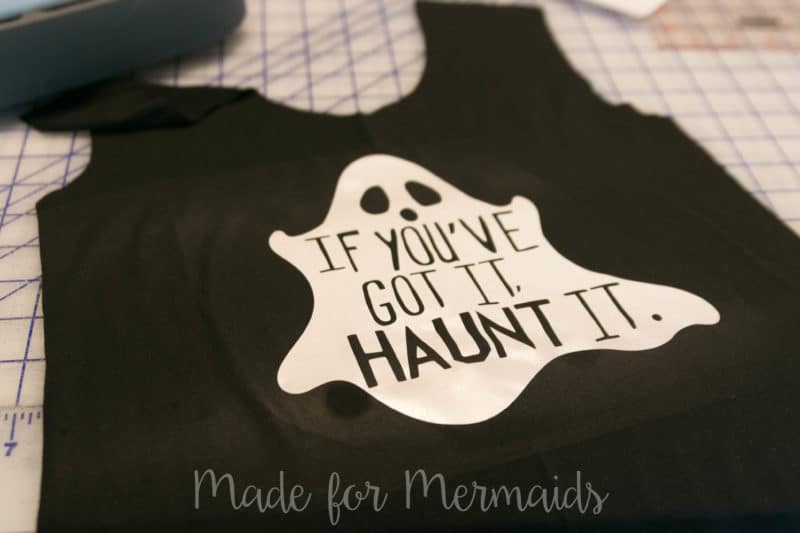

My daughter LOVES her new shirt and wore it to school today, so it’s a win. Some quick notes about the Cricut Easy Press![]() since I’ve been using it. If you don’t use HTV for a small business, but just occasionally AND don’t have a lot of space to store a traditional heat press, I think this would be great for you!
since I’ve been using it. If you don’t use HTV for a small business, but just occasionally AND don’t have a lot of space to store a traditional heat press, I think this would be great for you!
Things I think are wonderful-
- Very simple and easy to use. I think anyone would be able to pick this up and use it right out of the box.
- It’s very lightweight and easy to store.
- It’s 9″ x 9″ so a good size for most projects (at least that I do 😉 )
- Adjustable heat and timer settings depending on what vinyl and fabric you’re using.
- There is a timer and auto shut off after 10 minutes- great if you’re worried about little hands and forgetting to turn it off.
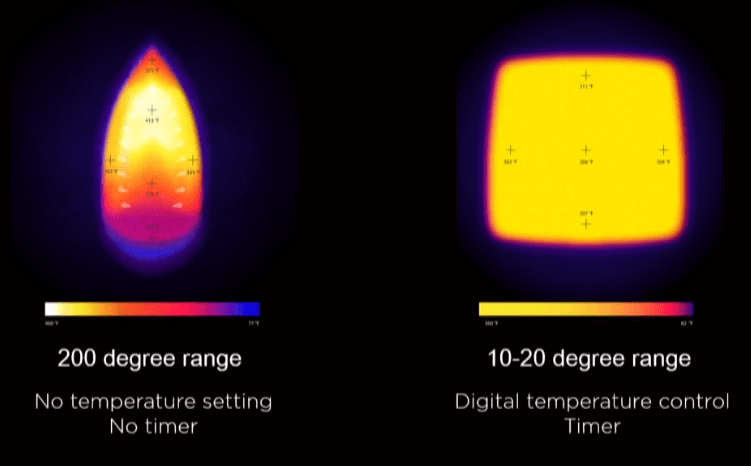
- Heat is very even and smooth.

Things I think aren’t that great-
-
-
- The biggest negative for me, is Cricut doesn’t supply a pressing surface. I’m sure if you use your iron normally for HTV you probably have and know a solution for this- I don’t, I use a heat press, so I was a little confused on what I should use. I did not like the results just pressing on my cutting table with a towel.
- I don’t like having to press my fabric twice from each side. It takes longer and if using a more delicate fabric I think you would really need teflon sheet to protect your fabric. I use these ones- 3 Pack Teflon Sheet For 16×20 Heat Press Transfer Sheet SUPER SALE LIMITED TIME


- The price is comparable to a more industrial, 15″ x 15″ heat press. A smaller 12″ x 10″ heat press is actually cheaper.
-

Overall if your space is limited and you only occasionally use HTV for yourself, family and friends, I think this would be ideal. If you have the space and use HTV all the time, go for a traditional heat press.
— TapInfluence Comment Widget – Do Not Edit or Remove –>
Leave a Reply