Who is excited to finish there Mama Ella or Ella top or dress today?! Binding day!! I know, you aren’t excited about binding but it really isn’t as tough as people expect. The key to great binding is pressing, which I know you probably dread ironing as much as binding but I promise if you want your binding to lay nice and flat and look really pretty your iron is the key. First thing we are going to do is grab all our binding and if we are doing any of the other back options like the ties, bow or back bands may as well iron it all now! You are going to iron your bands for your bindings all in half along the long edge. Next iron each edge of the fabric in to match the center crease you just created and then press in half one more time to make sure all those lines are nice and crisp. Now unfold everything you just ironed. Your going to sew your short sided together to form a circle. Mark your band and your top into quarters, then match the seam you just created to the center back RIGHT SIDE of your binding to WRONG SIDE of your dress or top, match your quarter points. I only use the 4 quarter and only pin my 4 match quarter but if you are more comfortable dividing in to 8 sections that is perfectly fine too. You are going to gently stretch only your binding to match between the quarter points well sewing with your sewing machine right in that first crease with a stretch stitch. If you have added the ruffle make sure it is lying nice and flat and doesn’t get caught up in your seam. Sew all the way around your neckline then repeat this same process on your armbands, armbands are only required when you are sewing the tank top style.
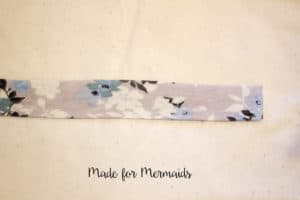

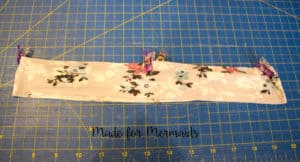
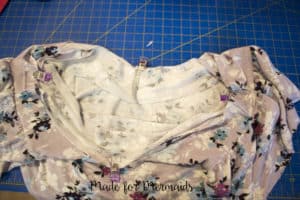
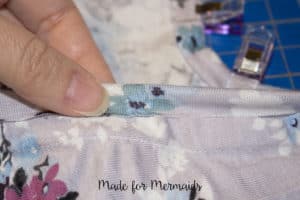
Once you are done sewing all the way around we are going to iron that seam up towards your binding. Do this very carefully as you don’t want to loose the other 2 creases. You will now fold the top crease back in towards the center and fold the binding down over the seam. You should have a fold down over the seam. Now pin or clip that binding down all the way around. You can see in the photo below that I have started clipping mine around. Where you can see the clips is the back side so you can see once finished its really going to be pretty on both the inside and outside of the garment which is why I’ve come to actually enjoy binding you just can’t beat the look of the finished seams.
Now we are ready to edgestitch that binding in place. You have a few options here, if you have a coverstitch feel free to use that to stitch your binding down. I use my coverstitch machine quite often, I am not going to talk about my setting as every fabric is a bit different and my coverstitch is really finicky! What I can show you is how I line up my stitching, I don’t have a clear foot for my machine so I rely on the little dashes on the foot. I use 2 needles on mine as I prefer the narrow hem, if you like the wider setting that is fine too! I get my binding all in place under the foot and I line up the edge of my binding to the first little dash on my foot. I then start sewing, really slow. Really take your time on this step, if you want perfect binding you really can’t rush it, the minute I think I can go fast that is when I sew over the edge and then have to seam rip. Go all the way around till your back at the start and then go over those first few stitches again.
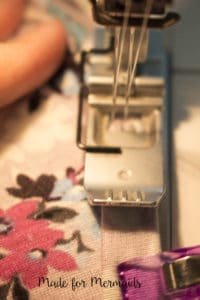
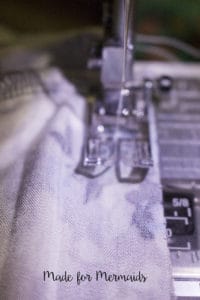
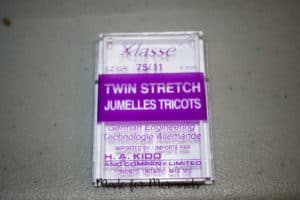
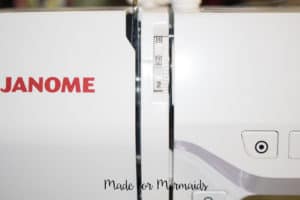
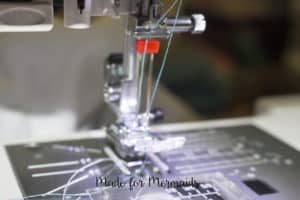
No coverstitch machine? That’s OK you can get a really professional finish on your sewing machine too, I really like using a twin stretch needle for this step. On my sewing machine I do have a partial clear foot which makes lining up my stitch really easy. I do a couple of things to make sure my binding lies nice and flat. First I always always use a straight stitch which is what my manual recommends for my machine. Check your sewing machine manual to make sure that you have your thread in the right place for your twin needle and to double check the recommended stitch. I leave one thread out of the last little thread guide so that I don’t risk tangling the 2 threads together. I turn down my tension just a bit as well, usually my machine is set at 4 but I go to a 3 for binding and if you have the option to change your bobbin tension down a touch you can do that as well. Increase your stitch length a bit too. I set mine at 3 or 3.5. Why are we making these changes? Well we don’t want something called tunneling, tunneling is when your tension is a to high and it pushes your 2 stitches together and creates a bump on your binding. You want that binding to lay as flat as possible. Now you can start sewing, again you are going to all the way around and gently stretch the binding so that it lies flat between your pins. Now mine isn’t lying quite as flat as I like but I really didn’t want to unpick and start again, but an easy way to have fixed this would of been turning down my bobbin tension just a touch more.
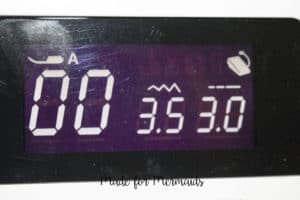
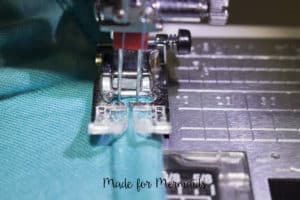
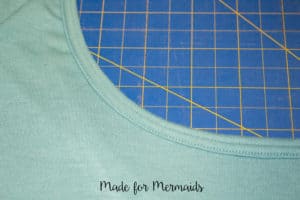
No twin needle? That’s just fine you are going to still want to use a straight stitch and increase your stitch length to 3 or 3.5 and stitch as close to the edge as you can.
Now if you are adding back bands you want to complete those and attach them now, there is also that adorable bow option or the nice big tied bow option! The band you are going to press the exact same way as your binding and then just edgestitch them and attach as instructed in the pattern. I did bands on most of the versions I did but if you choose the other options I actually think they are a touch easier as you don’t have to edgestitch that narrow band. I didn’t take pictures of those options but of course the steps are in the pattern and are very easy!
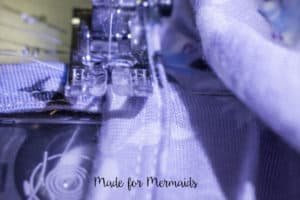
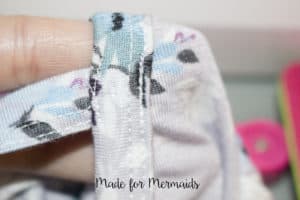
All done binding, it wasn’t that bad, right?! Now I’ll tell you a secret, you are going to want to practice your binding skills as there just may be more patterns coming that have binding 😉
Now all that is left is hemming! Press your hem up 1/2 inch and stitch in place, since you already have your twin needle on your machine you can create a pretty hem with that. Don’t forget to hem your sleeves as well. Flutters, I left them raw on mine but if you want to hem you can do that now as well.
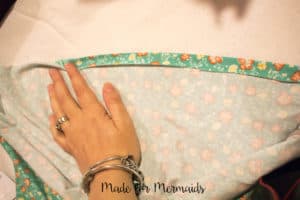
You are all done! Now go get pictures of your beautiful new top or dress and add them to the final album in the facebook group here or post on instagram! Don’t forget to tag your photo’s with #m4mellasal #mamaellapattern #ellapattern and if posting on instagram tag @madeformermaids so we don’t miss your post! Missed a day? You can find day 1 here, day 2 here and day 3 here. Meet us back here on Monday where I will announce the winners!
Leave a Reply