Welcome back! Day 3 we are going to complete a good part of our Mama Ella or Ella today! Let’s jump right in.
Step one today will be to sew your shoulder seams, if you haven’t already marked your center back be sure to do that as it can be really hard to tell the back from the front on the Ella pattern especially. I have used my serger for my shoulder seams but you can sew this on your regular sewing machine as well using a stretch stitch, I generally choose the stitch that looks like a lightning bolt when I am doing any type of knits on my sewing machine.
If you are not adding flutters, sleeves or the ruffle you can skip right down to the bottom of this post and sew your side seams.
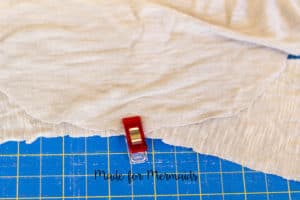
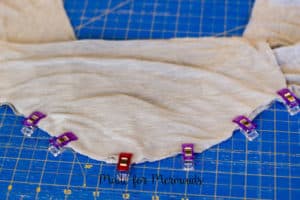
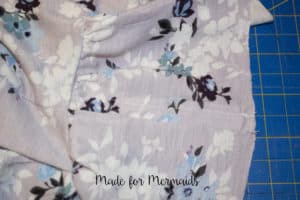
Flutters we need to gather our flutters first. I use a traditional gathering method on all of mine, along one of the long edges we are going to run two rows of basting stitches one row at 3/8th and one at 5/8th. I find your gathers are much more even and lay nicer when you do 2 rows so I’m really going to encourage you to do 2 rows even if you normally only do 1. Believe me I often think that I will be fine with just one row but they never ever turn out as nice with one row. Before you start to gather mark the center of your flutter. I like to match the center of my flutter to my shoulder seam and then gather each side to match the armcycle, right sides together. If you haven’t ever gathered fabric before you want to grab both of the bobbin threads from the 2 rows of basting stitches and pull them and this will start to create gathers in the fabric, keep pulling the bobbin threads and push your gathers down the fabric so that it gets to the center. You want to gather it as evenly as you can to match that armcycle as shown here.
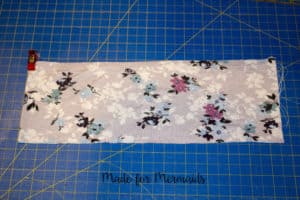
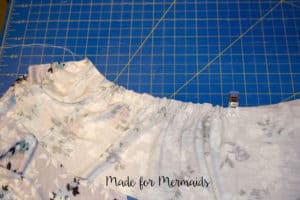
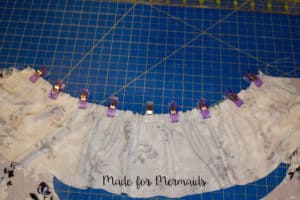
Once you have it all gathered to match pin or clip it in place and then sew with a 1/2 inch seam allowance. I prefer sewing anything gathered on my sewing machine first and then you can finish the edge with your serger but if you are using your serger you are going to want to match your thread as you can see inside of the flutters just a bit on your finished top, its just the nature of a flutter sleeve.
Next up sleeves! If you are adding sleeves you are going to pin or clip your sleeve to the armcycle. The middle of your sleeve will match up to your shoulder seam. Again right sides together and you will sew or serge with a 1/2 seam allowance.
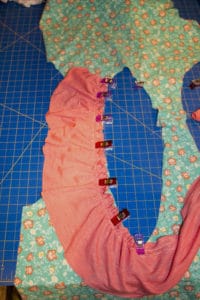
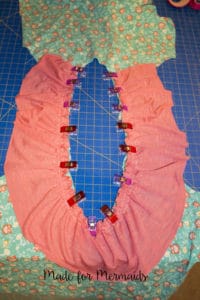
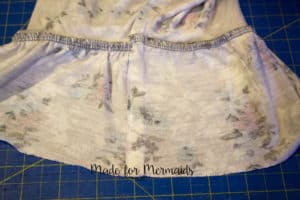
Ruffle time! If you are adding the gorgeous back ruffle you are going to want to follow the same steps on gathering as the flutter sleeves. Need a reminder? 2 rows of basting stitches at 3/8th and 5/8th seam allowance, mark center. We are going to match the center of the ruffle to the center back WRONG side of ruffle to RIGHT side of dress you want both RIGHT sides to be facing up towards you. You will gather the ruffle to match between the back center and the notch on the front of your piece. Once you have it all nice and even and pinned in place you are going to baste it in place. You don’t need to sew it with a regular stitch as we will do that tomorrow while we attach the binding.
Now on to the side seams. If you are doing the tank top or the sleeve version and you want to use a serger to sew your side seam you can go right ahead but if you have chosen the flutter option I highly recommend sewing your side seams with your sewing machine as you see the inside of the flutter when you are wearing your top and a serged seam is just not that pretty. Pin or clip from your sleeve/flutter all the way down to the bottom of your shirt making sure to match the seam where you attached your flutter or sleeve. Now sew with a stretch stitch from the sleeve down to the bottom with a 1/2 inch seam allowance.

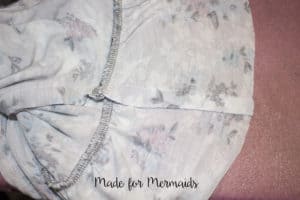
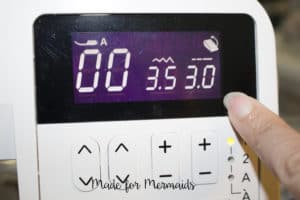
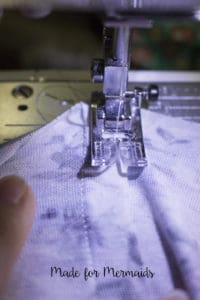
Lets make the inside of that flutter pretty! You are going to want to press that seam on the flutter to one side towards your bodice, pin it so it lies nice and flat and then edge stitch right along the edge of the seam allowance. The edgestitch doesn’t require any stretch so I use a straight stitch on this part and I also bump up my stitch length to 3 as well. I find that the lower the stitch length the easier it is to get your knit stuck in your machine. I only sewed mine to the inside seam but if you want to edgestitch all the way down your side seam you certainly can. Your other options is too use a French seam on the side seam we aren’t going to discuss that today but you can follow the post found here.
That was a lot of info for today, lets get back at it tomorrow! Don’t forget to go post your pictures in the album for Day 3 here. Missed a day? Sew-a-long schedule and info here, Day 1 here, Day 2 here.

Leave a Reply