Put away the sewing machines and break out the glue guns, friends! We’re going to be making a No-sew fabric covered headband today! I’ll also show you how I made mine into a Jasmine-inspired crown. Here’s what you will need:
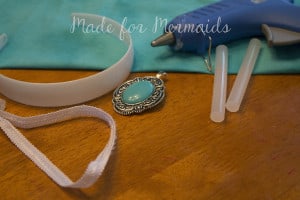
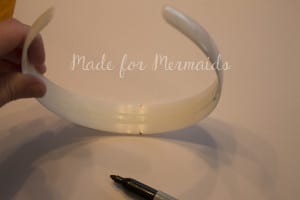
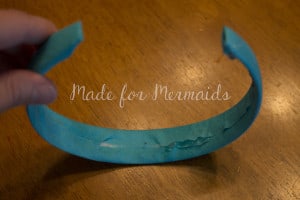
*1″ plastic headband (I used an old headband. I just cut the material off!)
*13.5″ of trim or ribbon
*Fabric scrap- a fat quarter will be enough.
*Glue gun & glue sticks
*Double sided tape (optional)
*Embellishment: plastic or resin jewel, bow, flower, etc. (I used a discount pendant from the jewelry department at my local dept store!)
First things, first, we are going to make a pattern. Don’t worry, it will just take a second! 🙂 Grab a piece of paper, Sharpie, scissors and your headband. Mark the center of your headband. I put a small mark on each side of the headband.
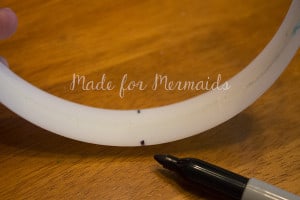
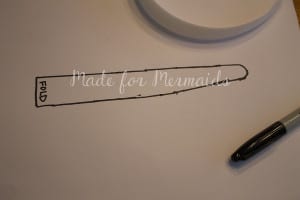
Place your headband on your paper. We’ll be tracing around 1/2 of the headband from the center to the end, back to the center. Do this by “rocking the headband so you can trace the edges.
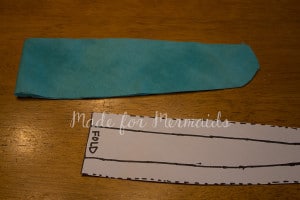
Your center markings will become the fold line, so draw a straight line, connecting the two center points. Here’s what your pattern should look like. PS- Mine is a little messy because I had a very “helpful” 2 year old bumping my arm while I was tracing. 🙂
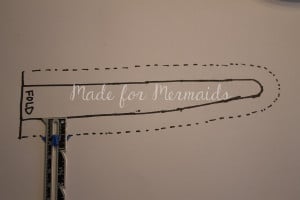
Next, we need to add the seam allowance. Mark 1/2″ around the 2 long sides and curved edge. You don’t need the seam allowance along the short, straight edge. ** If you are using a larger headband (ex- 1.5″ or 2″), you will need to add a larger seam allowance. **
Cut out your pattern.
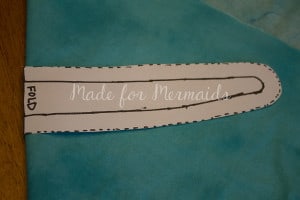
Fold your fabric along the bias. Place your pattern piece on the fold. You’ll need to cut one headband on the fold.
TIP: Add double sided tape to the inside of the headband! I would still use hot glue in the next few steps, but the tape will help when we start folding the fabric in!
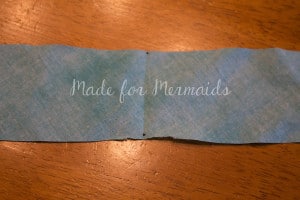
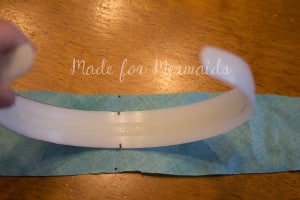
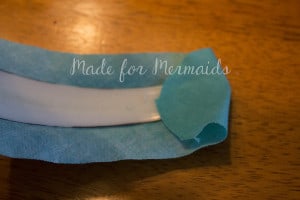
Lay your fabric wrong side up. Mark the center of your headband. You could also press a crease with your iron! Place headband right side down,centered on the fabric.
Put some glue in the center, inside of headband. Fold the fabric in, just at the center!
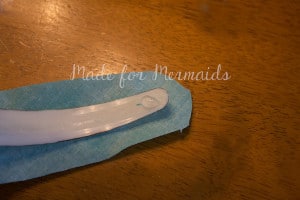
Place a dot of glue at the end of the headband. Fold the end up first.
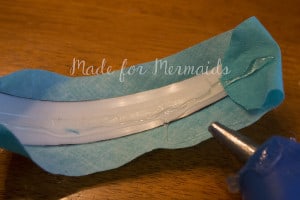
Run a line of glue from the center to the end, along one edge of the headband. Fold fabric up along that side.
Run a line of glue along other edge of headband, on top of fabric. Fold fabric up along that edge.
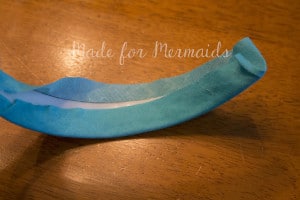
Repeat on the other half of headband. Remember to gently pull the fabric, taking advantage of the bias. You want the fabric to be smooth on the outside of headband! It’s okay if the inside looks like a hot mess because 1) we will be covering it with trim or ribbon 2) no one will see it anyway :).
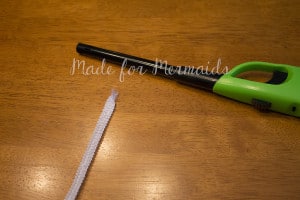
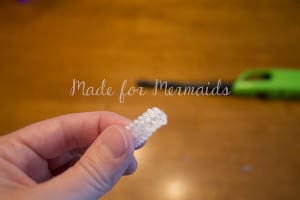
Use a lighter or small flame to heat-seal the end of your trim or ribbon! You could also tuck the raw end of trim or ribbon under.
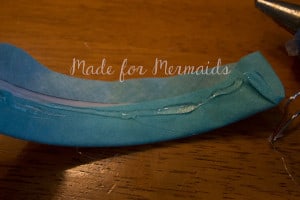
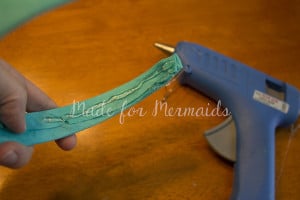
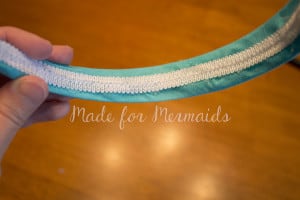
Starting at one end, run a line of glue down the center, inside headband. Press the trim or ribbon down at the end. Continue gluing and pressing the trim down until you get to the other end.
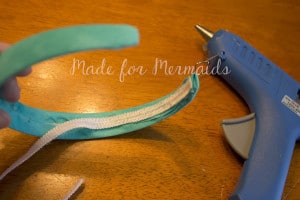
If you aren’t adding embellishments, guess what?! You’re done! Super easy, right?! If you want to add jewels, bows, flowers, trims, etc., continue on to finish your headband!
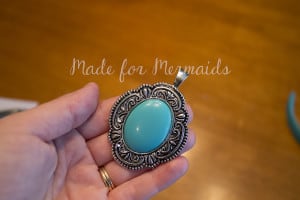
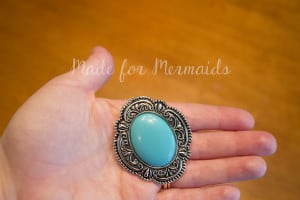
I found this awesome pendant a few weeks ago at the jewelry department. I saw it and immediately thought it looked like Jasmine’s jewel in her crown. I just broke off the “thing-y” that attaches to the necklace. So technical, right? 🙂
Place a big dollop of glue where you want your embellishment. Since I am making a Jasmine inspired crown, my glue will go right in the center!
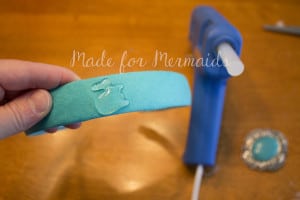
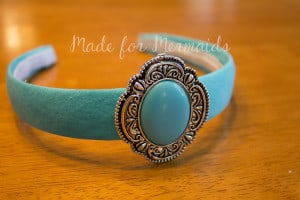
Press and hold the embellishment in place for a minute or two until its secure, and ta-dah!!! Beautiful, hand-made Jasmine crown.
Now you can make a fabric covered headbands to match all of your outfits and costumes! I hope your little princess enjoys her new headband/crown as much as mine does!
The Jasmine PDF Sewing pattern is available here as part of our Everyday Princess Collection!
Thanks for crafting with me today and don’t forget to share what you’ve made in the Made for Mermaids Patterns Group page on Facebook!
~ Megan T.



Thank you for the headband covering tutorial! We need one to match the school uniform so we bought an extra large uniform skirt so we had some fabric to use. I can’t wait to try it!
Used this tutorial to make a headband for some DW ears…for myself. Haha! Thanks!
Could you tell me what kind of trim you used to line the headband with. I want to know the name of the trim you used in the photo. Thanks.
Just from the ribbon section on the roll!
Looks like grograin ribbom
Thank you so much for this tutorial! Used it to cover a padded headband and it worked like a charm!