With the end of the school year rapidly approaching, I realized I didn’t have gifts for my daughter’s four pre-school teachers. Woops! So I did a little asking around, spent some time on Pinterest, and decided to make fabric flower pots! We all love a scrap-busting craft project, am I right???
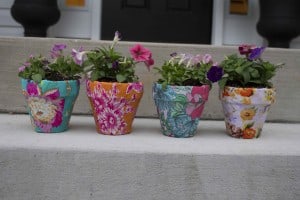
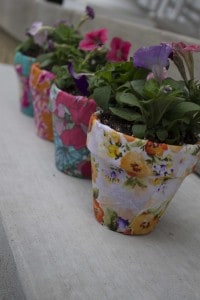
I wanted these to be something that would remind the teachers of my little one, so I used some of my favorite fabrics from recent outfits I have made her. All, Made for Mermaids of course! From left to right Lily Lace dress, Lily Lace romper, Samantha skirt (without suspenders), Grace dress.
These came out so cute and were easy, peasy to make. I had almost all of the supplies in my craft stash. I just needed to buy pots (Lowe’s $0.78 each) and some flowers (2 packs from Lowe’s $1.94 each). I wanted to share this tutorial so you can make some pretty flower pots for your teachers too! These would make a cute gift for any occasion.
Supplies needed:
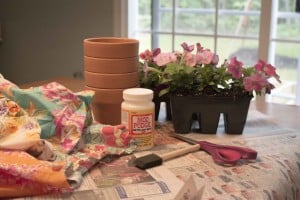
- Flower Pot (I used a small 4″ pot, but you can use any size)
- Mod Podge
- Foam Brush
- Fabric (I used scraps from my stash)
- Potting Soil
- Flowers
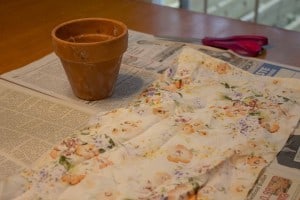
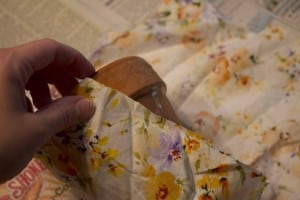
Place your fabric wrong side up. Lay your pot on top of fabric and make sure you have enough to wrap around the pot. You should have 1 to 2 inches at the top and bottom.
Using your foam brush, paint Mod Podge onto the main pot. You can paint the rim, but leave the bottom of the pot unpainted for the time.
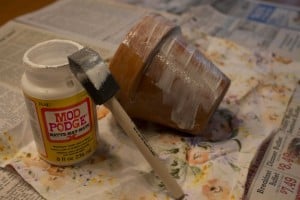
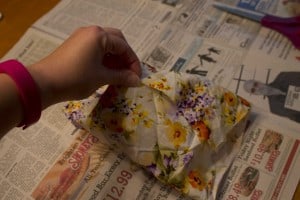
Begin pressing your fabric onto the pot, smoothing out any air bubbles. Wrap your fabric around the rest of the pot. Once fabric is covering the pot completely, cut off the excess fabric. Add more Mod Podge to secure the unfinished edge.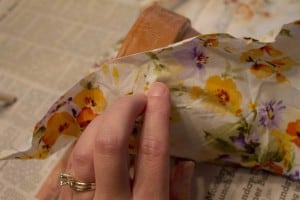
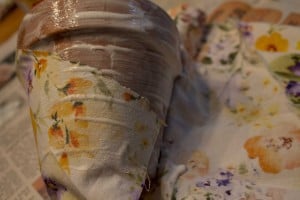
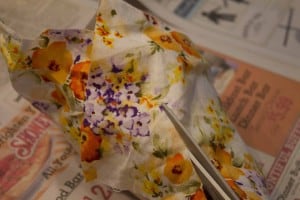
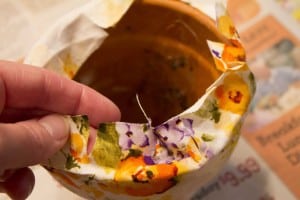
You should have 1 to 2 inches of fabric remaining at the top and bottom of the pot. Cut slits in the edge of the fabric. We do this so its easier to fold the fabric around the bottom and top edges of the pot. It keeps everything looking smoother. 🙂
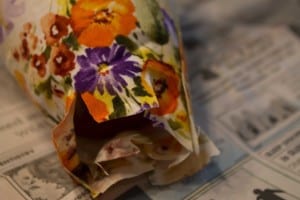
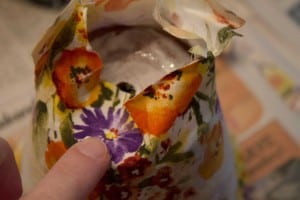
Paint Mod Podge onto the bottom of the pot. Begin pressing the fabric to the bottom, using your finger. Paint Mod Podge OVER the fabric on the bottom only. Let this dry completely.
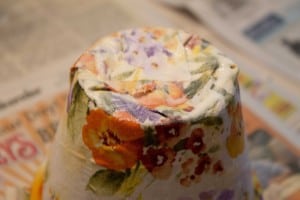
Turn your pot right-side up and repeat process for the top rim. Make sure your fabric extends 1 to 2 inches past rim. Cut slits into the fabric. Mod Podge around the inner rim and begin to fold fabric down. Pressing with your finger.
Paint Mod Podge over the rest of the pot. Let completely dry.
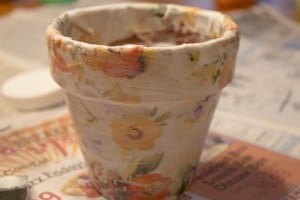
Fill the bottom of your pot with some potting soil. I didn’t want to buy a bag, so I went into the woods behind the house and grabbed some dirt. 🙂 Hopefully it will work okay! I do have a reputation for killing flowers… eek! Plant flowers in the pot and admire the cuteness!
There you have it! A meaningful, quick, INEXPENSIVE and lovely gift! I can’t wait to give these to my daughter’s teachers to show our appreciation for a wonderful school year!

Leave a Reply