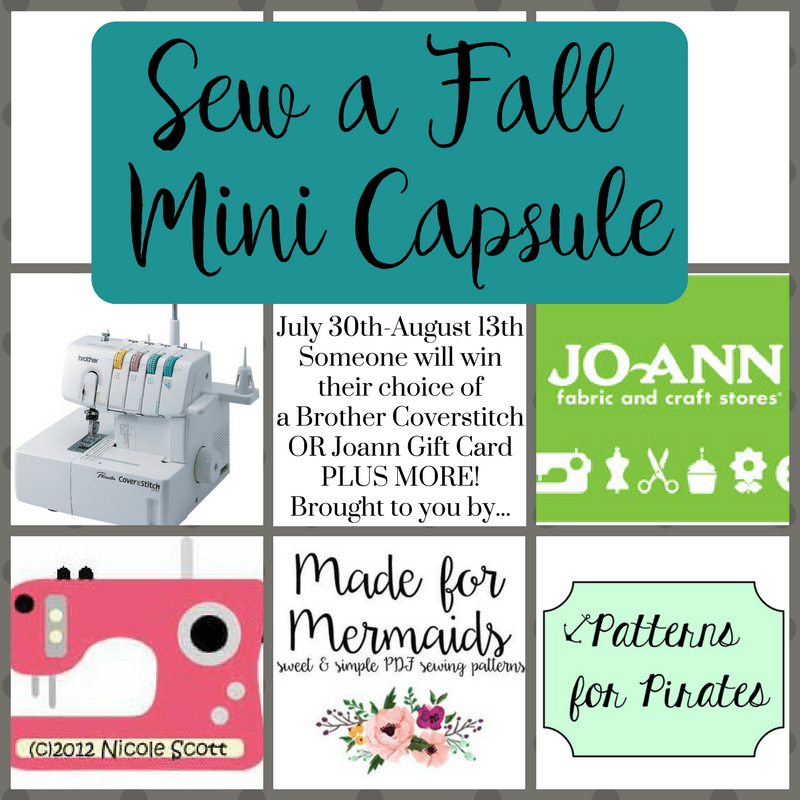
It’s that time again, time to start thinking about Fall and back to school sewing! My 2 sisters (Nicole from Cole’s Corner and Creations and Judy from Patterns for Pirates) and I are back to give you some motivation, inspiration and a push to get those Fall clothes ready!
This past March, Judy and I hosted our first Capsule sewing contest and it was a huge hit. I think just like Judy and I, you all struggle with carving out time to get you or your littles closet ready for the next season. Pushing yourself to create a mini capsule is the perfect solution. You’ll have tons of others sewing along with you, so you can get help, inspiration and guidance in our FB groups (each linked here- Cole’s Corner and Creations, Made for Mermaids and Patterns for Pirates).
What is a capsule wardrobe?
It’s a wardrobe made up of really versatile pieces that you completely LOVE to wear. Pieces that are simple; they can be mixed, mashed and worn several different ways. It’s about quickly and effortlessly being able to put an outfit together. Now a full capsule wardrobe is made up of jewelry, shoes, accessories, everything you need to wear on a day to day basis. What we’re going to be doing is sewing 9 staple pieces for your closet. 


How do you plan capsule sewing?
This will be different for everyone, depending on where you live, lifestyle and personal preferences. If you need to have 9 solid tops because you have so many floral leggings and skirts, then that can be your capsule. There is not ‘rule’ on what pieces need to be made. This is 100% your choice. They just need to be patterns from CCC, M4M or P4P- any combo is fine. I can tell you how and what I have chose for our mini capsules. I love to have a board to help me plan. The visual really helps me be able to put it together exactly how I want. Don’t worry, I have FREE Photoshop templates if you’d like to make your own with photos or text. You can also use picmonkey or another editing/collage type site to help you. If you need directions on how to use the template, check the bottom of this post. Simply click each link below and they will download.
M4MFallBoysMiniCapsuleTemplate
M4MFallGirlsMiniCapsuleTemplate
M4MFallWomensMiniCapsuleTemplate
First I decided what pieces I wanted to sew. I looked in my closet (and kid’s) and tried to see what was missing. Now I just typed these out, but you can do more of a suduko style where each row and column make an outfit, so you can REALLY make sure all your pieces can be worn together.


How do you choose patterns?
I choose patterns a few different ways.
1- What do I LOVE to wear and feel GOOD in? What do I find myself always pulling out of the dryer to wear again? Same for my kiddos. I find them asking to wear the same shirts and dresses all the time.
2- What is my wardrobe lacking? Do I need long sleeves, layering pieces, pants? Also think about your little’s dress code- my daughter can not wear anything without a sleeve and it’s still hot well into October here, so we do a lot of really lightweight cardis.
3- What will work with the transitional weather? Luckily most our patterns have tons of options with different sleeve and hemlines that can be worn year-round 😉


How do you choose fabrics?
What makes capsules great is they are no fuss. So you don’t want to choose fabrics that clash, but rather coordinate and compliment each other. Think solid or solid-like fabric for most of your mini capsule. What am I talking about with “solid-like”?? A print that reads as a solid to blend the other fabrics together and something that coordinates with the focus fabrics. Think subtle: stripes, dots, heathered, burn-outs, etc. Also think about using different textures, so even if the fabric is solid or plain, it looks different against another piece. Choosing different types of fabrics will help your wardrobe not look or feel too bland. Remember to think about the weather and choose fabrics that will be appropriate. It’s still very warm (ok HOT) in Dallas until well into October, I like to use rayon spandex, model, bamboo jersey, light and open weave sweater knits. Then for more transitional and layering pieces I love double brushed poly, liverpool, scuba, thicker sweater knits, cotton lycra, etc.
Here is Brittany’s capsule from the Spring contest. You can see she has several different textures and solid-like fabrics!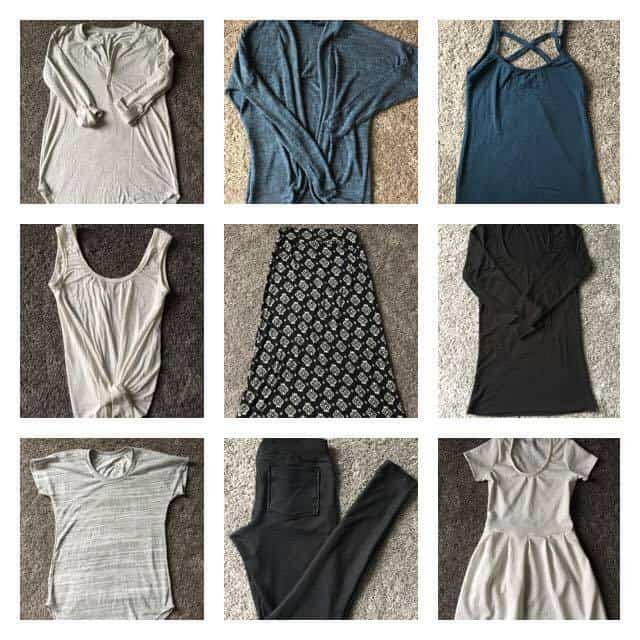
How does the contest work?
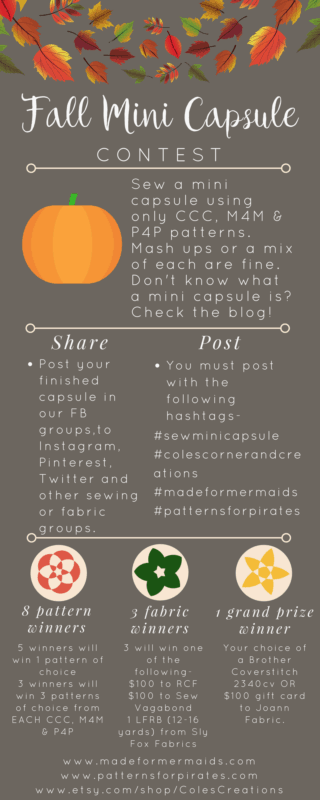
We have several random participant prizes for you! To enter, all you need to do is sew a 9 piece mini capsule using all CCC, M4M and/or P4P patterns…now if you already have a favorite, staple piece you’ve sewn from one of our patterns and MUST have it in your capsule, that’s ok. They can be mash ups or a combo of our patterns. Then post your final capsule in our FB groups (CCC, M4M and/or P4P). The final post must be in a collage format. You can also share on Instagram, Pinterest, Twitter or other sewing/fabric FB groups. You MUST use the hashtag #sewminicapsule and we would love if you would tag CCC, M4M and P4P, and use #colescornerandcreations #madeformermaids and/or #patternsforpirates . If you don’t use the hashtag we won’t be able to find your entry! You can sew multiple capsules for yourself and little one/s for more than one entry. Contest ends August 14th. We will have 12 random winners, open to international friends. Are you ready for prizes??
5 winners will get 1 pattern of choice from EACH CCC, M4M and P4P.
3 winners will get 3 patterns of choice from EACH CCC, M4M and P4P.
1 winner will get a 1 large flat rate box full of fabric of your choice (12-16 yards fit) from Sly Fox Fabrics. (FB group here.)

1 winner will get a $100 store credit to Sew Vagabond Fabrics. (FB group here.)

1 winner will get a $100 store credit to Raspberry Creek Fabrics and Custom Printing. (FB group here.)

Our grand prize winner will get their choice of a Brother Coverstitch 2340cv OR $100 gift card to Joann Fabric!

We can NOT wait to see what you make! If you have questions, need advice, inspiration, make sure to post in our FB groups, (CCC, M4M or P4P) we would LOVE to see what you’re sewing for your capsule!!
How to use the Photoshop templates-
Open file in Photoshop. Download all the photos you may want to put on your board. Click on the layer that says ‘Place Photo Here’. Click “File”, “Place” and then choose the photo you’d like. You can resize the photo by holding Shift and dragging the corners. Repeat with each box. Then save as a photo file so you can share with us!
If you want to just add JUST text to the board, click on the layer that says ‘Place Photo Here’ then add your text there for each box.
If you want to add text on top your photo, add a new layer above the layer that says ‘Place Photo Here’. Then add your text there for each box.
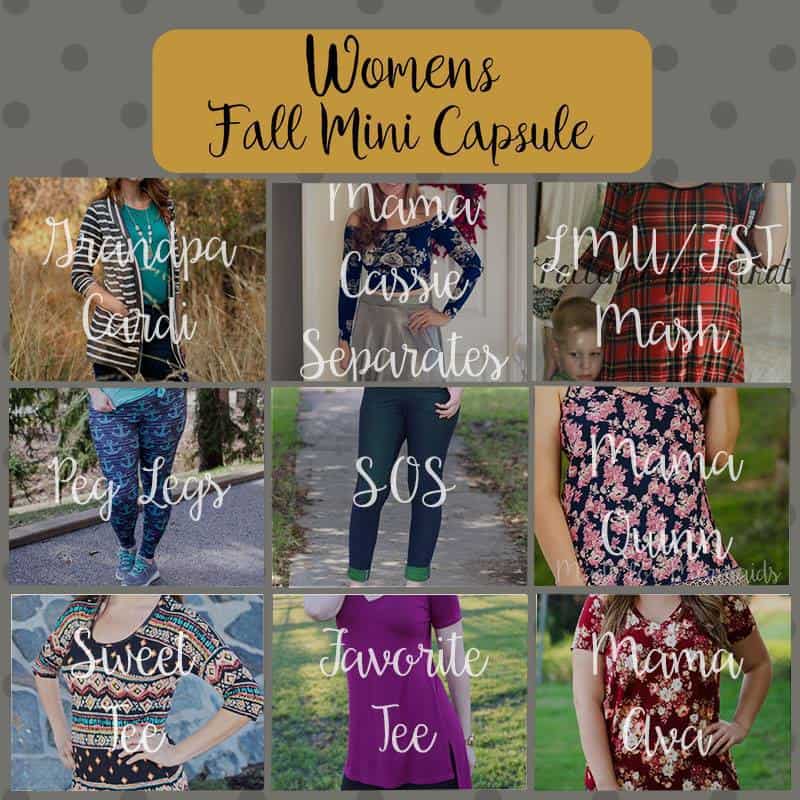
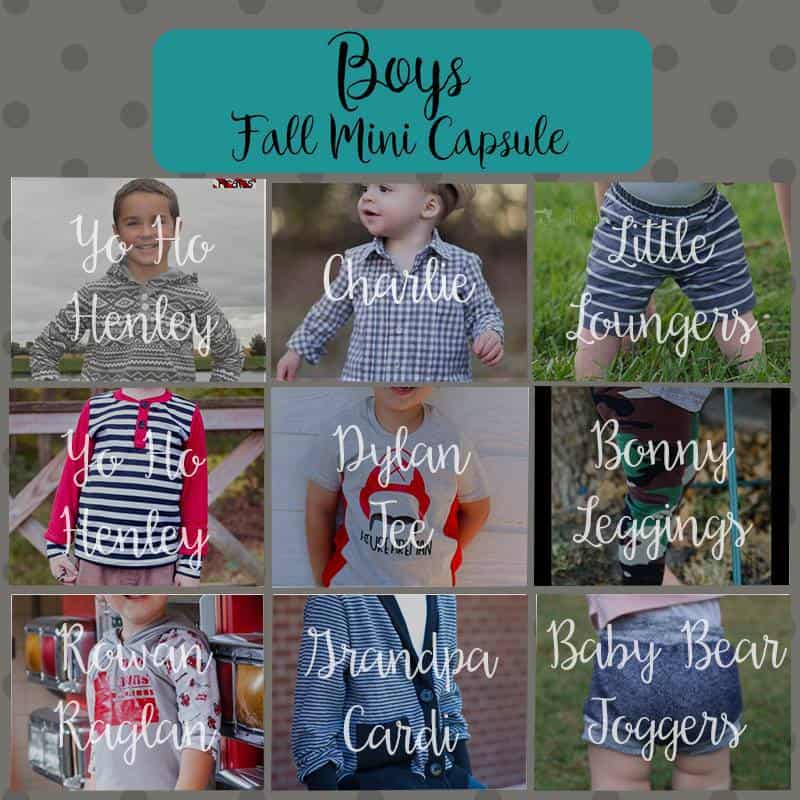
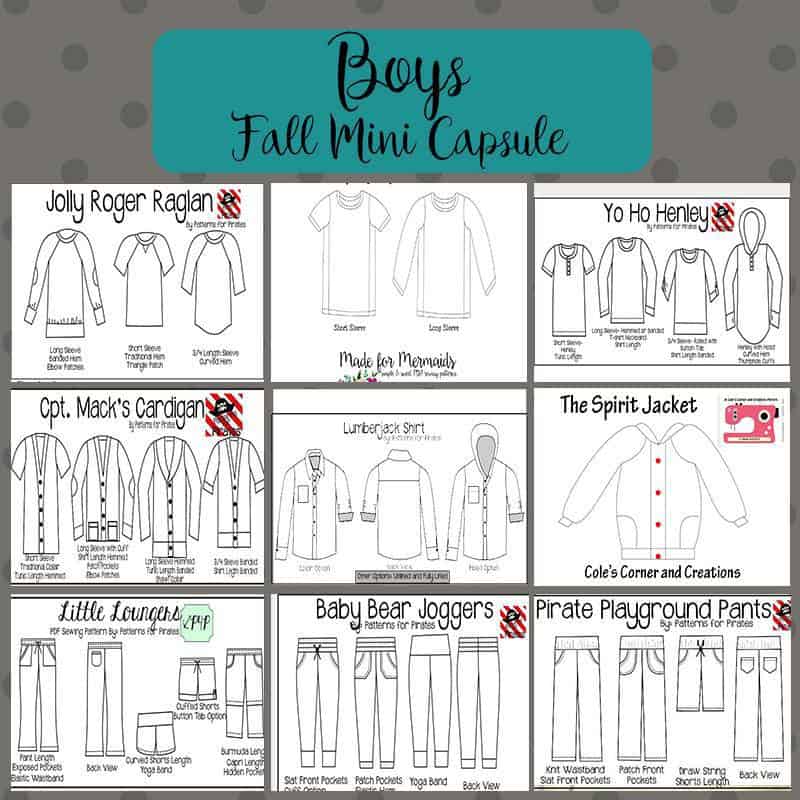
Want some inspiration?? Check out these boards from our team and/or blog contributors!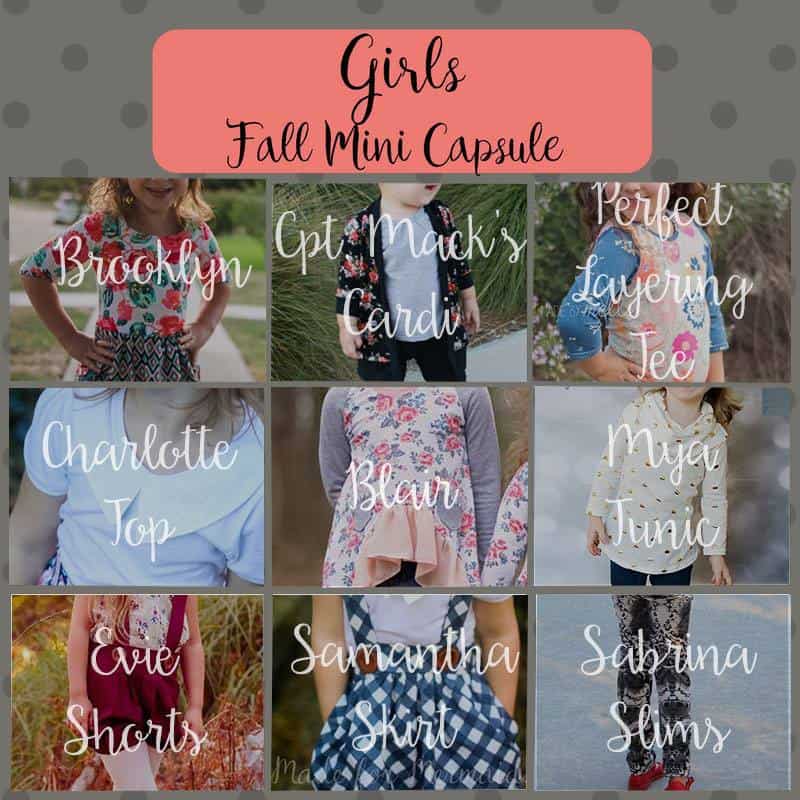
Leave a Reply