This post was created in partnership with Cricut. All opinions are my own.
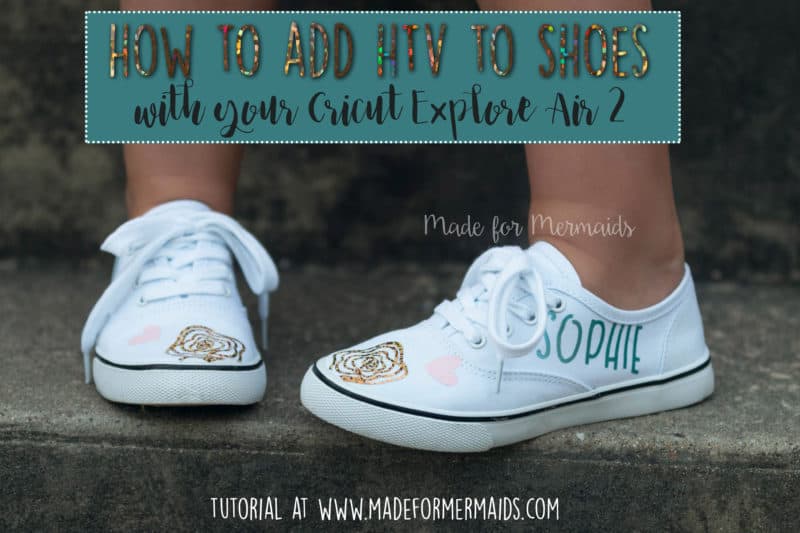
It’s no surprise I love vinyl! Adding vinyl to tees, dresses, skirts and pillows are things you see me share all the time. When I was invited to participate in this Sewing Cricut Blogger Party, I was so excited. First, I haven’t used a Cricut machine in years- at least 8 (before my daughter was born) and I wanted to see how much it’s changed. Second, I see the questions in our Facebook group ALL the time asking about Cricut machines, so I jumped on the chance to join. {Tutorial for the shoes will be first, check the end of the post for more about the machine. PS there is a BIG giveaway at the end!}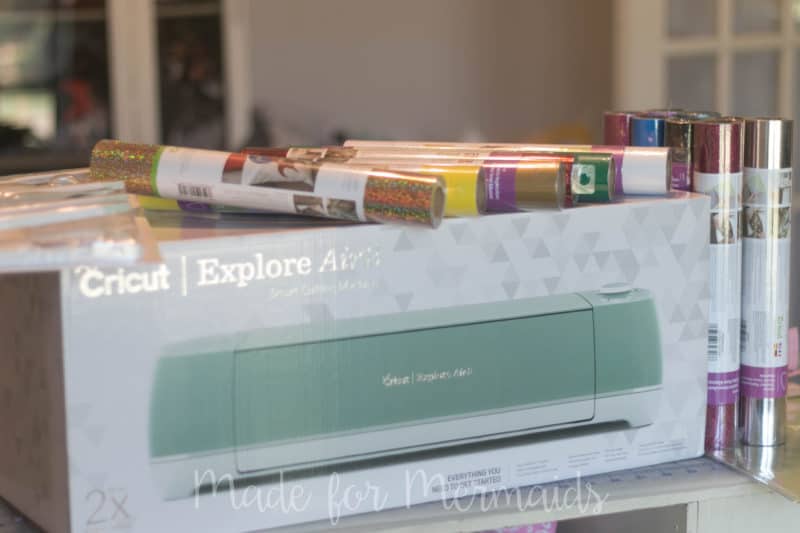
It was surprisingly easy to use the Cricut Explore Air 2 to add vinyl to shoes. This was the first time I have tried and it was successful- horray! Are you ready to learn how?? Just follow along below.
I purchased some plain tennis shoes from Target to use. I thought it would be fun to let my daughter customize them herself and let me tell you, she LOVED it! First we measured all the areas she wanted to add the vinyl- toe, outside and the back. 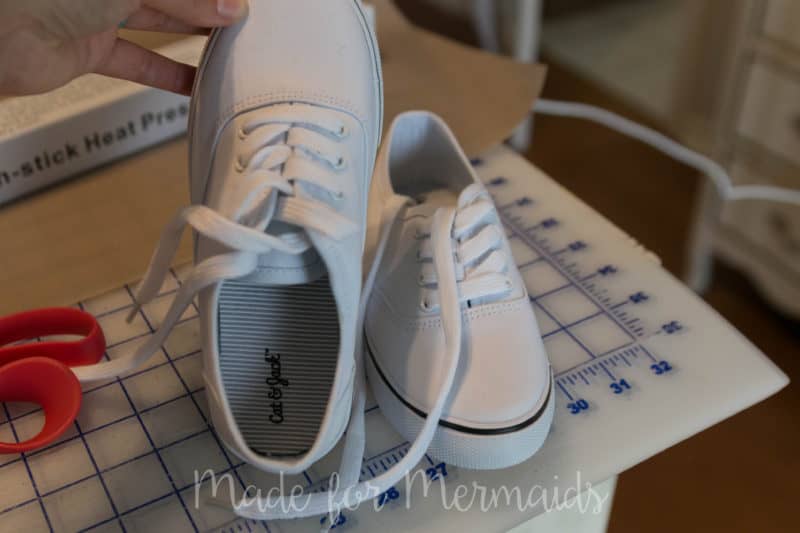
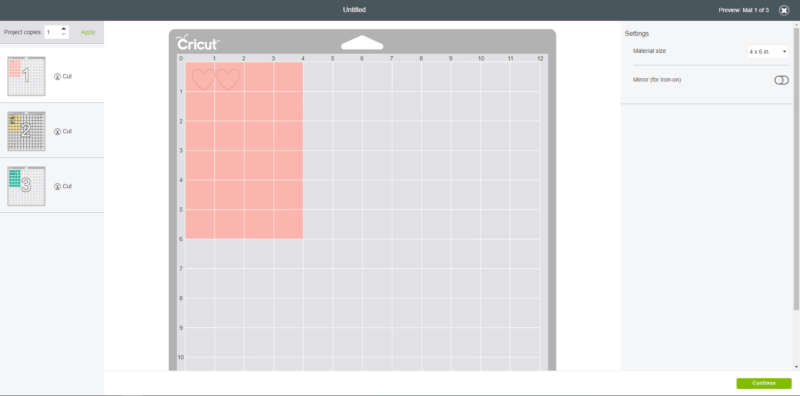
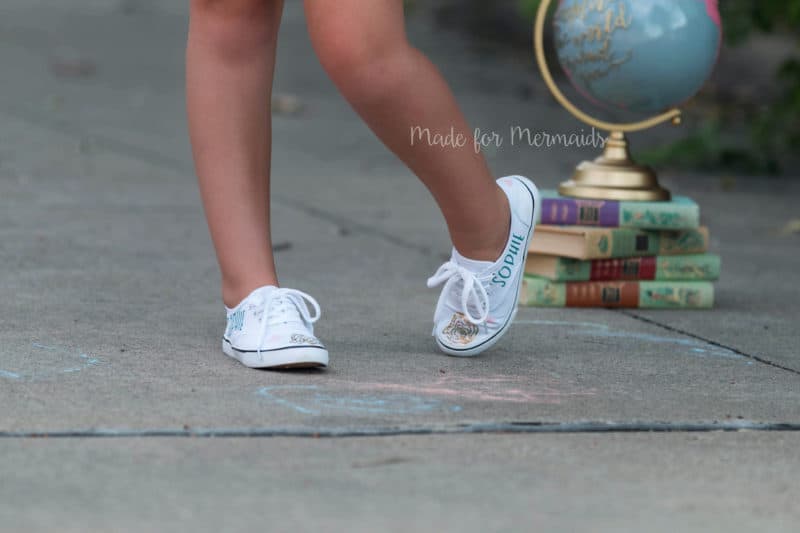
Next open the Design Space and to create your shapes and text. Once you’re happy with the sizes, font and colors, click ‘make it’ and it will walk you through the steps of cutting the vinyl. Design space gives you detailed directions and that makes it great for a beginner. Note- I used the “Shapes” tool for the hearts and this project with gorgeous boho roses from the Design Space project library (I just hit customize before starting the project to adjust the size).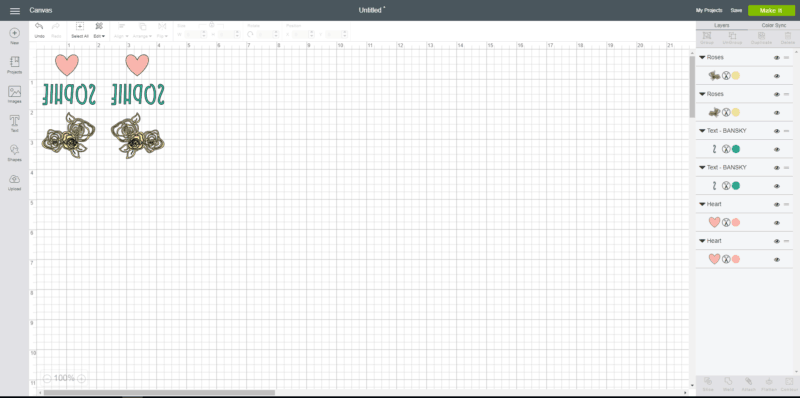
After cutting and weeding your pieces, place your vinyl on your shoes. I stuffed my shoes with fabric so the shoe would hold it’s shape while pressing. If you have a ham small enough to fit in the shoe that would work great too. 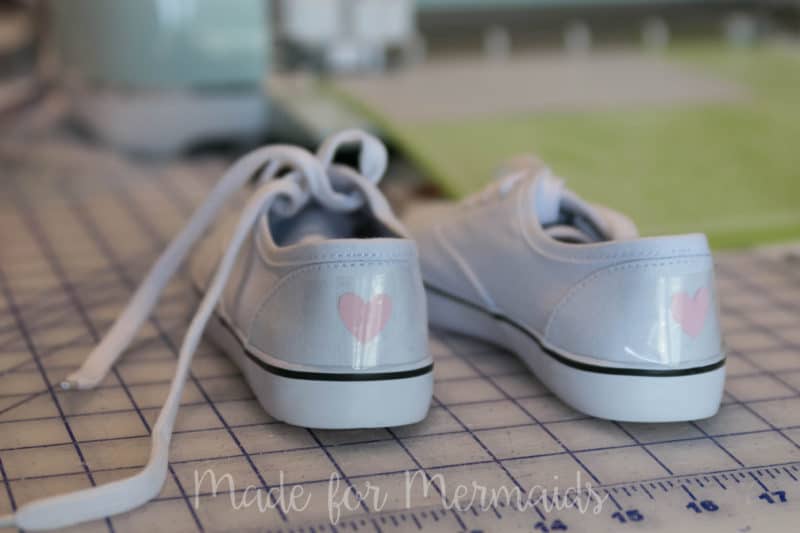
I highly recommend using a teflon sheet over the shoe. It will help not burn the rest of the shoe while pressing. I bought my sheets from Amazon here {Affiliate link- 3 Pack Teflon Sheet For 16×20 Heat Press Transfer Sheet SUPER SALE LIMITED TIME}. They are inexpensive and work great for pressing glitter or special vinyl, lighter fabrics (rayon) OR if you’re pressing some areas more than once (front and back of shirts). The sheets will help prevent you from burning your vinyl or material.
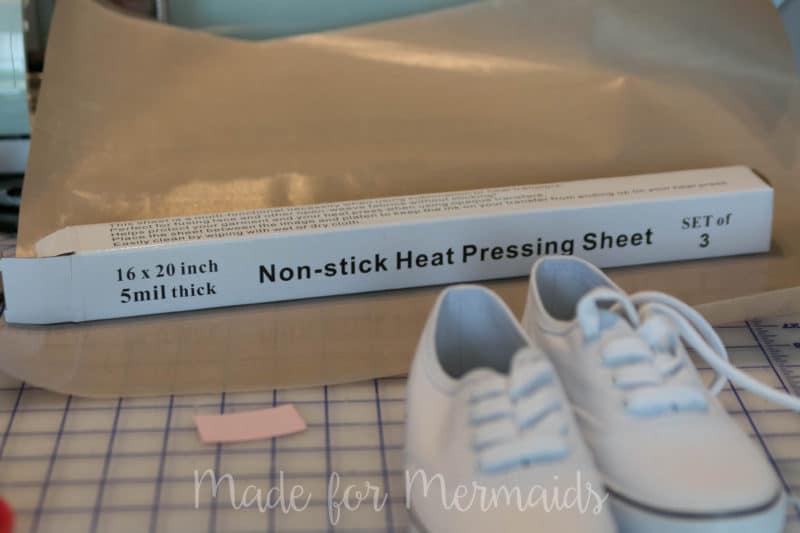
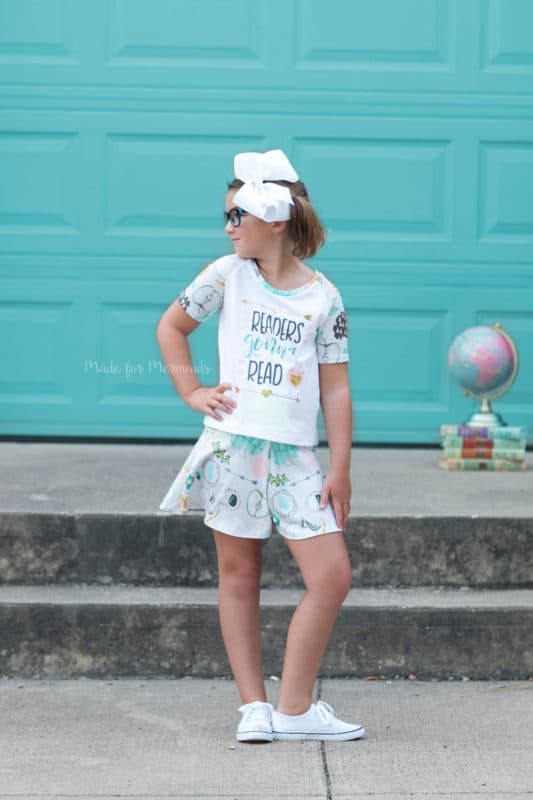
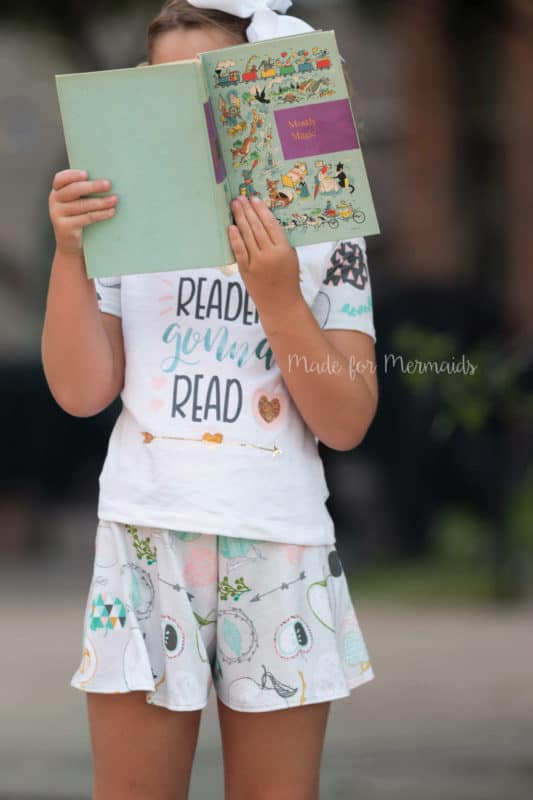
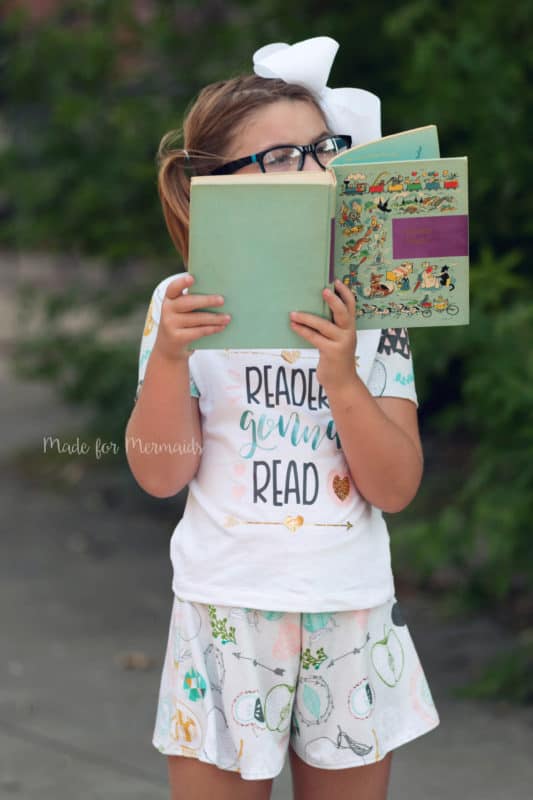
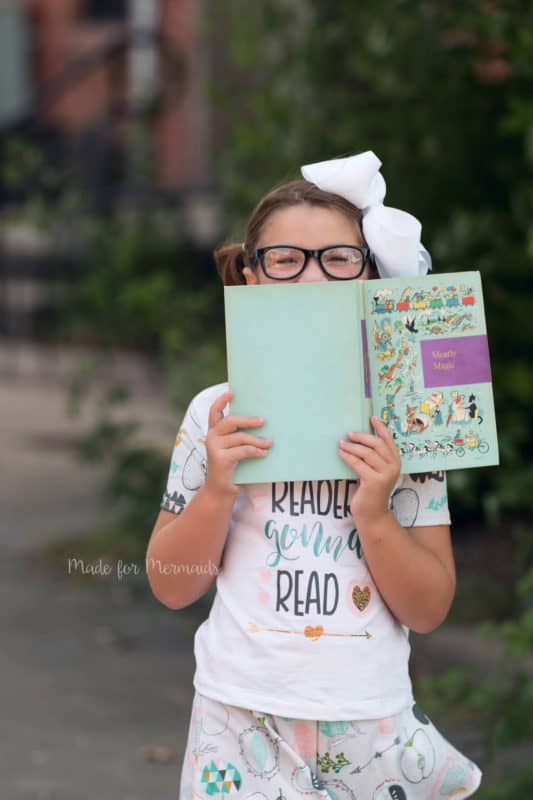
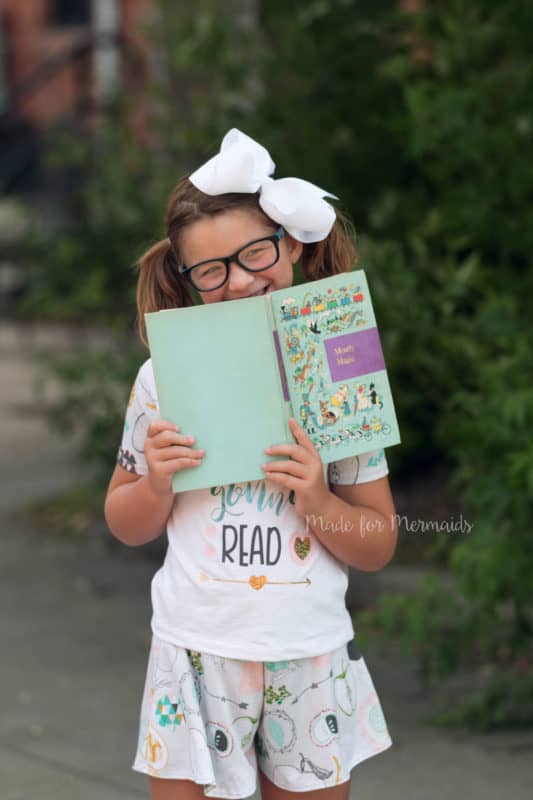
I tried using both my heat press and iron on the shoes. When using my heat press I did not close it on the shoe; instead I left it open and pressed my shoe to the press. I also used my iron and it worked great too! I found the iron was probably easier, especially on the holographic vinyl, it didn’t like the press very much. Of course we HAD to create a matching vinyl for my daughter’s top too 😉 If you want to use the file on her shirt, I added it to our Freebie section here!
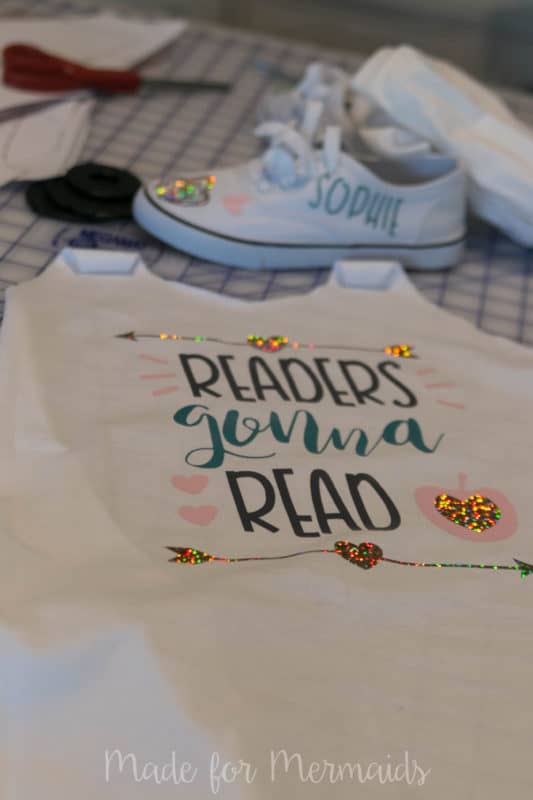
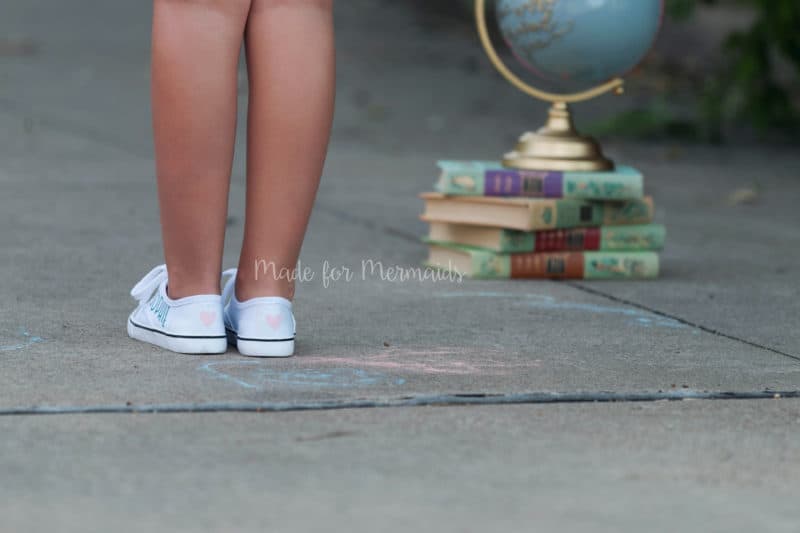
She loved her new outfit SO much and has worn her shoes many times since. We will definitely be adding vinyl to more shoes soon! 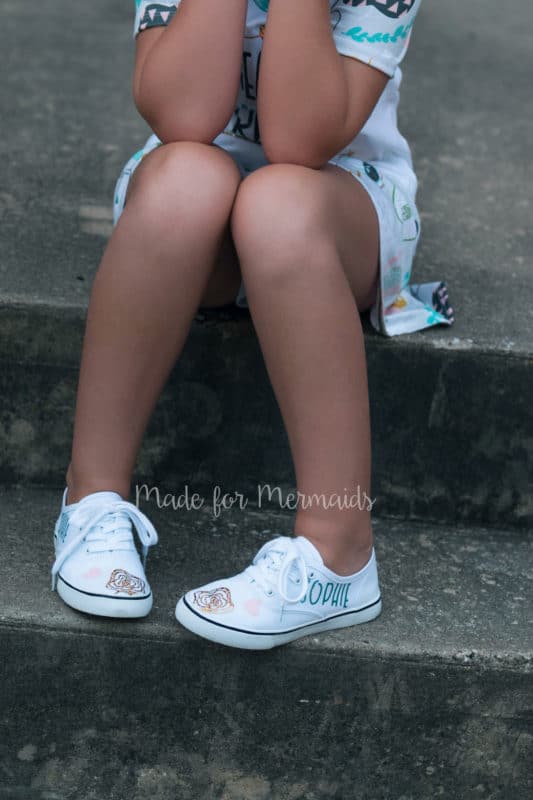
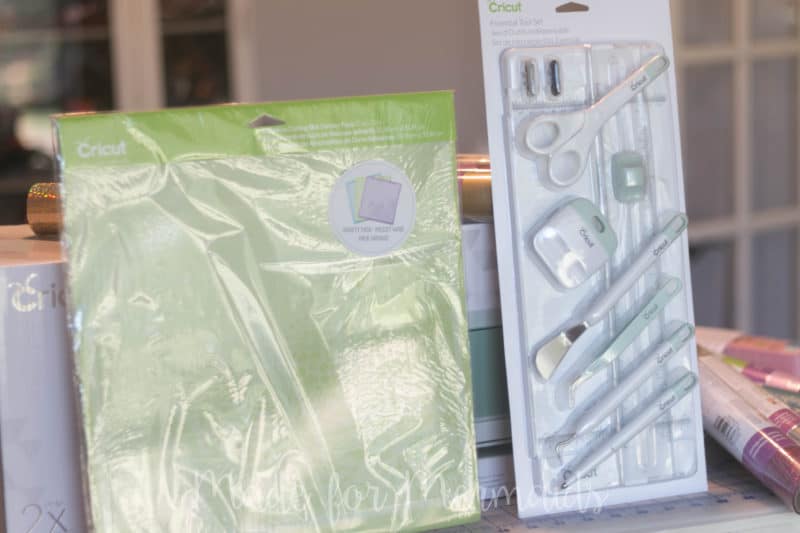
Now a little more about the machine. I was sent the next Explore Air 2 along with the Essential tool kit, assortment of mats and several gorgeous options of HTV (heat transfer vinyl). 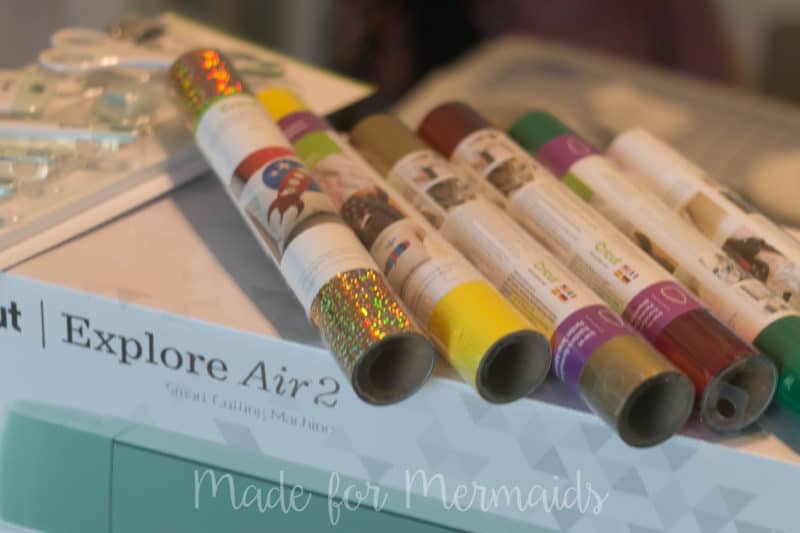
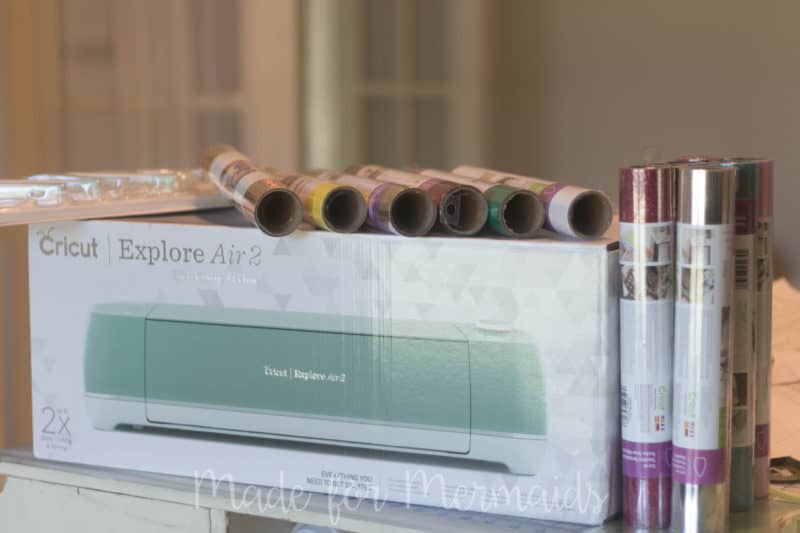
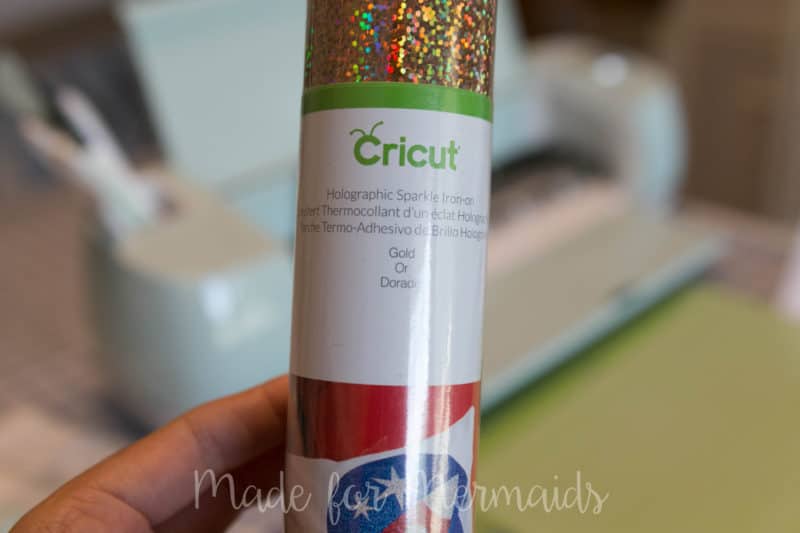
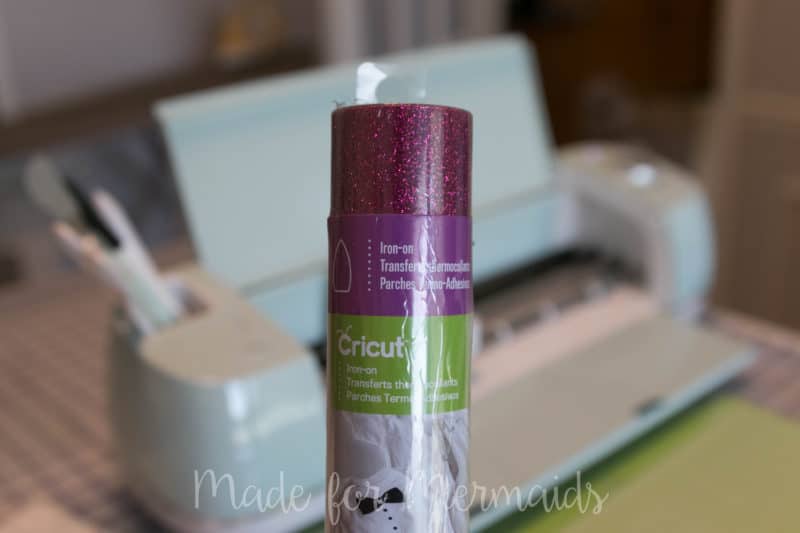
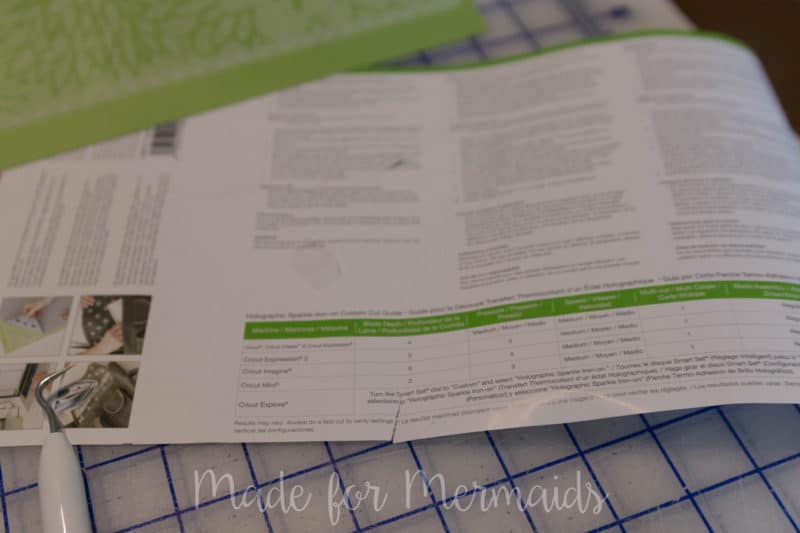
My daughter quickly fell in love with the glitter and holographic vinyl. If you’re new to using vinyl, I would start with the ‘plain’ vinyls first, as the specialty ones are a little more difficult to work with. They do include directions on all the vinyls. It tells you if you need special cutting and iron settings, which is great. This is the first time I’ve worked with Cricut brand vinyl. I was very happy with it. It was very easy to work with- it cut nicely and was super easy to weed. I found it a little less sticky (the clear backing) than what I normally use (more so on the glitter and holographic than plain vinyl), not awful, just not as sticky as the Siser Easyweed, which is what I normally use. 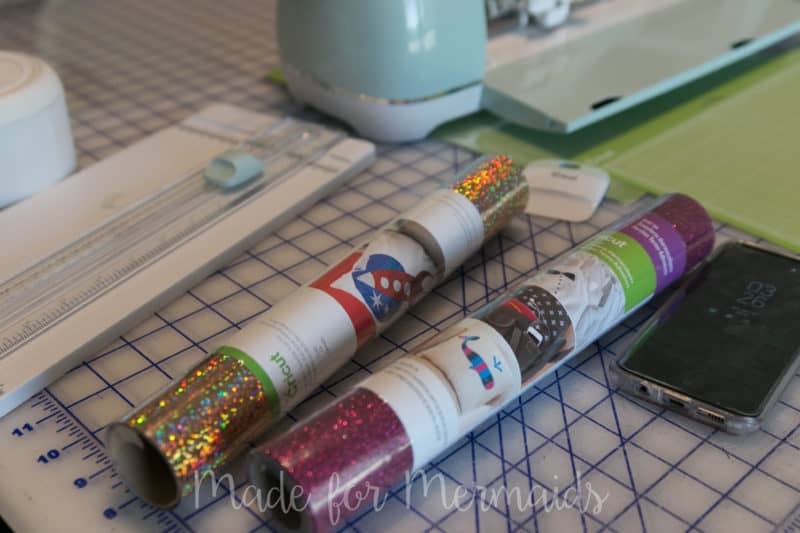
I love all the little compartments on the machine. It’s really nice to store your tools. I can’t tell you how many times and how long I’ve searched for my weeding tools! 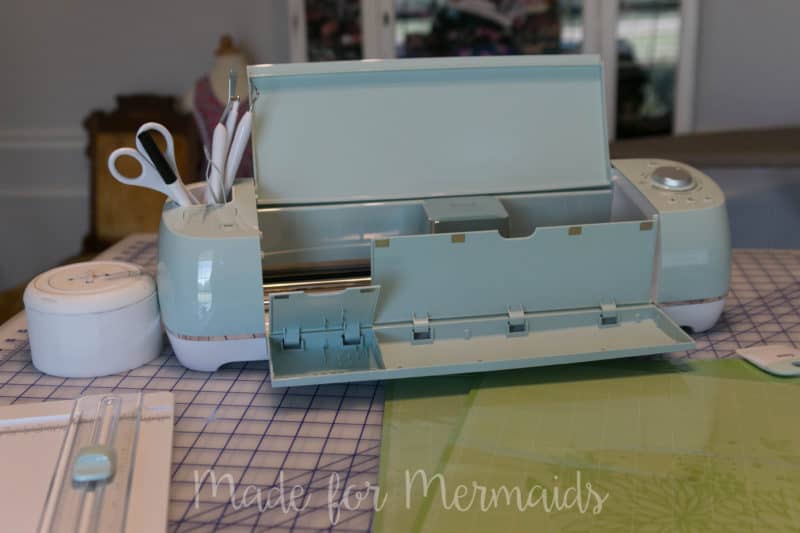
I also love the dial to choose what material you’re cutting. It’s so quick to switch and no messing with or removing blades.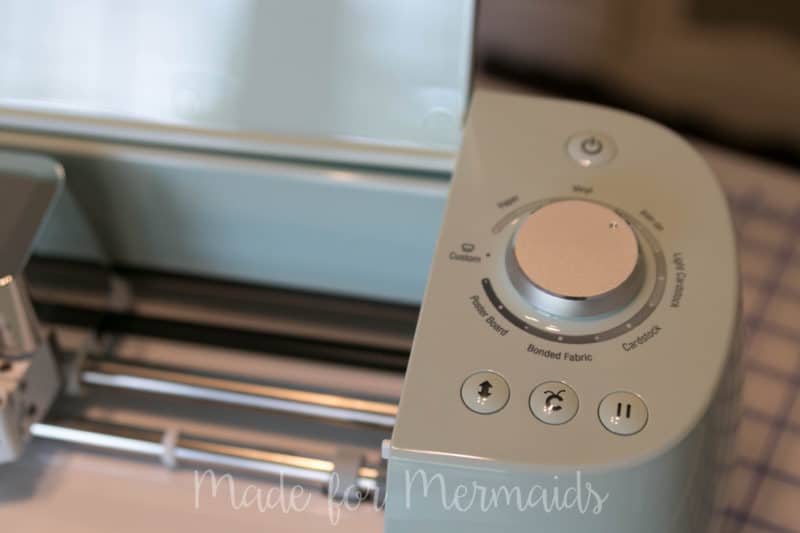
I think it’s also really cool it has a blade and space for a marker, stylist, other tools. If you look on the center silver piece below you’ll see it marked “A” (for marker or other tool) and “B” (cutting blade). You could cut and draw at the same time- I’m thinking Christmas or birthday tags- it would be so fast and convenient! If you’re interested in picking up an Explore Air 2 the coupon “ChristmasInJuly” will get you Free shipping for US orders.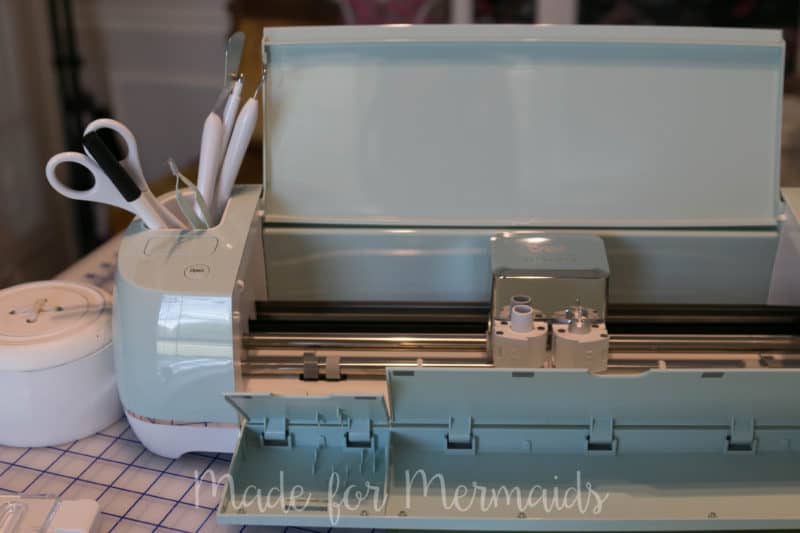
I am going to play with it more and let me know if you’d be interested in a comparison post with the Silhouette and any other HTV posts. Maybe a 101 on HTV basics, how to create SVG files or if there is anything else you’d love to see, leave me a comment here or in our FB group!
Make sure to hop on over to the other blogs on the tour to see so many creative ideas on using vinyl- PLUS a giveaway!!
Enter to Win a Cricut Explore Air 2 HERE
Week One: July 19th
Week Two: July 26th
I was invited to participate in the Cricut Party Blogger Program Kickoff. This experience is based strictly on my opinion. Others may have a different opinion or experience with the product listed above. I was provided the sample free of charge by the company or PR agency and I have given my honest opinion. This is a sponsored conversation written by me on behalf of Cricut. The opinions and text are all mine.
If you decide to make a purchase through my links, I will be paid a small commission for it. This doesn’t cost you anything additional.
OMG. I need to make my own shoes now! These are so cute and such an adorable idea. (PS la-la-love Sophie’s giant bow.)
I love it! We’ve thought about adding vinyl to Chucks, but we haven’t done it just yet.
These are soooo much better than the puff paint ones I decorated as a kid!
I’ve been wanting to add some htv to a pair of Vans. I’d be interested to know how well the vinyl holds up over time.
This is so adorable! I love the styling of the outfit, the outfit itself, and your cute daughter! I LOVE, LOVE, LOVE that you personalized her shoes! I want to make my own shoes now!