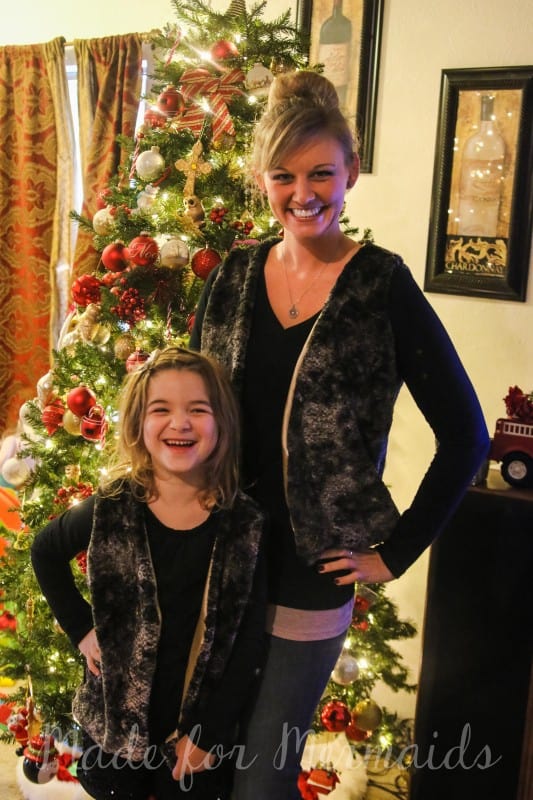
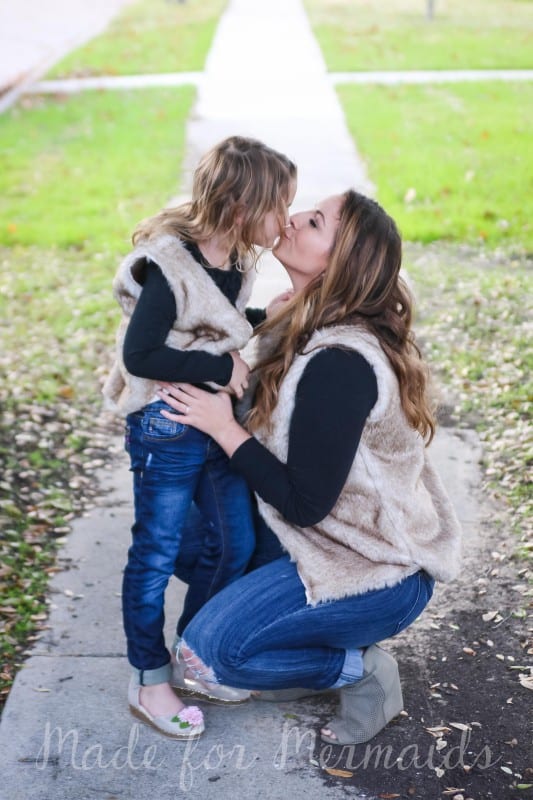
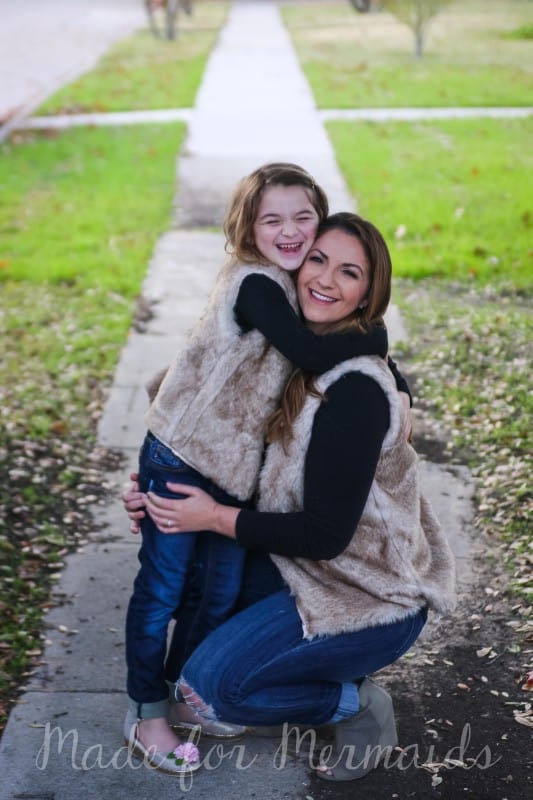
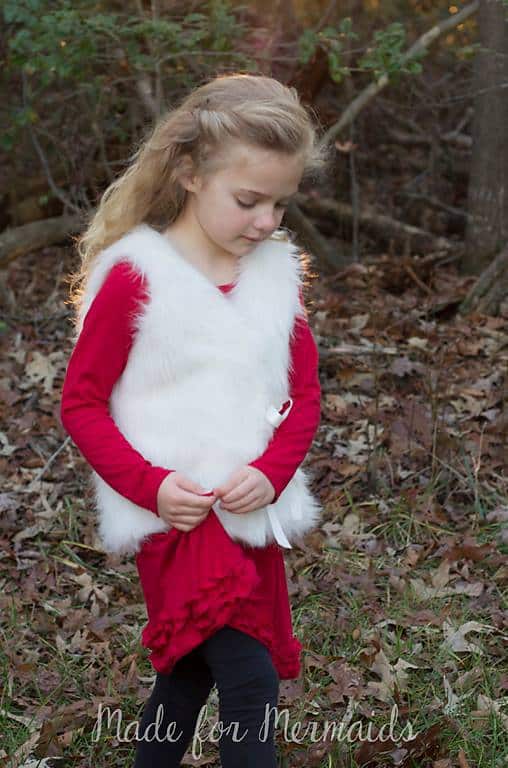
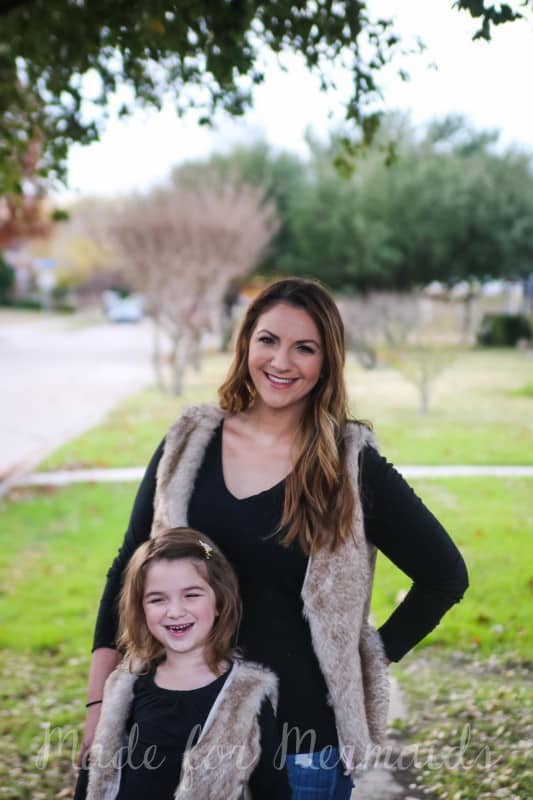
Today is day 9 of our 12 Days of Christmas Freebies! Today we have a fully lined, faux fur vest in mama and girl size. I love these for layering over plain tees, flannel button down or flowy knit tunics. They are such an easy piece to add on to an outfit to make it more winter appropriate.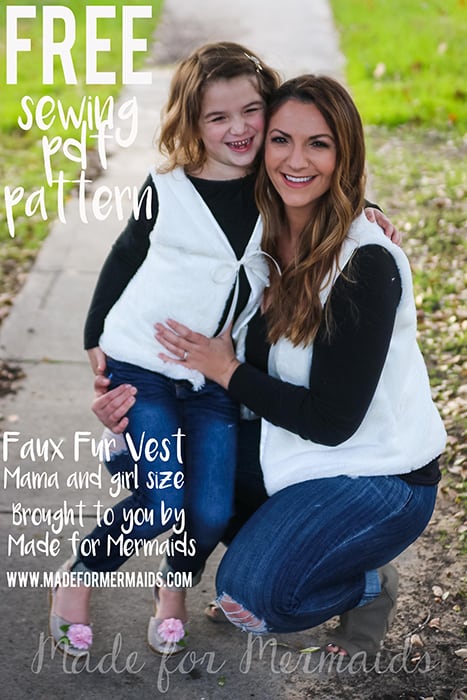
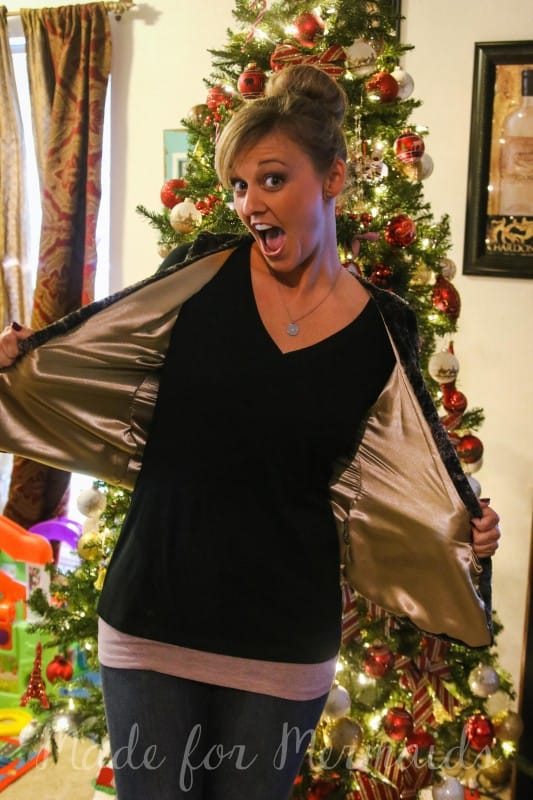
I sized these for my daughter and I- we both happen to be right in the middle of my size charts. Mama size medium- chest 37″-38″ and girl size 6- chest 25″. The vest is fully lined and very easy to modify the size if needed. Fabric- you can use faux fur, minky even flannel… really any woven you like. You can line with any woven too- apparel lining, satin, broadcloth, etc. Faux fur is pretty pricey, so minky is a good alternative if you don’t want to splurge. I went shopping in the warehouse shops in downtown Dallas for my fabrics; I stood in the same spot for about 30 minutes trying to decide how much I wanted to spend on faux fur before deciding to go with off white minky 😉 the $52/yard faux fur was so pretty though!! I ended up grabbing another faux fur at Joanns when it was 50% off.
Fabric requirements for 60″ wide fabric:
You can get both sizes out of 1 1/4 yard for the main fabric and 1 1/4 yard for the lining.
For girl size only 5/8 for main and 5/8 for lining
For mama size only 3/4 for main and 3/4 for lining.
Mama size chest finishes 40.5″
Girl size chest finishes 27.5″
Remember if you’re going to alter the size, you’ll want 2″-2.5″ of wearing ease- meaning you want the finished measurement to 2″-2.5″ bigger than your or your daughter’s chest measurement.
ALL SEAM ALLOWANCES ARE 1/2″.
If you take a 1/4″ seam allowance, your vest will finish 42″ for mama and 29″ for girls.
If you take a 5/8″ seam allowance your vest will finish 39.75″ for mama and 26.75″ for girls.
Grab your pieces here. Pattern layout below. If you just want to print the Mama pieces, print pages 1-3, 7-9 and 13-15. If you just want to print the girls pieces, print 4-6 and 10-12. The pattern is a no trim pattern; if you need help putting the pattern together, pop over to the faqs and troubleshooting page or ask in my facebook group . Print and assemble the pattern. I’m going to use my serger for most the construction, if you don’t have a serger and are using minky, get your walking foot out! It will help feed the fabric through your sewing machine. 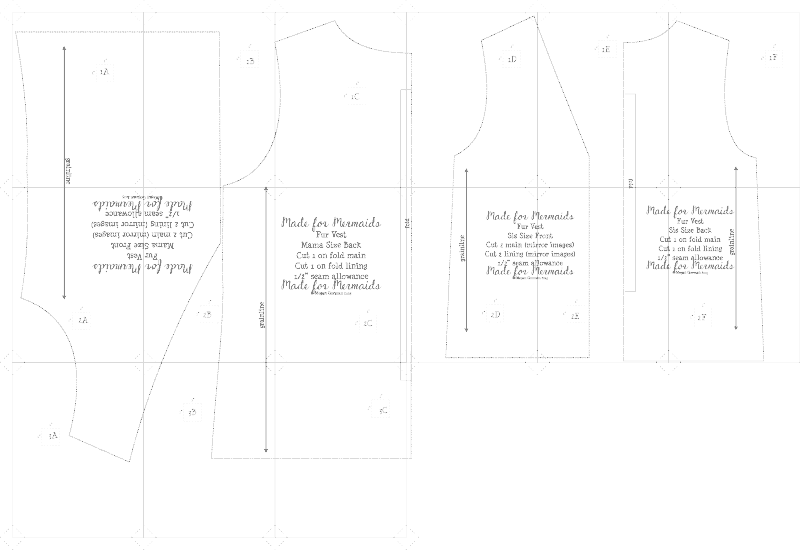
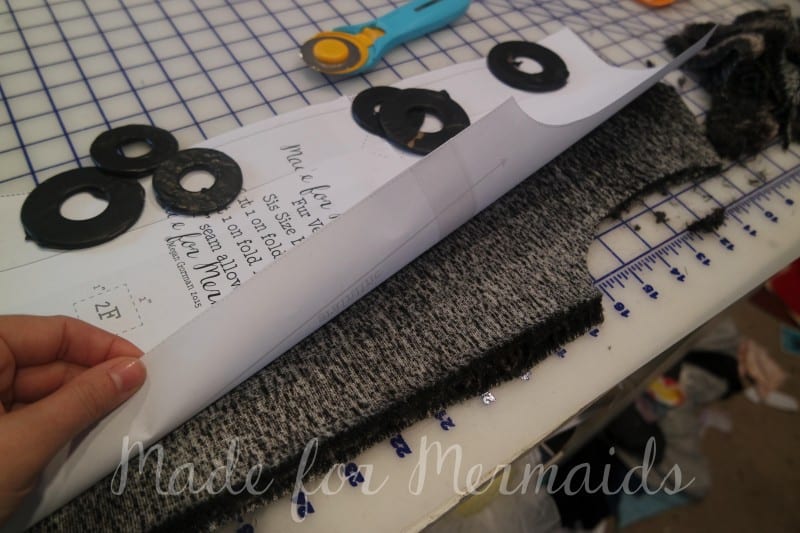
When you cut your pieces, cut on the wrong side of the fabric, not the furry side. Also I’m prewarning you…. this is going to make a huge mess. Faux fur just goes everywhere, I’m sorry, but it will be worth it (don’t ask my husband if it was worth it 😉 ). Note if you need a larger size, move your piece away from the fold before cutting. If you need a smaller size, move the piece toward the fold, so the piece overlapping and extending the fold.
With right sides together, stitch front to back at each shoulder seam. Repeat with lining pieces.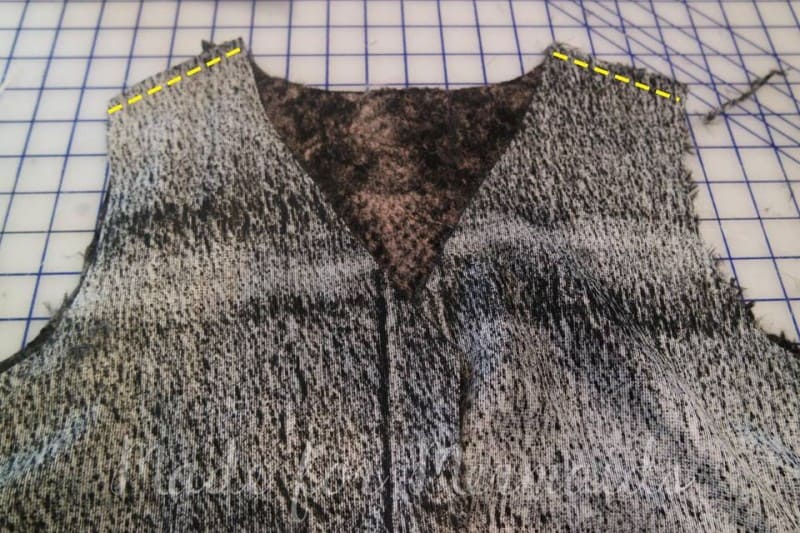
Lay main piece out flat, right side up.
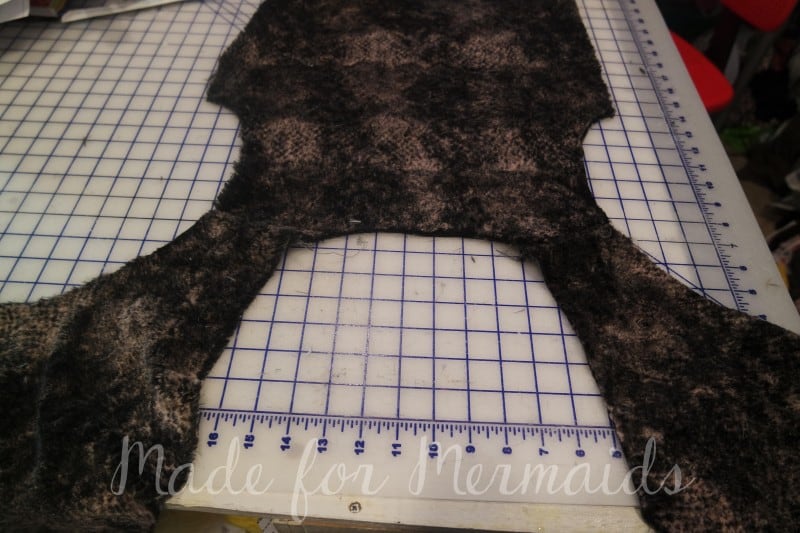
Lay lining piece on top, right side down, matching shoulder seams.
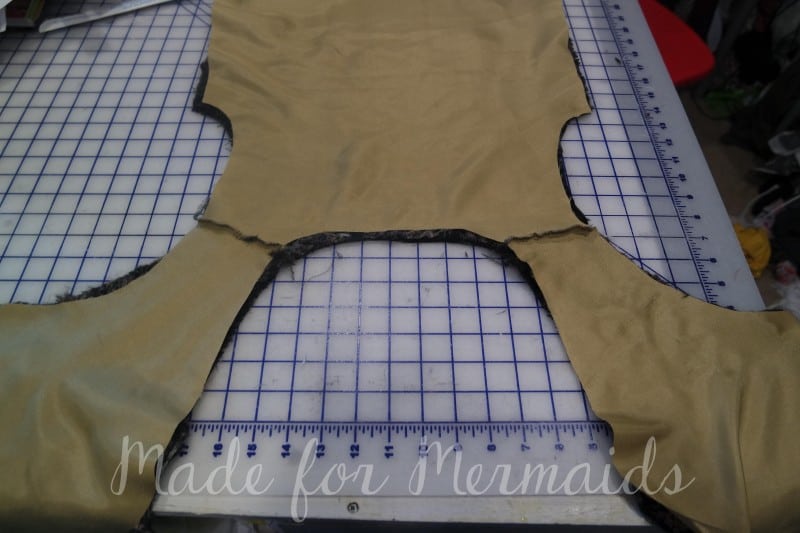
Stitch lining to main fabric at arm hole. Repeat on other side.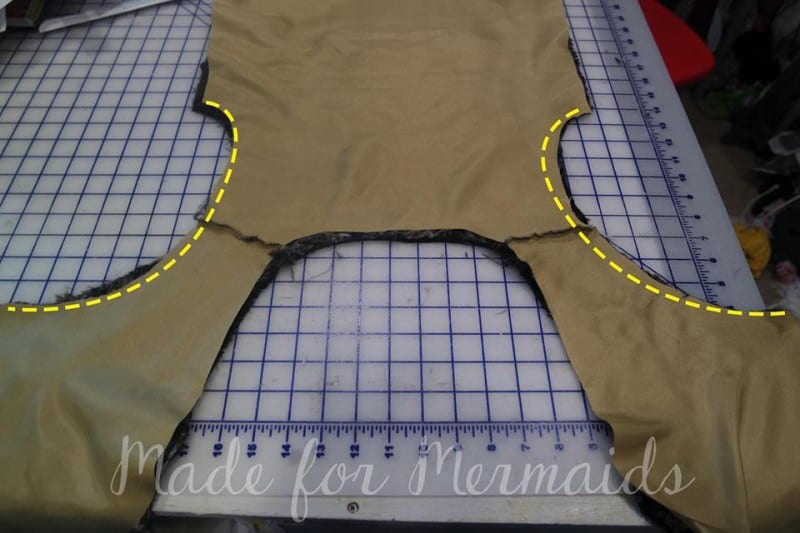
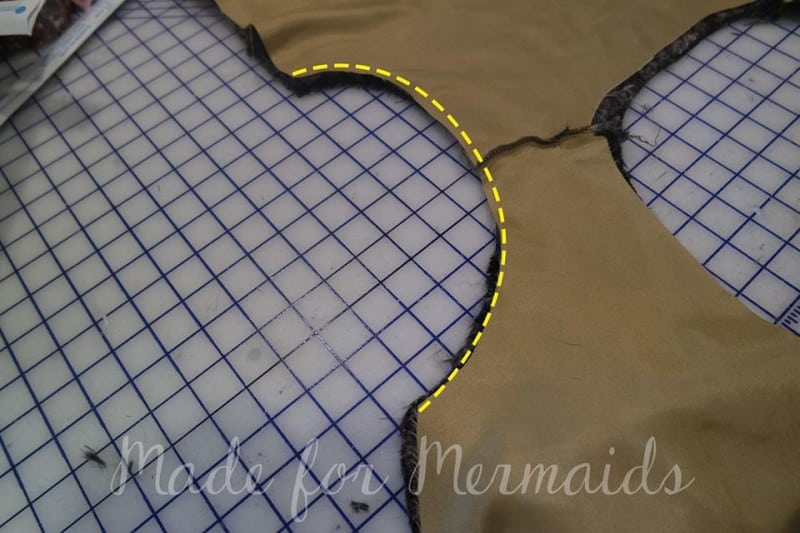
Stitch lining to main from straight edge, around back neck to other straight edge. Note if you want to add ribbon ties you would sandwich them between the faux fur and lining at the front v.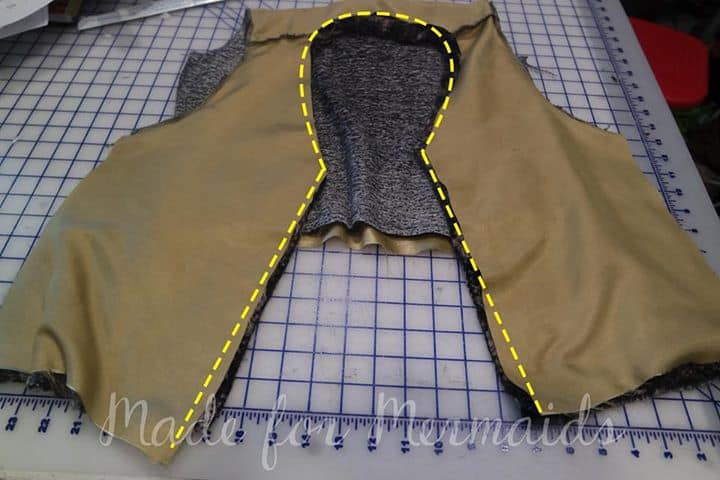
Turn right sides out.
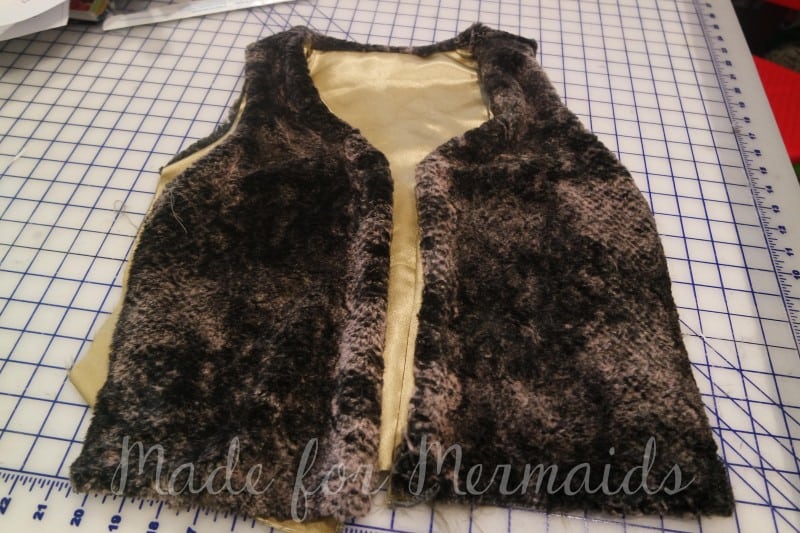
Now on to the sides seams. Open your front piece under the arm- so your main piece and lining are flat, right sides up.
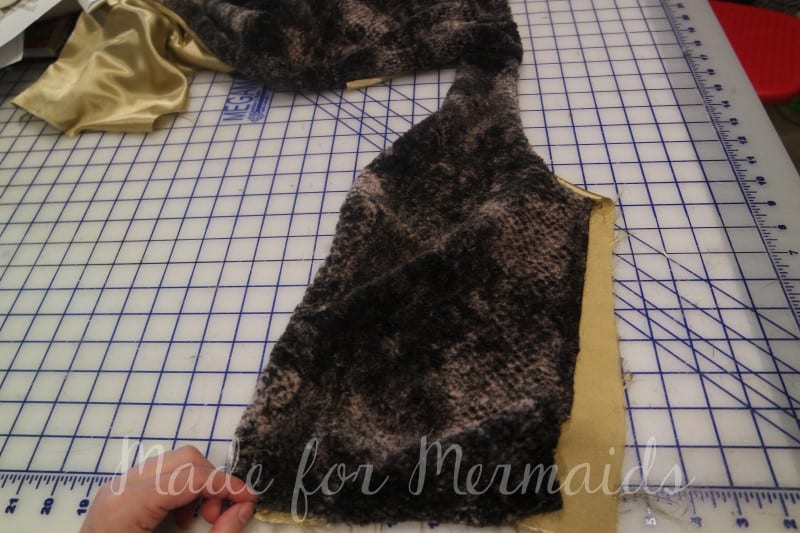
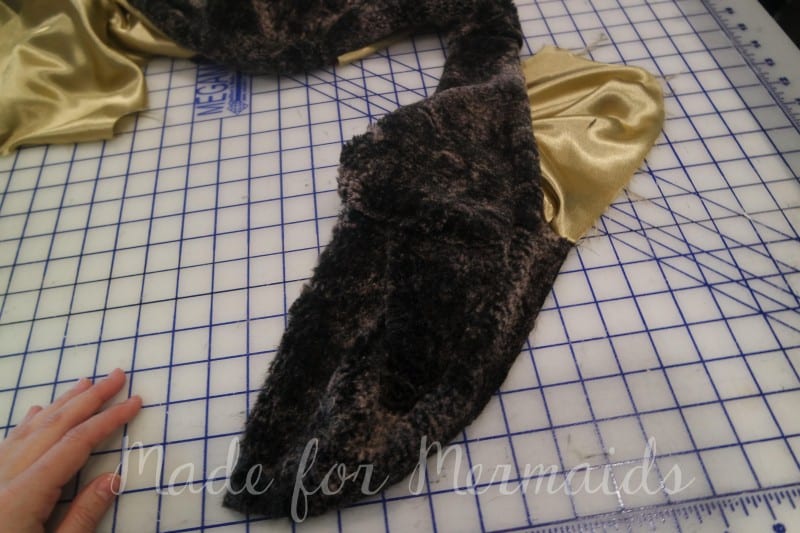
Open your back piece under the arm and lay on top your main pieces, right sides together. The main pieces should be together, under arm seams matching and linings together. Stitch together. Then flip lining to inside. Repeat on other side seam.
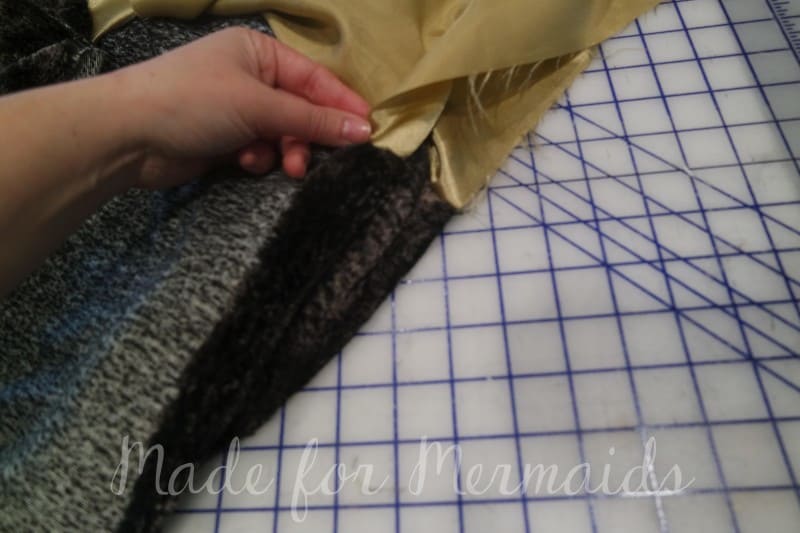
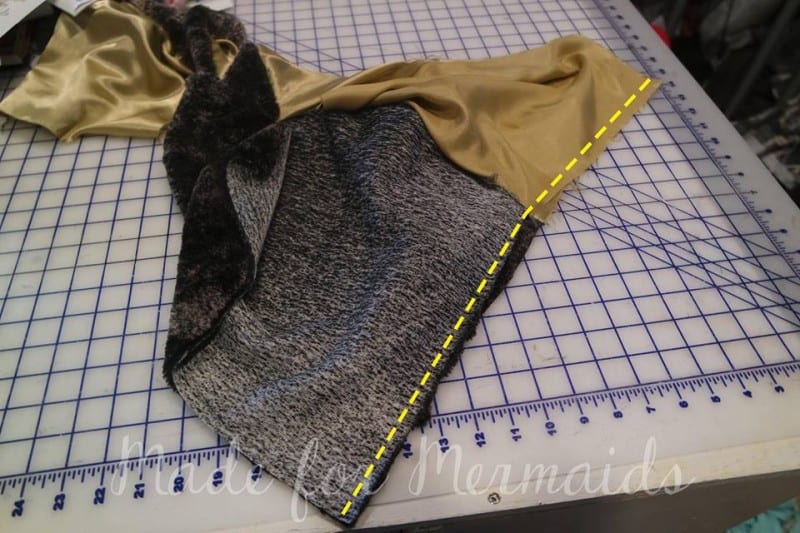
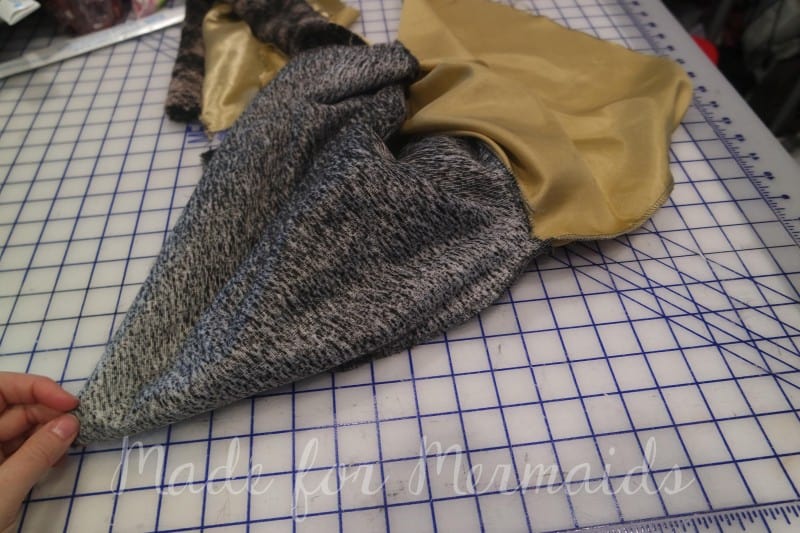
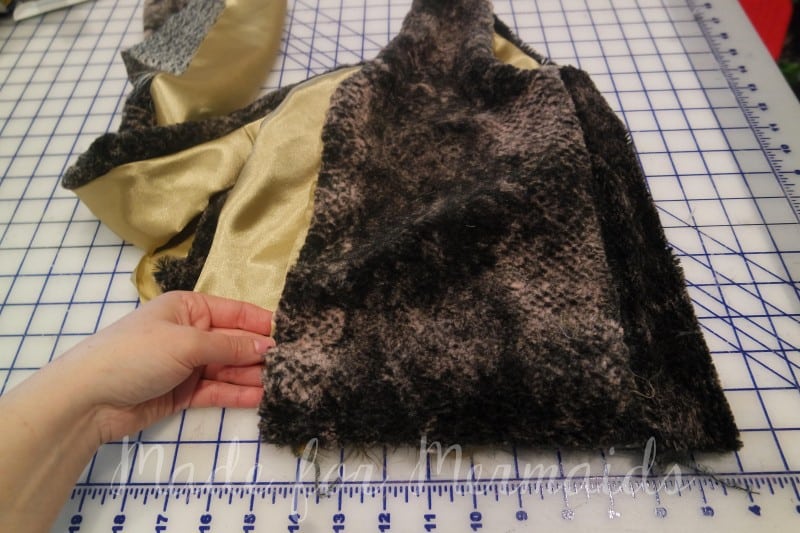
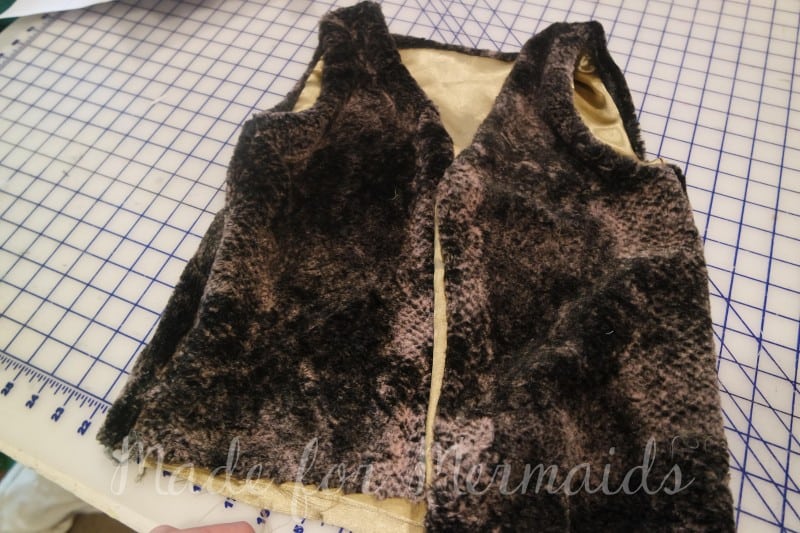
We just need to finish the bottom hem and done! Lay your vest out flat, so your lining is right sides up. Flip your main piece over and around, so it is right side together with the lining. Your vest should be rolled into itself.
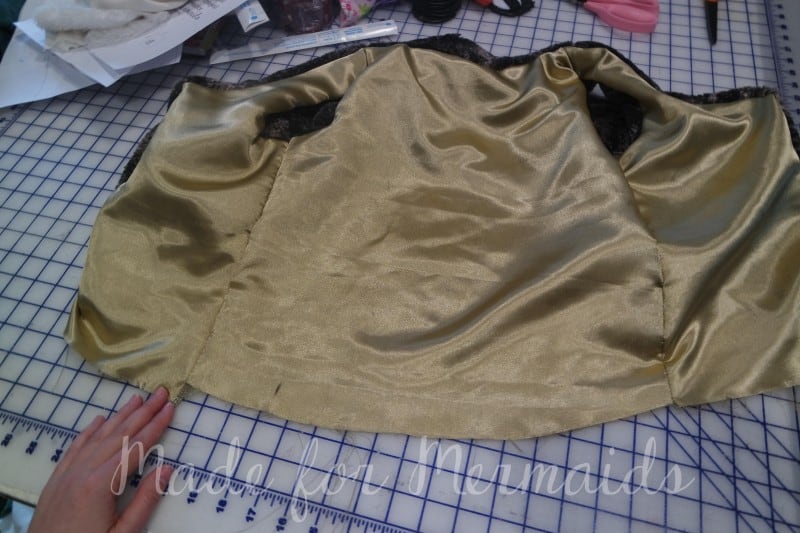
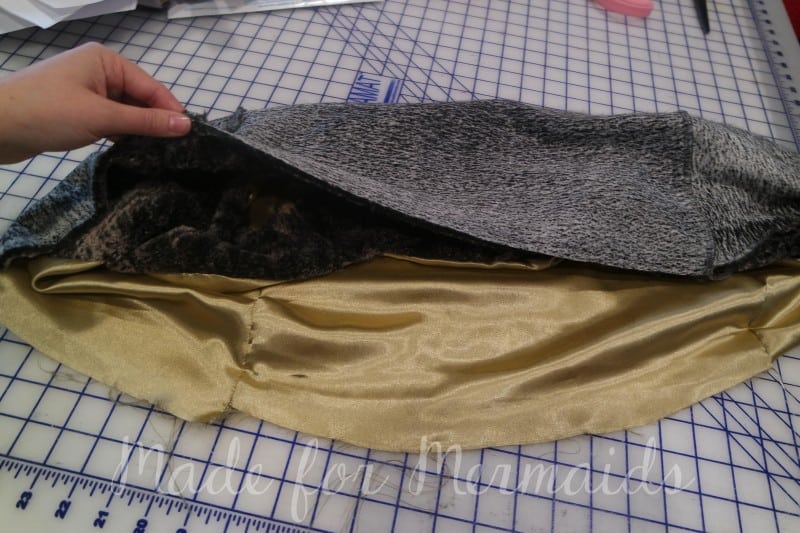
Stitch lining to main at bottom hem, leaving a 3″-4″ opening to turn.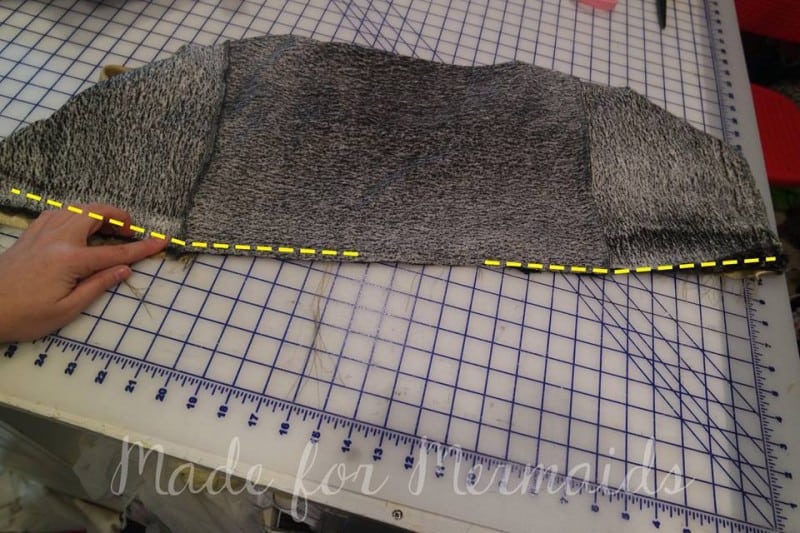
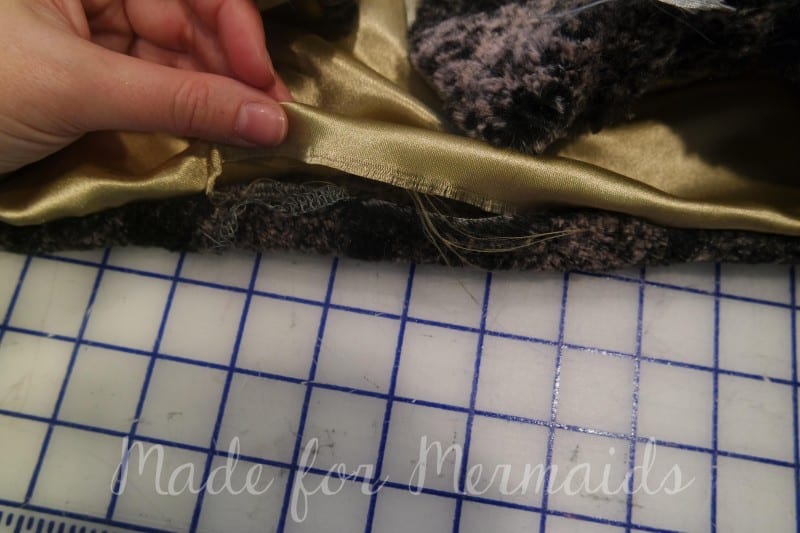
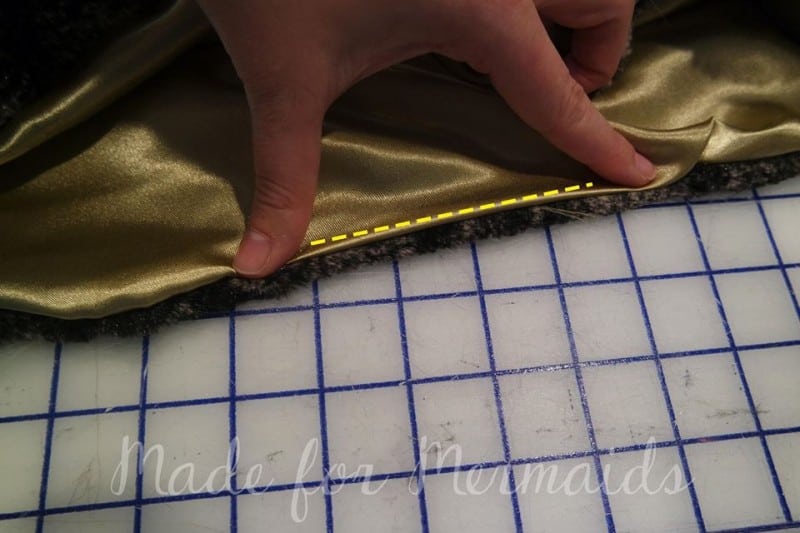
Turn right sides out. Finger press the opening and close with a whip stitch by hand or topstitching with your machine. You may also want to topstitch around the front opening so your lining doesn’t peek out.
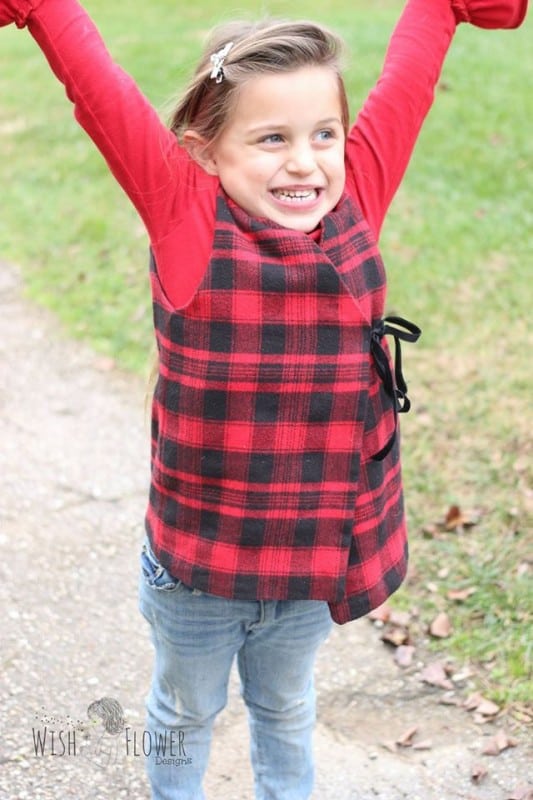
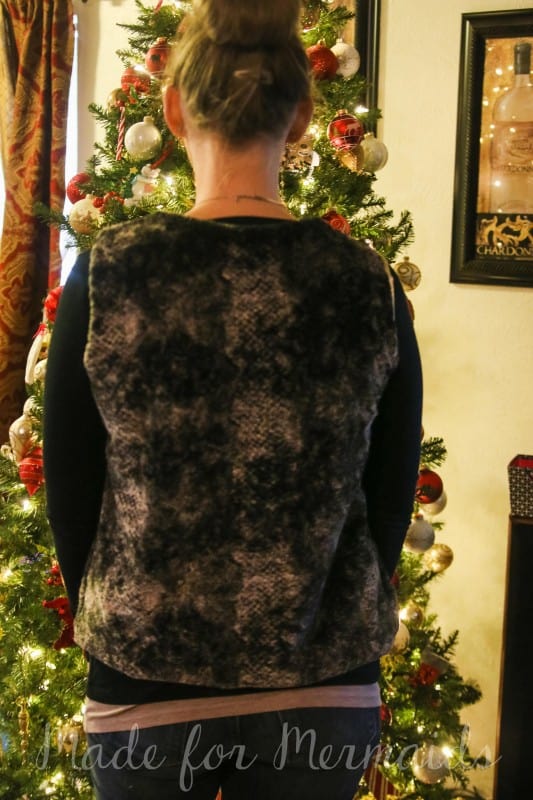
Tester photos- note the girls pattern was altered during testing, which is why a few are overlapping, it was corrected to look like my daughter’s 🙂 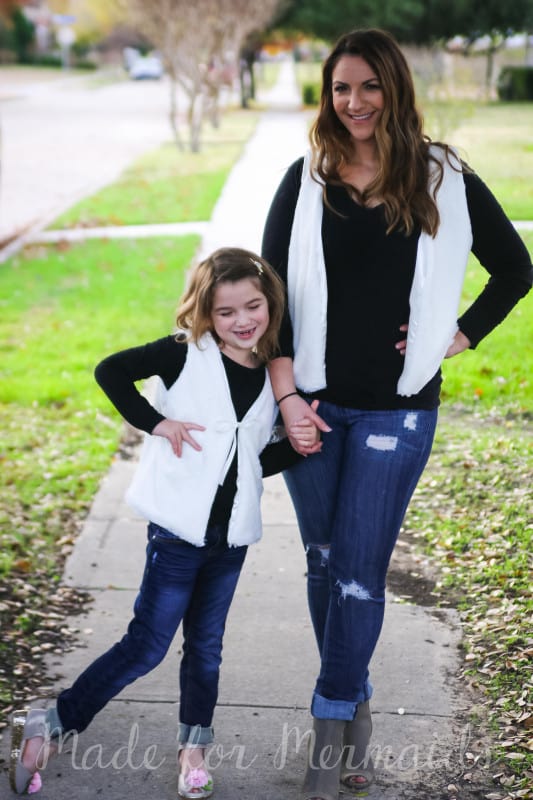
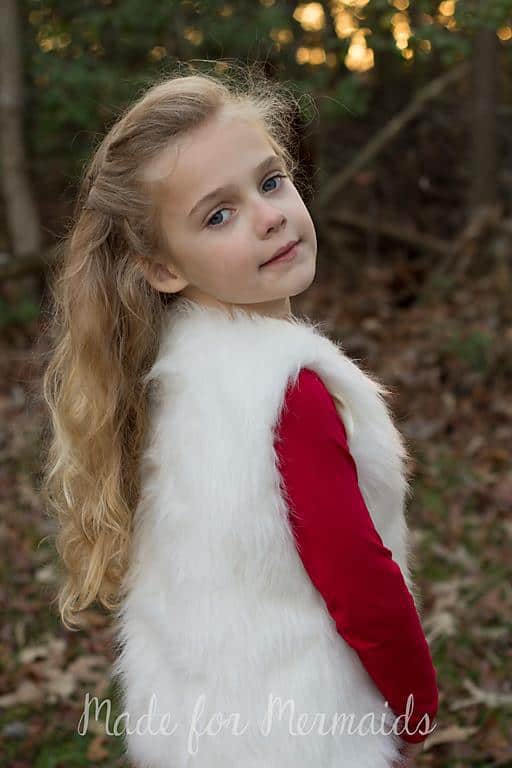
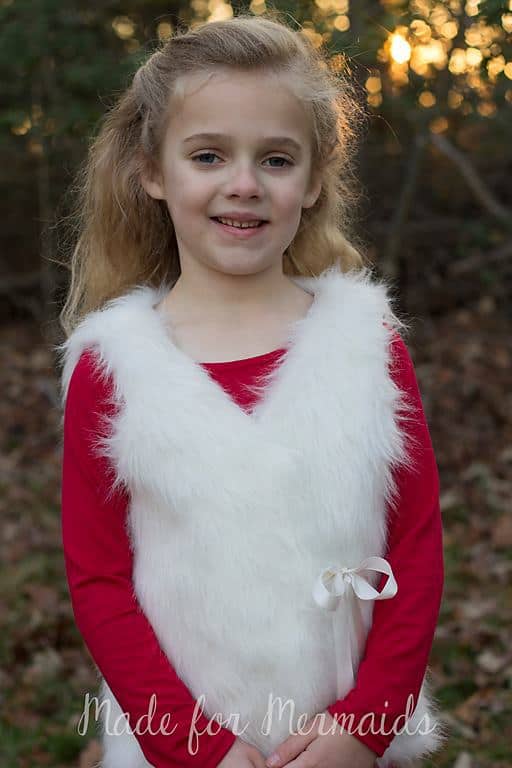
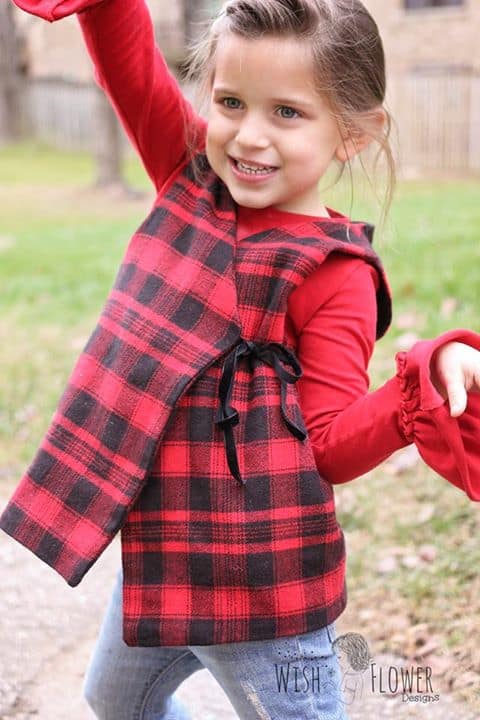
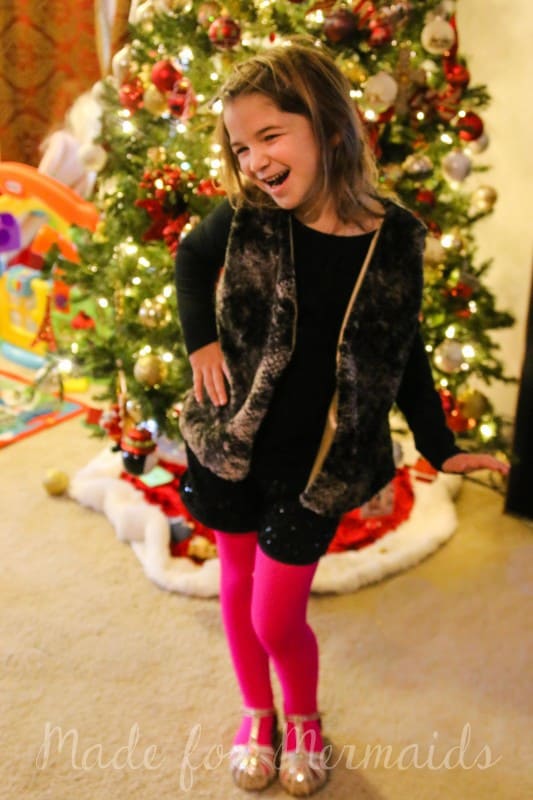
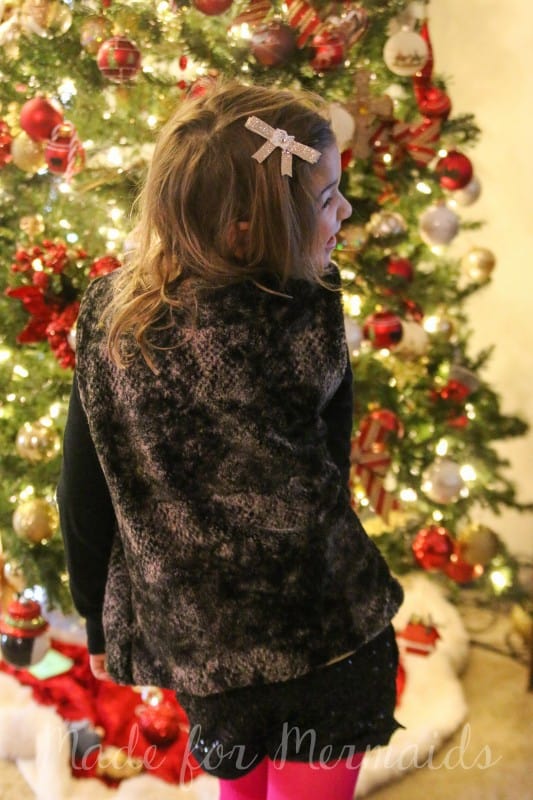
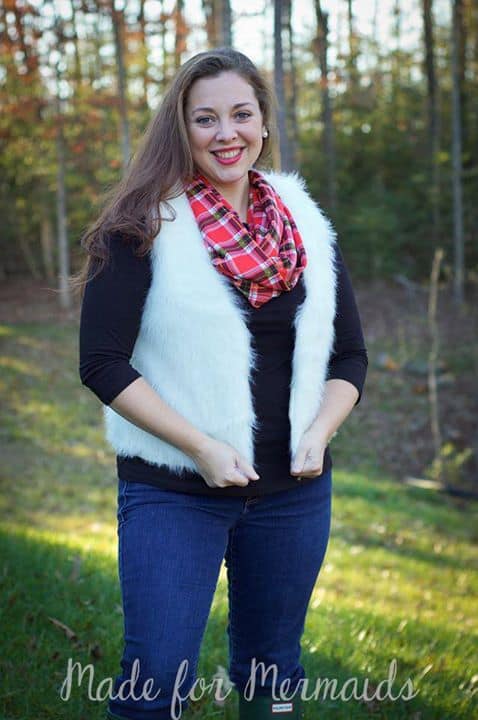
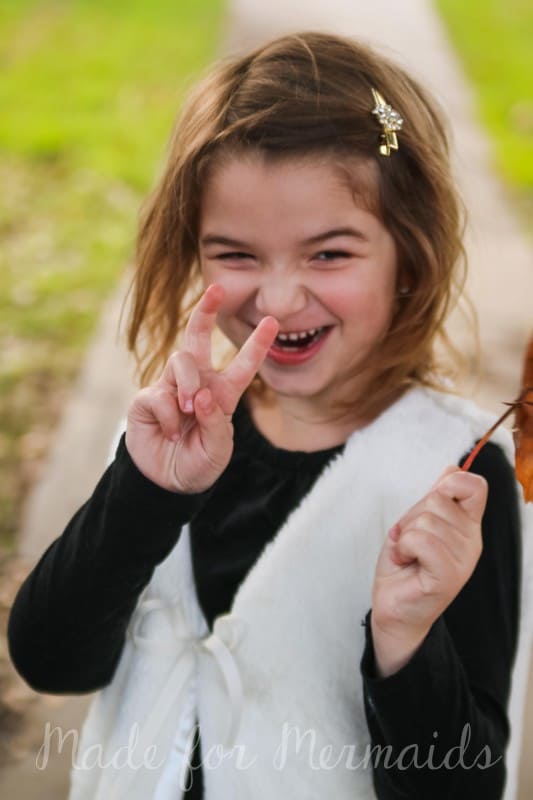
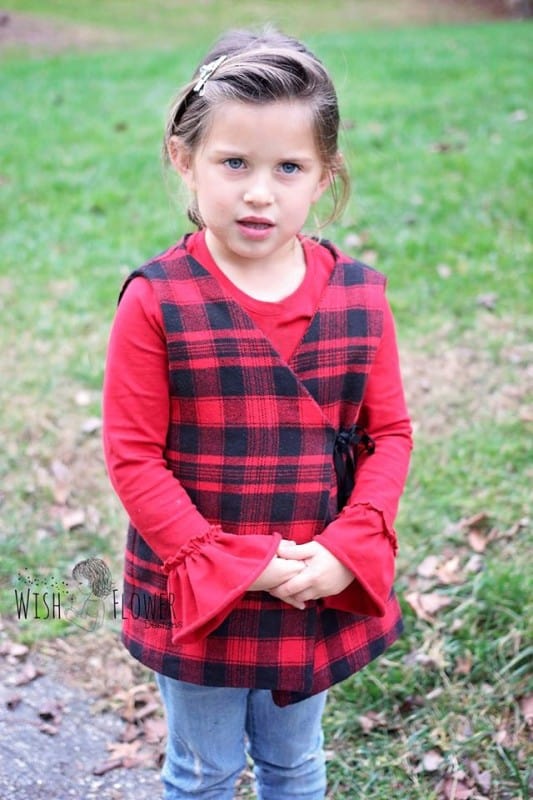
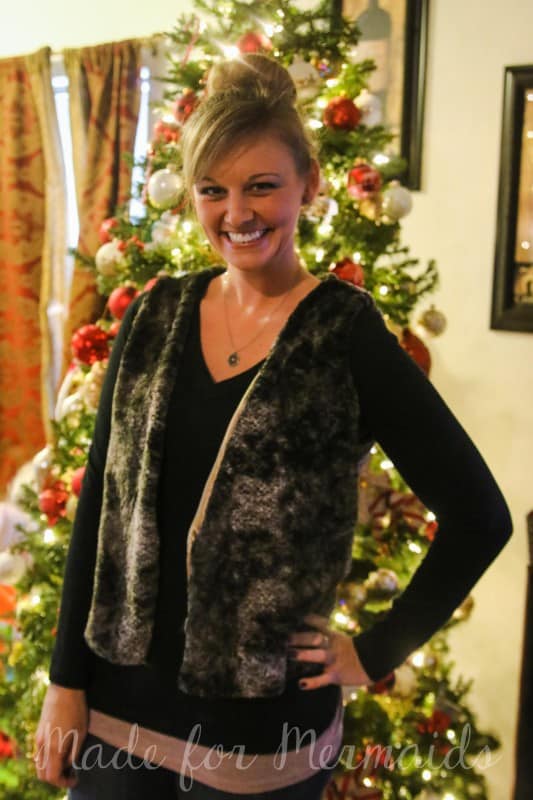
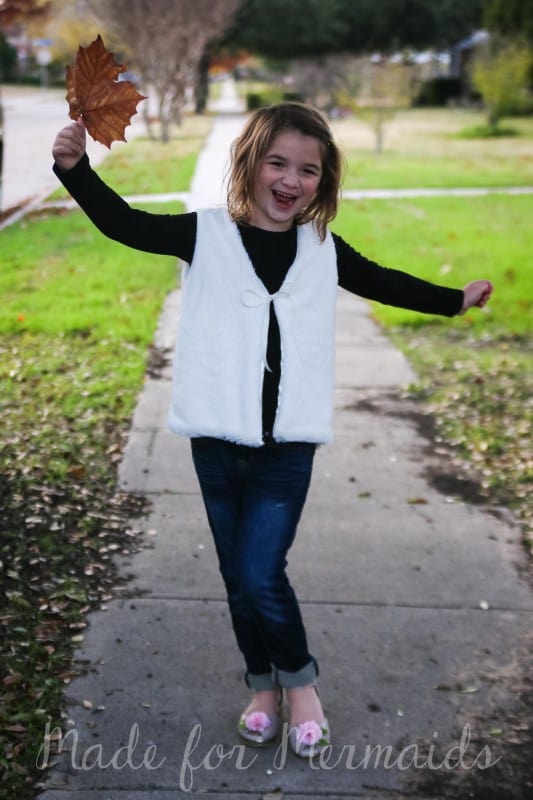
Don’t forget to join us in the Made for Mermaids Pattern Group to share what you’ve made and to see more sneak peeks of our 12 Days of Freebies!
M4M’s 12 Days of Christmas Freebies
December 1 – 12, 2015
Day 1 – Mermaid Tail Blanket
Day 2- Tiffany Collar
Day 3- Sleep Masks
Day 4- Coffee Cozy
Day 5- Dolly Bedding
Day 6- Pillow Cover with svg files
Day 7- Knit Beanie
Day 8- Infinity Scarfs

Leave a Reply