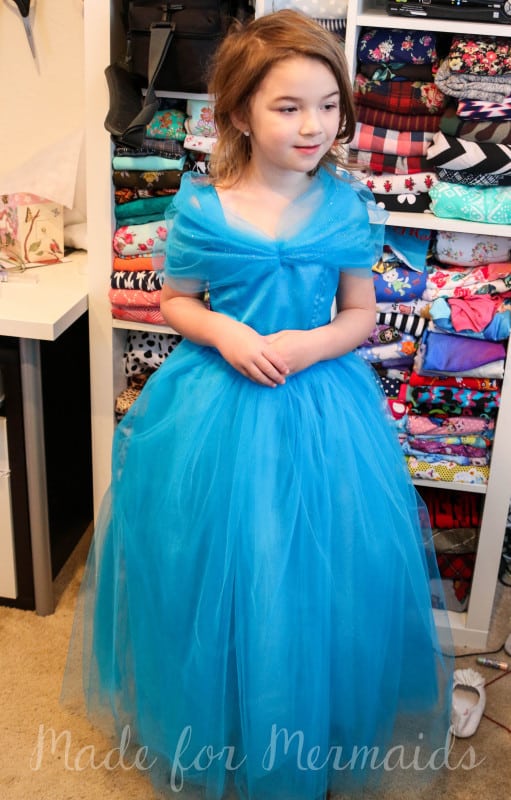
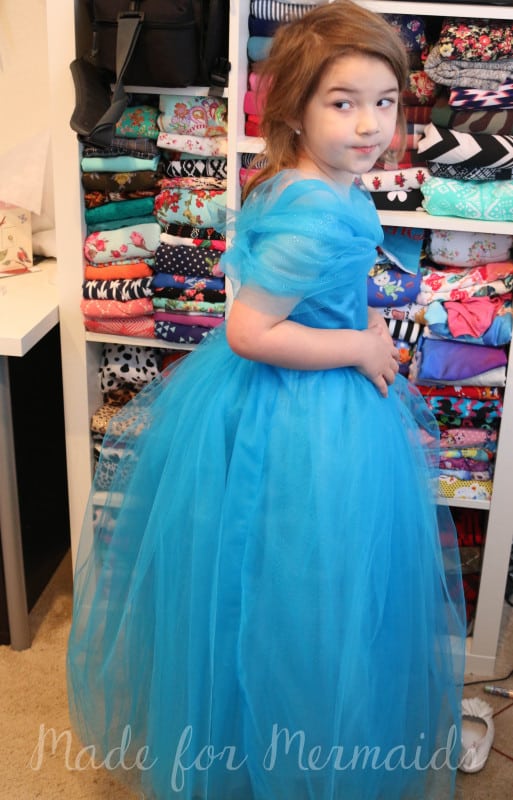
If your daughter is like mine, she has been begging for the new Cinderella dress ever since she saw the trailer! Glitter, sparkles, butterflies, tulle….every little girl’s dream! I had planned on grading this into a full pattern, but like too often, ran out of time. I turn around and bam, my goodness the movie is already releasing! I had to make my daughter one, so decided to share her size for free. I hope your daughter will enjoy too!
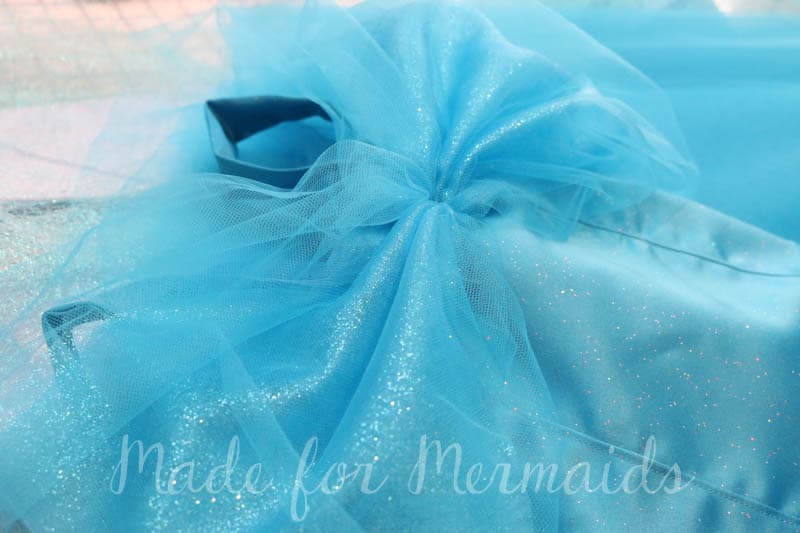
This is for a size 5 dress that “hits the floor” as my daughter says.
Child’s chest: 24″
Height: 44″
Finished chest measurement: 25.5″
Approximate finished length, from underarm to hem: 34″
You will need 1/2 yard for the bodice. Simple skirt/lining you will need 2 yards. If you want to add tulle, like me, decide how many layers you want and multiply by the simple skirt requirement. EX, you want 5 layers, 5 times 2, 10 yards. If you are going to do several layers of tulle, I highly suggest buying lining fabric to line your skirt. I bought lining fabric, cut it incorrectly (blame the baby on my lack of sleep) and had to use broadcloth. It was not a fun time stitching the full layered skirt to the bodice ladies, not a fun time!!
I had planned on doing a zip closure, but didn’t have the right color, so did velcro. You could do a 7″ zip, button back or 1/2″ velcro, which honestly is perfect for a dress up dress!
1/2″ seam allowances are included.
First print your pieces, here. Bodice front side, 1A, bodice center and straps are on 1B and 1C (they are no trim pages, just butt 1C to the grey line, match triangles on 1B video here) and back bodice on 1D.
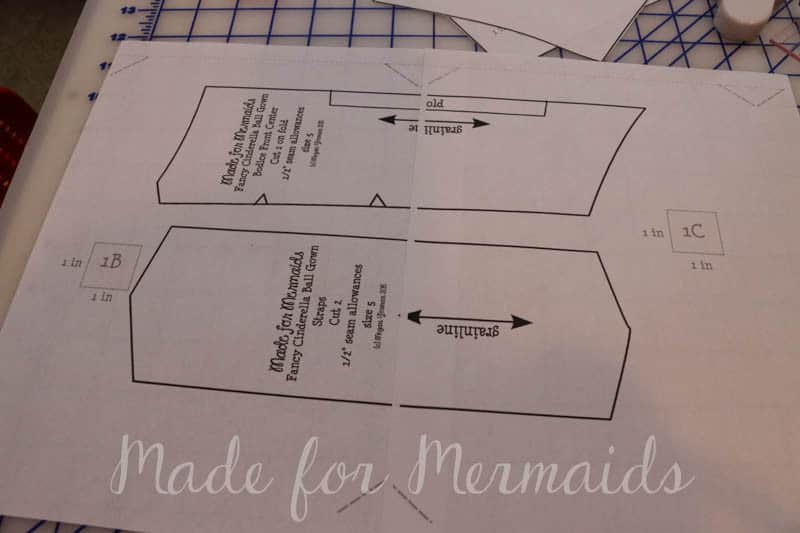
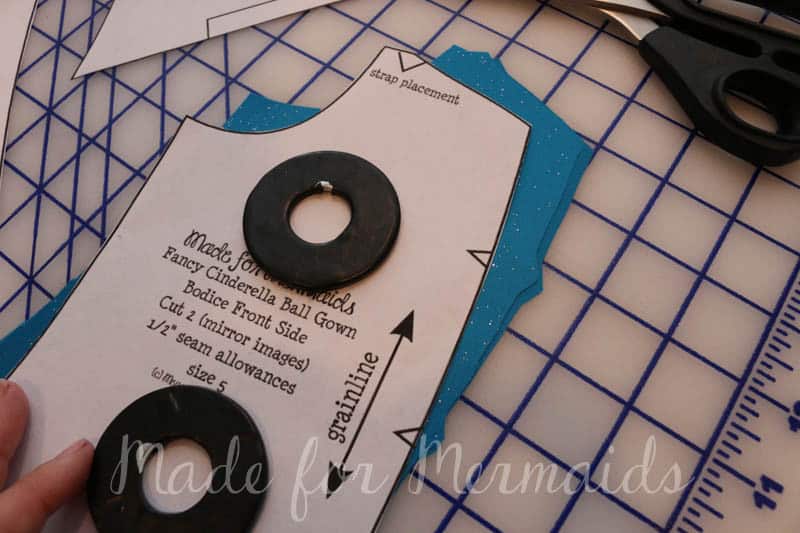
Cut your notches AWAY from your piece. These notches will help line up your center bodice to your side bodice when stitching. (Ignore my piece wording, they changed slightly 😉 )
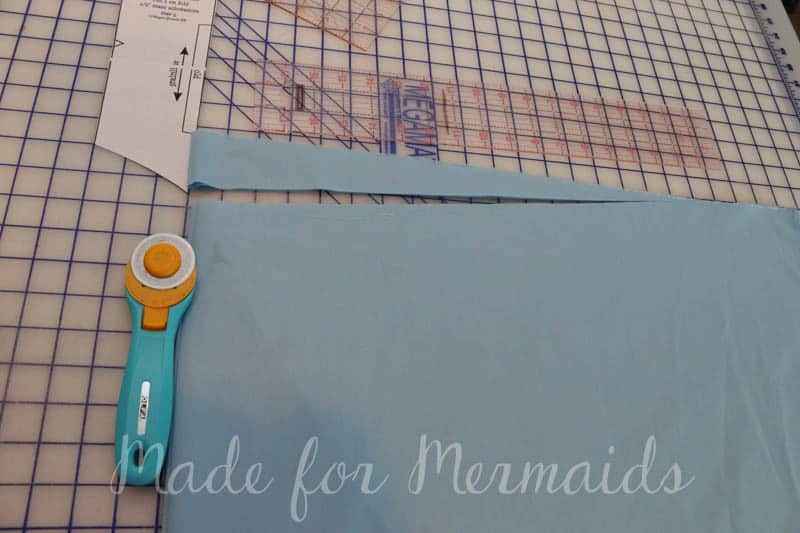
Cut your skirt pieces! Simple skirt/lining, cut 2, 30″ x WOF. You will need to fold your FRONT skirt in half and cut an angle starting 2 inches from the fold up. This is because our front bodice is pointed, your skirt will be longer in the front center if you skip this step. Now, I only did this on my lining piece. I did NOT do this for the tulle layers. You could and it would probably look wonderful, but, cough, I did not want to. My skirt was so puffy you could not tell 😉 Cut your tulle layers using the same measurements, 30″ x WOF. I cut 2 mesh skirts, for 1 layer of mesh and 10 tulle skirts, for 5 layers of tulle. If you need a tutorial, check my blog post here on how to cut tulle. Set your skirts aside while we construct the bodice.
With right sides together, stitch one side bodice to center bodice, matching notches.
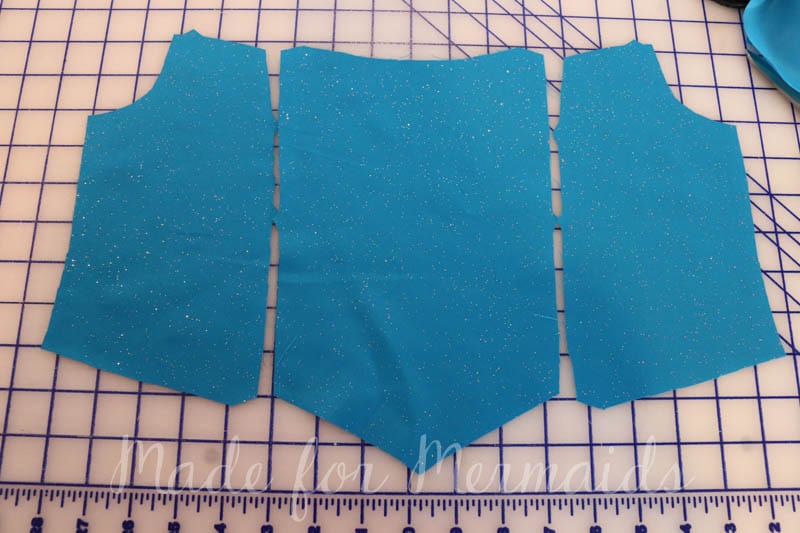
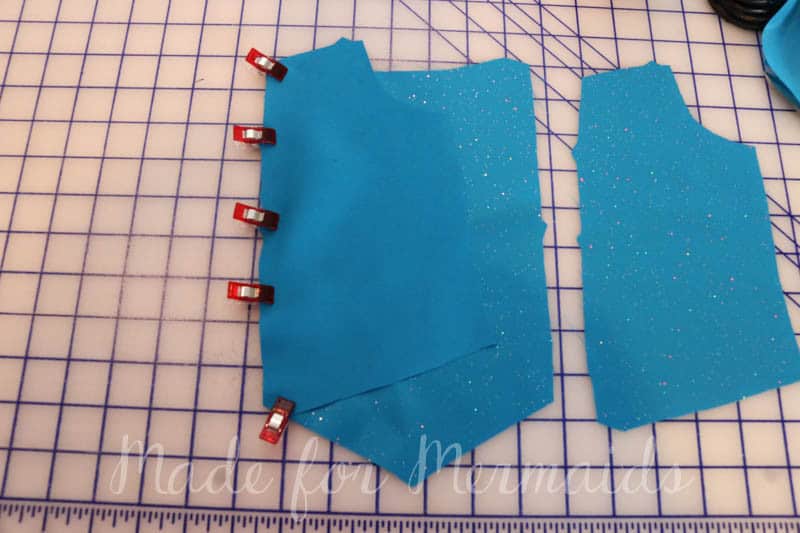
Repeat on other side AND lining pieces.
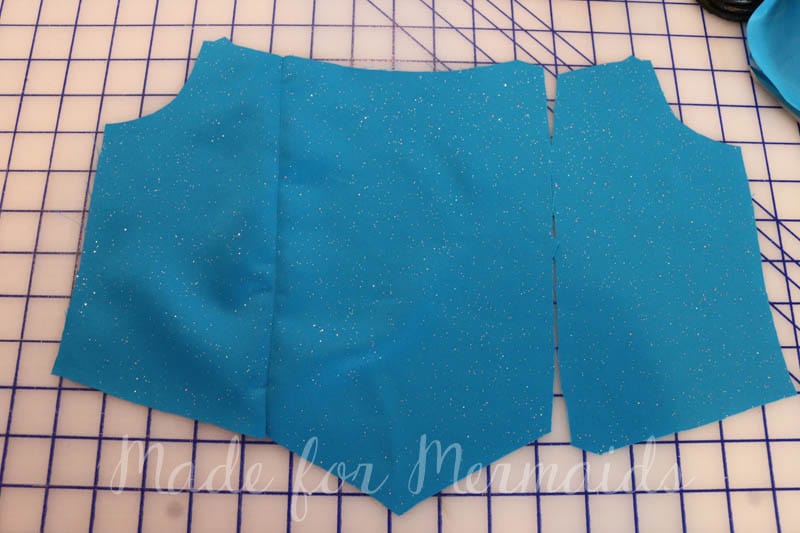
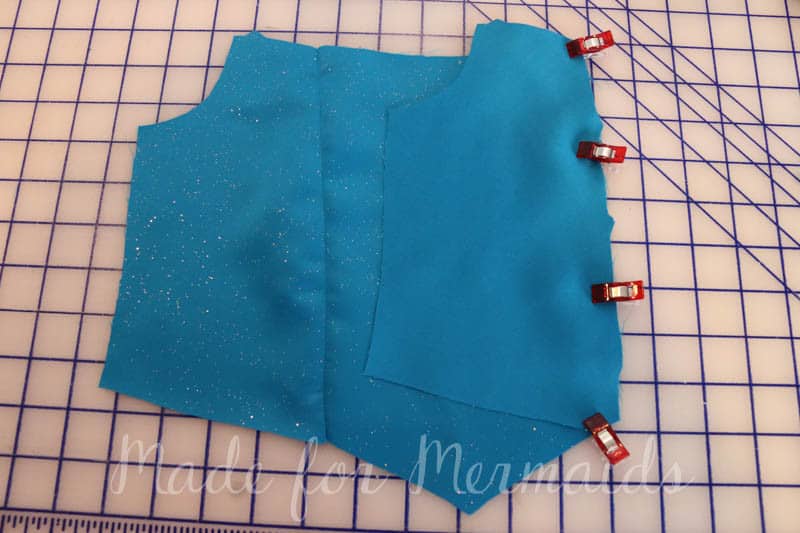
Press your seam toward the side bodice and topstitch. Repeat on other side. Or press seam open.
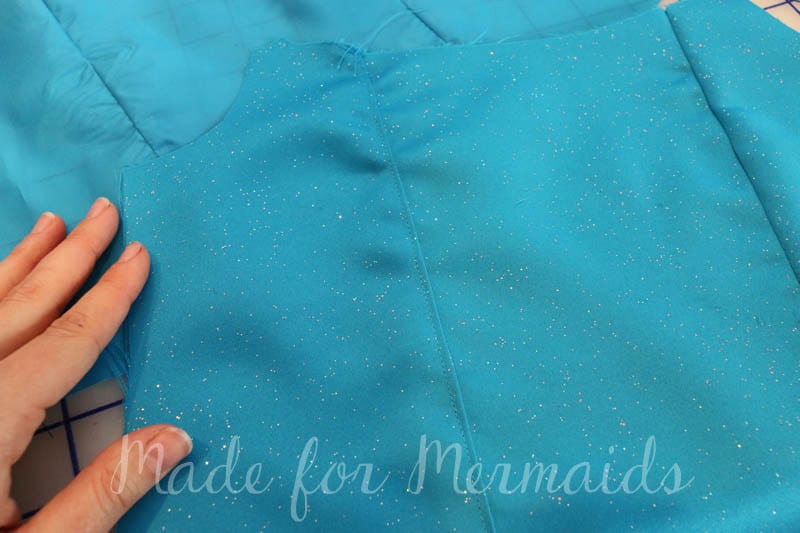
With right sides together, stitch back bodice to front bodice, creating side seam. Repeat on other side AND lining pieces.
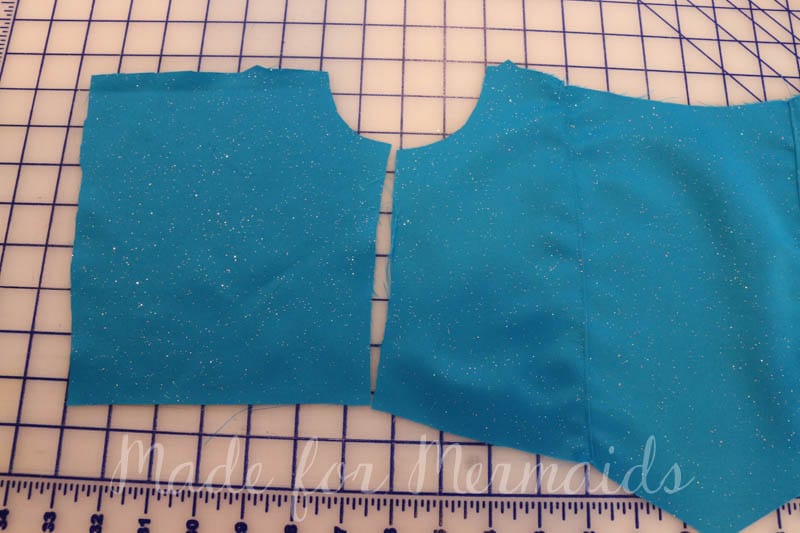
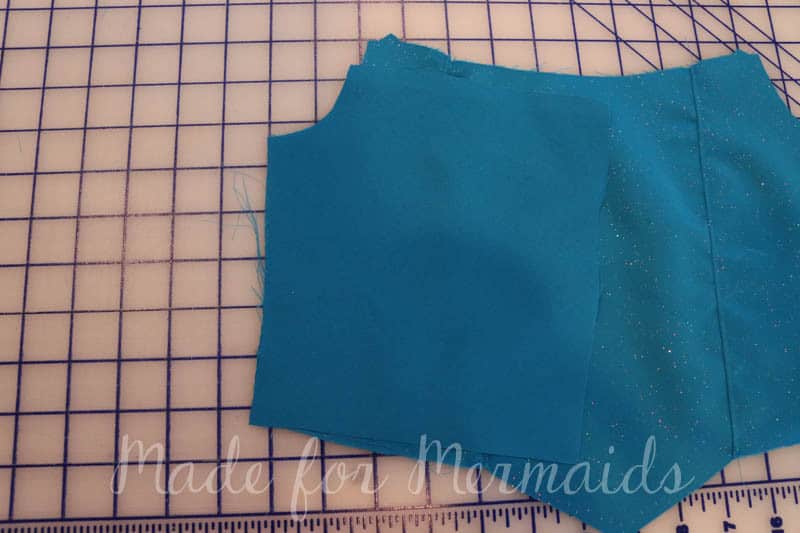
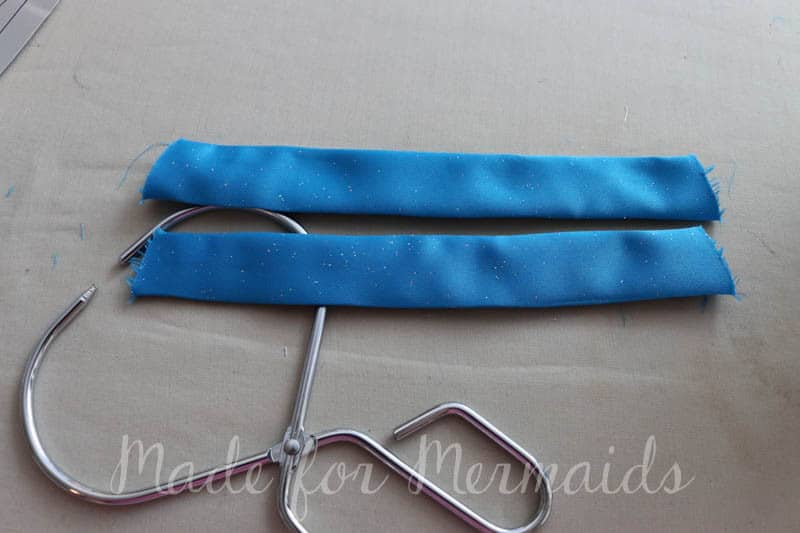
Press your straps in half width wise, right sides together. Stitch along the long, raw edge. Trim seam, turn and press, right sides out. Top stitch along long edges if desired.
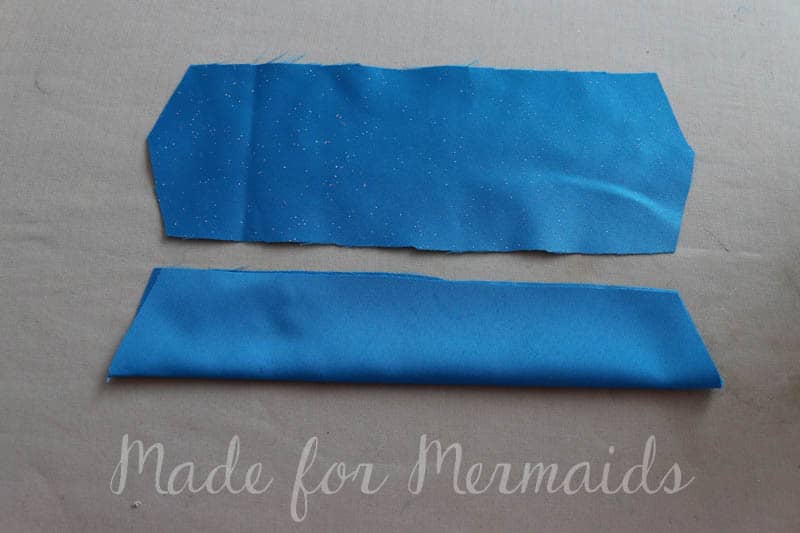
Use strap placement on pattern pieces (1/2″ from edge) to pin one end of strap to front bodice and the other end of strap to the back bodice, right sides together. The angle of the strap should match the angle of the top bodice. Repeat on other side and baste in place.
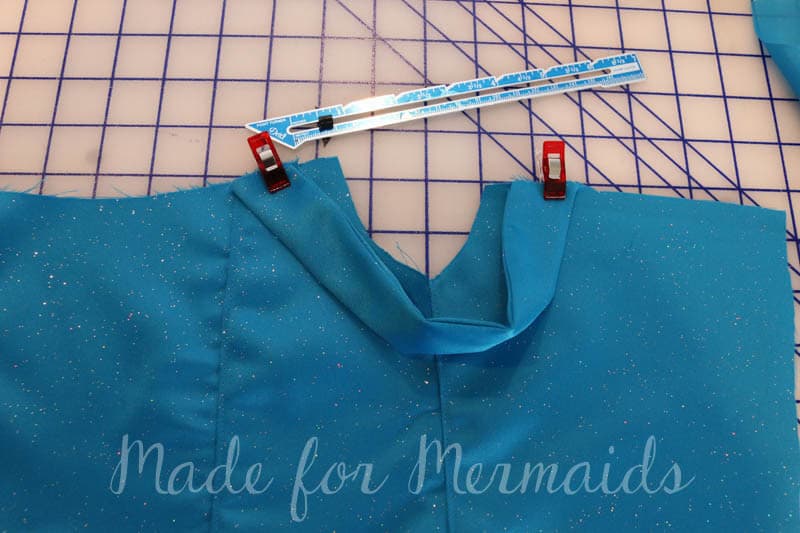
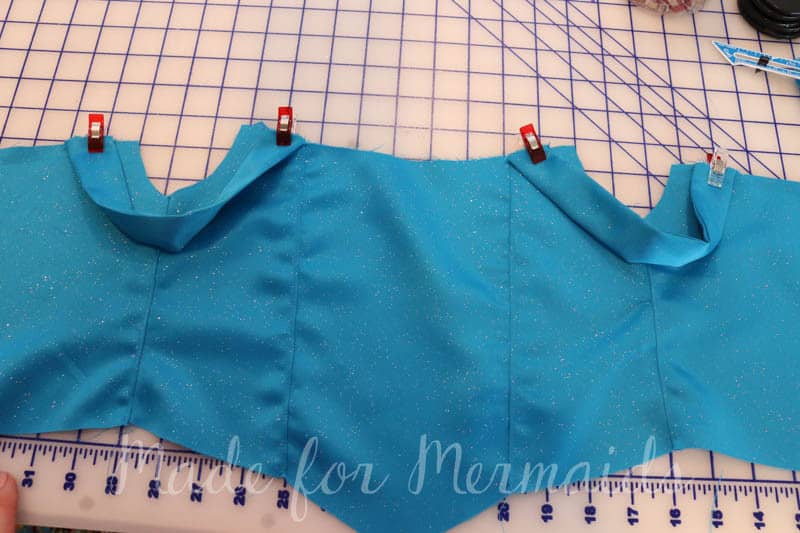
With right sides together, pin lining to bodice, your straps will be sandwiched in between. Matching your front bodice and side seams. Stitch along the top of your back bodice, arm curve, top of front bodice, other arm curve and back bodice. Clip corners and trim seam. Press right sides out, flipping your lining to the inside. I understitched my lining here. You could top stitch if you prefer. Set aside.
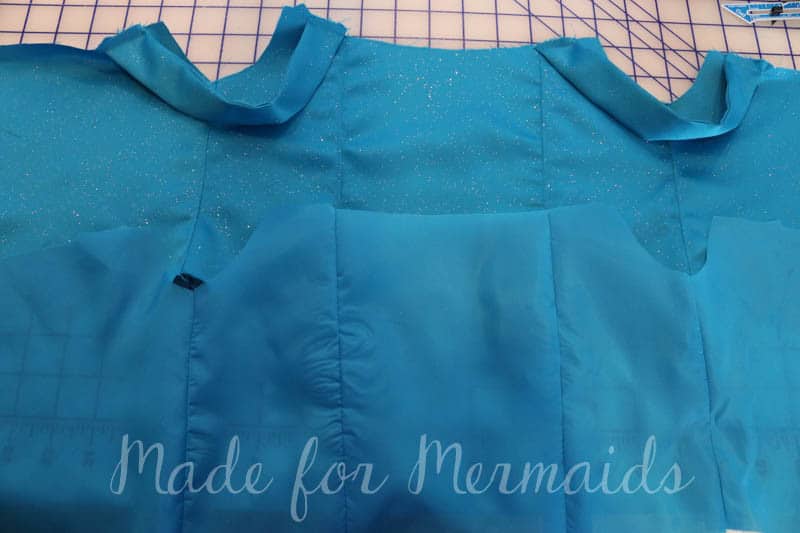
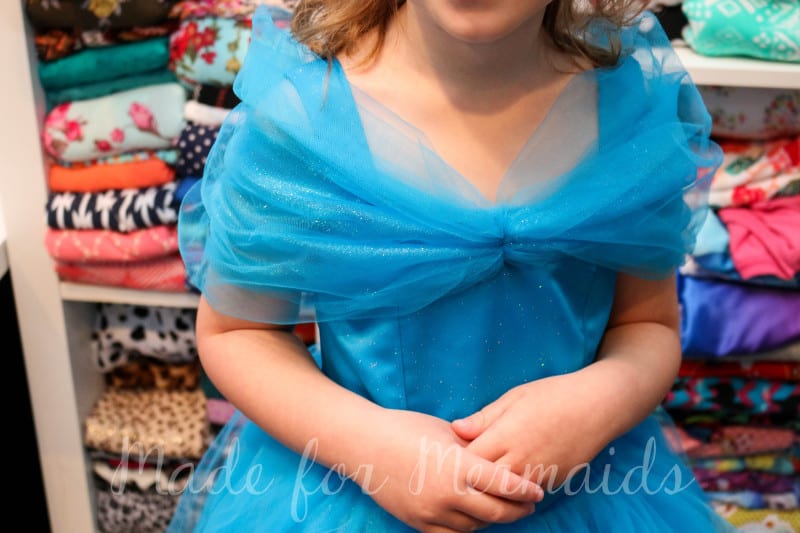
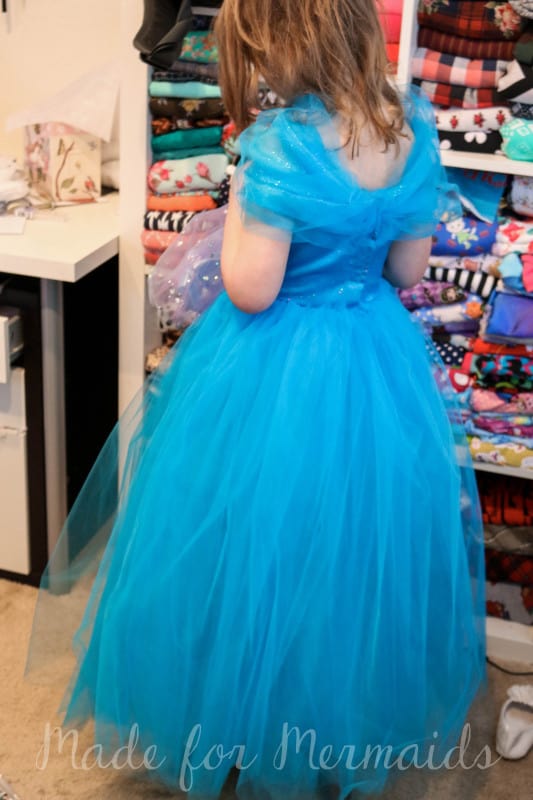
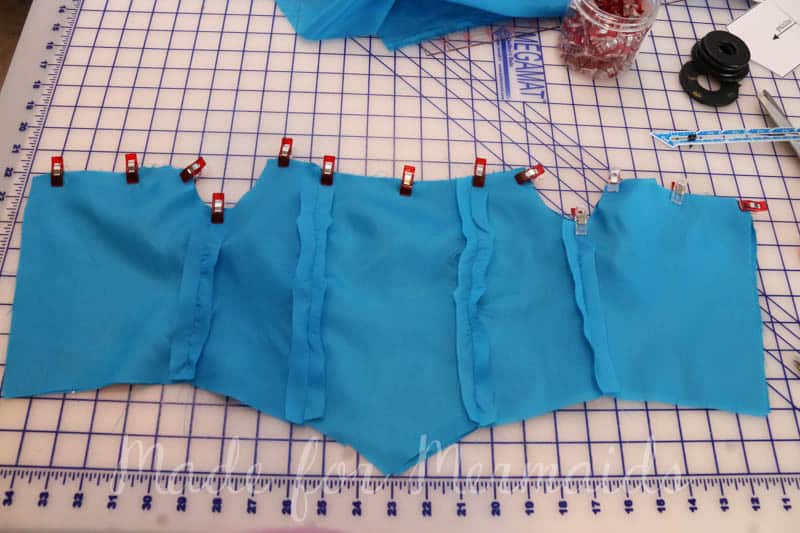 Cut 1 or 2 if you want it thicker, shoulder sash pieces 19.5″ x 36″ (I actually cut 1 tulle and 1 sparkle chiffon and layered the chiffon INSIDE the tulle. I did not want to finish or hem the chiffon and it was beautiful and glittery, perfect for the sash 😉 ) Fold in half length wise (think hot dog fold) right sides together and stitch. Flip right sides out . Now you can accordion fold, pleat or gather your the center of your shoulder sash and stitch to the top center front bodice. Just match your bodice seams and fold your shoulder sash in half width wise to find center. My center was about 1″ gathered and stitched on.
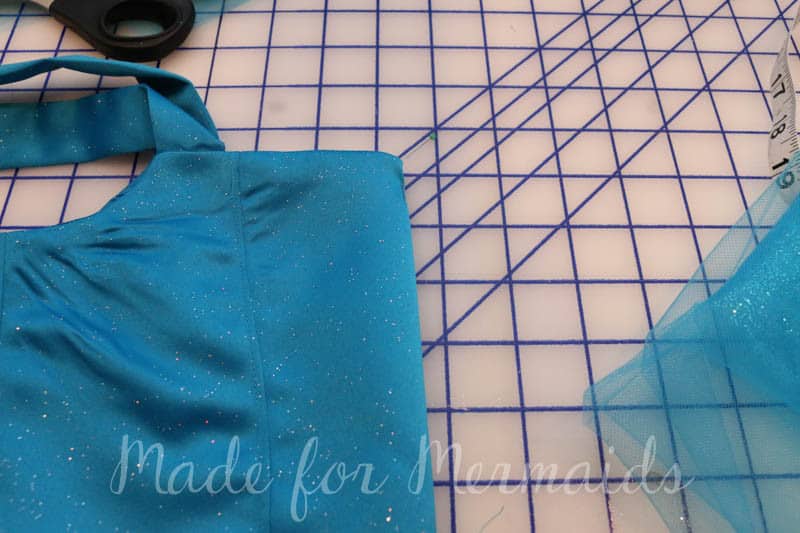
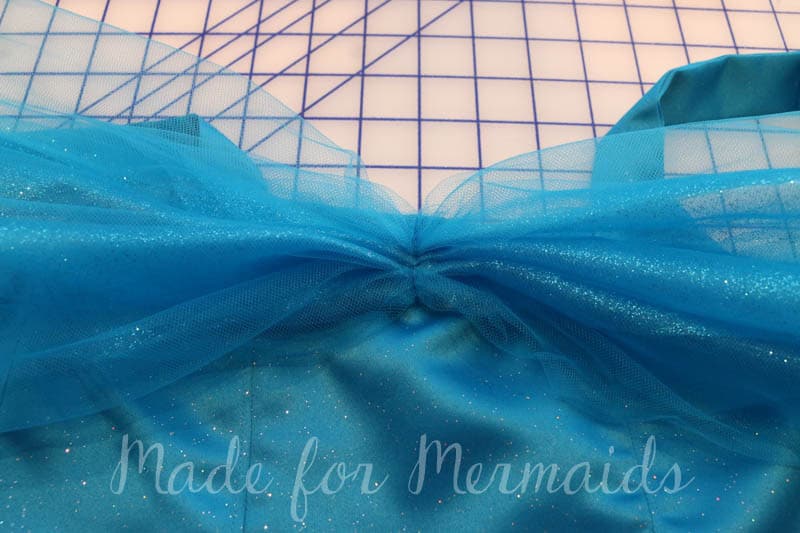
You are again going to accordion fold, pleat or gather the END of the shoulder sash to the edge of your back bodice. I made the ends about 2″ long. You want to baste in place, make sure you do NOT catch your bodice lining. The top edge of the sash should meet the top edge of your back bodice. Repeat on other side.
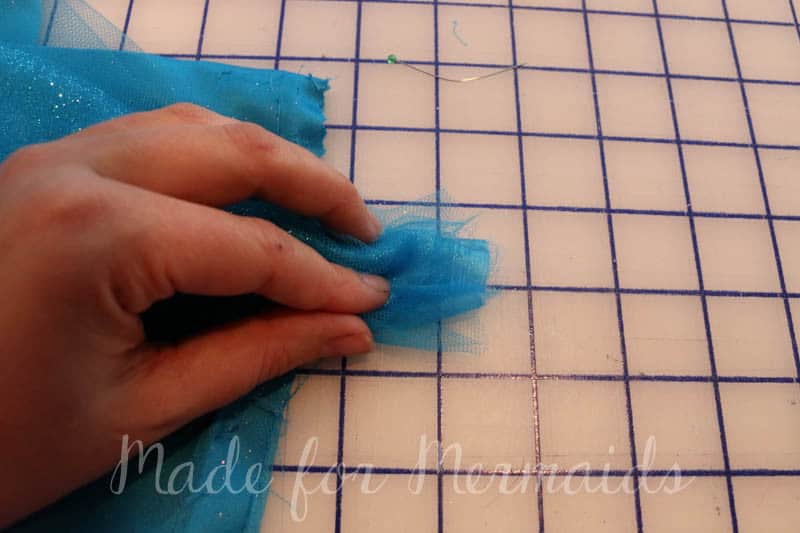
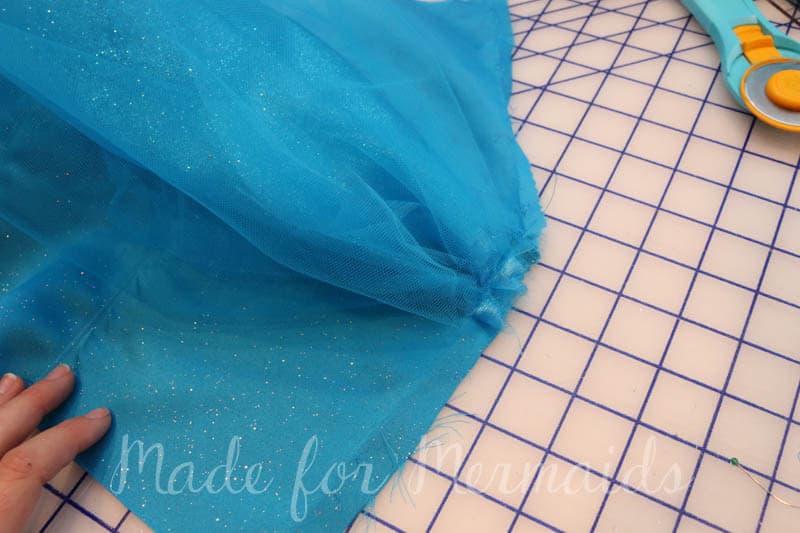
Now flip your lining toward your back bodice, right sides togeher and you will stitch along the back edge. Your shoulder sash will be sandwiched between the back bodice and lining. (Ignore those remnants of thread, I may have had to seam rip because I forgot about the shoulder sash.)
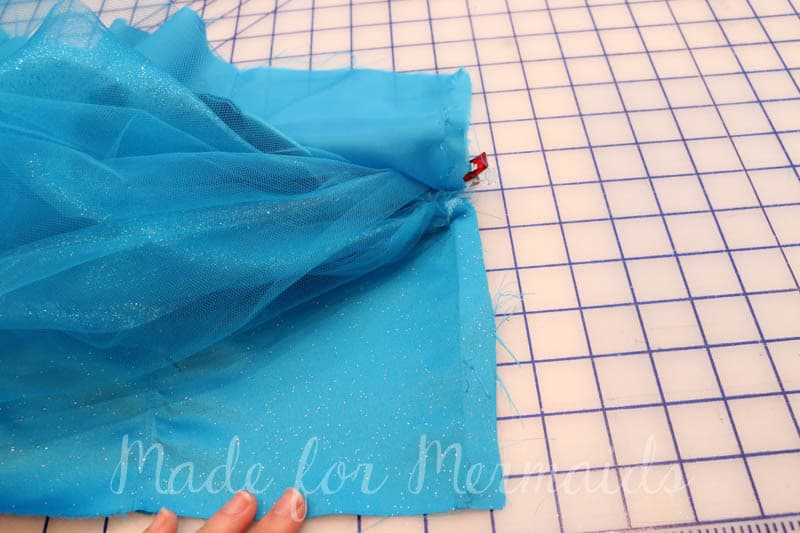
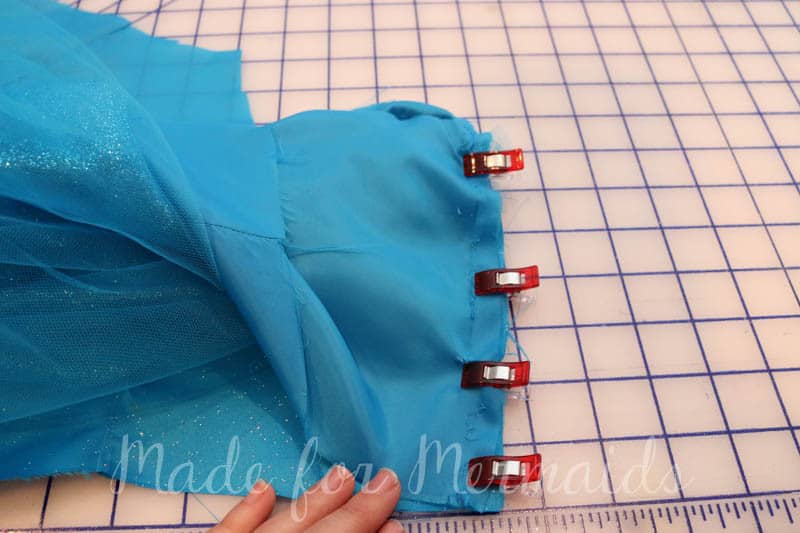
For the closure, I decided to use velcro. You could also use a small 7″ zipper or create buttonholes and add buttons. For the velcro, cut it down to 1/2″ wide. Then simply cut a piece to fit the back bodice, remember leave at least 1/2″ at the bottom edge for your seam allowance. Place one peice of velro on RIGHT side of back bodice and the other piece of velcro on the WRONG side of back bodice. Stitch in place. (Remember above when I said I had to seam rip, yep, that’s why you don’t see the shoulder sash in these pictures.)
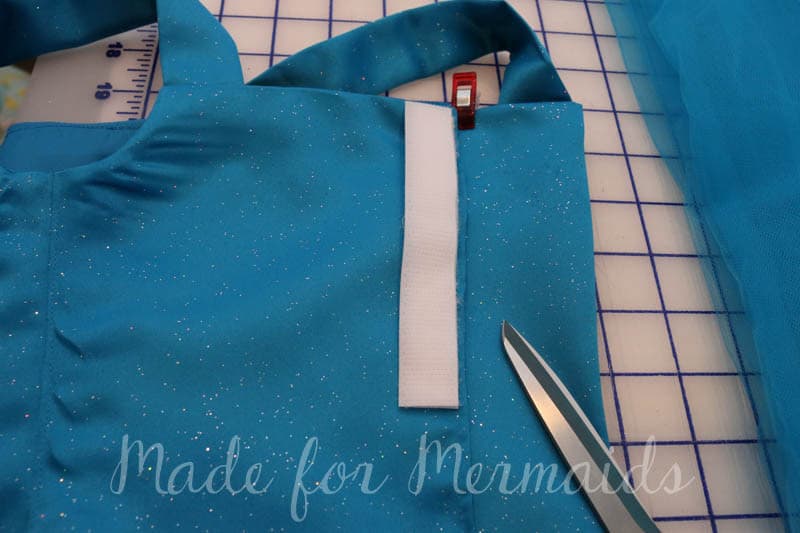
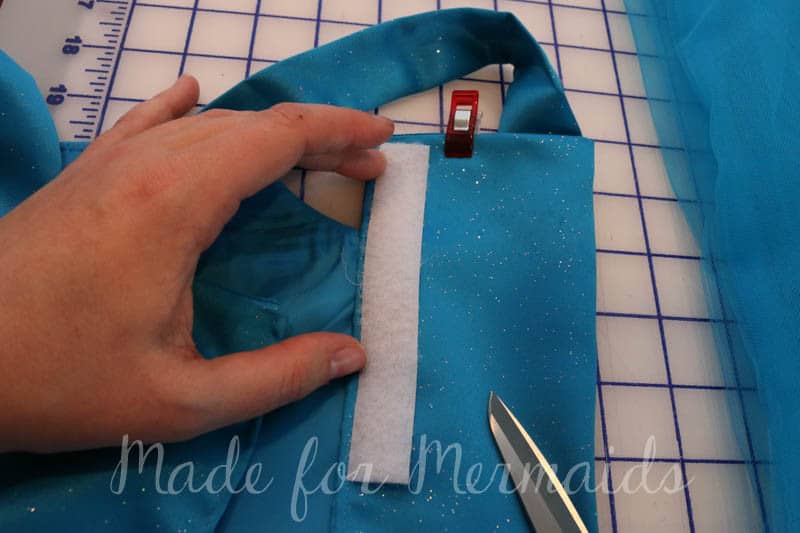
Overlap you back bodice by 1/2″ and baste along the ENTIRE bodice bottom edge, front and back to hold your lining in place.Set bodice aside.
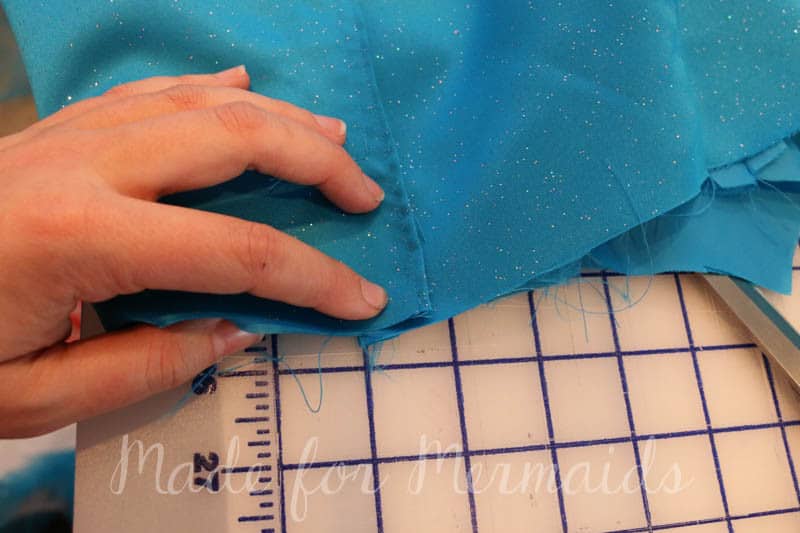
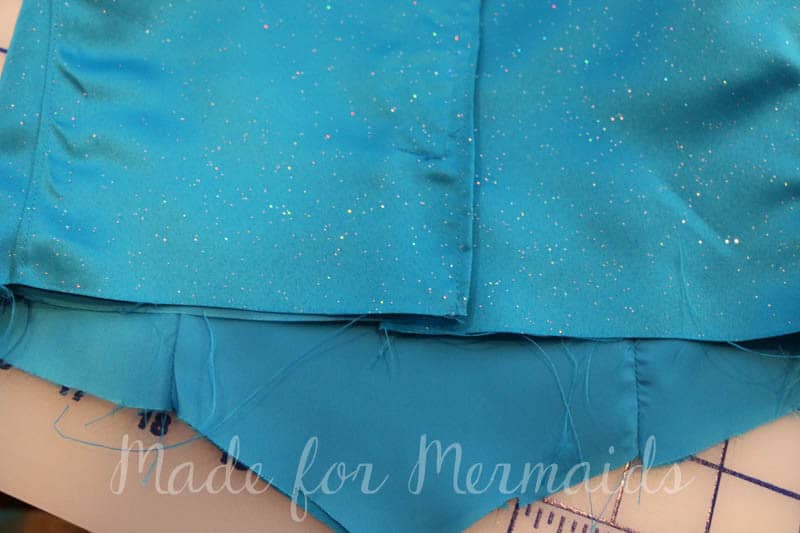
Now for your skirt. With right sides together, stitch your skirt front to the skirt back along each shorter ends to create the side seams. Press 1/2″ toward wrong side and hem simple skirt or lining. Run a gathering stitch along top raw edge. Width of your skirt should be the width of your bodice. Flip your bodice inside out and upside down. With right sides together, matching side seams PIN PIN PIN bodice to skirt. The skirt is VERY full and if you used several layers of tulle, like me, it is very thick and not easy breezy to sew. I like to baste my skirt on, check to make sure I caught everything and then stitch and finish the seam. Go slow, use a lot of pins, and again BASTE first! The inside is itchy with the tulle, if you daughter is sensitive I would use bias to cover the seam!
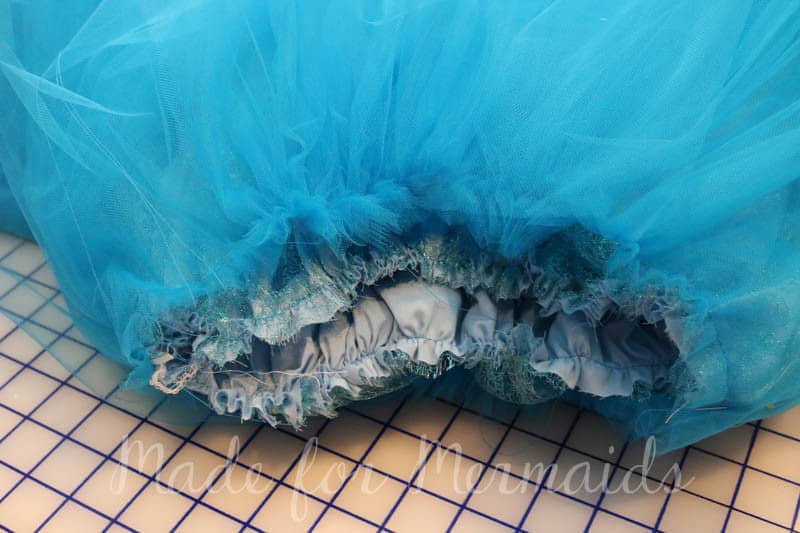
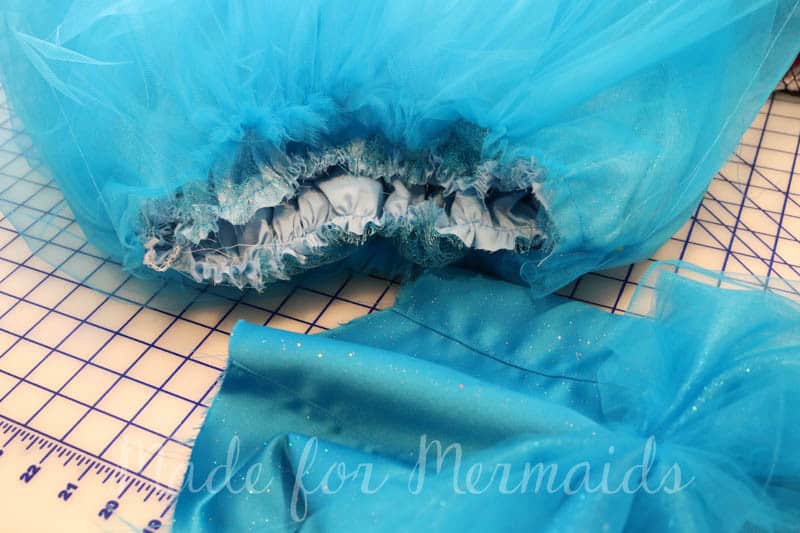
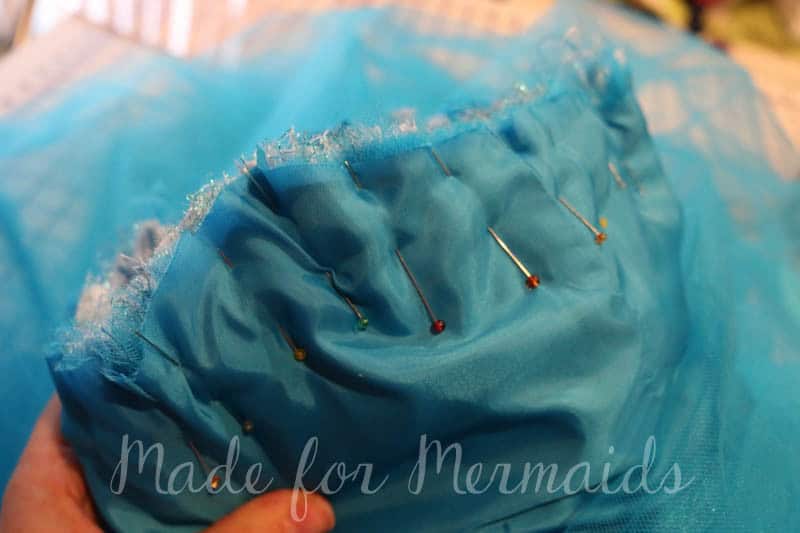
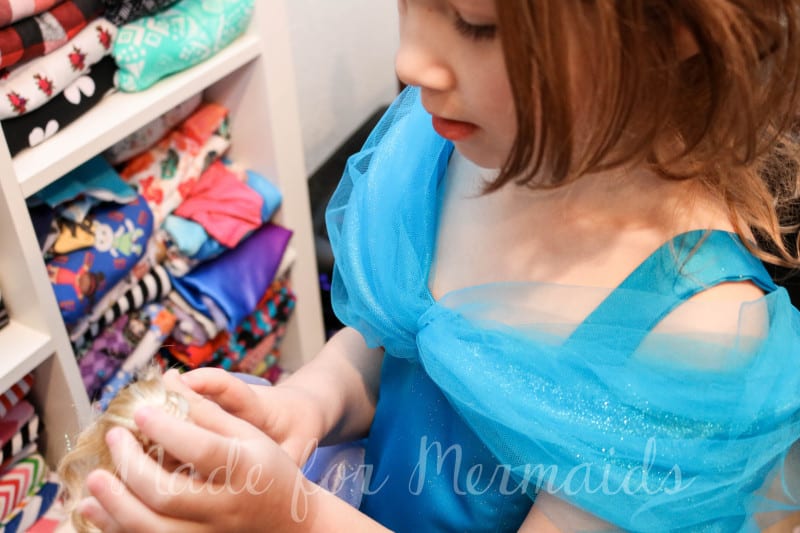
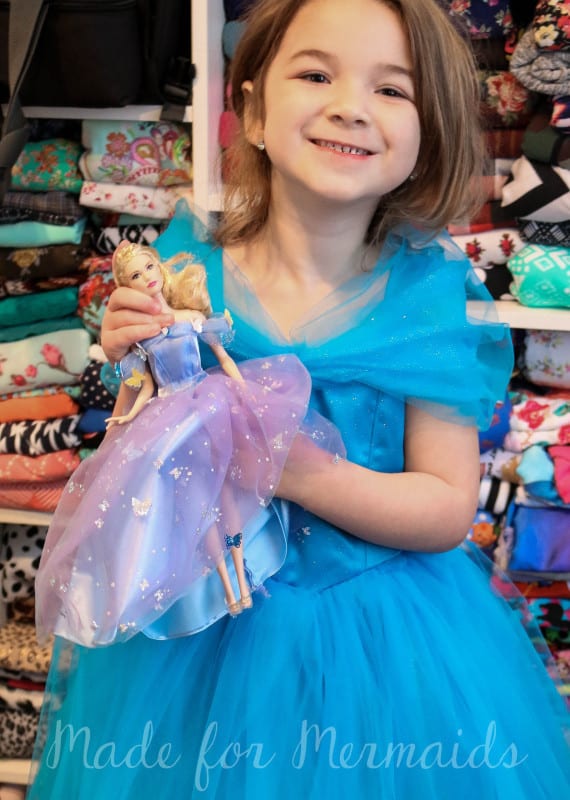
Let your daughter try on and tell you how much she LOVES it (and that you forgot the butterflies………………………. I actually bought some ribbon and beads to make but haven’t had time 😉 ) She has been sick all week, but has been loving this new dress so much!! Please let me know if you made one and share in my facebook group, I would love to see!!
What sewing level would you say this is? I am very much a beginner and want to try to make this for my niece but I am not sure if it may be too much to soon.
Costumes and dress up are a great place to start, because I’m sure your niece will still love it and it will be easily recognizable as Cinderella, no matter what! I would only use a few layers of tulle to start with, but you can do it! Let me know if you any questions 🙂
Thank you!
I really love this tute! Do you have a finished chest measurement and lenght for the bodice ? My daughter would love a similar dress, but I would have to make it in a size 7, i I will have to alter it a bit but I don’t mind.
Very top of the tutorial! Finished chest 25.5″ finished length, underarm to hem 34″
Thank you! With a multipiece bodice pattern, i better add width by the middle or side of each piece ?
If you take 1/4″ seam allowances, it will add 2.5″. You will need to lengthen too!
Thank you!
Thank you for this free pattern. I totally failed in my attempt to make a different style (little girl appropriate) Elsa dress for my daughter – she really wanted to look just like Elsa. Your pattern is gorgeous and I know she will love to have this dress. I hope you can create all the sizes and release the full pattern for sale. I think it a classic that will always be loved by little girls. Thanks so much!
Beautiful dress! My 4 year old loves the movie! I was wondering if there is a chance you try making the other dress she wears in almost the whole movie. The blue casual dress, my daughter really wants me to make her that one, I am just going to try to wing it but I wanted to see if you had tried to make it yet or have plans to? Thanks!
My daughter is begging for me to make this dress *(the Disney Store one just isn’t close enough–unless you buy it at the parks with is like $80!). The only problem is I need it in a size 8-9. Any suggestions on how I would alter the measurements & how much more fabric to buy? If you have additional sized patterns done, I’m happy to pay you for it!
Can you tell me how much to add to make this a size 10 please .I love the look of your dress but need pattern . If you can help in any way I would be grateful Thank you
Thank you so much for this pattern!
I only have a question. In the part: “You will need to fold your FRONT skirt in half and cut an angle starting 2 inches from the fold up. This is because our front bodice is pointed, your skirt will be longer in the front center if you skip this step.” … how many inches do I have to mark on the top part from the fold so I can cut the angle? 18 inches as in your ruler? Thank you!
It’s gorgeous! What type of fabric did you use for the bodice? It looks like a knit but I’m not quite sure it’s hard to tell 🙂 Thank you 🙂
It’s gorgeous! What type of fabric did you use for the bodice? Thank you 🙂
It is satin 🙂
I am very confused as to the skirt directions. What is WOF?and why is there no pattern for the skirt? Is it an a-line cut? Pencil? What?
It is a gathered skirt and WOF means width if fabric.
In your instructions you list amount of material needed for the skirt as 30″ X WOF; what width of fabric did you use?? Great pattern–my Granddaughter is all about it looking like the movie. Have been searching for a pattern like this for her. She is a size 5 so this works perfect! Thanks so much for posting.
I used 44″ wide fabric Deb! Thank you!
It is a gathered skirt and WOF means width if fabric.
Thanks so much for sharing this pattern! I think I want to make this for my daughter for Halloween. She said she wanted to be Cinderella. How many layers of tulle did you do for this dress? Was it 5?
Never mind. I guess I asked the question before I fully read through the post. 🙂
Thanks so much for sharing. My daughter and I are obsessed with Cinderella’s dress. It is by far the most beautiful Disney Princess dress in my opinion. Can’t wait to try to make this for here for Halloween.
Hi,
Nice pattern you have there. For the bodice, the centre of the waist is pointed. Is it the same for he skirt’s waist?
Is the color of the dress more of a teal color? I was looking for the right blue at Joann’s, but they only have a light blue or a royal blue. I couldn’t find a medium blue. I found the perfect color of tulle, but nothing to match it.
Sorry, one more question. For the skirt part it says that you had fabric for the lining, then mesh, then tulle. What is the mesh? I guess I have never used it in sewing before, so I’m not exactly sure what it looks like. Will the fabric say “mesh” when I go to buy it. 🙂 Was there a certain color, or is it just white? Thanks!
I just finished making this. It was a lot of fun and my 4 year old is absolutely adoring it. I also used your mermaid tail blanket pattern. Thanks for posting these!