
Do you love the look of gathered skirts on dresses, but don’t love the actual gathering process it takes to get there?! We hear you, and hope that we can give you some tips and tricks, or an alternate method that will make gathering not such a dreaded process! So many of our patterns have gathering, and it would be a shame to pass them over because you are intimidated by or frustrated with gathering. Read on to see an easy hack I love to use for regular gathering, and then 3 alternative methods to gathering!
Traditional Gathering
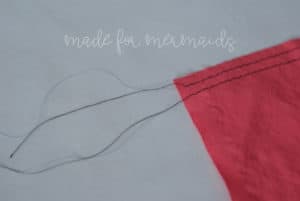
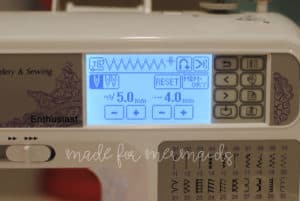
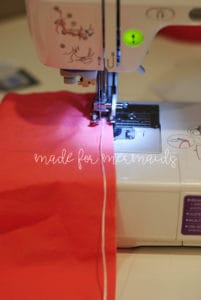
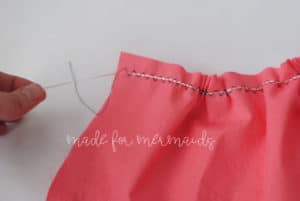
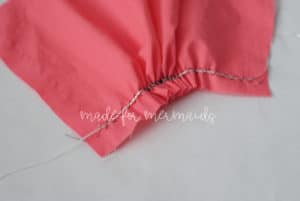
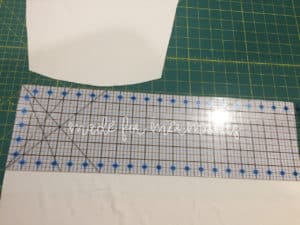
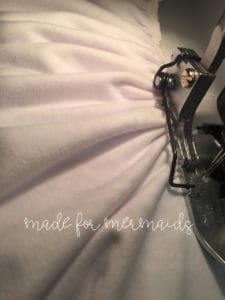
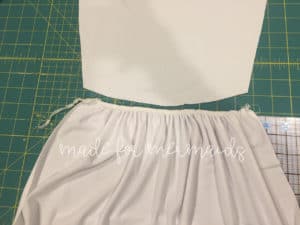
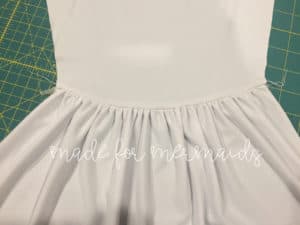
The formal way to gather (and the way our tutorials instruct you to gather) is to run 2 rows of stitches along the top edge of whatever you are gathering. Whether it’s a skirt or a a flutter sleeve, this is the standard method. You will want to make sure you do the LONGEST stitch length (usually 5), or a basting stitch if your machine has that as a separate stitch.
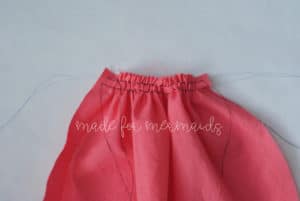
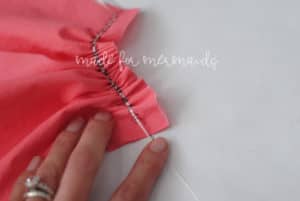
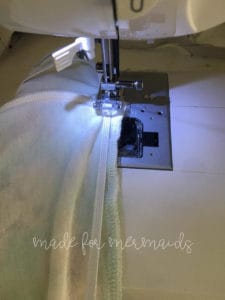
One row of stitches will be at 5/8 in from the edge, and therefore just outside of your seam allowance. The other row will be at 3/8 in from the edge, and subsequently just inside your seam allowance. Make sure you leave long tails on each end, and gently pull the bobbin threads and slide the fabric along the thread to create gathers. The 2 rows allow for a more even gather, and helps to keep the gathers flat while you attach your gathered piece to whatever it is you are sewing. I also tend to view the two rows of stitches as a little safety net as well. If you are pulling the two bobbin threads and one snaps, you still have the second thread to continue gathering. If you try to take a shortcut and only do one row of stitches to gather with, and it snaps in the middle of your gathering, you will have to start over! Below, you will see a few pictures of traditional gathering.
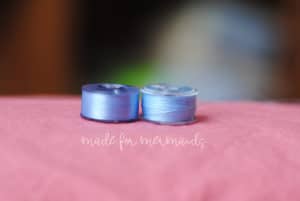
The one “hack” or tip I want to share in regards to traditional gathering is to use a more “slippery” thread in the bobbin, making the gathers slide easily along it. I have found that embroidery type thread is good for this purpose. I received a little case of colored bobbins that turned out to be embroidery thread, and seeing as I don’t do much embroidery, I wanted to find an alternate use for them. Since embroidery thread isn’t great for actual sewing and garment construction, I almost got rid of them. Then on a whim I tried them for gathering a skirt and lo and behold, it made the gathering a breeze! I was really excited to discover this simple trick and wanted to make sure to pass that tip along for those of you who prefer gathering the traditional way, but maybe want to make it even easier! You can see in the picture below compared to a similarly colored regular bobbin, the embroidery bobbin (on the left) is quite a bit shinier!
Now that I’ve gone into a little more detail above on the traditional method of gathering, I wanted to share with you 3 alternative methods that many people use!
Alternative Method #1- Floss and Zig Zag
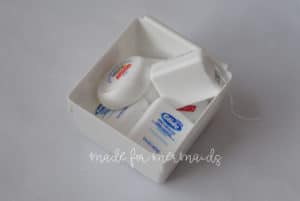
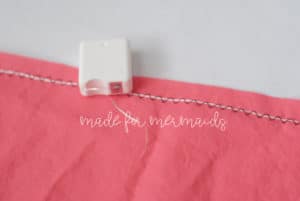
The first alternative method is a spin on traditional gathering, but this uses a large zig-zag stitch… and wait for it… DENTAL FLOSS!
That’s right, those tiny little containers of floss your dentist sends home with you in your “goodie bag” after your cleaning can now find a home in your sewing basket! You will just take a piece of floss longer than the fabric you are gathering, making sure there are “tails” on either end to pull to gather, and sew a zig zag stitch right over top of it. Make sure you zig zag stitch is set as wide and long as it can go, and be sure not to catch the floss under the needle at all or else it won’t slide.
After you have zig-zagged over top of the floss along the entire length of the fabric, simply pull the floss from each end, and push the gathers together. Its especially important to make sure you gather from each end or else secure one end of the floss, because if you accidentally pull the floss out, you’ll have to start over… (and no one wants to have to do that!)
Alternative Method #2 – Serger
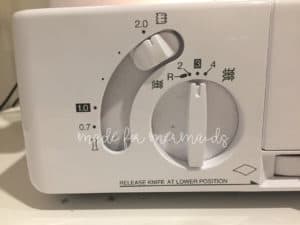
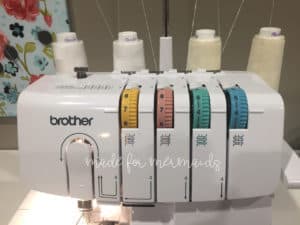
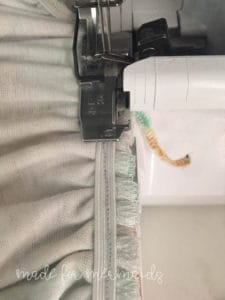
The next method I’ll discuss is gathering with your serger. In theory, this method is quick and super efficient. And, the gathers are always perfectly spaced! The downside to this method is it has limited applications, unfortunately. It is most frequently used for long lengths of ruffles, or when you know a particular piece needs to be gathered to exactly half the length it starts at. It is NOT easy to adjust and spread the gathers after they are made. You will need to play with the settings on your particular serger and also adjust for the specific fabric you are gathering. I know on my serger (a Brother 1034d) when gathering a thinner knit fabric, I can change the differential feed knob on the side to 2.0, and adjust my tension dials on both of my needles to 7 (leaving the loopers at 4), and this will gather my fabric to half the length that it started as.
I used this method shown below to gather the skirt pieces for a Mama Vivienne dress since I knew the skirt needed to end up half the length as it started to fit the bodice. (skirt was around 21 inches wide and needed to be gathered to just over 10in… serger gathering got it there perfectly!)
Alternative Method #3 – Elastic
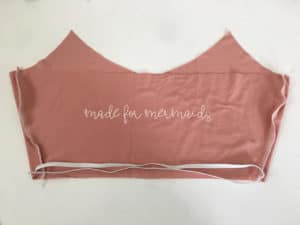
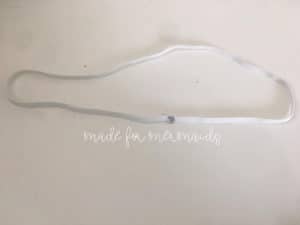
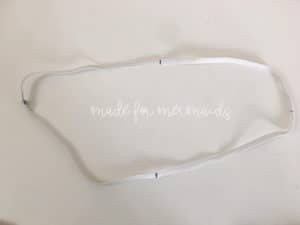
The last alternative method I’ll share is to gather with elastic! This works particularly well for all knit garments as it also adds stability to the seam, but really can be used for any gathered skirt! For this method, you’ll first need to cut a piece of elastic the size of your bodice. You’ll sew the ends together to create a circle, making sure its not twisted any where. Then, mark the 4 quarter points on the elastic.
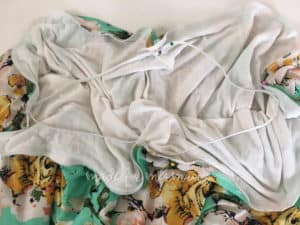
Using your regular settings (not gathering settings), serge the top edge of the skirt without cutting any of your seam allowance off. You will then want to find the 4 quarter points of the skirt you are gathering and mark those with pins. Match up your quartered elastic markings to the quarter marks on your skirt. You will then sew the elastic to the skirt, stretching it evenly as you go! For most Made for Mermaids patterns, you will want the elastic sewn 1/4″ from the top edge. This way, when you attach the skirt to the bodice, you don’t serge off the gathers or the elastic, but you are still able to take the full 1/2″ seam allowance. Be sure to check your pattern, though, as seam allowances do sometimes vary.
Once the elastic is sewn on, you’ve got a perfectly gathered skirt! You can then attach it to your bodice, being sure to quarter both pieces again to evenly line then up, and being sure not to stretch anything as you attach!
The last tip I want to leave you with pertains to all forms of gathering, and that is to be sure to baste your gathered piece to your bodice/sleeve/whatever. You will want to make sure you use your sewing machine to first baste it on, before finishing your edges with a serger. By taking the time to do that important step, you have a much better chance of keeping your gathers even. It is worth it to carefully do this to ensure you have perfect gathers! As with all aspects of sewing, practice makes perfect, so keep making those beautiful gathered skirts!
Cheers… and Happy Sewing!

Jody is a hobby seamstress with a proficiency in fabric hoarding. Her interests outside of sewing vary on a semi-weekly basis, but current favorite things include her family (kind and supportive husband + 2 crazy kids), the idea of yoga, yoga pants, Green Smoothies, her childrens’ Lego sets, her Peloton Spin bike and constant companions wine and bourbon.
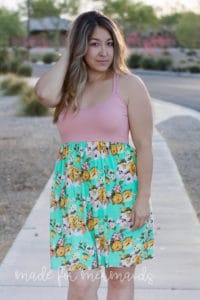
Great bit of information I really like all the different tips. At the end of the blog post there is a gal in a tank style dress, what m4m pattern is that ? (looks like what I need to live in all summer )
Thanks again for the great ideas.
Hi Maria! That is the lovely Nicole from P4P, and she is wearing Mama Sommer. Definitely a staple for summer, hence the name! 🙂 here’s a link to that pattern: https://www.madeformermaids.com/product/mamasommer/