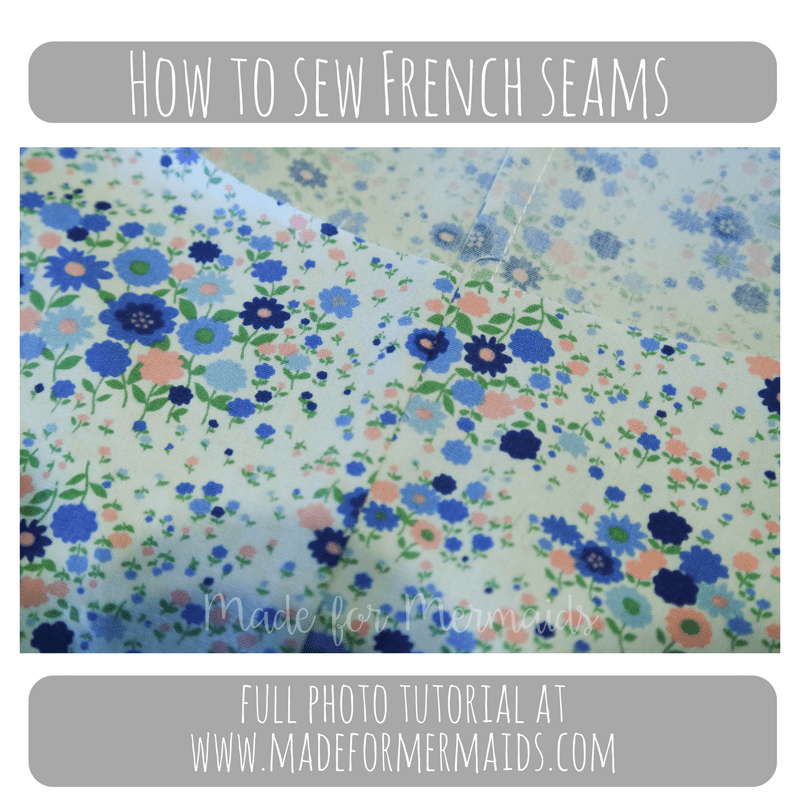
 WHAT ARE FRENCH SEAMS?
French seams are a double seam that encloses the raw edge. What’s that mean? You will sew the seam two times. The first time with the fabric wrong sides together and the second time (like normal) with right sides together. It encloses and finishes the seam completely. It doesn’t take THAT much longer to do and the results are a very beautiful finish.
WHY WOULD YOU USE FRENCH SEAMS?
Several reasons, including personal preference. If you are using light weight, see-through fabric that frays (hello chiffon!), if your seam will be seen when worn (our Grace pattern has a circle sleeve and calls for French seams), if you don’t have a serger but want finished seams, if you or your daughter are sensitive to serged seams or if you just love the look of a nicely finished garment.
HOW DO YOU SEW FRENCH SEAMS?
First news is you don’t have to alter Made for Mermaids patterns at all. They all include 1/2″ seam allowance which is perfect for French seams. Just cut your pattern out normally as described in the pattern.
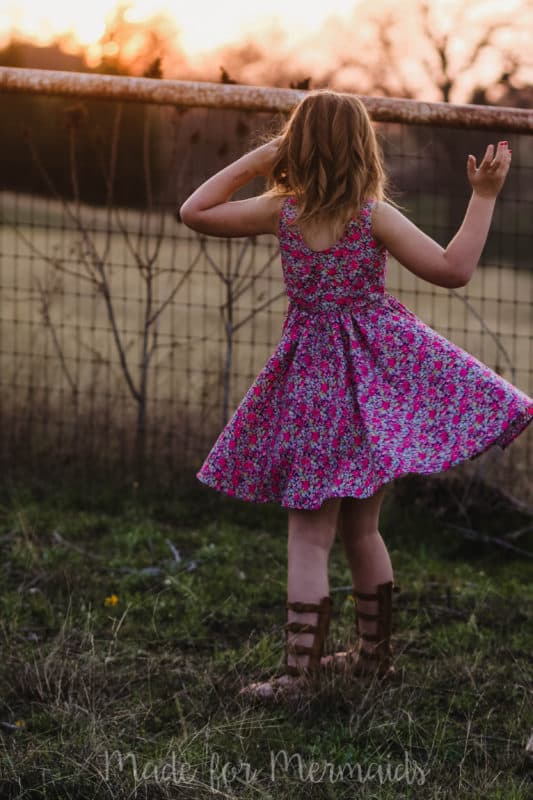
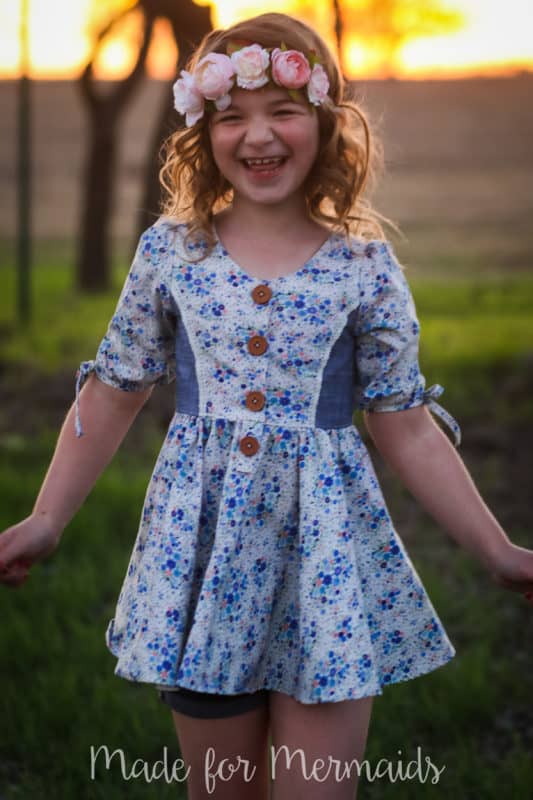
I’ll be using the new Sutton pattern as an example in this tutorial. I was using very nice quality cotton lawn fabrics AND the skirt is a full gathered circle skirt.. so I knew lots of twirling would be happening. I really didn’t want to see serged seams while my daughter was spinning, so I chose to do French seams on the skirt for all the versions I made (the bodice is already fully enclosed 😉 ). 


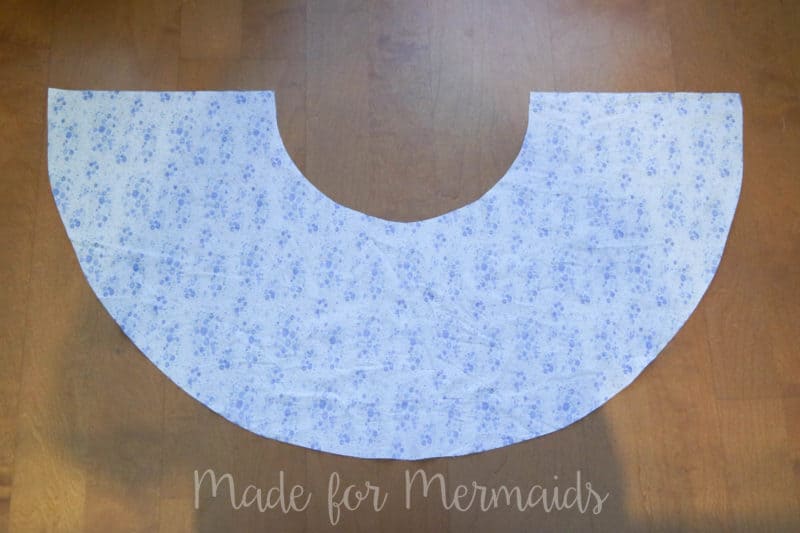
I am using the skirt for this tutorial, but you can use this method on any seam you sew- bodice seams, sleeve seams… anything! Lay one skirt piece out flat, wrong sides up.
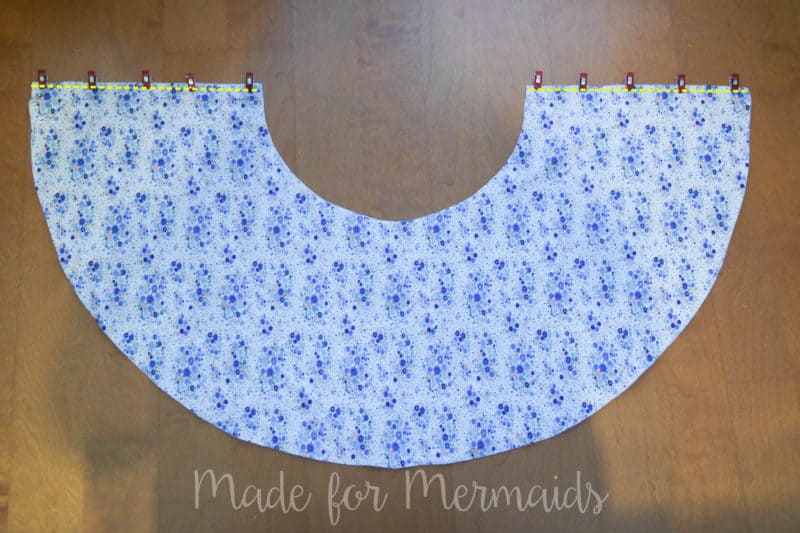
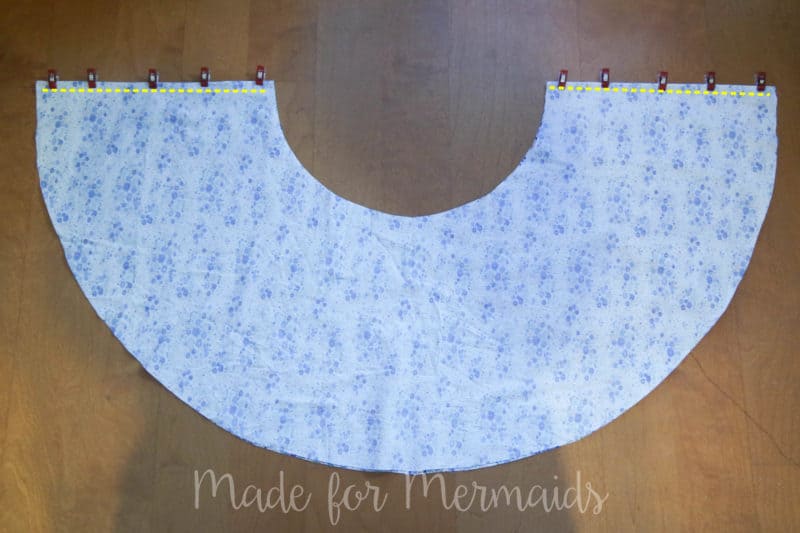
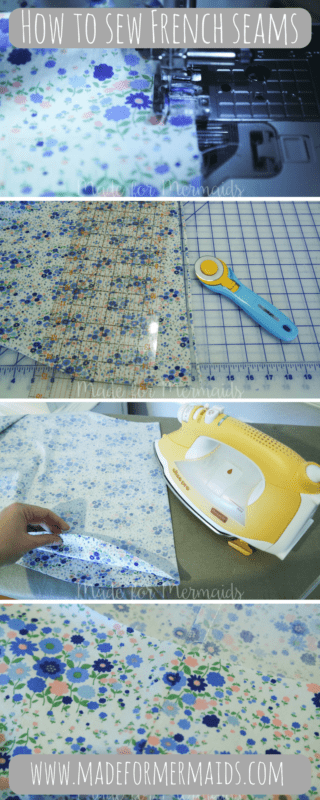
Lay your other skirt piece on top, right side up, so the wrong sides are together. With a 1/4″ SEAM ALLOWANCE stitch the skirt together, creating the side seams.
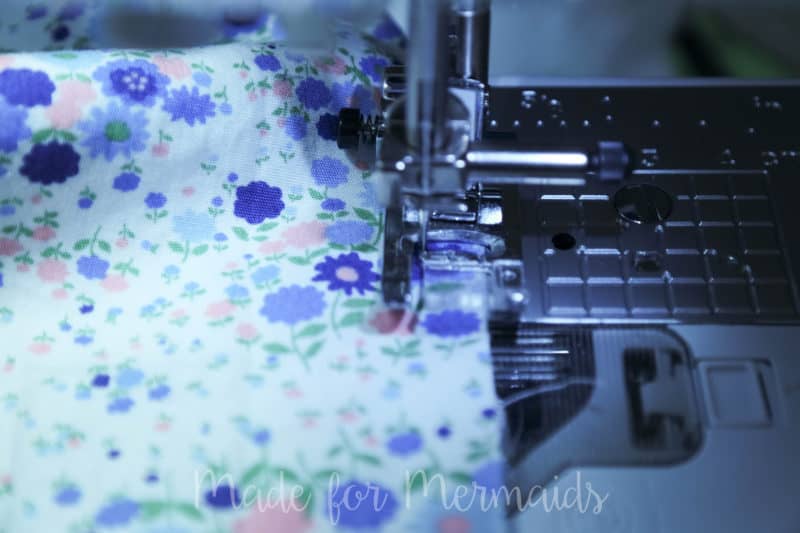
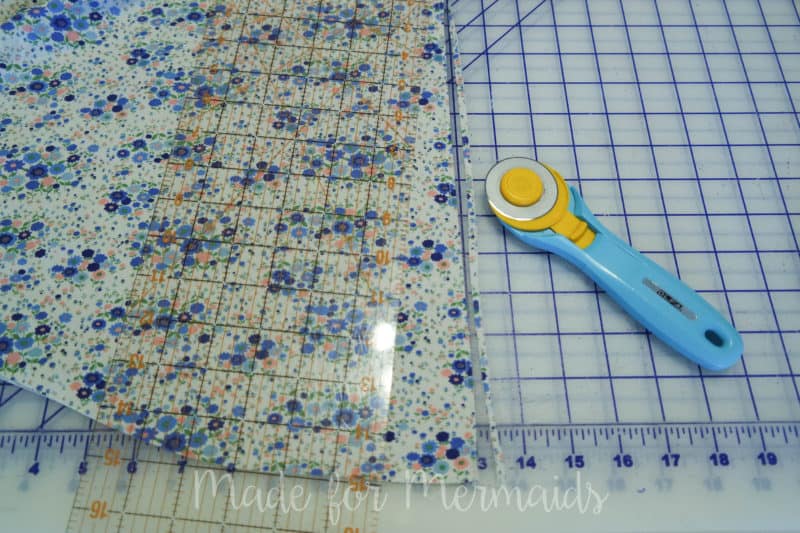
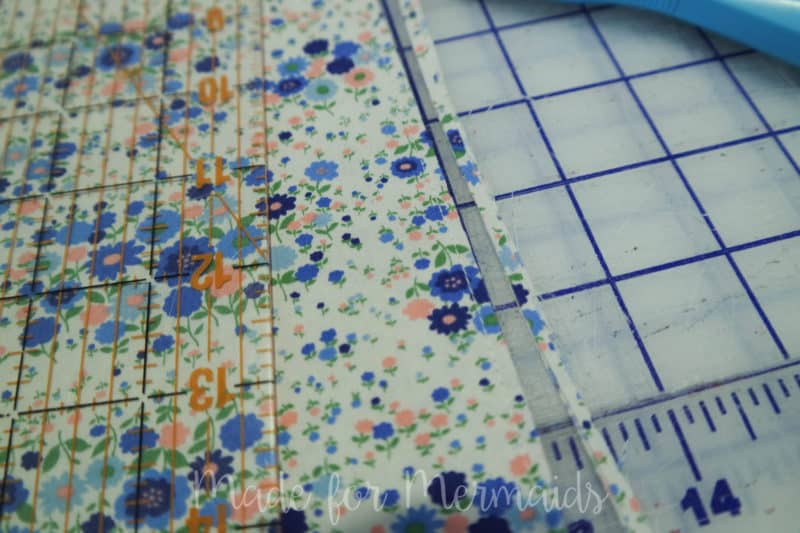
Trim the seam to 1/8″. I like to use my rotary cutter and a ruler, but you could also use scissors if working on a curved seam.
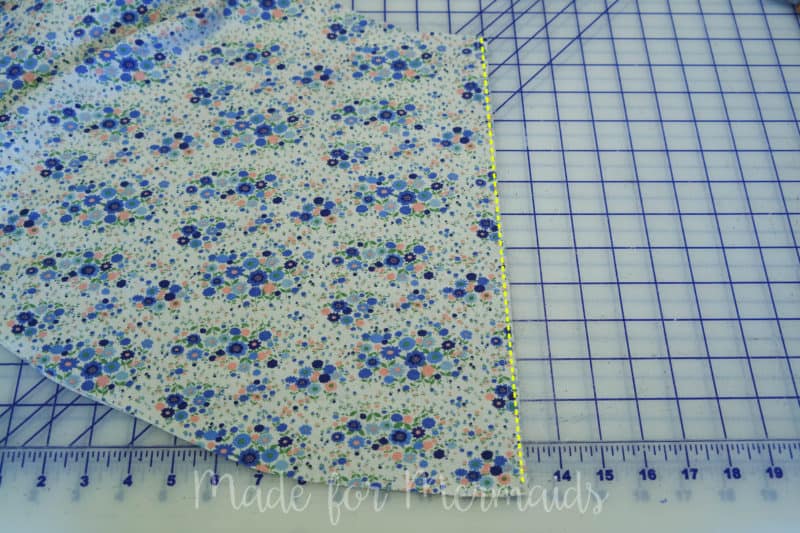
Press as sewn and then press the seam to one side. I always press mine toward the back out of habit.
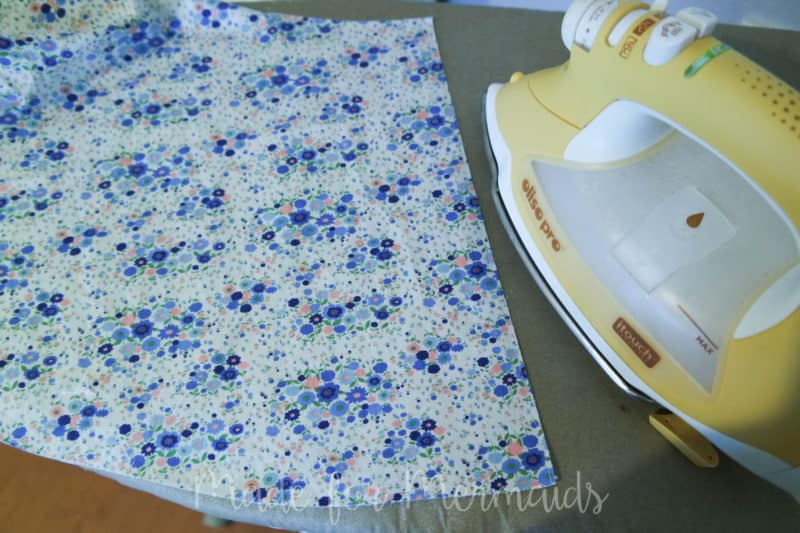
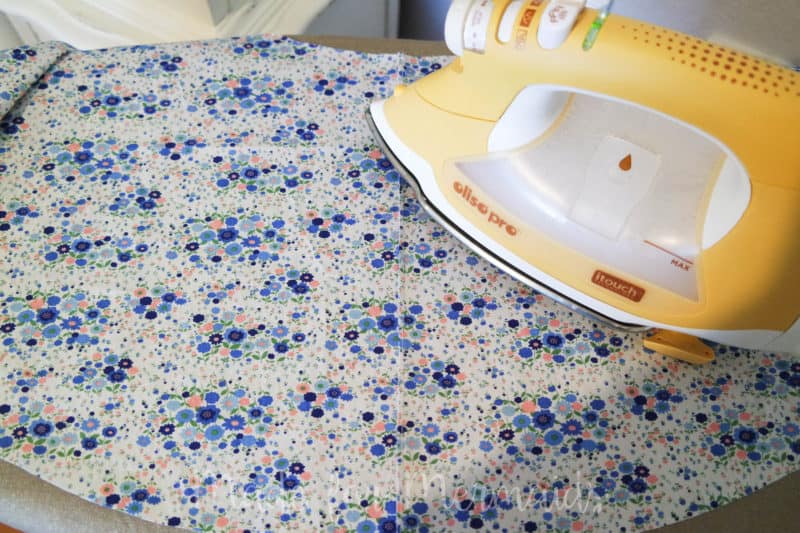
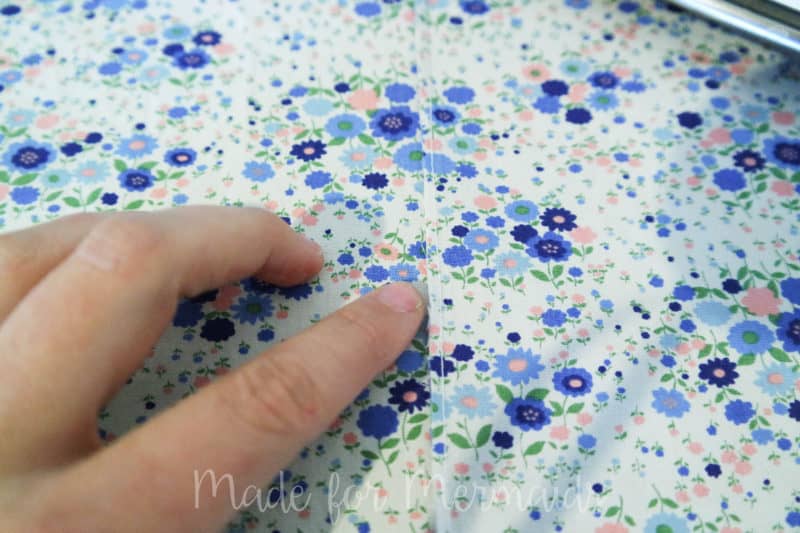
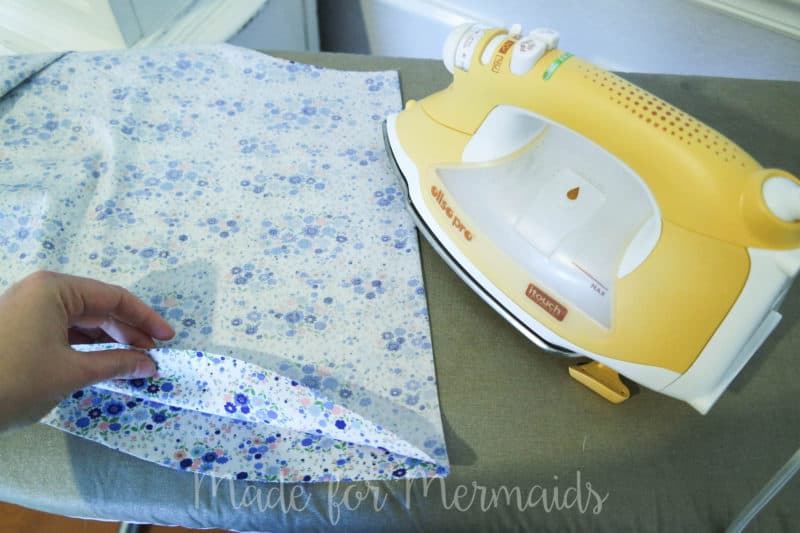
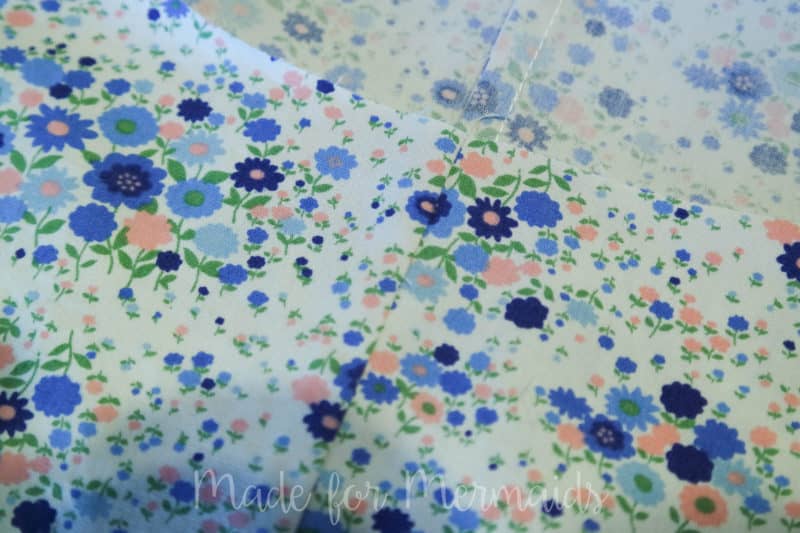
Fold and press the two skirts RIGHT sides together. You’re pressing the fabric over and around the seam you just trimmed. Make sure your seam is pressed crisply if possible- some delicate fabrics are not easy to press, so make sure to use a pressing cloth.
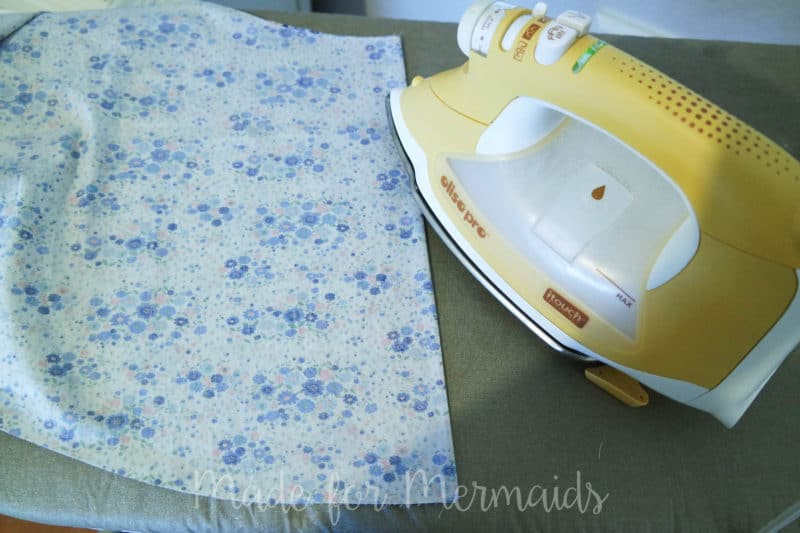
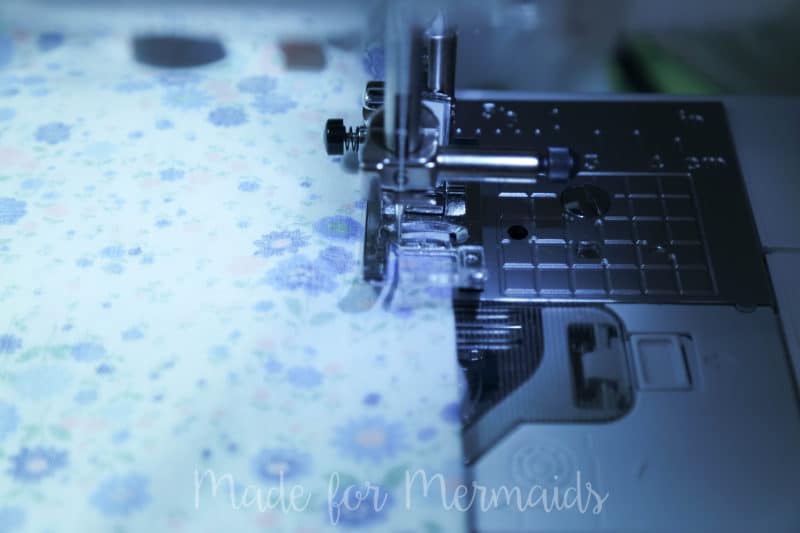
Sew with a 1/4″ SEAM ALLOWANCE again, along folded edge.
Press as sewn and then again, press to one side.
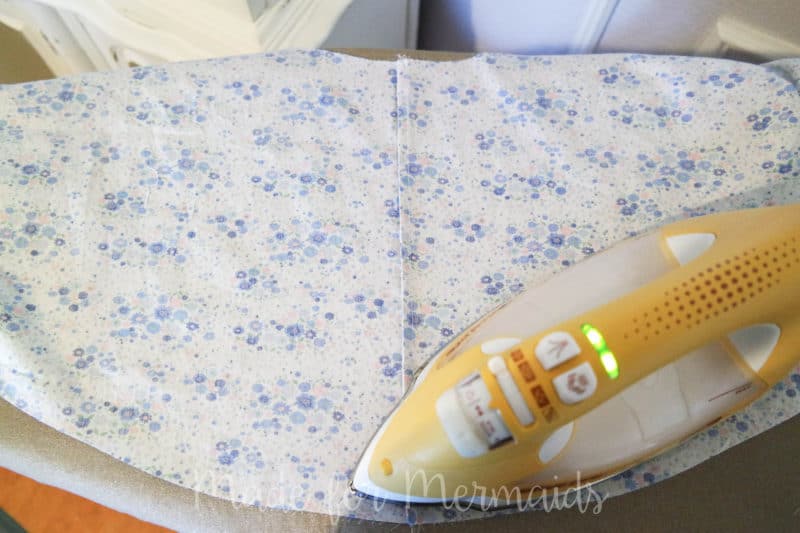
Tada, that’s it! So easy- instead of stitching one 1/2″ seam, you will stitch the seam with two 1/4″ seams and you have a gorgeous finished seam!
Leave a Reply