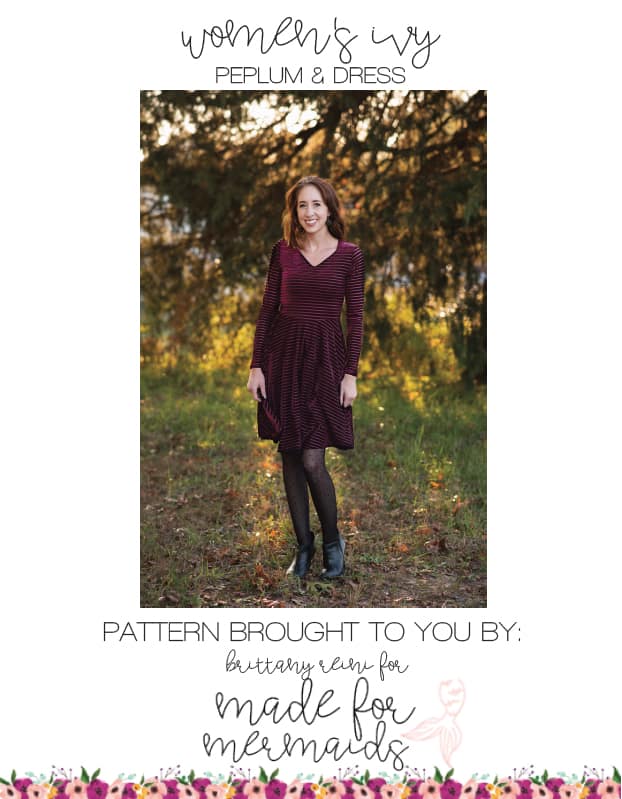
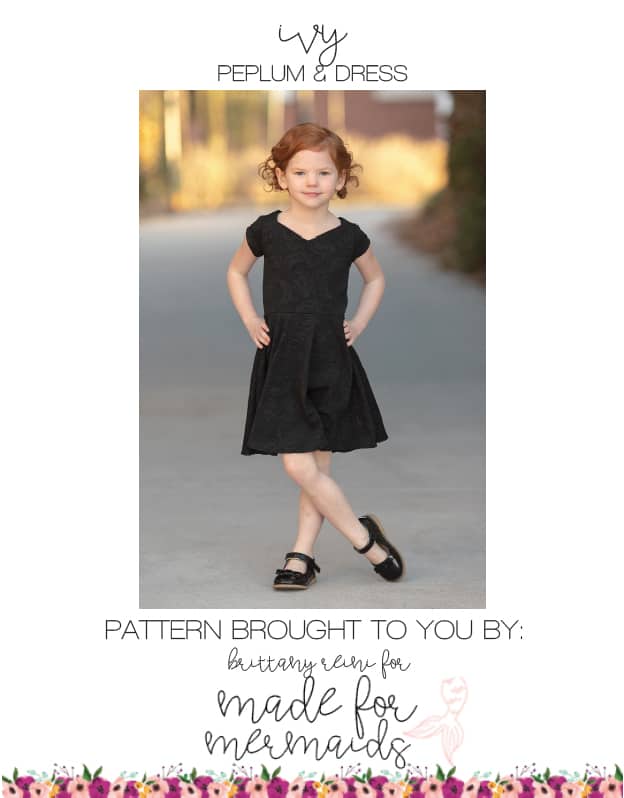
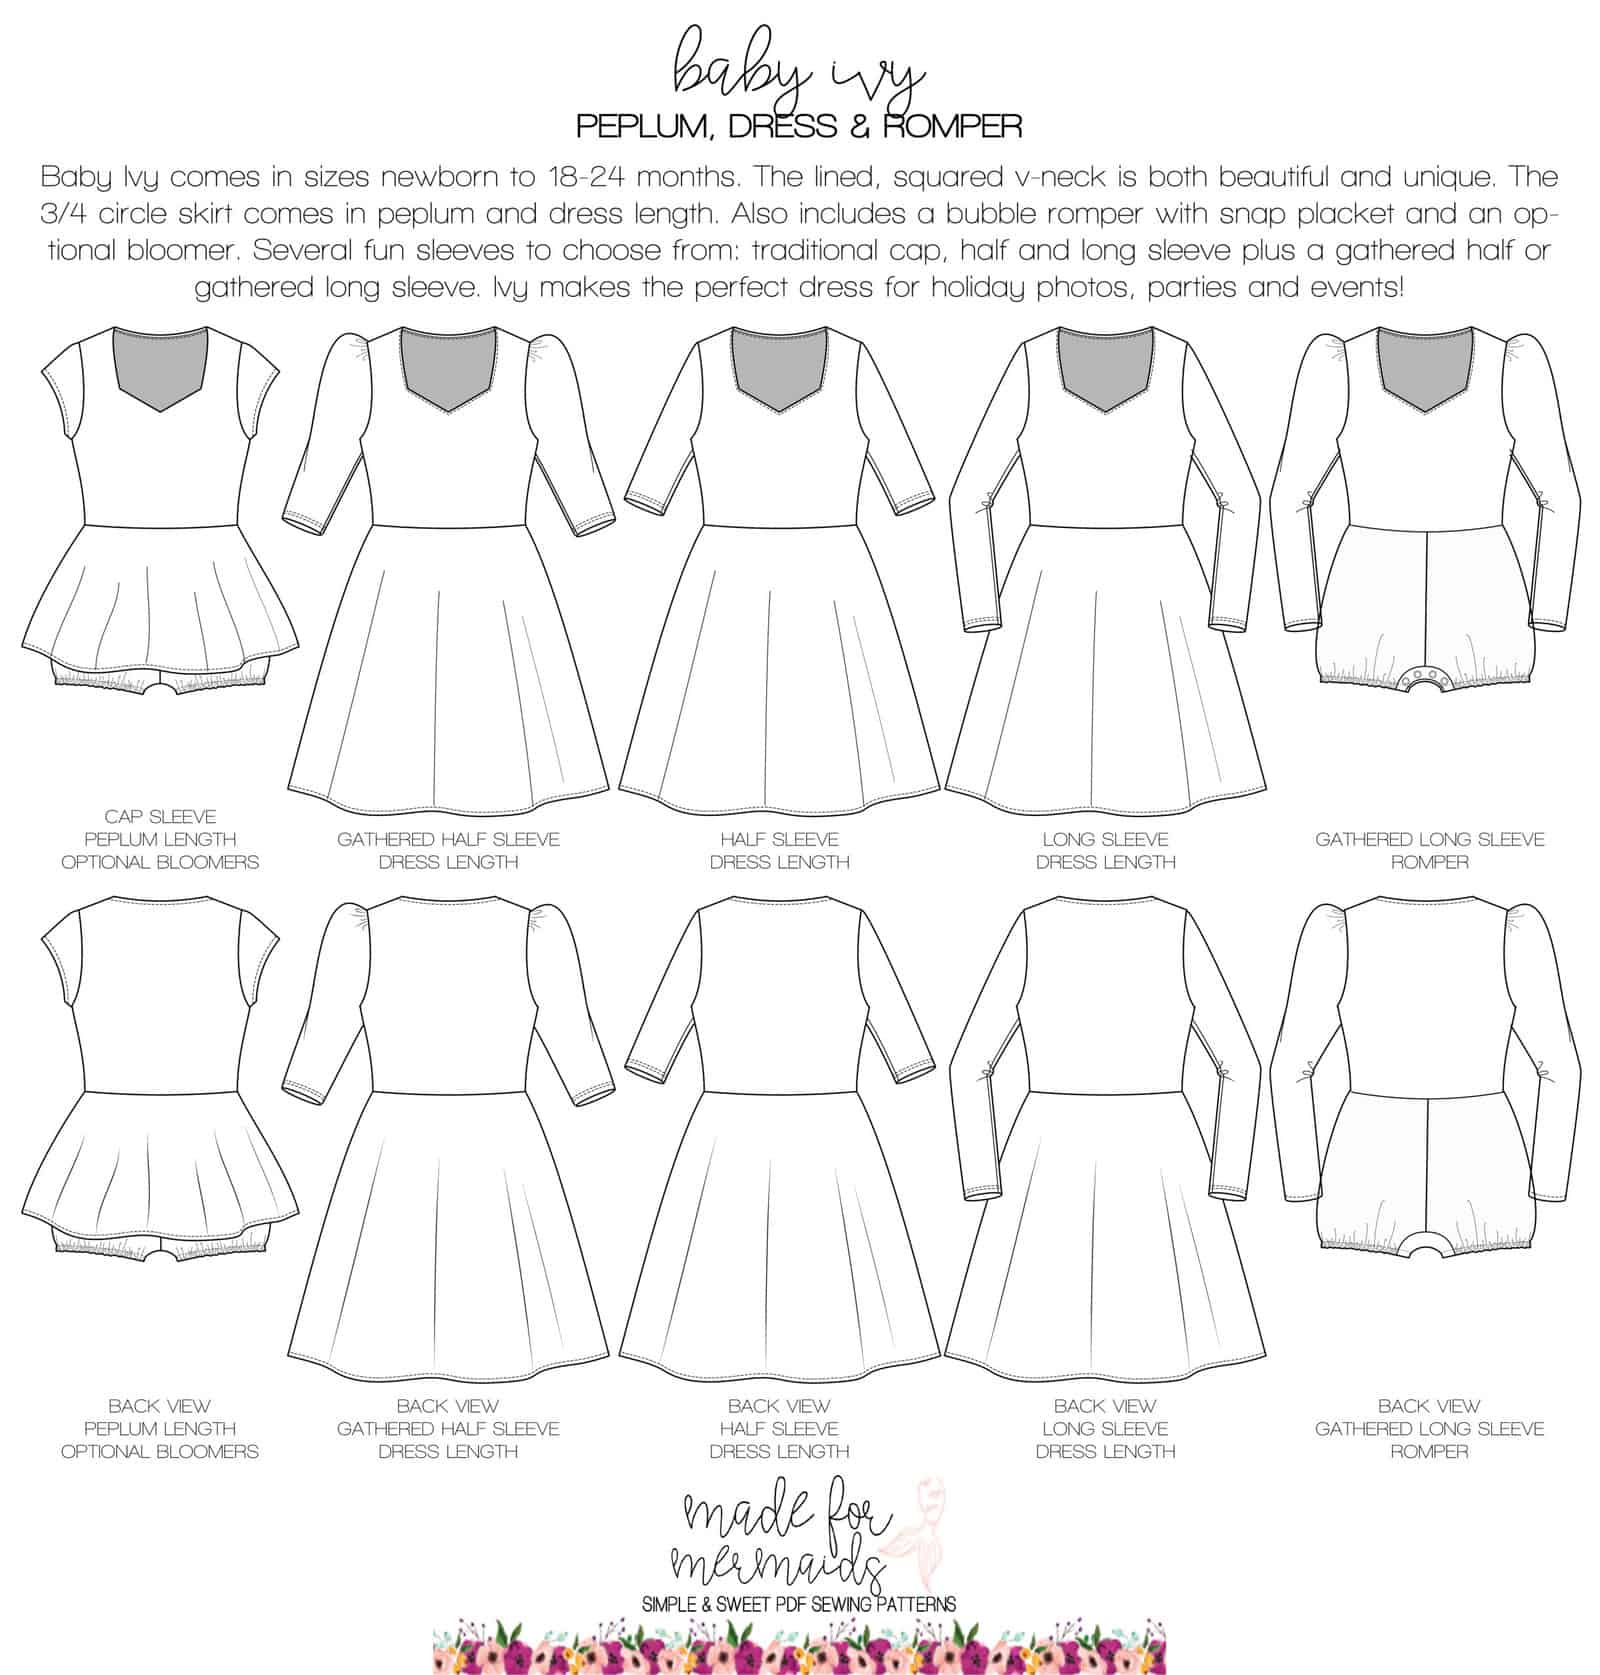
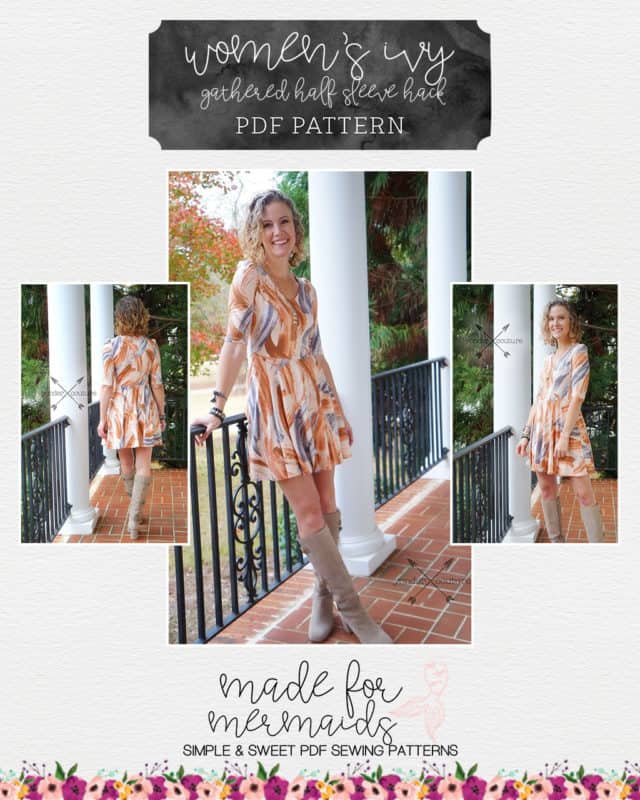
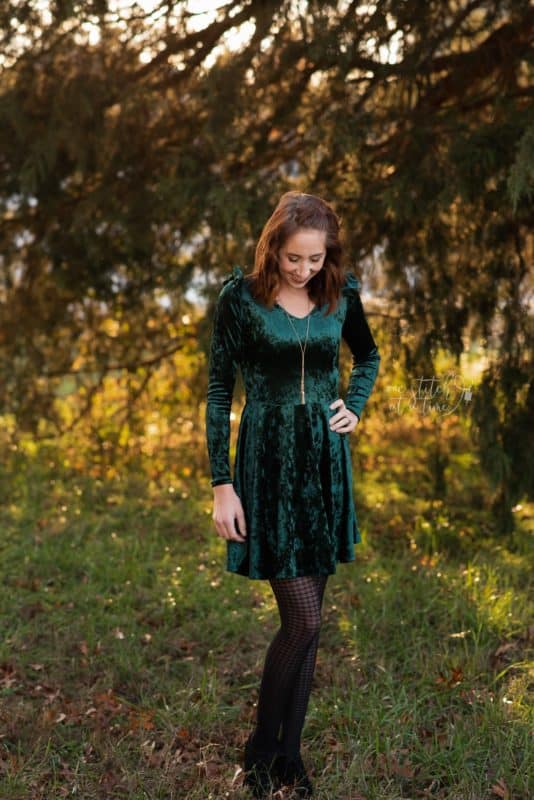
Ivy is the newest knit peplum and dress to join our lineup!
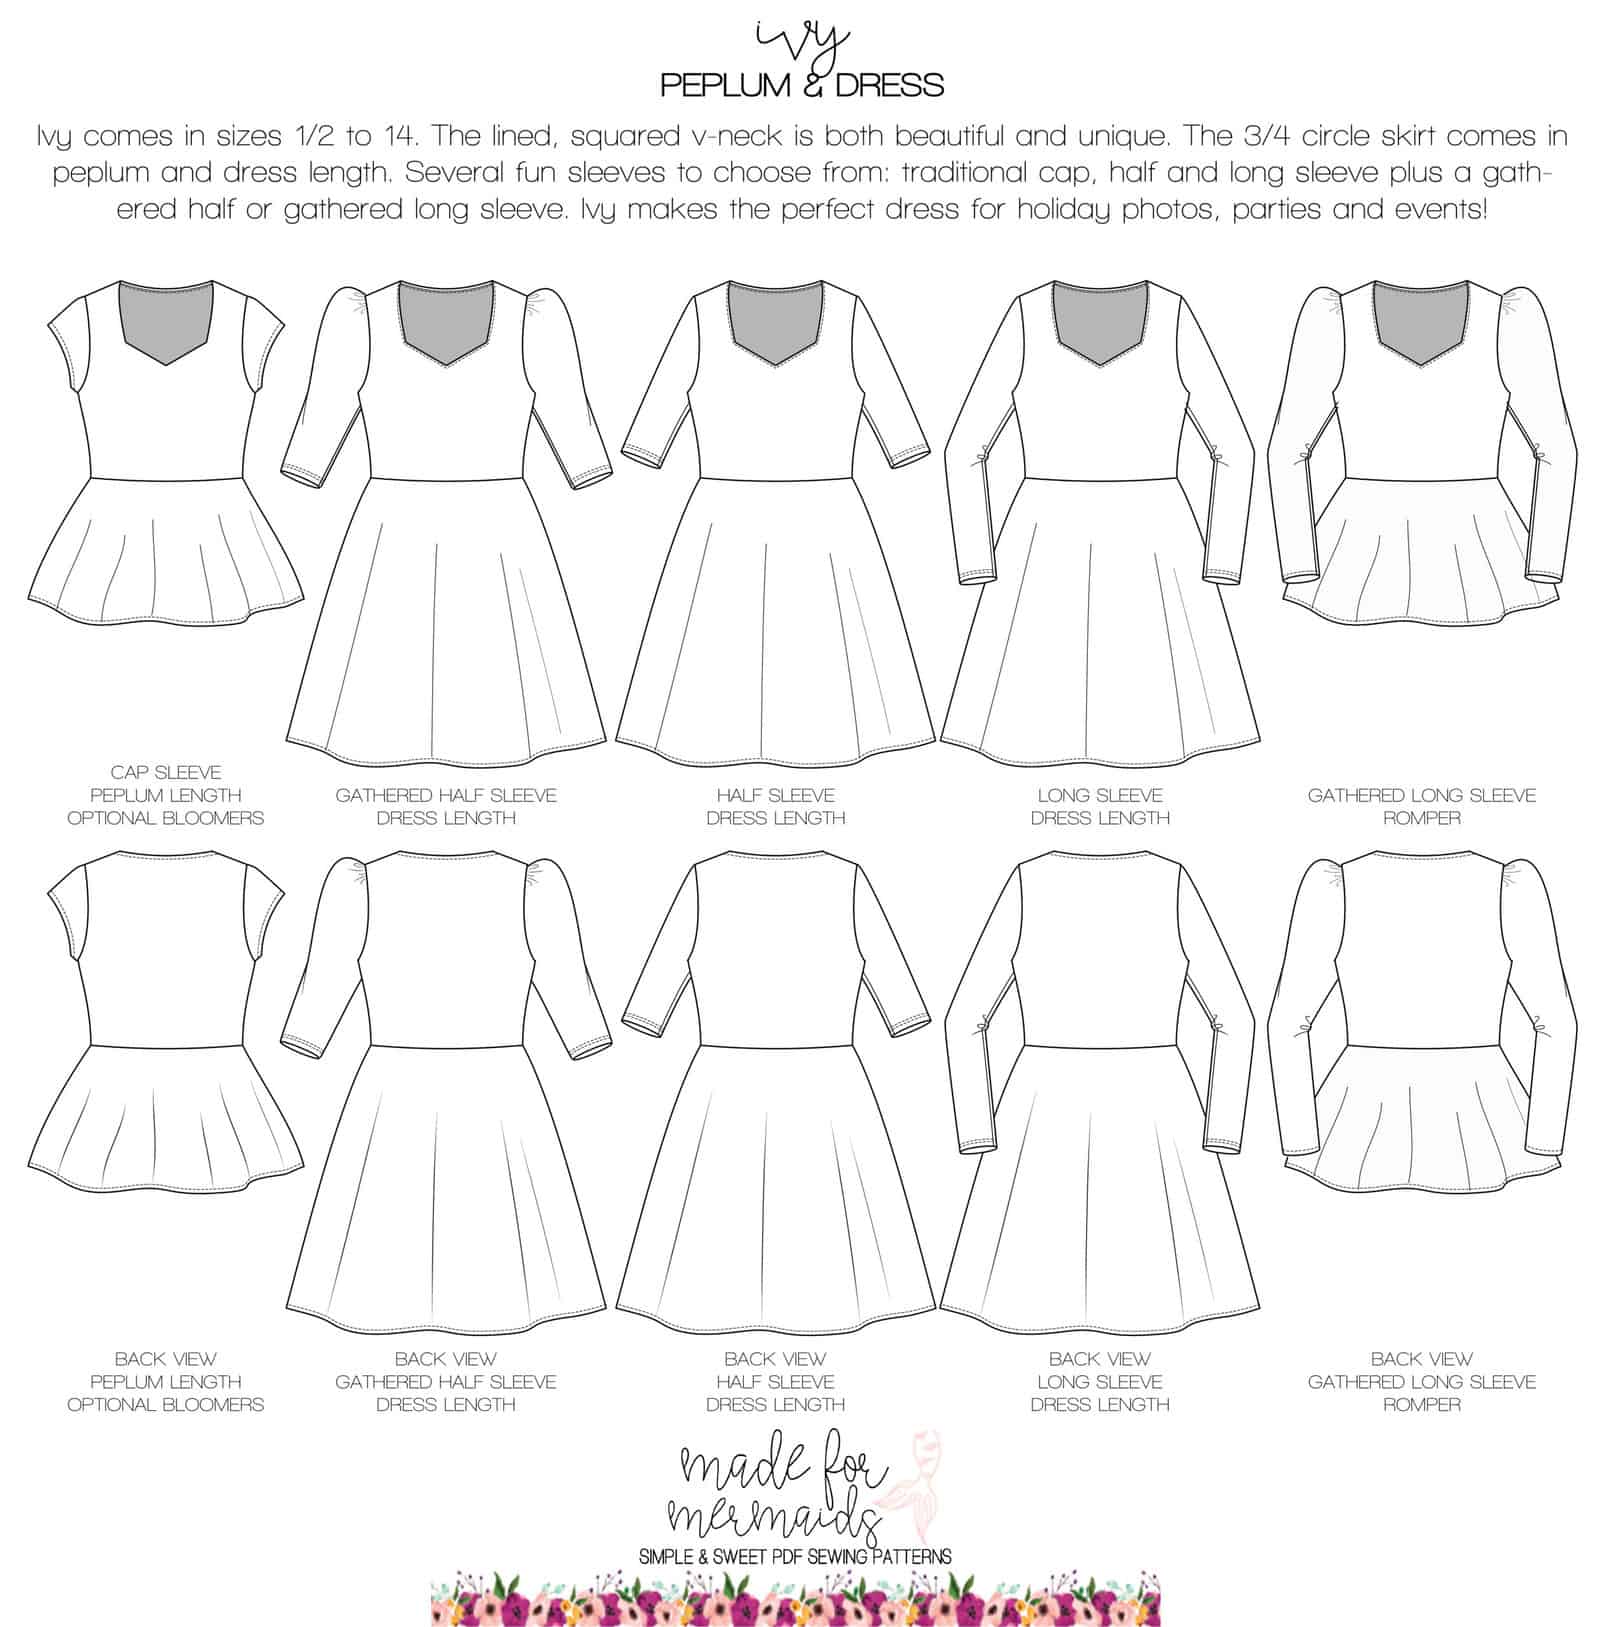
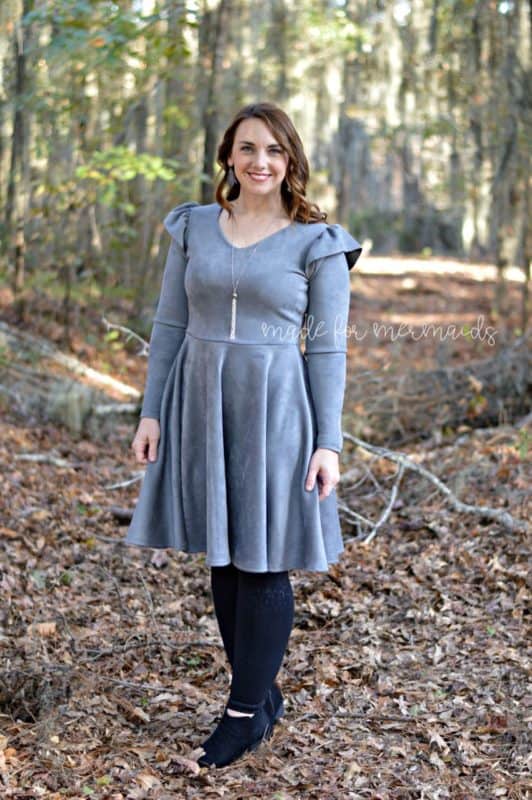
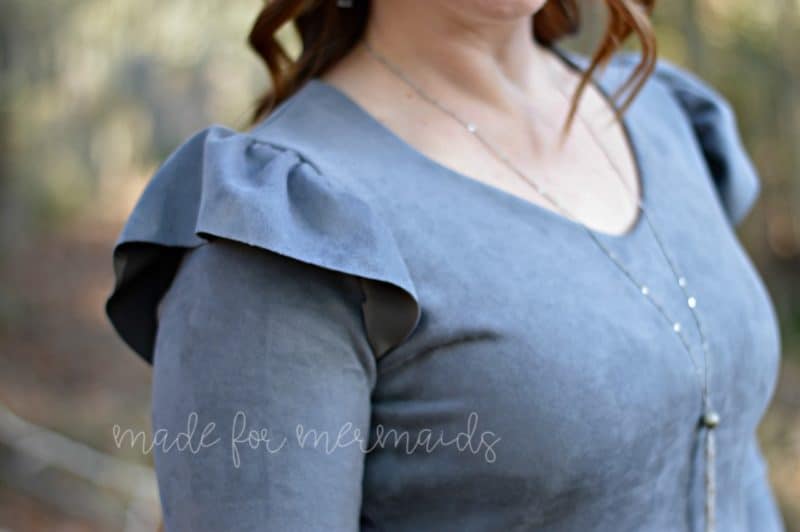
I am loving the pretty shape of the neckline and the little bit of poof at the shoulder on the gathered sleeve. With multiple length options and several sleeves (including a cap sleeve!! Ivy’s definitely not just for cold weather!!), Ivy is sure to win you and the little ones in your lives over. My daughter rarely strays from her true love, Adeline, but she was SO excited about the Ivy I made her during testing. We hope you love the Ivy patterns just as much as we do.
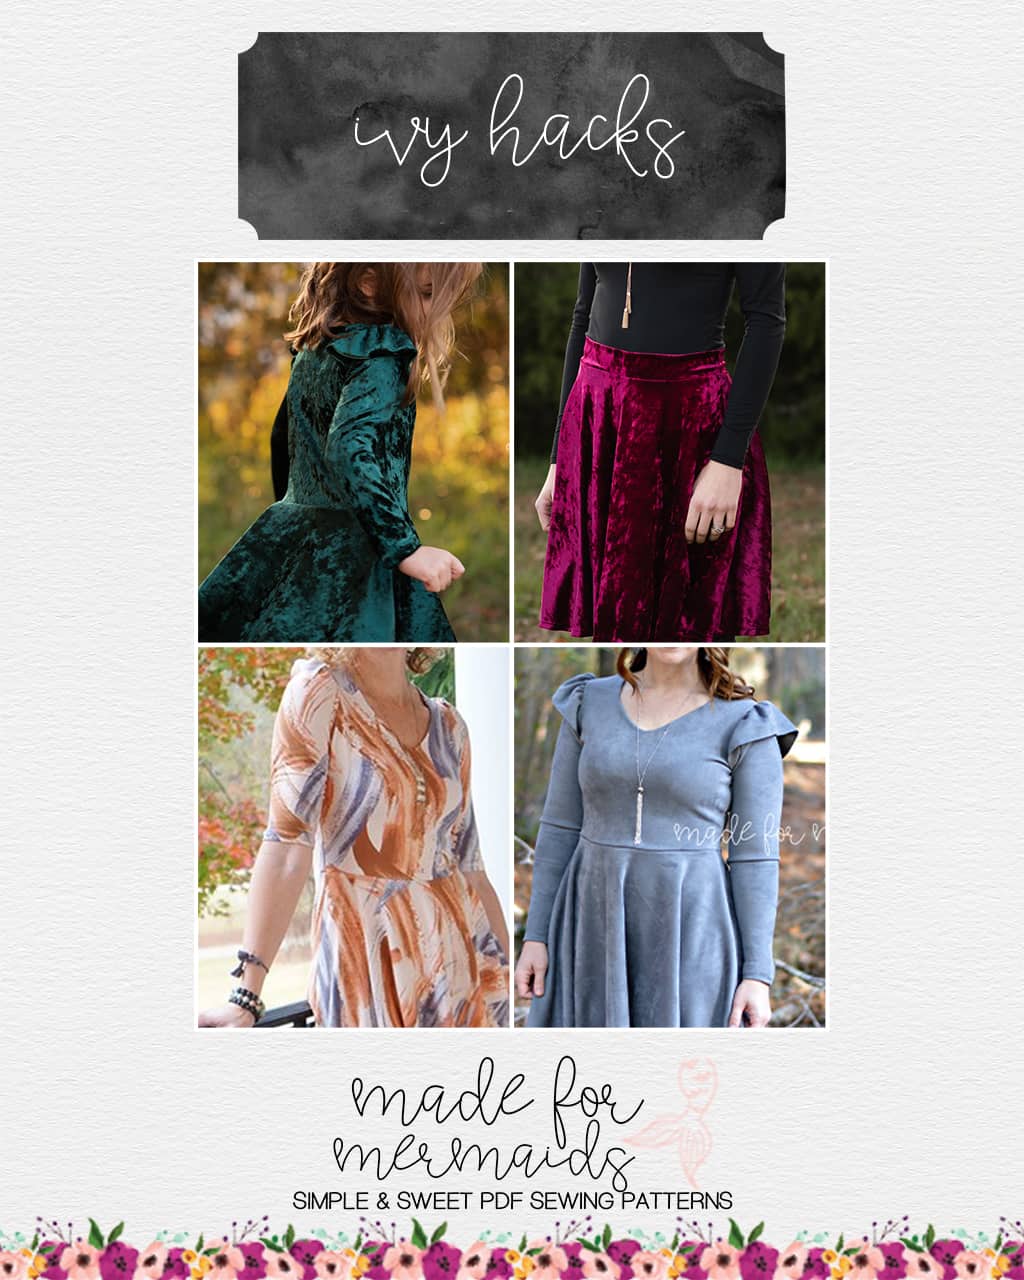
Separates Hack
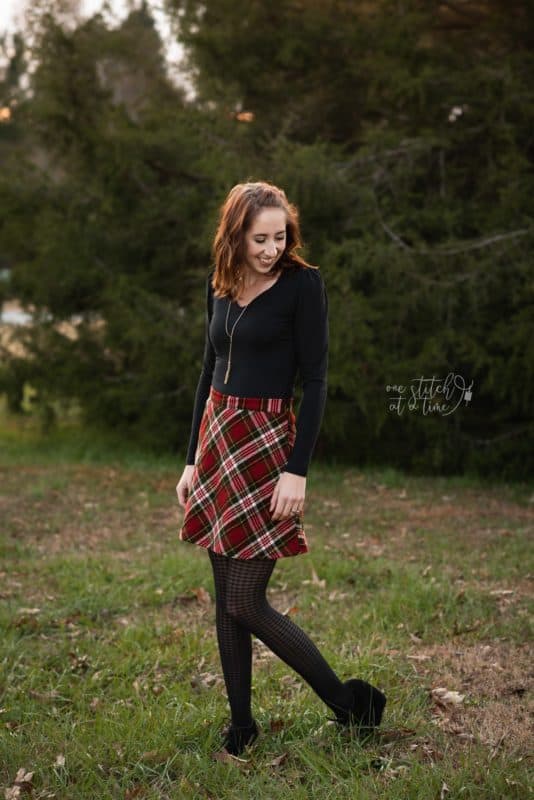
The new Ivy Pattern is a great peplum or dress but it is also quite simple to create separates to wear and style many different ways.
To create the TOP:
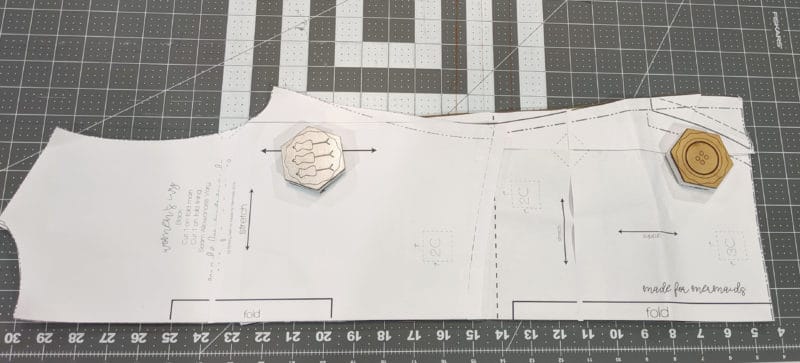
- You will need to use the Tai Top pattern to mash with the Ivy Bodice. Lay your Ivy Pattern Pieces for the front and back bodice on top of the front and back bodice piece for the Tai Top option. Line up the pattern at the underarm seam and center front and cut one front and back bodice from your main fabric.
- Take the Ivy Bodice pieces and use the top half of both the front and back pieces to cut a facing. I tried to leave the facing long enough to hit right under the bust. This will help avoid the fabric from flipping out when sewn.
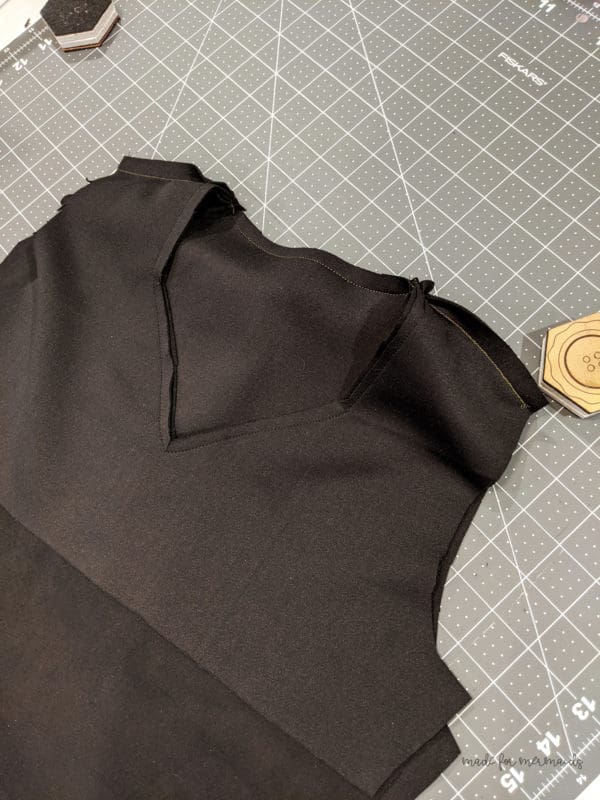
- Sew the bodice and facing according to the Ivy instructions. Your top will only have the facing pieces instead of the full lining. Continue sewing the sleeves and side seams per the Ivy instructions and press up the bottom of your top 1/2 inch and topstitch for your hem.
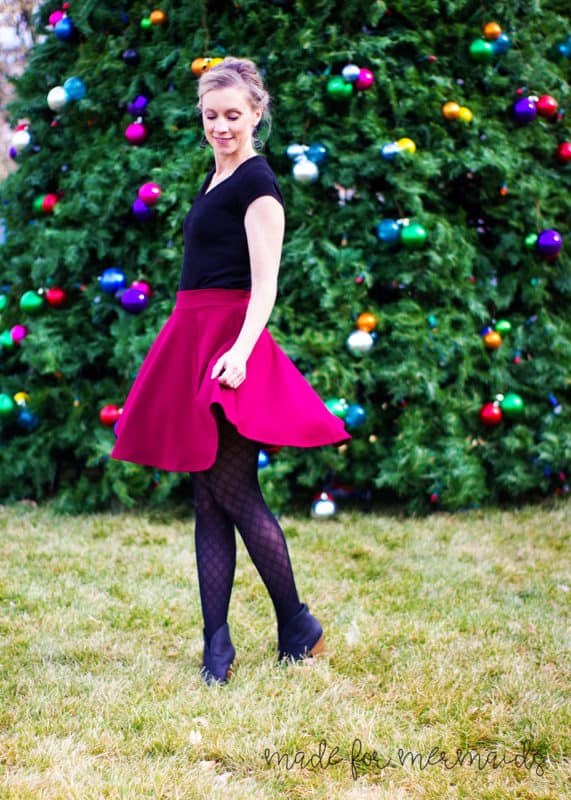
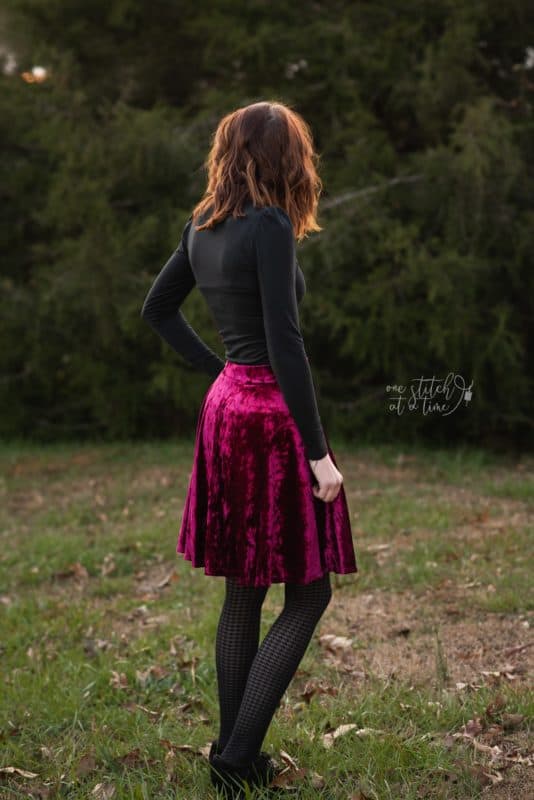
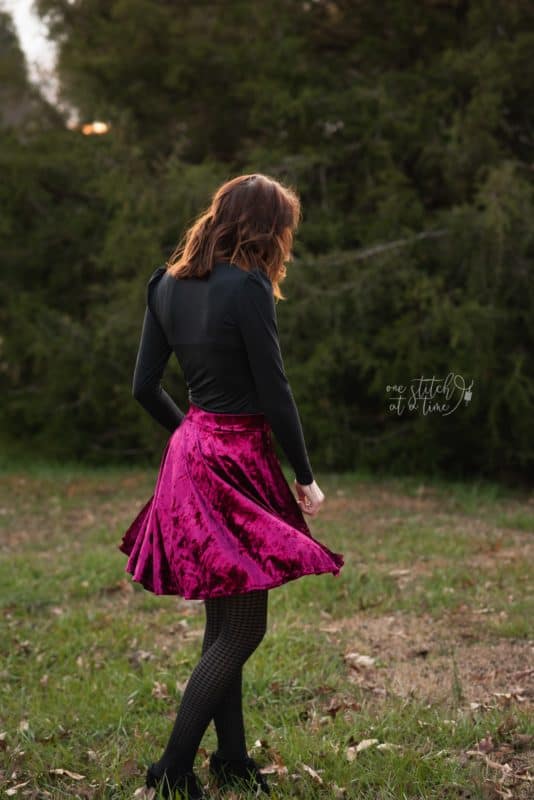
To create the SKIRT:
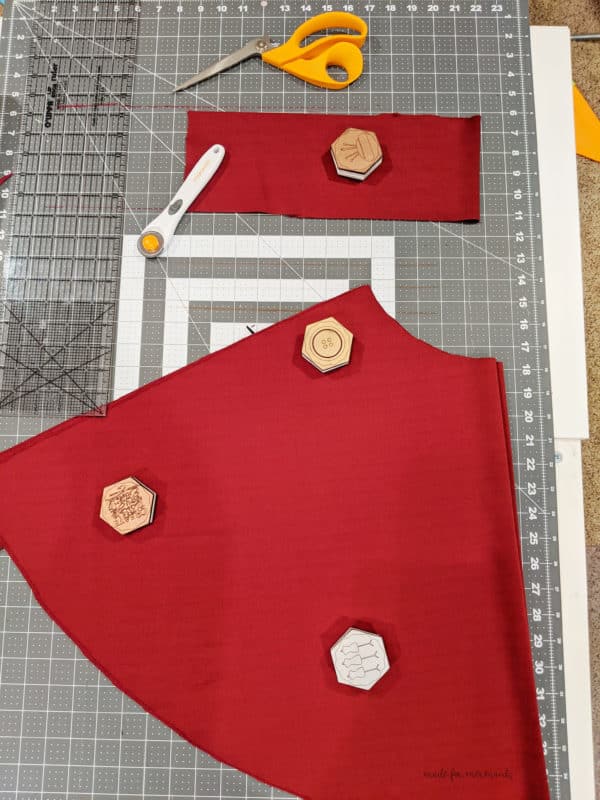
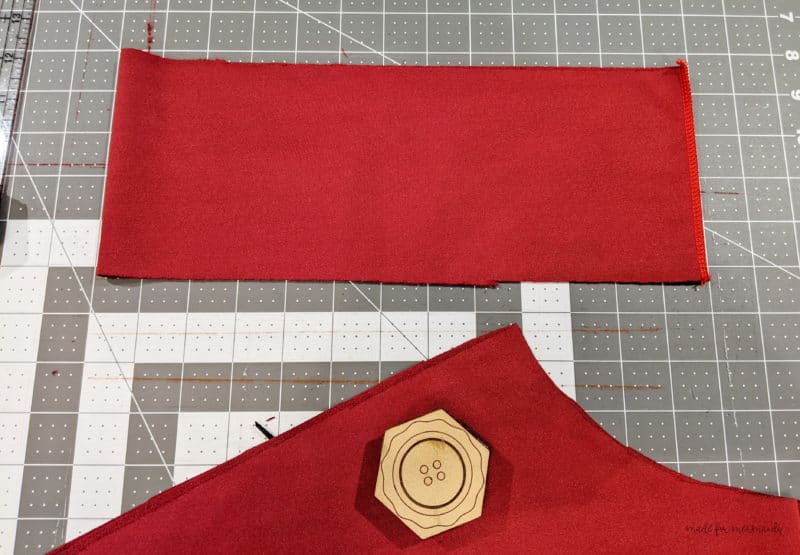
Take your skirt pattern and cut the length you would like. I chose mini length for this hack. Sew the side seams for your skirt. Cut a waistband for your skirt using the size chart provided below:
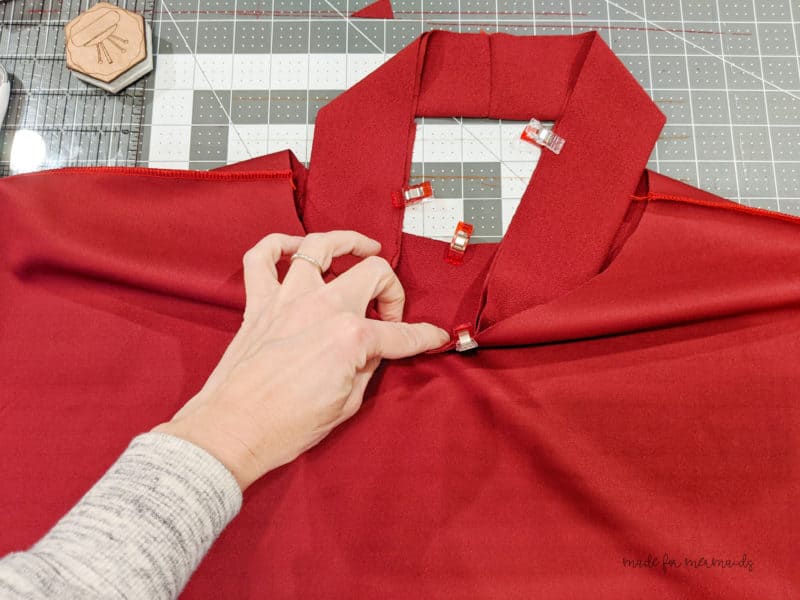
Insert the waistband into your skirt, right sides together matching quarter points. Attach the waistband to the skirt using a 1/2 inch seam allowance. Fold up the bottom hem of the skirt 1/2 inch and topstitch to hem. Your skirt is complete. – Shannon
Gathered Half Sleeve
The Ivy has so many sleeve options built right in! But… just in case you need ONE MORE OPTION, a gathered half-sleeve is a very simple pattern hack.
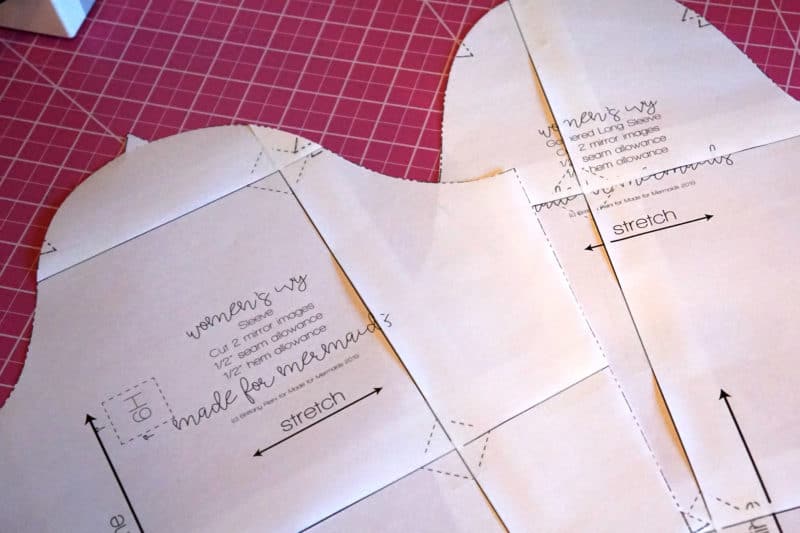
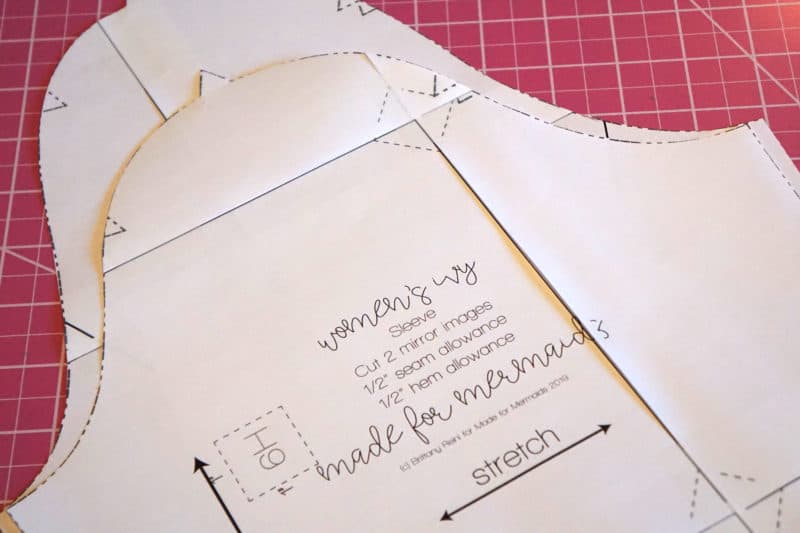
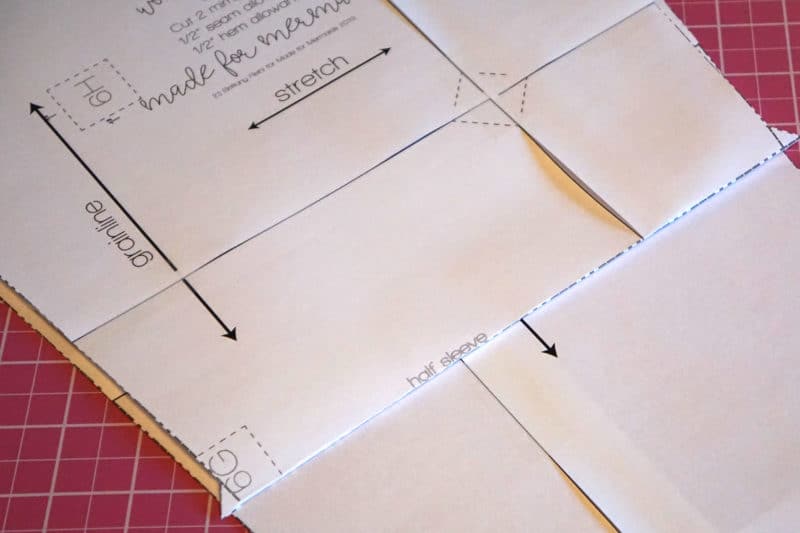
To get the appropriate length for a half-sleeve, print and cut both sleeve patterns. Lay the regular sleeve pattern piece on top of the gathered sleeve pattern piece, lining up the pieces at the armscye points.
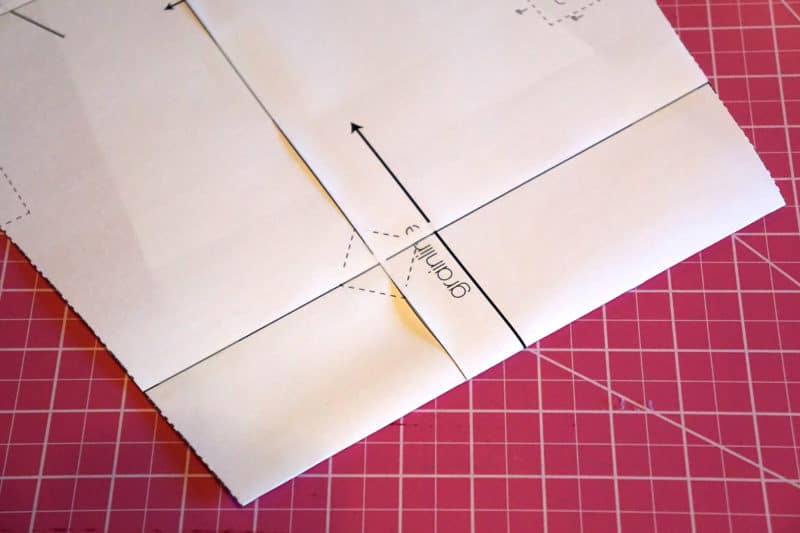
I like to save as many cuts as possible, so that I don’t have to reprint pattern pieces for future makes. Instead of cutting, simply fold the regular sleeve pattern piece on the half-sleeve line and transfer the marking to the gathered sleeve pattern piece.
Fold the gathered sleeve at your new sleeve length line and you’re ready to cut your fabric! Follow the pattern instructions as written and you’ll be perfectly party-ready before you know it! –Rachel
Ruffled Sleeve Hack
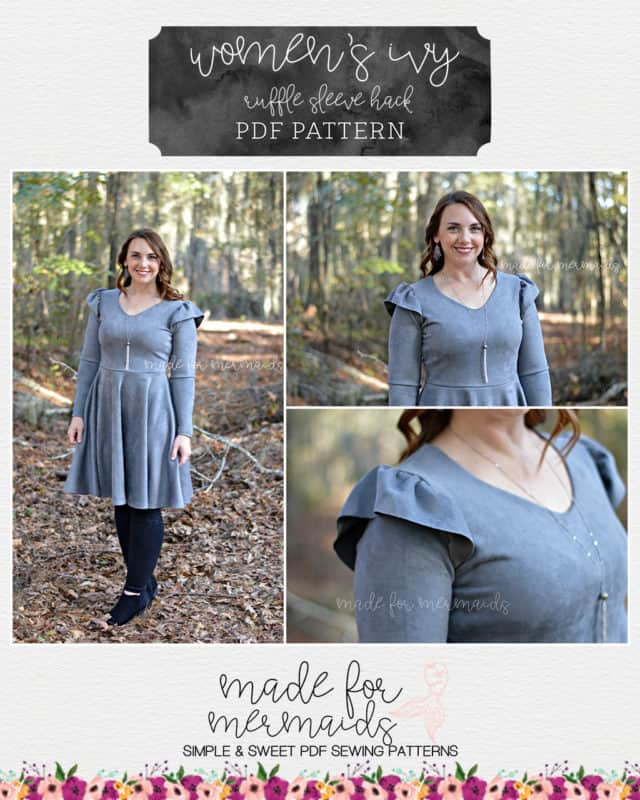
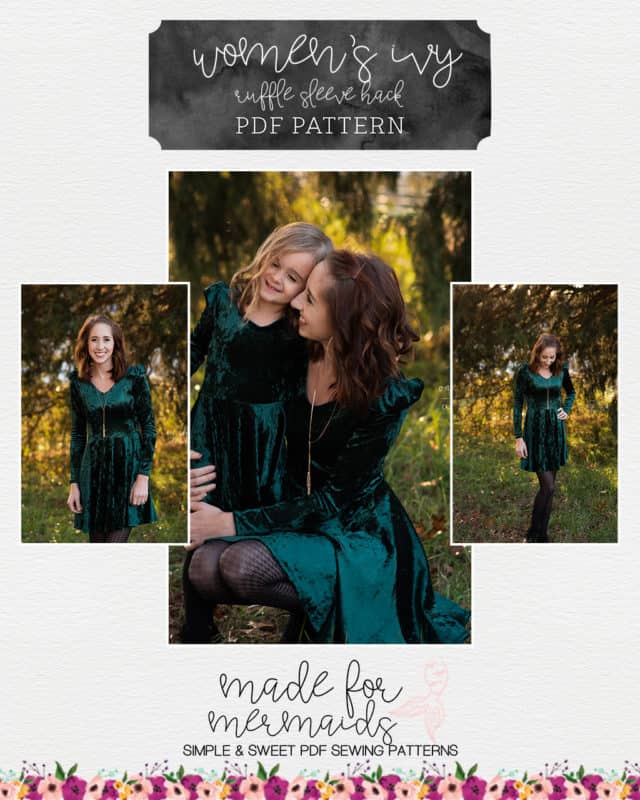
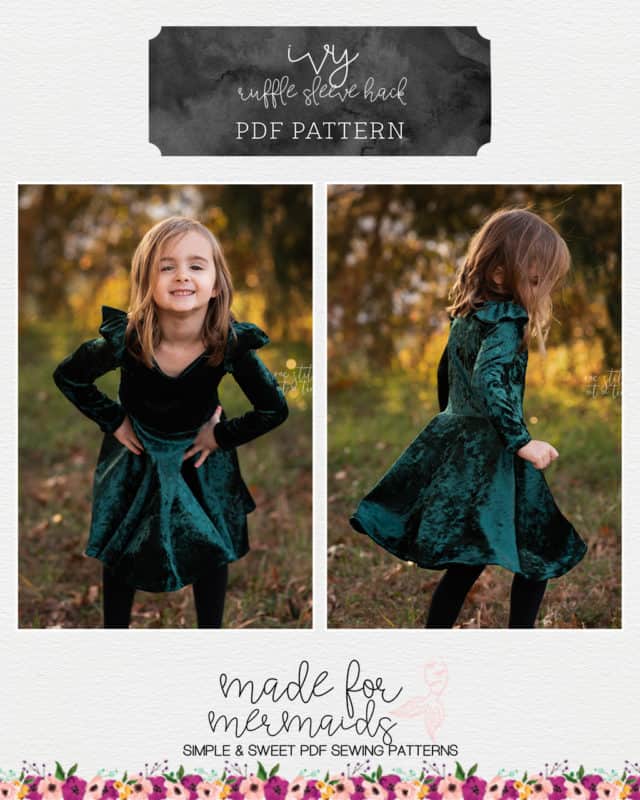
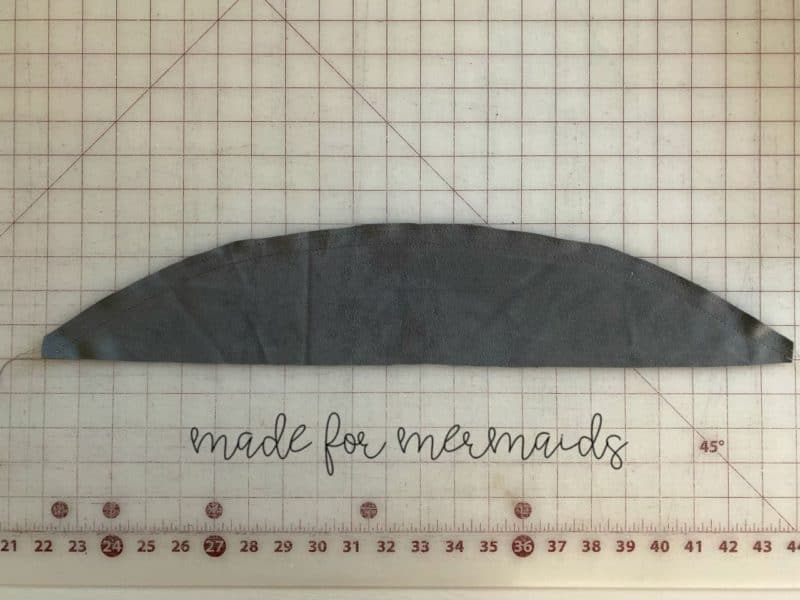
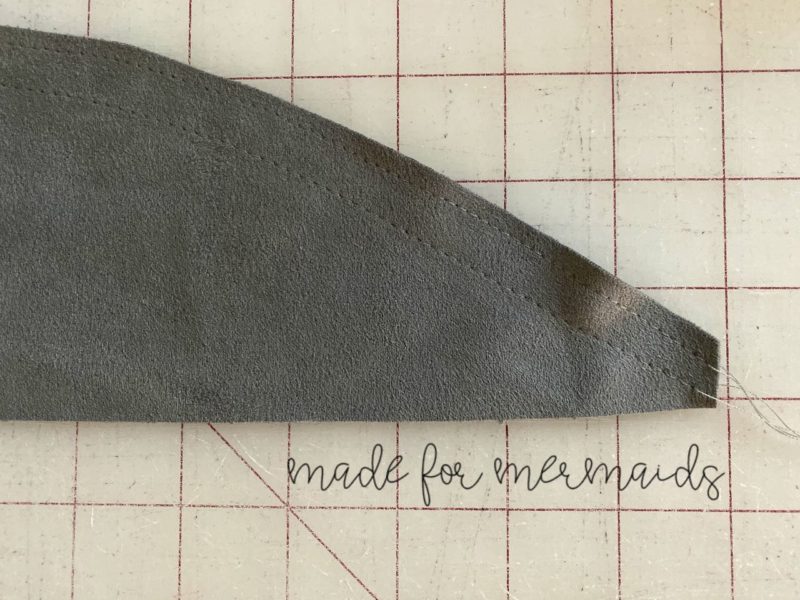
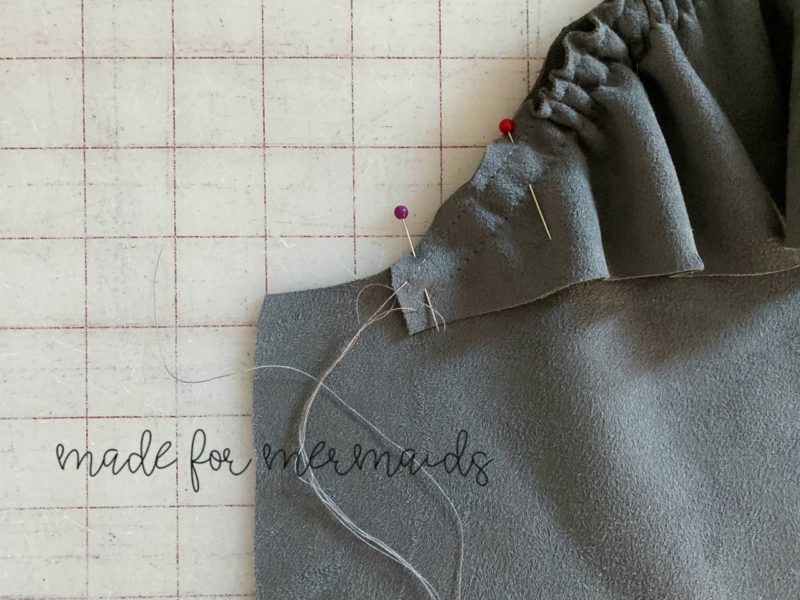
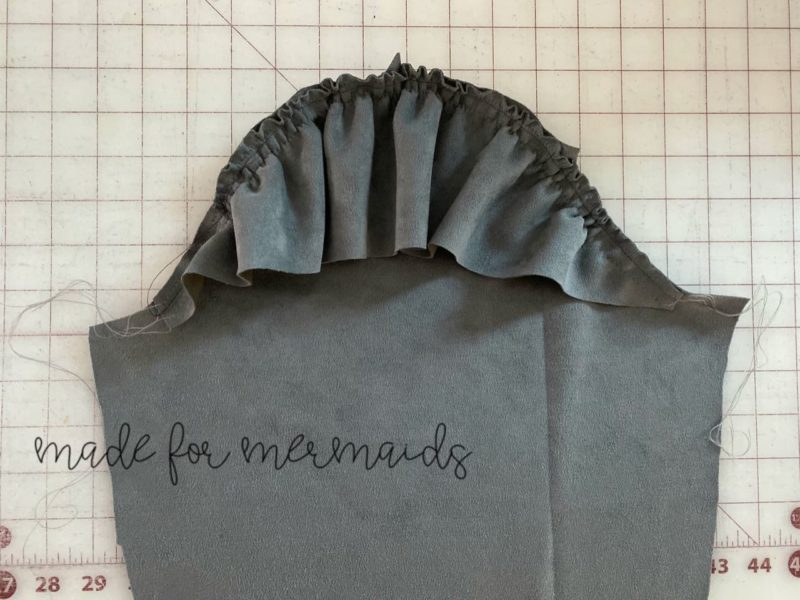
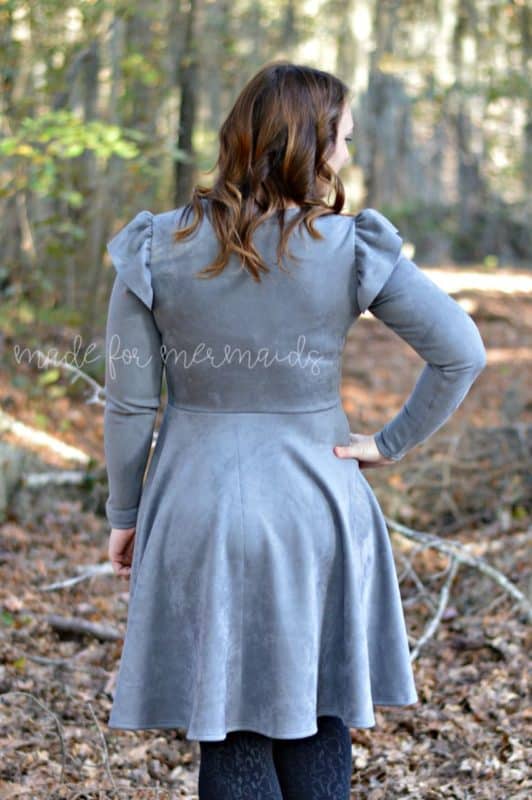
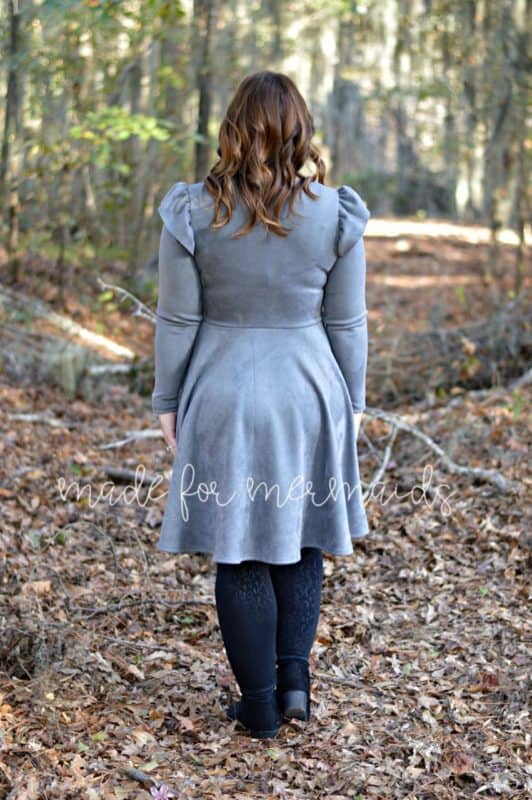
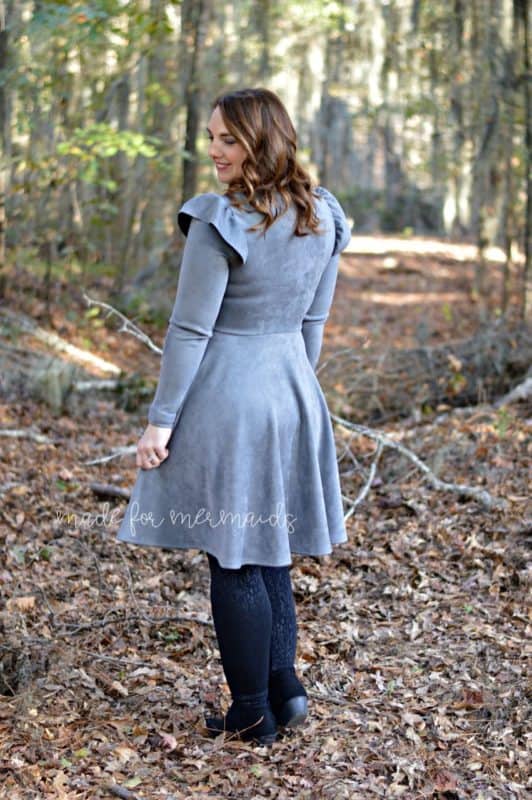
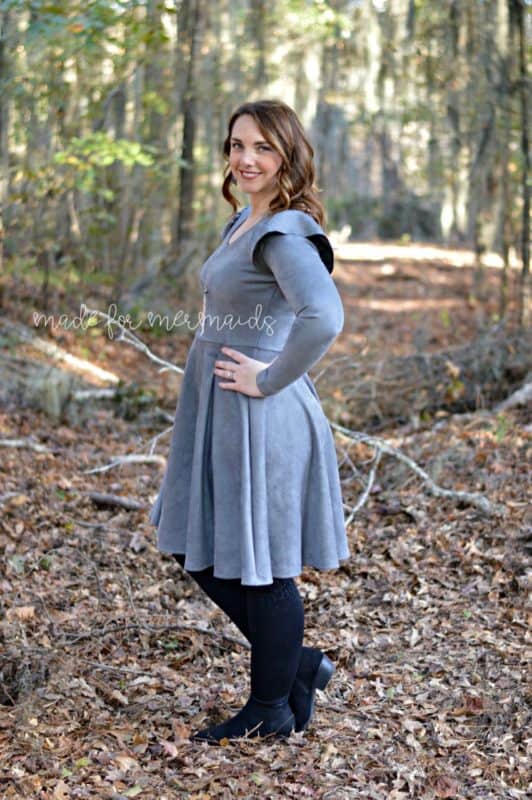
The clean neckline of the Ivy is perfect. But who doesn’t love an extra fancy sleeve? Brittany designed a ruffle sleeve piece to make this beautiful hack happen! You can get the ruffle sleeve pattern piece here (you’ll need to add it to your cart and checkout, but it’s FREE!). Select the ruffle piece size to match your pattern size for the armscye. Cut two ruffle sleeve pieces. Sew two gathering stitches along the curved portion of the ruffle sleeve piece (sew a long straight stitch 1/4 inch away from the top edge and then an additional long straight stitch 5/8 inch away from the top edge).
Gather the sleeve piece. I chose to place the end of the pattern piece 1.5 inches away from the edge of the full sleeve piece to avoid extra fabric in the underarm seam, but you can gather it as little or as much as you’d like.
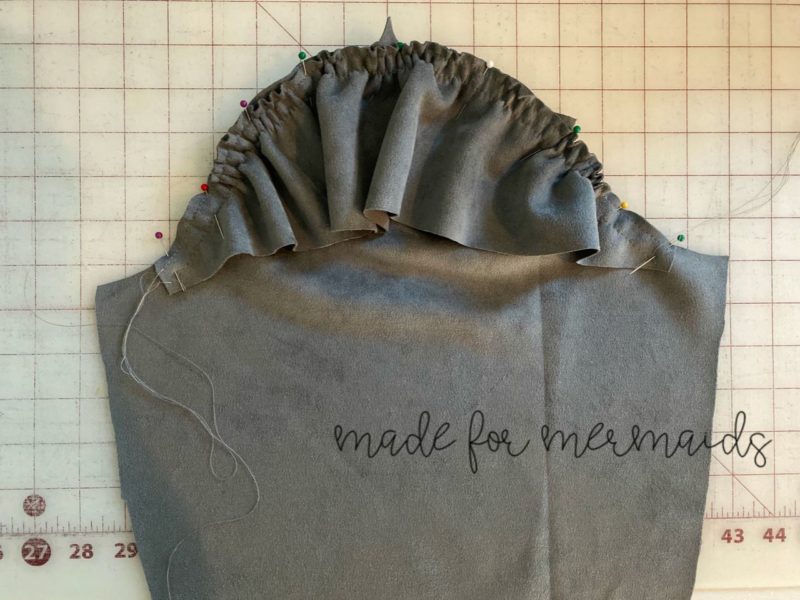
Pin ruffle sleeve piece to full sleeve piece. Baste in place to make sewing the sleeve to the bodice easier.
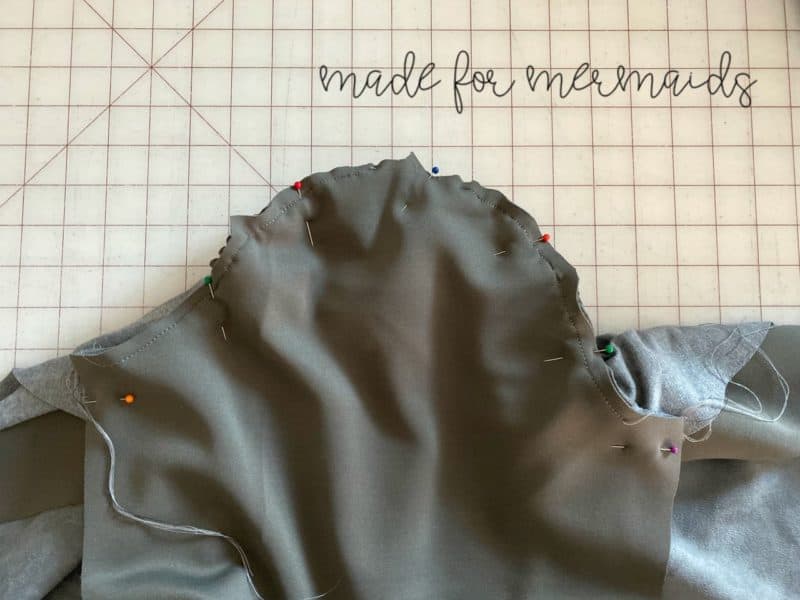
Pin the basted sleeve pieces to the bodice and sew with a 1/2 inch seam allowance.
Continue to construct the bodice as written in the pattern tutorial. –Stacey
We can’t wait to see the Ivy peplum and dresses you decide to sew up! Of course, Ivy will make a perfect holiday dress if that’s what you’re sewing up right now, but my daughter loves the two casual, springier versions I made for her, too! As always, remember to share your makes with us over in our Facebook group! We love to see what you come up with! Happy Sewing!
























Leave a Reply