
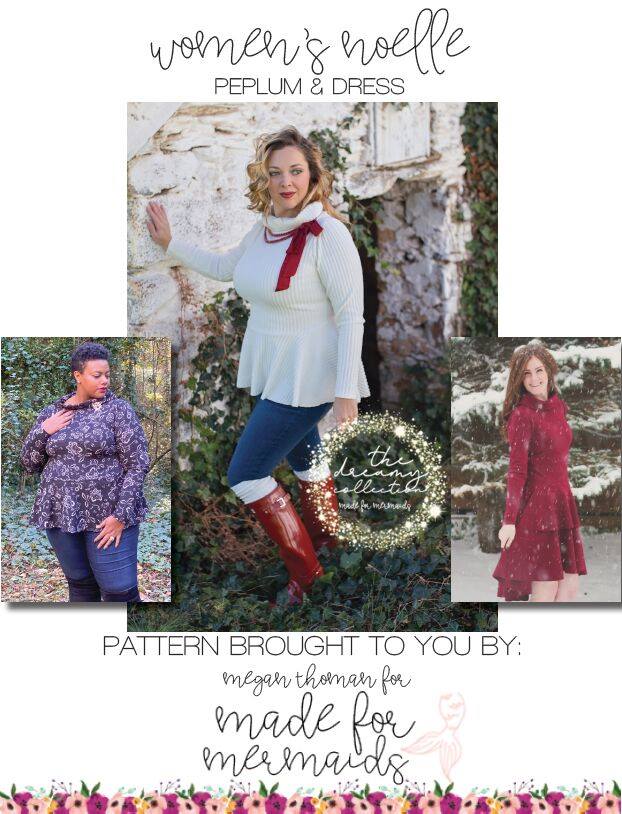
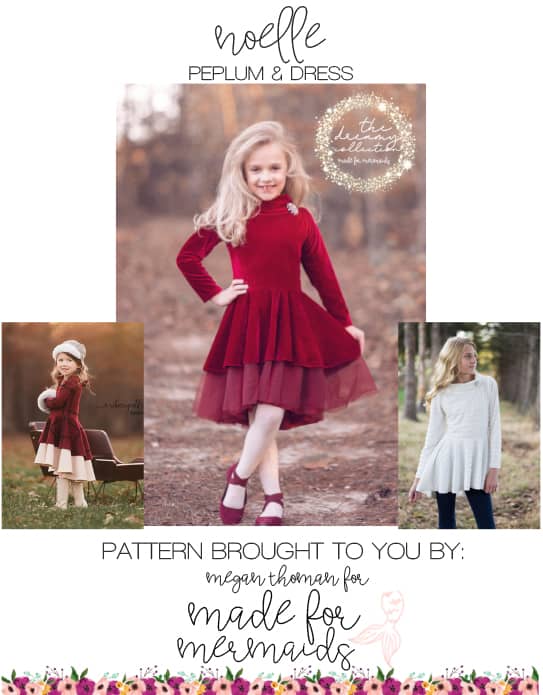
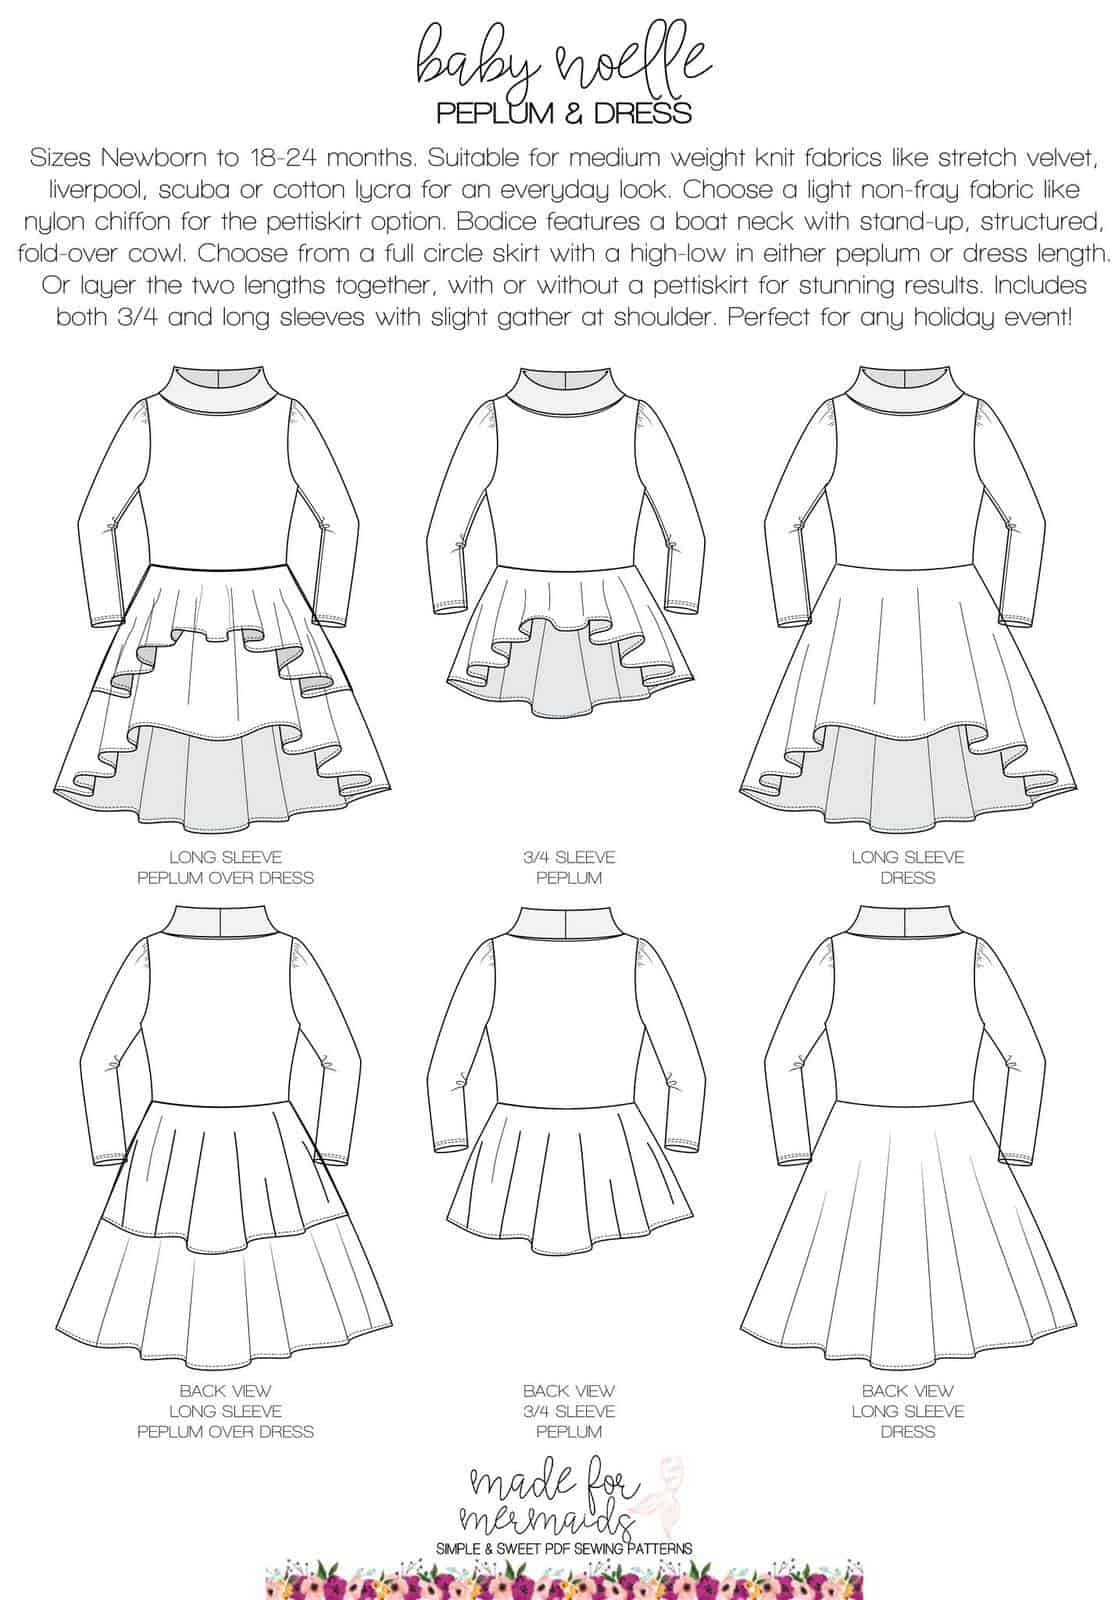
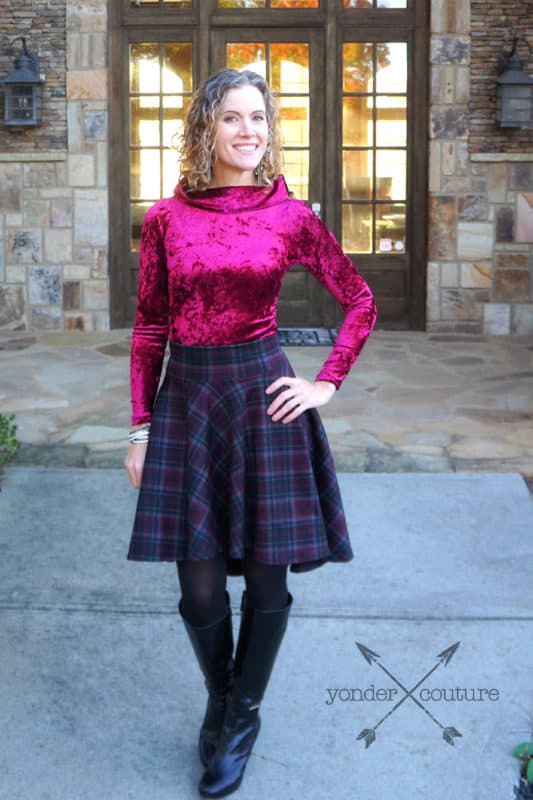
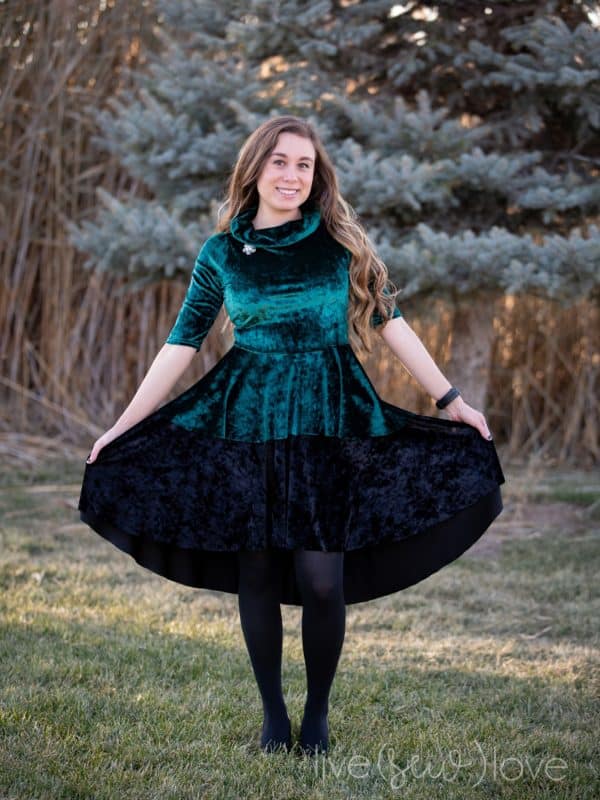
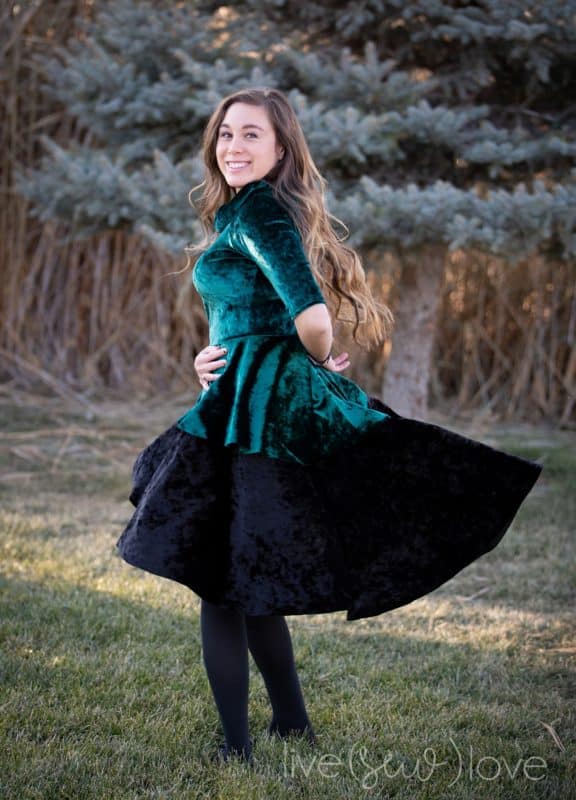
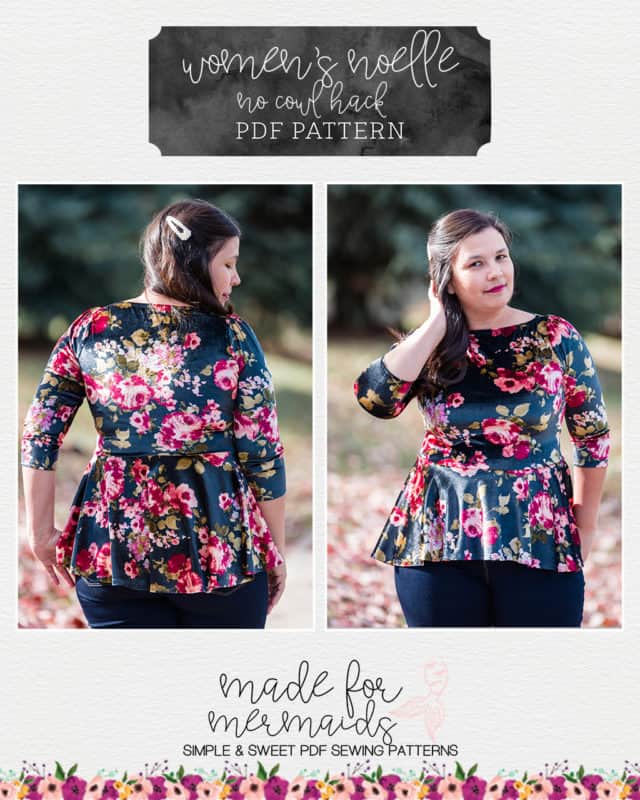
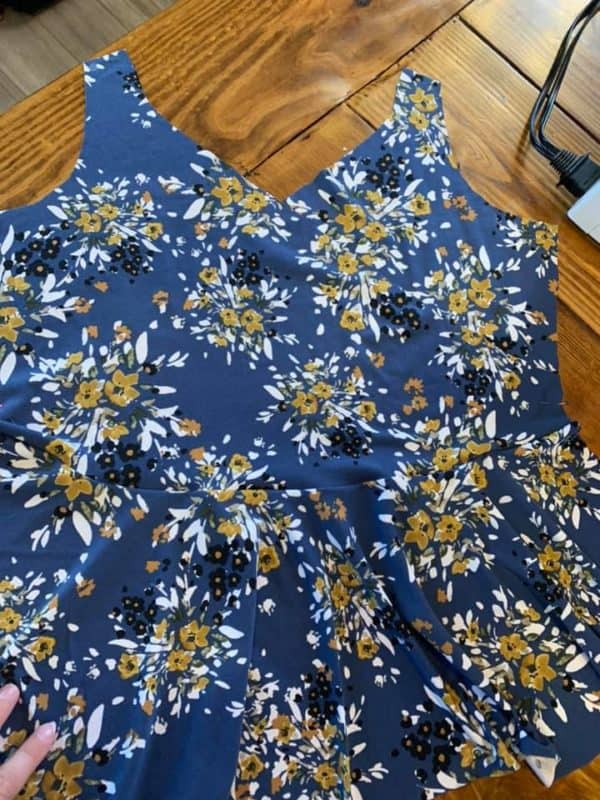
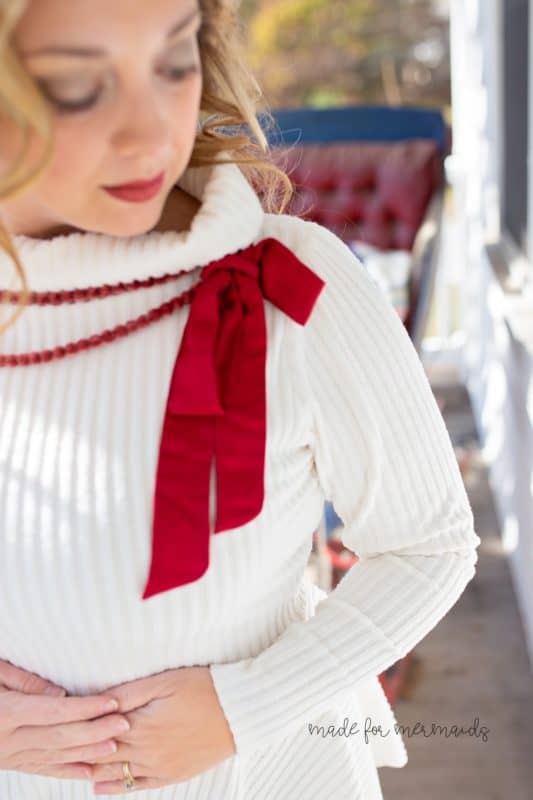
Can you believe it’s finally here?!?! We’ve been asked over and over again for a Women’s Noelle to match our youth Noelle, and Megan T. delivered! Not only that, but Michelle made sure that Baby Noelle joined the party, too! We gave our youth Noelle and Dolly Noelle a little facelift to include our new fonts, logos, metric sizing, and pattern pieces for the cowl neck!

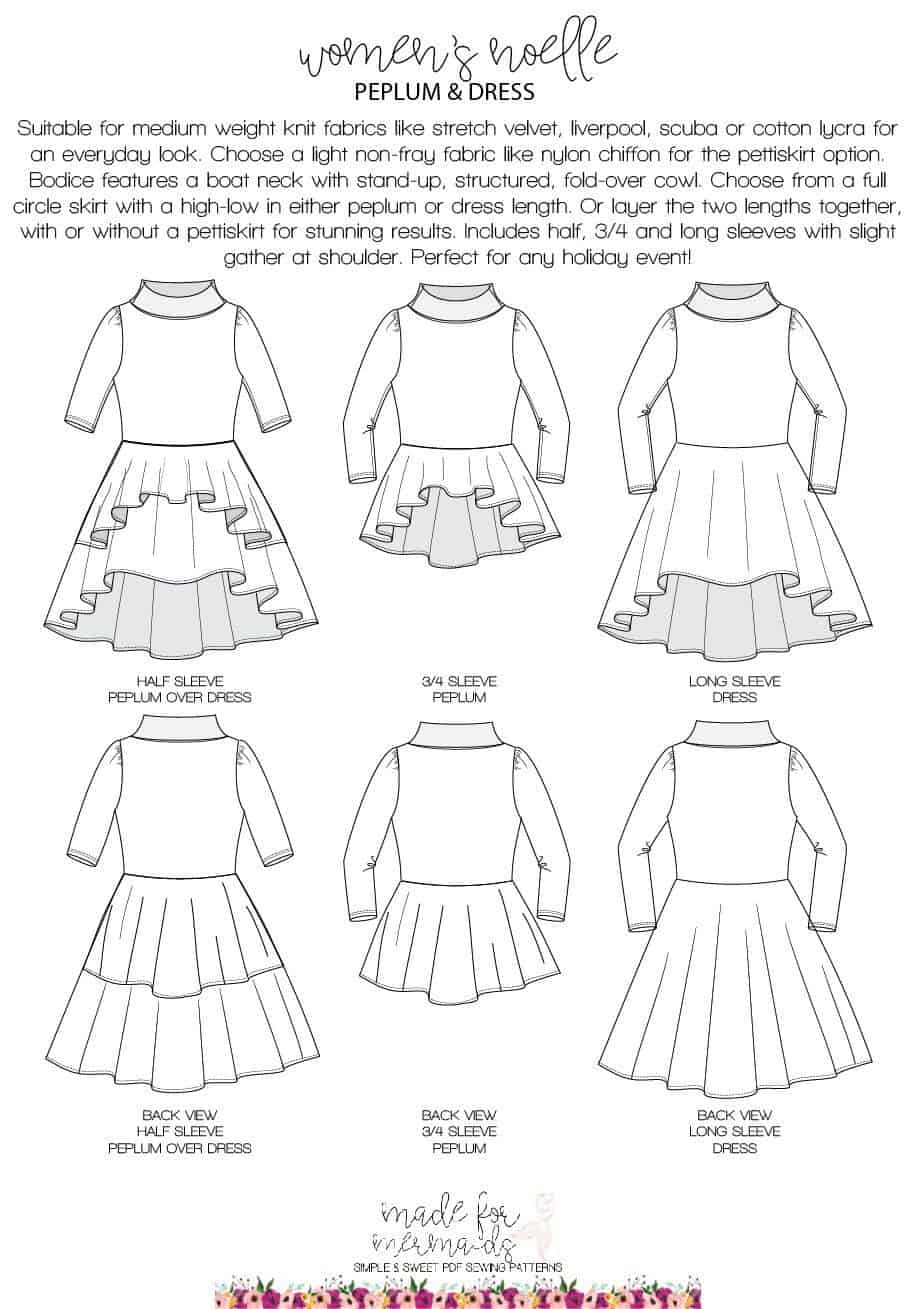

We’ve seen several people ask if Noelle can be made with short sleeves, and the answer is yes! You can modify the sleeves to be any length you’d like. Not sure what length to use? You can use any short sleeve pattern or your favorite RTW shirt as a guide for length. Just be sure to include 1/2″ hem allowance if you use a RTW length.
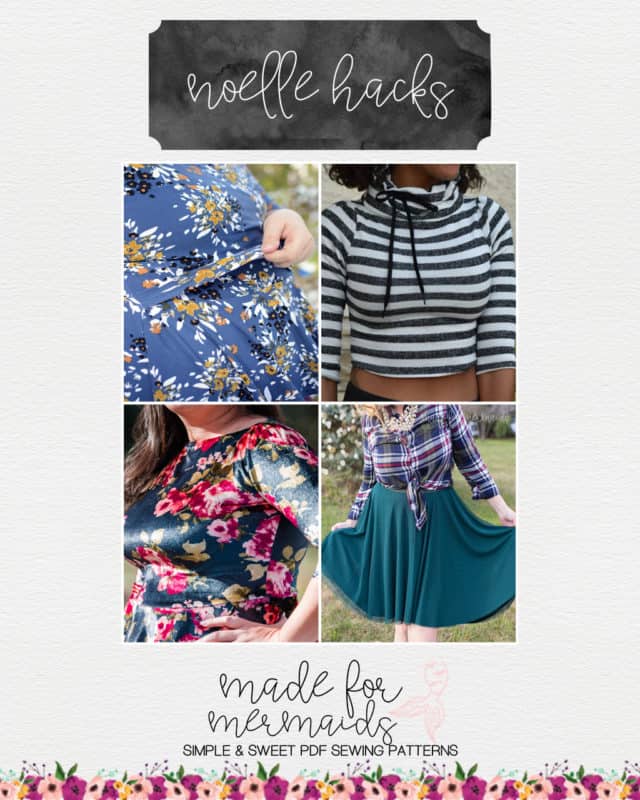
Of course, you know how we love our hacks! We’re so excited to bring you these simple and easy hacks, to help you get the most out of your patterns. Read about our favorite hacks below.
Drawstring/Sporty Crop
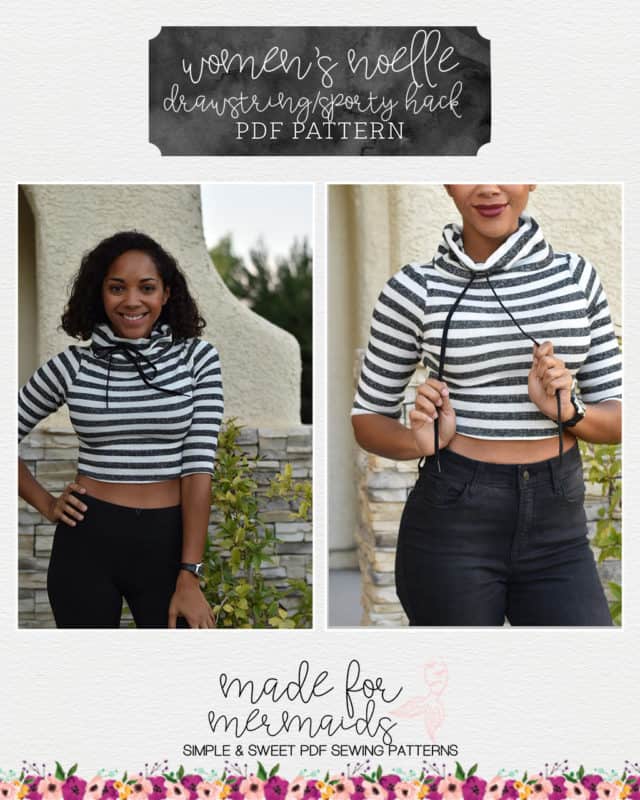
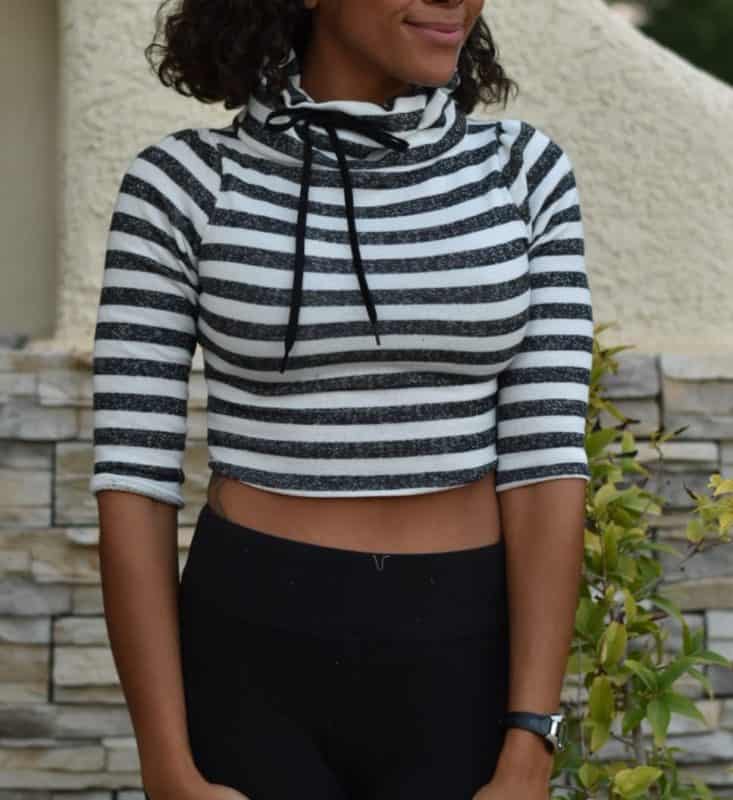
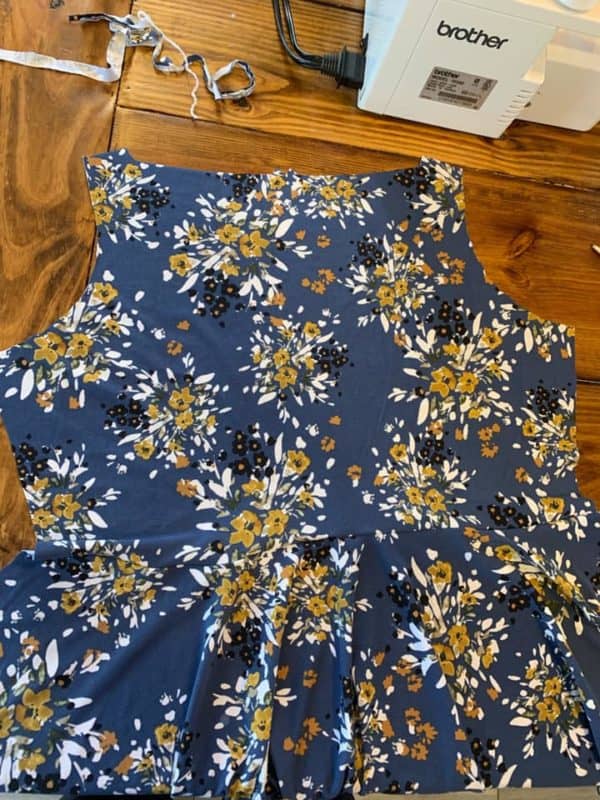
The Noelle is the perfect base for a super cute and trendy sporty crop top with a drawstring cowl! It’s a very easy modification; all you need to do is omit the skirt, and add button holes or grommets!
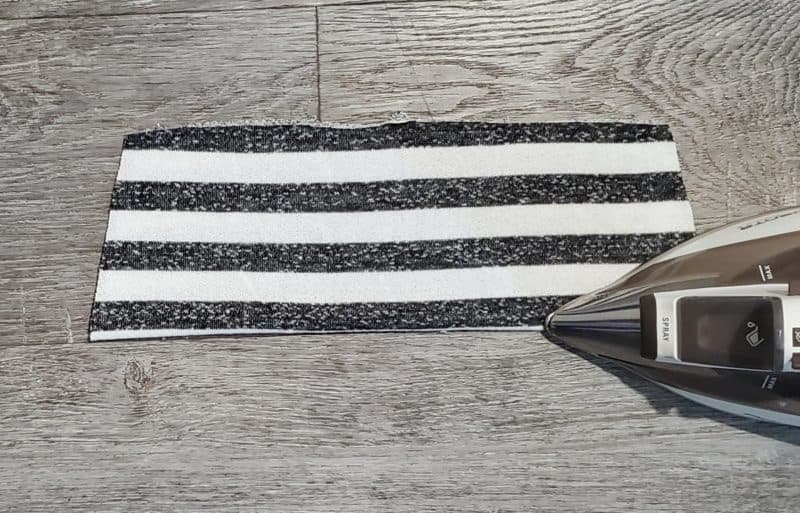
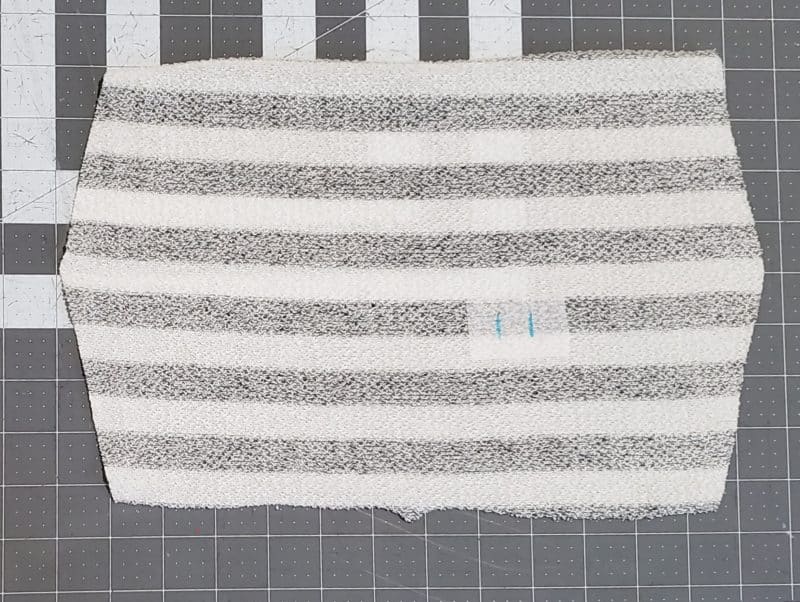
To start, you’ll need your Noelle front and back bodice pieces, sleeves, your front and back cowl pieces, a drawstring (you can also make your own), a strip of interfacing, and grommets, if you’re using those.

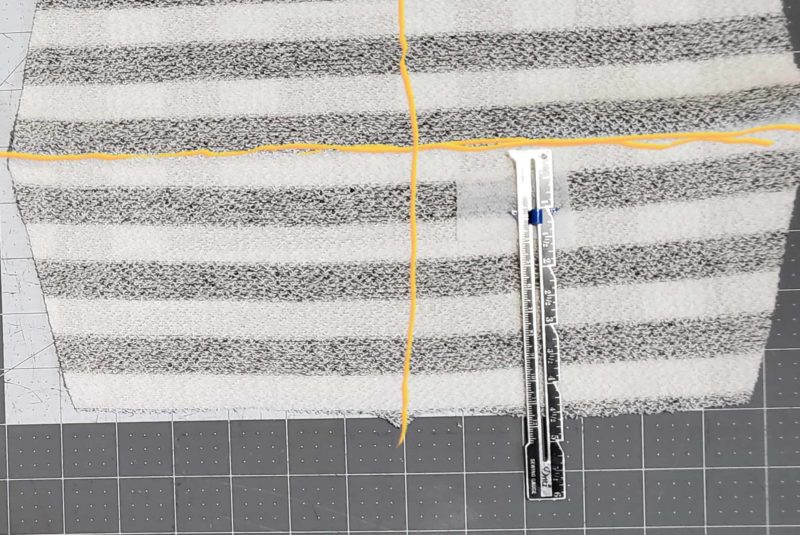
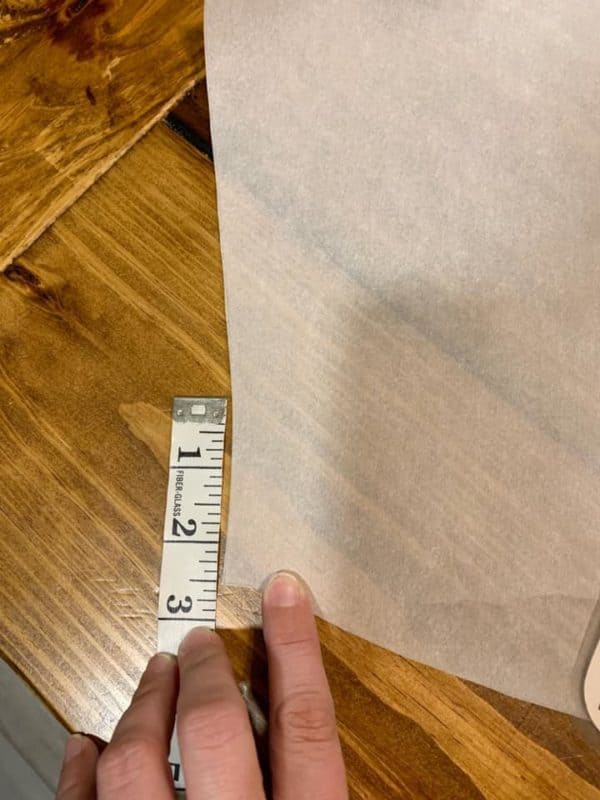
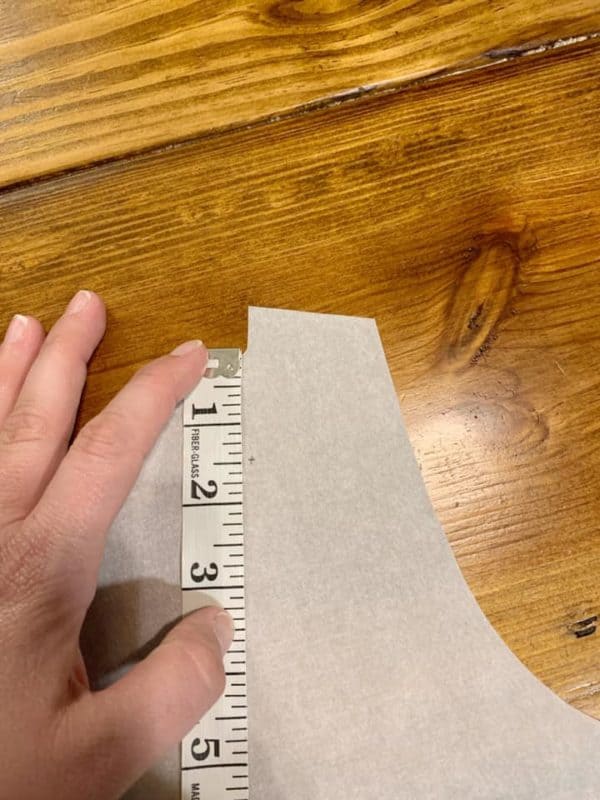
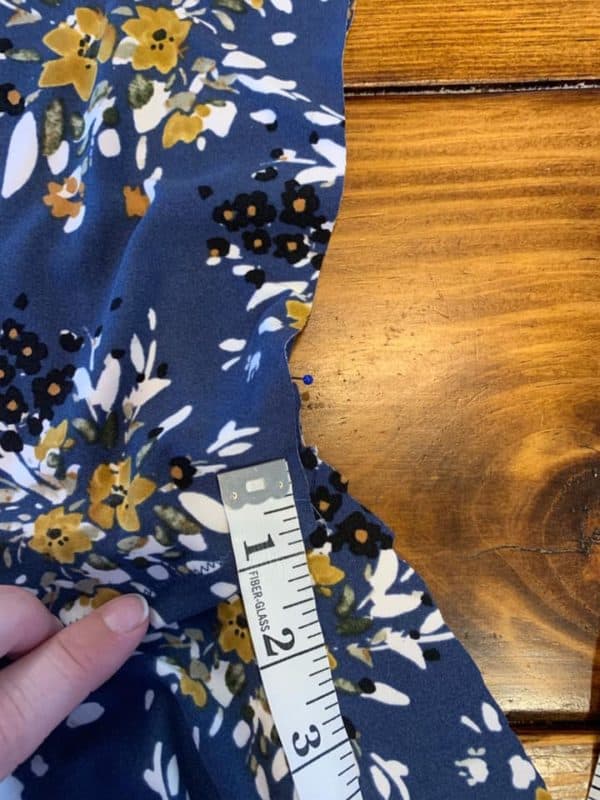
Take your FRONT cowl piece and press in half lengthwise, if you are using interfacing to stiffen the cowl per the Noelle tutorial, do that now. *I did not use interfacing to stiffen my cowl. I wanted it to be looser for a sportier look* After pressing your cowl in half lengthwise, use your notches to find the center front. I went 1 inch down from the pressed line and 2″ over from the center.
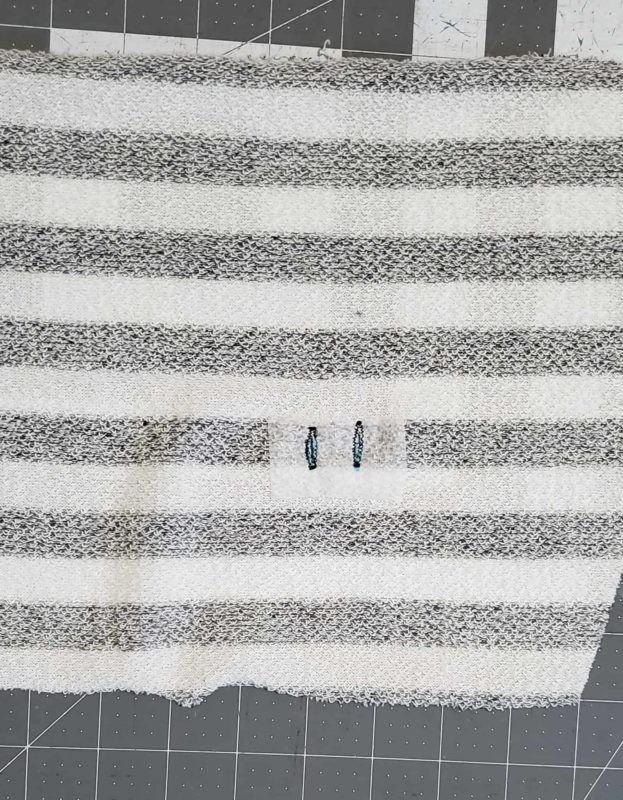
f you decide to interface your cowl, you will skip this step. This is where you will apply your strip of interfacing. You’re now ready to apply your buttonholes or grommets.
Continue with construction by finishing your cowl and bodice per the tutorial. Being sure to use the side of the cowl with the buttonholes/grommets as the right side of the cowl. Thread your drawstring through the cowl.
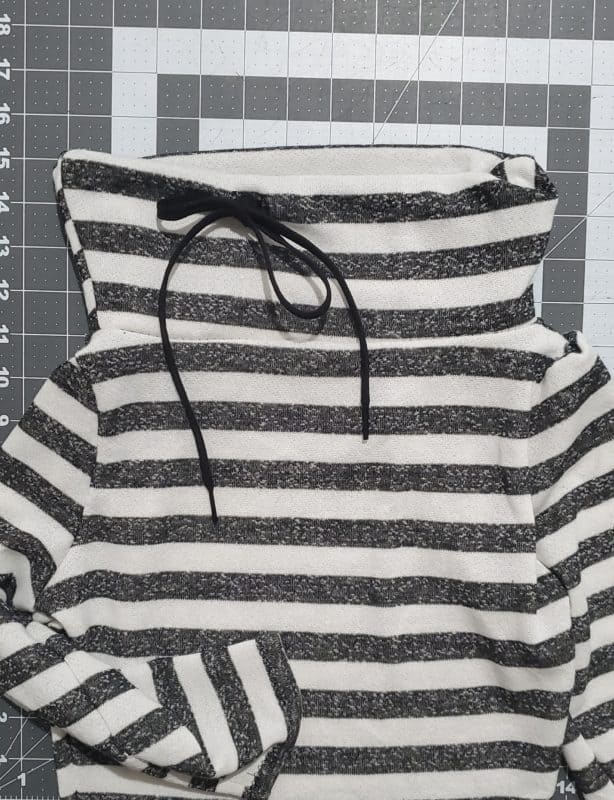
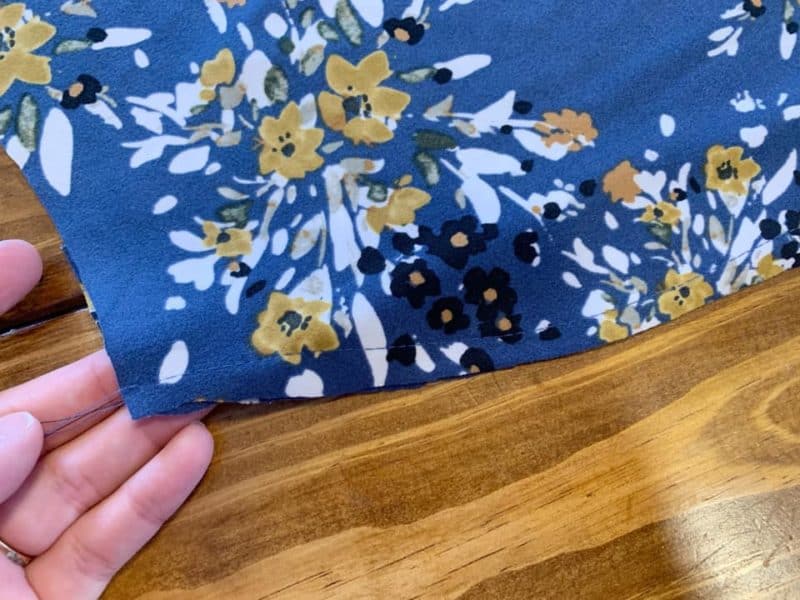
Hem your bodice by pressing the hem to the wrong side 1/2 inch and top stitching in place, and you’re all finished!


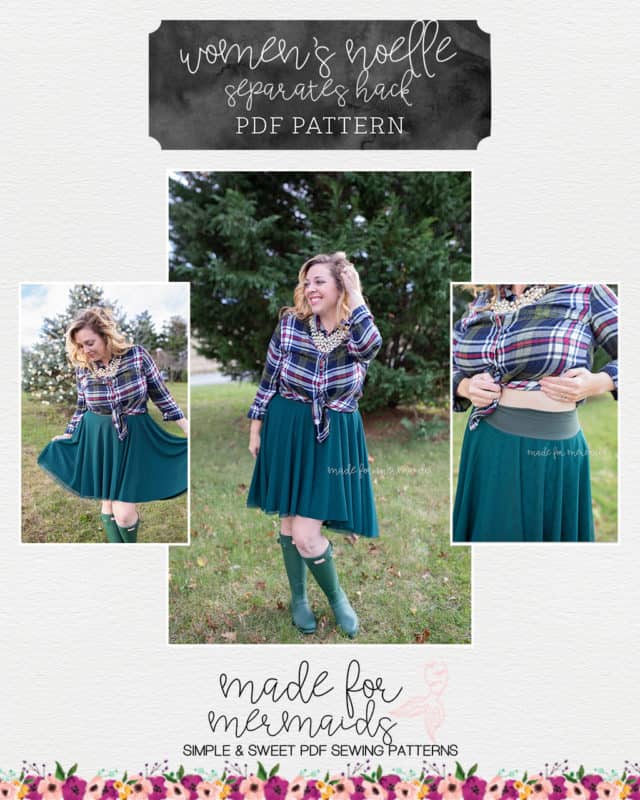
Waistband
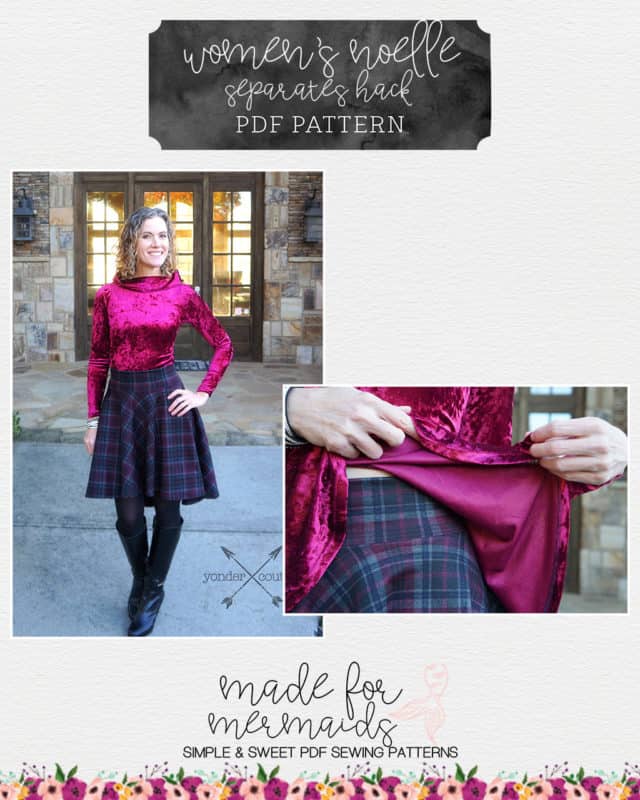
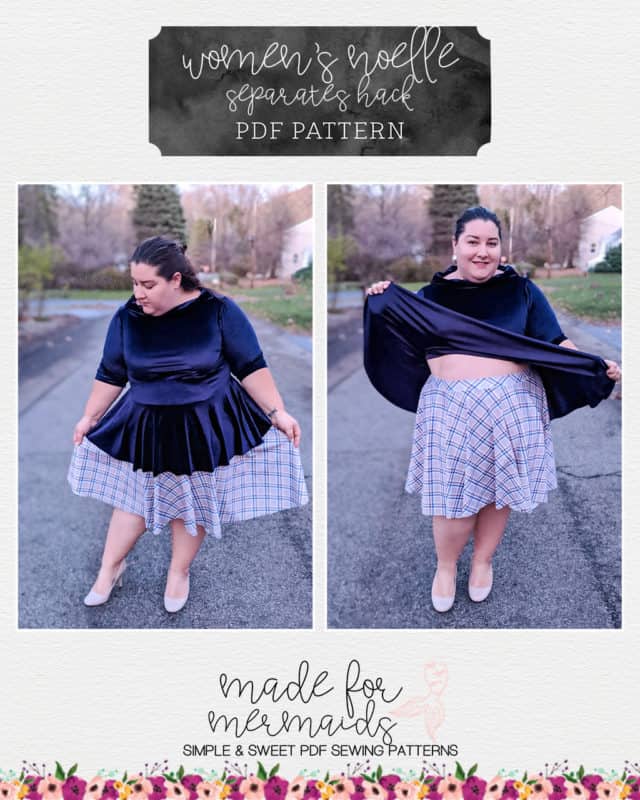
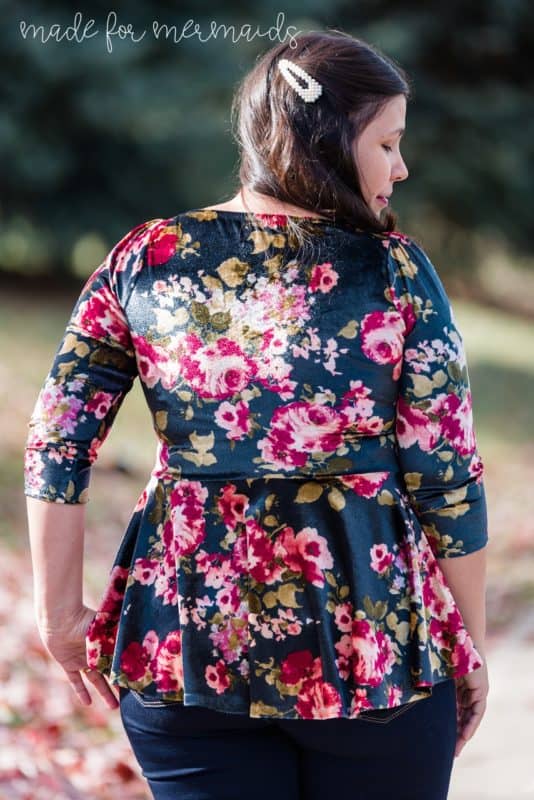
The Noelle just might be this season’s most versatile pattern!
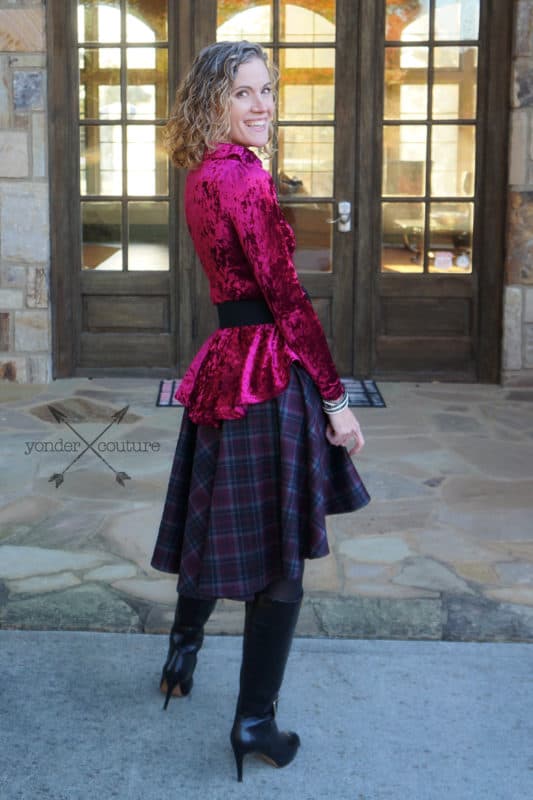

Loaded with all of the options that you would expect from the amazing Made for Mermaids designers, Noelle can also be converted to separates to keep you twirling all year long.
And it couldn’t be simpler!
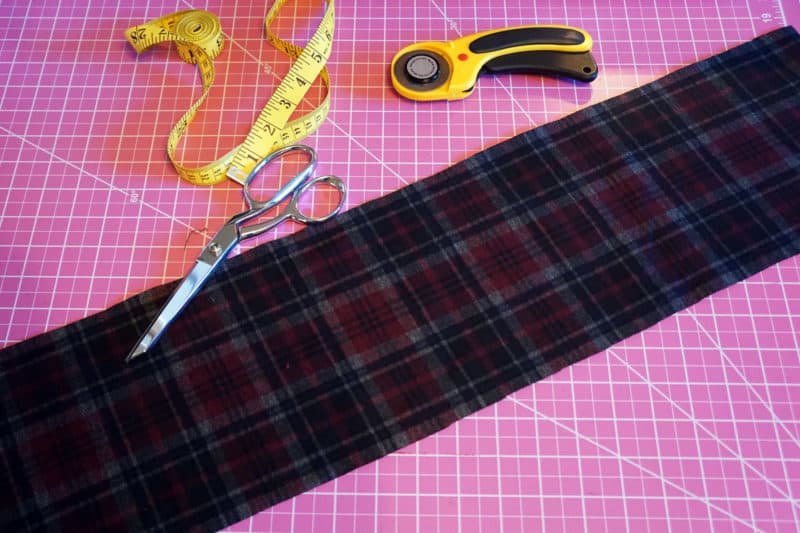
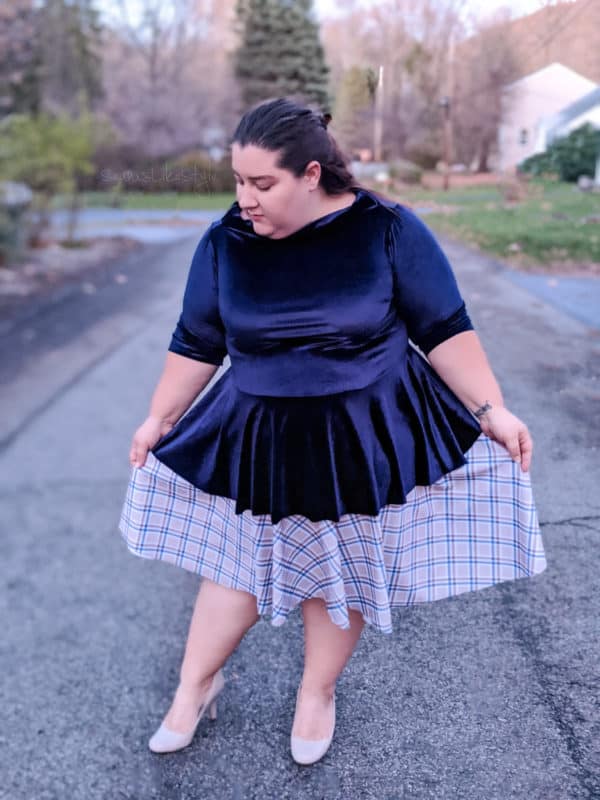
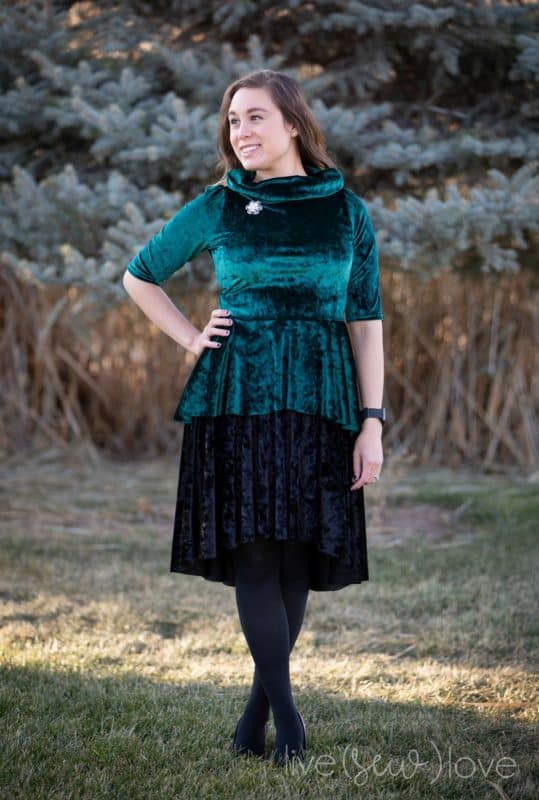
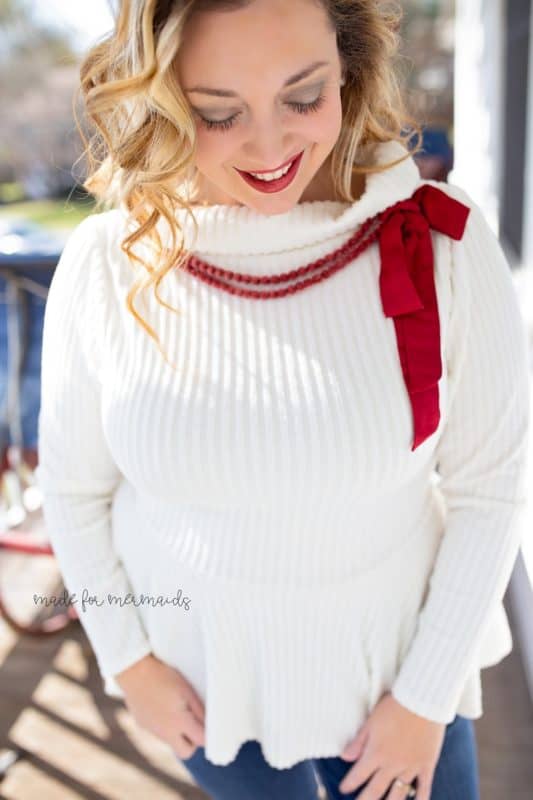
For this look, I made the peplum top in a crushed velvet and added a basic waistband to the skirt of the dress. All of the pieces were cut per the pattern instructions; however, the waistband was cut to accommodate my preferred fit.
For a flattering fit, you’ll want to create a tight-fitting band for the smallest part of your waist. Measure your waist and cut your band length to 80-85% of that measurement – depending on the recovery factor of your knit fabric. For example, if your waist measures 30”, your band would be 25.5” long at 85% (30 x .85). You might find that you need to take in the band more if you’re using a very stretchy fabric or one with poor recovery. We don’t want to wear droopy skirts!
My skirt fabric is a heavy stretch woven with great recovery so I cut my band 7” tall by 85% of my waist measurement.
Now you’re ready to add your band to your skirt!
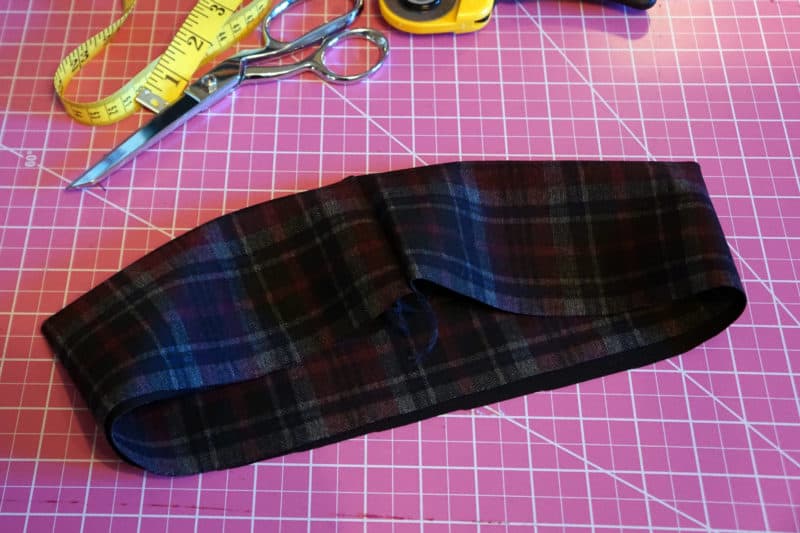
Fold the band width in half, right sides together, and sew a ½” seam to create a circle. Fold your band height in half with wrong sides and raw edges together and press.
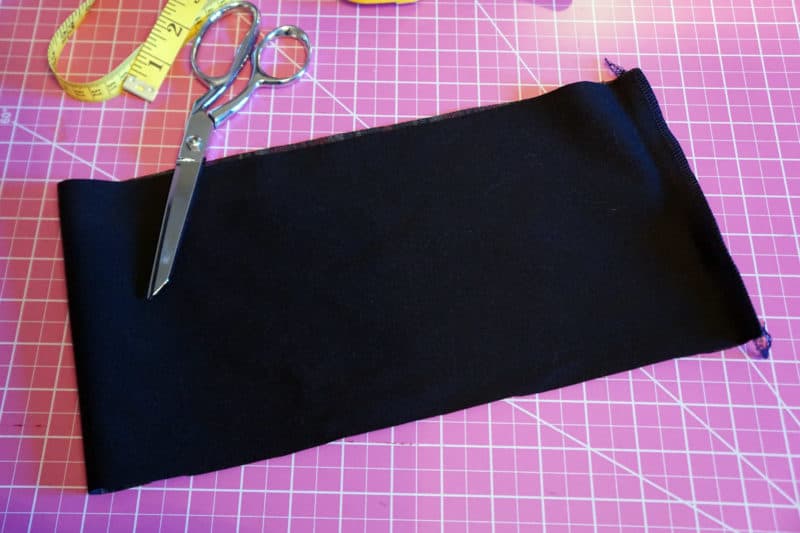
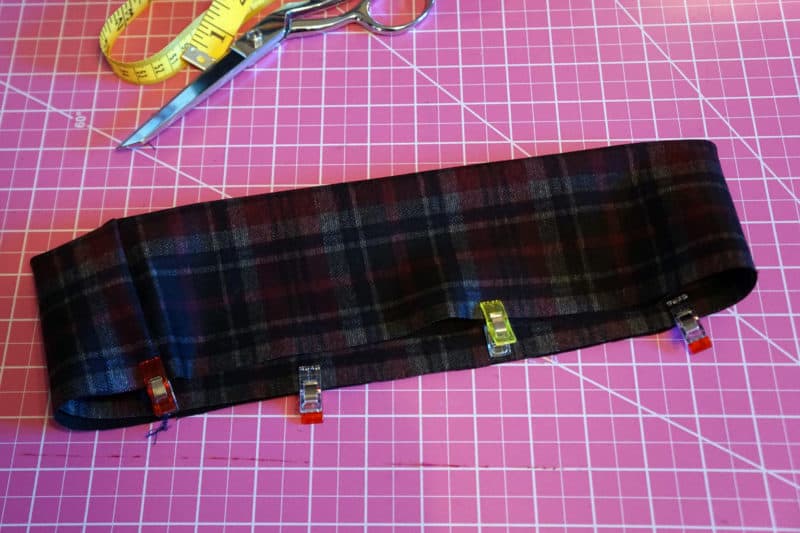
Find your quarter points and mark with clips. Clip your waistband to your skirt, right sides together, matching quarter points on your band with quarter points on the top of your skirt.
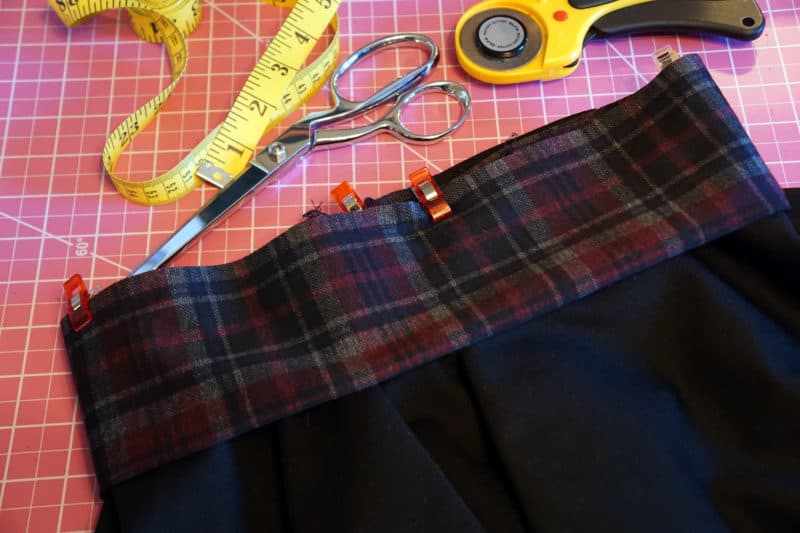
Sew together with a ½” seam. You may have to stretch your waistband slightly to fit as you go, depending on your measurements.
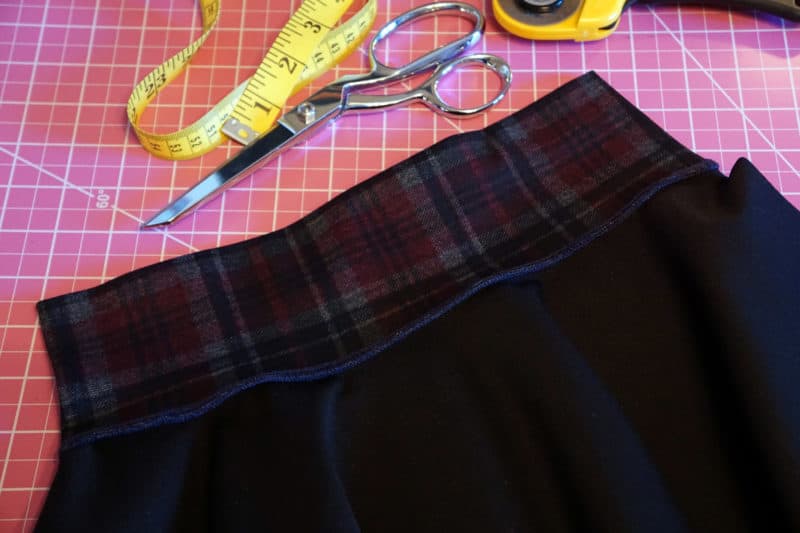
Hem your skirt per the pattern instructions and you’re ready to go! – Rachel


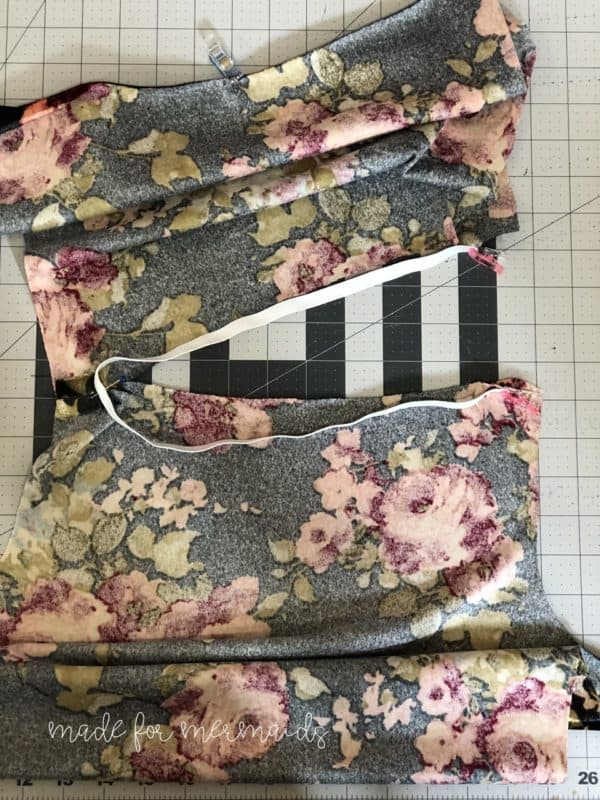
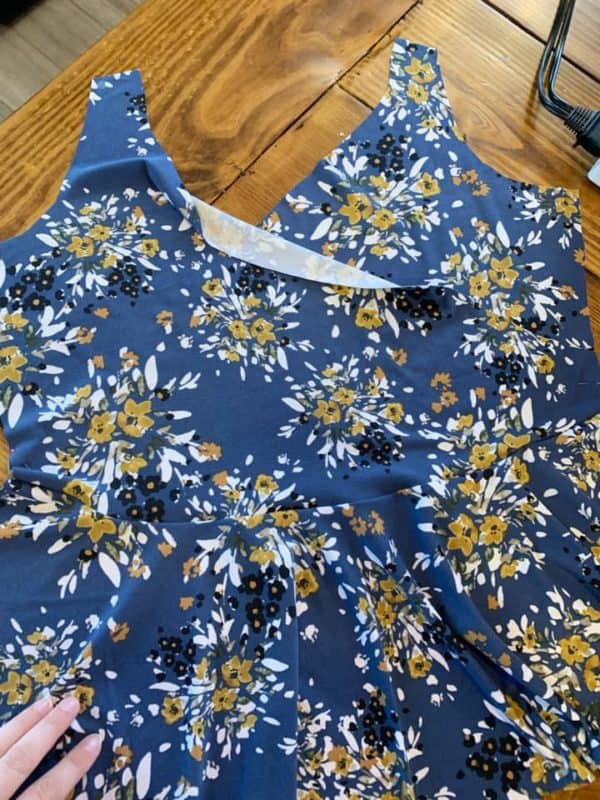
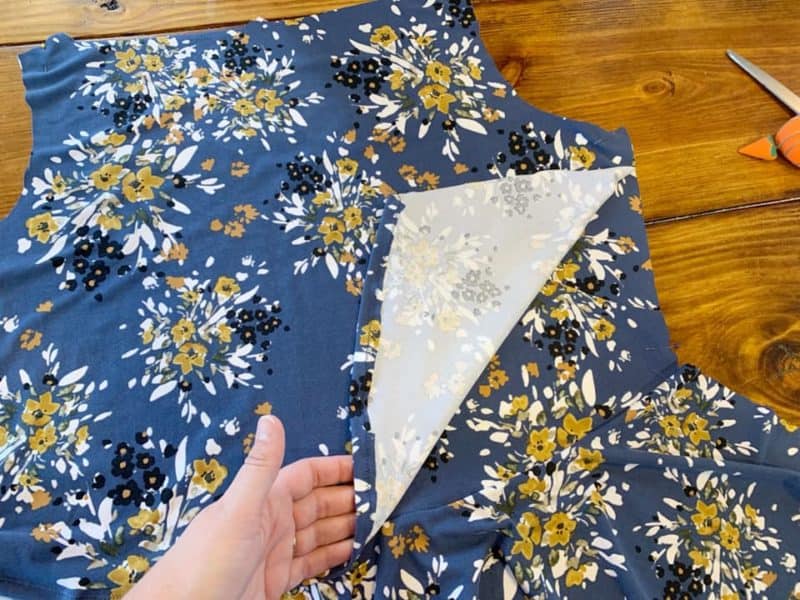
Elastic Neckline
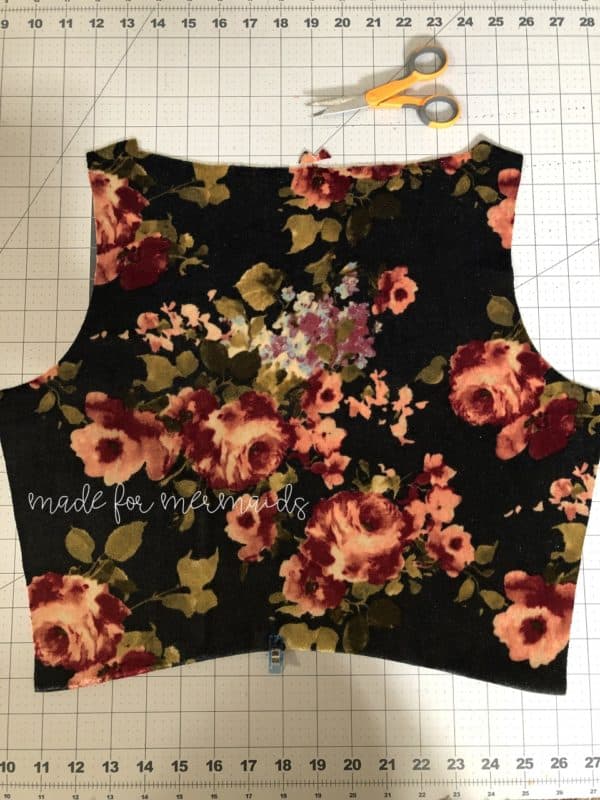
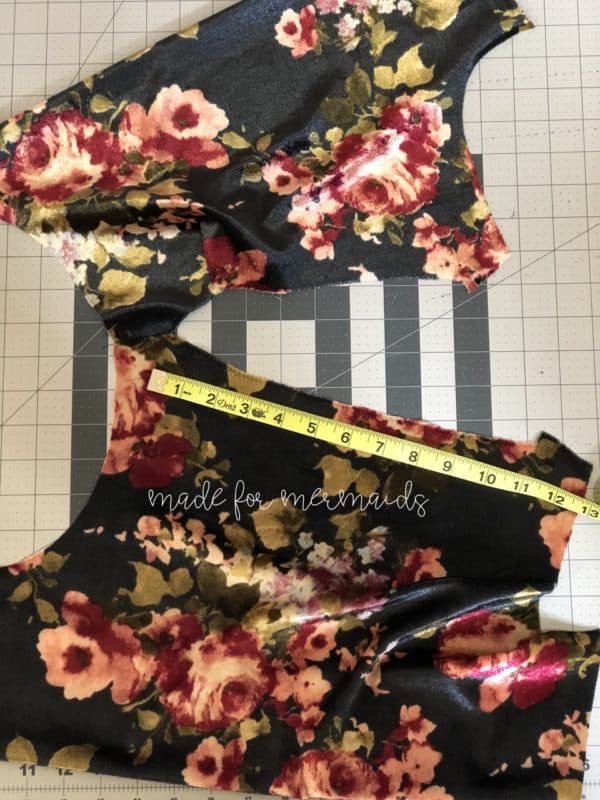
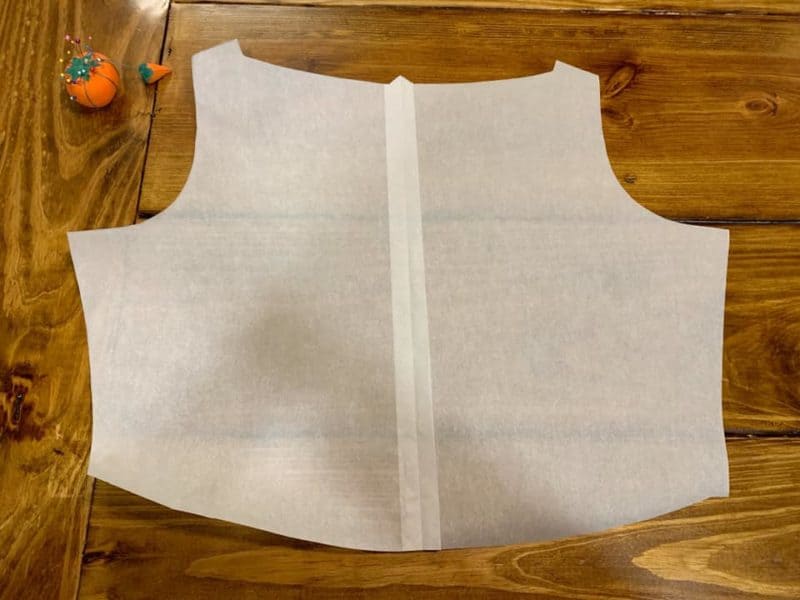
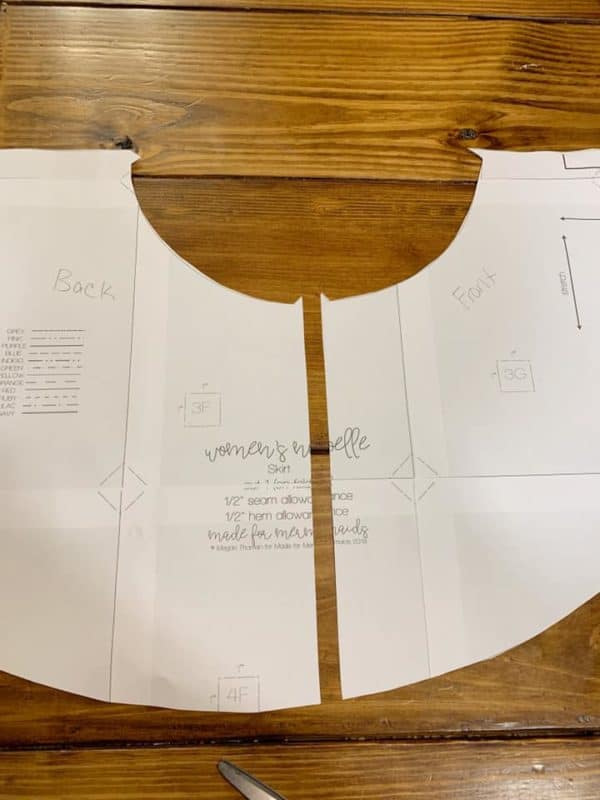
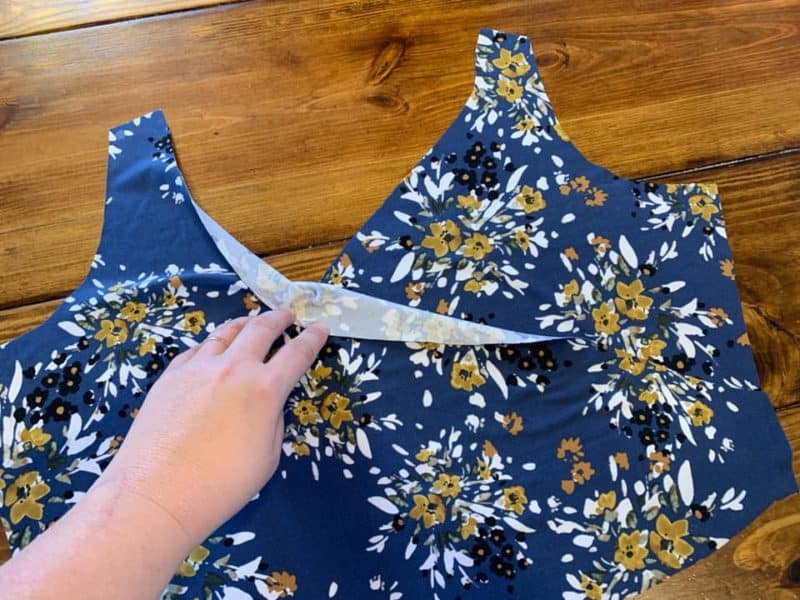
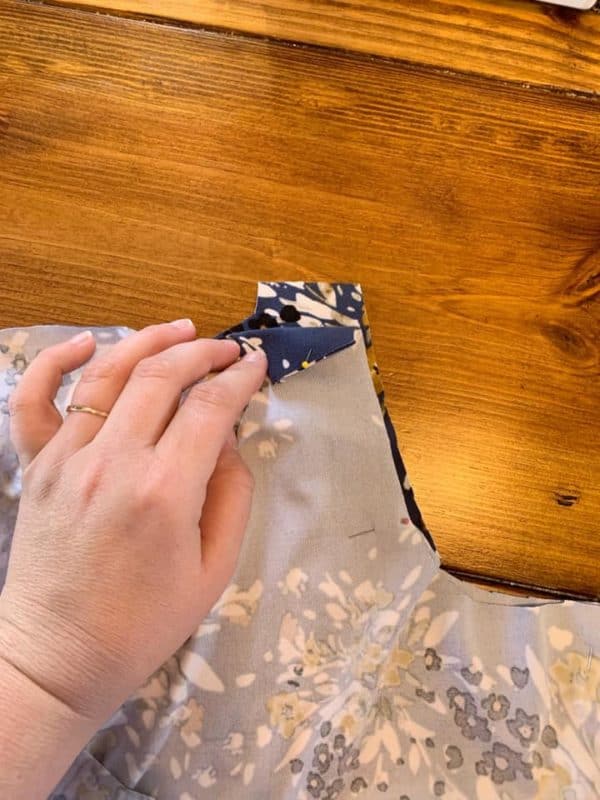
Cut out all the pattern pieces per the tutorial except for the cowl. I trimmed the notches off the bodice pieces and added a blue clip to mark my back bodice. Just be sure to mark your bodice pieces so you can tell the front from the back once the notches are gone.
Sew one shoulder seam right sides together. Measure the opening. I used that measurement minus an inch for my elastic length. For this example, I used 3/8” elastic. Exercise your elastic before cutting. Just to be safe exercise your elastic again after cutting and trim if needed.
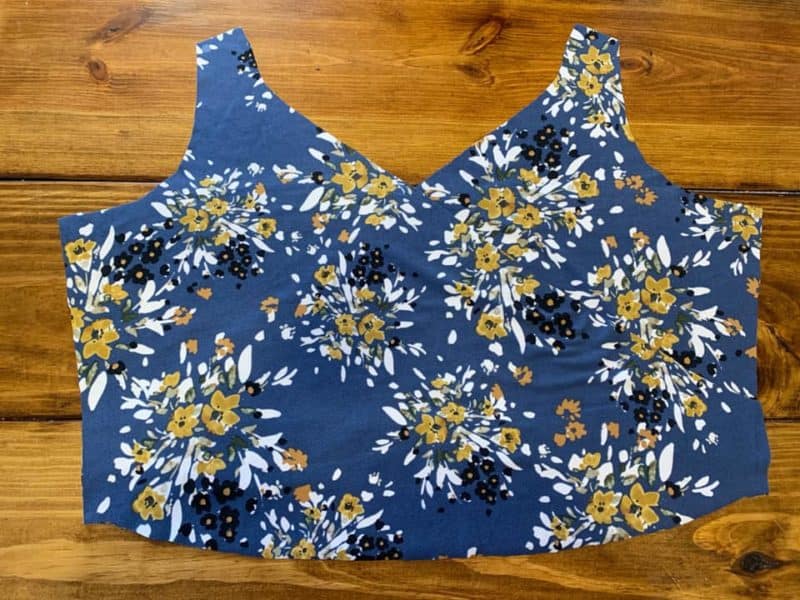
Clip/pin your elastic in place on the wrong side of the neckline. Pull the elastic taut as you sew, careful not to stretch the bodice. I used a zig-zag stitch 4.5w and 2.5l. Try to attach the elastic as close to the raw edge as possible. When you come to the shoulder seam, make sure your needle is in the elastic before you turn the corner! Next, fold the elastic towards the wrong side of the bodice and clip/pin in place at each end of the opening and the shoulder seam. To prevent the elastic from flipping during wear, edge stitch the elastic in place using the first set of stitches as a guide.

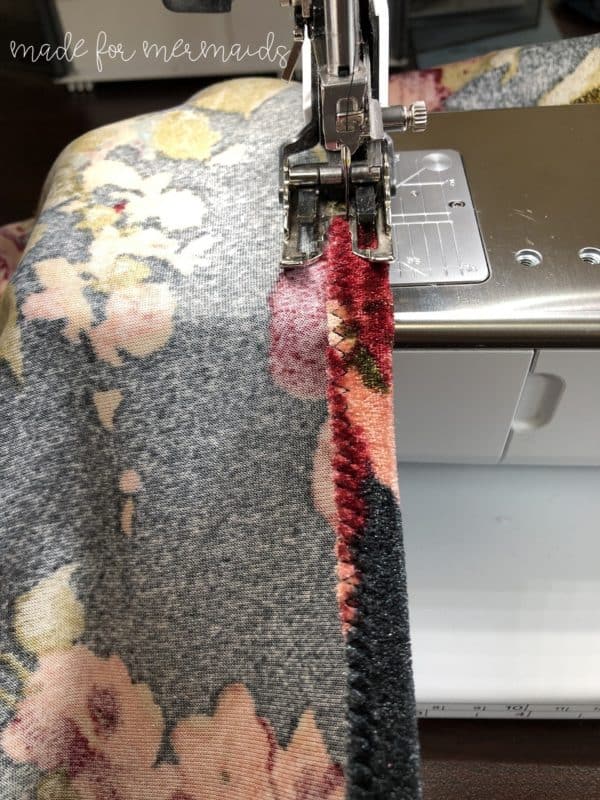
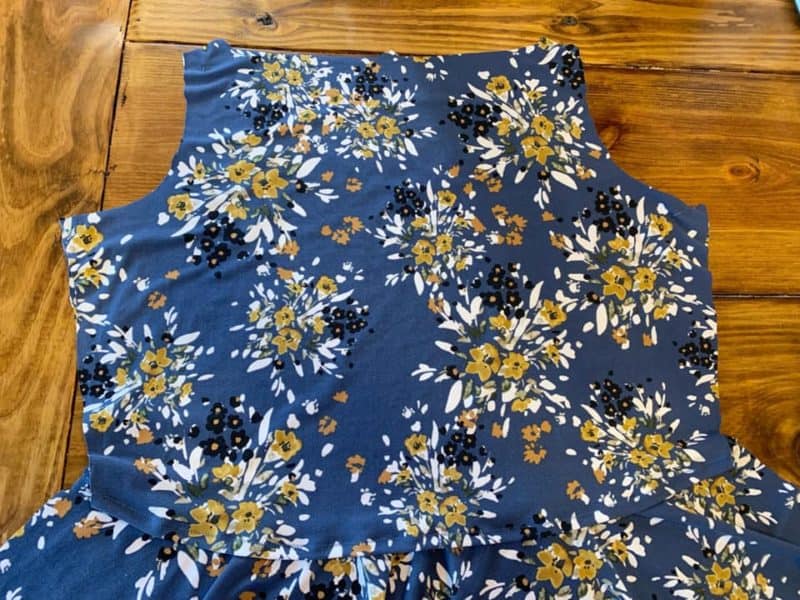
Finally, sew the open shoulder seam right sides together. Note: I like to baste the seam first to make sure the elastic doesn’t shift under the presser foot on my serger. Finish the neckline by pressing and tacking the seam to the back. Continue onto Step 3. – Alexandria
NOTE: The neckline will finish rather high. Use Necklines 101 for tips on lowering the front neckline if desired.


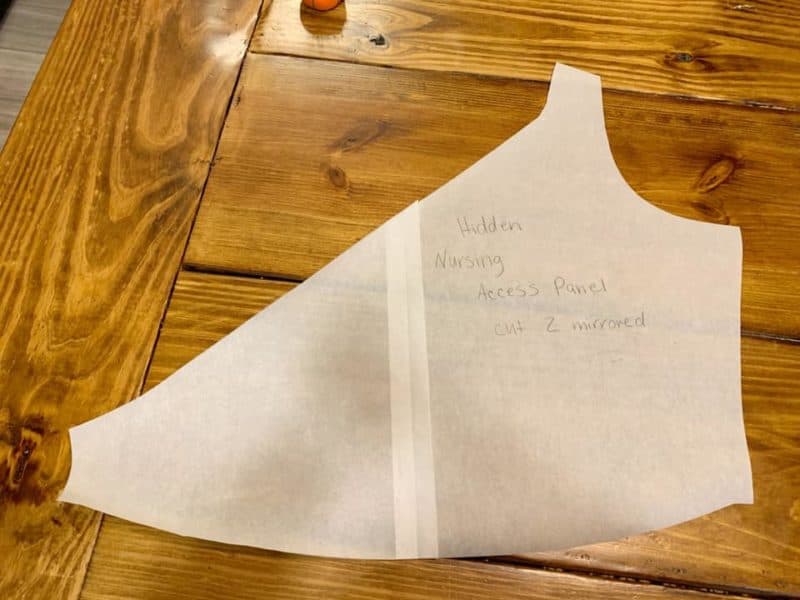
Nursing Hack

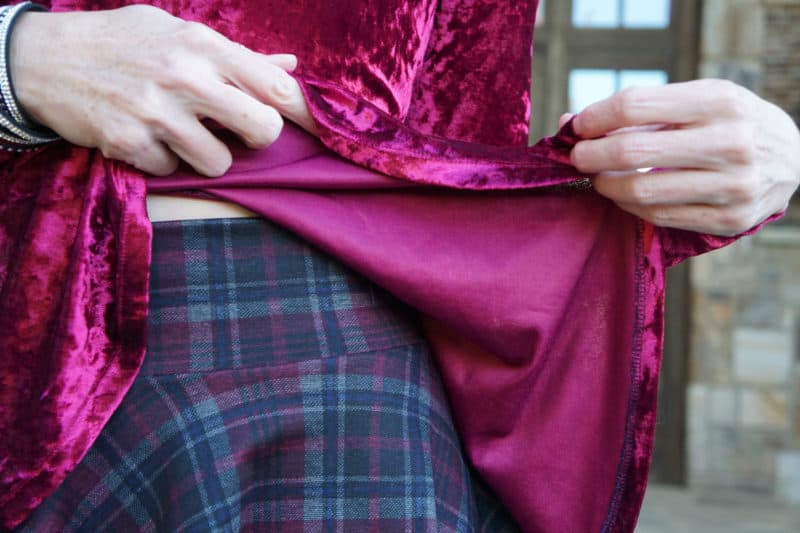
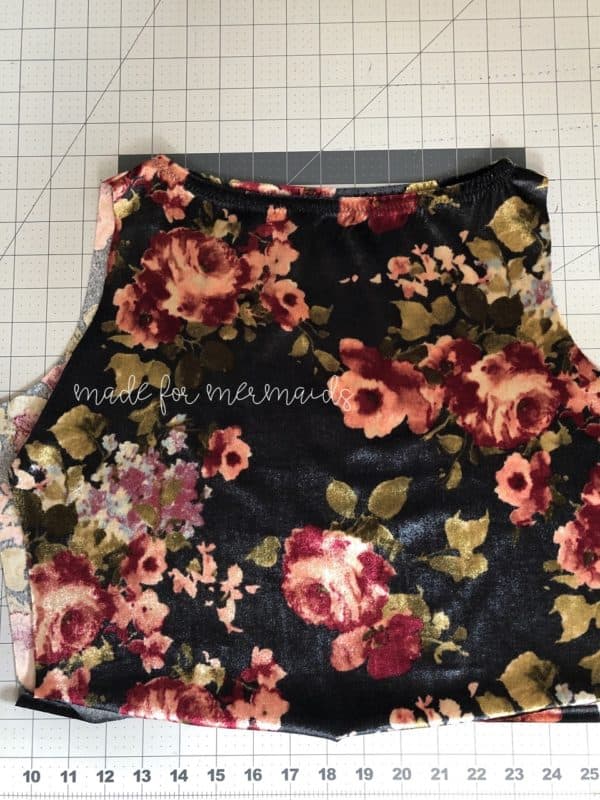
Hello all my amazing milk making mommas! I’m super excited to share with you how you can easily modify the new Noelle pattern to create a nursing top or dress with hidden access to nurse your baby. I love clothes that are trendy and stylish, but when you are nursing, sometimes practicality wins over style. If I can’t easily get the girls out, then sadly, I usually pass them over in favor of a basic tee and jeans. The separates hack is also a great way to create an easy access top giving you the same look, but this hack will teach you how to create a lift up front bodice. You can use this method on any dress or top; these styles are all over Pinterest and expensive specialty stores too. For this hack, I recommend using fabric with a good recovery and stretch and something a little lighter weight than a ponte or velvet. You want to be able to pull the fabric under the breast when nursing and for the fabric to not stretch out. I used DBP for my top. Okay, lets get started!


Hidden Panel Bodice
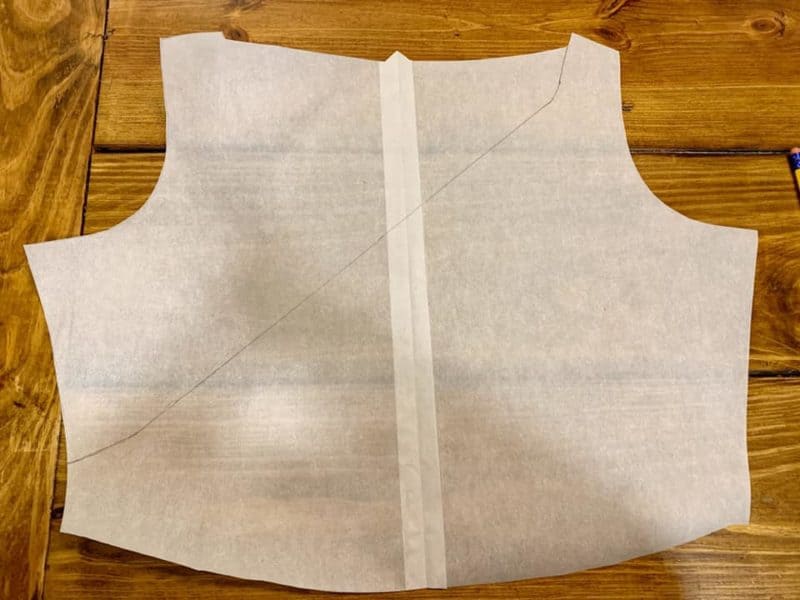
Connect your two markings and slightly curve your lines to match up at the shoulder and side.
Main Bodice Piece
You will need to cut a second front bodice piece to be the top or main layer. Before cutting, lengthen your front bodice pattern piece by 1.25inches per instructions in tutorial for lengthening for height. The reason we are doing this is because our front bodice piece will be need to be slightly longer so we can hem it and to cover the waist seam in the final product. This will create the front flap.
Modifying Skirt
Finishing Dress


Leave a Reply