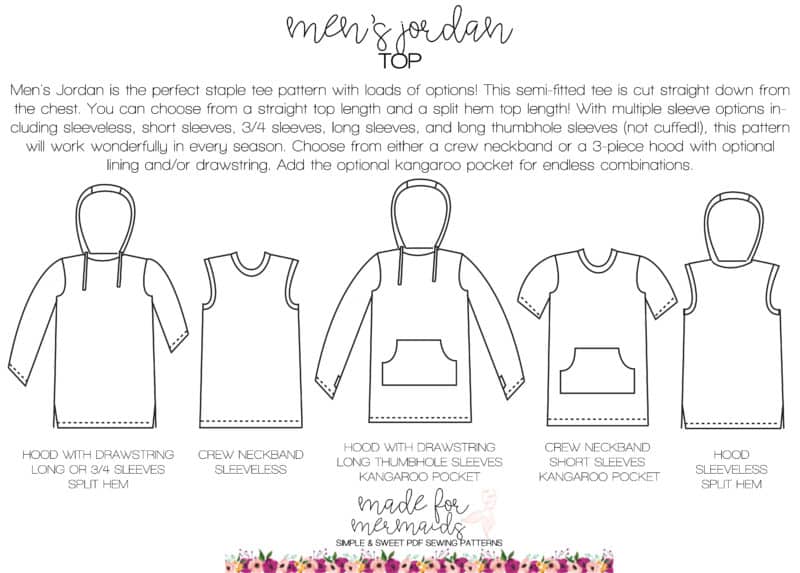
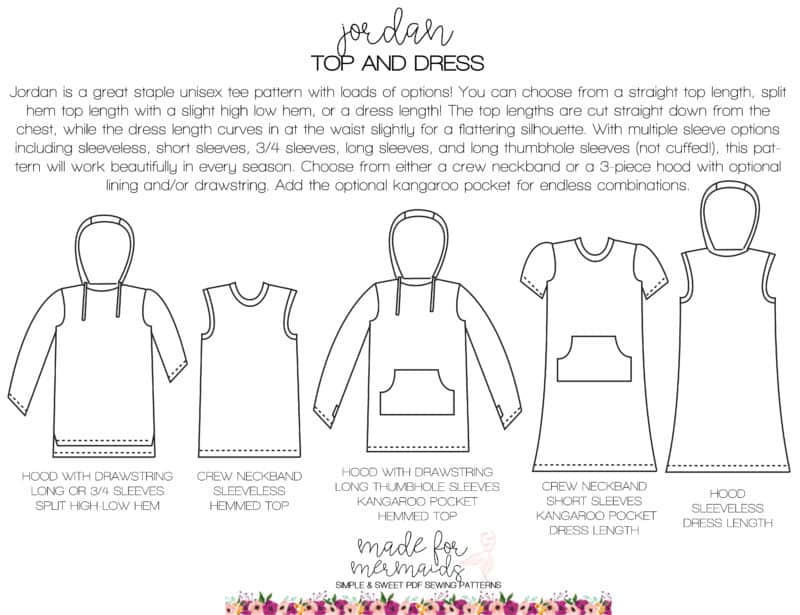
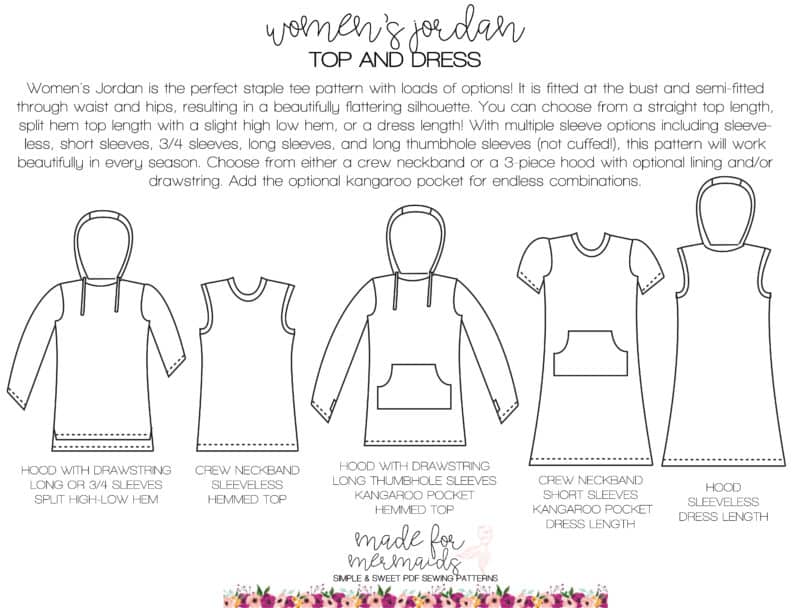
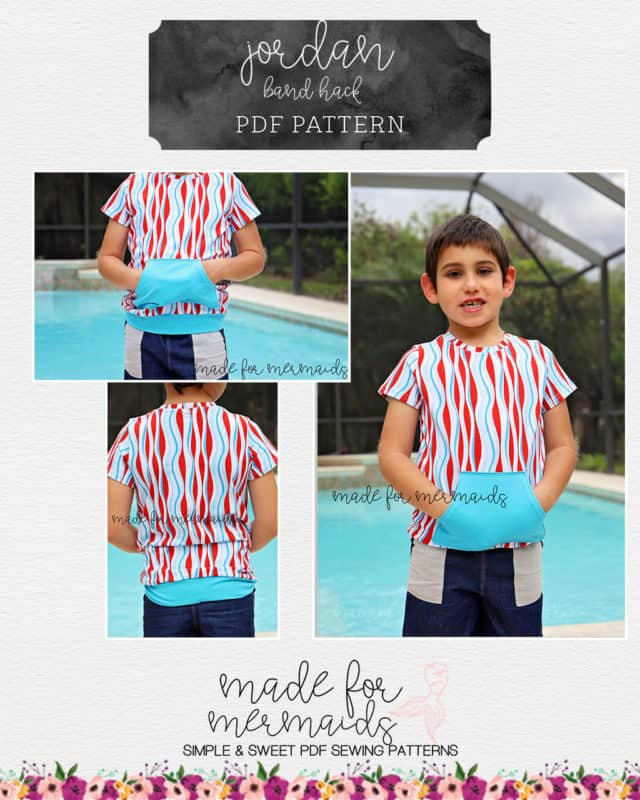
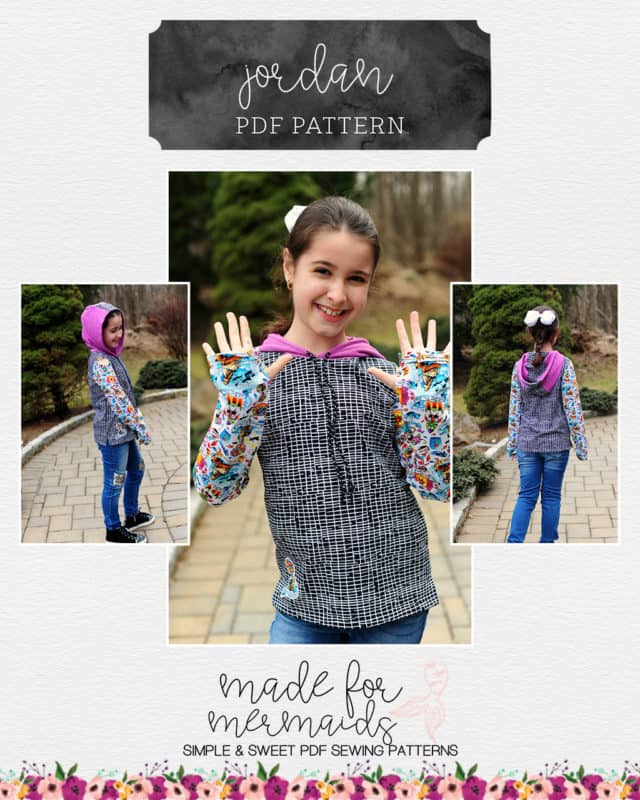
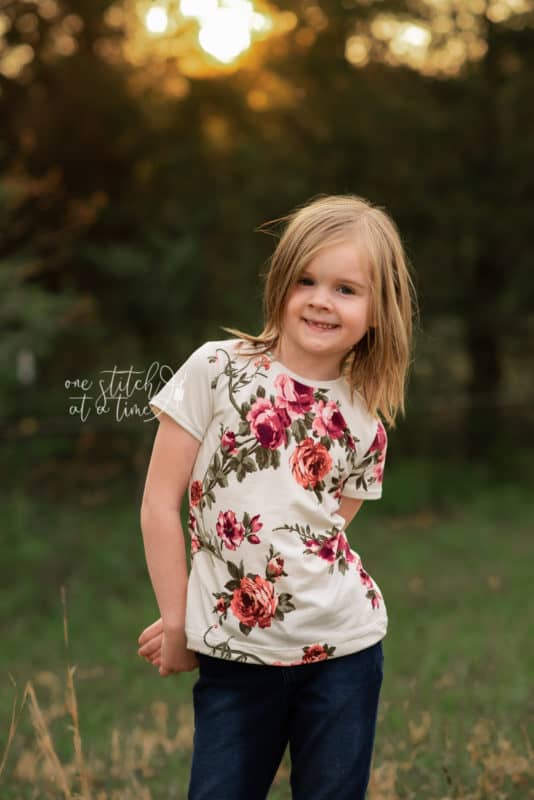
Jordan is our newest release for kids and adults!! Jordan is a great staple top pattern with loads of options! There are several different length options, multiple sleeve lengths (including sleeveless and thumbhole sleeves!), neckband or hood options, and lots of other optional features!
Even though the Jordan patterns are already packed full of different features, we added a few more hacks for you to try as well!
Alternate Thumbhole Construction
Thumbhole cuffs are probably one of my favorite features on many of my most worn tops, so I’m always up for making that option when a pattern includes it! I really like the look of the Jordan thumbhole sleeves with the openings being on the main seam, and not part of a cuff like they often are. This makes construction a little bit trickier though (and by trickier, I mean a little more tedious and includes more steps only because it must be done on a regular sewing machine instead of an overlocker.) In order to speed up the process a teensy bit, I’m including a quick alternative construction to the thumbhole sleeves that allows at least part of the side seams to be done on an overlocker. I should mention that the trade off with this method is the sleeves are sewn in the round, rather than attached flat, as the instructions normally have you do.
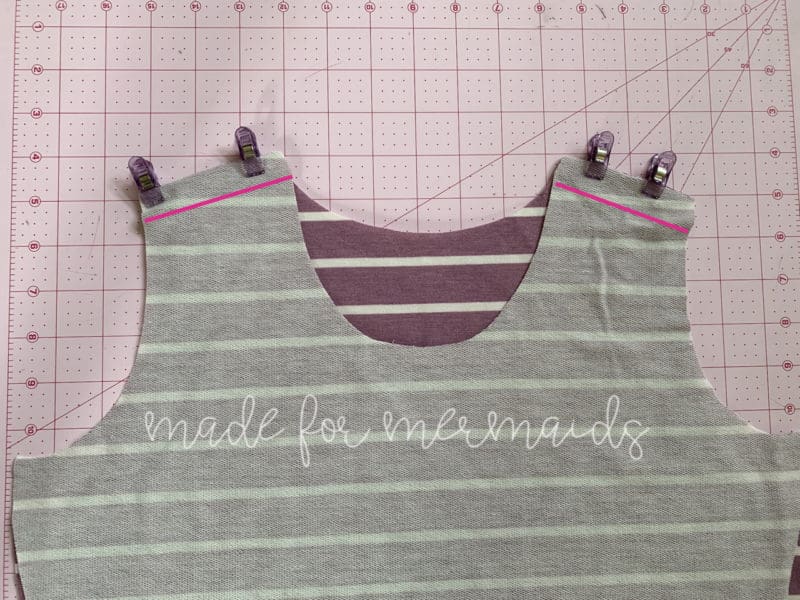
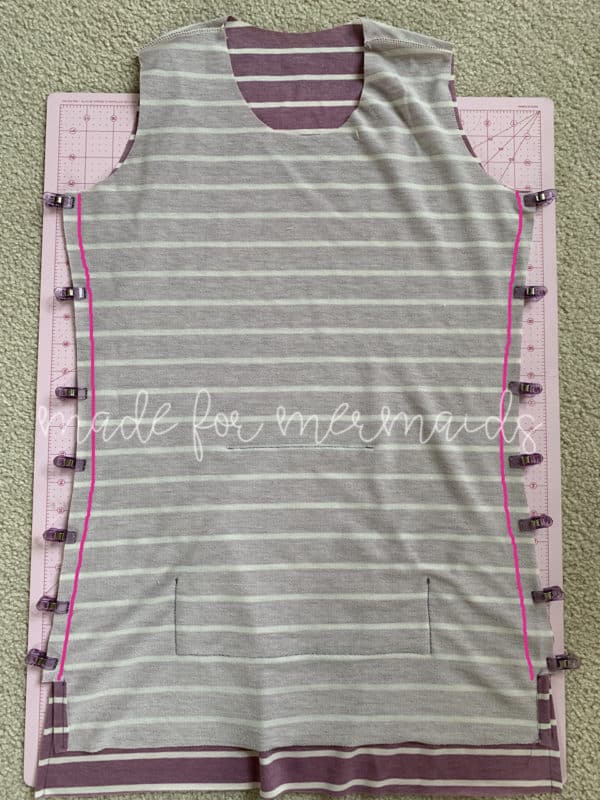
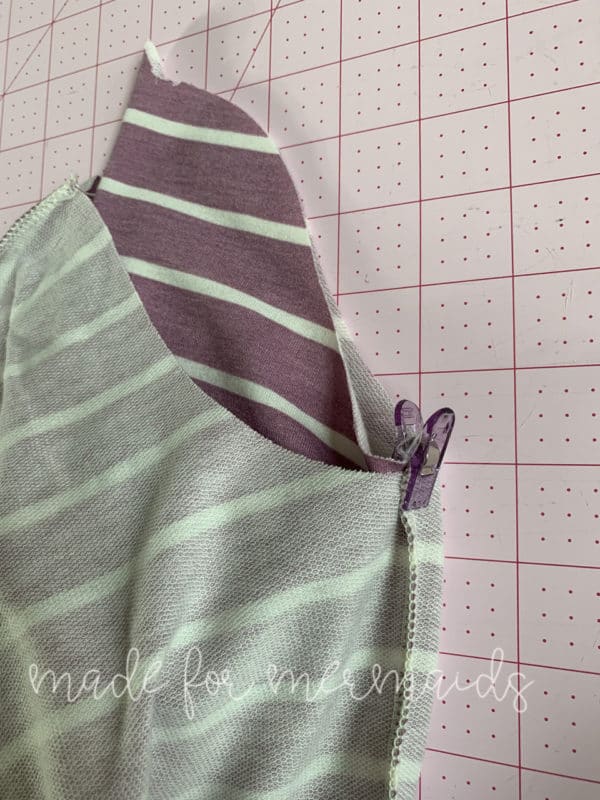
The cutting will be done exactly the same; the order of the steps will just be a little different. You’ll still sew (or serge) your shoulder seams as you would in Step 4. However, the next step will then to also sew (or serge) your side seams, making your shirt resemble a tank top for the time being.
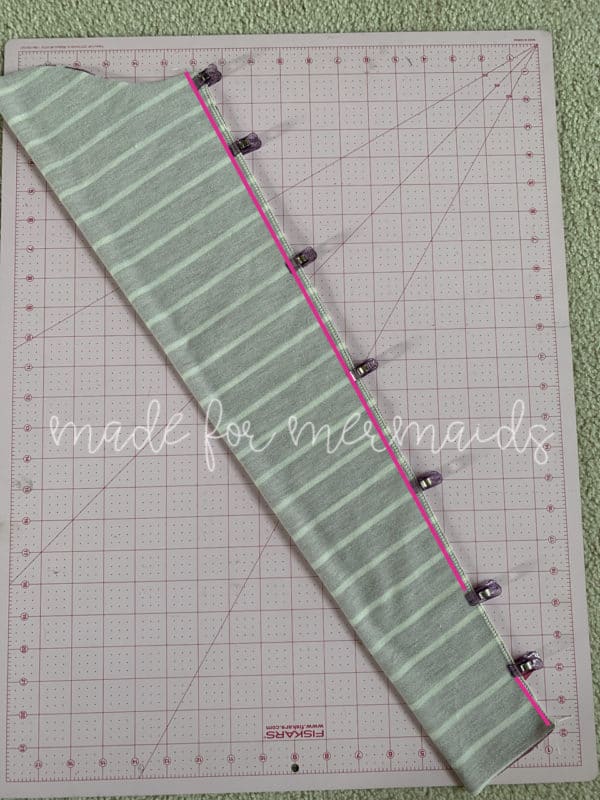
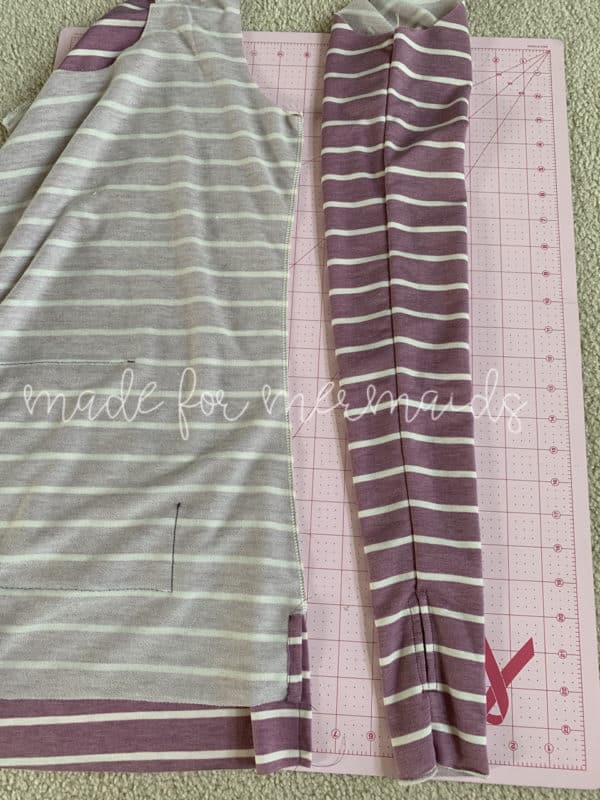
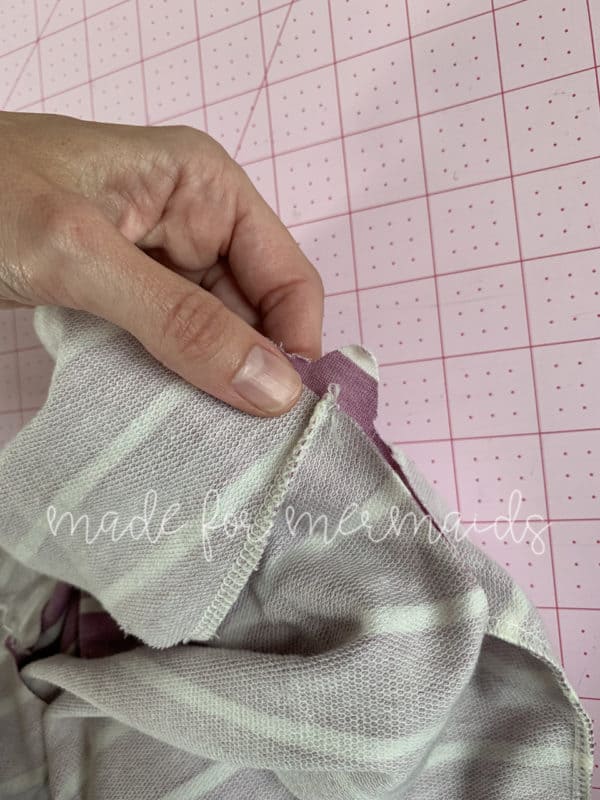
You will still transfer the markings as the directions call for doing and then finish the raw edges of your sleeves as the thumbhole option of Step 5 calls for you to do. But then, after finishing your raw edges, you will fold your sleeve in half (RST) and SEW the sleeve together from the underarm down to the top marking, leaving the thumbhole opening unsewn, then SEW from the bottom marking down to sleeve hem. NOTE: this step should be done on the sewing machine to retain the proper seam allowance for topstitching the thumbhole opening. Proceed with the directions for pressing the seam allowance open and topstitching around the thumbhole opening.
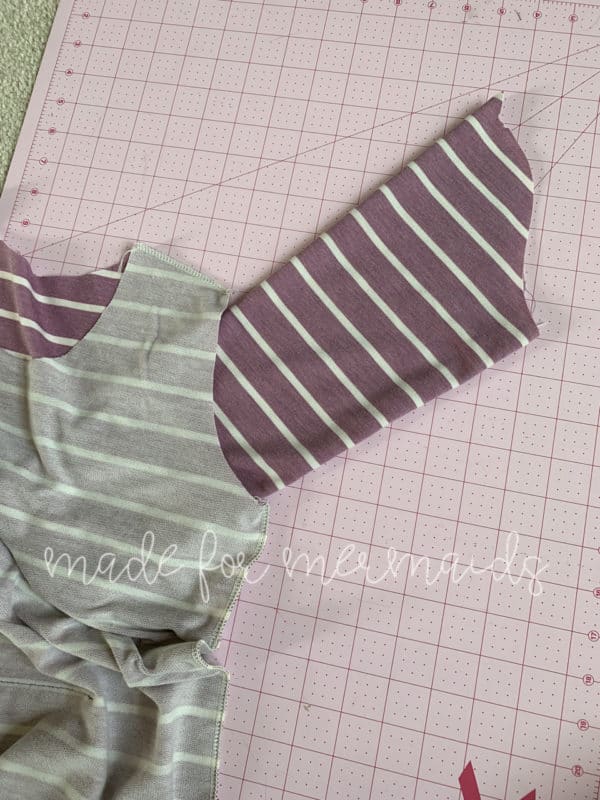
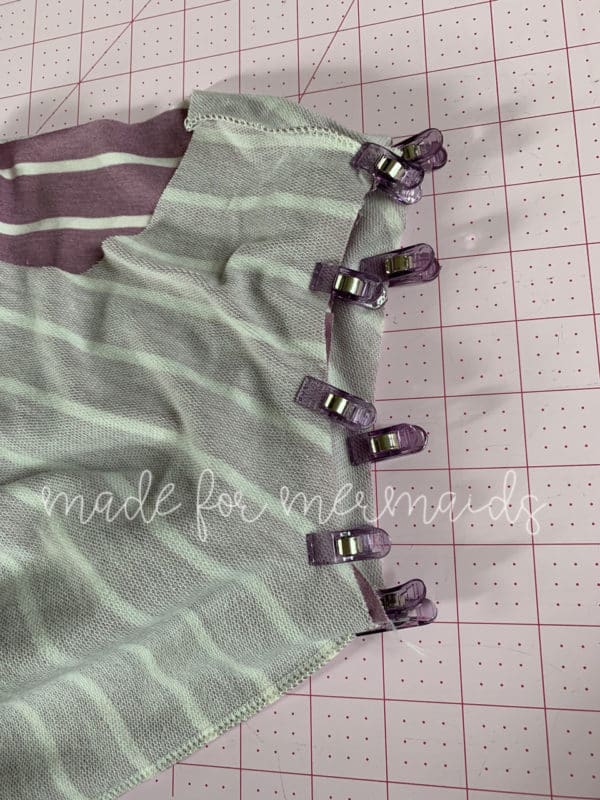
In order to attach your sleeve, you’ll want to turn your sleeve RIGHT side out, and make sure the bodice is WRONG side out. You will insert your sleeve into the armsyce, double and triple checking that right sides are together. 🙂
You will match up the sleeve seam and bodice side seam and place a pin. You will then match up the notch on the sleeve cap to the shoulder seam of the bodice, and place a pin as well. Continue easing in the sleeve to the armsyce front and back and place pins evenly as you go. Sew (or serge) your sleeve to the bodice, securing your serger tails at the end. (Just remember, sewing a sleeve in the round is the same concept as sewing on an armband to a sleeveless version… its really not that scary!)
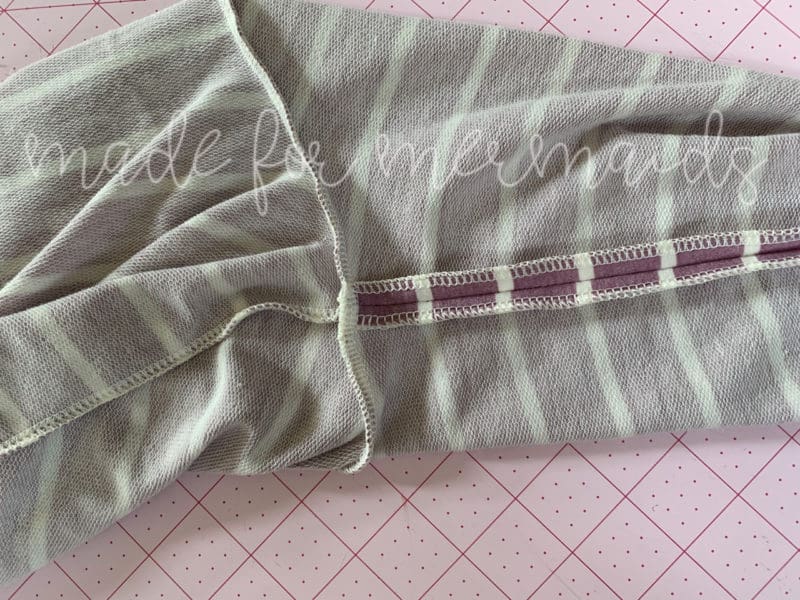
And, voila, a neatly finished seam:
The end result looks exactly the same from the outside; it’s just a preference if sewing in the round is something you prefer, or if you’d like your bodice side seams to be serged instead of sewn on a regular machine!
Happy Sewing!
Jody
Lined Pocket and Banded Hem
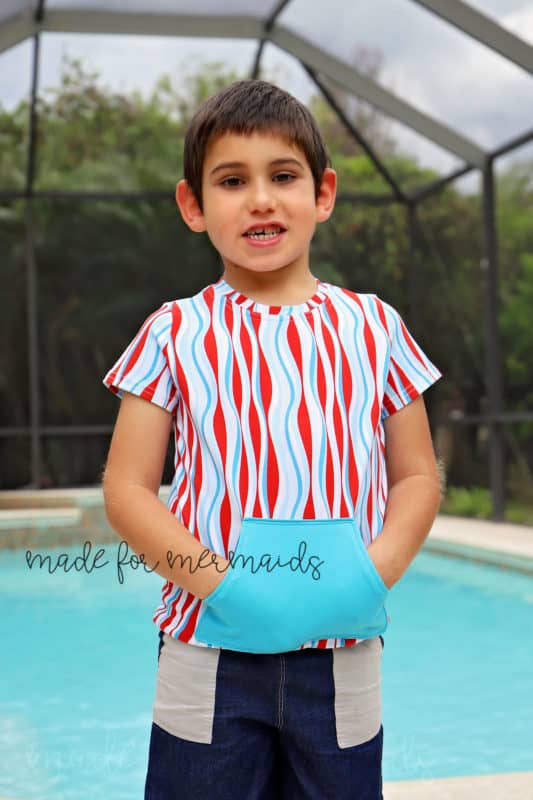
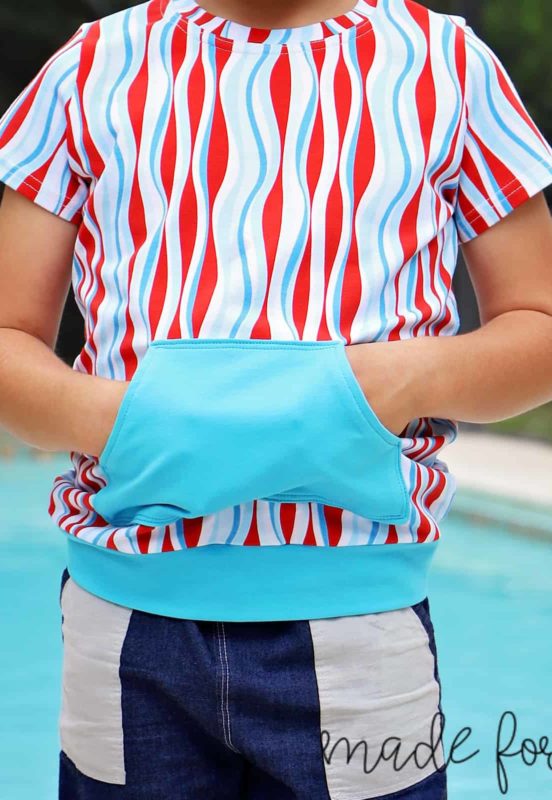
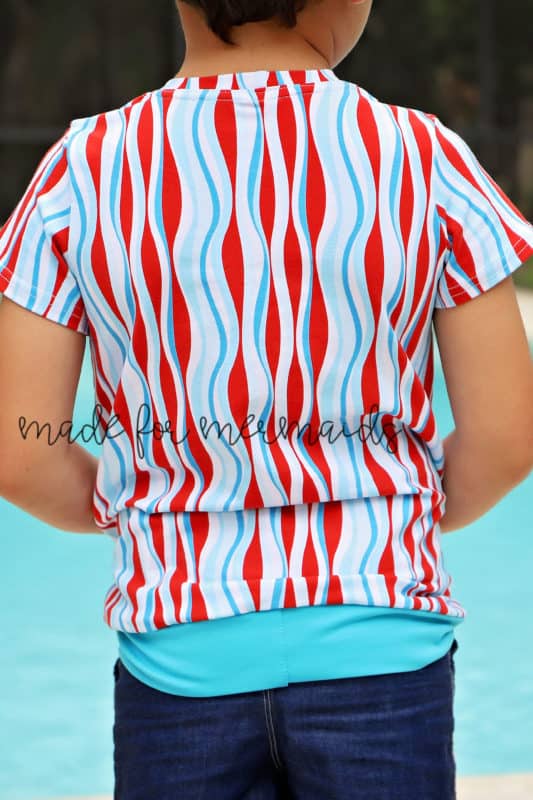
It goes without saying that the Jordan will become a staple in your family’s wardrobe, so why not add another option to the many included in the pattern? For a sportier look, you can replace the hemmed bottom with a waistband. Let me show you how!
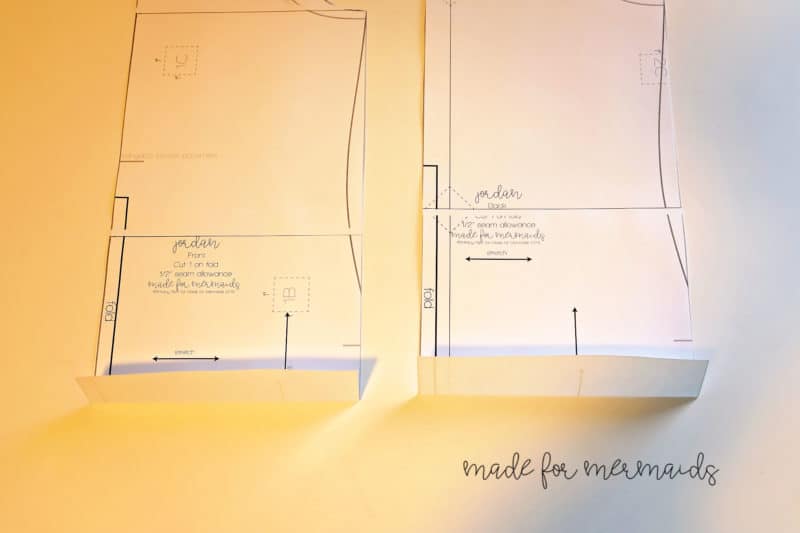
Take your front and back pattern pieces and cut the SHIRT option. Draw a horizontal line 2″ above the bottom hem. Fold the pattern piece along that line as shown below. You could remove the 2″ pieces, but why be so drastic? 😉 Next time you might want to make the hemmed option too.
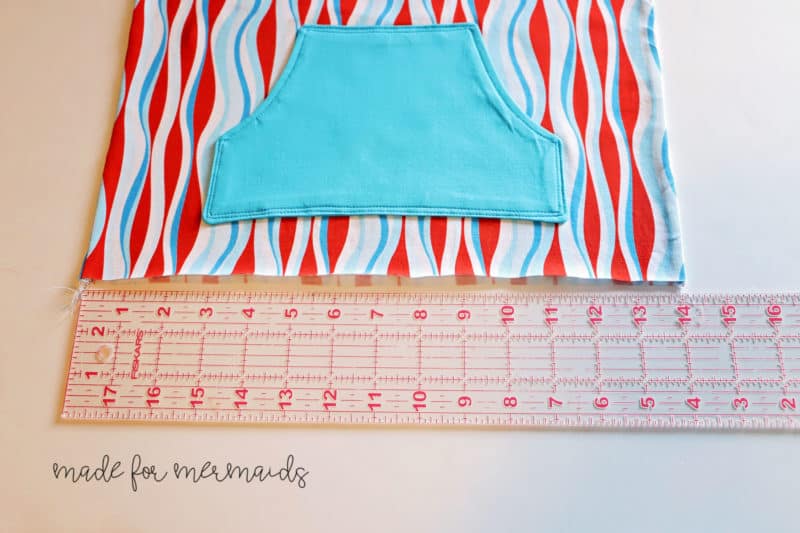
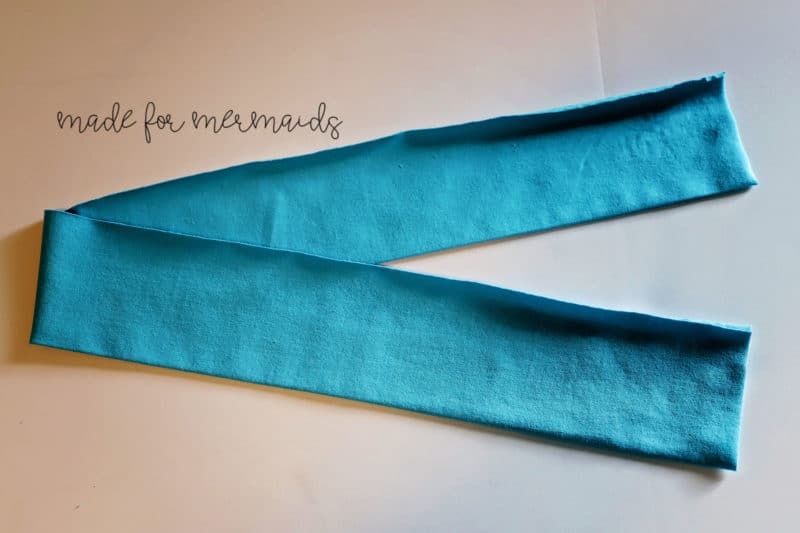
Cut your pattern piece using the new front and back piece. Sew the pattern as instructed in the tutorial. When you get to the hemming step, stop and grab a ruler. Measure the bottom opening (if you’re making a size 7 it will be 28″). Cut a waistband 5″ tall by 90% of the opening plus 1″ seam allowance. So in my case, for a size 7, the length of the waistband was 26″.
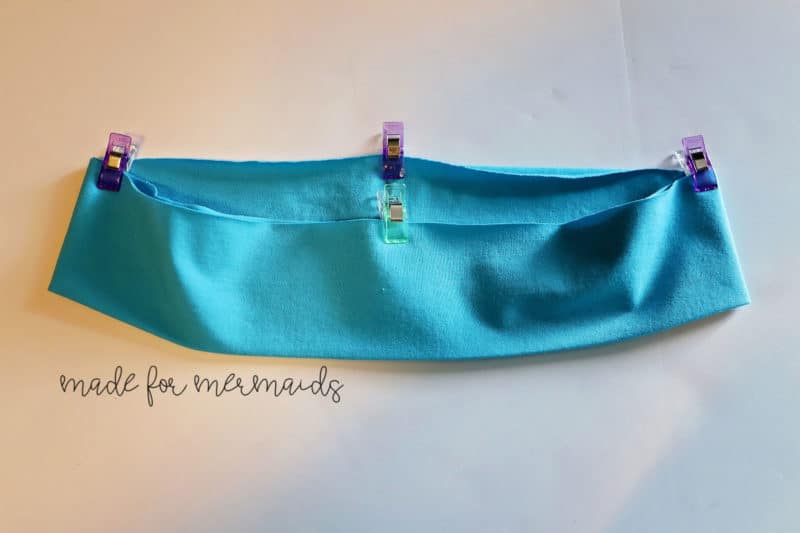
Fold the band wrong size together, press it. Open it and sew the short ends, right sides together, creating a loop.
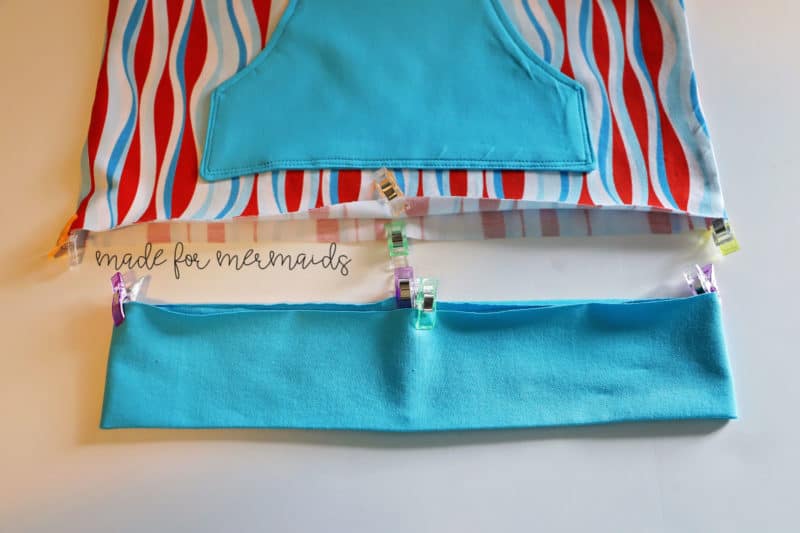
Mark the quarter points of the waistband and the bottom raw edge of the shirt.
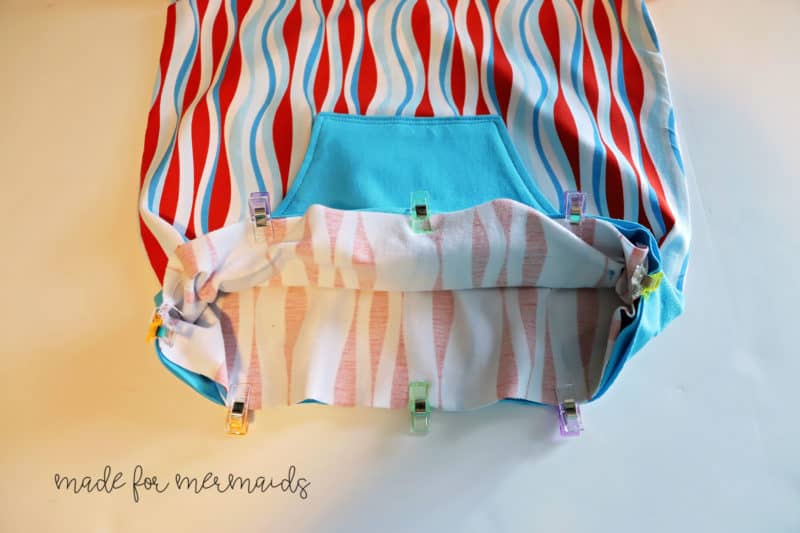
Slide the shirt inside the waistband making sure that the seam is at the back of the shirt. Match the quarter points and pin in place at the raw edge.
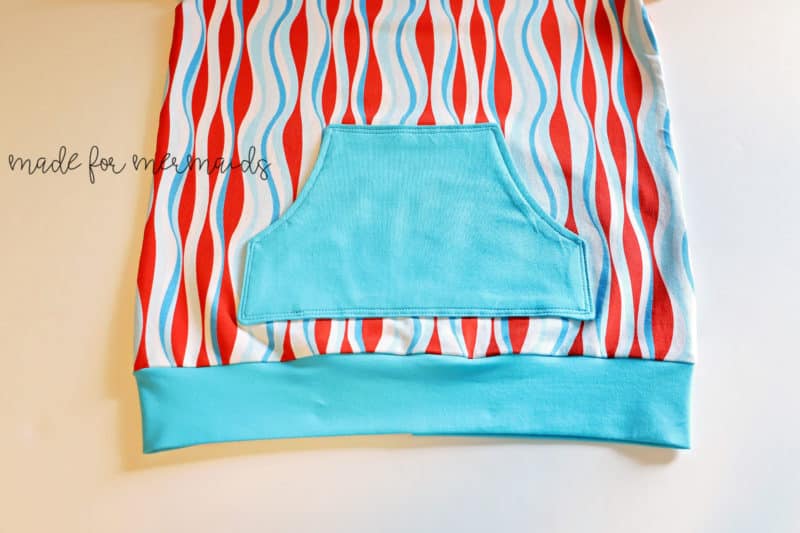
Sew the waistband in place with a 1/2″ seam allowance. That is all!! You have added a banded option to your Jordan shirts.
You can use the same technique for the adult Jordan patterns too. If you would like to make your band wider, make sure you adjust how much of the shirt length you remove so you don’t end up with a top that is too long.
Bonus hack:
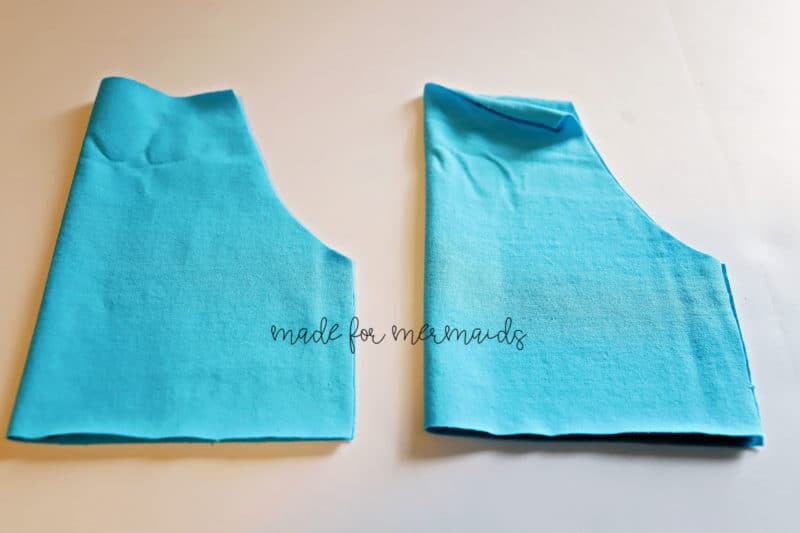
You might have noticed that I was rebellious and made my kiddo’s shirt with lined pockets. That is my preferred way for Kanga pockets, especially when I use cotton lycra or thinner knits. Want to know how I do it?
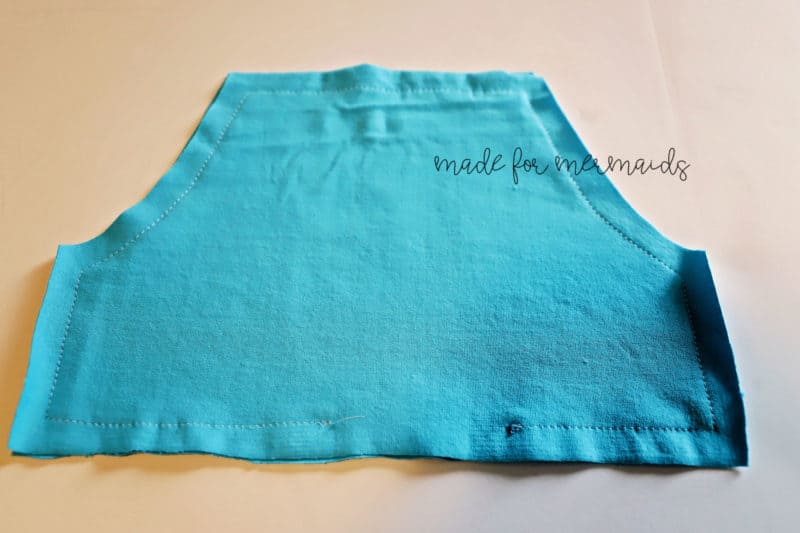
Simply cut two pocket pieces instead of one! Place them right sides together and pin in place.
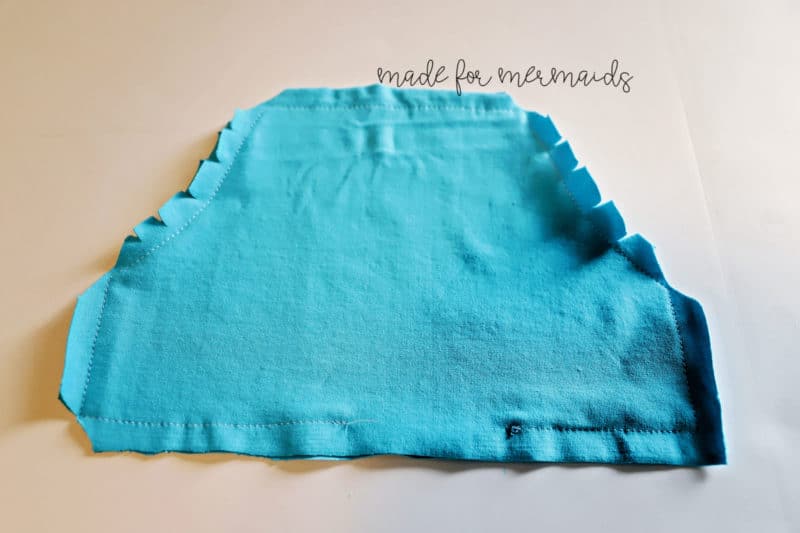
Sew along all sides with a 1/2″ seam allowance, making sure that you leave a 2″ opening at the bottom. I prefer a stretch stitch for this step; we all know our littles will test the strength of those seams 😉 Clip along the curved edge and remove the corners. Make sure you do not snip your stitches!
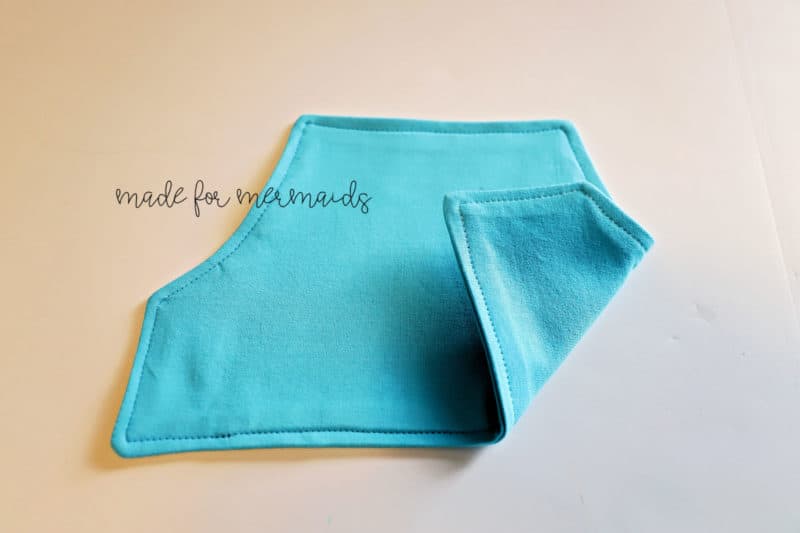
Turn your fabric inside out and press it. Optionally, you can top stitch it like I did.
Attach the pocket to the front of the shirt as instructed in the tutorial. Super easy!

Straight Split Hem
This hack is super easy! The Men’s Jordan is designed with a straight split hem top length, but the Youth and Women’s versions both have a slight high low hem. To make either of these without the high low hem, simply cut along the straight top length when you cut your back piece instead of the top length marked split hem top length!
 You will still follow the tutorial the same way, using the same notch for the split! Nothing to it, and it gives you even more options on this versatile pattern!
Shaped Side Seam Top Length (Youth)
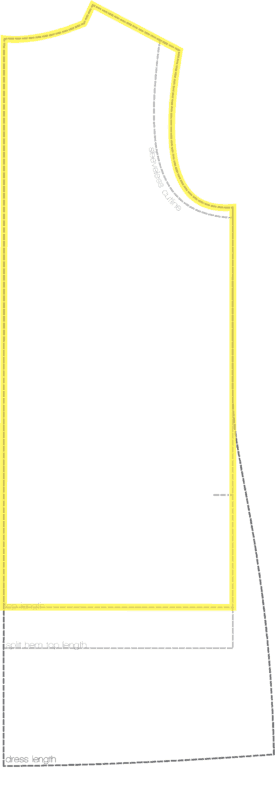
The Youth Jordan is designed with a top length that is cut straight down from the chest, while the dress length curves in at the waist slightly for a flattering silhouette. You can follow the dress length side seam for the top length as well for a more shaped top! Notice the dress length side seam is in bold and the top length side seam is the slightly lighter shade in the image below:
 To create this hack, simply follow the dress length side seam in bold until you reach the point of intersection with the top length side seam. You will gradually curve the side seam so that you don’t end up with a sharp point and this intersection. Then just follow the top length down to the hem!
 Here is a close up view of how I made the gradual transition from the dress length side seam to the top length side seam:
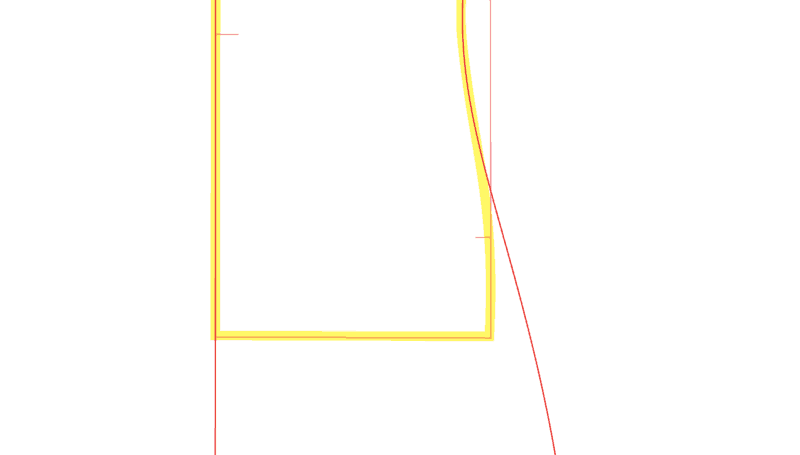 Sometimes my daughter prefers a more fitted top and I love that with this simple hack I can create one with the same pattern!
 We can’t wait to see all of your Jordan makes! Don’t forget to share in our Facebook Group – we love seeing your creations and hearing from you!








Leave a Reply