Although we LOVE, LOVE, LOVE the Lana pattern as is, sometimes we just can’t resist a few good hacks 🙂 We hope you love these three easy ways to create new Lana looks for your wardrobe.
No Back Closure Hack
Additional materials needed: no additional materials needed
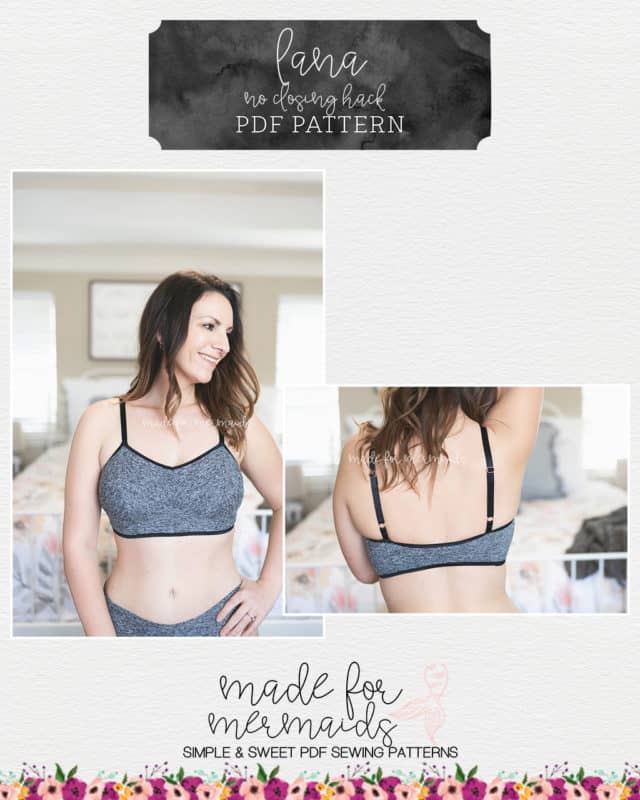
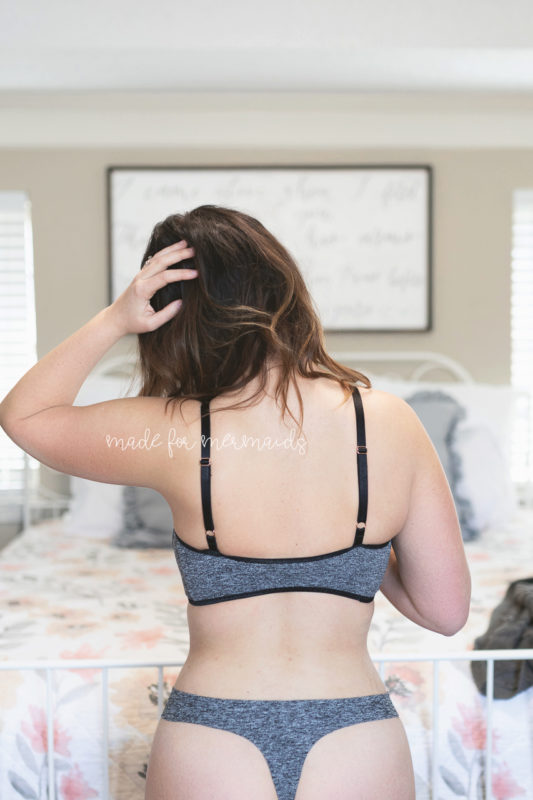
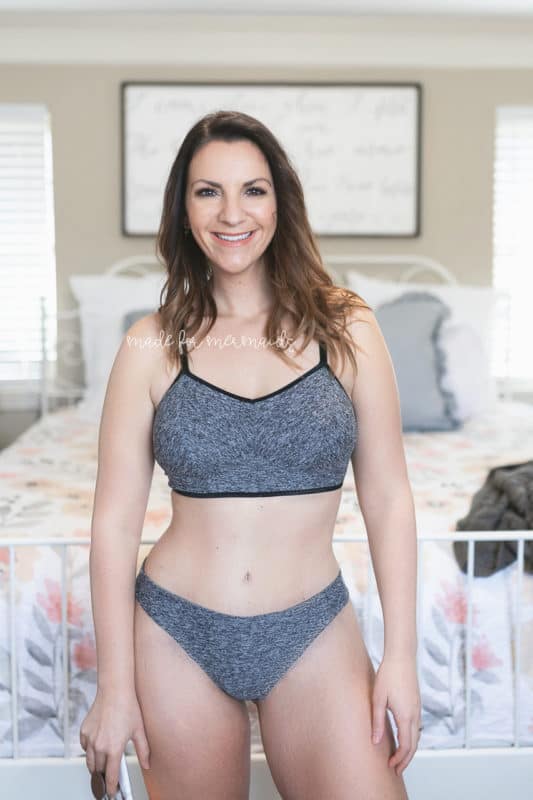
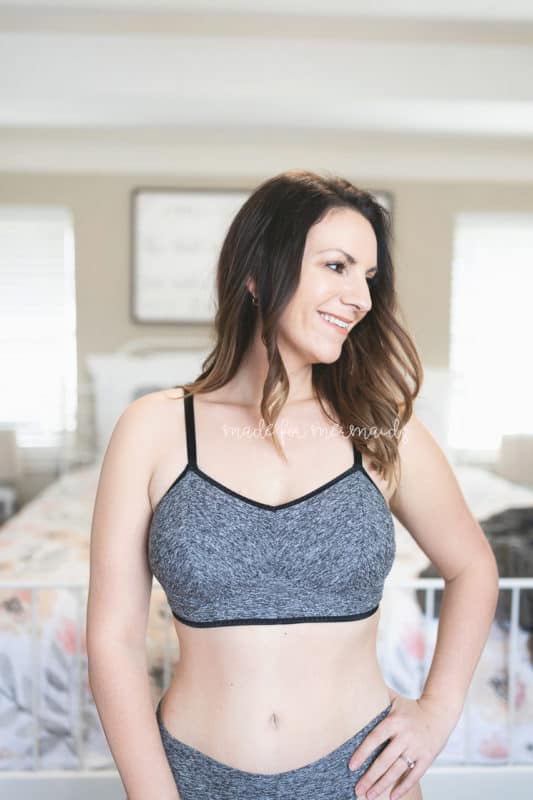
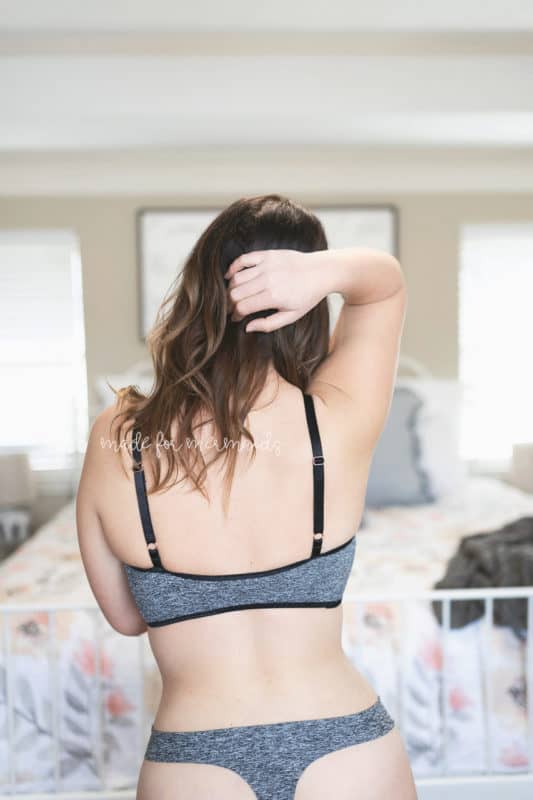
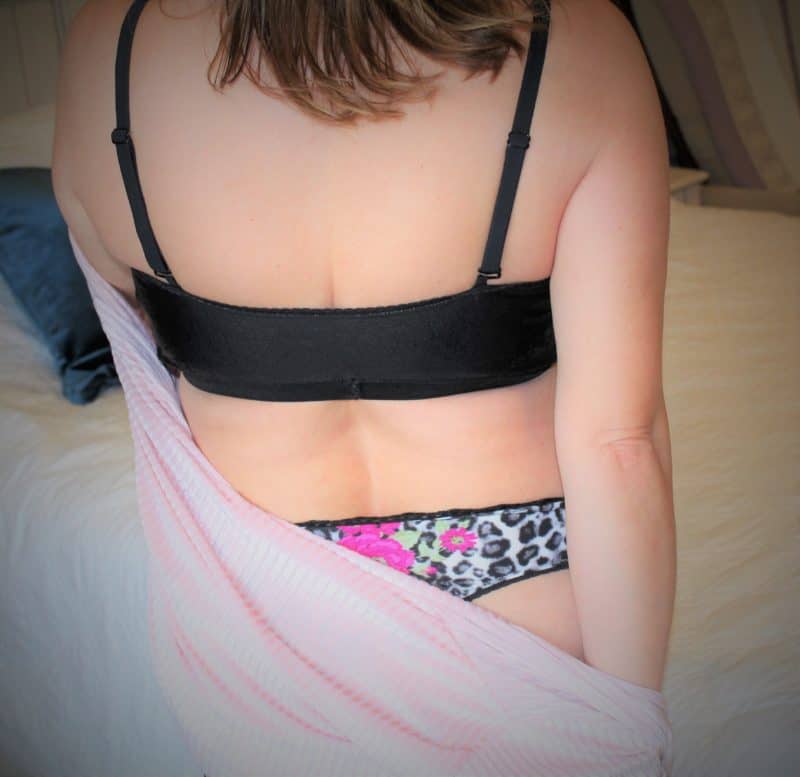
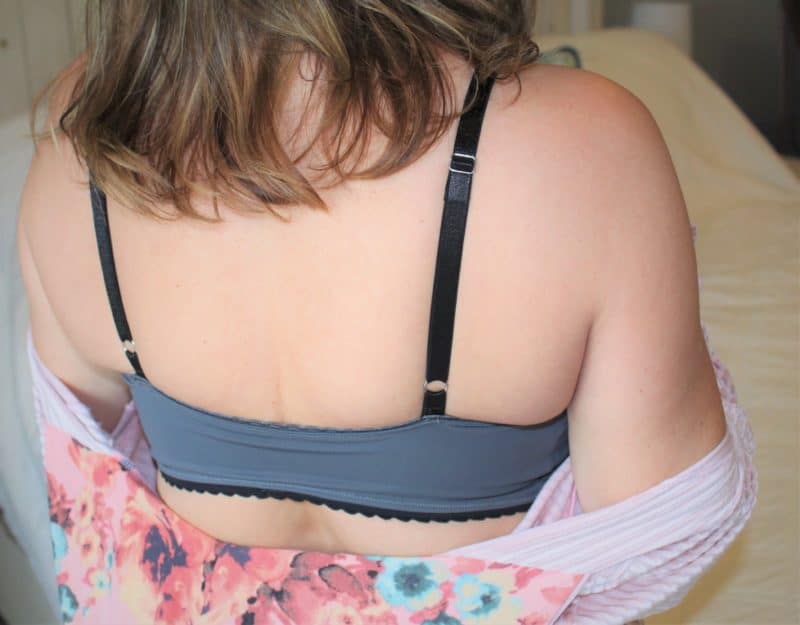
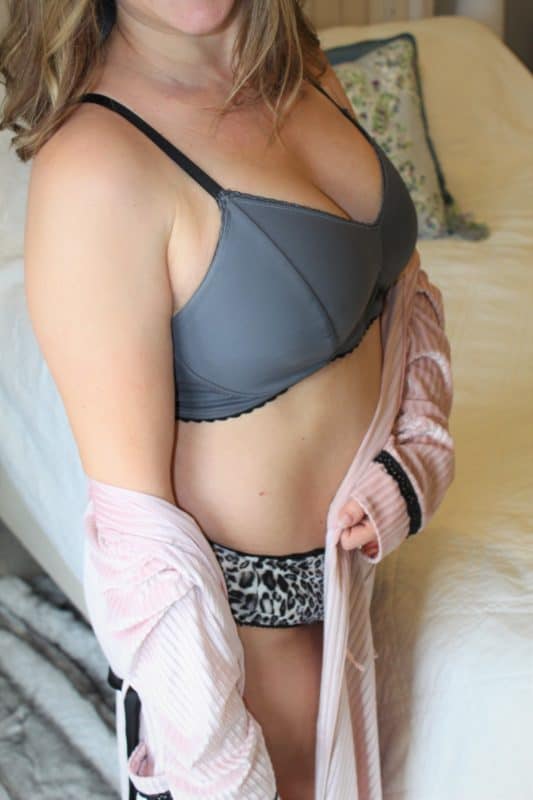
Lana’s No Back Closure Hack is a great way to create a muslin, a functional low-to-medium impact sports bra, a cute swim top, and more! Try different fabrics like swim, power net, tech sheen, supplex, performance fabric, and athletic knit to find what feels most comfortable and supportive for you.
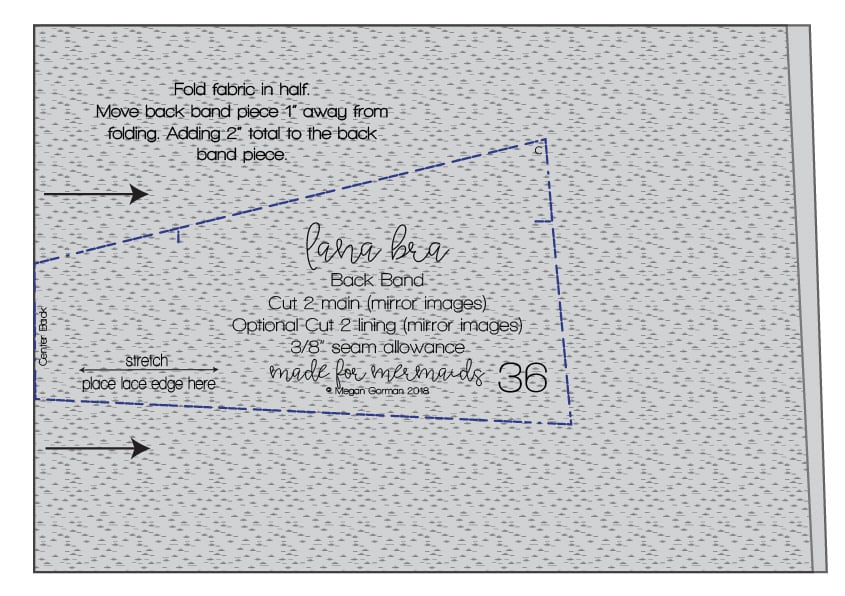
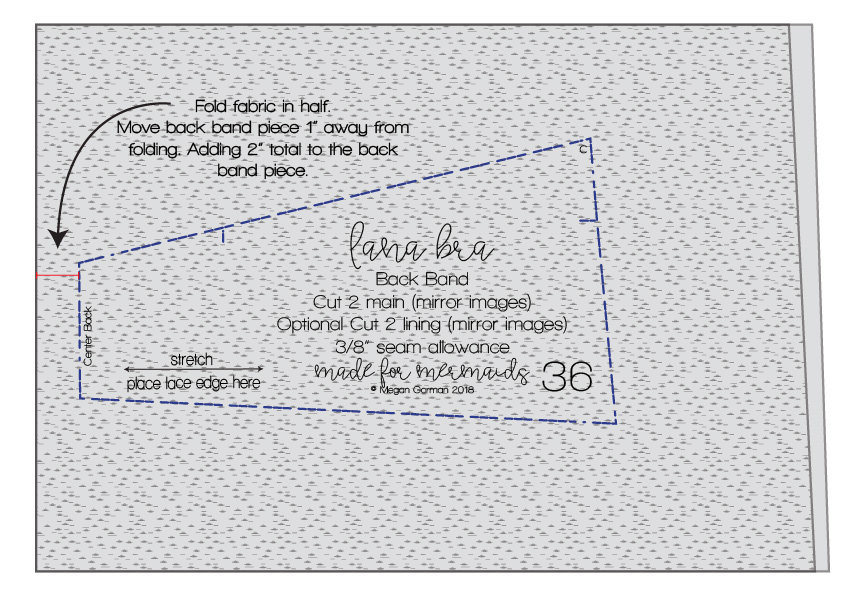
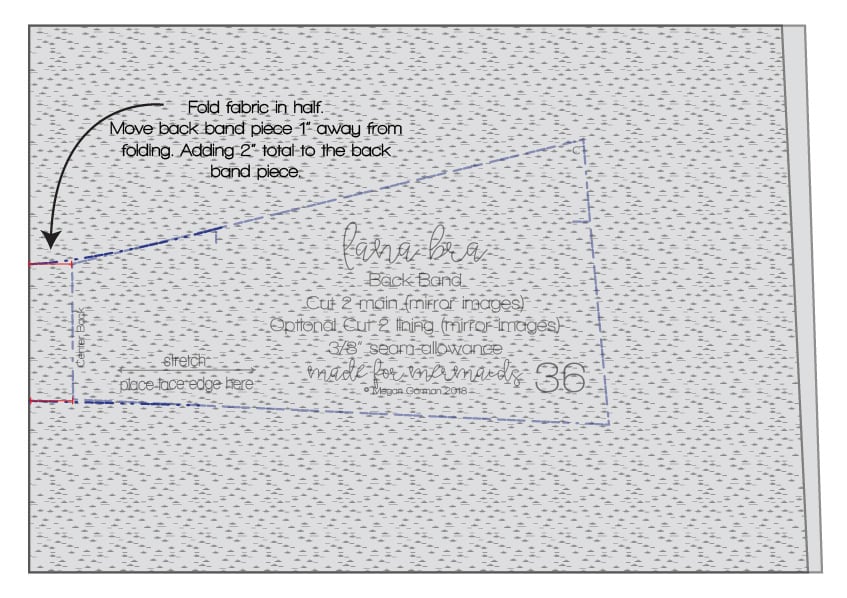
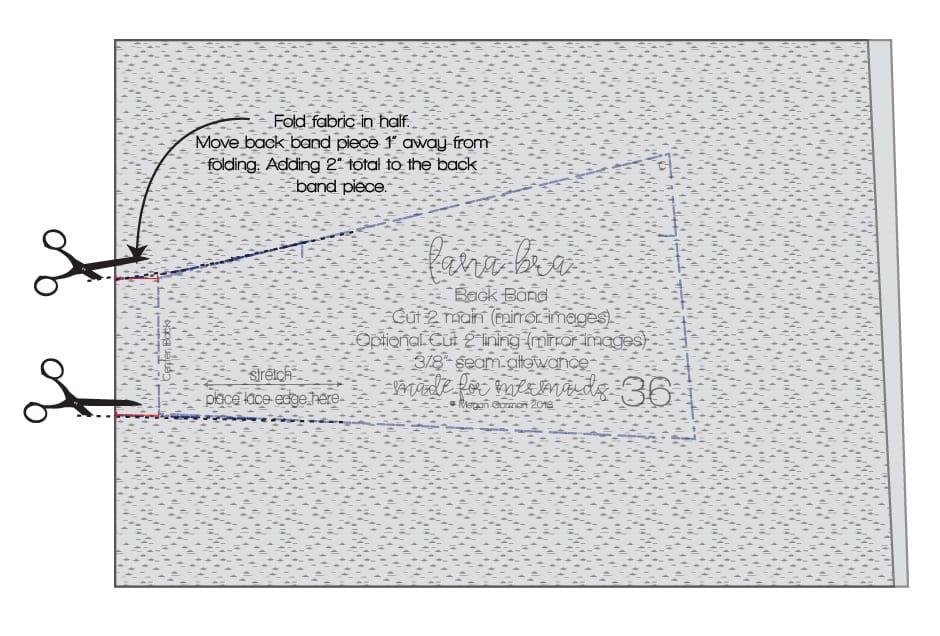
To create your new back band piece, you will cut on the fold instead of mirror images. Add 1″ to the center back either on the actual paper pattern piece, or just by moving your pattern piece 1″ away from the fabric fold.. This will give you a total of 2″ added. to the width of your band.
The No Back Closure Hack is a great way to create a muslin; this gives you a chance to check the fit of the band, cups, etc. When you’re making a muslin of a pattern, it’s important to use something as close to what you want for a “final version”. All fabrics behave differently; for example, don’t make a muslin in a cotton lycra if you already know your “final version” will be in scuba. Depending on fabrics, you are likely to need size adjustments. Especially for larger cup sizes, vertical stretch is so important! You may find you need to size up in cup size if using scuba, if adding cut-and-sew foam, etc.
Note that without all the elastics/adjustable straps, your muslin version won’t have the full support, but will give you an idea on cups and band sizing. Alternatively, you could make a wearable muslin by only omitting the back closure, or by following the tutorial exactly as written.
Babydoll Hack
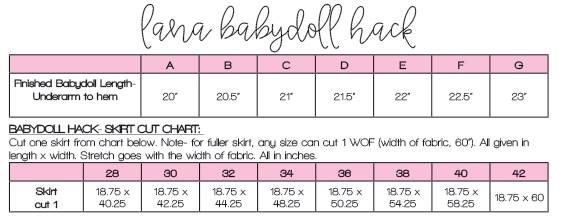
Additional materials needed: yardage for skirt piece (see chart below)
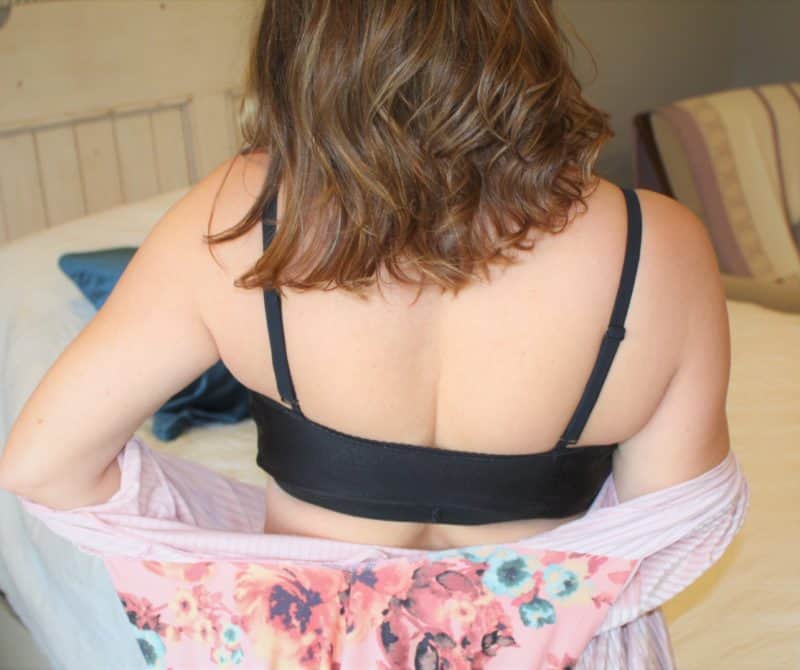
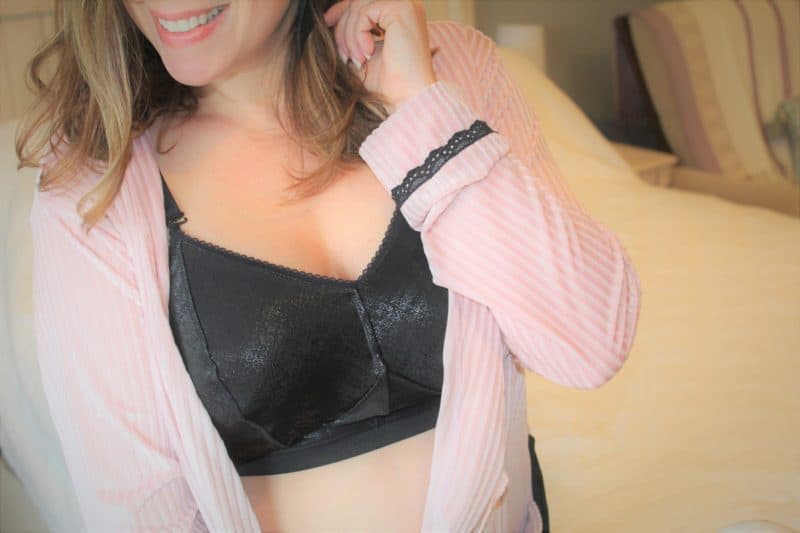
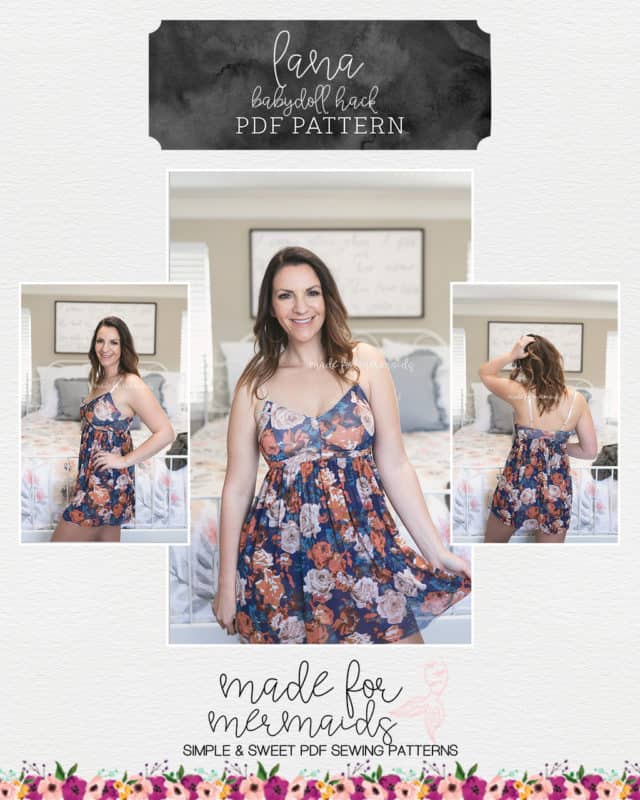
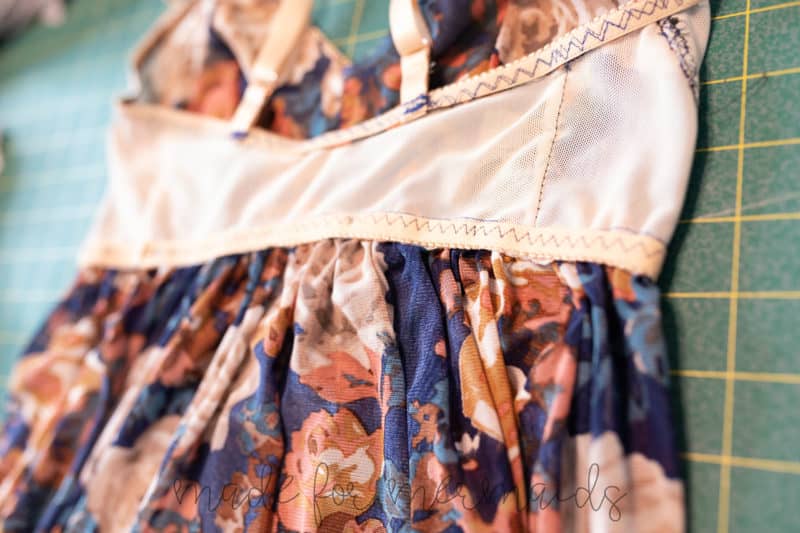
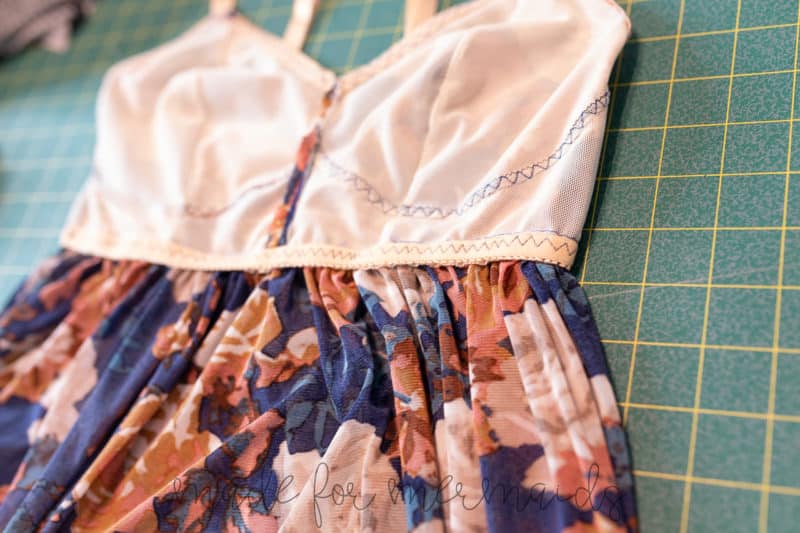
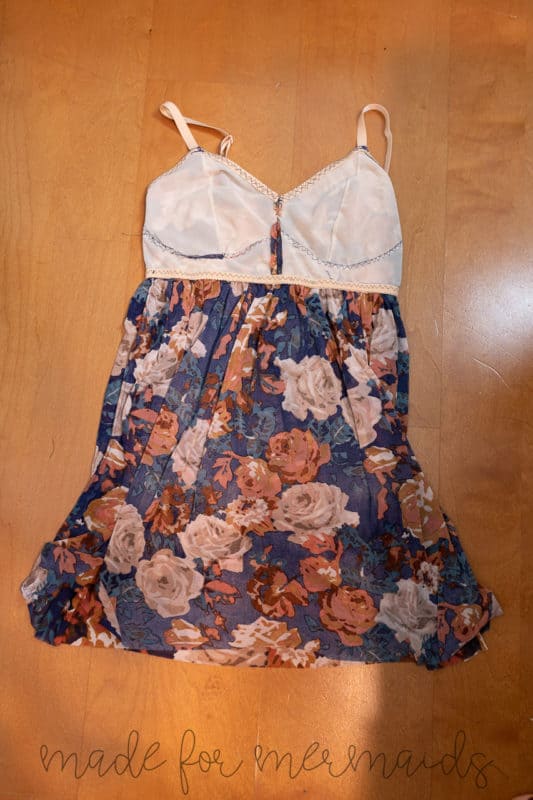
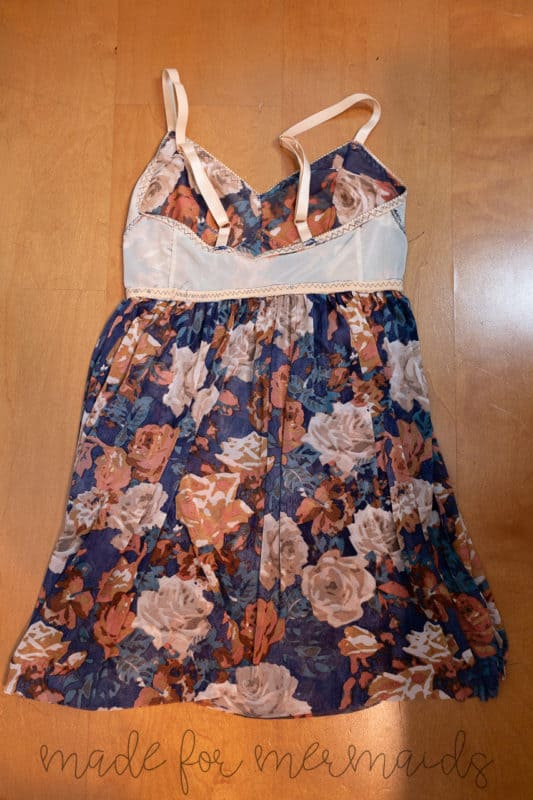
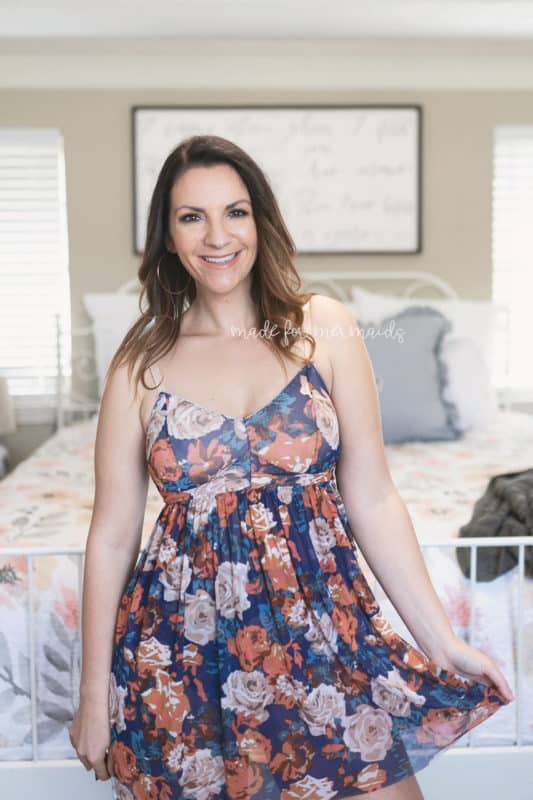
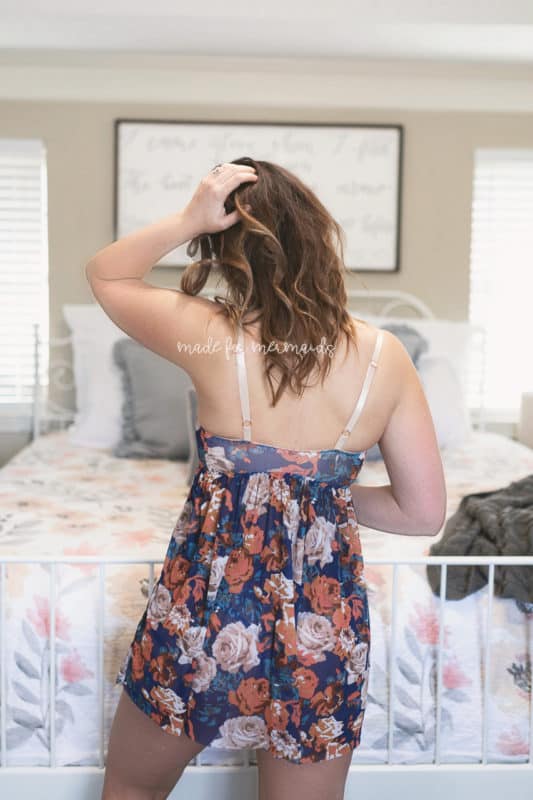
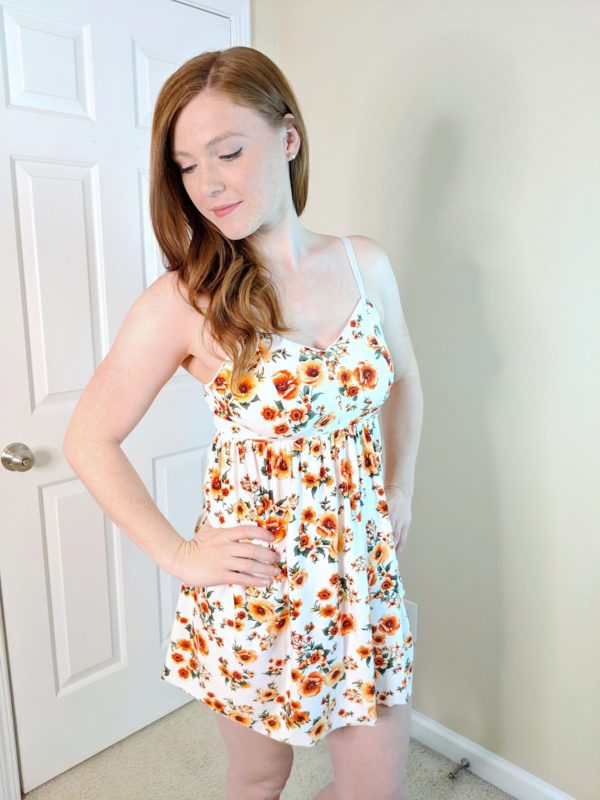
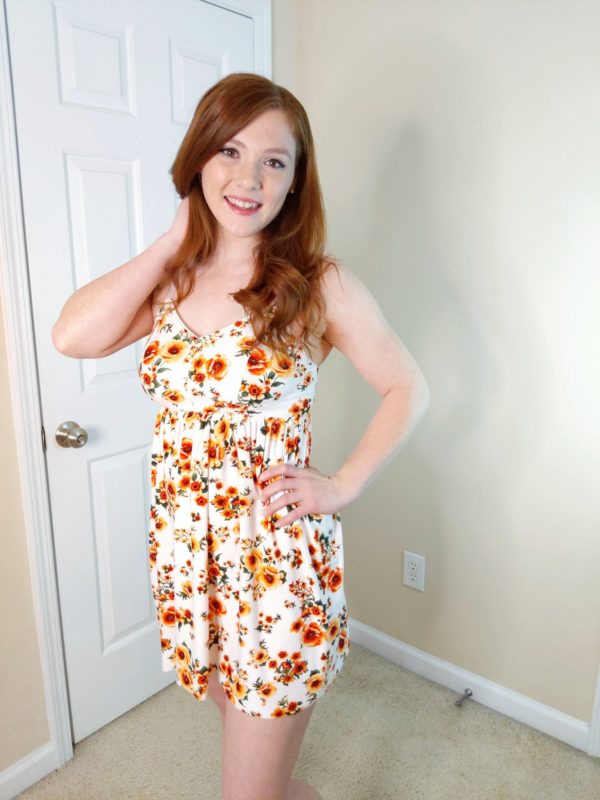
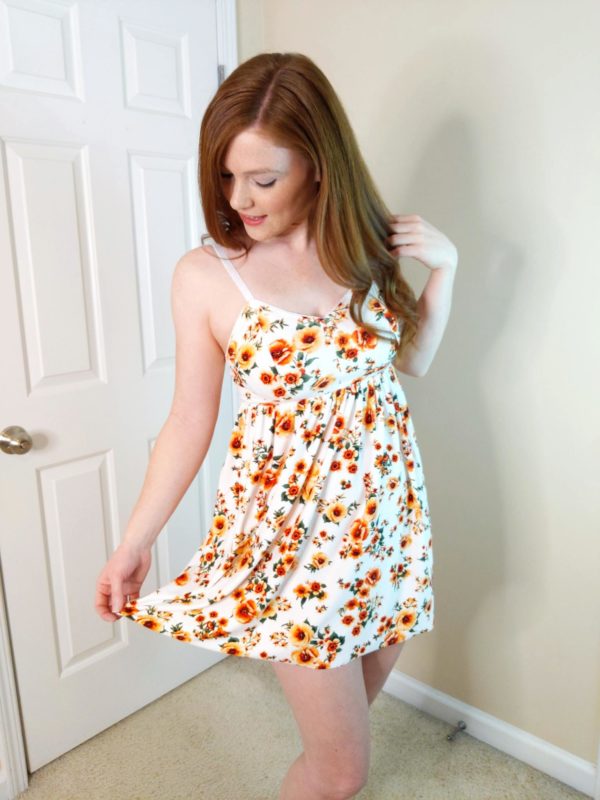
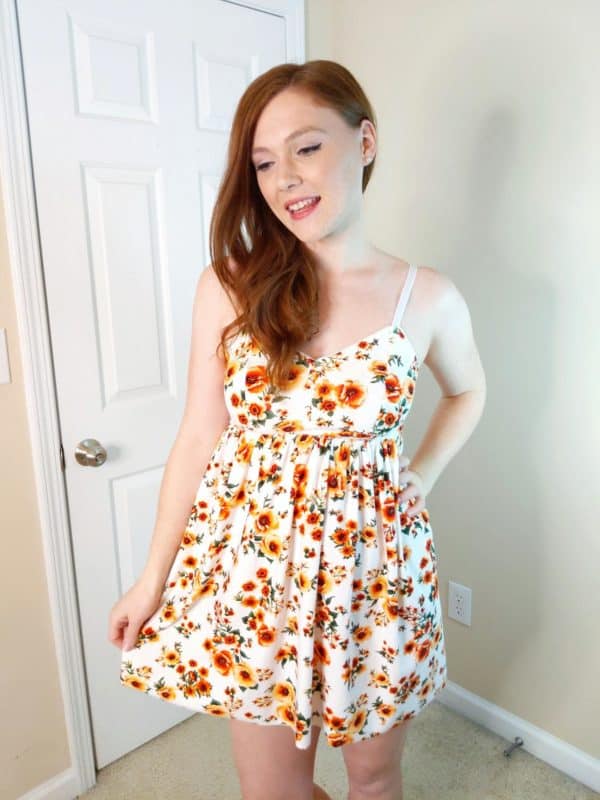
The Babydoll Hack is perfect for a babydoll-style nightie, or as a great sun dress (if winter ever leaves!!). This hack will combine the No Back Closure Hack above, as well as the skirt measurements listed below:
Construct your Lana bra using the regular Lana tutorial + the No Back Closure Hack above. Do not finish the band yet.
If your hips are larger than your cup, you’ll want to choose a wider width, or just use the full 60″ so you have plenty of ease. You need the width of the skirt to be larger than your hips, so it’s not tight. On Megan’s mesh one, since the fabric is so thin, she used the full width of fabric.
Cut one skirt piece using the measurement chart above. With right sides together, sew skirt side seam.
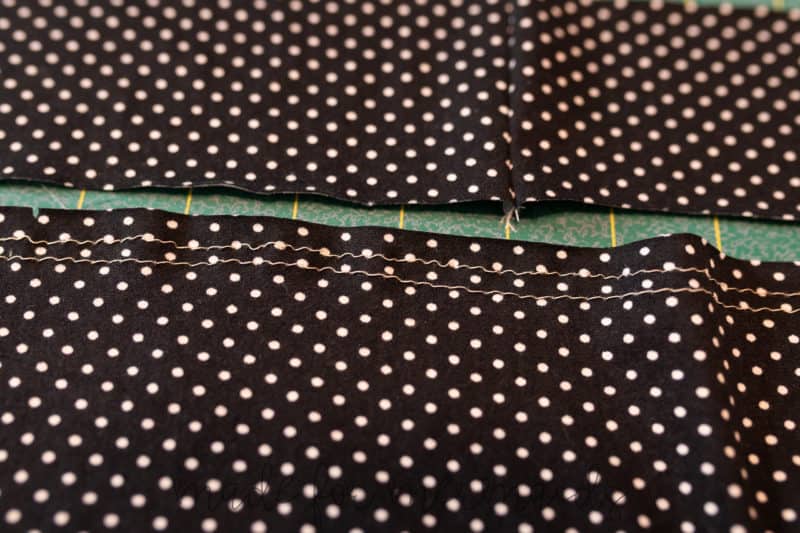
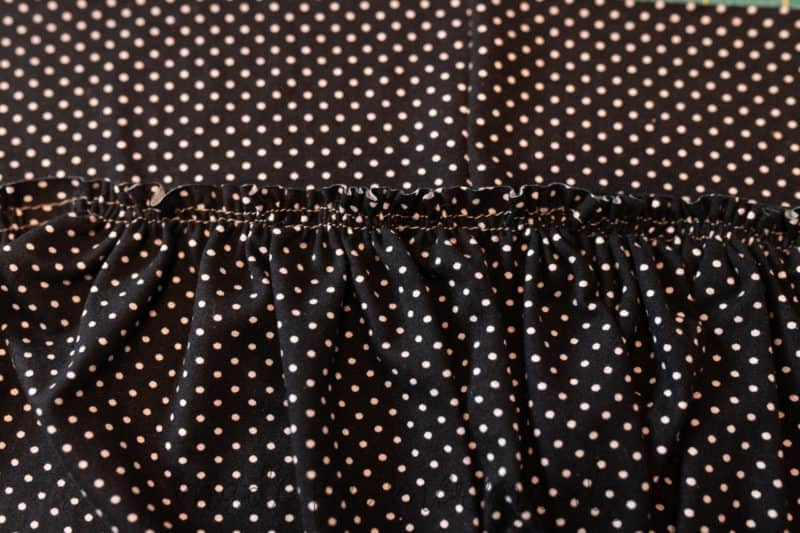
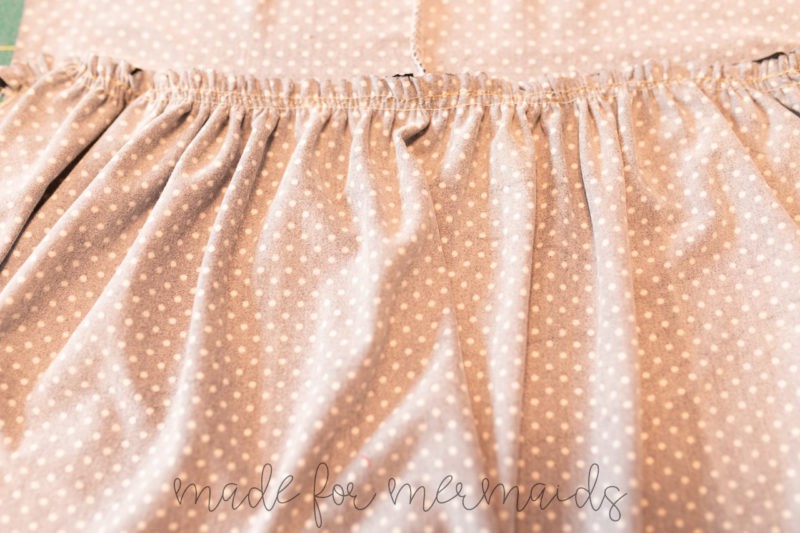
Gather the top of your skirt to the width of your Lana using your favorite gathering method, or by using two rows of gathering stitches, one at 1/4″ one at 1/2″.
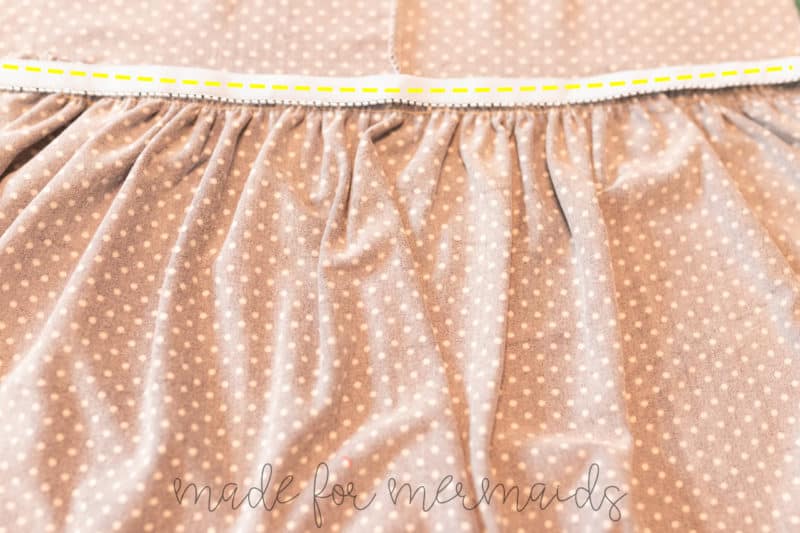
Turn your skirt piece inside out. Place the bra portion of Lana inside the skirt, matching raw edges. Pin or clip top raw edge of gathered skirt to bottom raw edge of Lana, being sure to match right sides together. Baste your skirt to bra with a 3/8″ seam allowance. Attach band elastic flat.
Swim Hack
Additional materials needed: swim elastic, fabric yardage for straps. Optional: Alexandria pattern
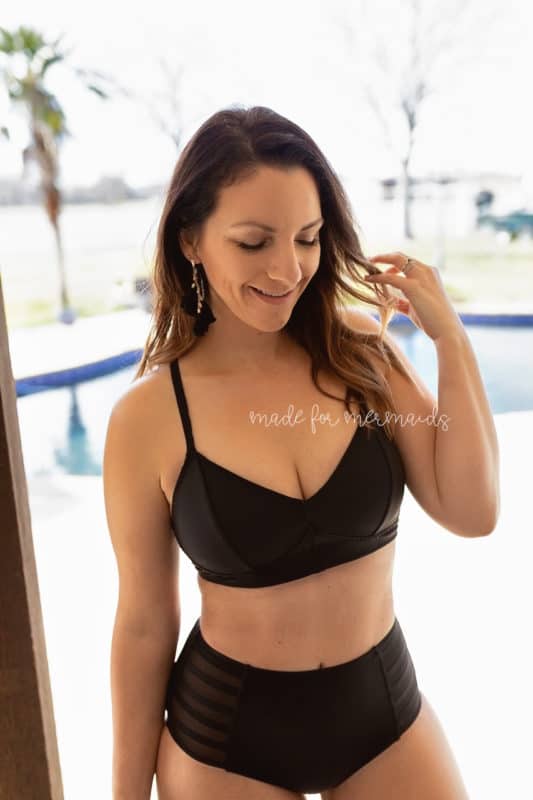
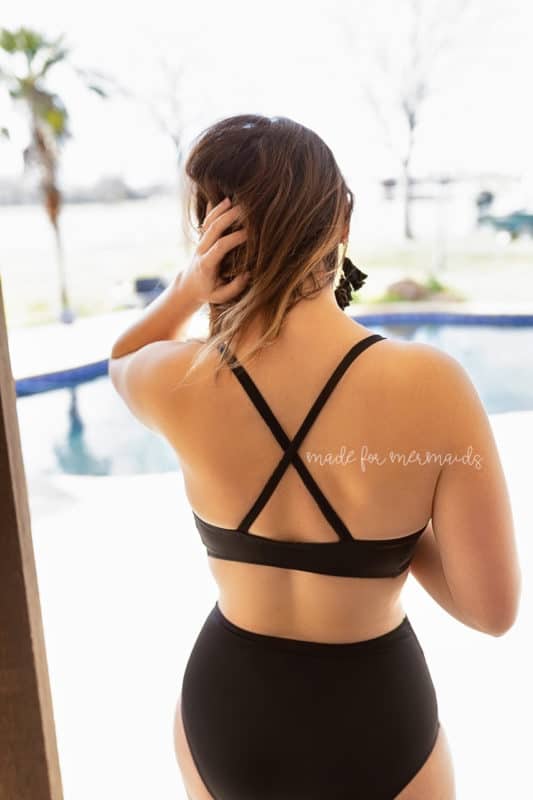
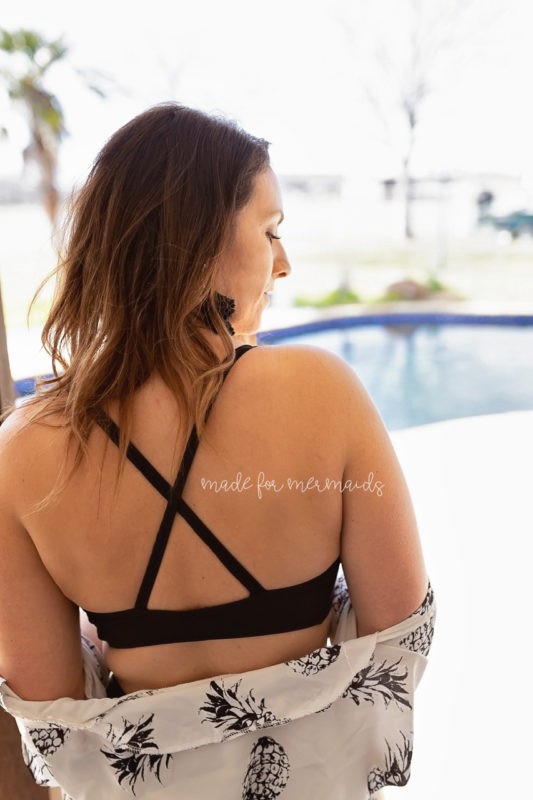
The Lana Swim Hack combines the No Back Closure Hack with straps! If you have our Alexandria pattern, you can use the strap measurements and tutorial there! Otherwise, you can use the strap measurement length given in the Lana tutorial and adjust as needed. The strap measurements given are long enough that you can do straight straps, or crossover straps as pictured above. If you’re using 3/8″ swim elastic in the straps, you’ll want to cut your straps 1.75″ wide.
Finish all Lana edges with swim elastic. For swim elastic, you’ll attach to the WRONG side, flip, and then topstitch.
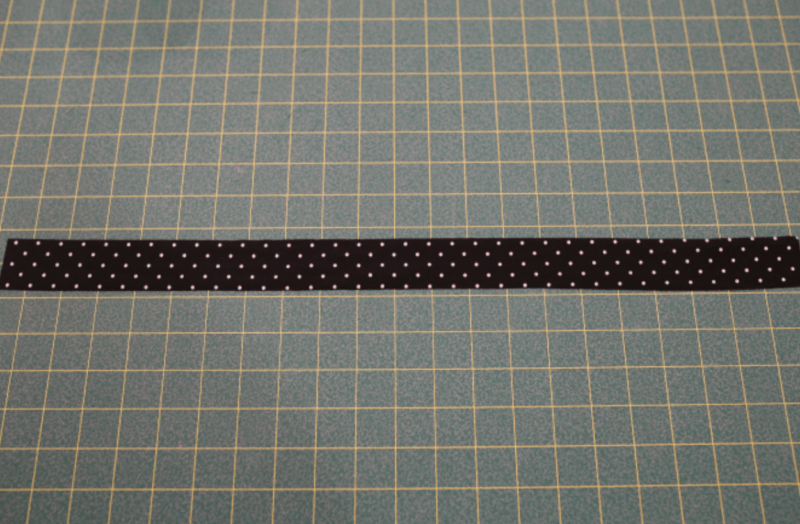
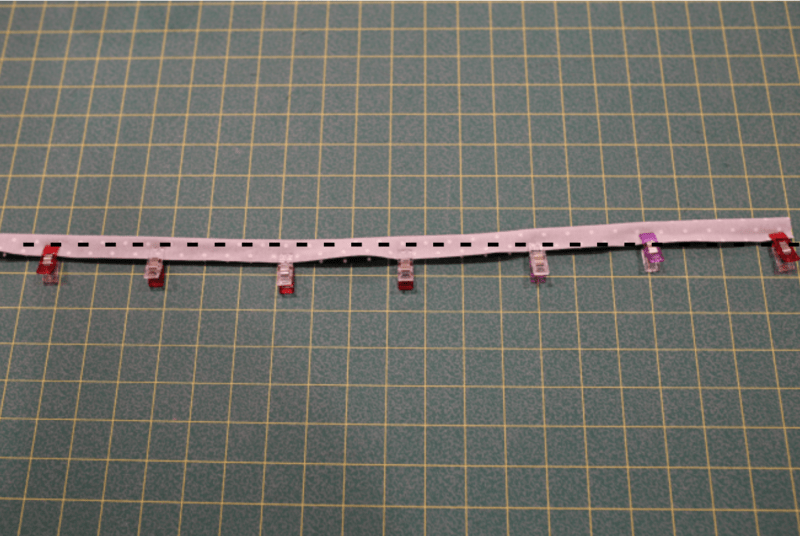
You will construct your straps a little differently, as well. Fold your straps in half lengthwise, right sides together. Optional- baste the long raw edges of the strap together.
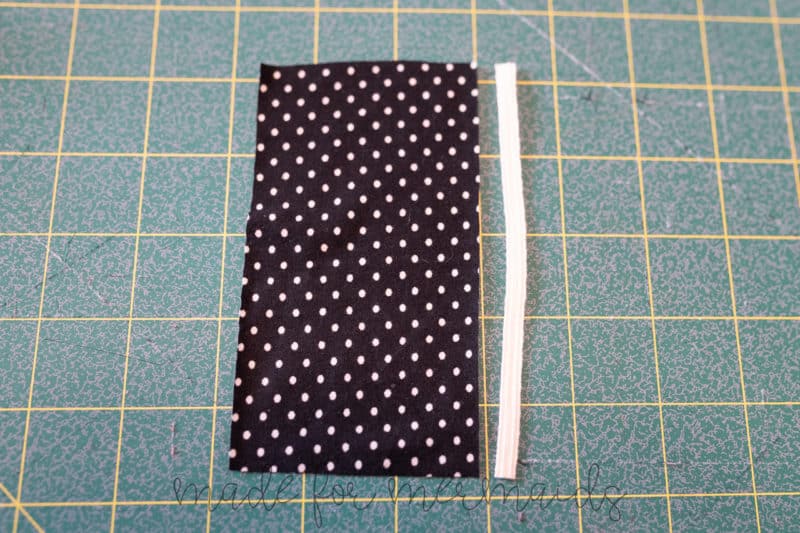
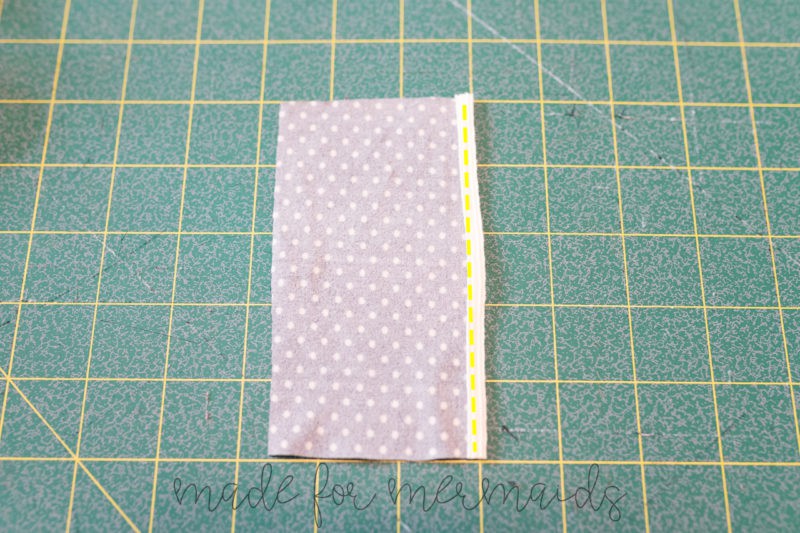
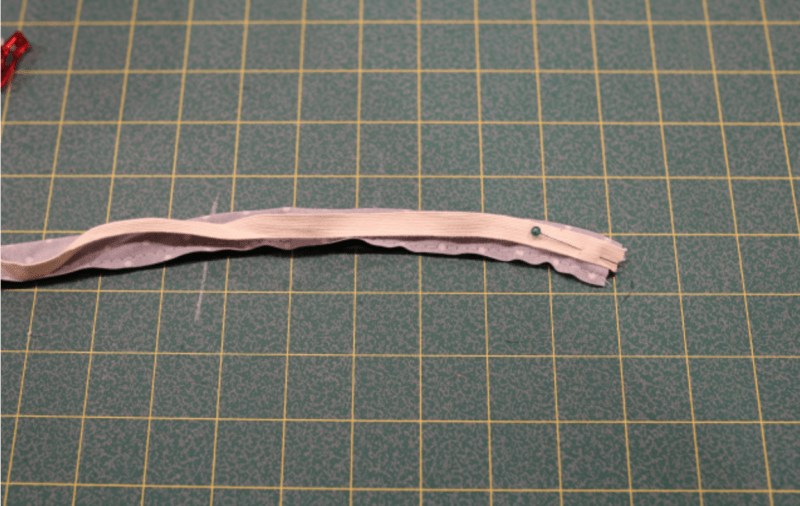
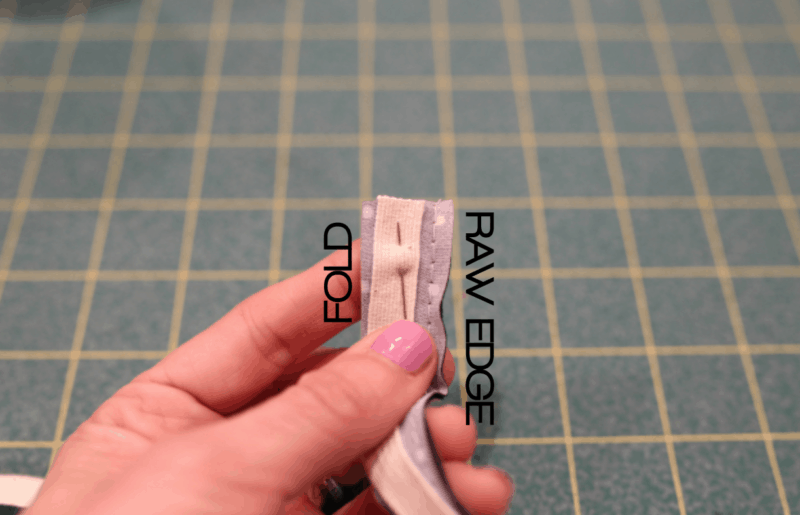
Cut a piece of swim elastic the length of each strap. Match the short edge of the elastic to the short raw edge of the strap, pinning it 3/8∫ from the long raw edge.
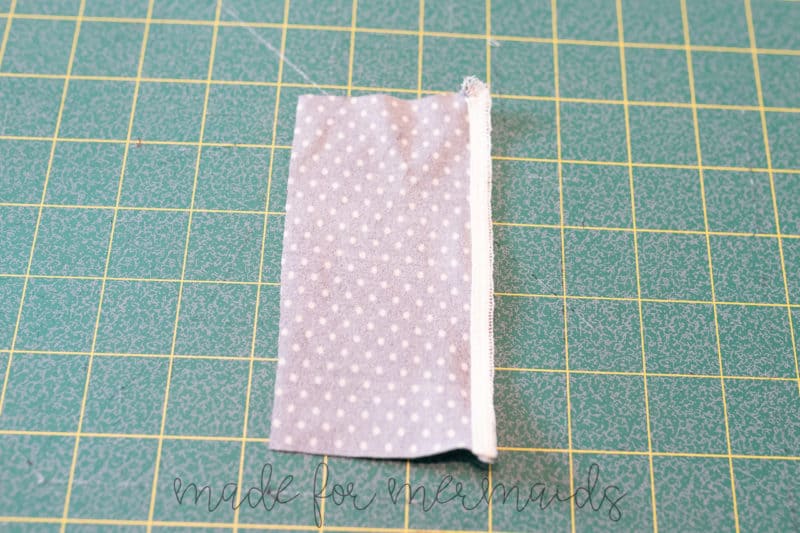
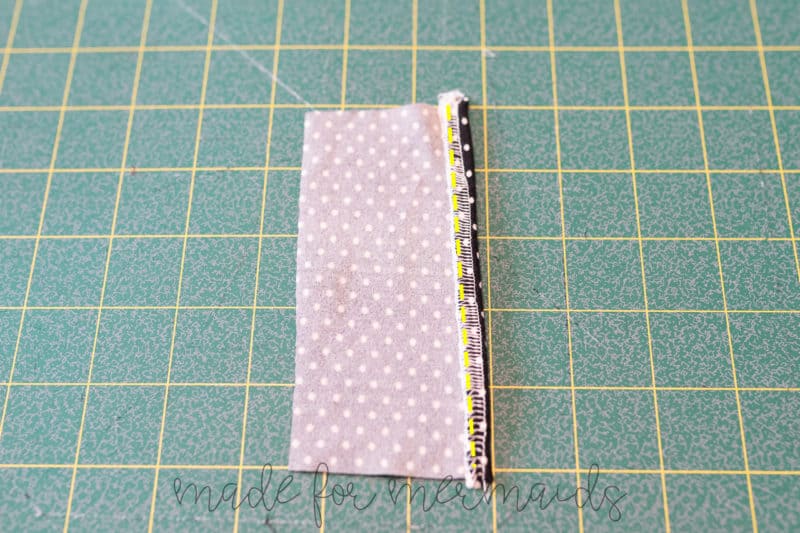
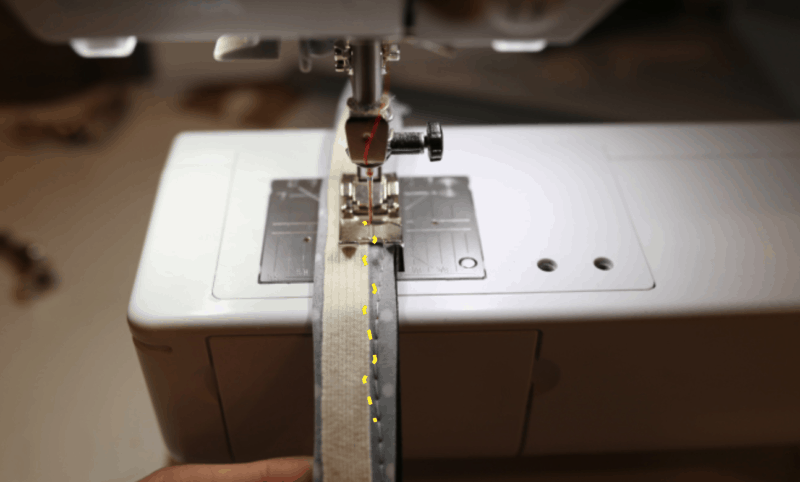
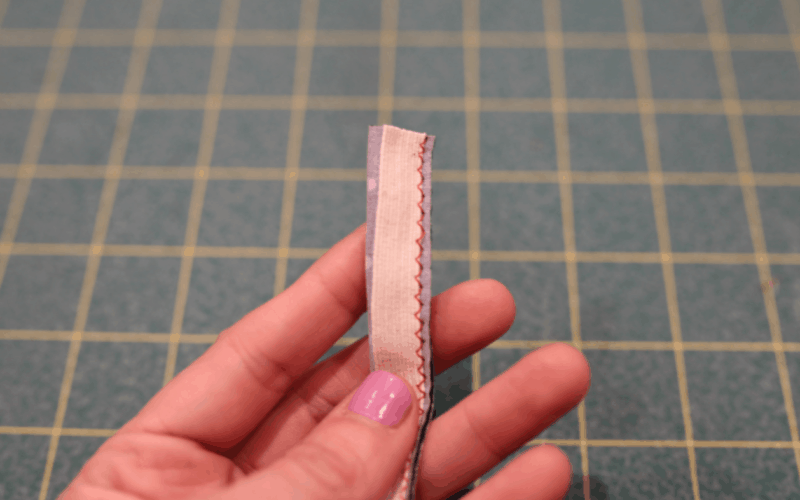
Using a zig zag stitch (recommended settings of 2 W and 2.5 L), sew the edge of the elastic that is closest to the non-folded edge of the strap to the strap. Make sure that one side of the zig zag hits the elastic and the other side hits the strap (see the yellow zig zag stitching below). Trim the seam allowance as close to the stitch line as possible, making sure not to clip the stitches.
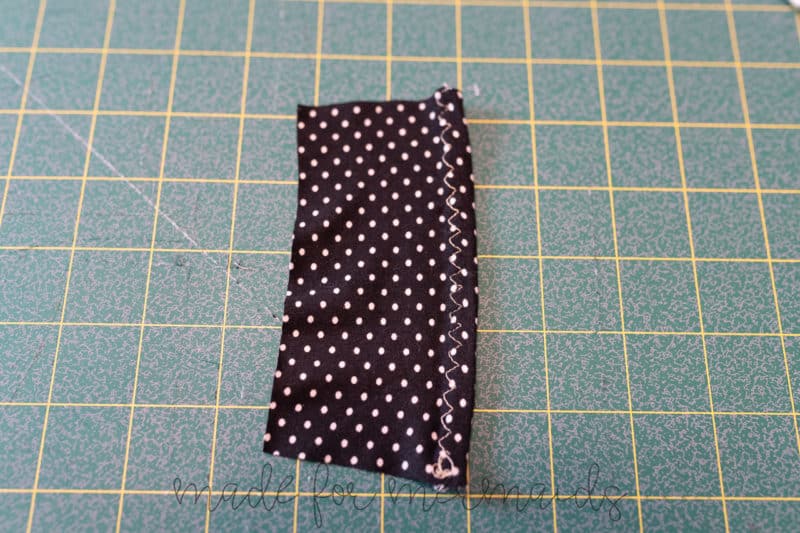
Turn the strap right side out. Attach a safety pin to the edge of the strap, sticking the needle through the outside and out the top of the strap. Push the safety pin down into the strap and thread it through. Repeat with the second strap. The elastic will not slide or twist in the strap, resulting in a professional finish.
Attach the front of your finished straps as instructed in the Lana tutorial. For the back, you can either cross them as Megan did, or attach them as straight straps. Either way, I would recommend basting them to check fit and length before stitching them on with a zig zag stitch.
- Megan’s swim bottoms pictured are RTW, but you can recreate the look using the Hello Sailor Bottoms from P4P 🙂
Which hack is your favorite? Let us know, and share your latest makes with us, over in our Facebook group!





Leave a Reply