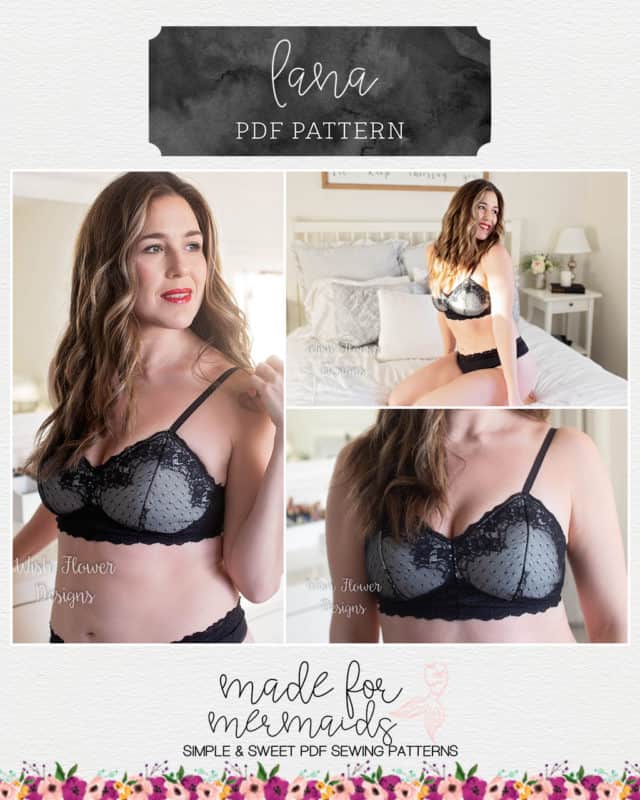
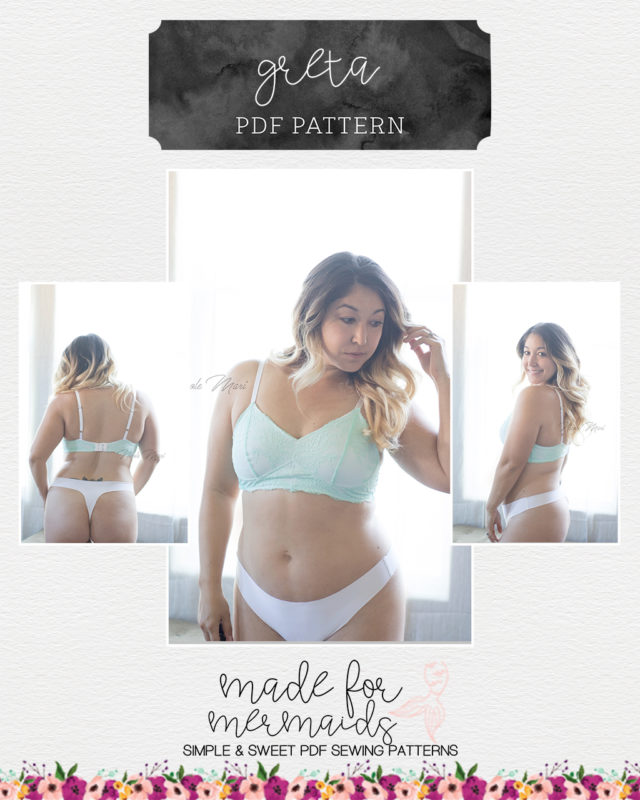
It’s finally time for round 2 of our Sew Yourself Some Love Sew-a-long! Last year, we featured the Bridgette Bralette. This year, our SAL will feature the new Lana Bra and Greta Thong patterns! Don’t have your copies yet? Grab them over here! This month’s sew-a-long is sponsored by Thread & Grain, Tailor Made Shop, and of course, M4M and P4P.
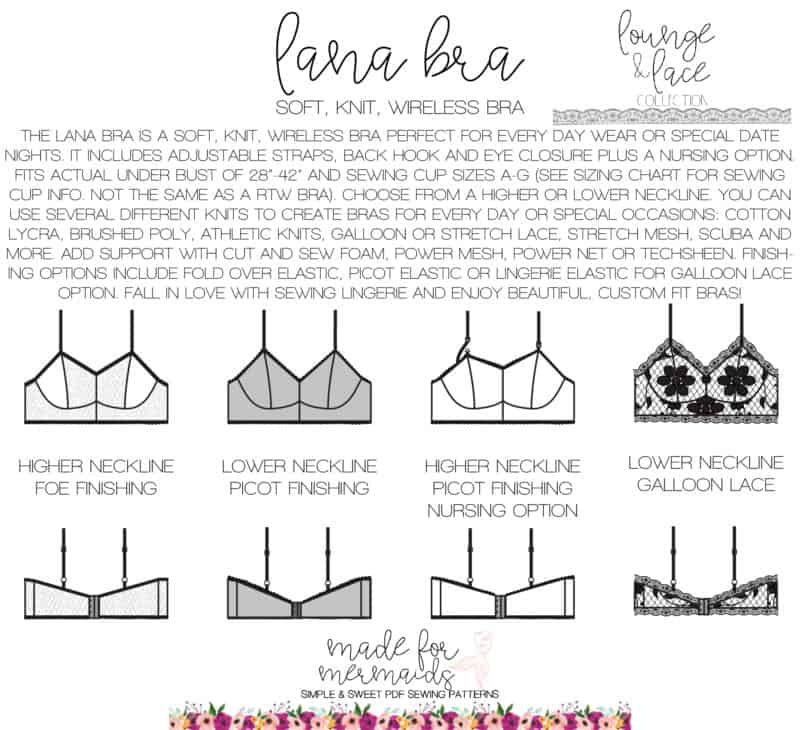
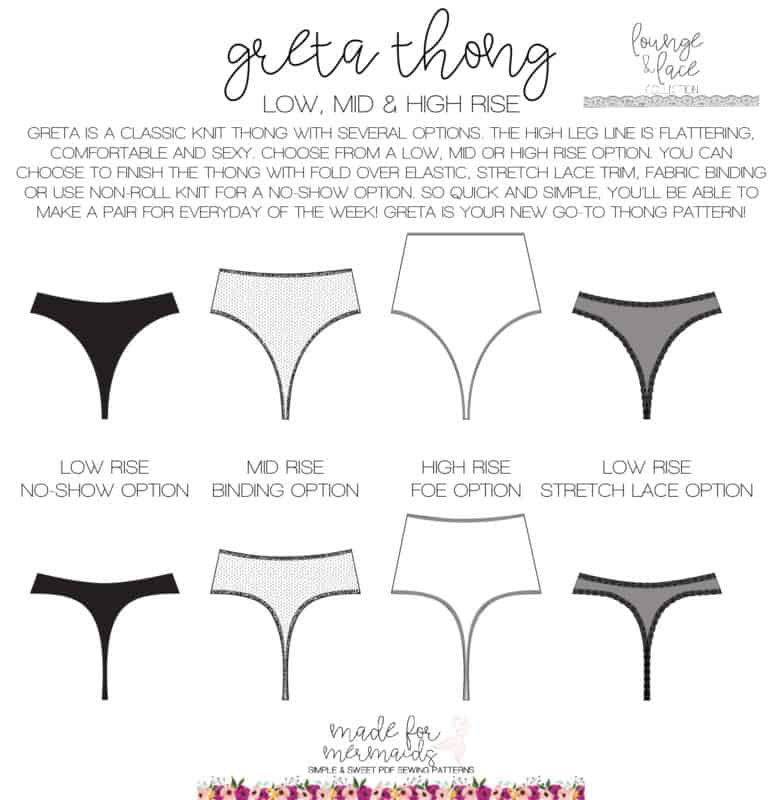
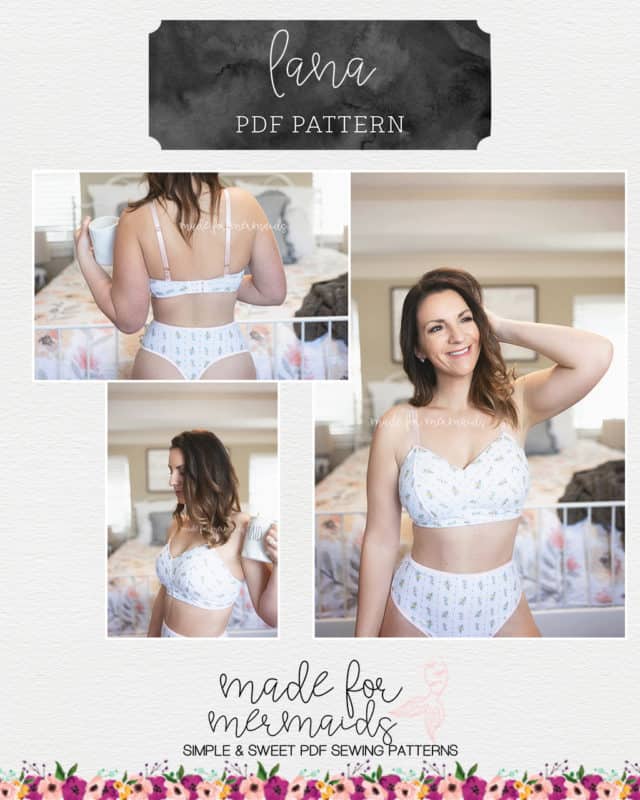
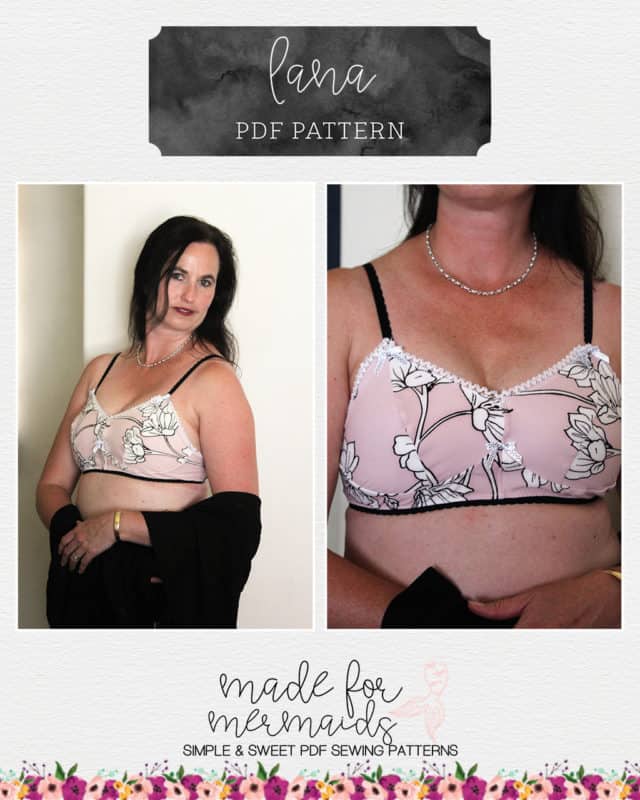
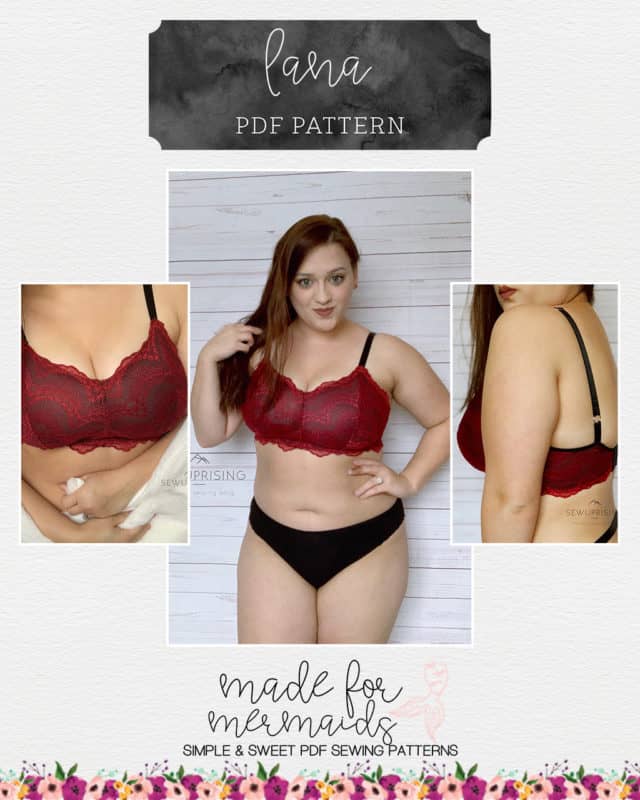
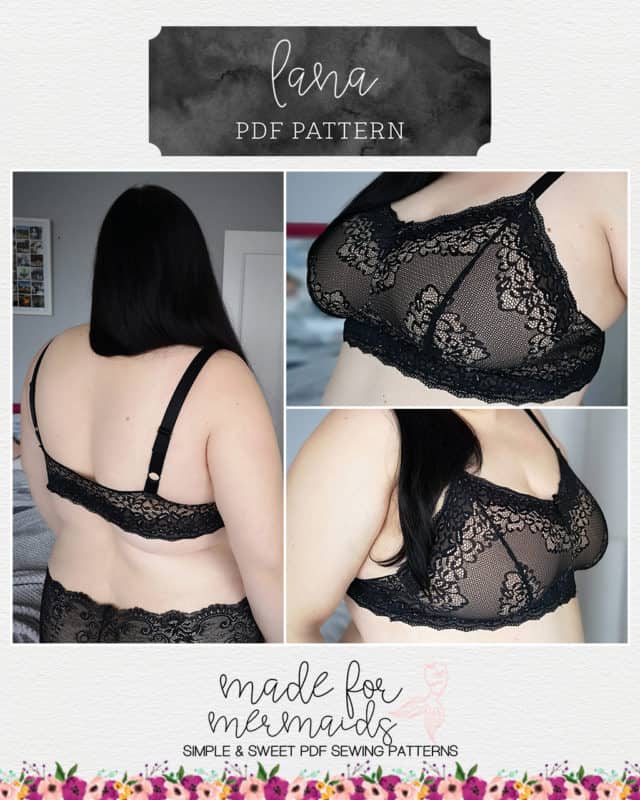
Lana is a soft, knit, wireless bra, perfect for nearly all occasions! There are two different necklines, adjustable straps, hook-and-eye back closure, and Megan even included a nursing option as well (no hack needed!). Greta is a classic-style knit thong with three rise options, plus a no-show option if you use a non-roll knit!
Before we get started, there is a ton of helpful beginner information between the M4M and P4P blogs, in case you are new to knits, or new to PDF patterns in general:
- New to PDF patterns? Check out our helpful tips here
- New to sewing with knits? Brittany has some great info here
- Not quite sure how to measure yourself accurately? Don’t worry; check out the post here!
- Having issues printing? Most issues can be resolved by using our FAQs/troubleshooting tips
- Not in our official SAL group yet? Join here 🙂
We have even MORE helpful info specific to Lana and Greta:
- Have some general questions about Lana or Greta? See our FAQ post here!
- Not sure what supplies you need? See the Lana supply video here
- Unsure how to determine your size? See the video on choosing your size here
- Struggling to get an accurate measurement? Megan has a helpful video here for measuring yourself
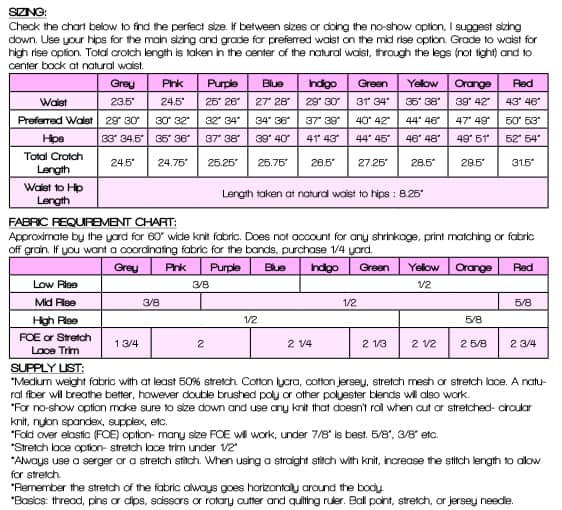
Our first day is all about prep! First, be sure to measure yourself (or the person that you are sewing for) accurately. An accurate measurement is very , very important for the Lana. It is especially important to remember that this is not the same as ready-to-wear bra sizing. See the sizing charts below, and make sure to check out Megan’s videos on measuring yourself and choosing your size (linked above).
NOTE: Keep in mind, your Lana measurement will very likely NOT be the same as your RTW bra size. That is 100% normal! If, however, you notice a very significant difference in cup sizes after carefully measureing, (for example, you measure a “B” for Lana but wear an “E” or “F” in RTW), you may need to size up in cup size to accommodate for broad shoulders or similar fit concerns.
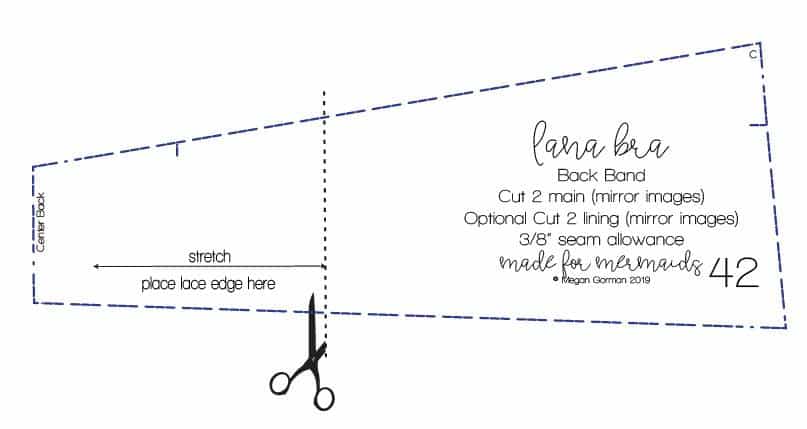
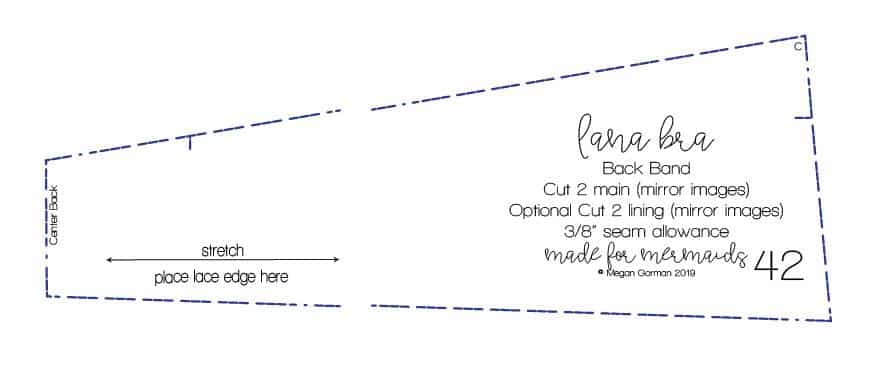
Measure a bit outside of the pattern for the band size? If you measure over our 42″ band size, you could make a muslin taking smaller seam allowances in the band. You could also use the same concept as our no back closure hack, and just add a bit of extra width to the center back on your paper pattern piece, or vertically slash and spread your pattern piece.
Measure a bit outside of the pattern for the cup size? Megan has information on sizing up just the cup here.
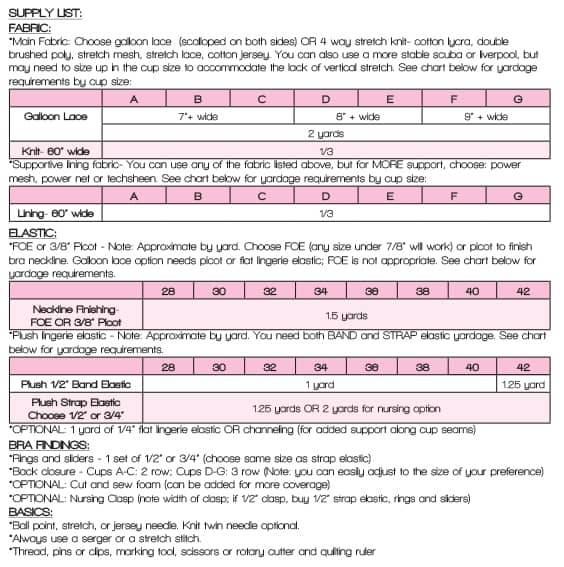
After you’ve measured, you’ll want to choose your fabric and gather your supplies. There is a video on choosing supplies linked above, and there is information about different elastics and compression fabrics in our FAQ post (also linked above). For Lana, you can use galloon lace, stretch lace, or most any other 4-way stretch knit! See your tutorial or the fabric list below for additional options! You can also scope out our tester albums for inspiration.
NOTE – If you are using compression fabrics (powernet, techsheen, etc.), fabric with limited vertical stretch, adding foam, or a combination of the three, you will very likely need to size up!! Bra making is a VERY personal fit; all standards-based measurements and sizes have been thoroughly tested, but it’s simply NOT feasible for each tester in each size to make a version in all appropriate fabrics, with all potential variables.
Your personal preference for support, preference for coverage, fabrics used, accuracy of cutting and seam allowances, and more will HIGHLY impact your fit. This pattern, and I would venture to guess all bra patterns, are going to almost always require a muslin. Use quality fabrics and materials for your muslin, but we don’t recommend using your most precious fabric. You can use our No Back Closure hack for a quicker version of your muslin if you prefer.
It is also SO, SO, SO important to watch Megan’s videos and read the tutorial in its entirety. I know as experienced sewists, we very often feel comfortable skimming or skipping parts entirely, but you run the risk of missing seam allowance changes, fabric recommendations, etc.
For Greta, you can use most any medium-weight knit with at least 50% stretch. Although fabrics like double brushed polyester will work stretch-wise, be aware that they do not breathe like natural fabrics, or even fabrics with a lower polyester content. For the no-show Greta option, you may wish to size down 🙂 See fabric and supply requirements for both Lana and Greta below:
Next, go ahead and print your pattern! Be sure to print a test page and measure your 1″ square before you print the whole pattern. Once you’ve got your pattern pieces printed and assembled, go ahead and cut out your fabric so you are all ready for day 2! Remember that all of your fabric pieces will be cut as mirror images, unless you are using our No Back Closure hack. You can also cut your elastic today if you’d like; cut your band elastic using the chart on page 4 of your tutorial, and the remainder of your elastic pieces will be cut to fit (1:1).
Want to sew along with me? Check out today’s video!
If you have questions about measuring yourself, printing, putting your pattern together, or cutting your fabric, you are always welcome to post in our SAL group so we can help you! Be sure to check in each day during the SAL, and look for daily posts to enter our giveaways. We can’t wait to see what you create this week!

DAY 1: MEASURING, PRINTING, & CUTTING
DAY 2: ASSEMBLING CUPS & FINISHING NECKLINE
DAY 3: PREPPING FRAME & ATTACHING CUPS
DAY 4: BACK BAND, CENTER SEAM, & BAND ELASTIC
DAY 5: ARMHOLE ELASTIC, BACK CLOSURE, & ADJUSTABLE STRAPS
DAY 6: GRETA
DAY 7: WINNERS ANNOUNCED
About our sponsors:
Tailor Made Shop offers a curated selection of high quality lingerie sewing fabrics and trims for the modern sewist.
Handcrafted goods. Digital designs. Made in West Virginia.


Leave a Reply