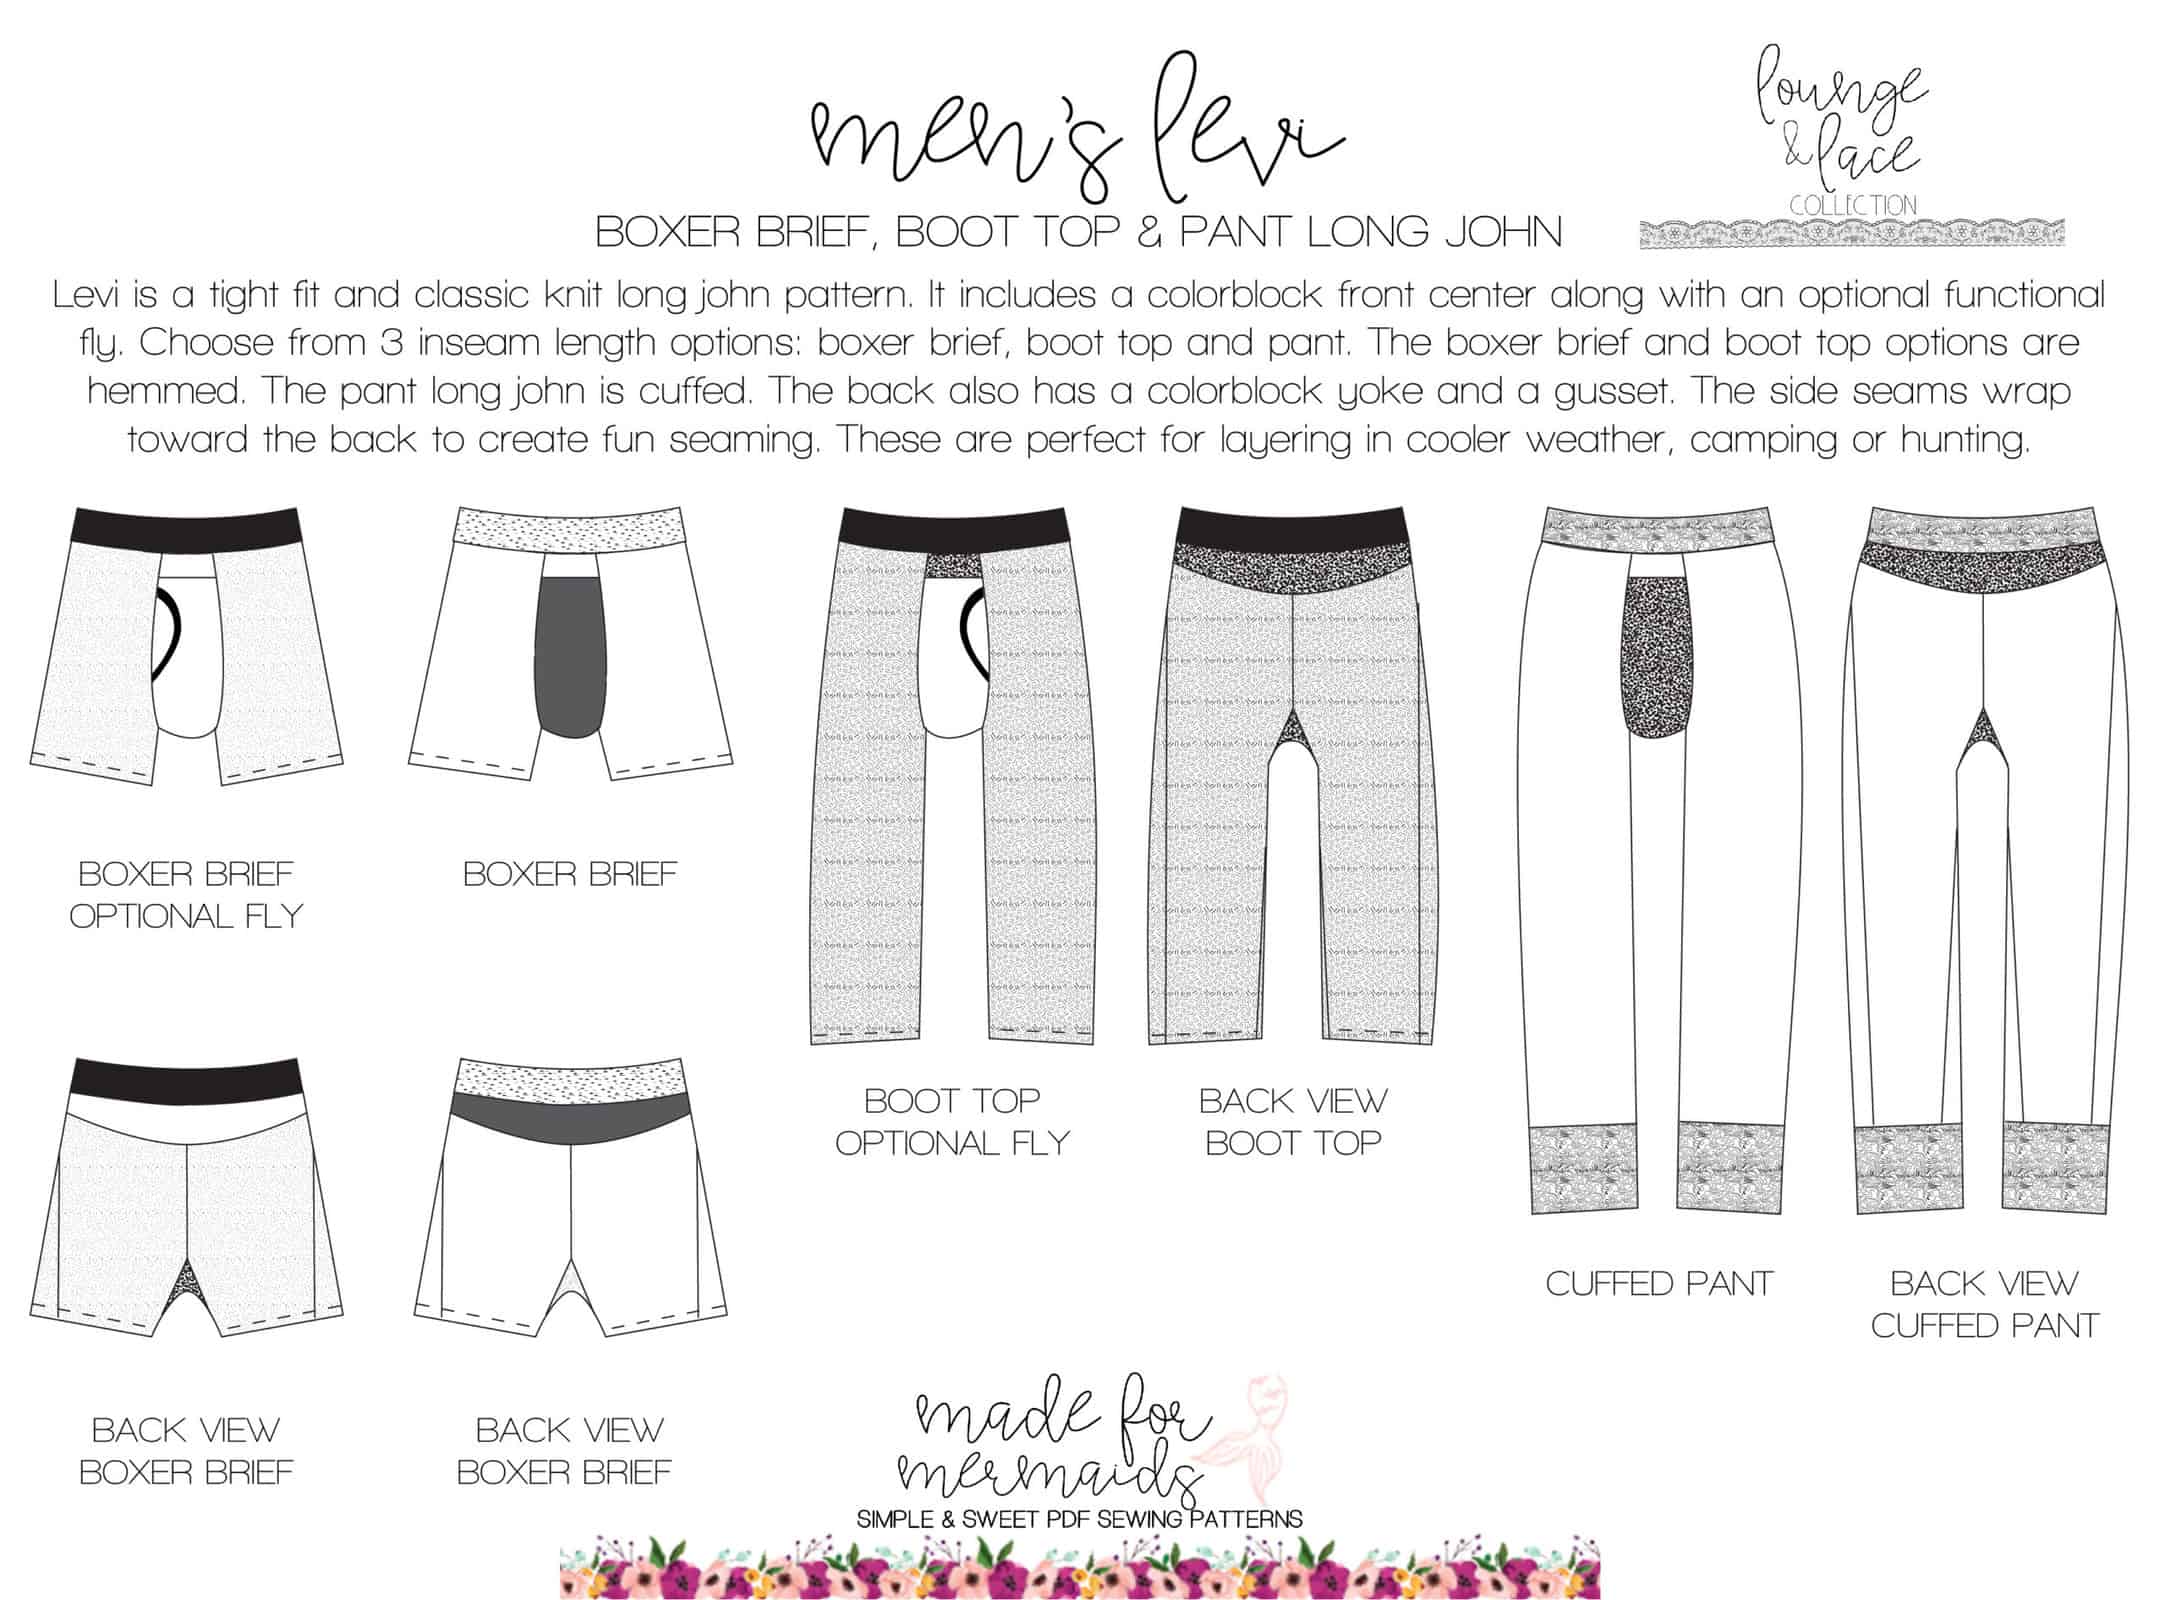
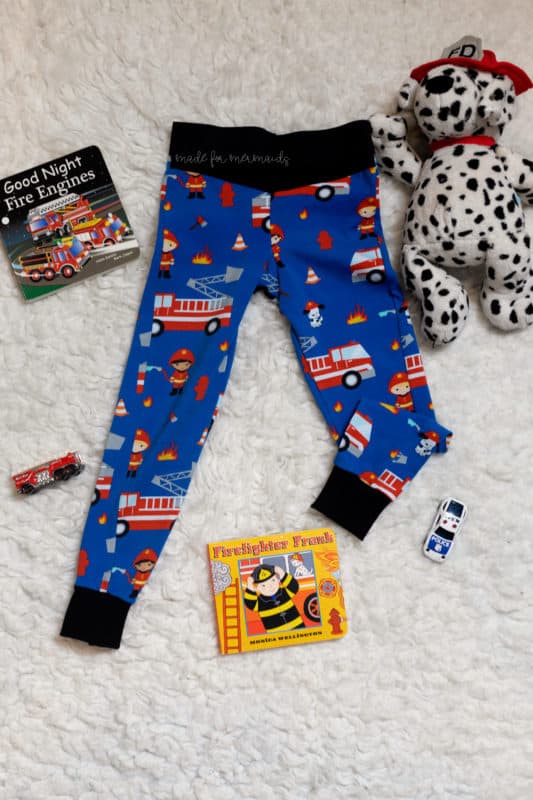
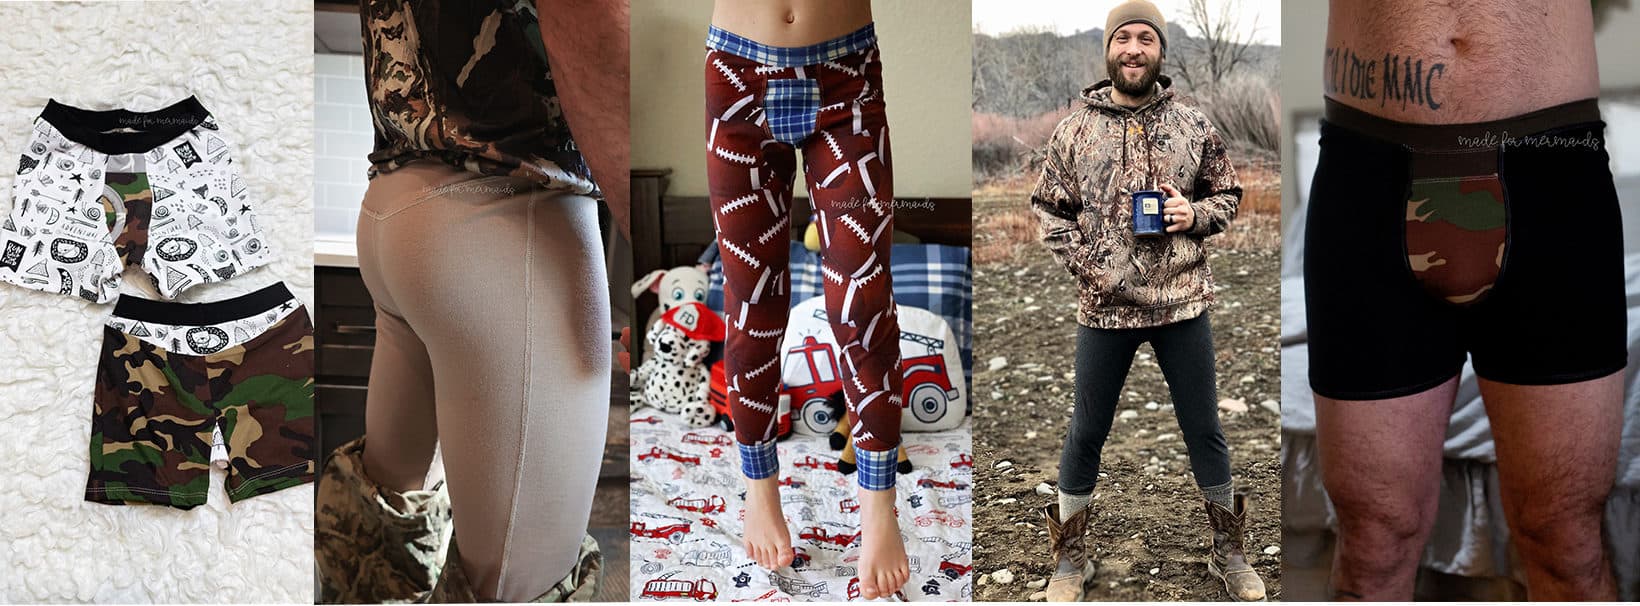
The new Levi is here! Levi is a classic-fit, knit long john with a built-in gusset and 3 inseam options: boxer brief, boot top, and cuffed pants. Levi is perfect for layering in cool weather, wearing as PJs or the boxer brief is perfect for everyday wear. The color-blocking and seaming make it great for mixing fabrics and using scraps. Don’t let the gusset scare you because it includes a step-by-step video tutorial too! Levi is available in both youth and men’s sizing.
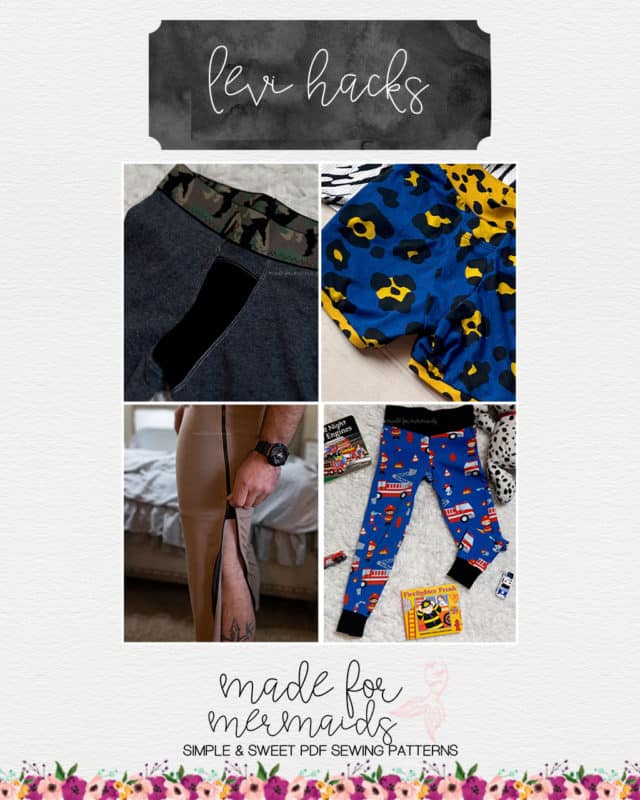
To get the most out of your Levi pattern, we have a few hacks designed to give you even more options! We hope you and the people in your life are just as excited about Levi as we are.
Leg Band Hack
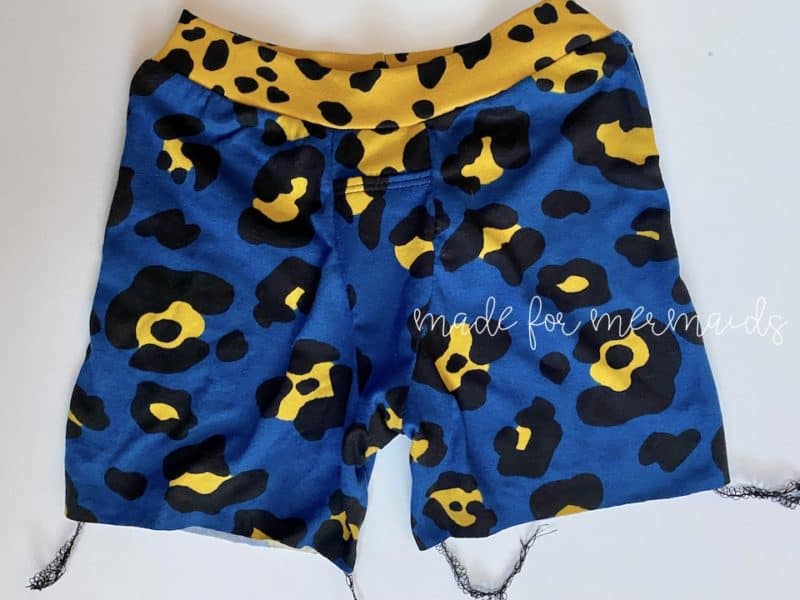
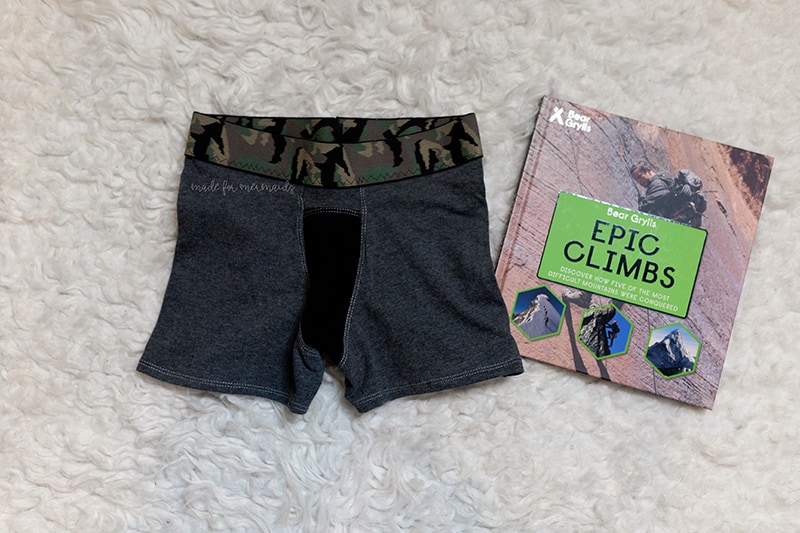
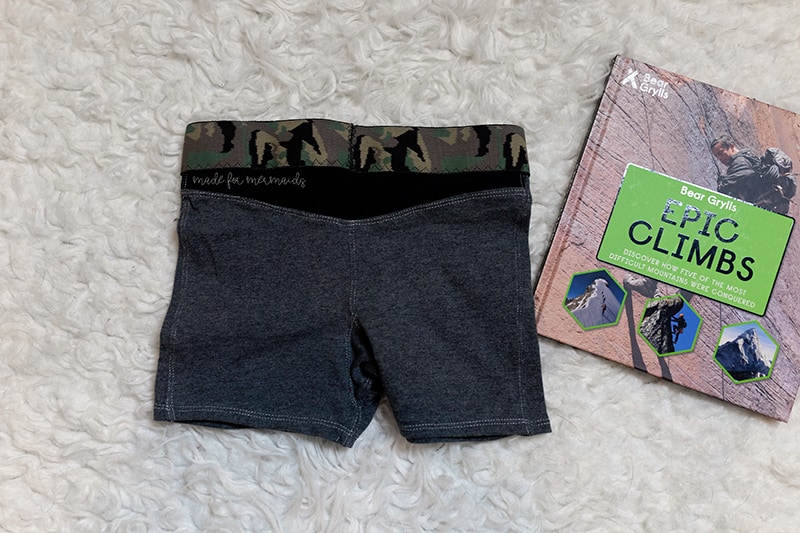
If you want to make Levis all on your serger, adding leg bands are a great option! I did this hack with the youth Levi boxer briefs, but the same process works for the men’s boxer briefs as well.
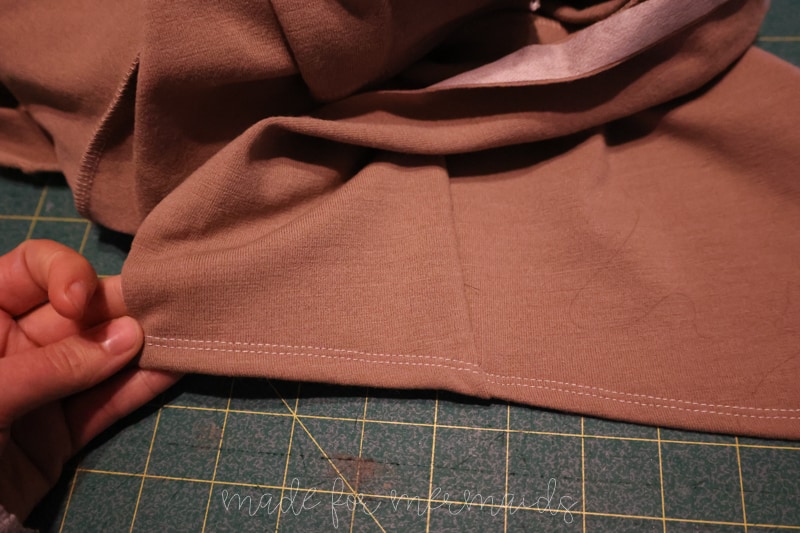
First up, follow all the steps in assembling the Levis, up until hemming the legs.
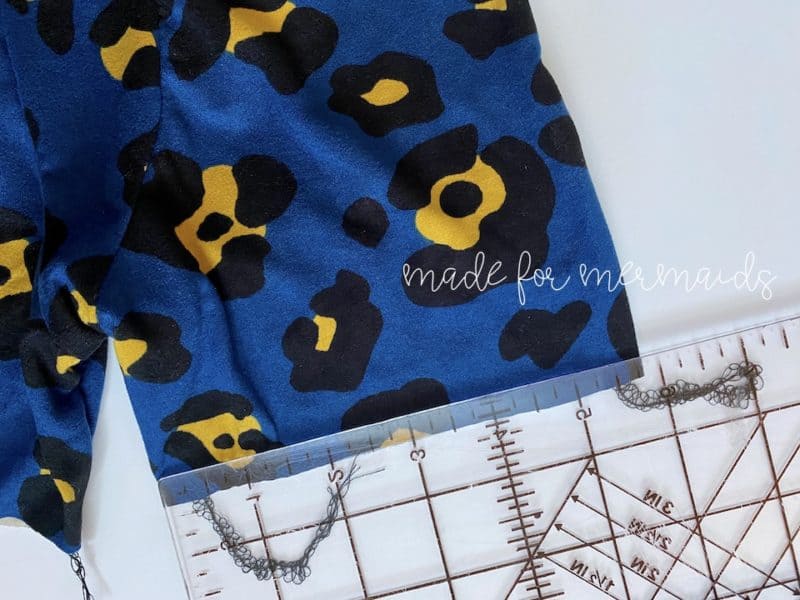
If you want to keep the inseam length included in the pattern, trim the legs 1/2″. Otherwise, this process will make the inseam 1/2″ longer. Measure the leg opening. I usually fold them in half, measure and double that measurement. In this case, I measured 5.75″, so I have a total leg opening of 11.5″. Next, use this formula to calculate the width to cut.
Leg opening x 0.95 + Seam Allowance doubled = 11.5″ x 0.95 + 1″ = 11.9″
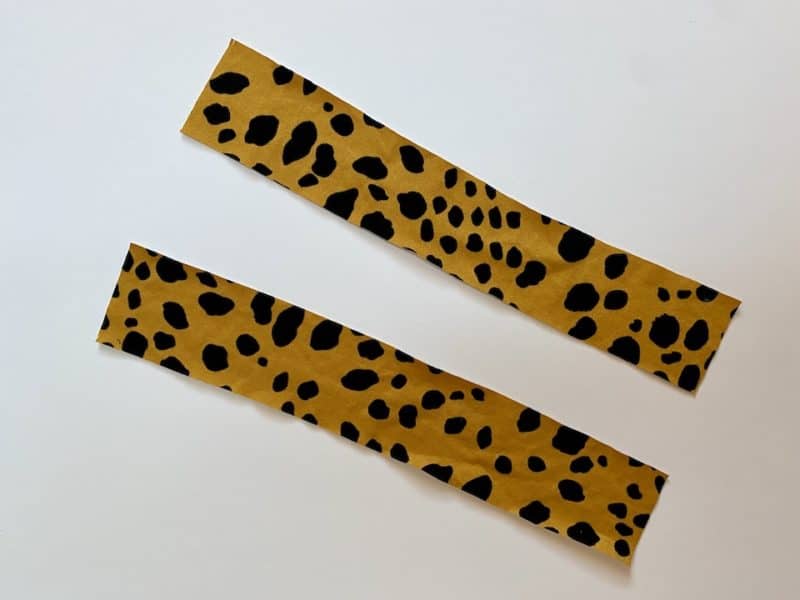
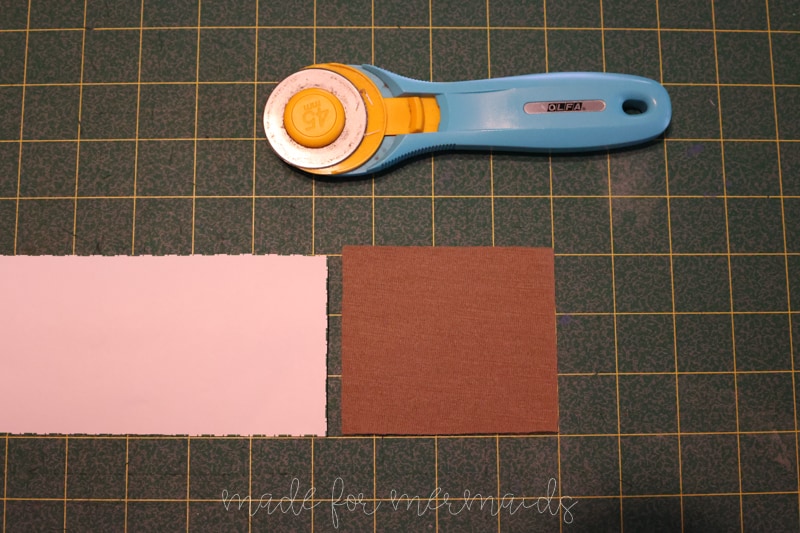
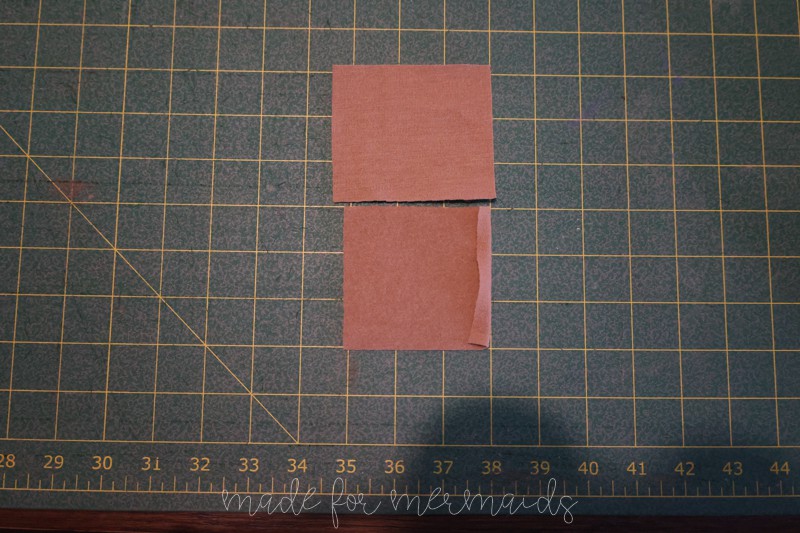
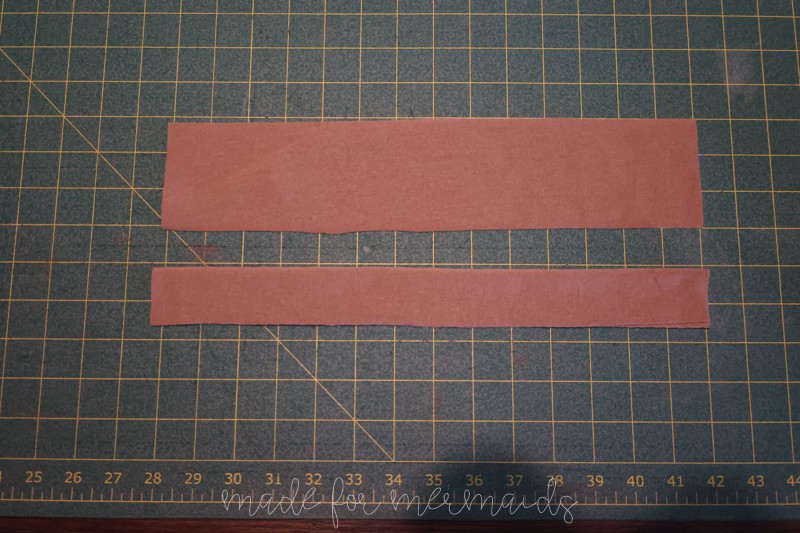
Cut 2 bands 11.75″ (I rounded down) x 2″. By cutting a 2″ length band, you’ll have a finished band of 1/2″.
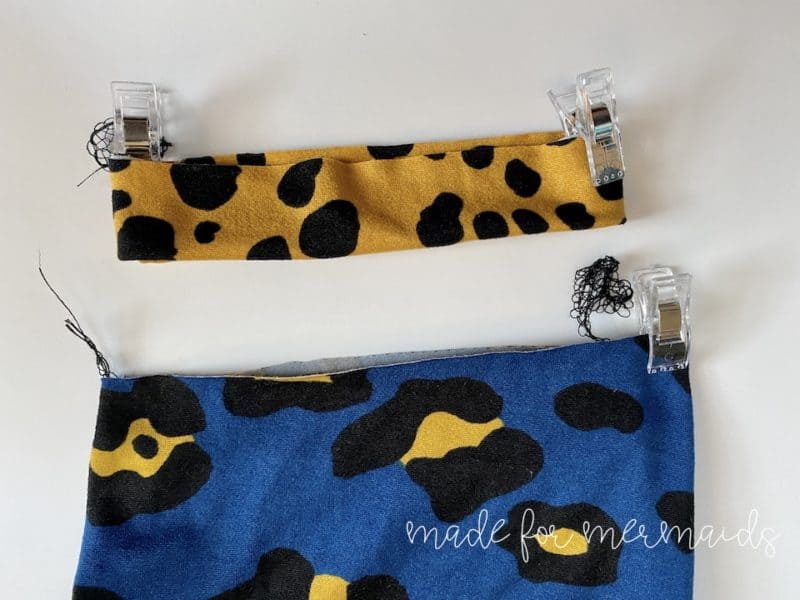
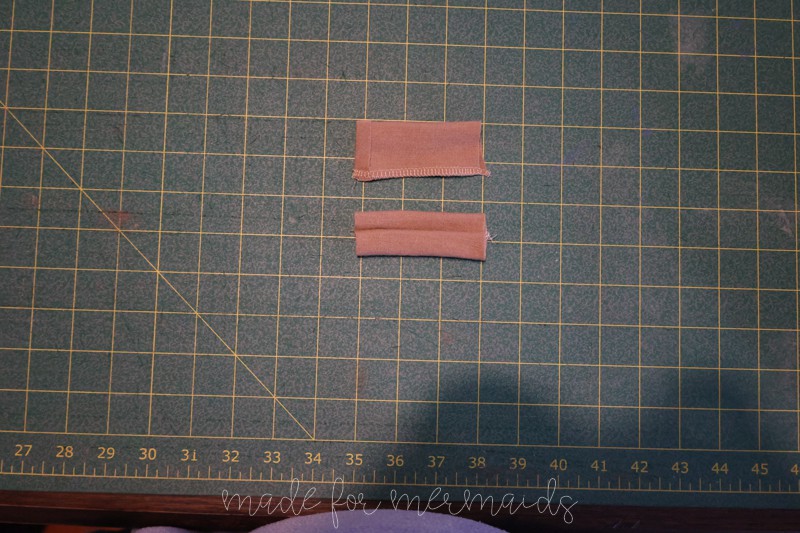
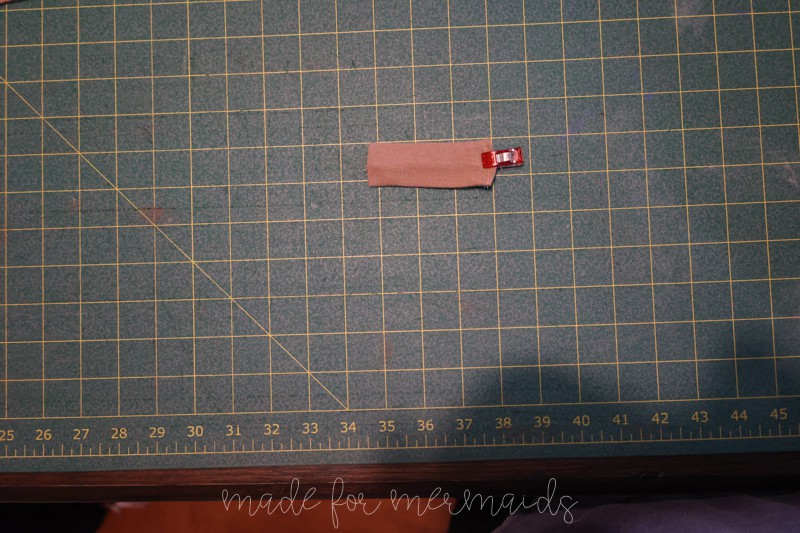
Sew your bands right sides together (RST) along the short ends. Turn wrong sides together (WST) and quarter with clips/pins. NOTE: If using smaller sizes, as pictured, you can just clip at the seam and the mid-point). Now, working with the main boxer piece, place a clip at the inner seam on one leg. The outer seam is not the midpoint so fold and find that.
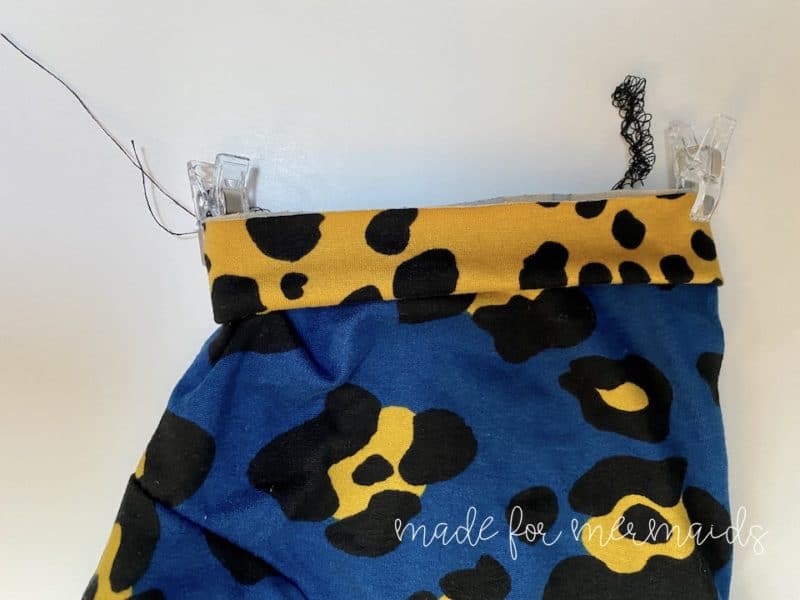
Add your band to the leg opening with raw edges together, lining up the clips you just placed. I prefer to put the band seam on the inner seam so it’s hidden. Sew with 1/2″ seam allowance, stretching only the leg band and not the boxers. Repeat the same process for the other band. Optionally, topstitch band seam. Press as needed.
Not only do the leg bands allow for Levi boxer briefs to be made exclusively on a serger, they also can provide a fun pop of color. Happy sewing! ~Katie
Exposed Elastic Hack
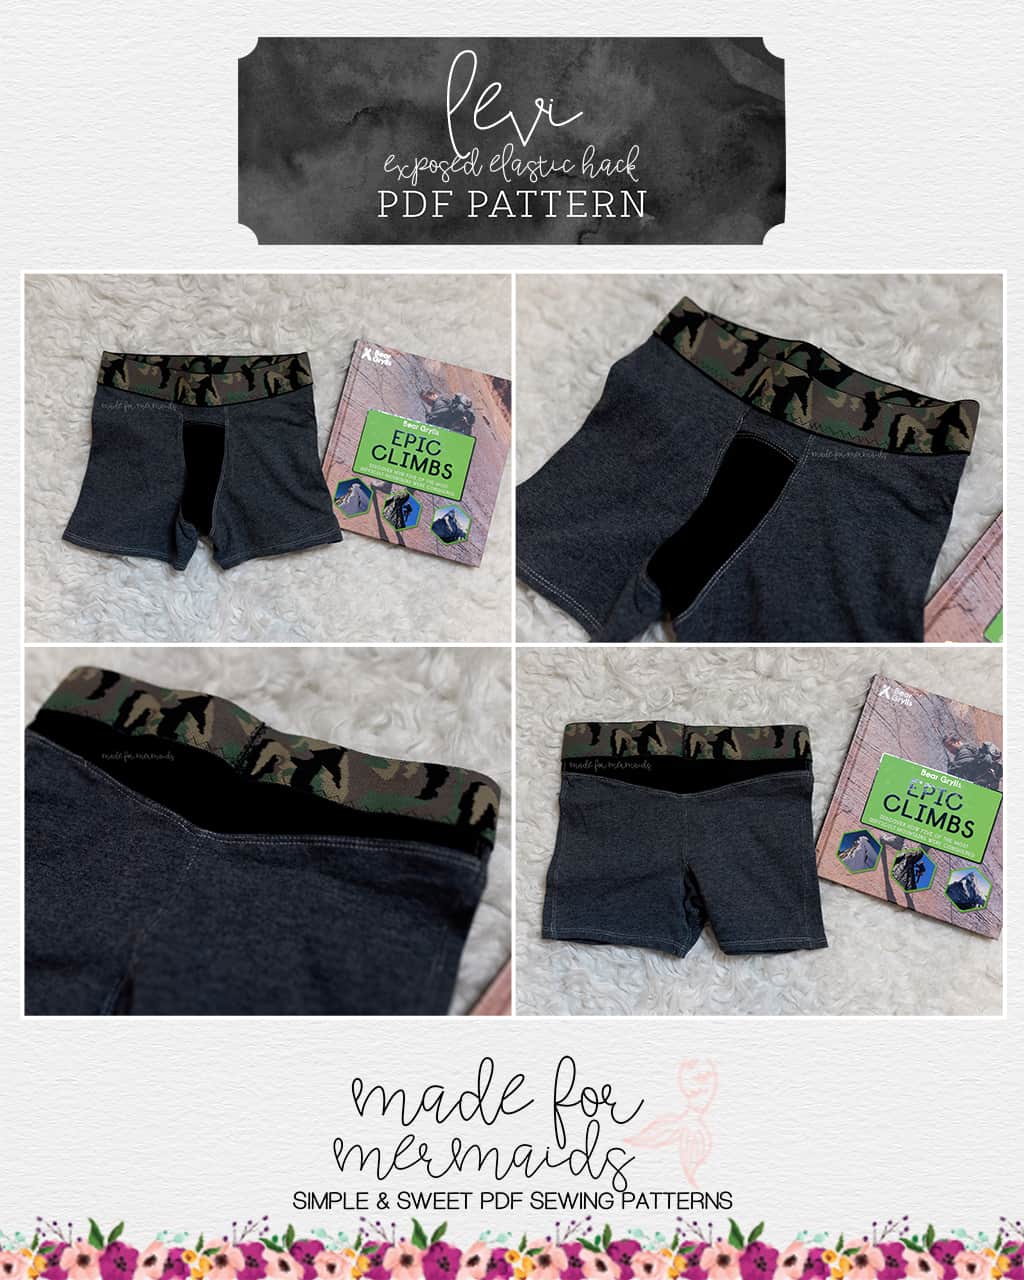
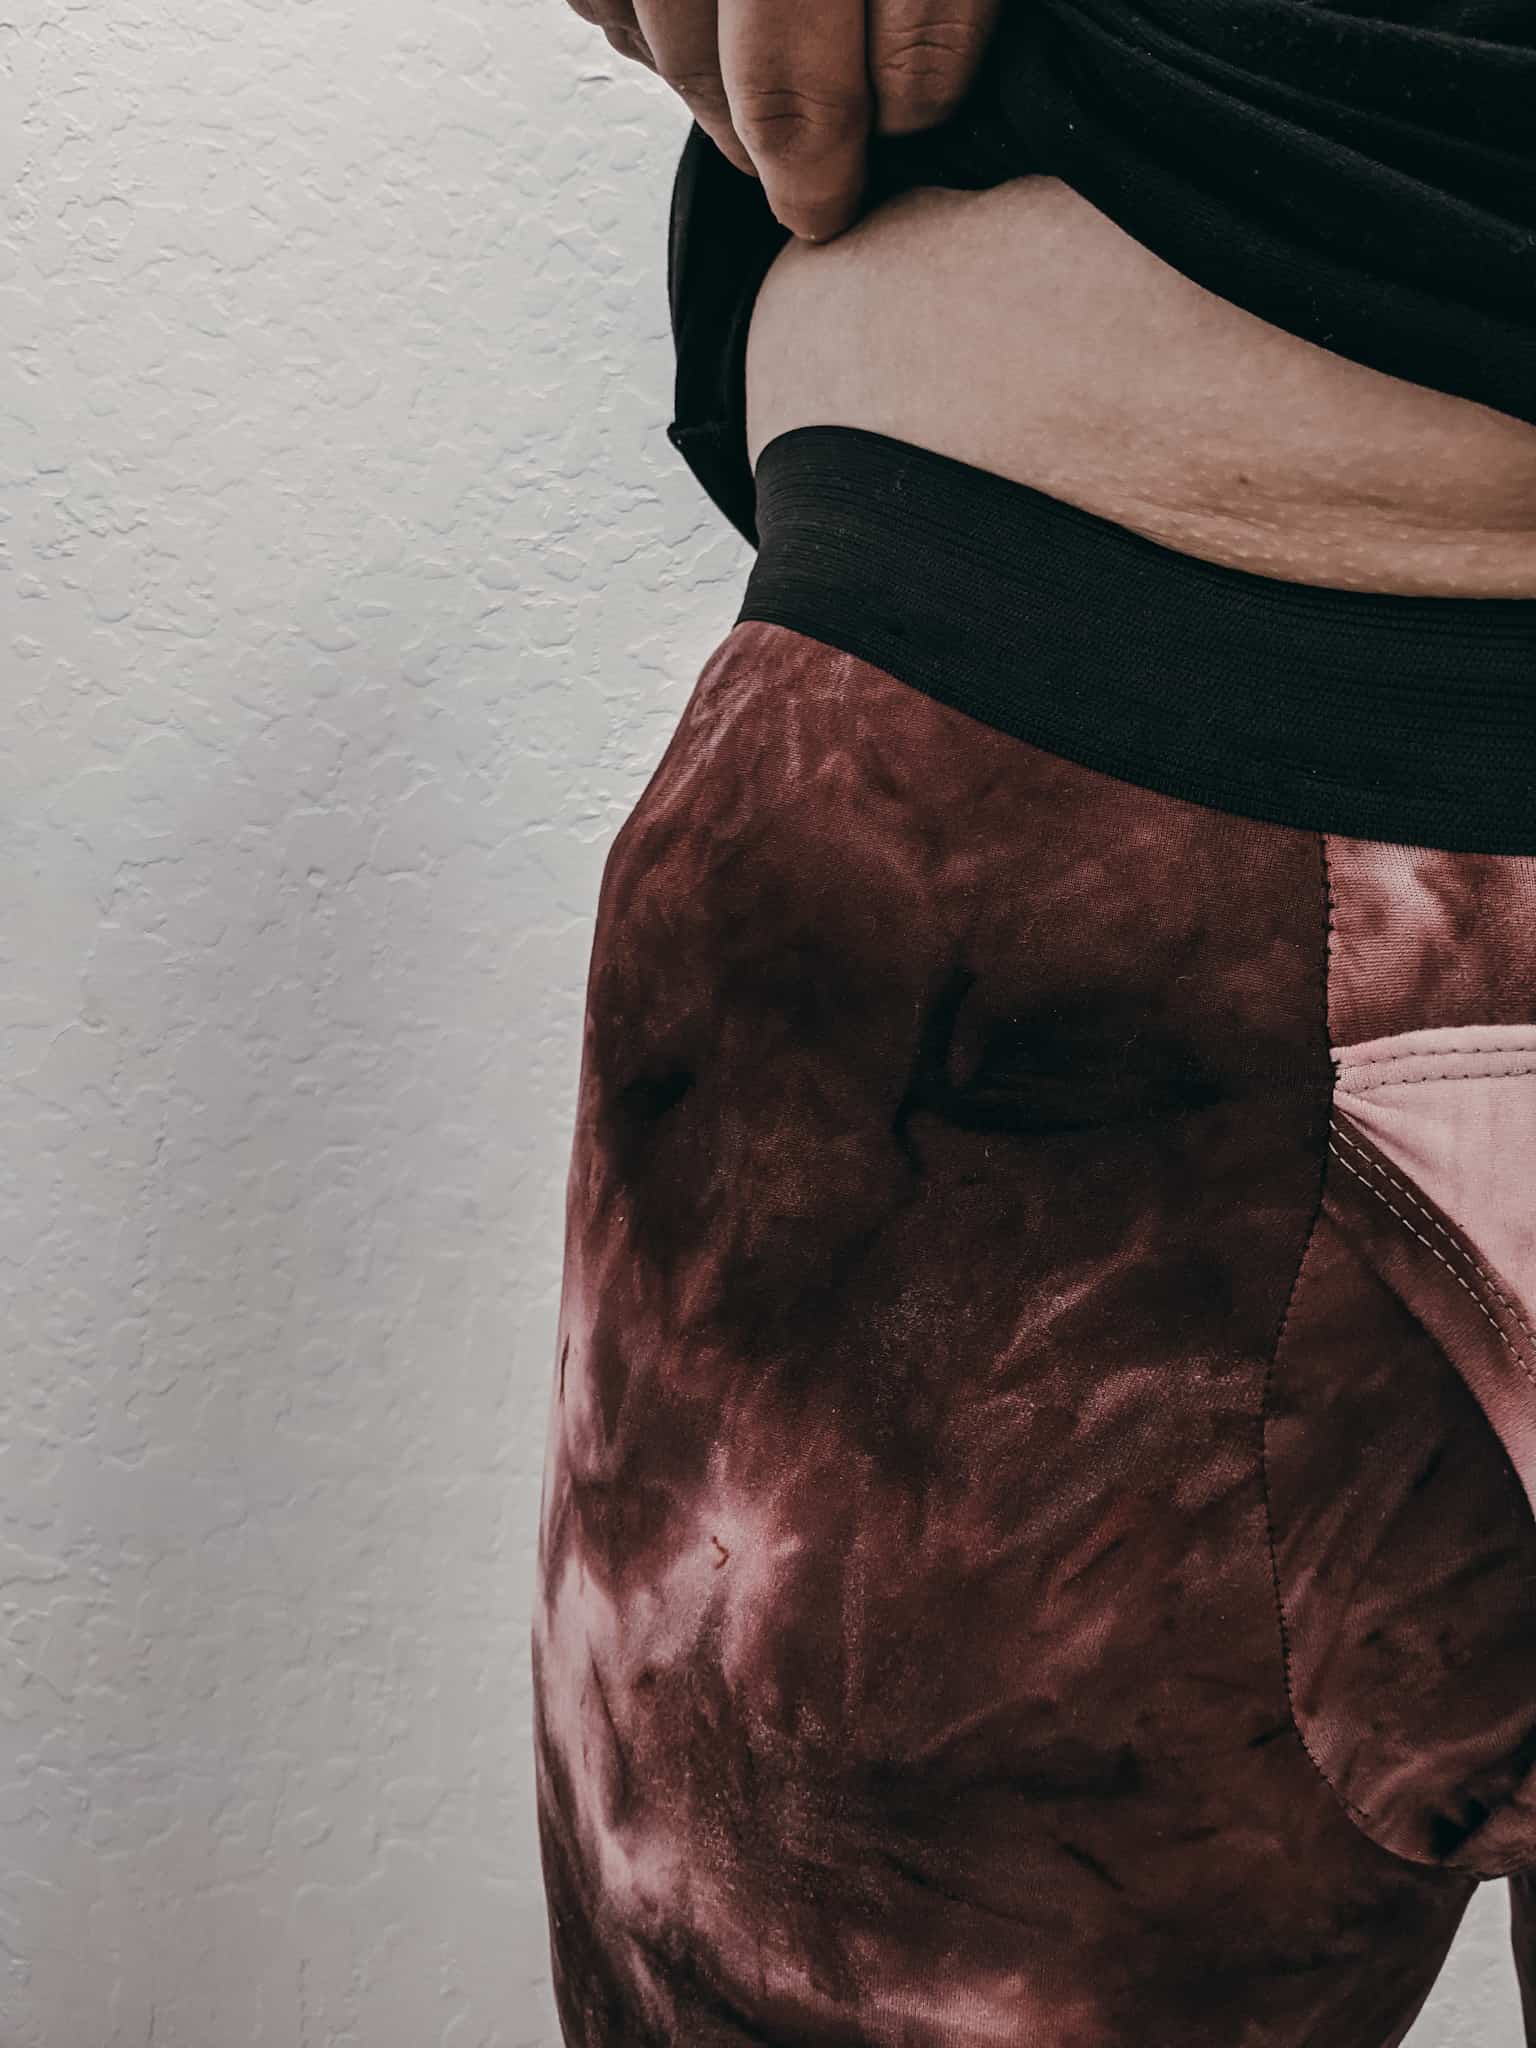
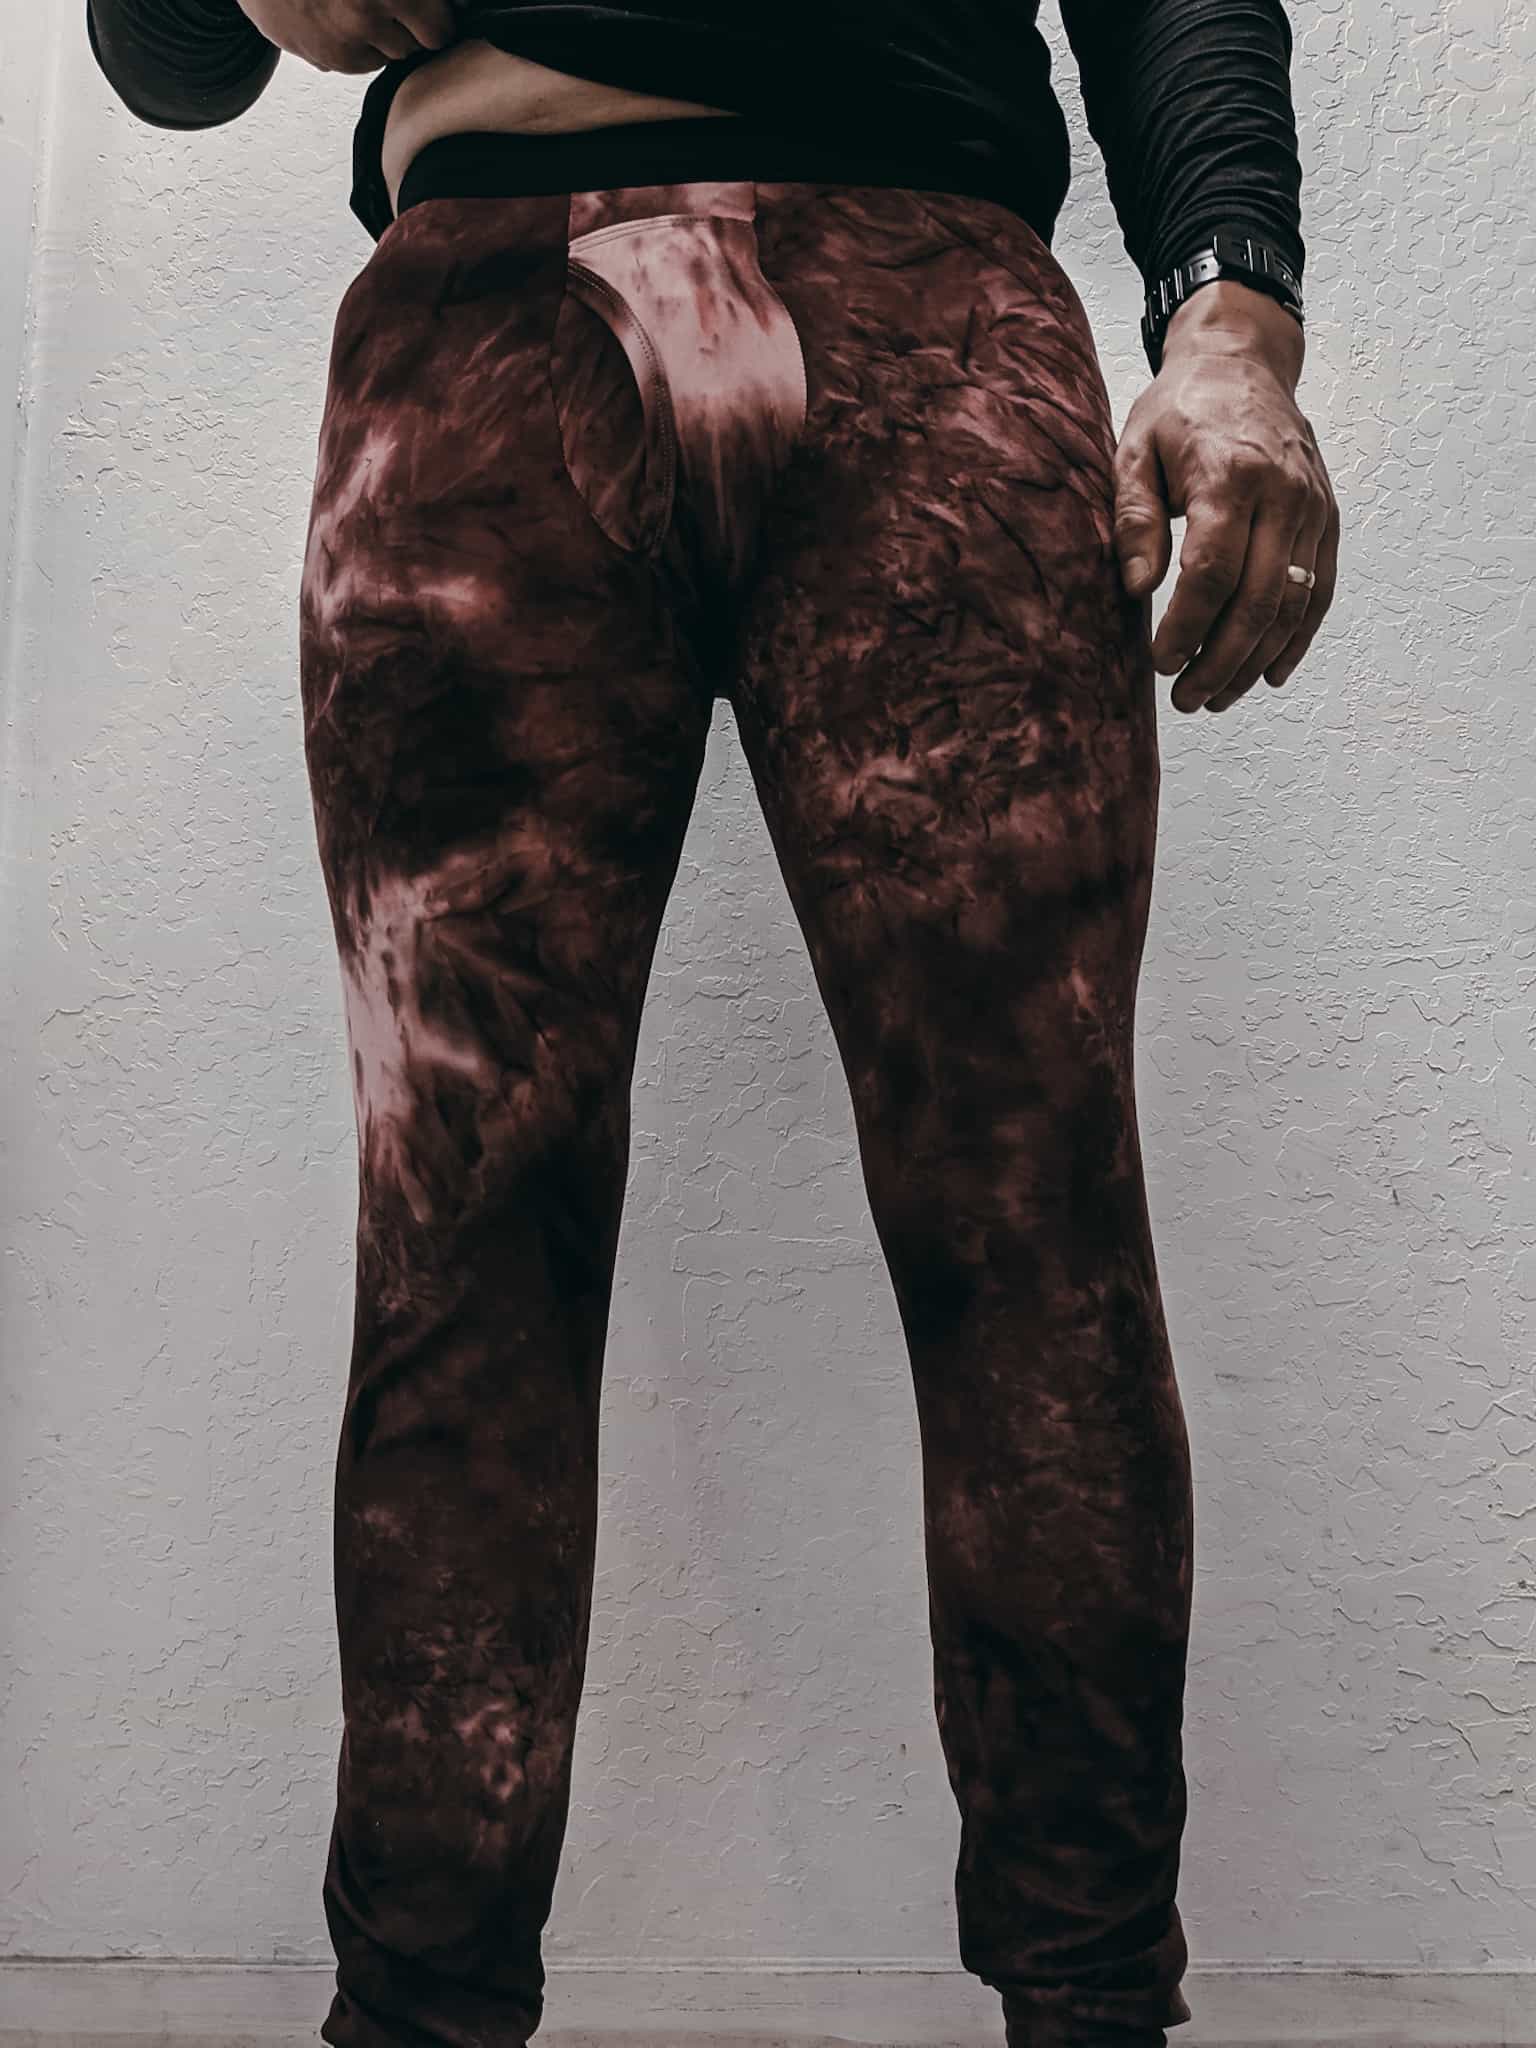
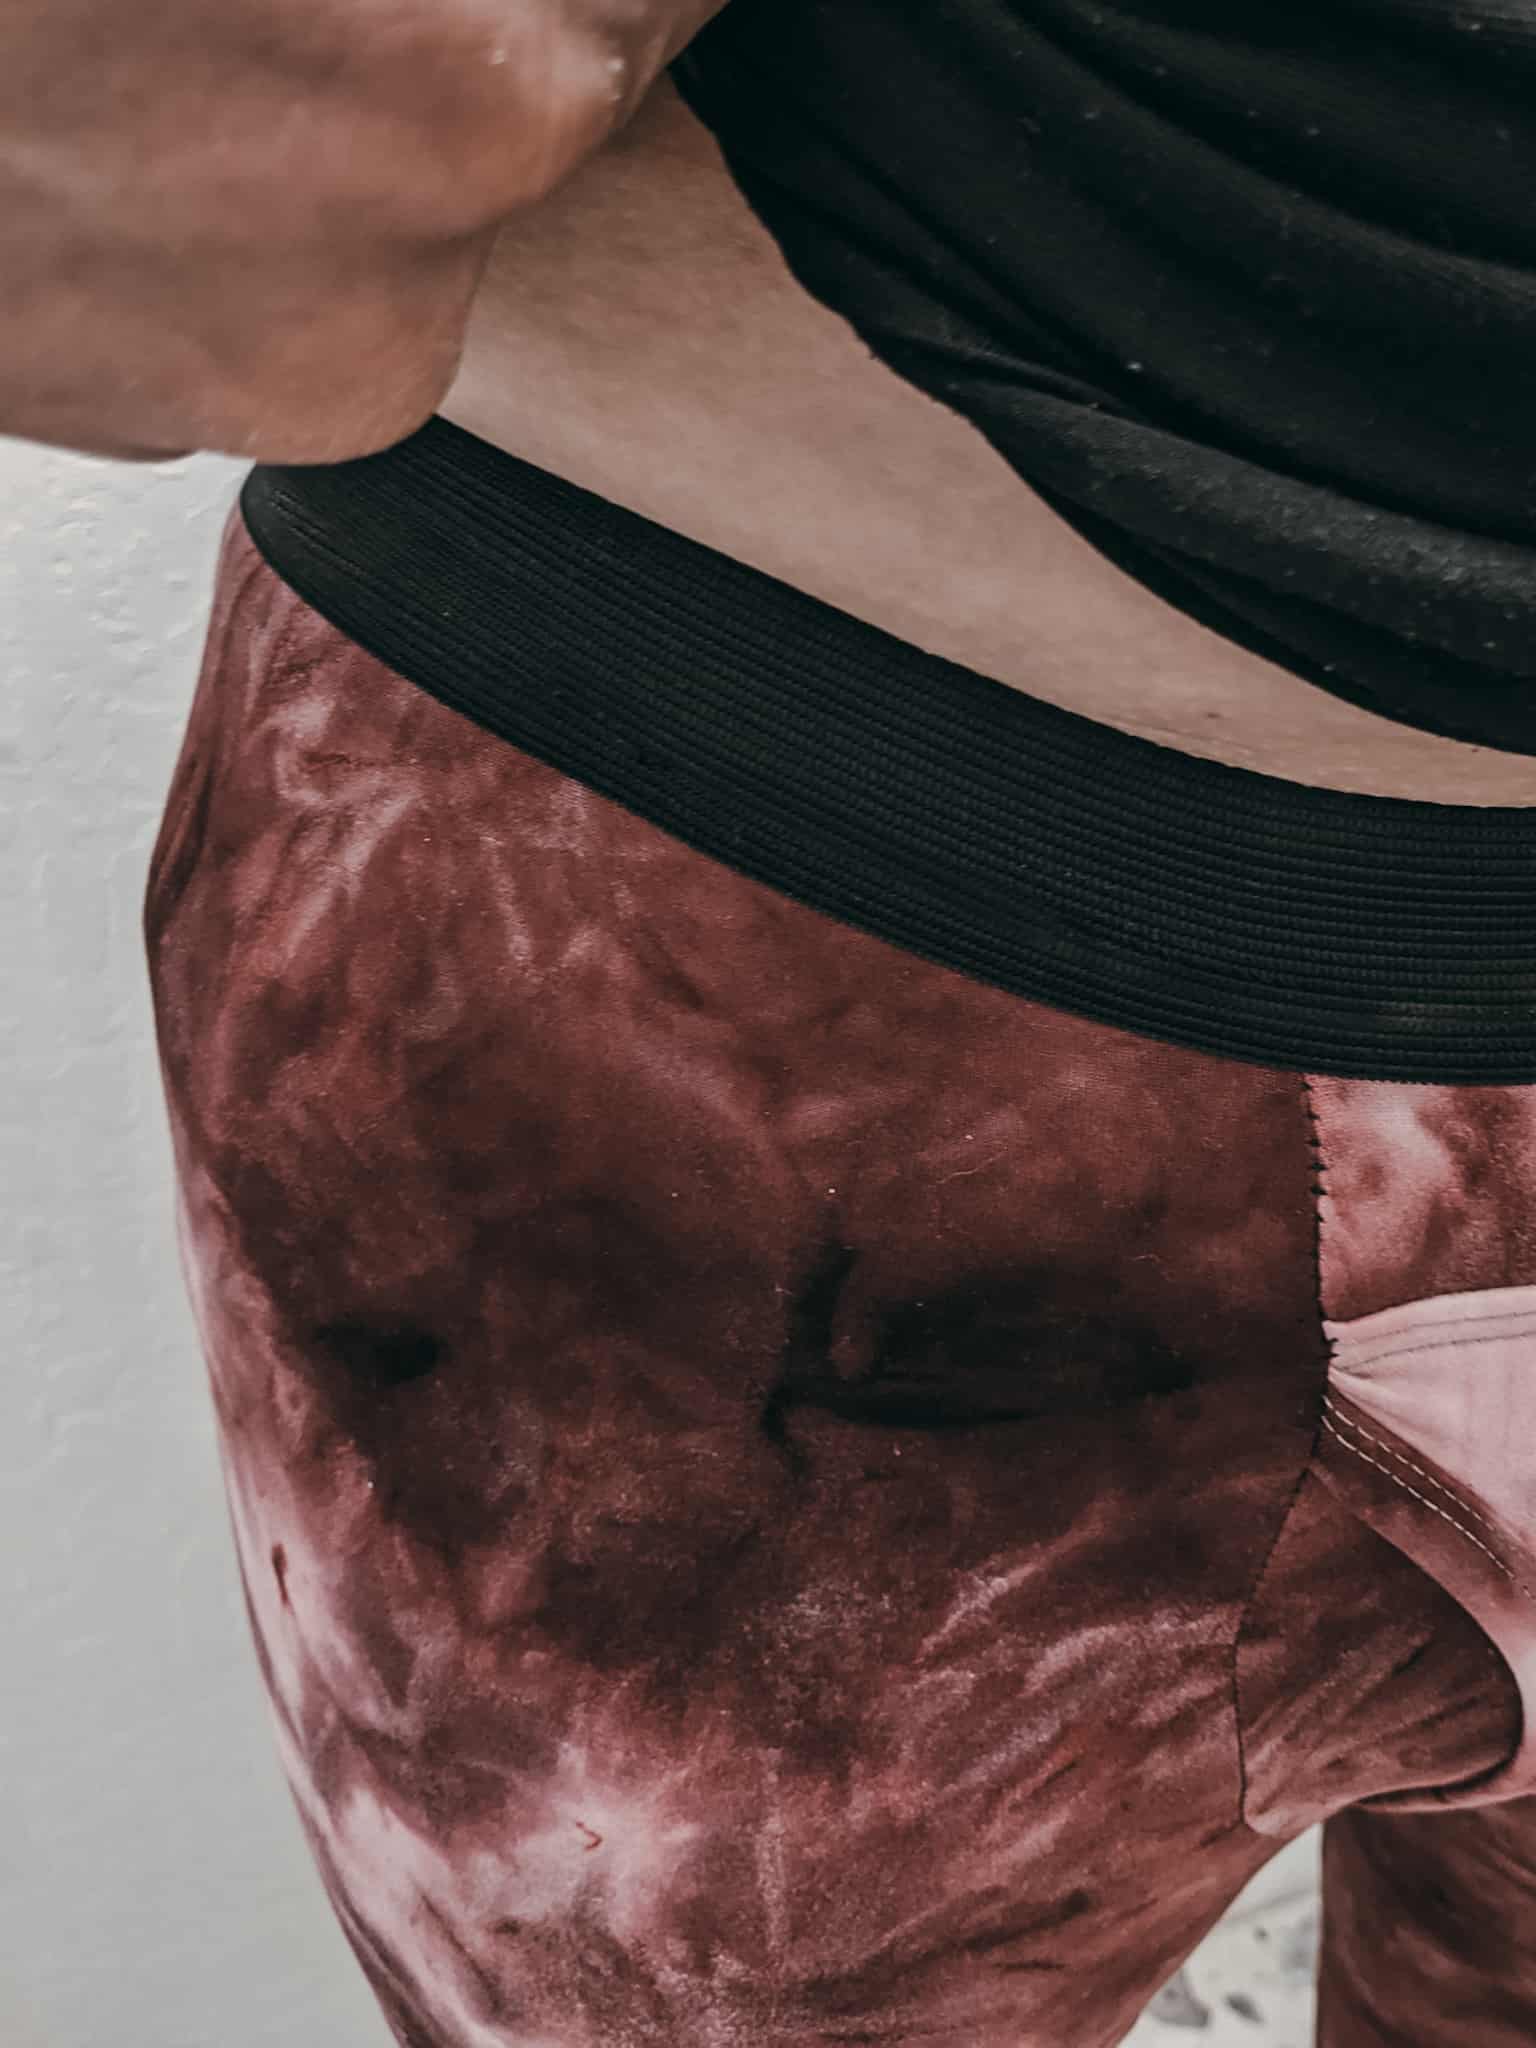
Hi Merfriends and happy new year! My husband was very excited for 2021’s first release, Levi! He runs the frozen department at the grocery store he works for and the dude is ALWAYS cold…even in California summers. Anyway, he’s excited for all of the Levis I’m making him, and I wanted to share a hack with you! Adding an elastic waistband is easy peasy lemon squeezy, and I’ll show you how.
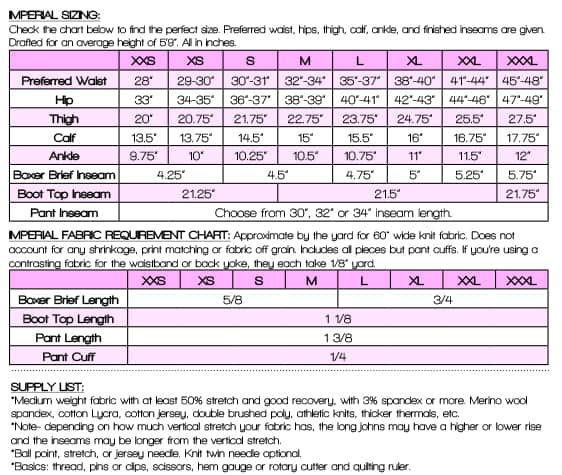
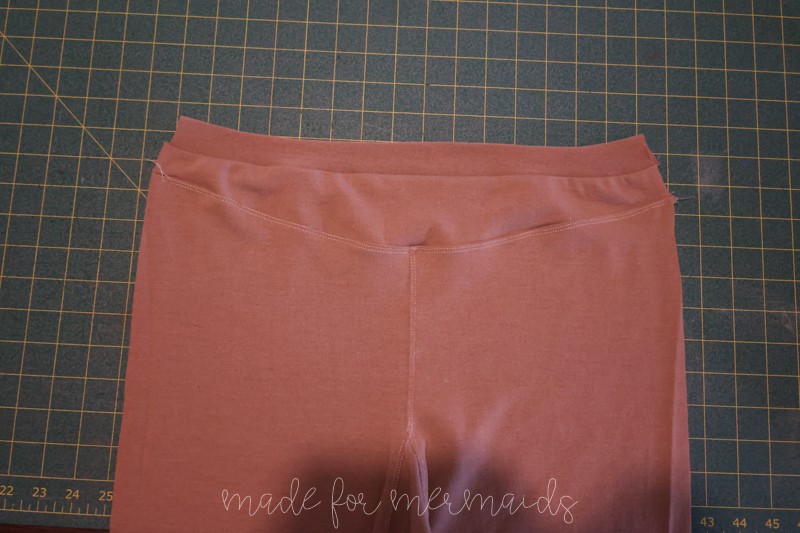
The only extra thing you will need is the exposed elastic. To start, cut all of the regular pattern pieces needed for the option you are sewing, EXCEPT the waistband, because we’re using elastic! For the elastic, you’ll take the preferred waist measurement and subtract an inch and that’s the length you need!
Go ahead and sew straight through the tutorial stopping for the last step, Step 11: Waistband.
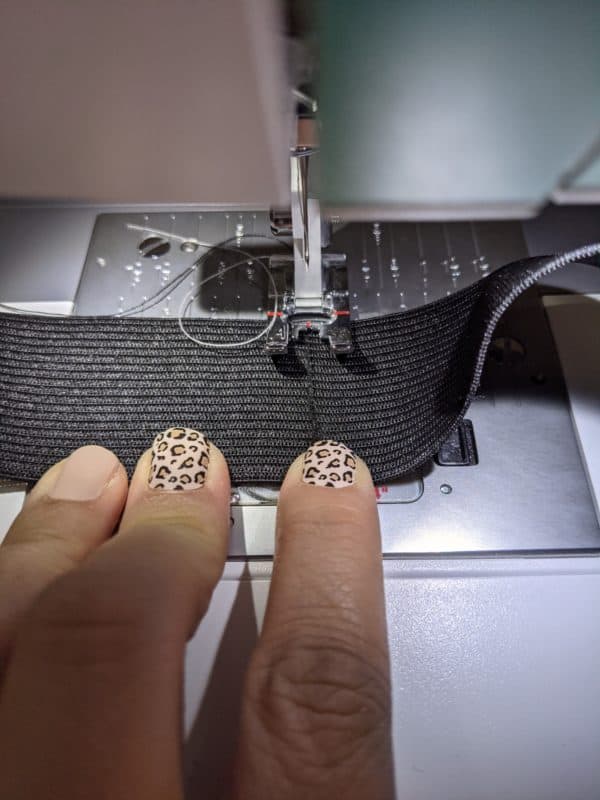
First, butt the ends of the elastic together then sew them together using a wide zig-zag stitch.
Mark a seam line 3/8″ below the waist using a fabric pen or chalk.
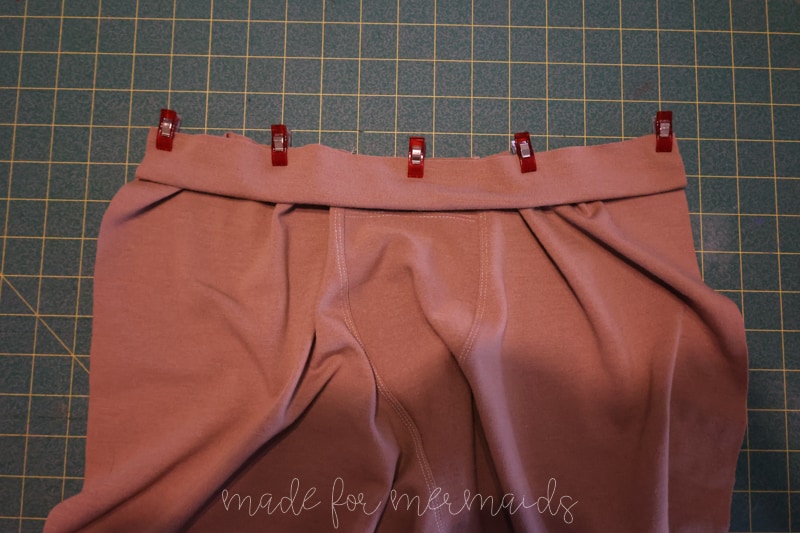
Next quarter both your waistband and the long johns. Align the elastic with the line you marked above being sure to match the quarter points and pin in place. Alternatively, you could also hold it in place using Wash Away Wonder Tape.
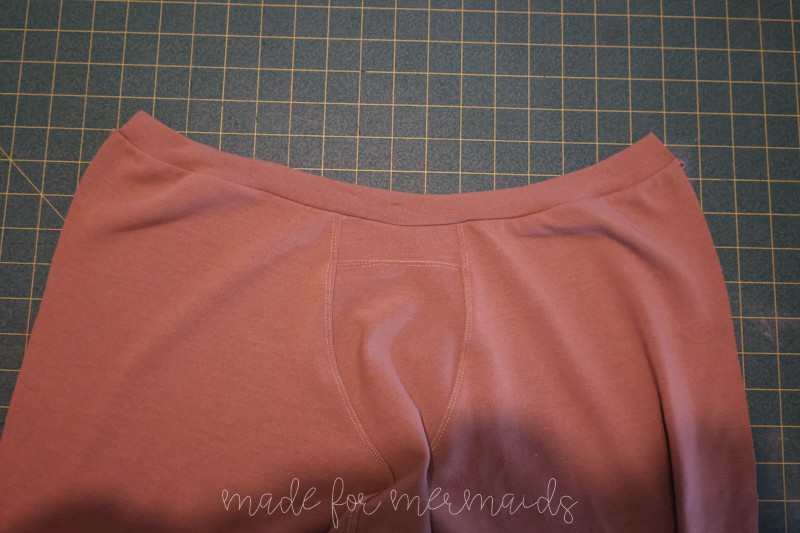
Attach the waistband using a high stretch stitch and you are set!
-Christina
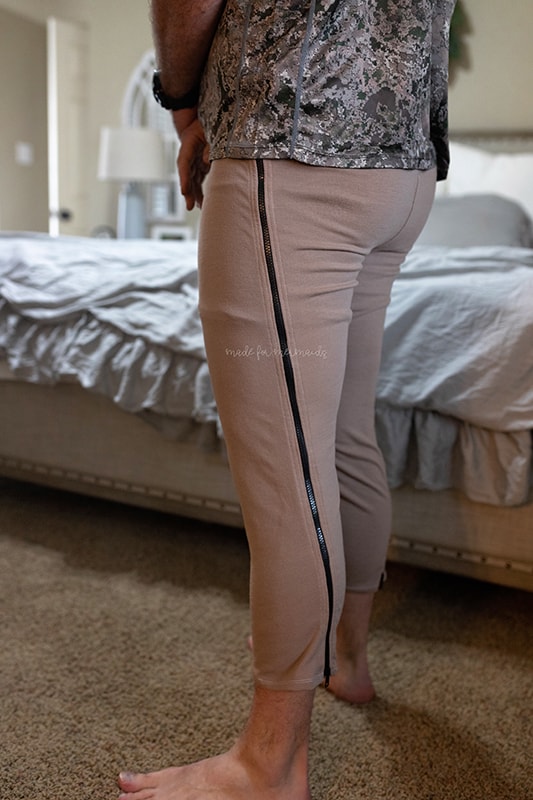
Zip-Off Hack
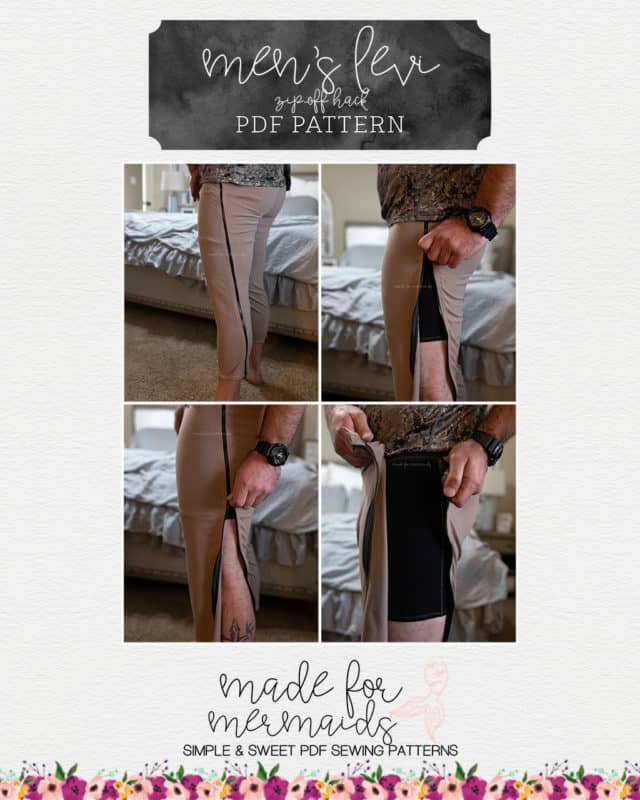
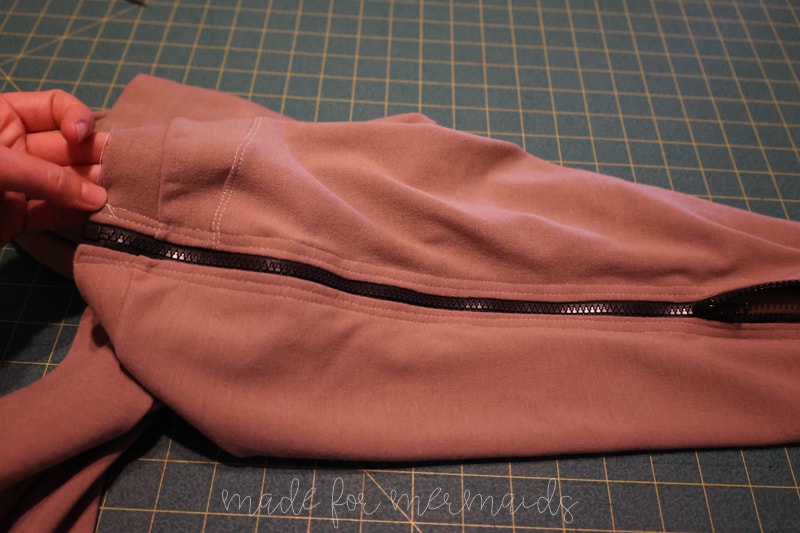
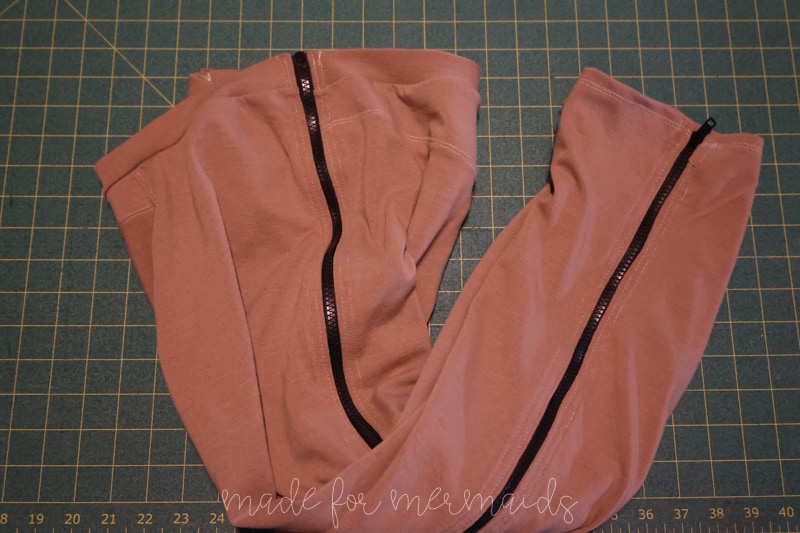
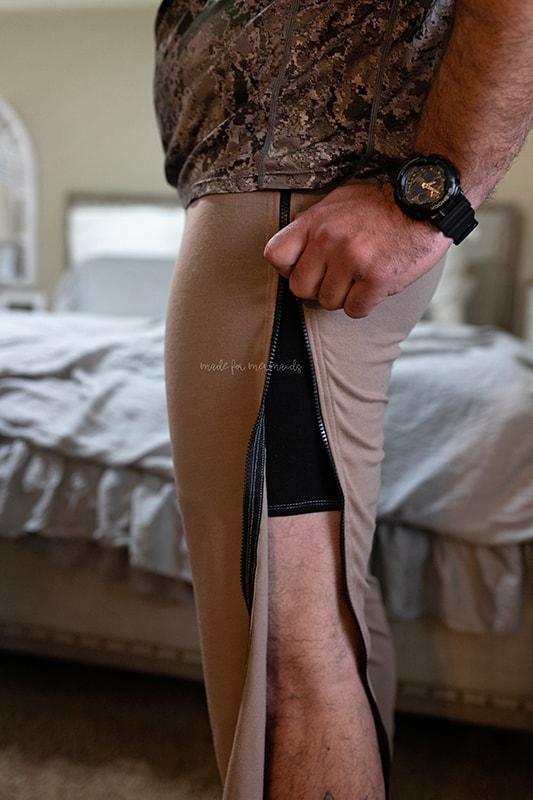
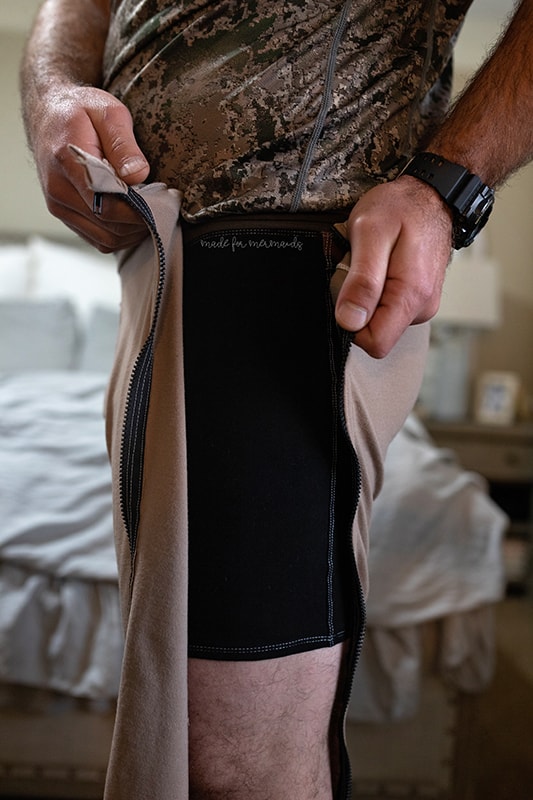
If you or the Levi wearer is an outdoor enthusiast, like my husband, this hack will come in handy! The zip-off option makes it possible to remove a base layer while backpacking/hiking/hunting without the hassle of taking off a pack and boots! Which makes it quicker and much easier. I did this hack on the boot top option because that’s my husband’s favorite. The bottom of the boot top is hemmed, which also makes it easier to hack.
You’ll need to purchase 2 separating zippers along with your normal supplies. I got the 33″ zippers off of Amazon. You can measure the outseam and decide how long, or just get an extra-long one and shorten it to your desired length. I also used some knit interfacing.
For this hack, you’ll need to adjust the waistband. You’ll want to add 1/2″ to the fold side and cut 2 waistband pieces. Your other pieces will all be cut normally.
I wanted to add a zipper guard along each side, so cut 2 pieces 3.5″ and used my waistband as a guide for the height (3″ for the men’s size).
Press 1/4″ toward the wrong side of the zipper guard piece. Then fold in half, right sides together and stitch together with a 1/2″ seam allowance. Turn right sides out and press seam toward the center. Then closed the pressed underside by edge stitching in place. Repeat the entire process on the other zipper guard piece and then set them aside.
You’re going to assemble your long johns exactly like the tutorial through step 6, stopping before you stitch your side seams. Instead of stitching your side seams, stitch your inseam like step 8 in the tutorial. Then go ahead and hem the bottom of the long john per step 9 in the tutorial, but they will be flat. Only the inseam will be sewn, not the side seam.
Press your waistband pieces in half, wrong sides together.
Then attach one waistband piece to the front. Optional: press seam toward main pieces and topstitch in place. Repeat step, attaching the other waistband piece to the back.
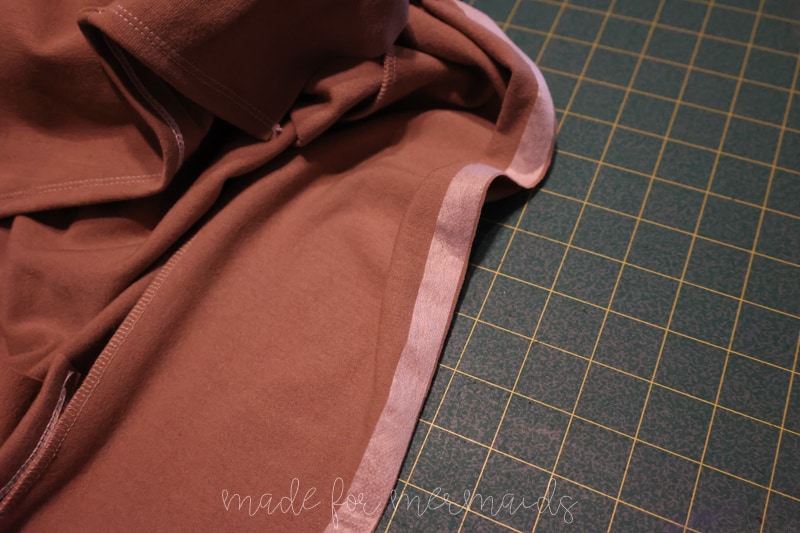
Optional, but highly recommended to add a 1/2″ strip of knit interfacing along the wrong side of each side seam.
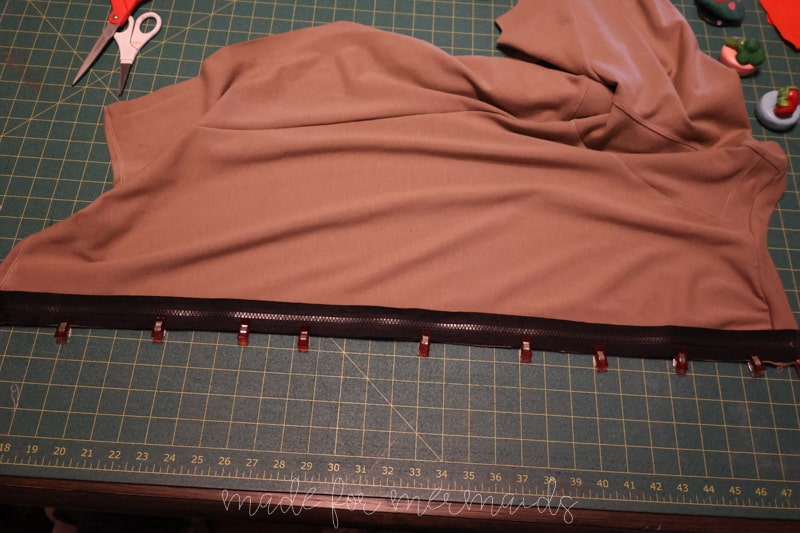
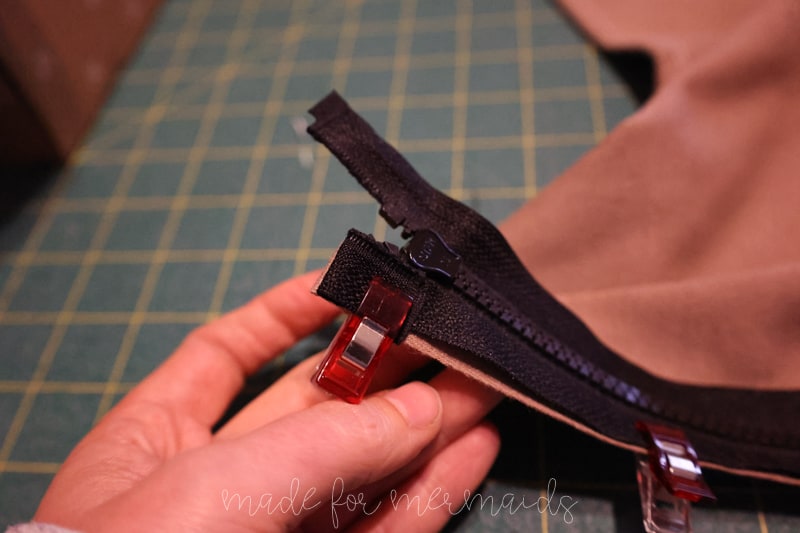
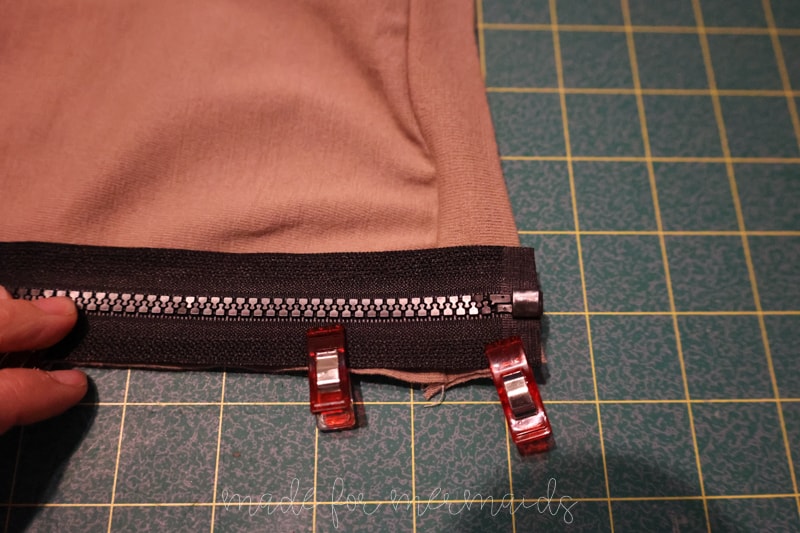
With right sides together, pin zipper to the front of the long johns along one side seam. The zipper pull should be along the hemline and zipper stop at the waistband.
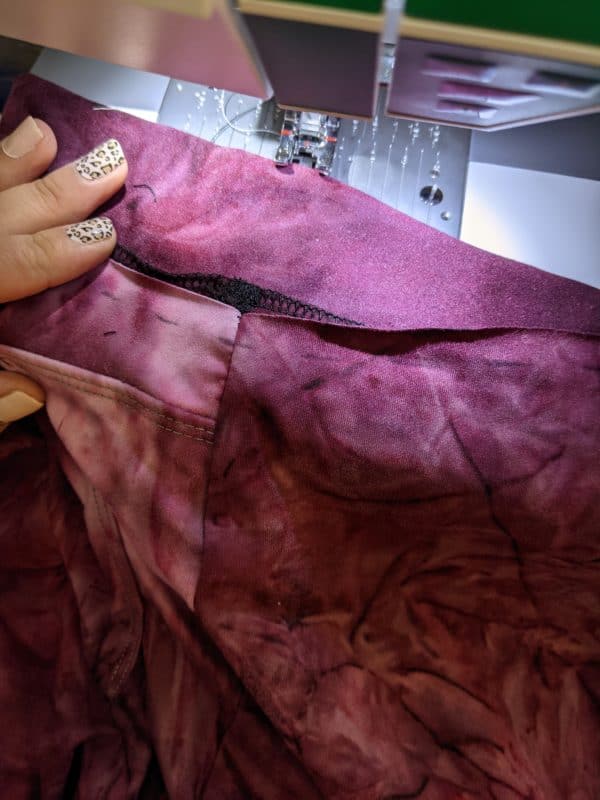
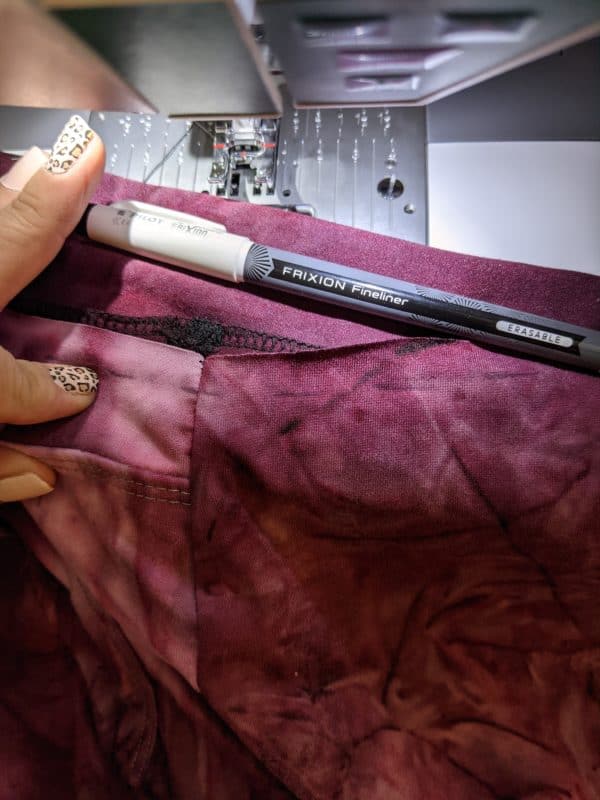
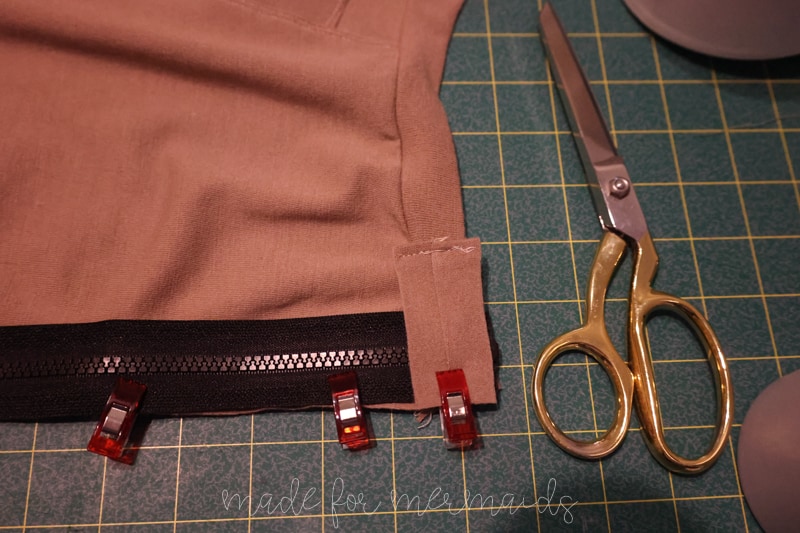
Add the zipper guard along the top, near the waistband, with right sides and raw edges together. Trim the zipper guard to your preferred size. I thought 2″-2.5″ was great.
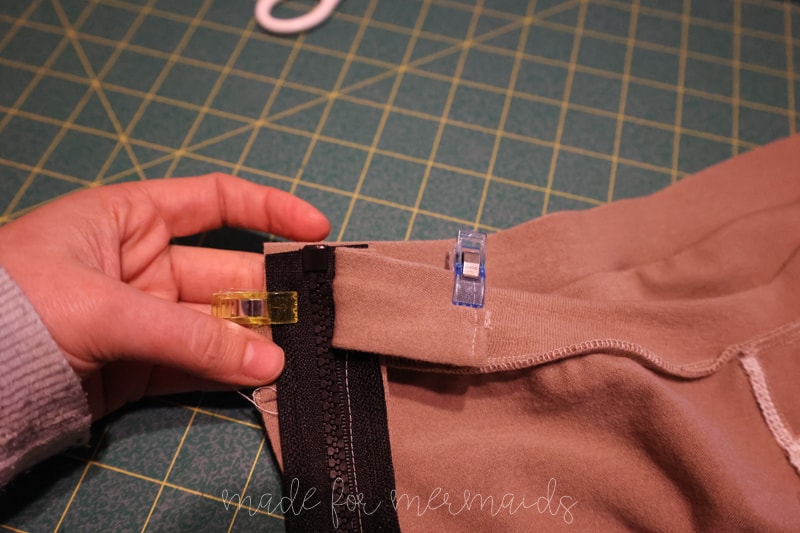
Now stitch the zipper to long johns with 1/2″ seam. Then press the seam toward the wrong side. Attach the other side of the zipper to the back leg. Make sure your zipper guard is out of the way when sewing so it doesn’t get caught in the seam.
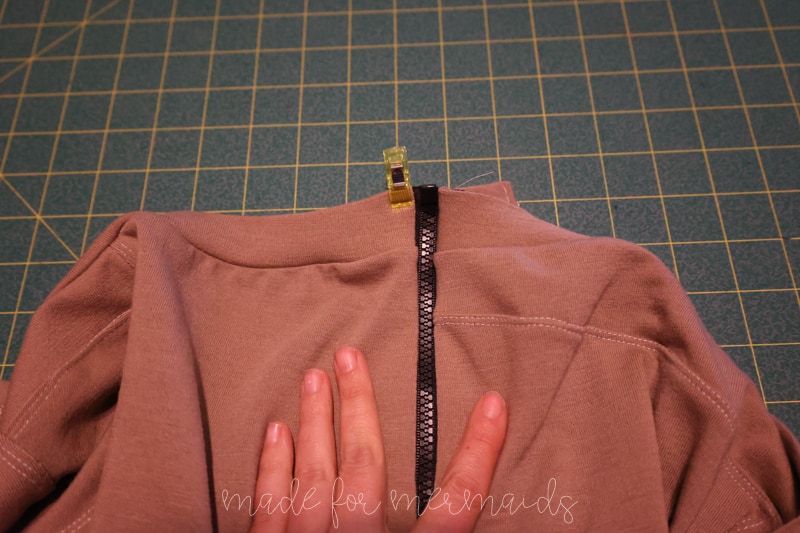
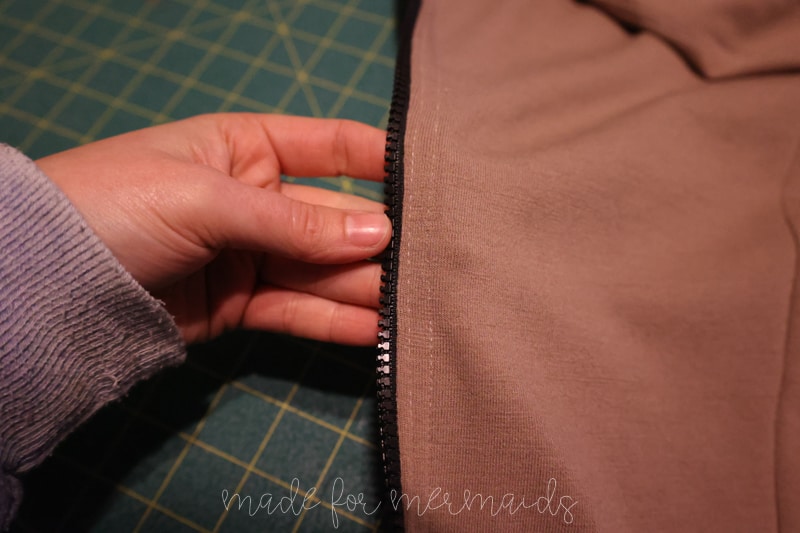
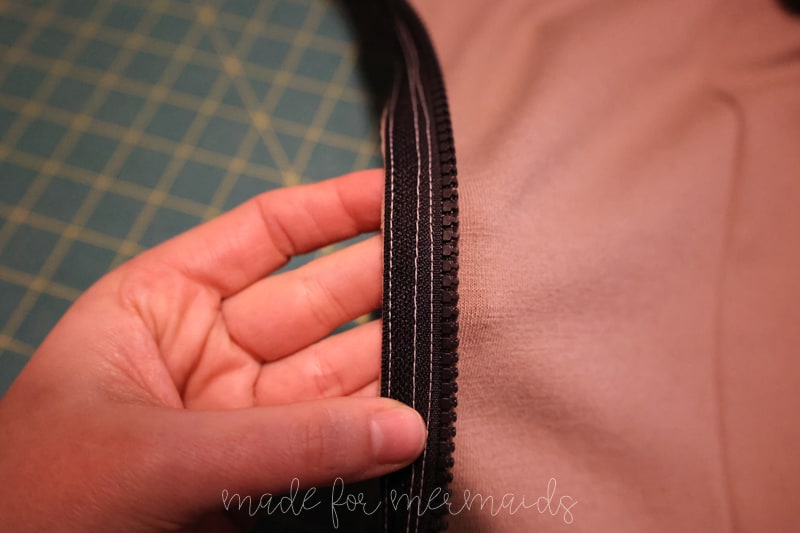
Topstitch along each side of the zipper to hold the seam in place. I like to stitch as close to the zipper as possible and then again along the zipper tape edge.
Repeat zipper/zipper gaurd installation along the other side seam and you’re done.
You or your Levi wearer are ready to head outside!
We can’t wait to see all your Levi’s sewn up! Please share in our FB group and on Instagram!


















Leave a Reply