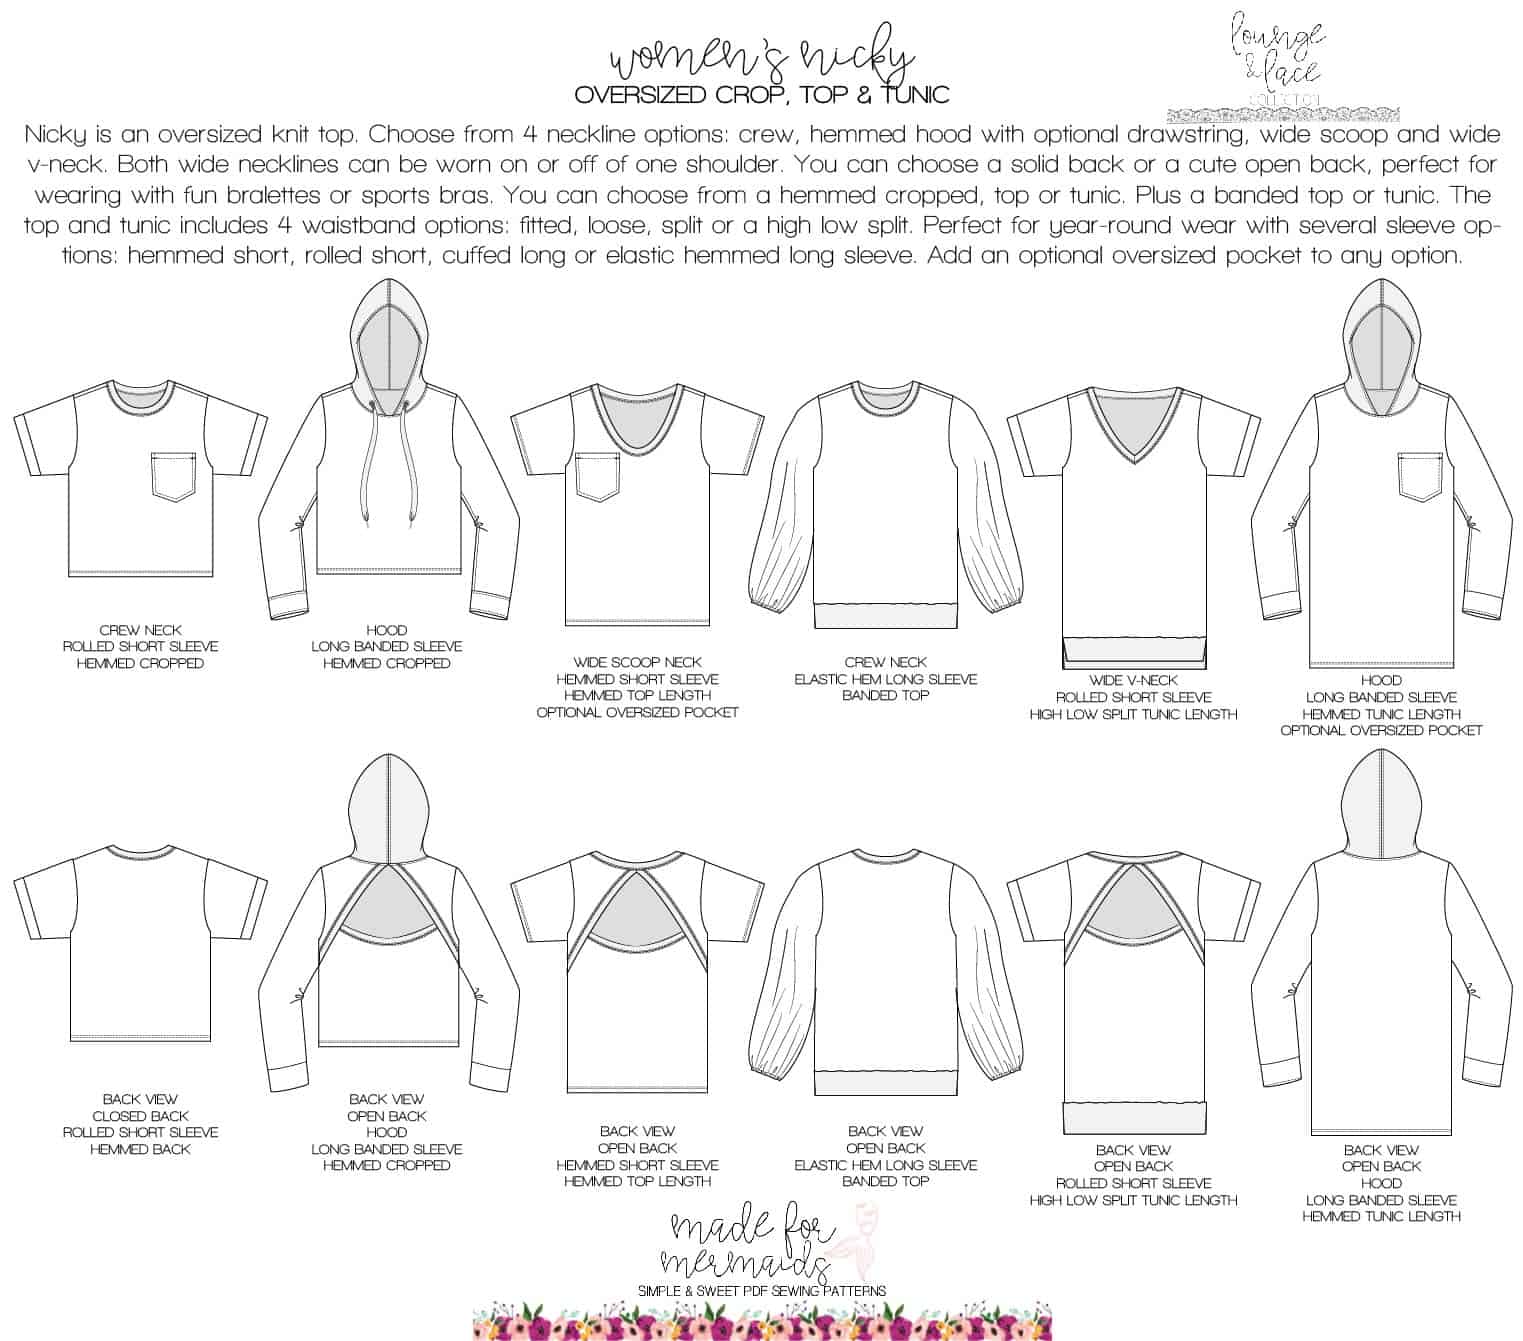
The Nicky and Women’s Nicky oversized crop, top, and tunic is our newest set of patterns, and we are here for it!! I can’t even decide which version is my favorite, because I love them all. I’m going to need some of the Mermaid team to send me theirs, though, because I must have the same ones! Nicky features several neckline options, including crew, hemmed hood, and a wide scoop. The women’s version also features a wide v-neck. There are two back options – a solid closed back, or a fun open back. We have been loving it styled over leotards, sports bras, and bralettes. Of course, there are also multiple sleeve and hem options as well, plus an optional pocket. 🙂
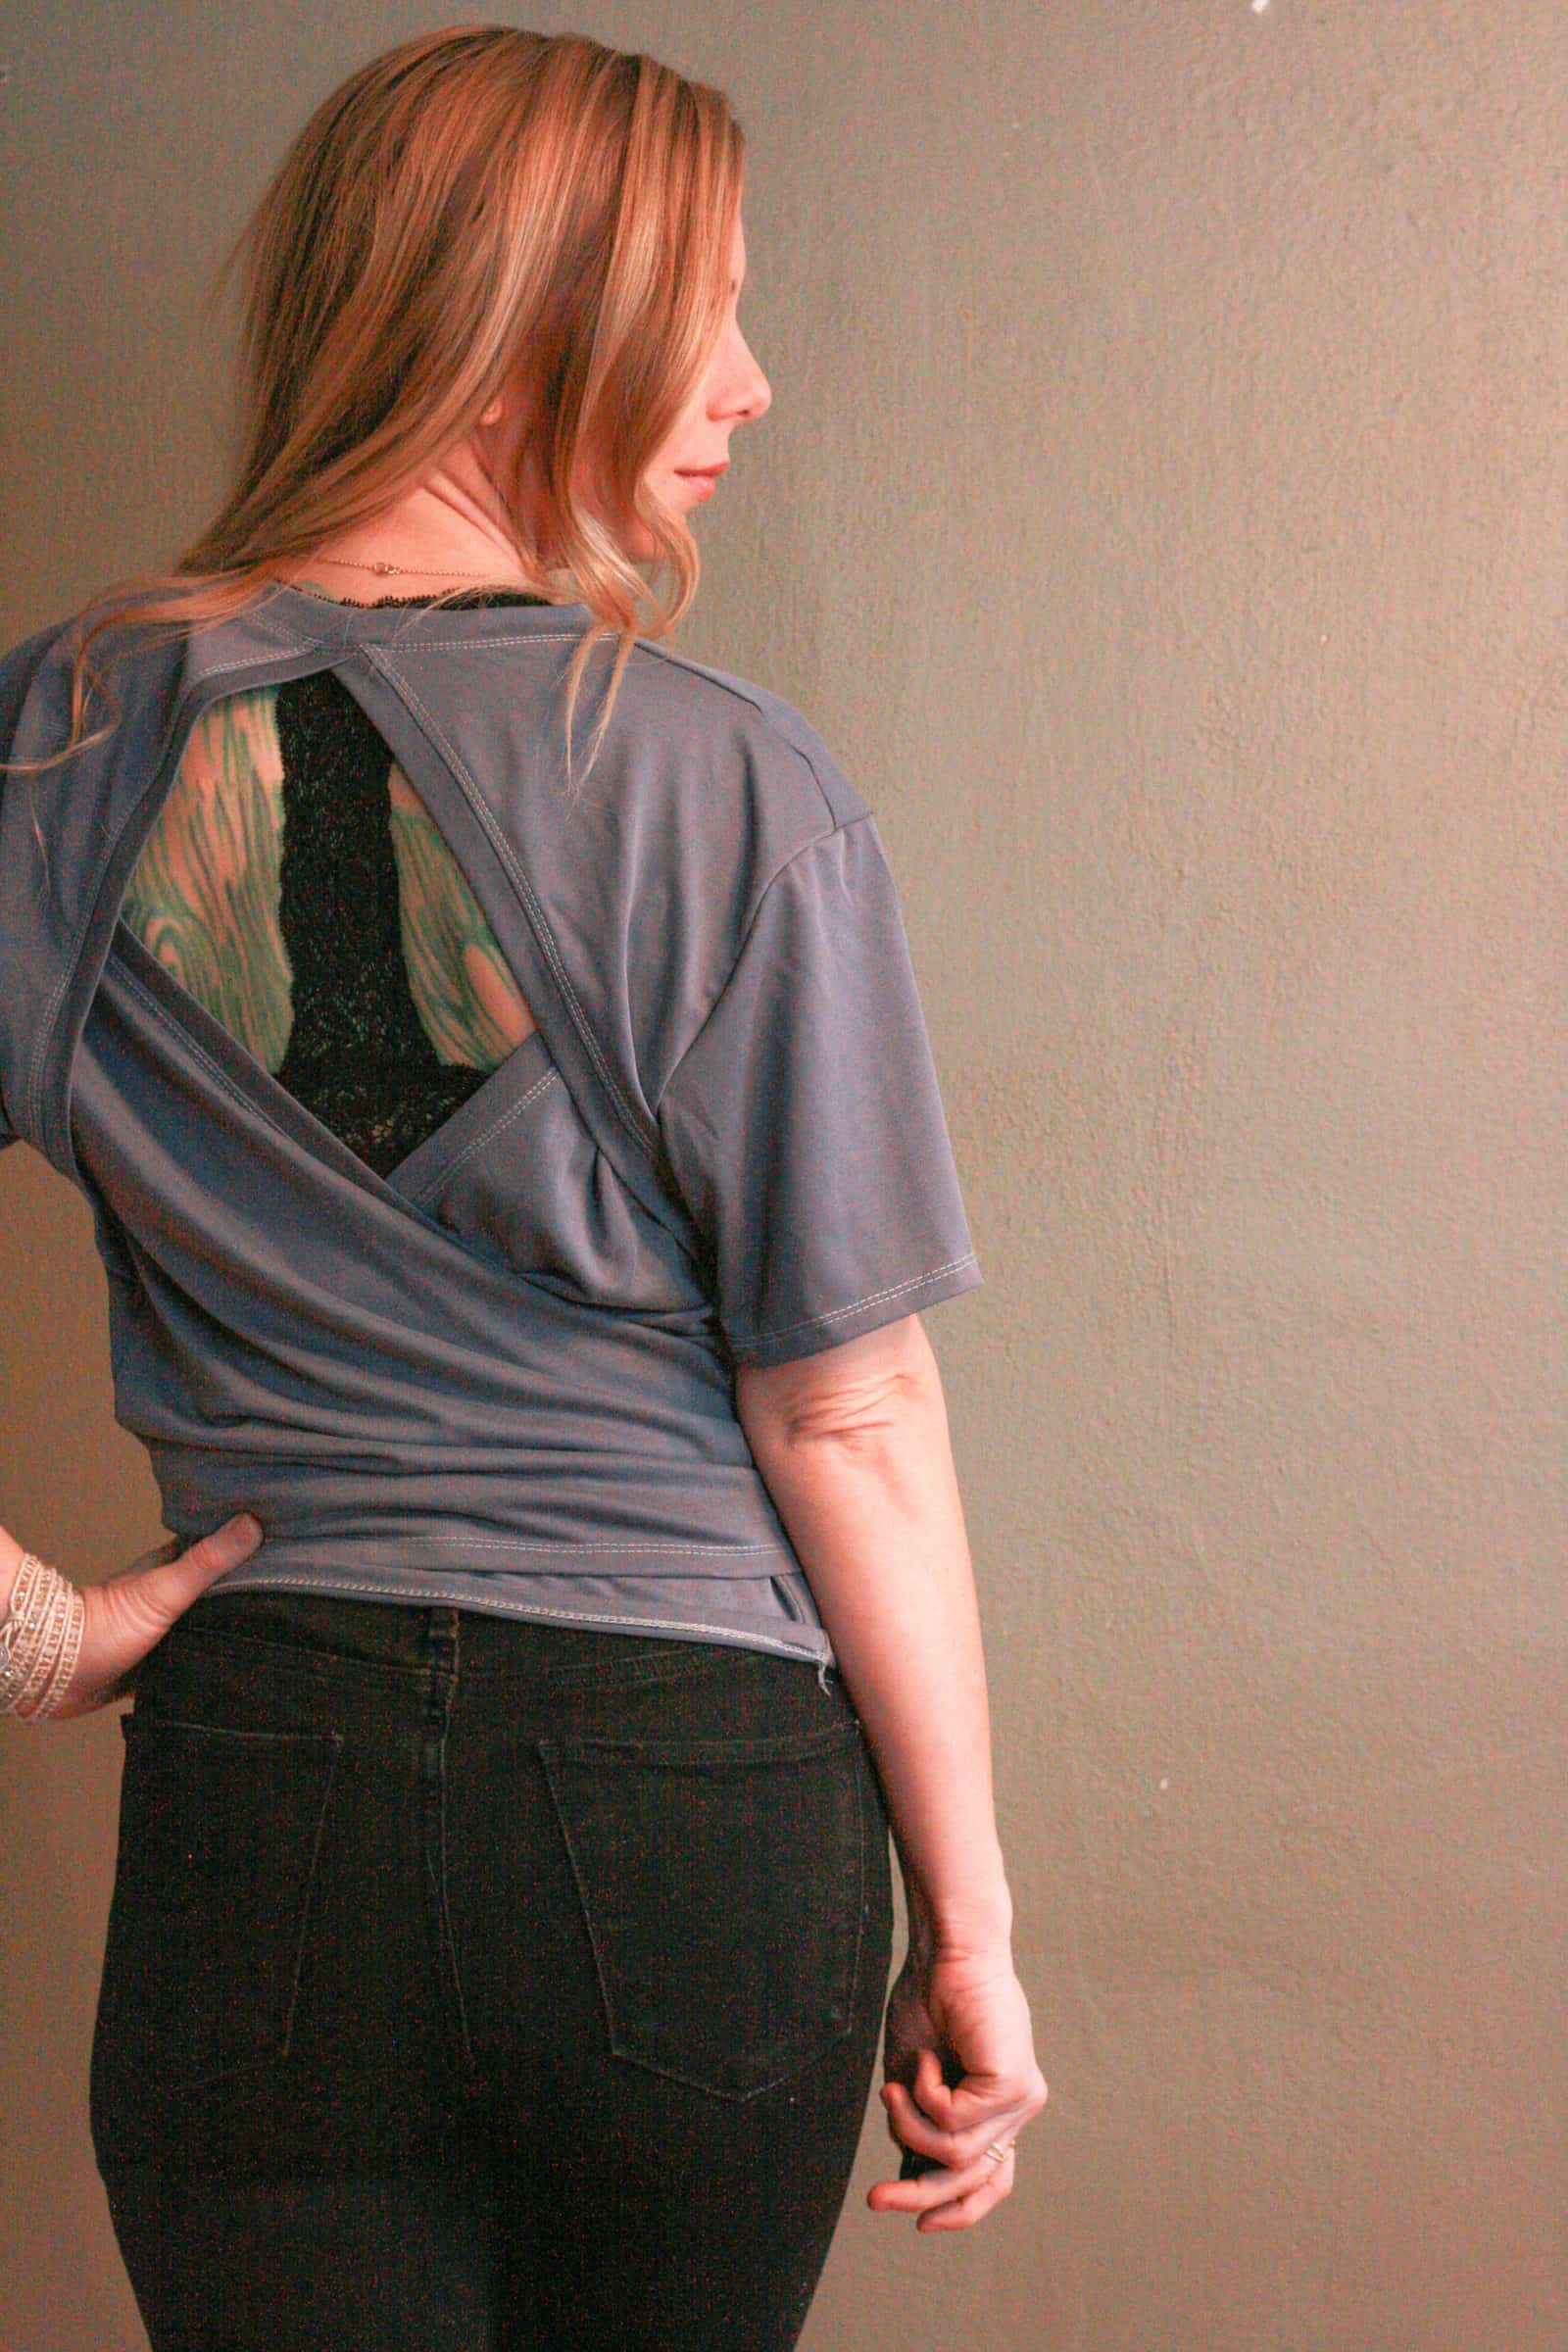
Tie Back Hack
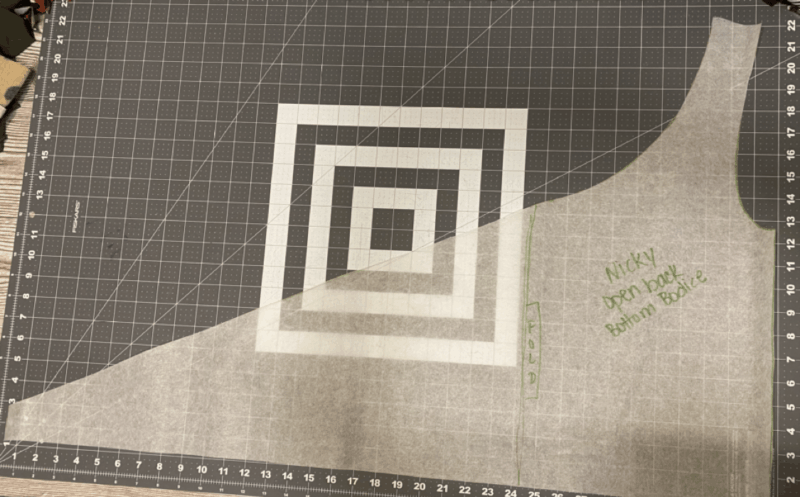
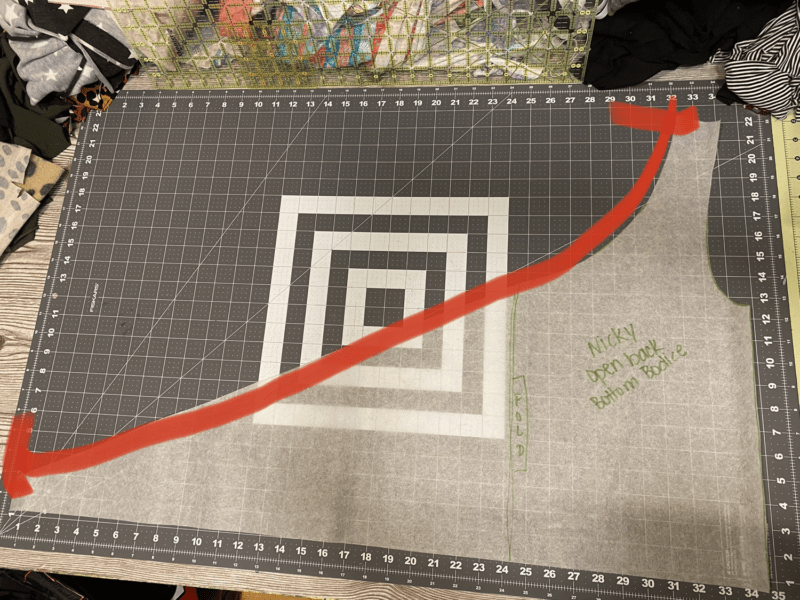
Start by adding to your bottom bodice pattern piece. I measured how much I needed to tie round my front, which ended up being 1.5 x my waist measurement. I then took the pattern piece, and instead of cutting on the fold, I extended it out on a diagonal.
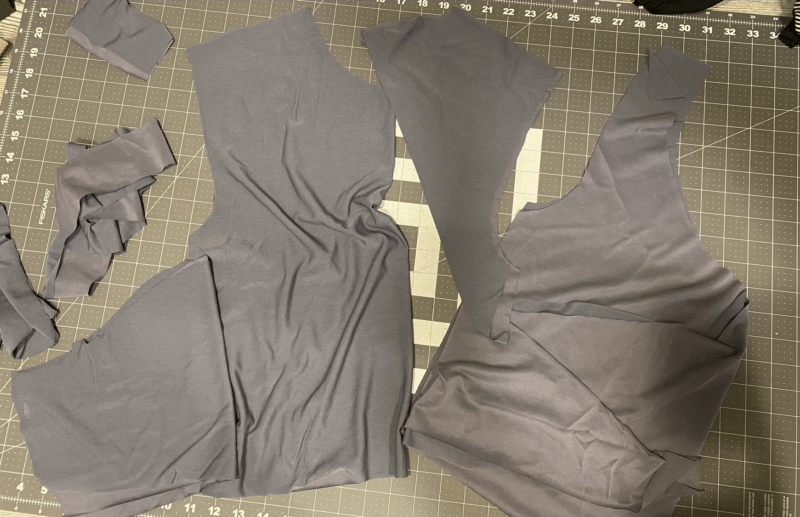
Then, you’ll cut two mirror image pieces like this. You’ll also need to cut the bands for the top of this piece. To figure out how long to make them, I measured here and multiplied by .9.
Cut the rest of your pieces out as described in the written tutorial.
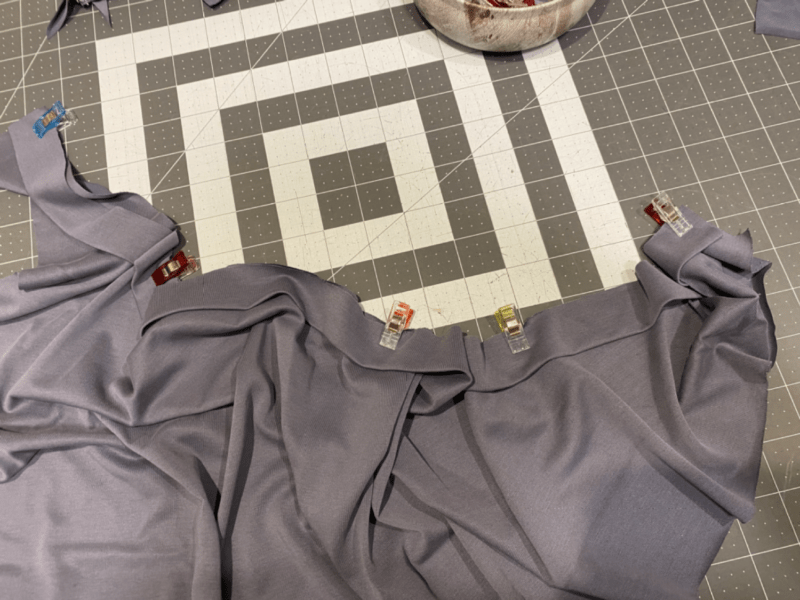
To add the bands to the bottom back bodice, and the quarter points of the band and the bodice pieces, and pin. Sew and topstitch.
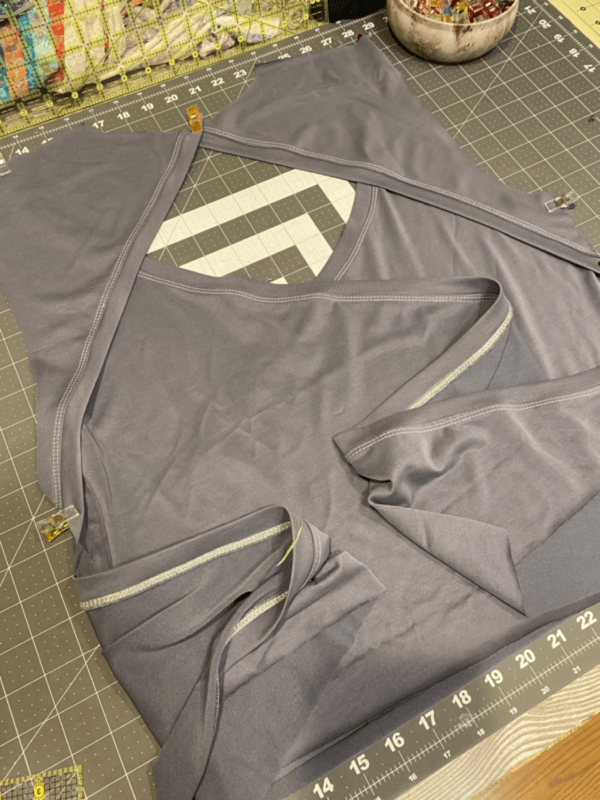
Attach the top bodice bands as instructed and baste the top and bottom bodice together, making sure to keep the tails loose.
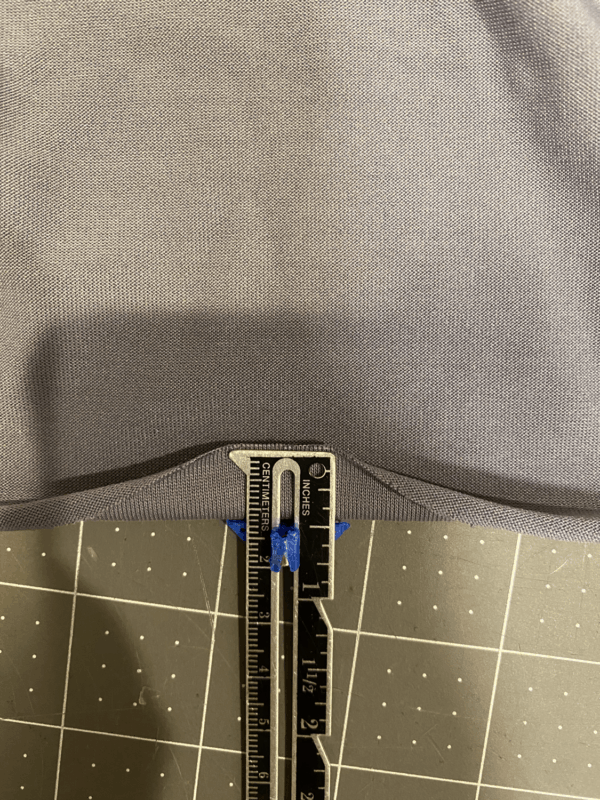
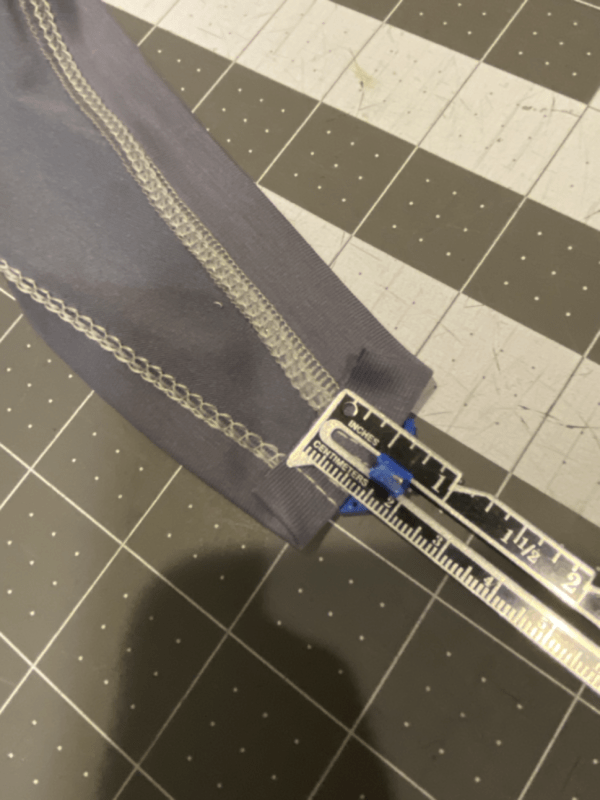
Construct as normal until you get to the hem. Hem bottom, including both tails, with a 1/2″ hem allowance. Then, fold both ends in, and stitch in place with 1/2″ allowance. That’s it! You’re all done! – Ashley
Dress Hack
I’m obsessed with the oversized trend that’s been happening, and Nicky is the perfect top! But how cute are all of those oversized mini dresses out there? We loved it so much that Amy and I both jumped at the chance to hack ours to mini dress length. There are a couple of ways to make yours a mini: adding length to the hemmed tunic and finishing with a hem, or adding the waistband to the hemmed tunic cut line.
Hemmed Mini Dress Length
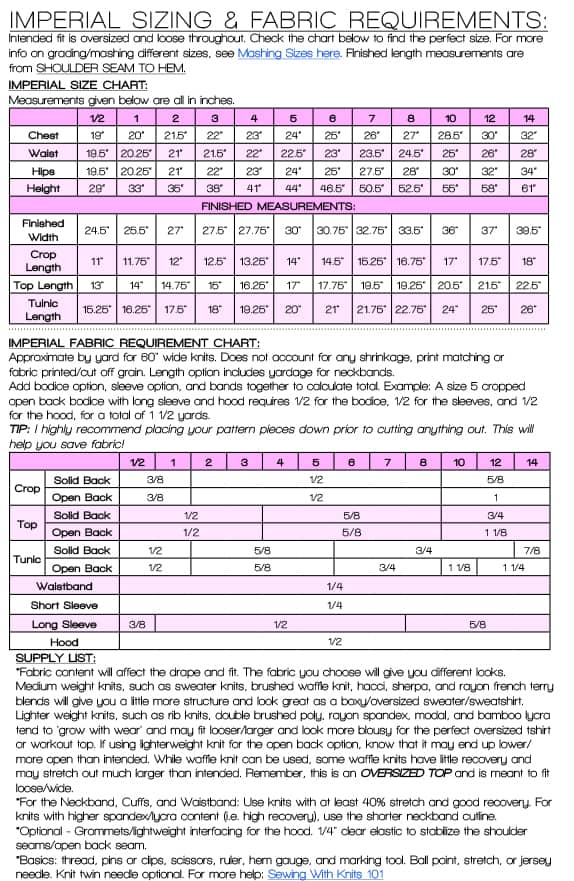
This is the option I made. I was inspired by the oversized t-shirt dresses so I went basic and adding the length was super easy. I measured the length of the waistband and halved it to give me the length I wanted to add, which was 4″. So I added the 4″ to the bottom of the pattern piece by just extending the hem line 4″ and drawing the straight line using a ruler.
Now sew it up just like you would in the tutorial and hem! I chose to do a 1″ hem. Wondrous! All done!
Banded Mini Dress Length
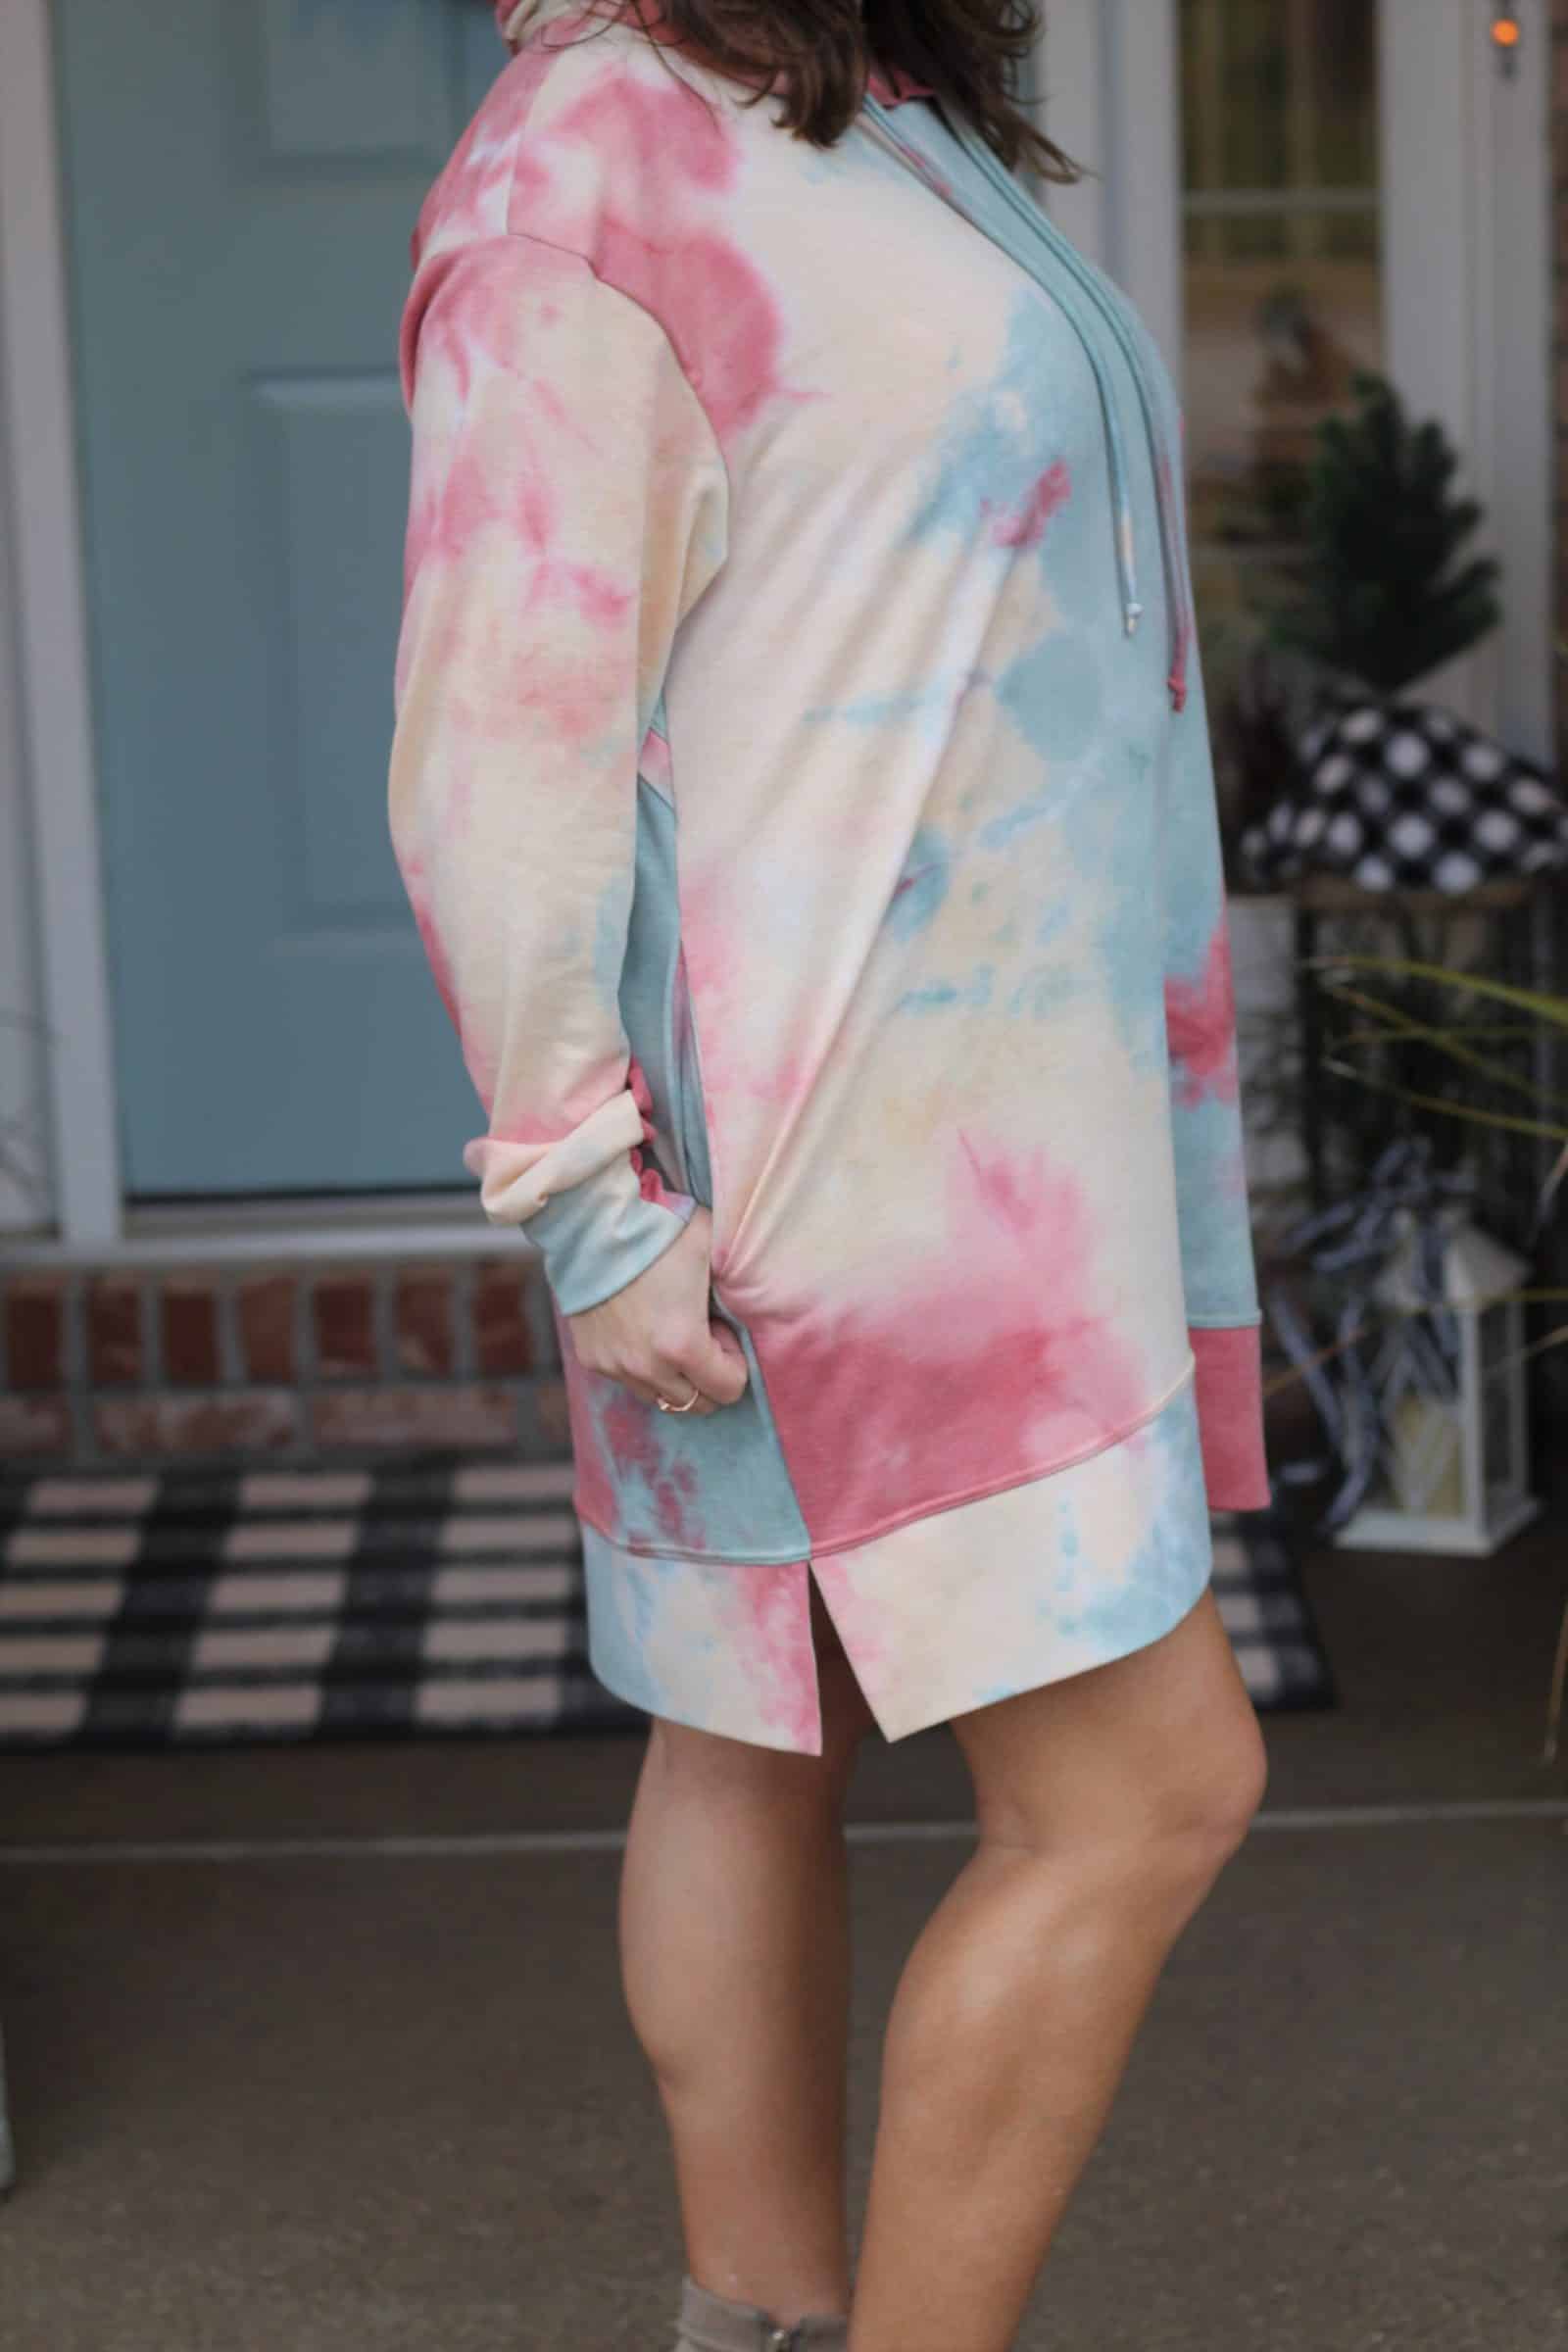
Amy made this option, and doesn’t she look beautiful?? This is an even easier method, and I love the different looks you can have. Here you’ll cut the hemmed tunic length as well as the waistband piece and you’d construct it following the banded hem directions in the tutorial. You can choose to sew the band in the round as one piece or I love that Amy chose the split hem because it adds just a bit more leg 😉
Can’t wait to see all these amazing versions of Nicky!
Happy Sewing,
Christina Z
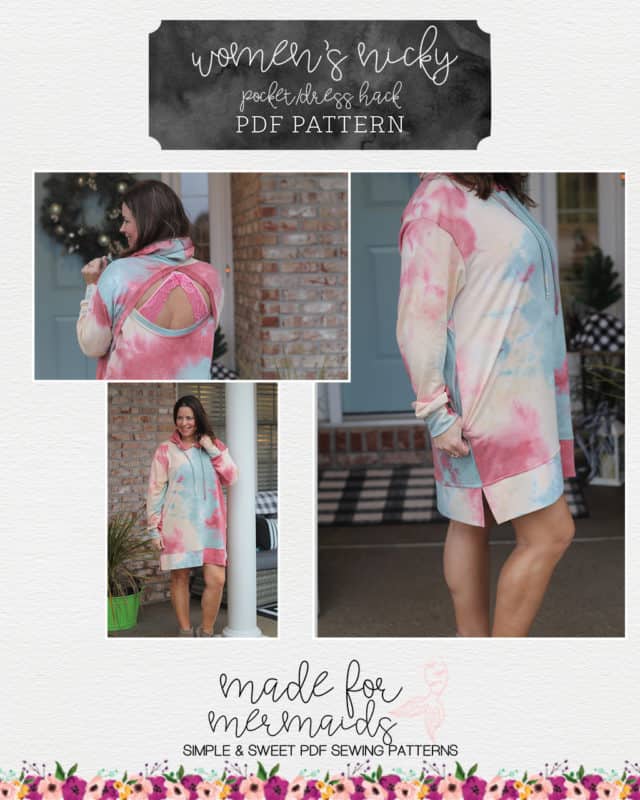
Pocket/Dress Hack
We love the new Nicky; there are so many amazing options. I couldn’t resist adding pockets and making a dress length version. It’s a simple hack so give it a try for another great look.
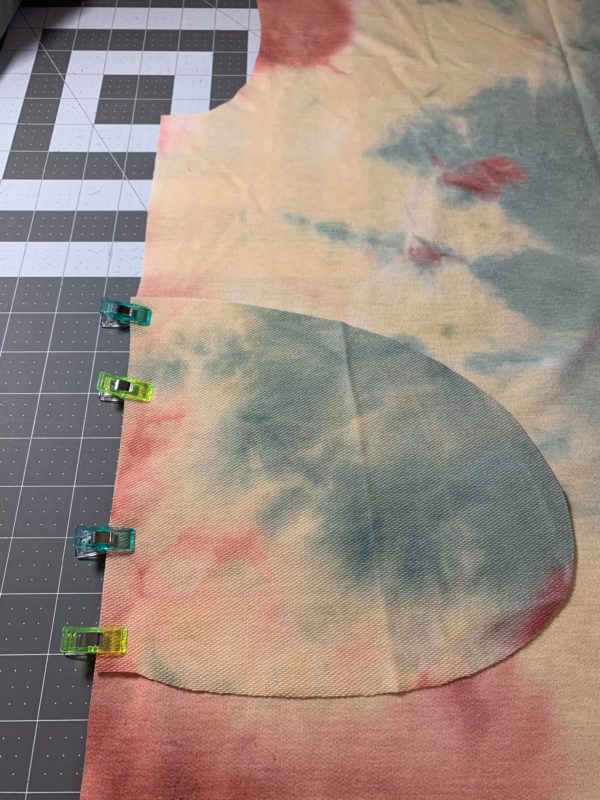
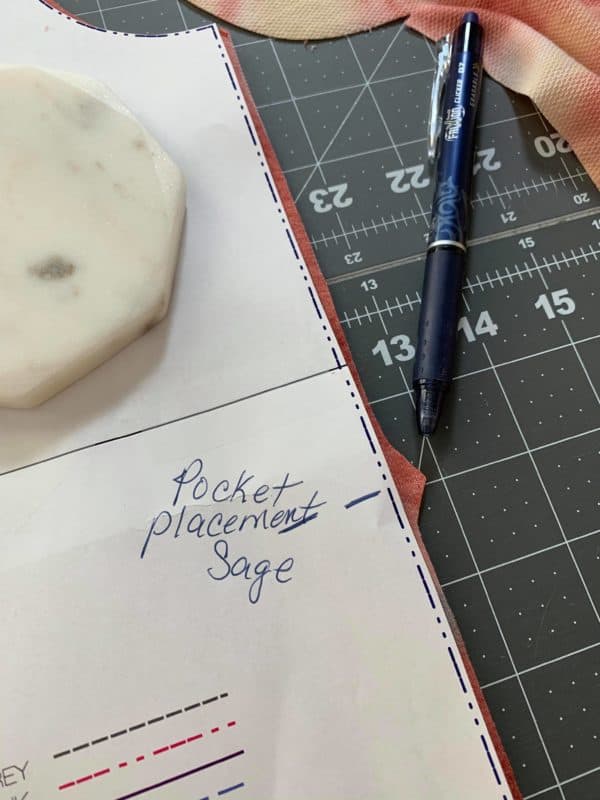
First, you will want to cut out your Nicky hack. I compared Nicky to Sage to make sure I was getting a mini dress length that I was looking for. If you are 5’5″ or taller, you might want to add an inch or few inches depending on your height. The hemmed tunic length plus the band length equaled the mini length from the Sage pattern. You can use either the regular band/split band (that I used), or hem it like Christina did above. Cut Nicky on the hemmed tunic length and cut the 2 bands if you use those. If you want to add pockets, cut 4 pockets (2 mirror images) using most any inseam pocket pattern piece. Tip: I like to make notches for pocket placement; it helps me get those pockets even. Again you can use the Sage pattern to get an idea of pocket placement, or just hold the pattern up to you to estimate the length and pocket placement.
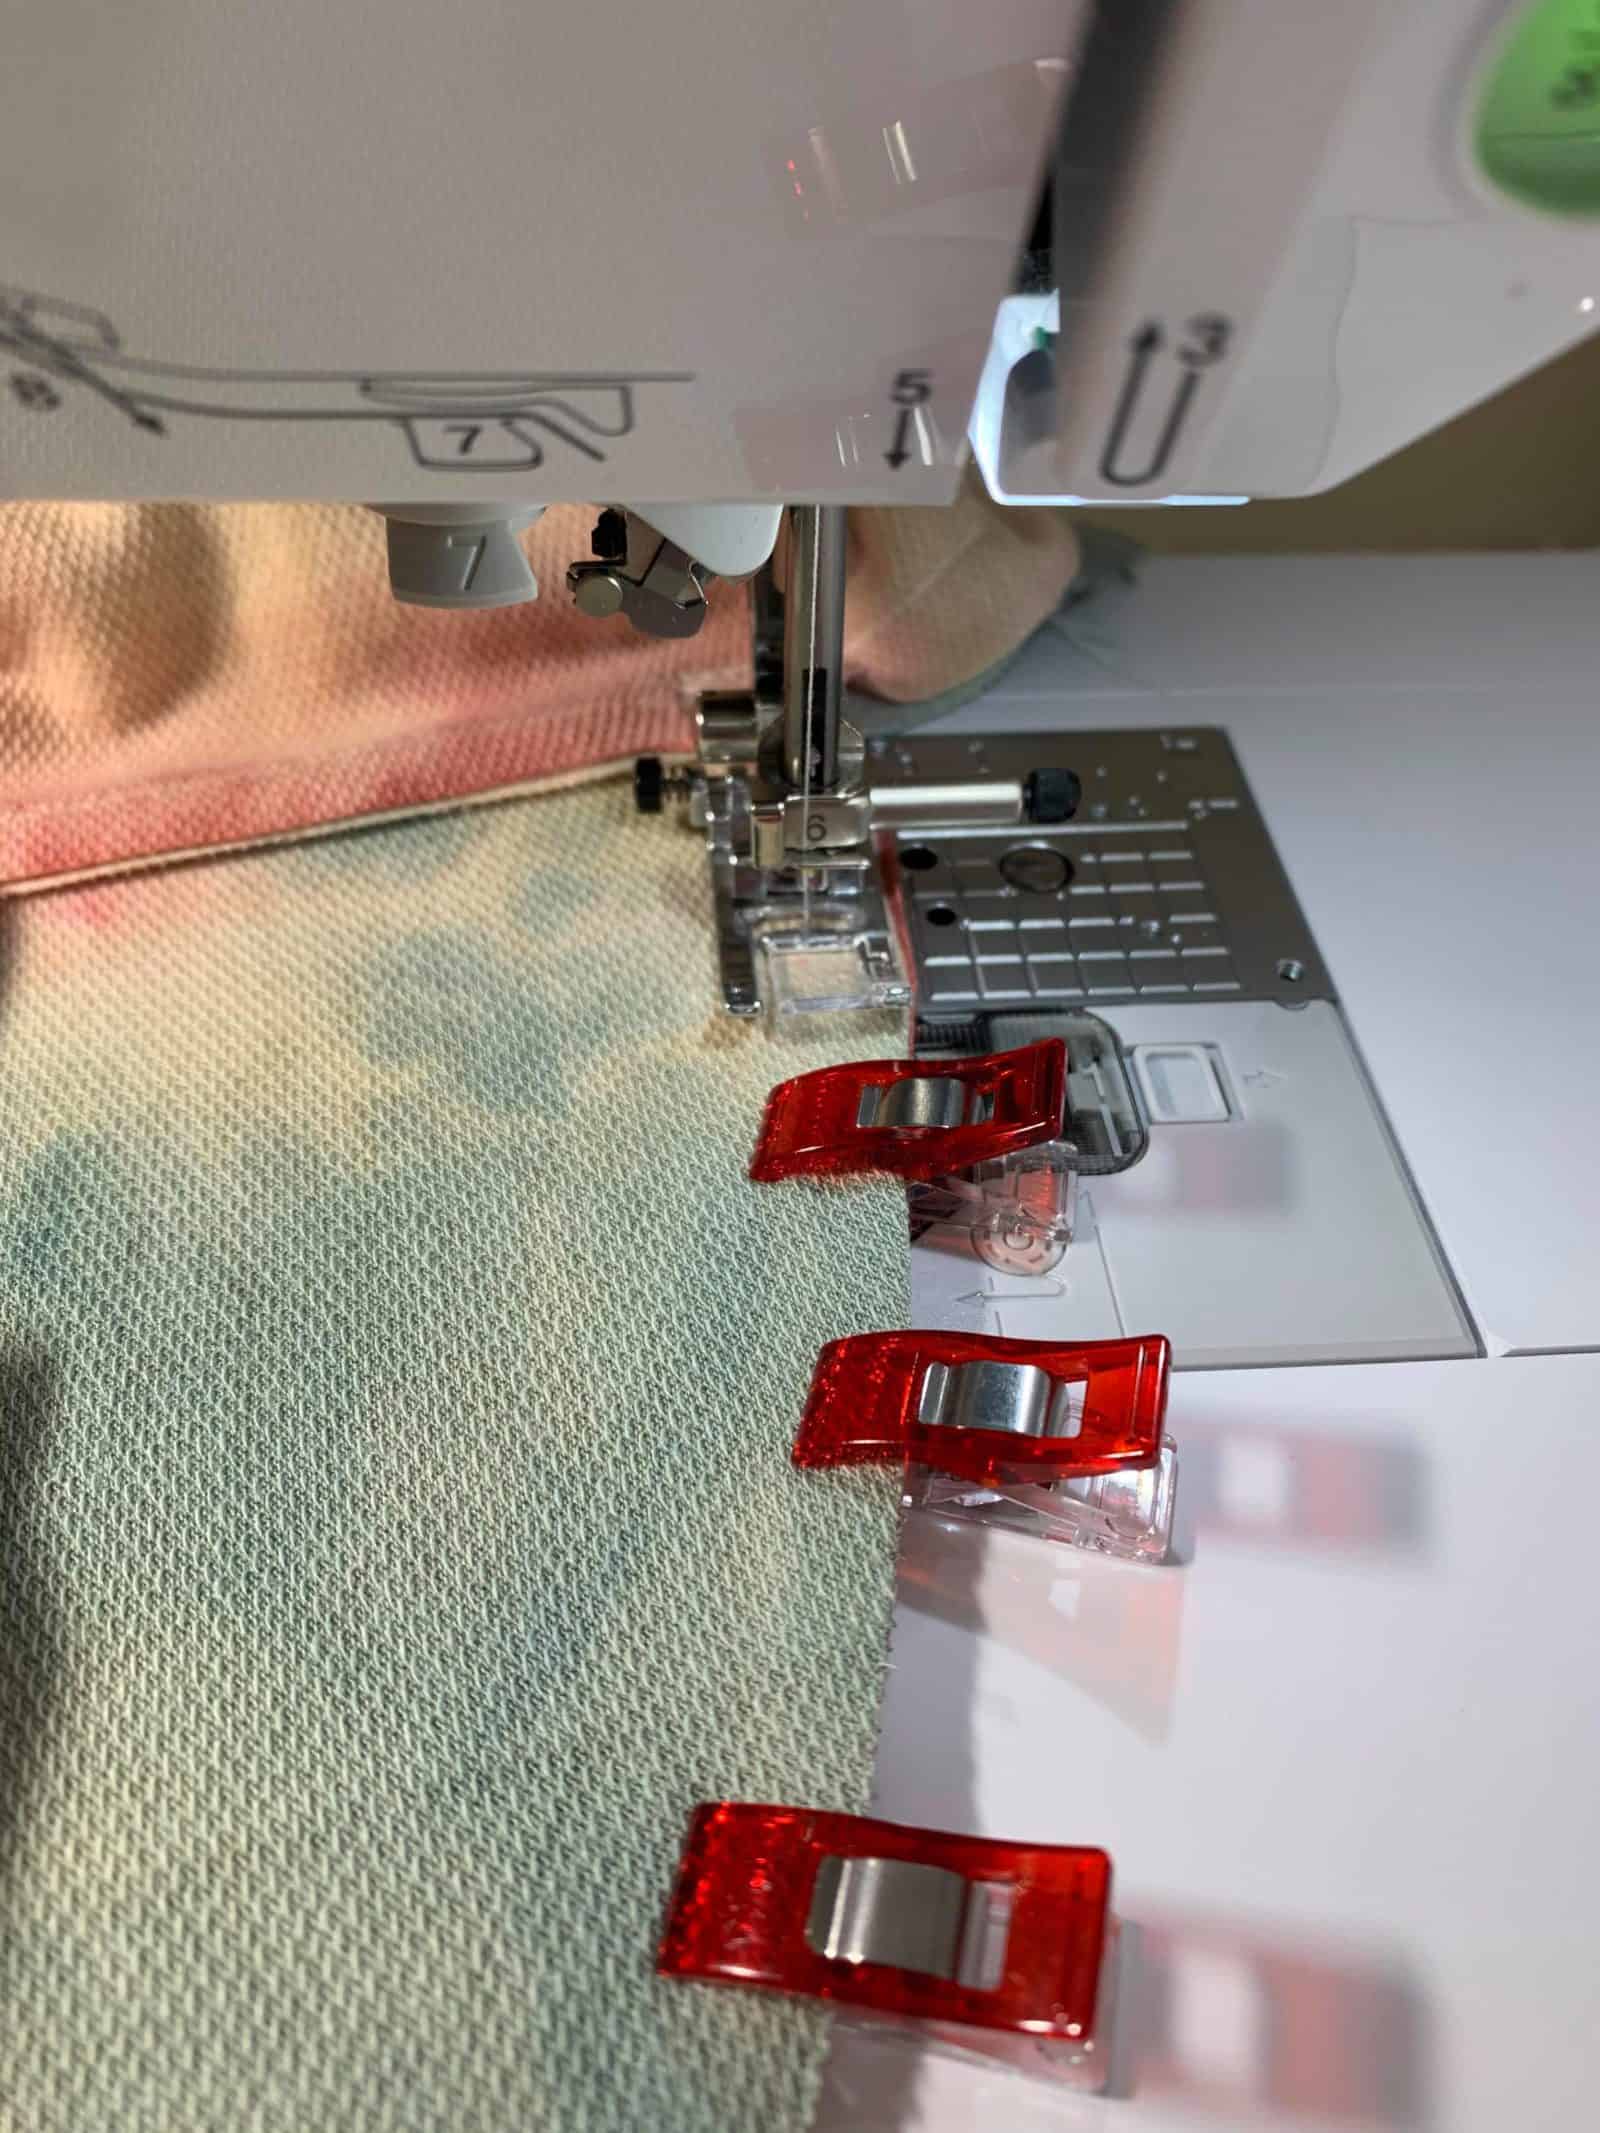
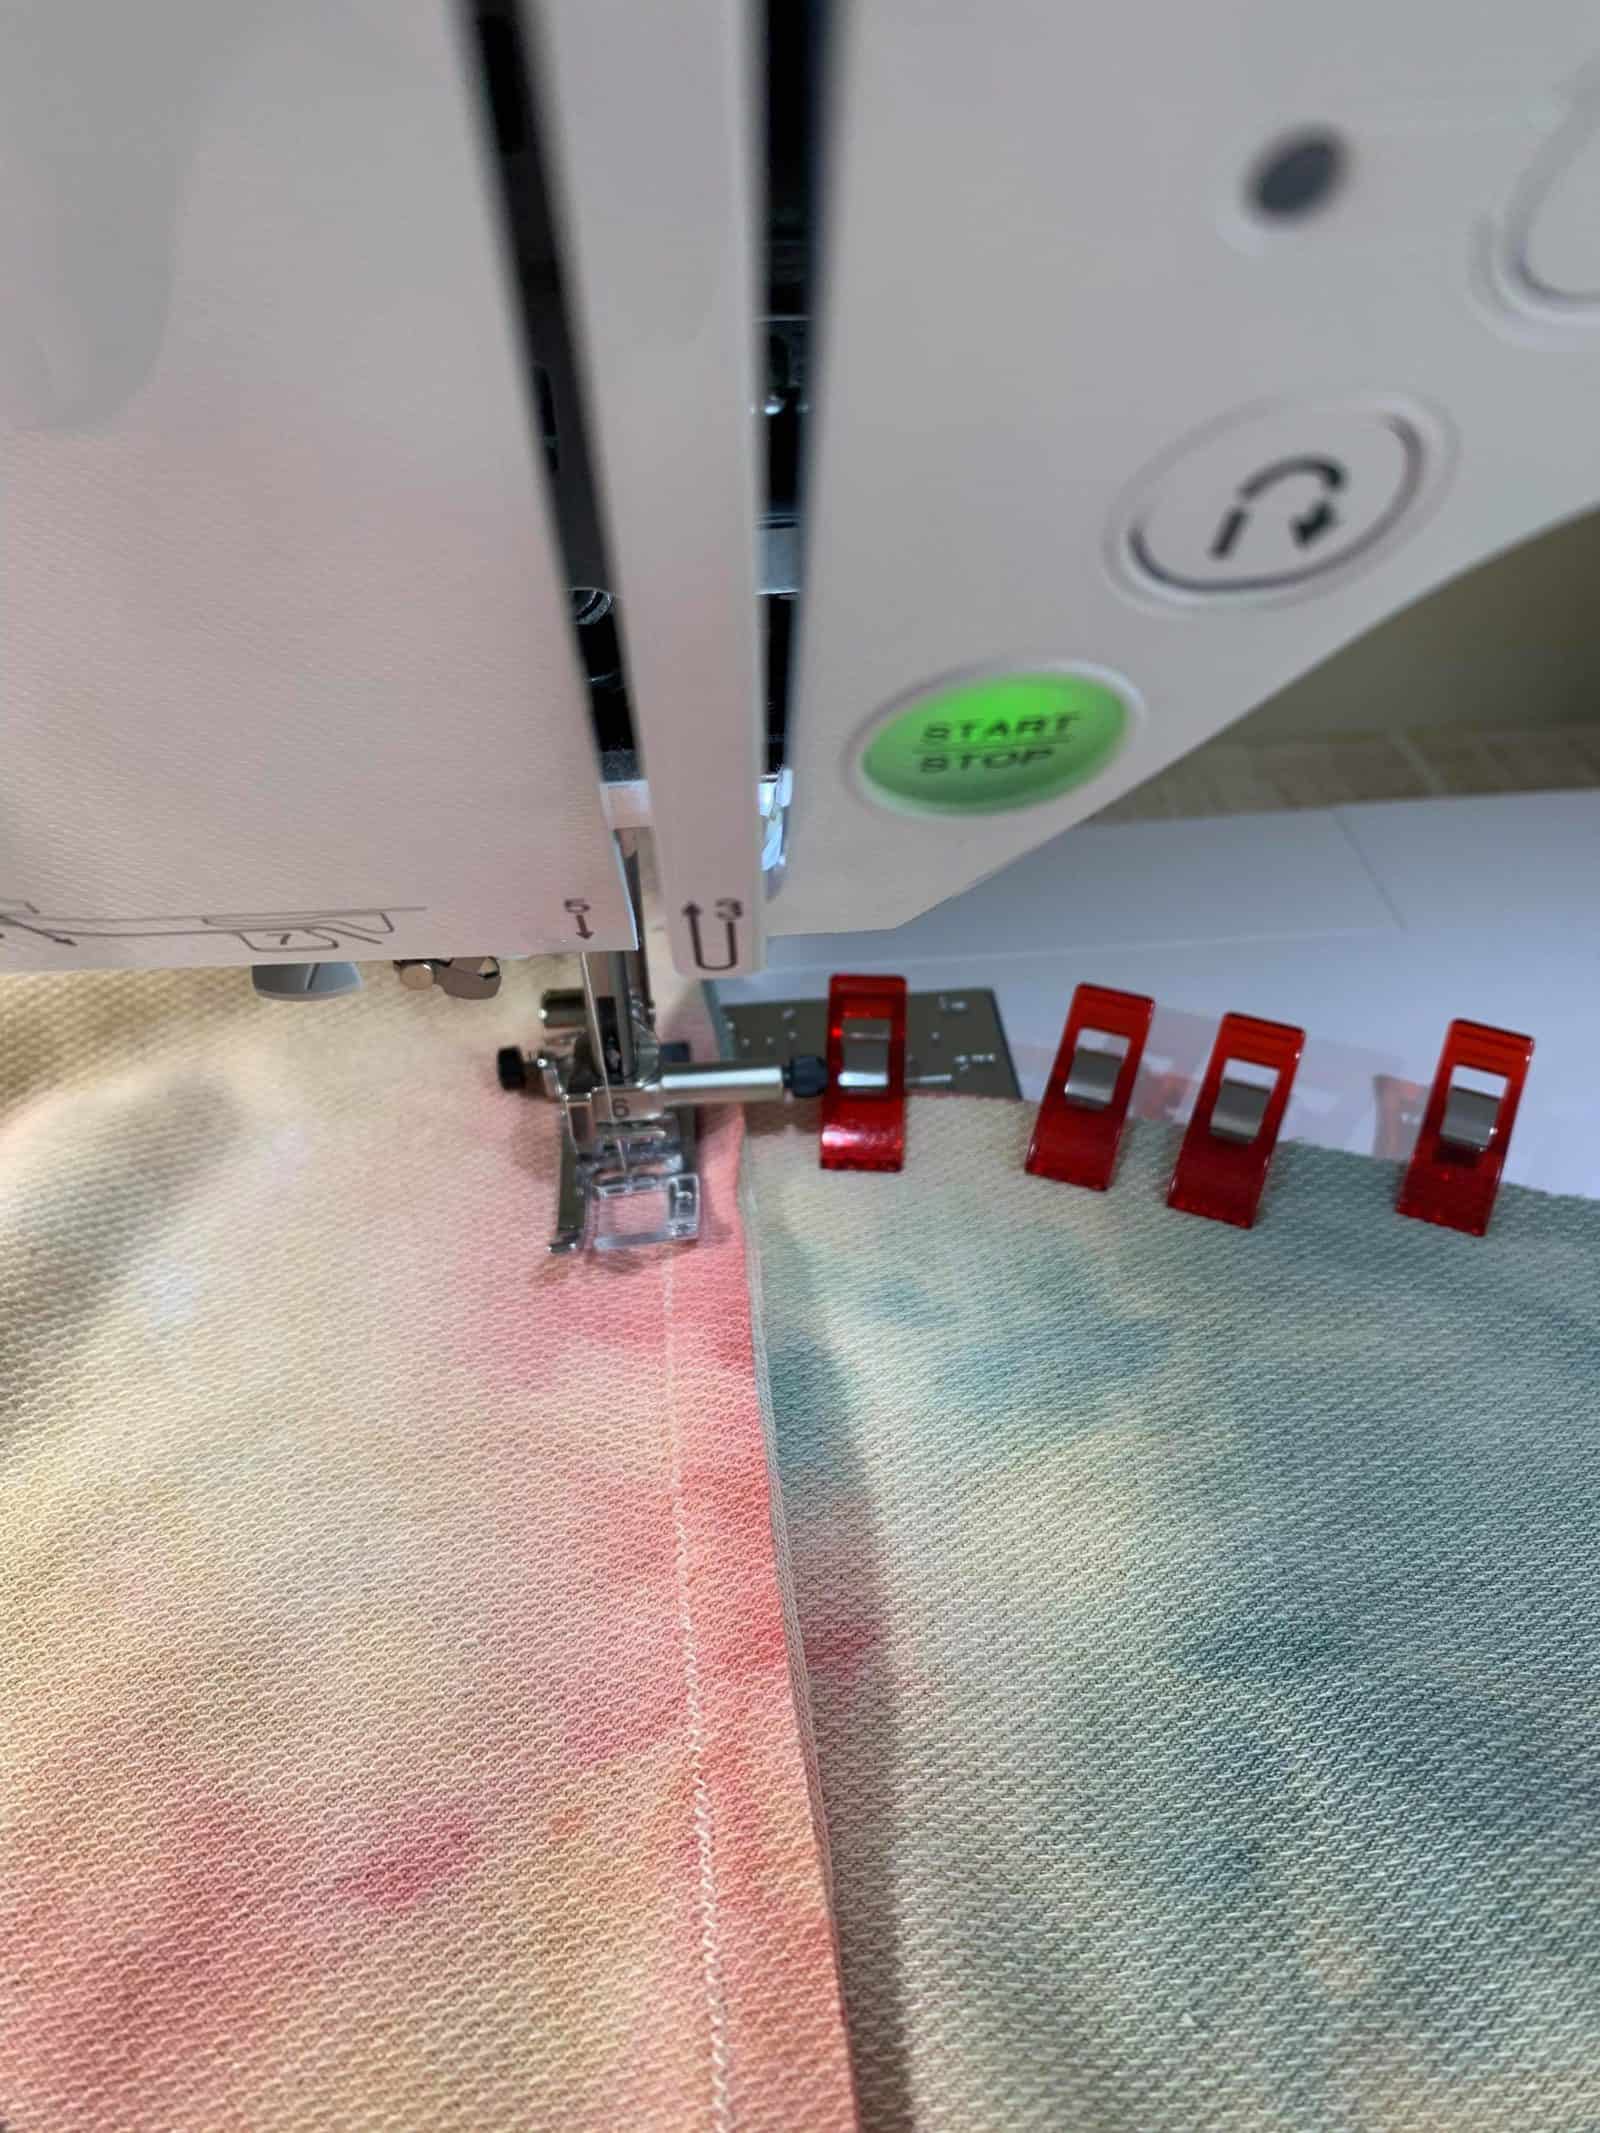
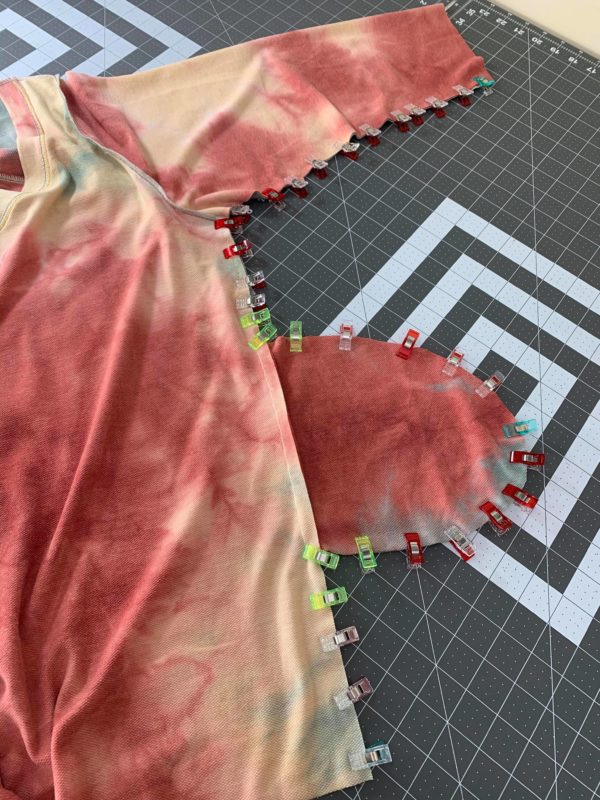
Second clip/pin your pockets on right sides together to the new dress length Nicky. Stitch WITH YOUR SEWING MACHINE using a 1/2″ seam allowance. Repeat on the 3 other pockets to the front and back of Nicky. *Green clips in the photos mark the place to sew for pocket corners*
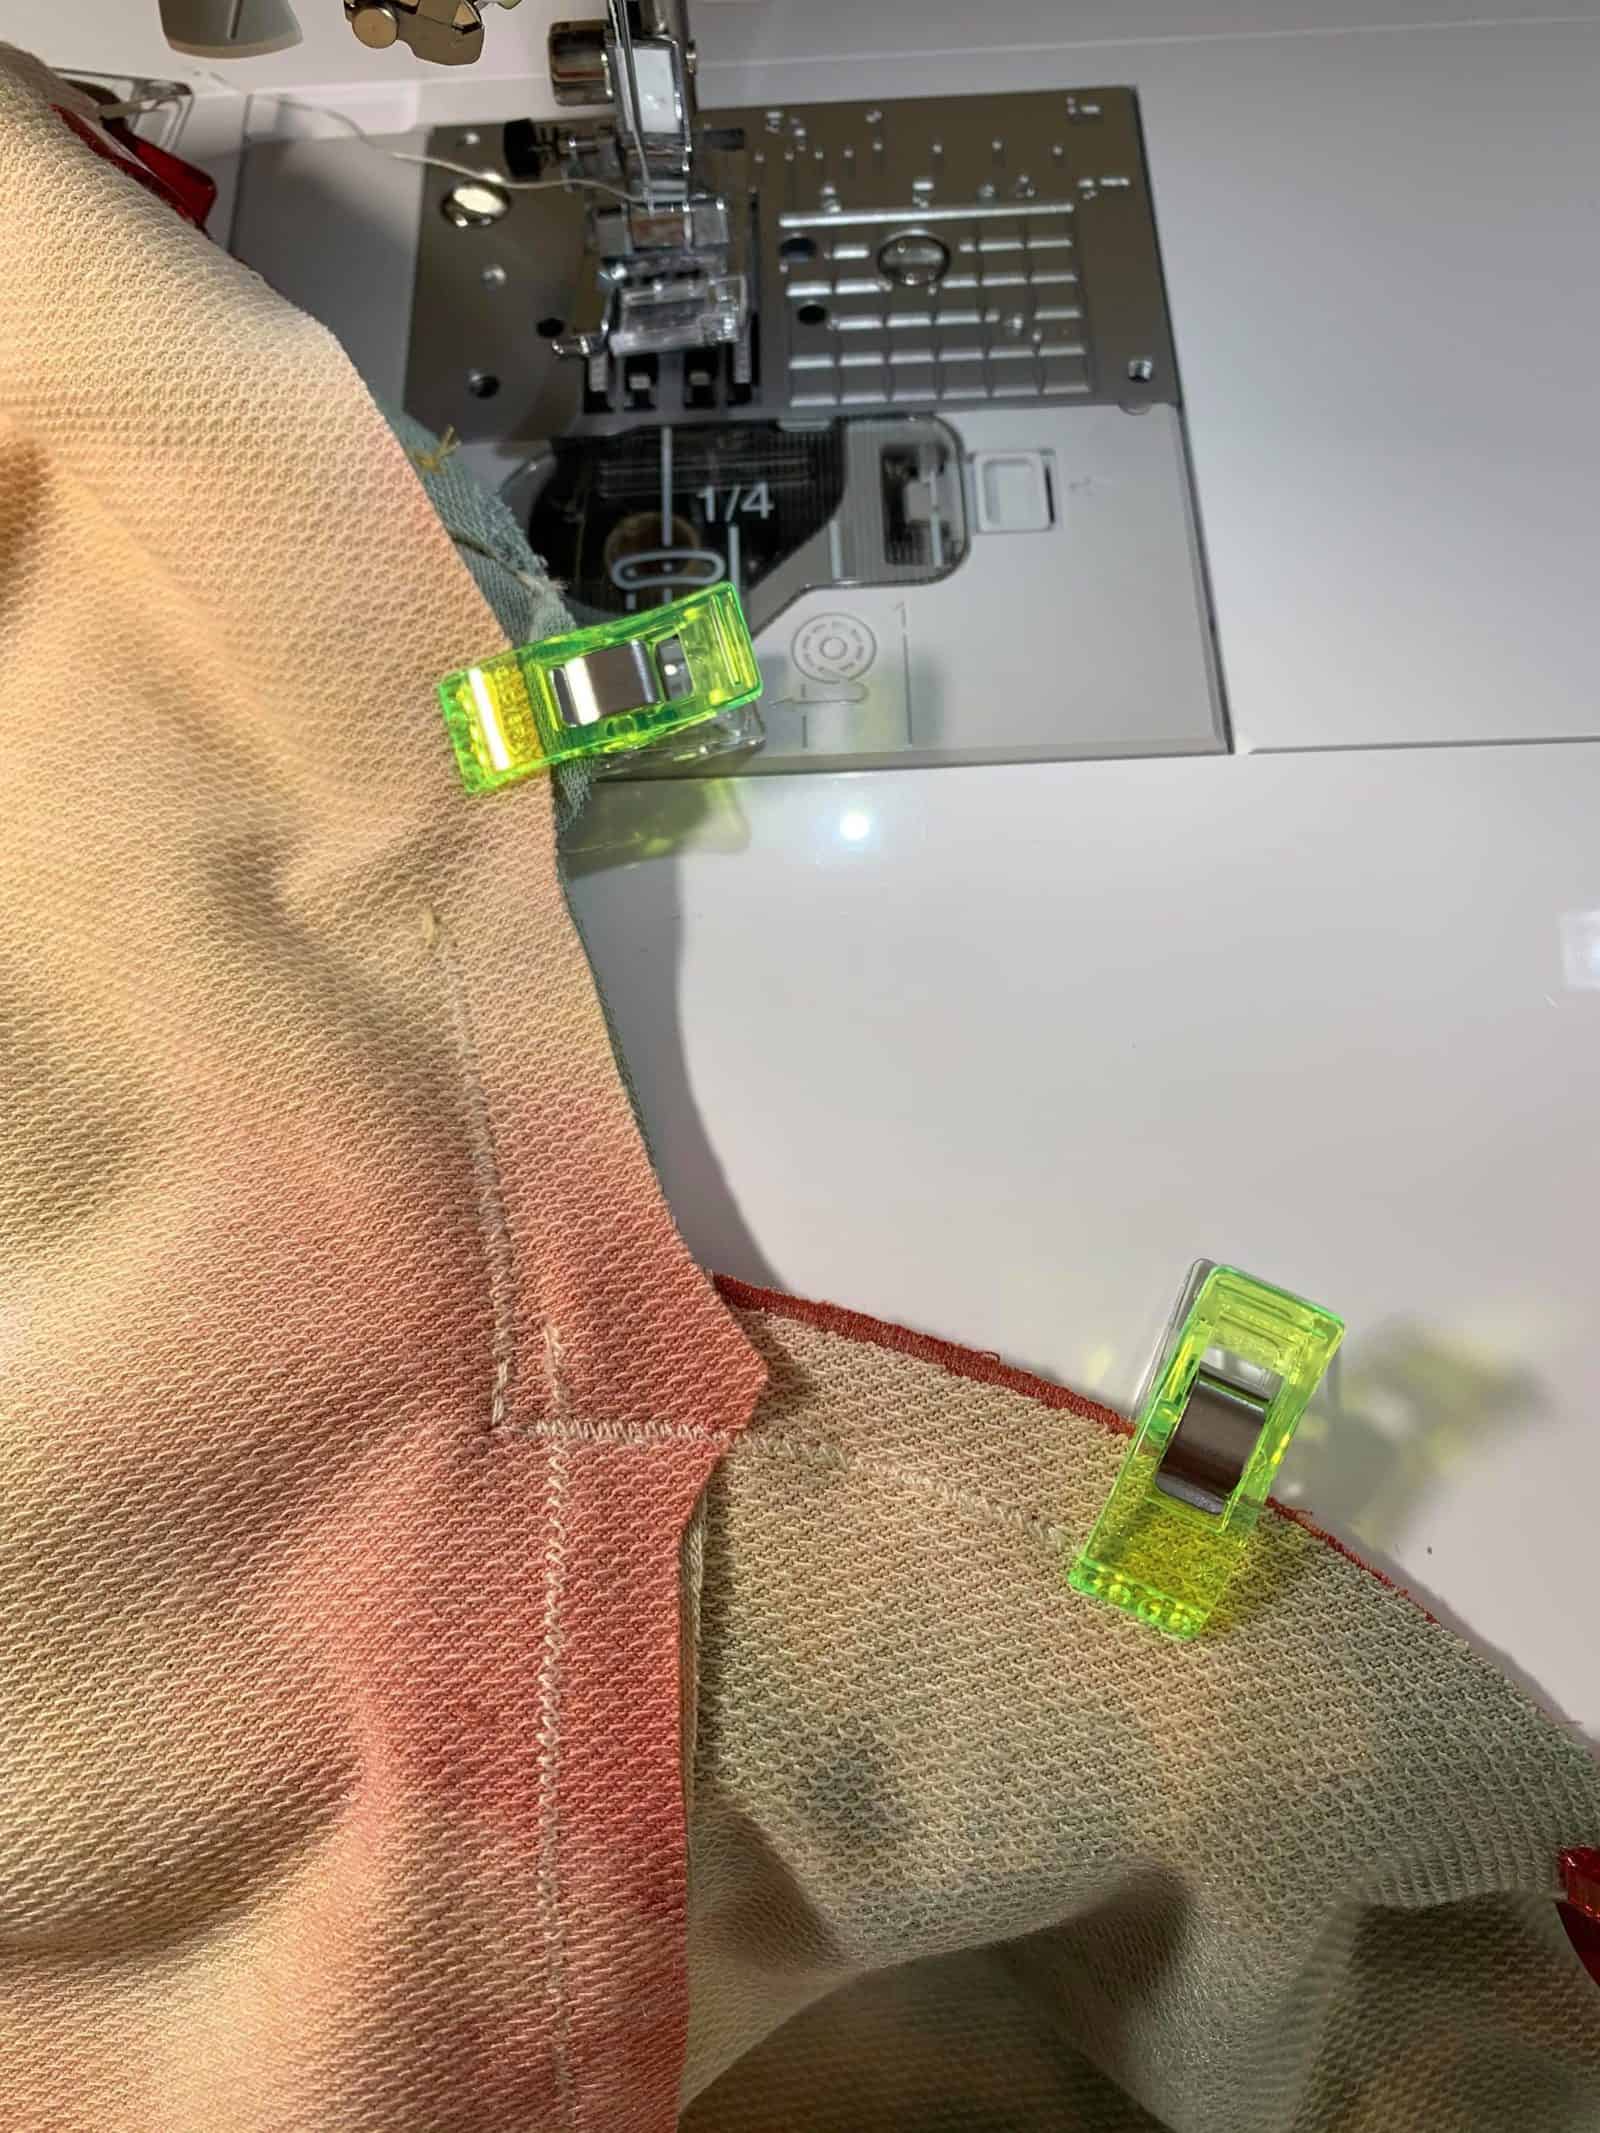
Make sure the pockets line up. Then, use your sewing machine to get nice professional looking pocket seams. Sew down the 1/2″ side right above the pocket, then turn and pivot with your needle down to get that corner on the top and bottom of the pocket. You can always go back and use your serger around the pocket; just be careful not to cut through the stitches.
Then press & under stitch the pocket so it lays nicely.
Third finish sewing the Nicky and side seams around the pockets.
Add band or hem whatever you prefer. This Nicky is my favorite with so many of the options like the hood with drawstring, open back, and of course pocket and split band.
Enjoy sewing Nicky! ~Amy~
Drawstring Hack
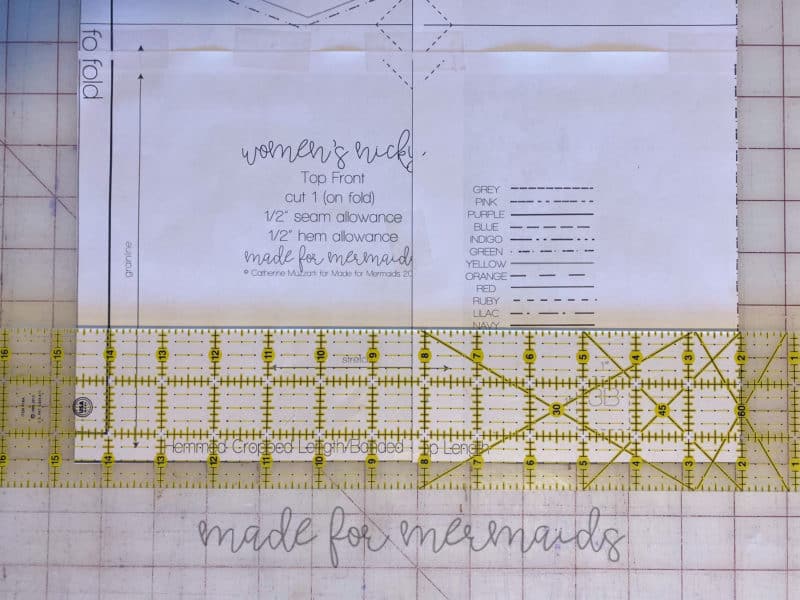
The loose-fitting nature of this pattern looks so good with the hemmed or banded bottom. One simple way to change up the look of Nicky is by adding a drawstring to the hem. Start by taking the cropped hemline and add ½ inch to the bottom of the pattern pieces (both front and back bodice pieces).
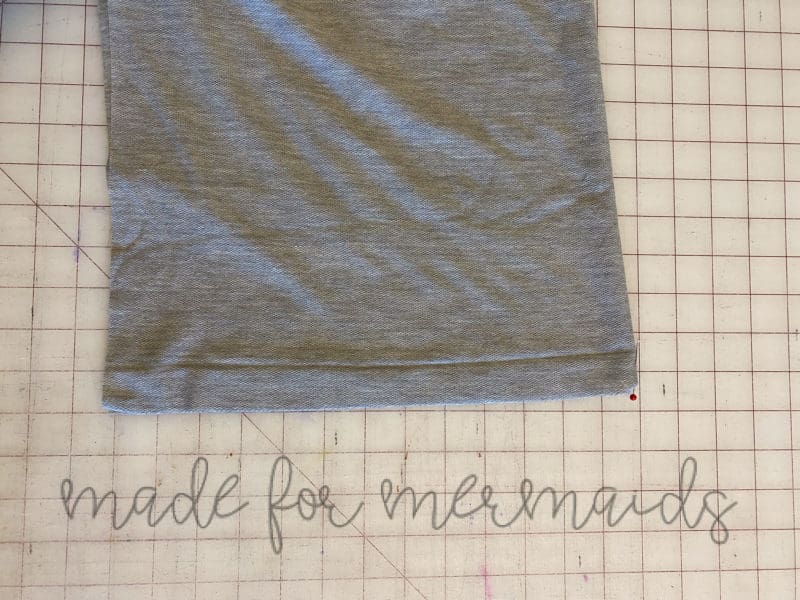
The pattern already includes a ½ hem allowance; however, an extra allowance is needed to create the casing for the drawstring. Cut out both the front and back bodices. Next, press a 1 inch hem allowance on both pieces. Then, take the front bodice and marked the bottom center.
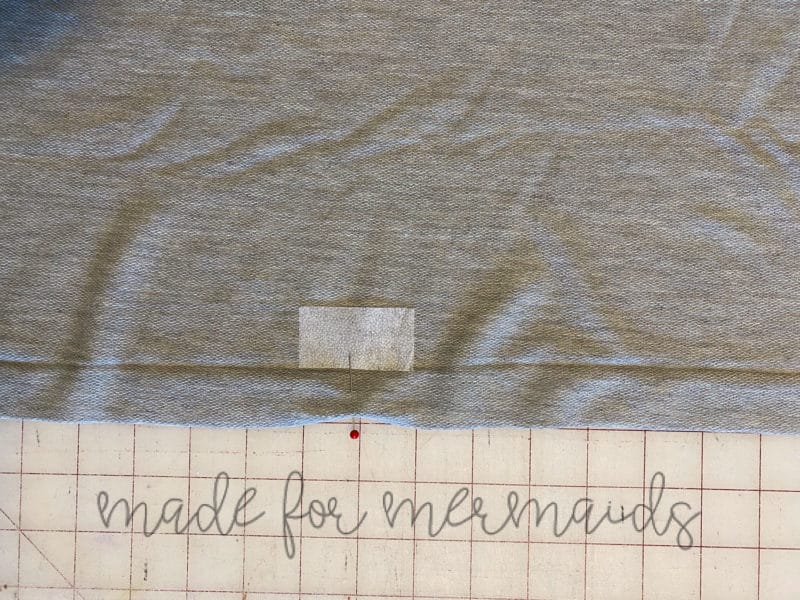
Now take a small piece of fusible interfacing and iron it in the center of the front bodice just above the pressed hemline.
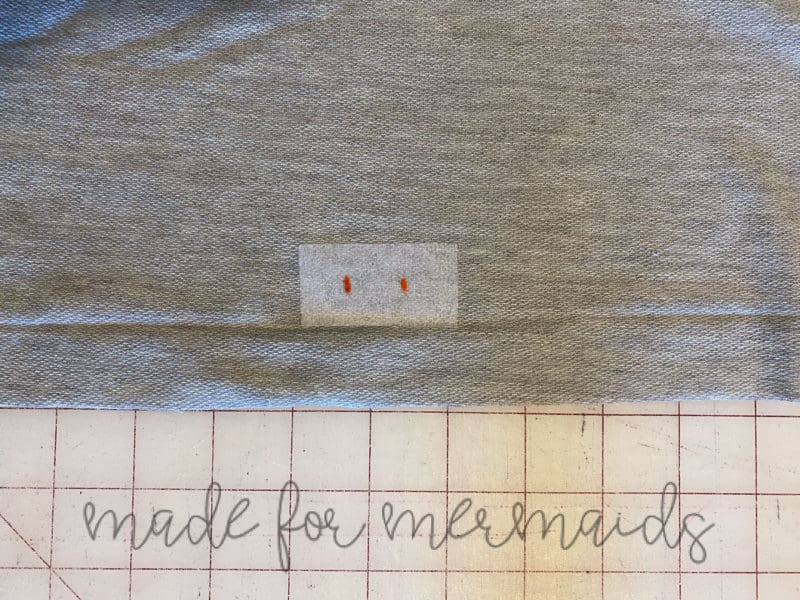
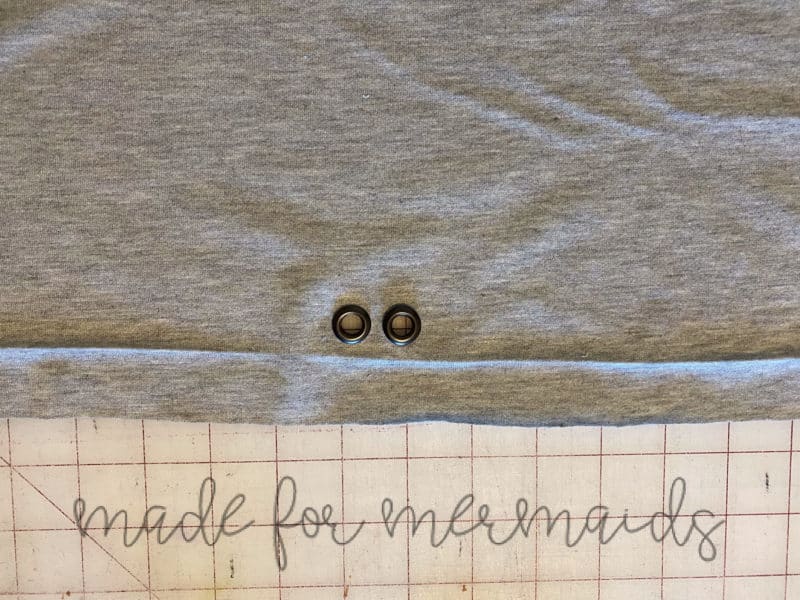
Next, take your grommets (if using grommets) and place them on the fabric. Mark in the center with a marker or fabric pen.
It’s time to install the grommets per package instructions (or use your sewing machine to make buttonholes).
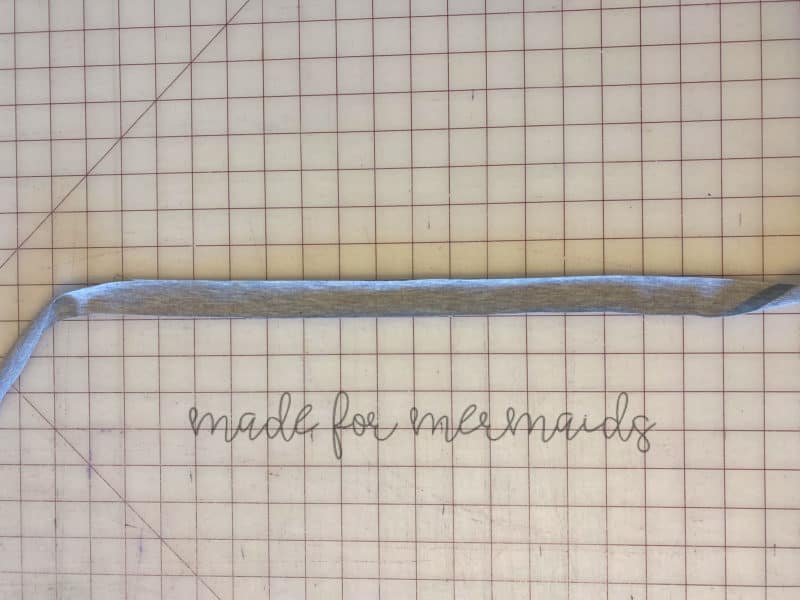
After the grommets are installed, topstitch the hem in place using your favorite stretch stitch. The drawstring can be premade or cut 1 inch by width of fabric to make a drawstring.
Use the instructions in the tutorial for the hood drawstring to construct the drawstring. Feed the drawstring through using a safety pin to guide. All done! This same process can be used using the top hemmed cutline as well.
We hope you love your new Nicky patterns! We can’t wait to see what you sew up!










Leave a Reply