Fall weather, is that you?!?!?! It dropped about six degrees in Okinawa today, and I was mere minutes from breaking out all the pumpkins and fall decor! I resisted the urge, but I’m not going to hold out much longer 😉 Our new Logan patterns are going to be the PERFECT transition piece from the sweaty days of summer to the perfect fall days ahead!
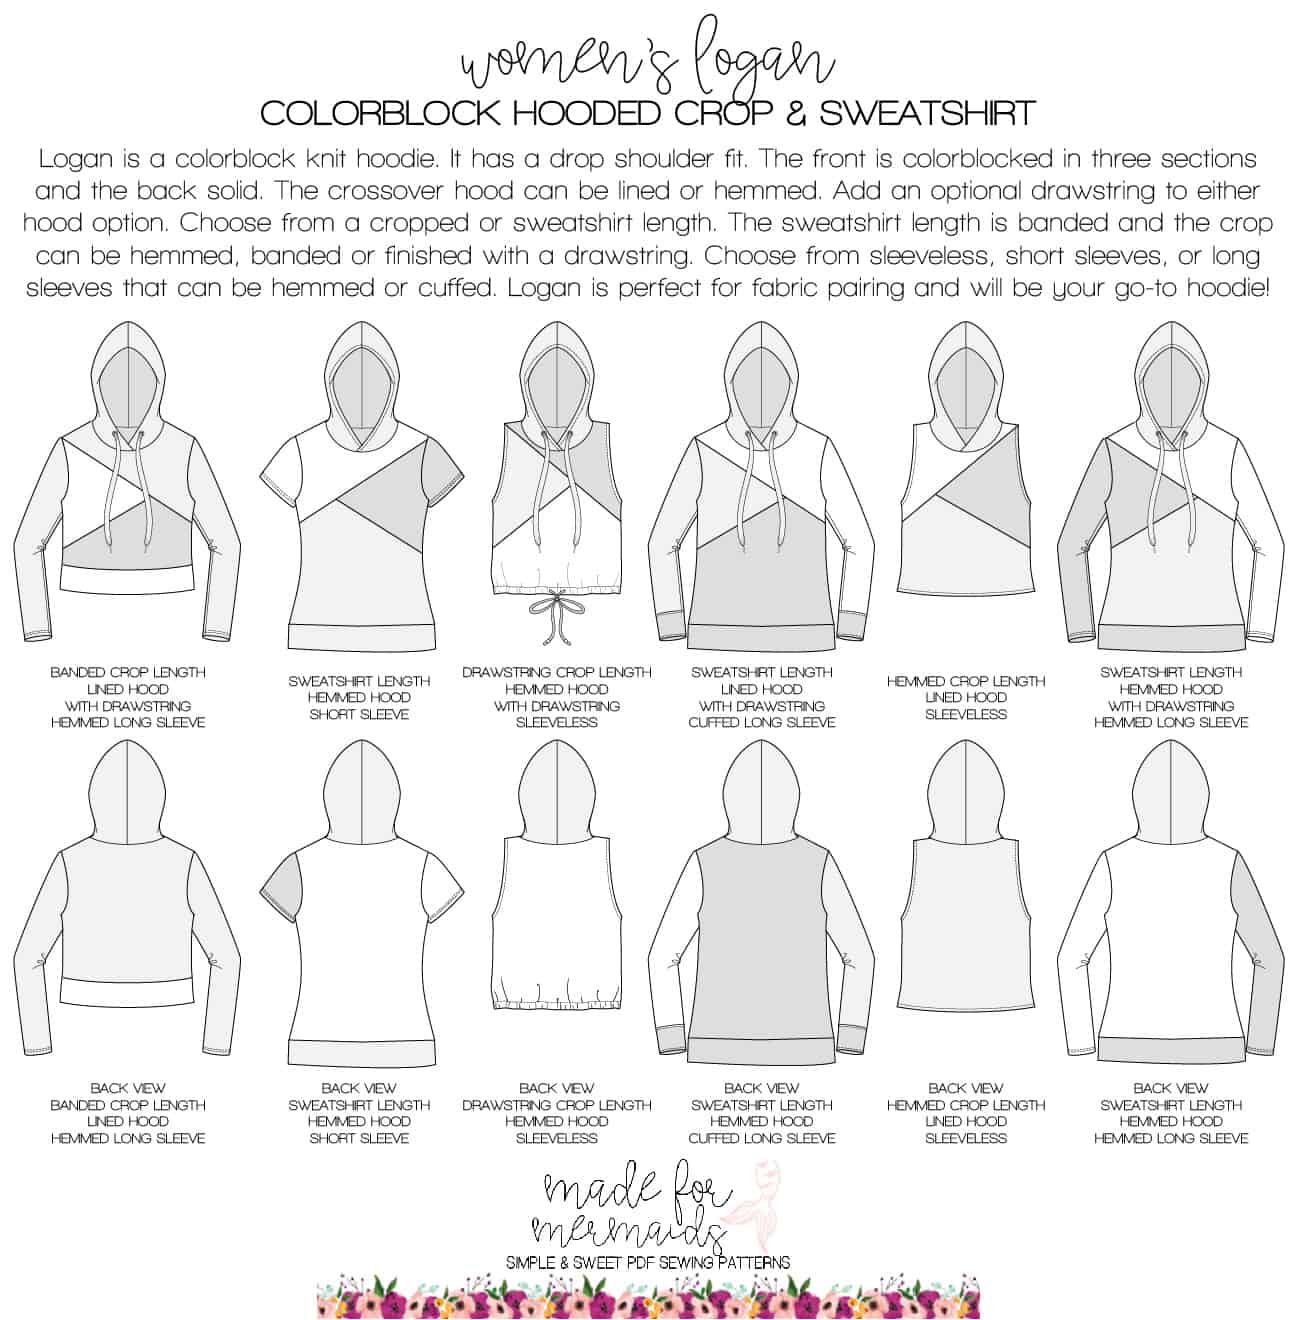
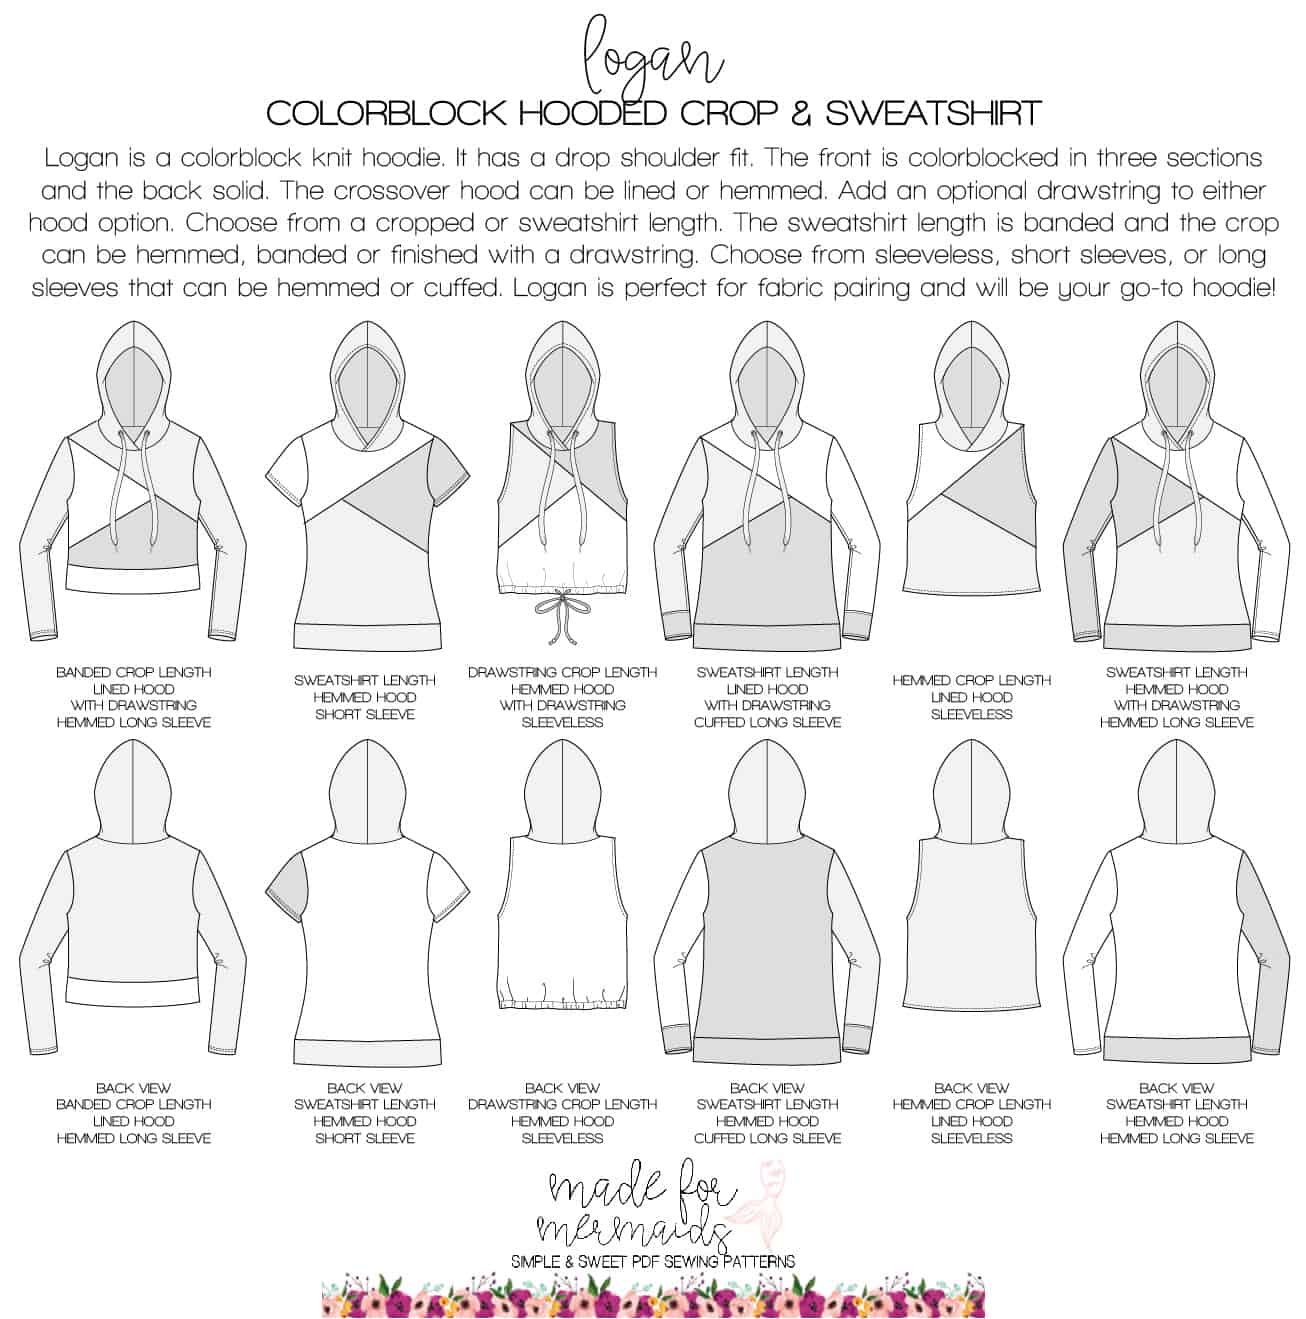
Women’s and youth Logan feature loads of options. Choose from sleeveless, short, cuffed long sleeves, or hemmed long sleeves. For hood options, choose between lined or unlined crossover hood. Lengths include banded crop, hemmed crop (hits just below natural waist), and banded sweatshirt (sweatshirt is slouchy but band is fitted at hips).
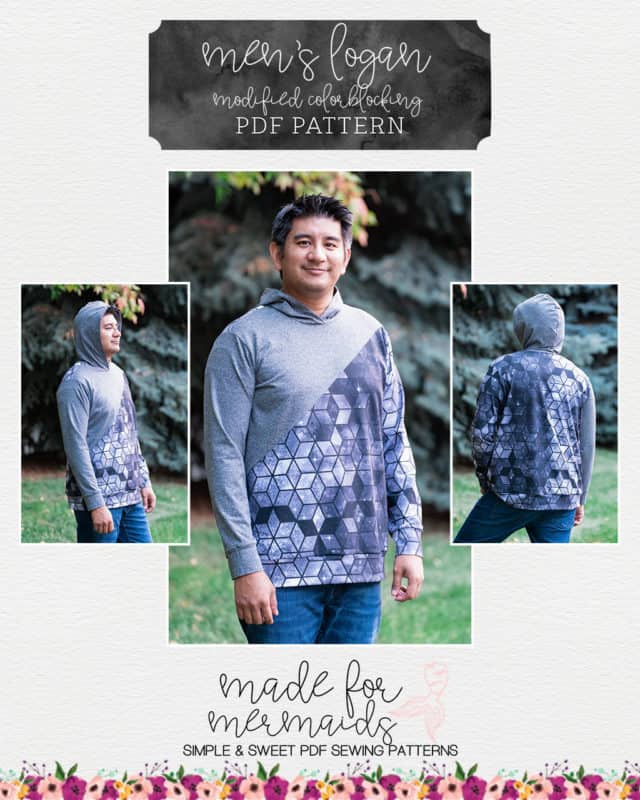
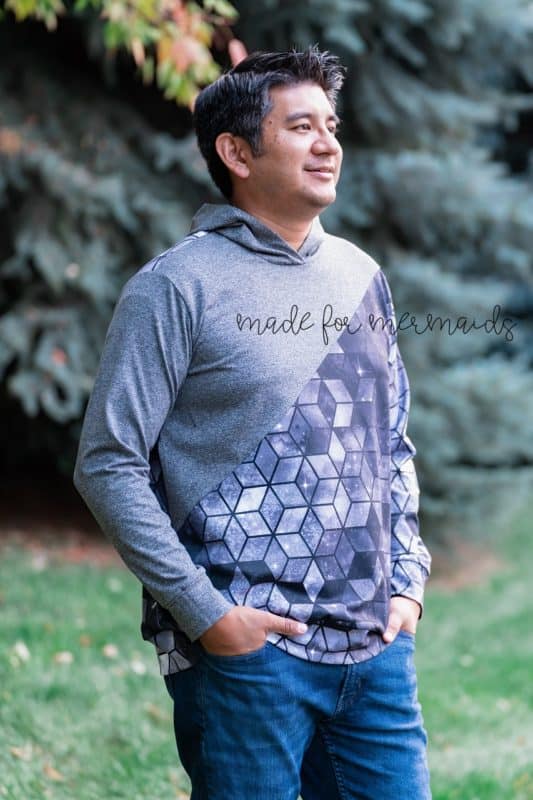
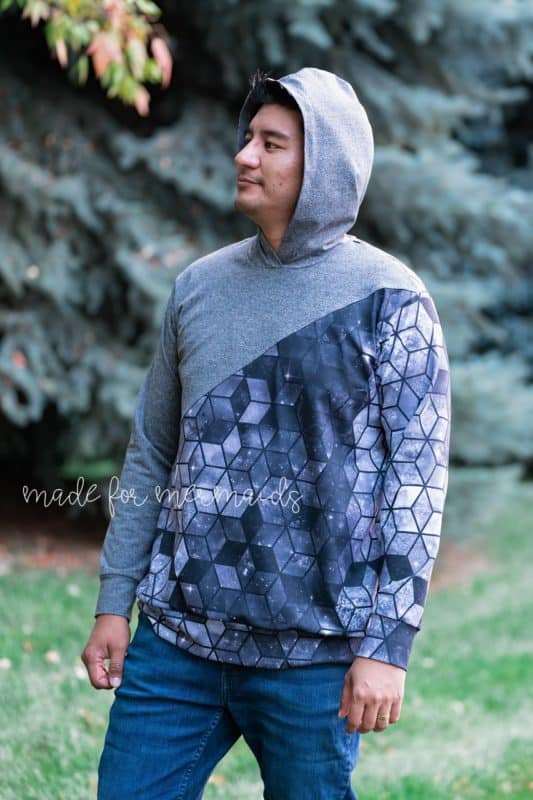
Men’s Logan features cuffed or hemmed long sleeves, with a banded sweatshirt length.
As usual, we have a few hacks for you to try out, too!
Neckband Hack
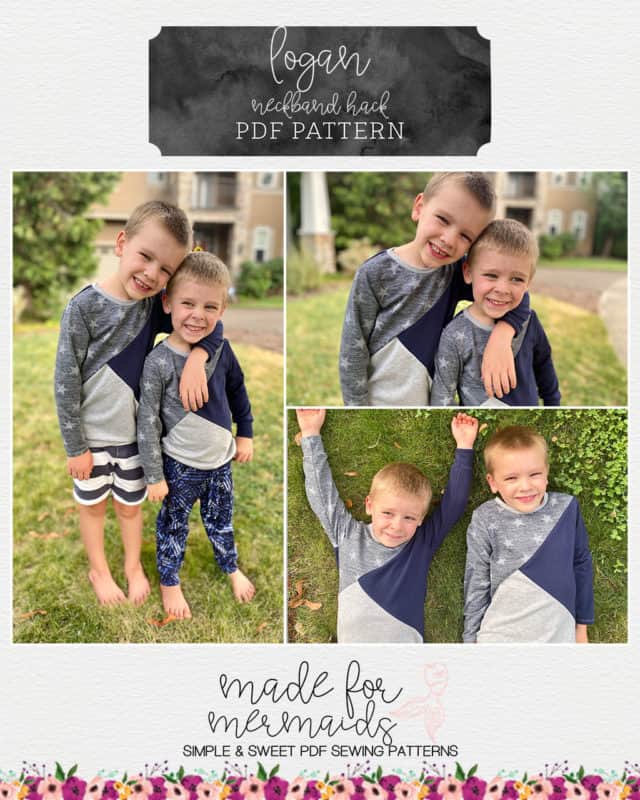
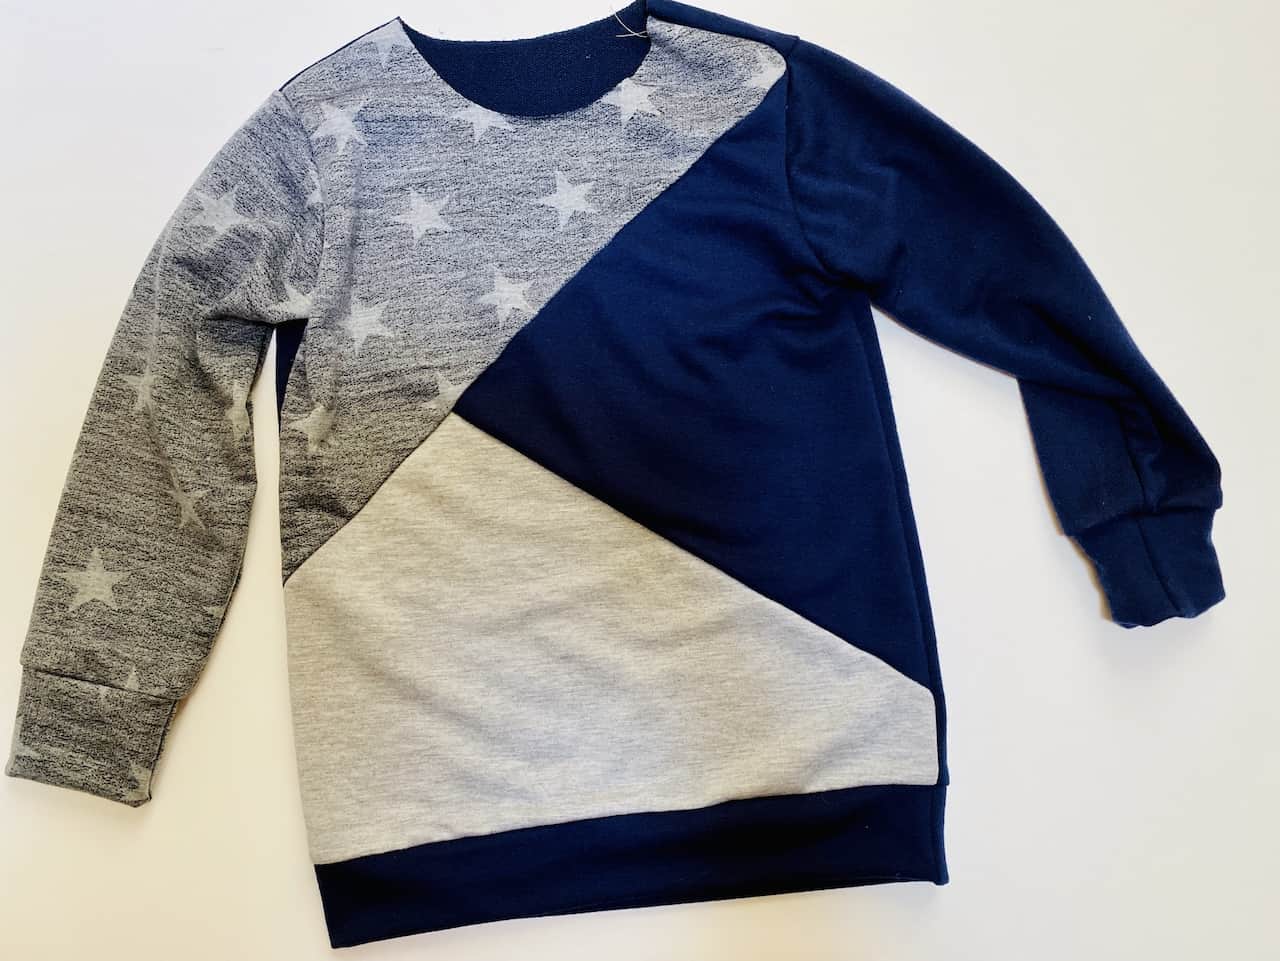
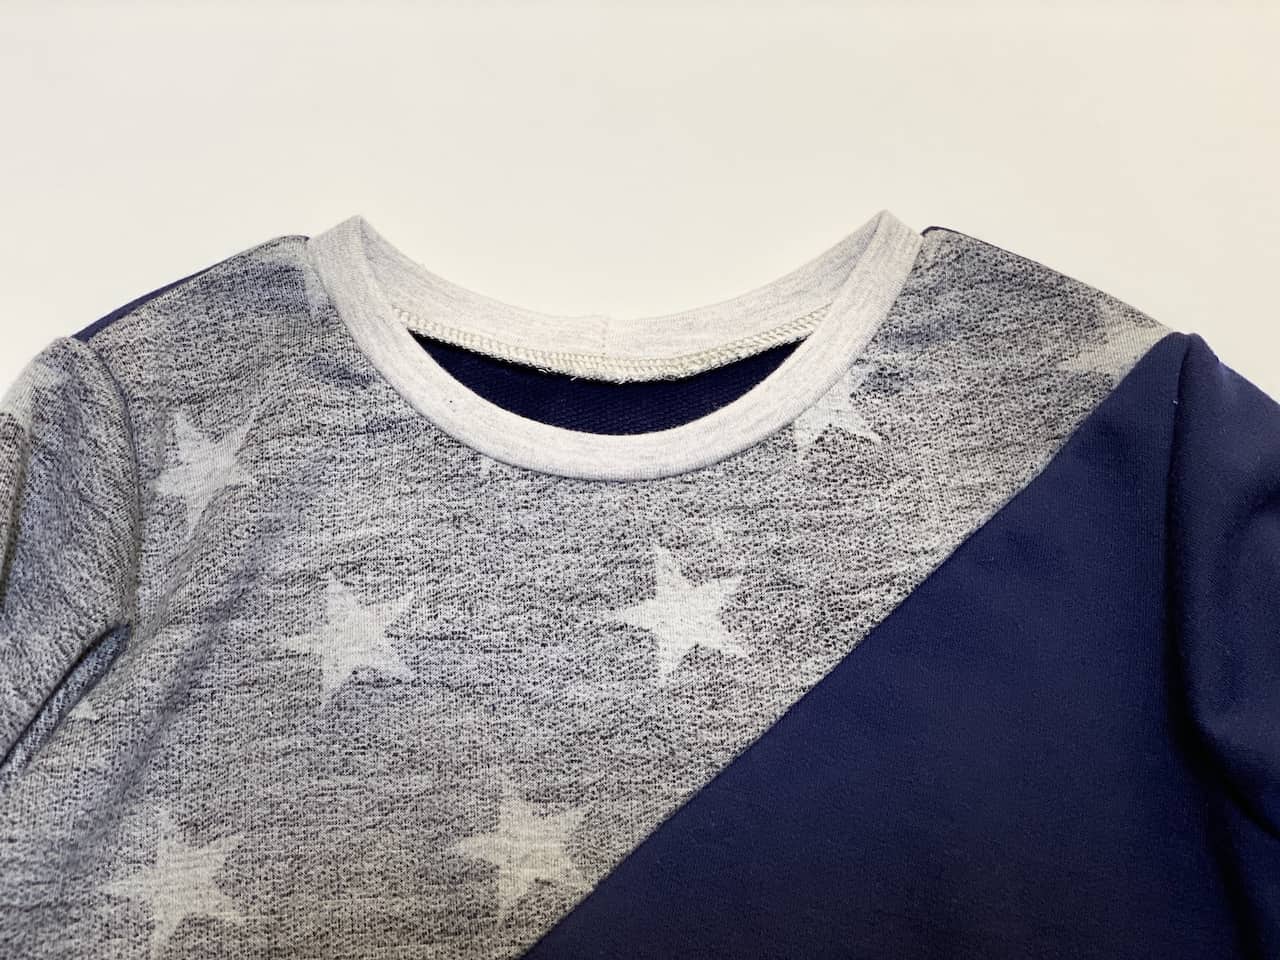
My kids have this thing where they won’t wear a hooded sweatshirt with a coat with a hood. I live in Oregon where hoods are a necessity due to all the rain! So to compromise, I added a neckband instead. It’s such a classic look that’s easy to do.
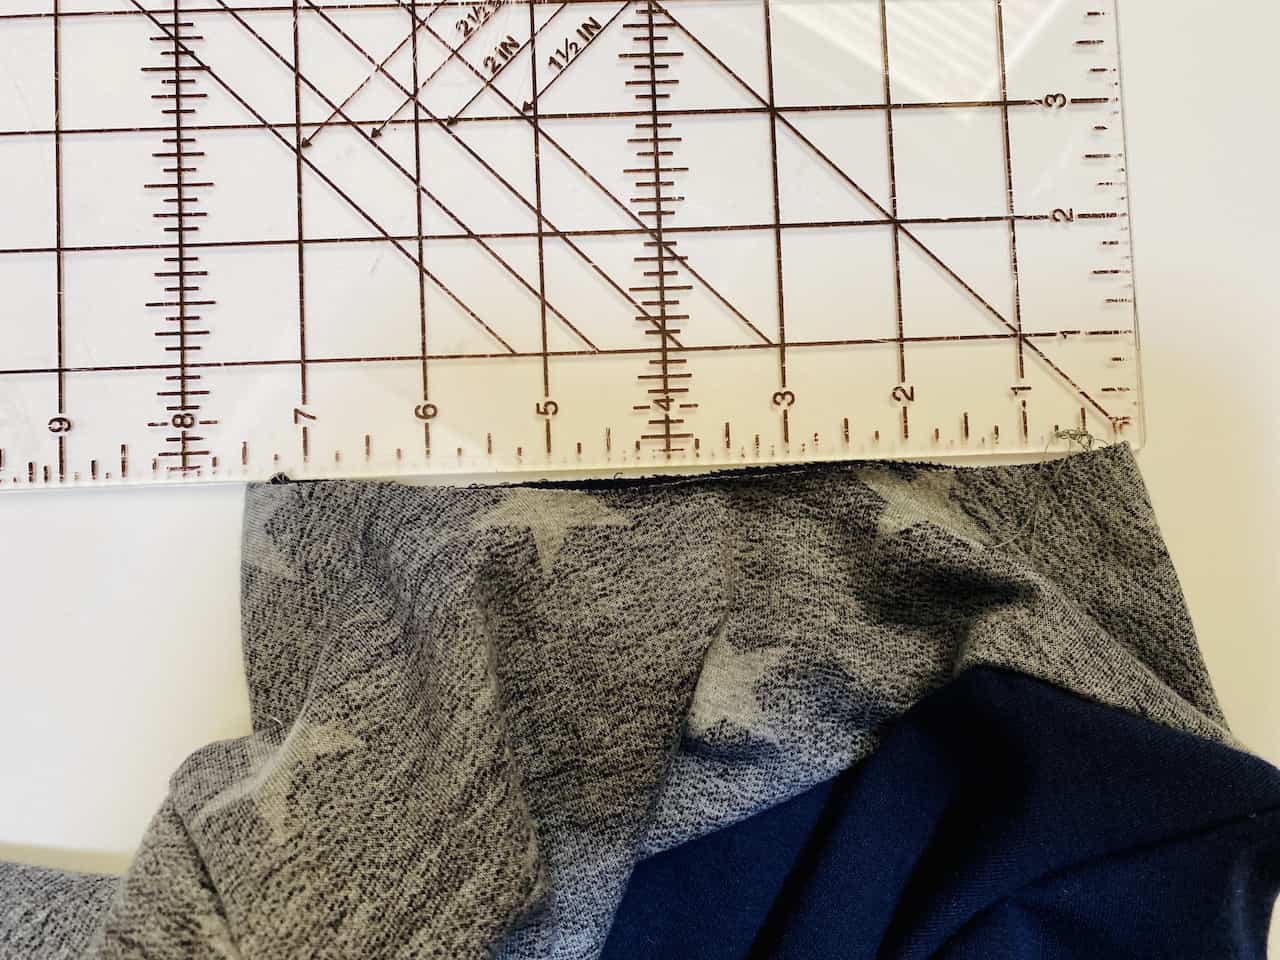
To start, cut all your Logan pieces except the hood. Follow the tutorial to construct everything except the neckline. For the neckband make sure you are using a fabric with stretch and recovery. I’m using a French Terry with 4-way stretch here. Now measure the width of the neckline. I find it easiest to fold it in half and measure. Calculate your neckband using the formula below. For kids, a 2″ wide neckband works, for adults I’d recommend 2.5″.
Measured neck opening x 0.88 + 1″ seam allowance
In this example of a size 5, my calculation was: 15″ x 0.88 +1.0″ = 14″ so I cut a neckband 2″ x 14″
Quarter the neckline and the neckband. Place your neckband to the right side of the neck opening, making sure your seam is at the back. Sew/serge using 1/2″ seam allowance. Press with steam. Optionally, topstitch neckline. -Katie
Drawstring Hack
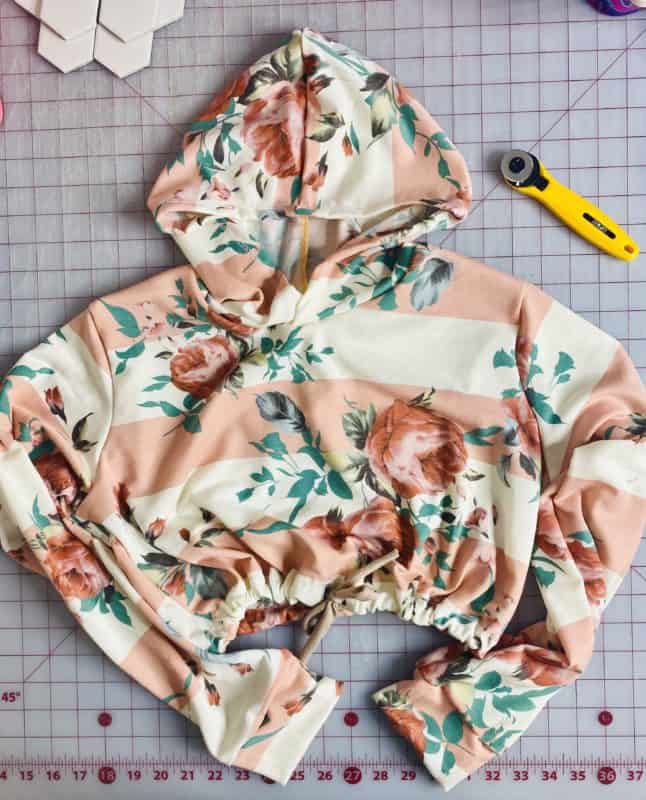
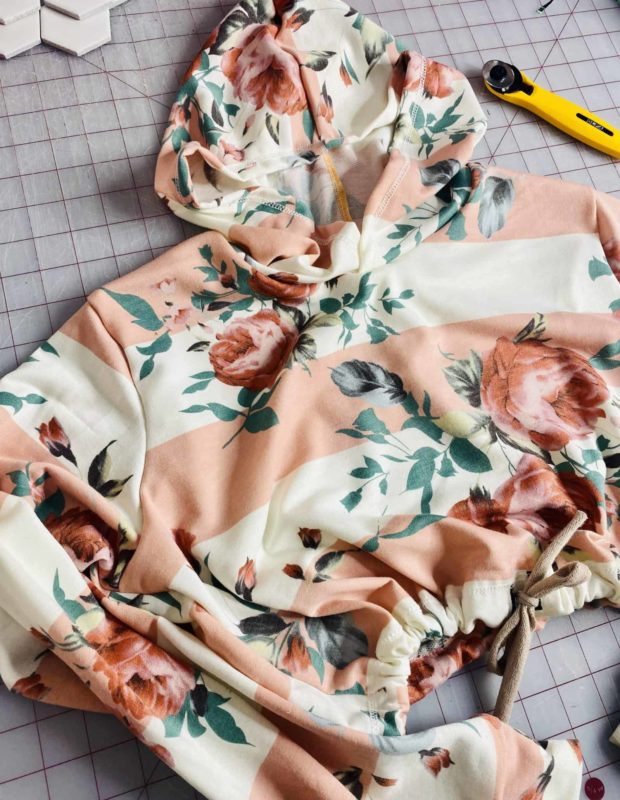
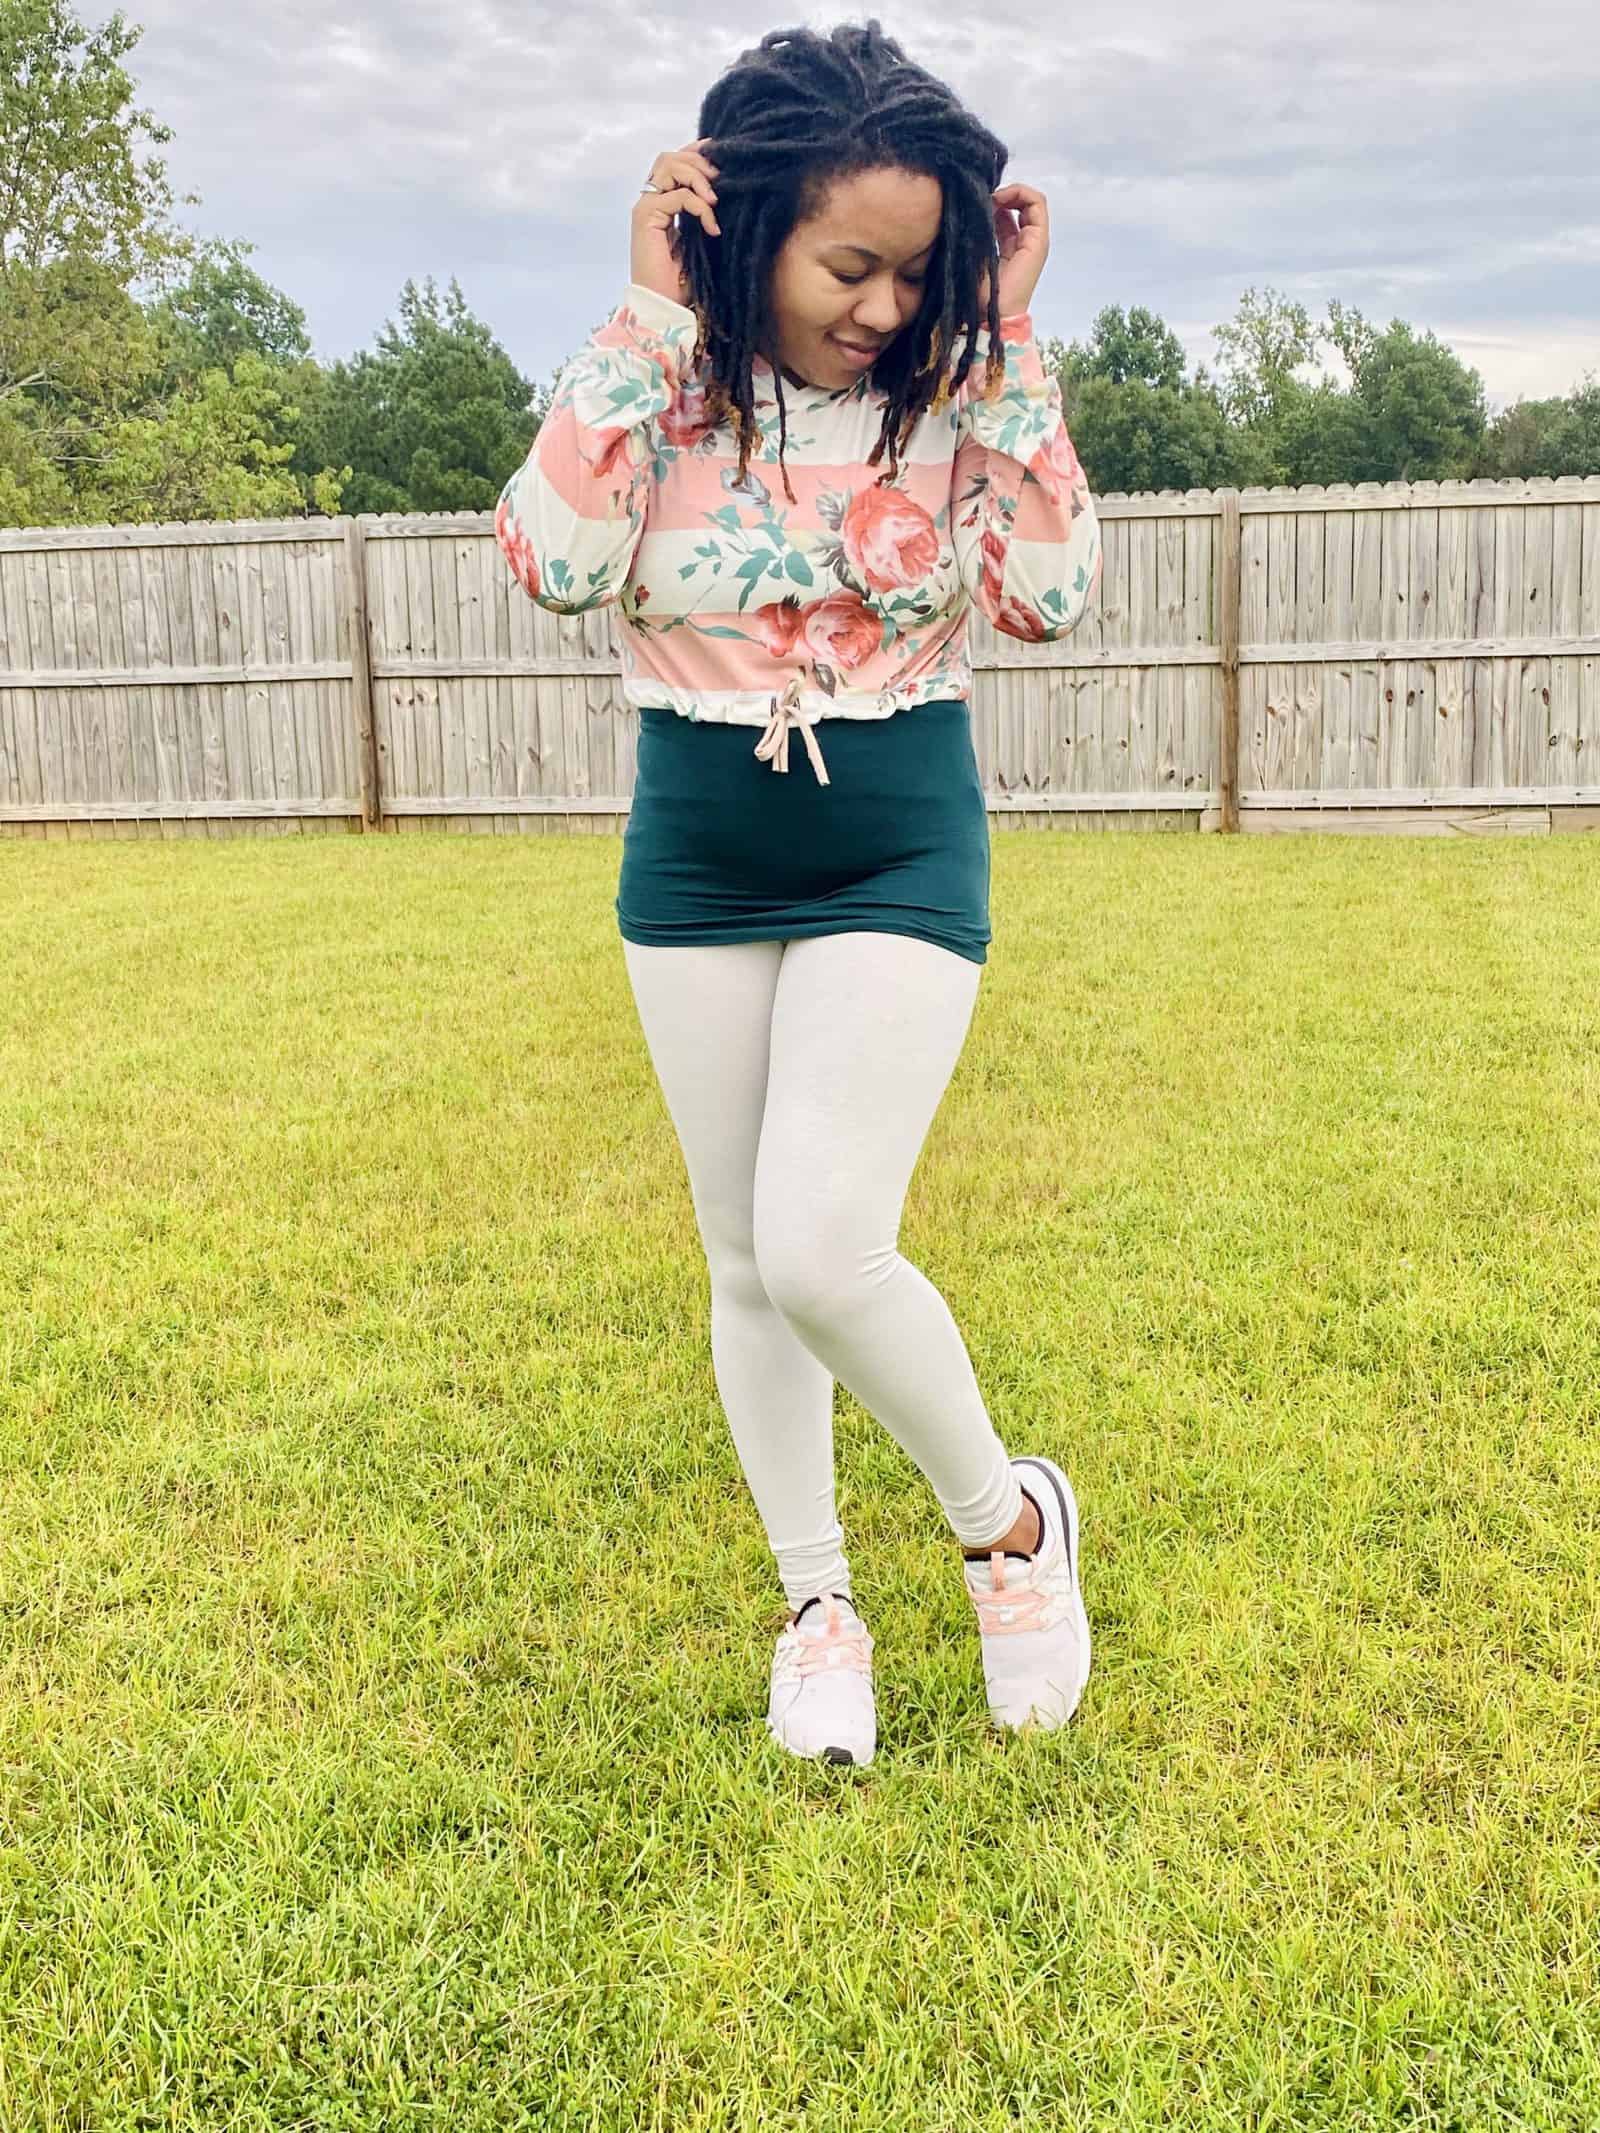
Another way to add a fun look to your Logan hoodie is by adding a drawstring at the waistband.
You will first follow all the other steps in the tutorial for the hoodie, saving the waistband for last.
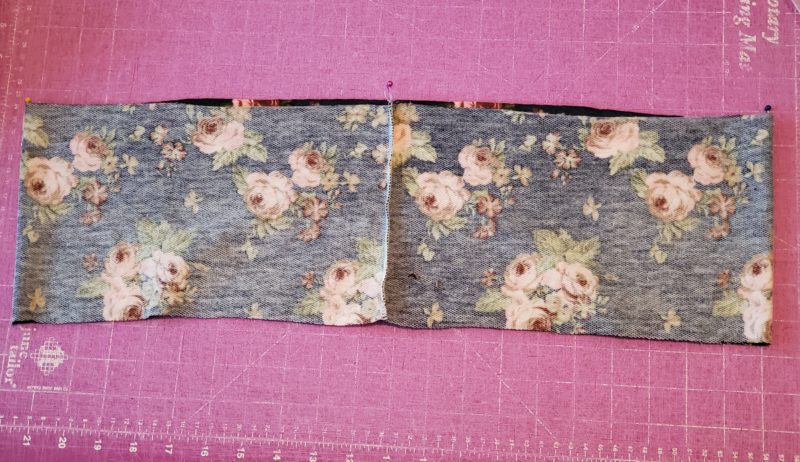
As noted in the tutorial, sew the short ends of the waistband, RST. Quarter your waistband and mark the quarter points with pins.
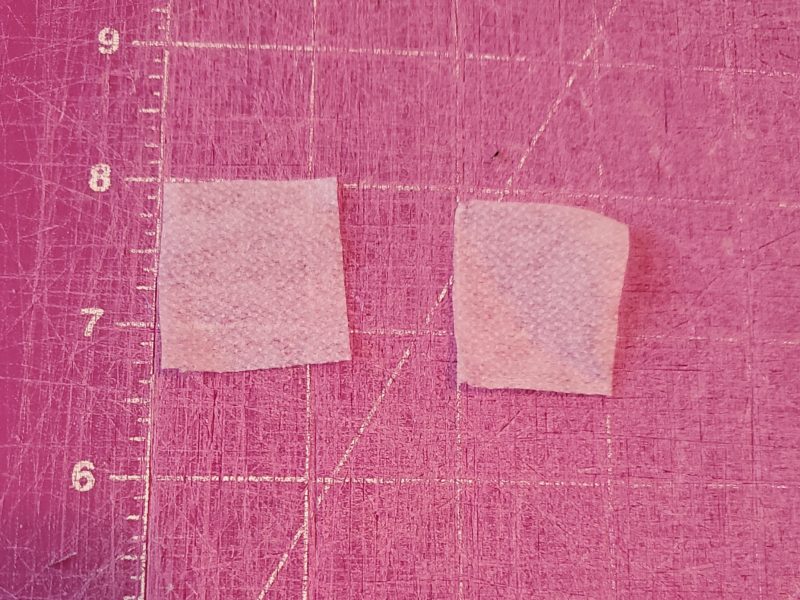
Cut out 2 small squares of interfacing.
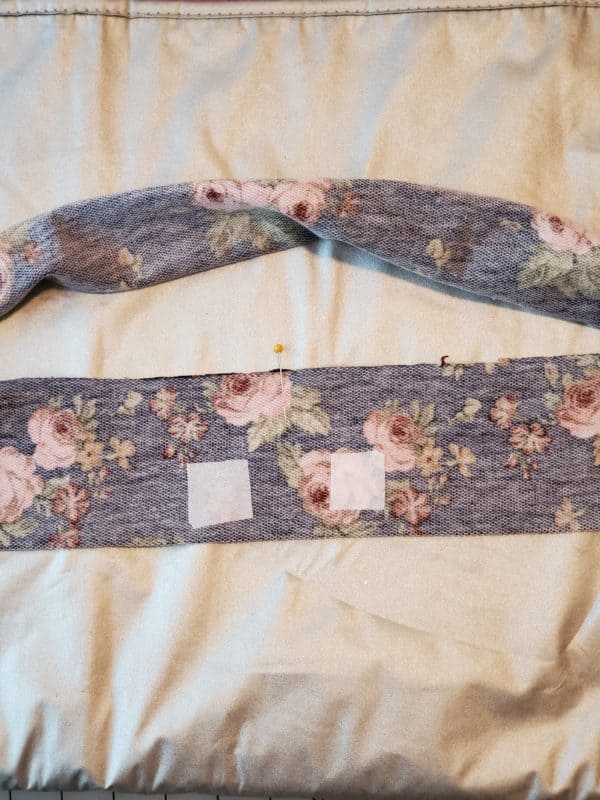
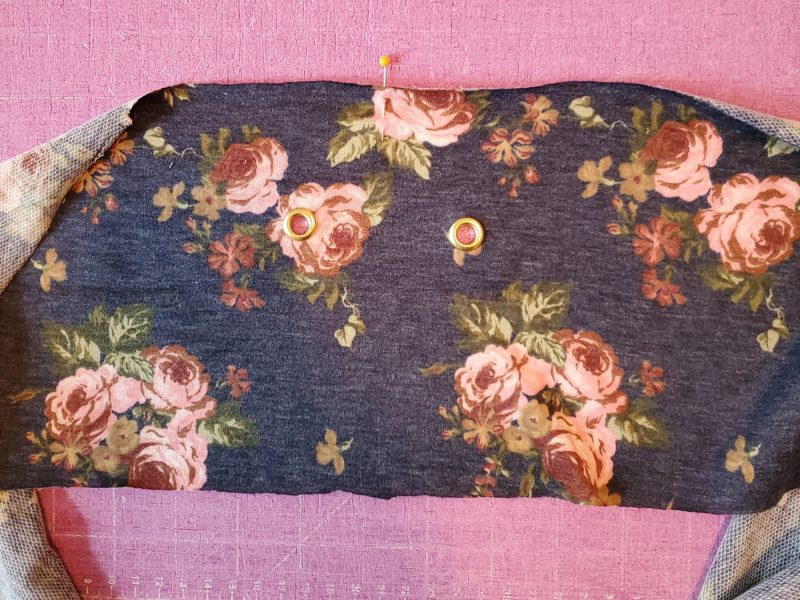
Decide where you want to place your grommets. I like my waistband seam to match up with one of the side seams of my hoodies, so I used the next quarter point for my grommet placement. I also wanted my drawstring to be closer to the bottom of my waistband, so I folded it in half lengthwise (WST) and placed them 1.5-2″ apart.
Apply interfacing to the wrong side of your waistband where you’ve decided to place the grommets.
Now follow instructions on your grommet tool for inserting your grommets.
You will now continue with the tutorial steps for attaching the waistband to the bottom of your Logan hoodie.
Once you’ve attached the waistband, cut your drawstring to your desired length, and pull it through the grommet holes. Tie a knot on both ends.
Now you can wear your hoodie at the intended hip length or cinch it up with the drawstring for a blousier hoodie at high hip level. ~Lindsay
Since the band is already fitted, you can also create a drawstring in lieu of a waistband! To do so, you would add 2-3″ to the bottom hem of your Logan hoodie; total length added will depend on preference. Determine where to place your grommets or buttonholes; you can play around with placement, using the center, side seam, or even adding drawstrings on either side! Create a casing by folding the bottom hem up 1″, with wrong sides together. Edgestitch in place. You will not need to leave an opening, since you can use the grommets/buttonholes to thread your drawstring, cording, or ribbon through.
Two Piece Front Hack
I love the color-blocked front of Logan and it is easy to simplify the front down to two sections. Before cutting, grab the two front pattern pieces without the neckline. Overlap the pieces ½” and tape them in place.
Now, cut out your hoodie. When we are assembling the front, just match up the double notches and sew. Follow the tutorial as written with your new front piece.That’s it! Super easy! – Alexandria
Solid Hack
The Logan is one that everyone in the family can enjoy! I know my family has thoroughly enjoyed testing the new Logan pattern! It’s super quick to make it into a solid option if you’re wanting to change it up too!
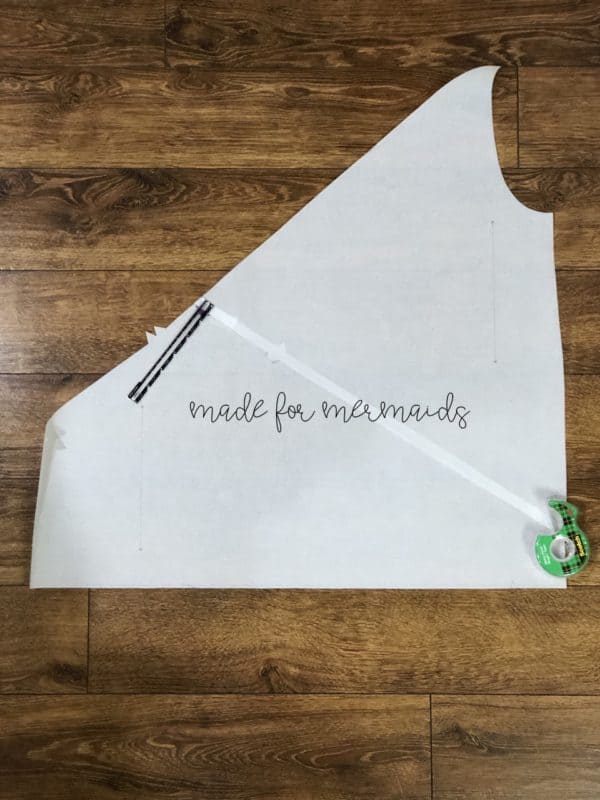
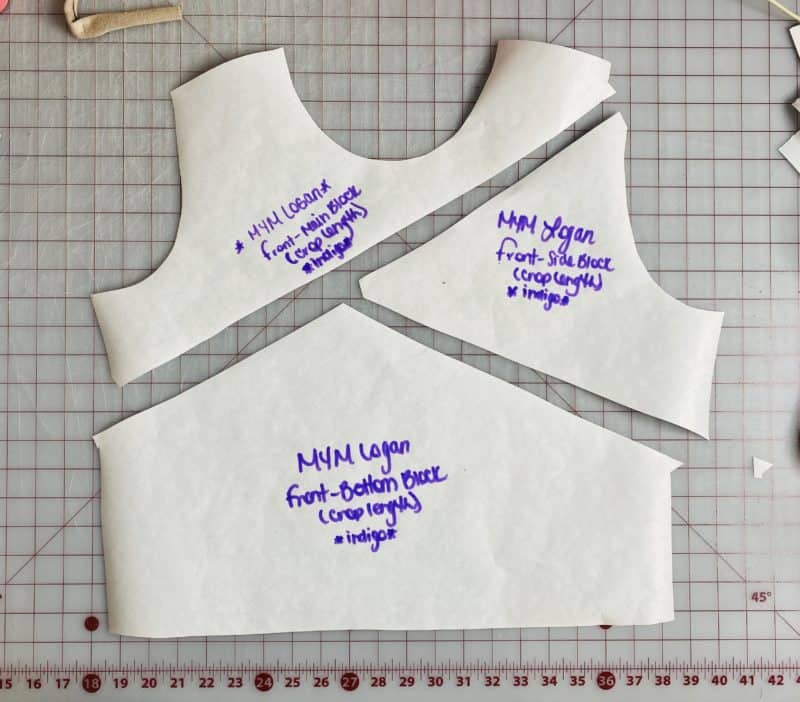
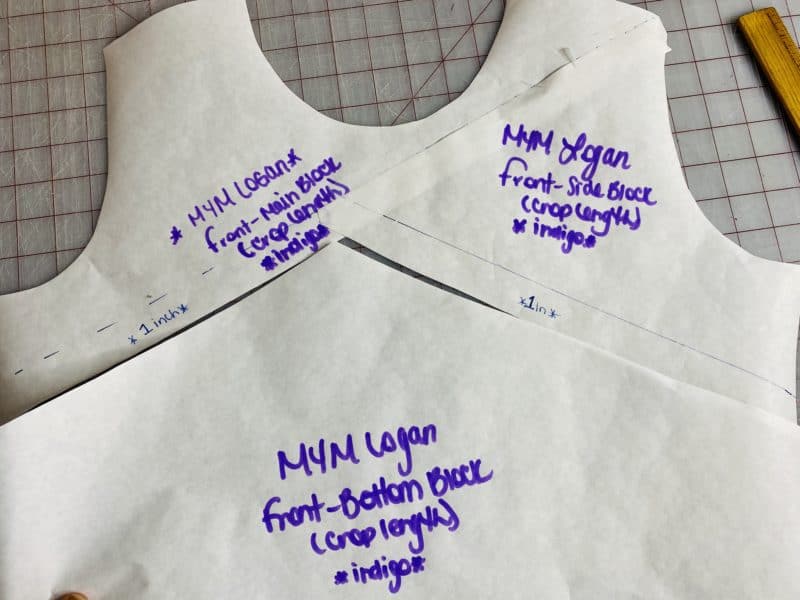
Disclaimer: I use a projector, so I traced the pieces out on parchment paper for the crop length but if you printed the pieces there’s no need to trace…you can use the
pieces you have!
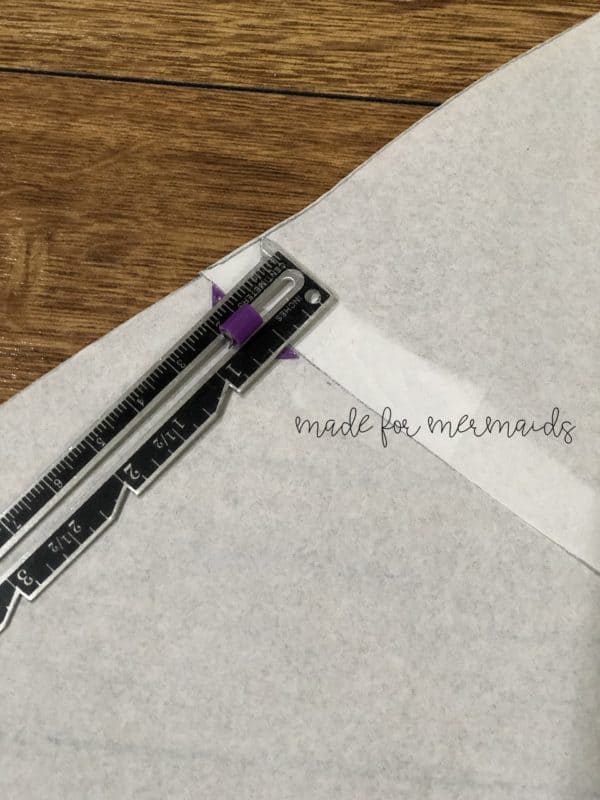
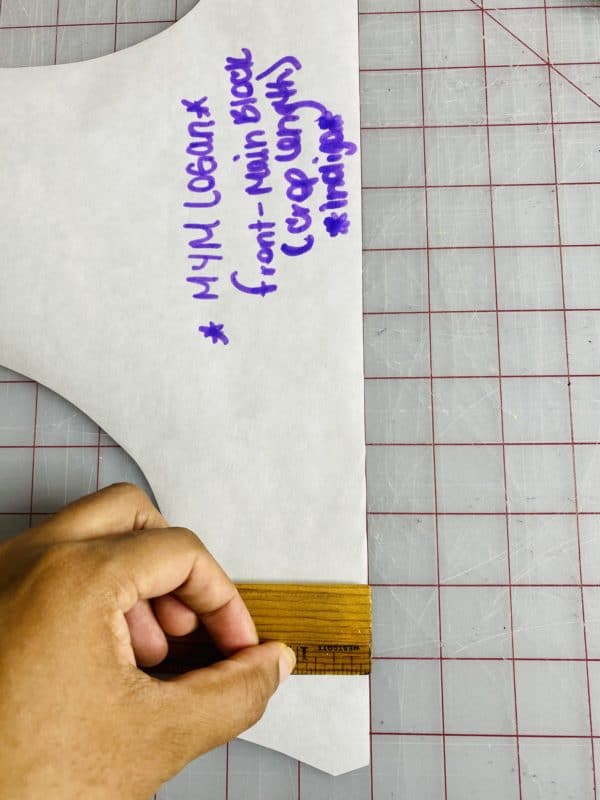
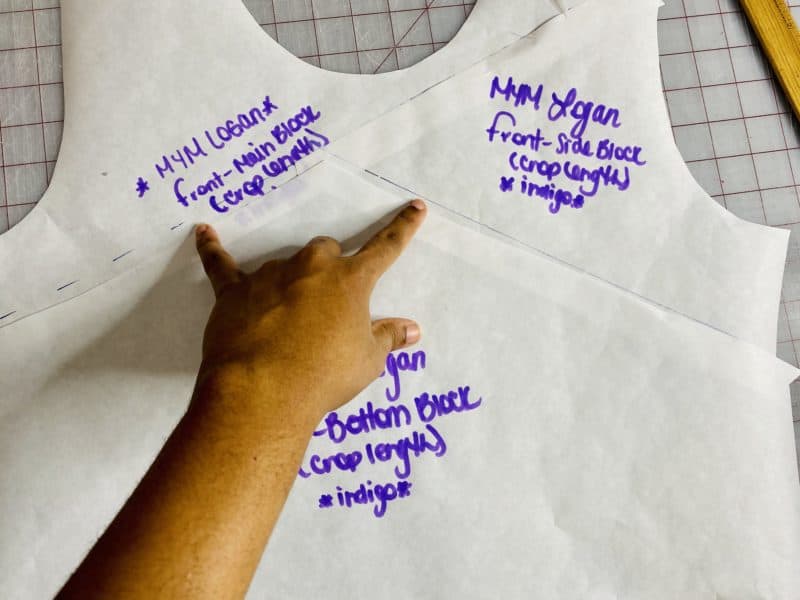
Taking the front main bodice piece, measure in 1″ from the base of the long end and draw a line.
Repeat the same with the front-side block on the bottom edge that would connect to the front-bottom back.
This will be our tape lines for the other pieces to take the seam allowances out.
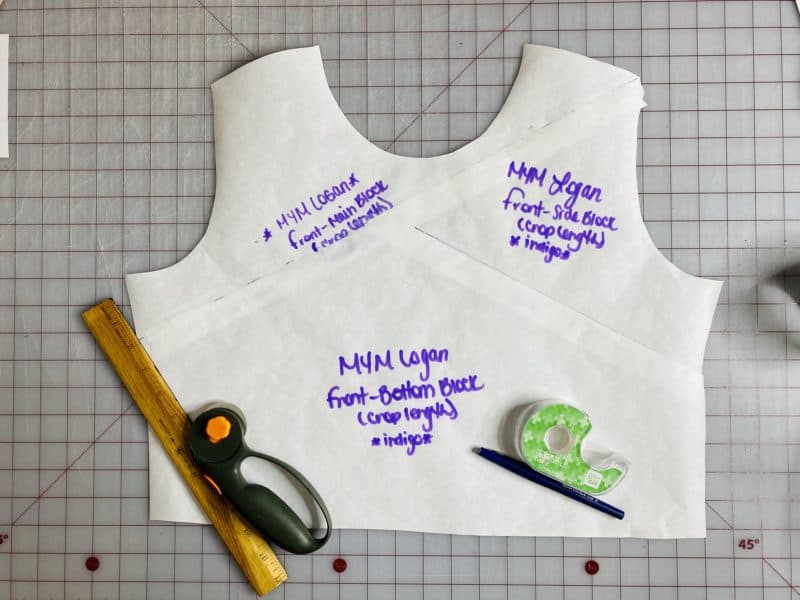
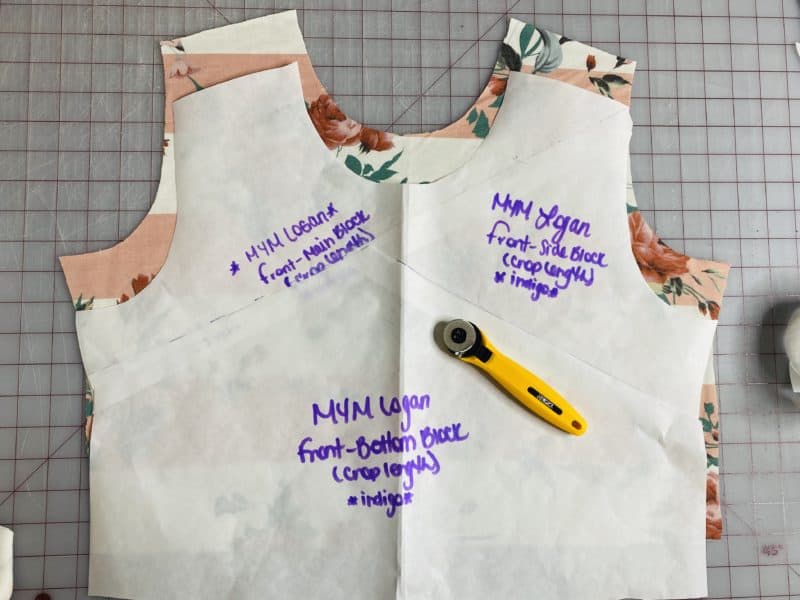
Tape the pieces together to create one solid front bodice.
Cut the remaining pattern pieces omitting the for color-blocking and follow the tutorial to complete your new Logan!
Happy Sewing!
~Jacqueline
We can’t wait to hear what you think about the Logan Colorblocked Hoodie! I’m already planning on making a bunch for Christmas gifts, especially for the men and tweens in my life!! They LOVED their Hudson hoodies I made several years ago, so I’d say they’re due for a new handmade hoodie! Don’t forget to share your makes with us on Instagram and in our FB group; tag us so we can share!






















Leave a Reply