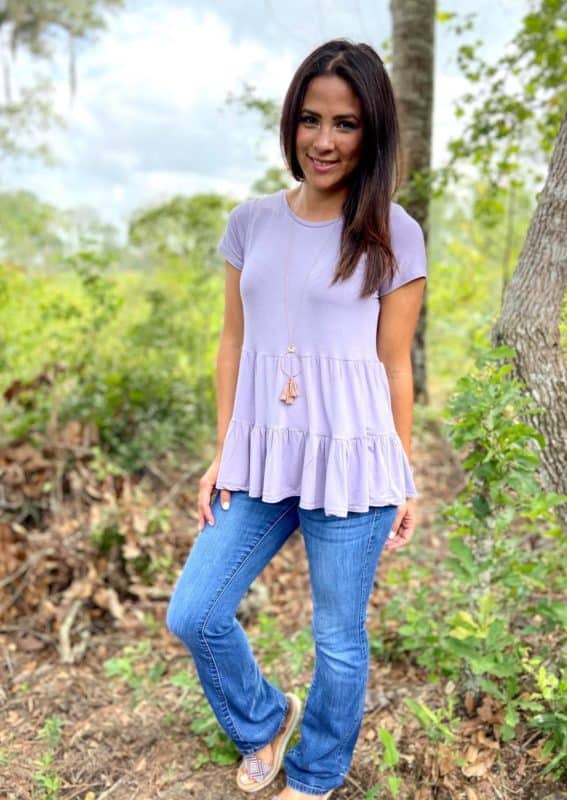
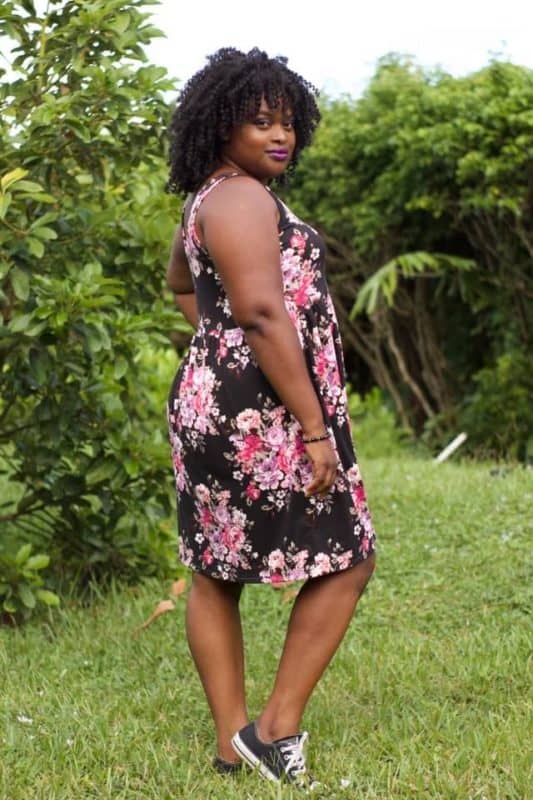
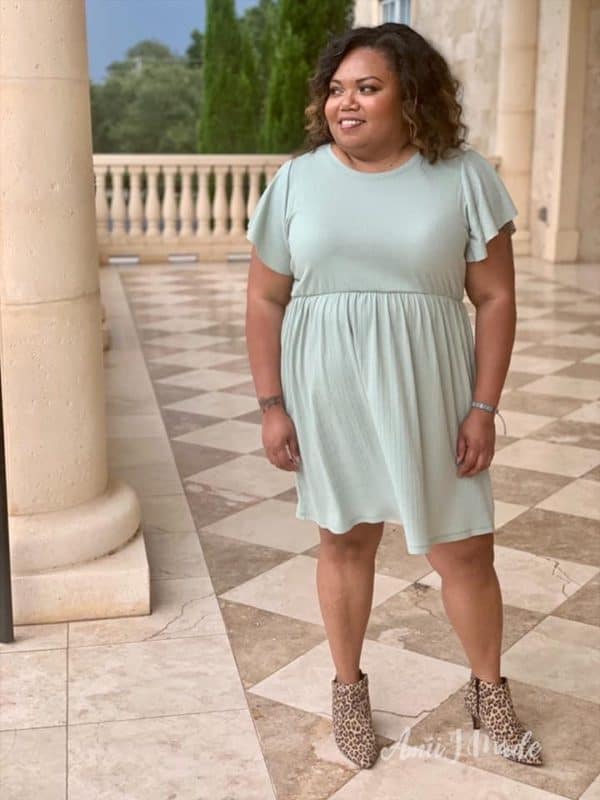
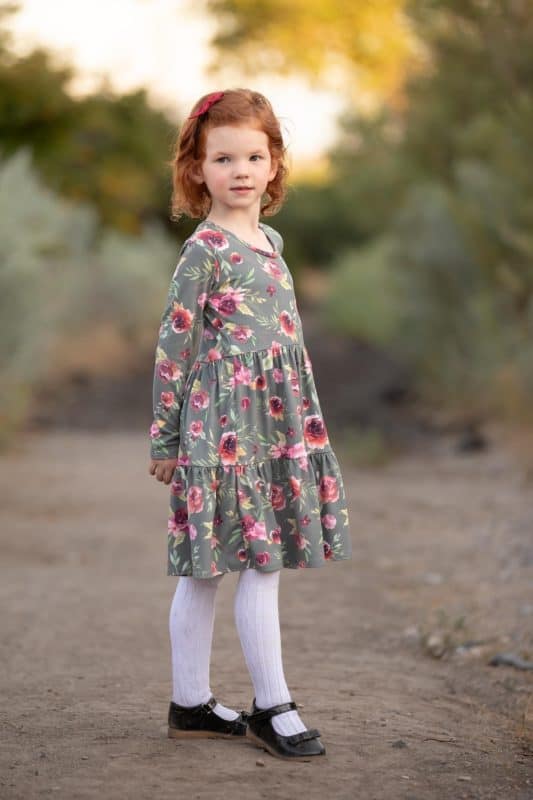
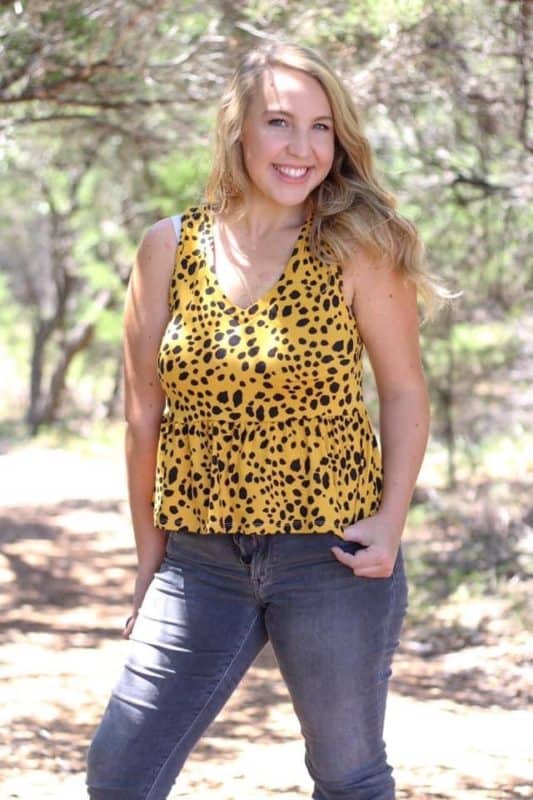
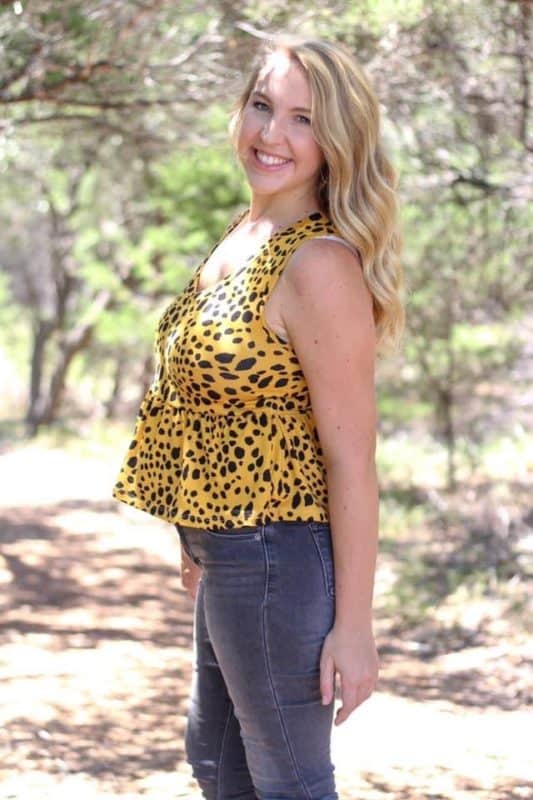
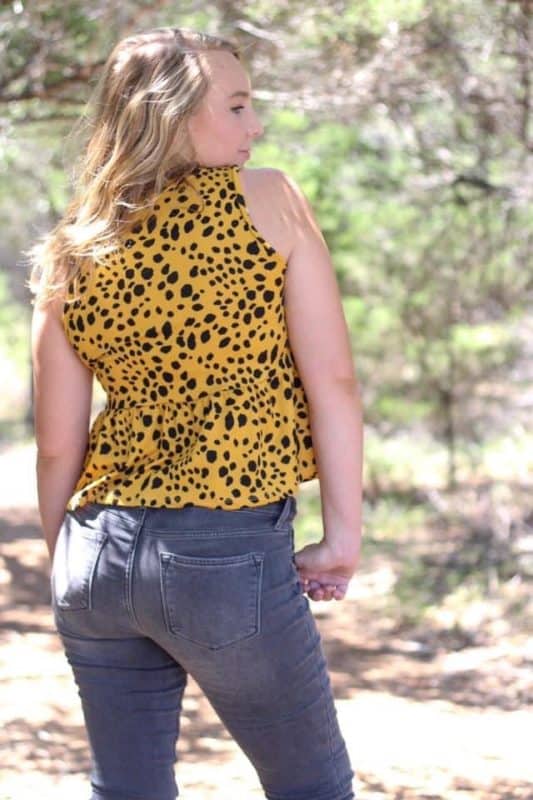
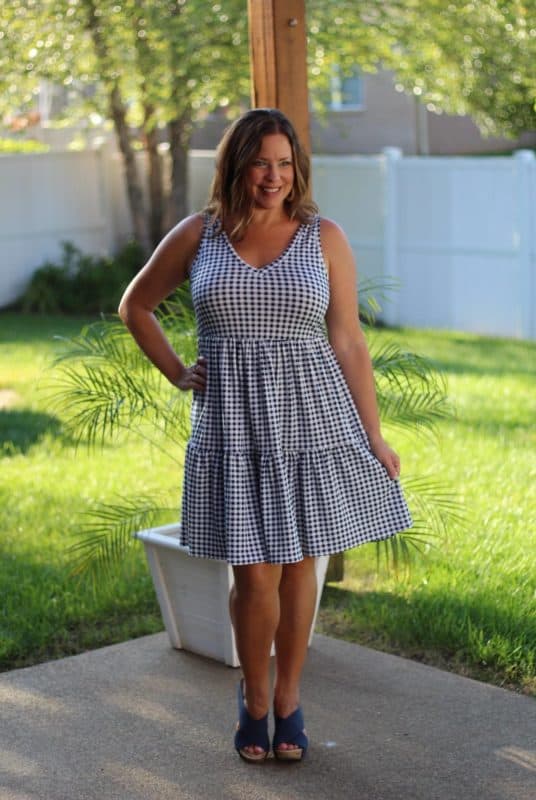
The Blythe Babydoll Top & Dress patterns are here, and we think you’re gonna love them!
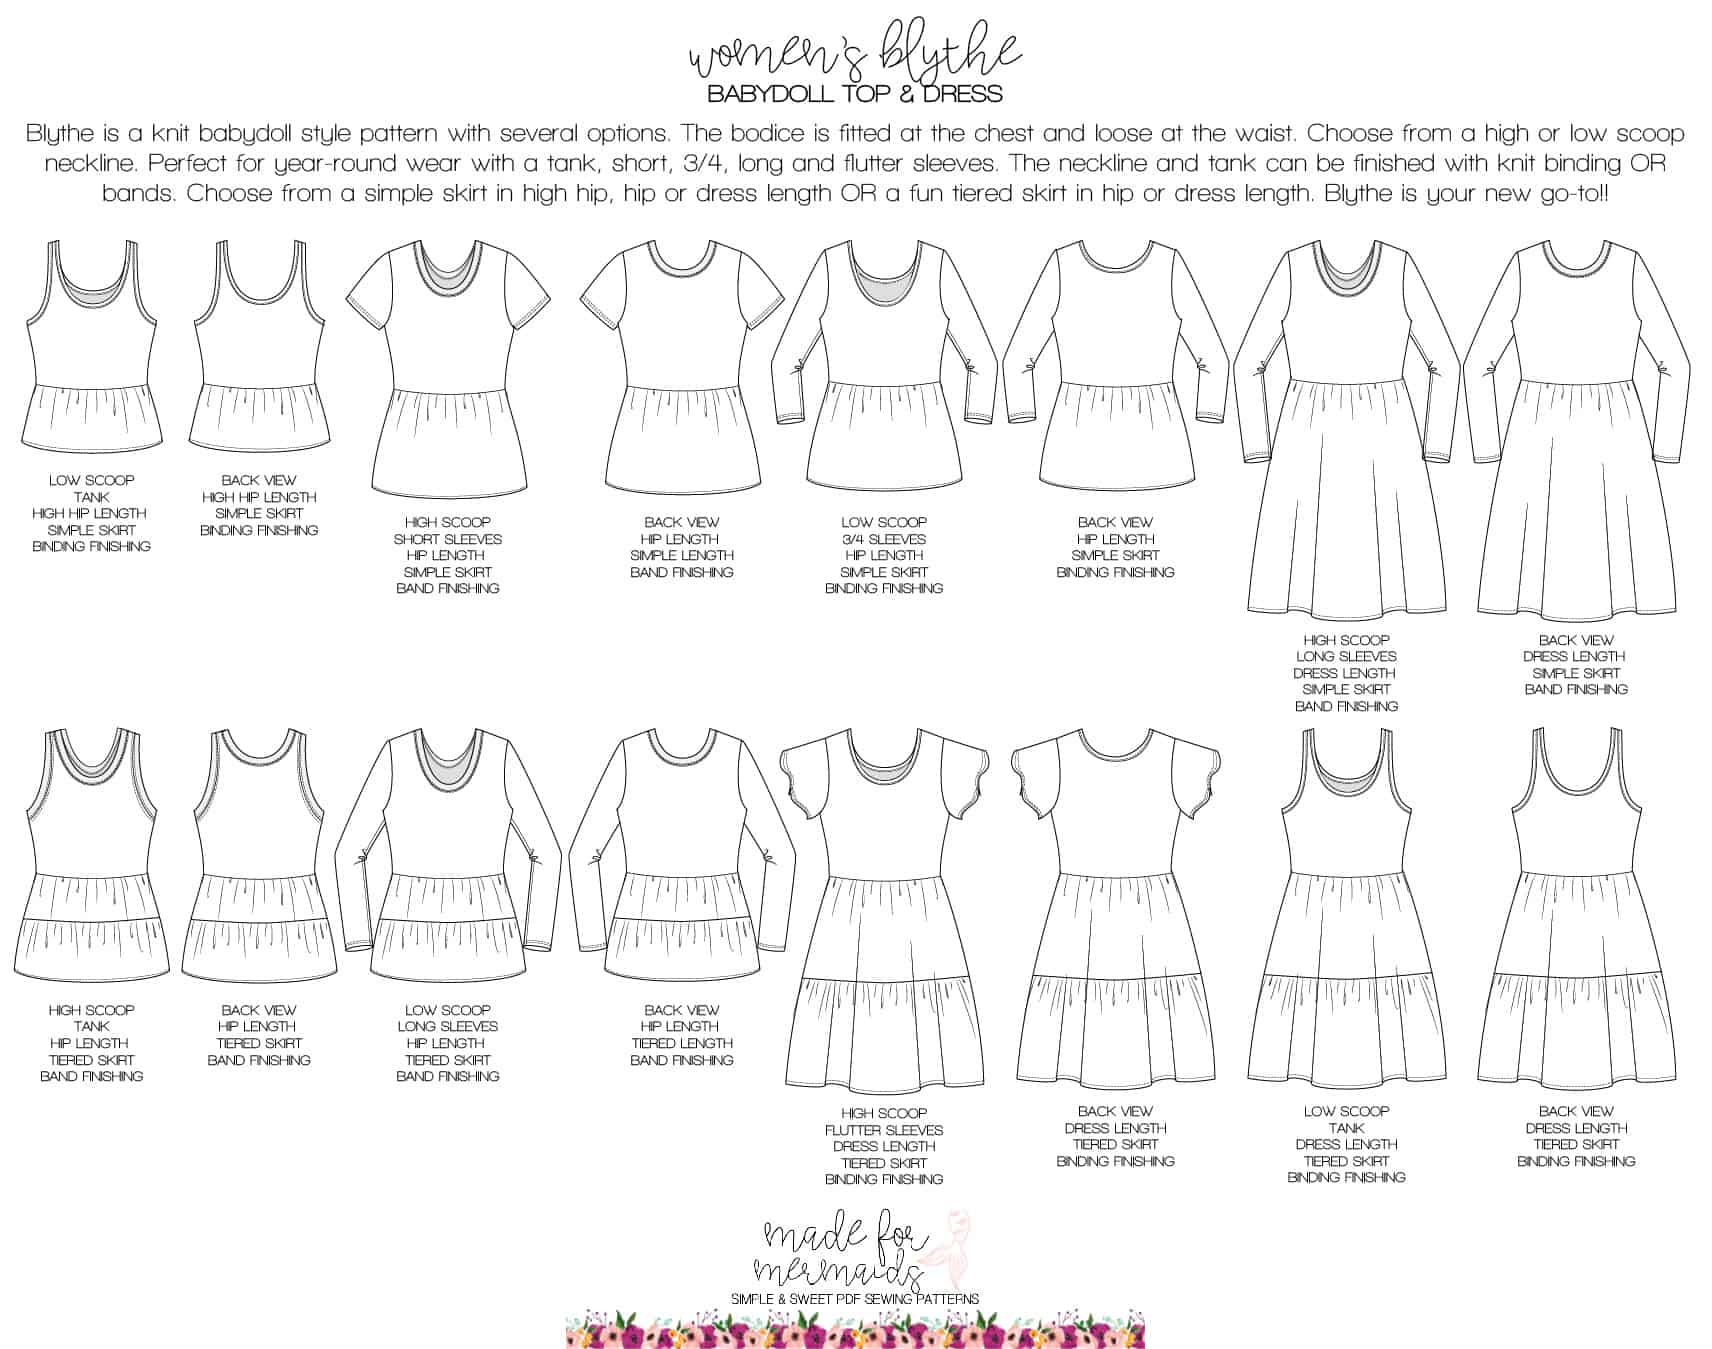
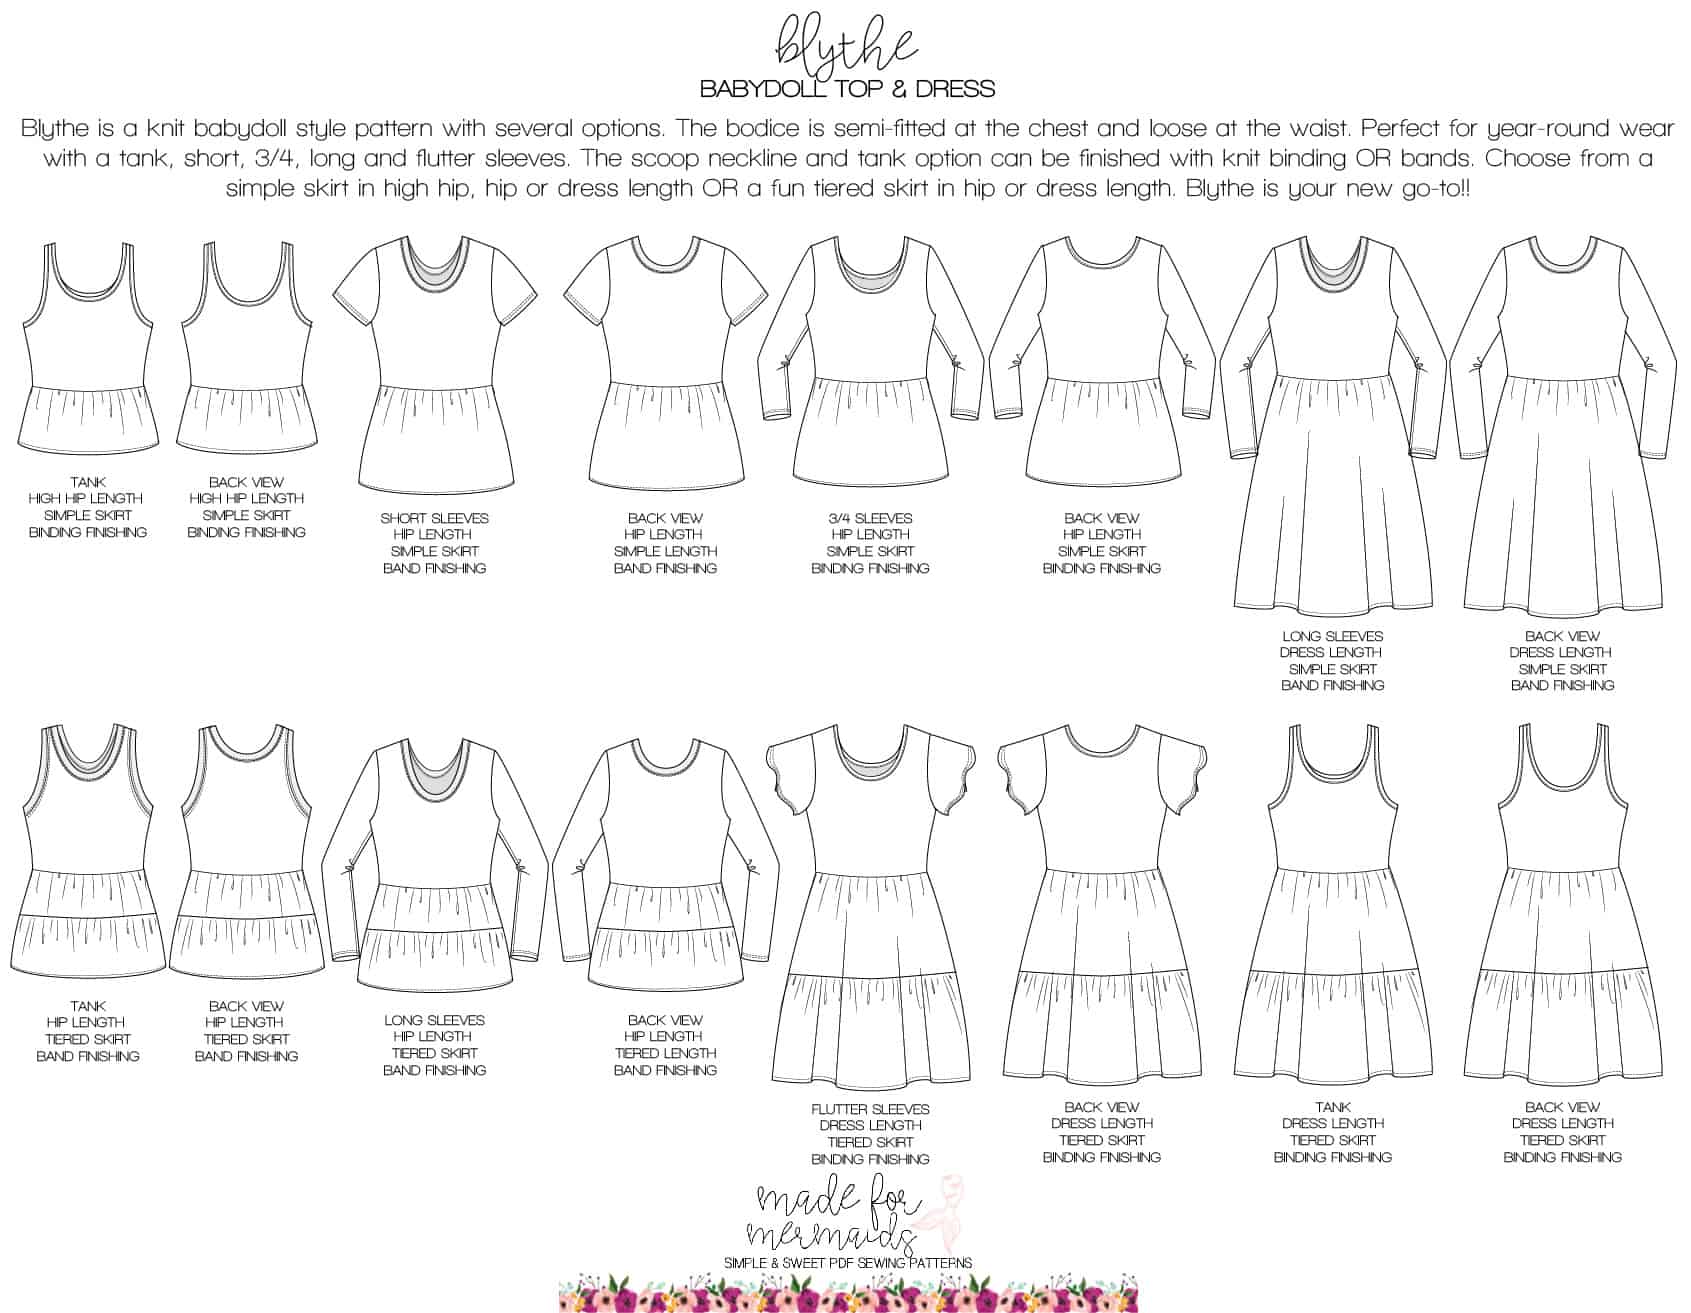
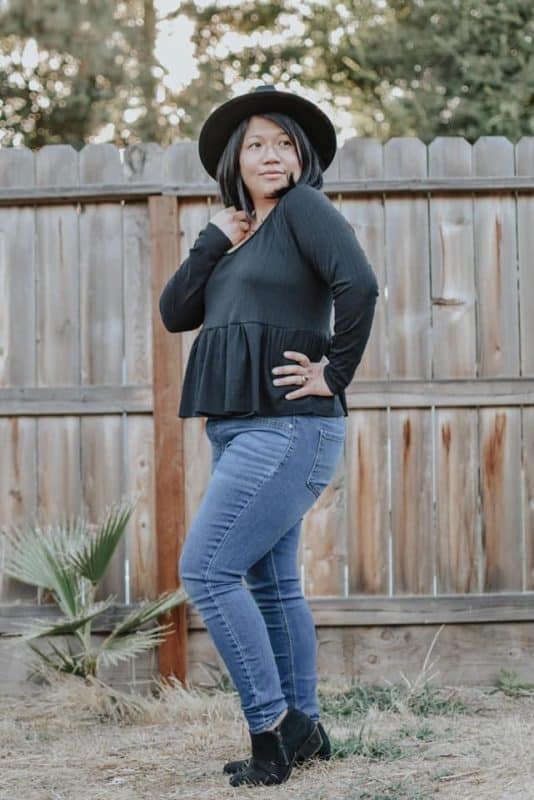
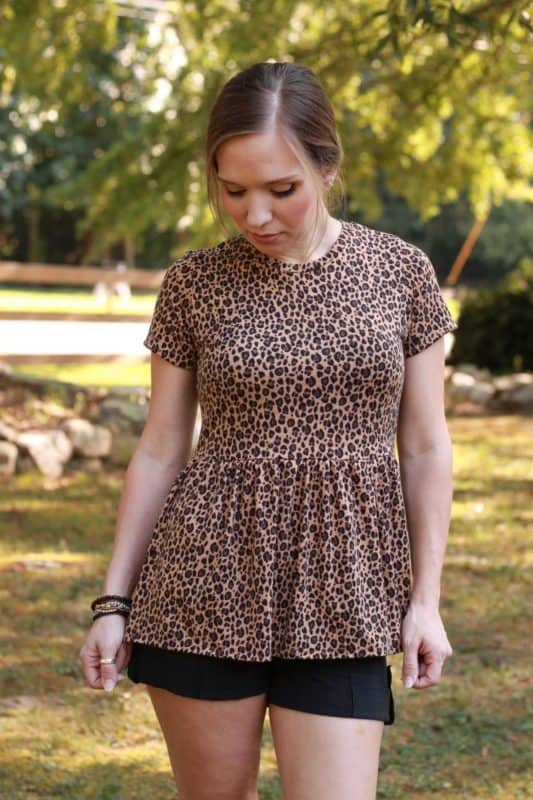
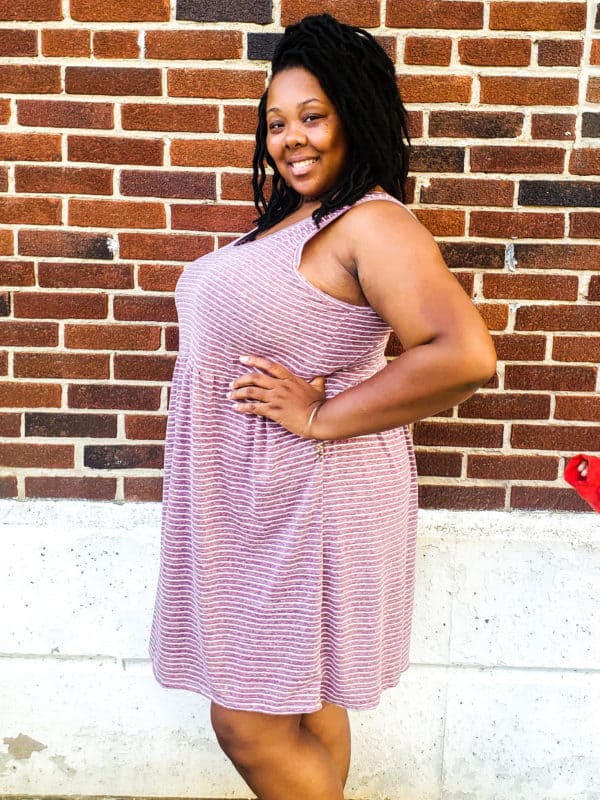
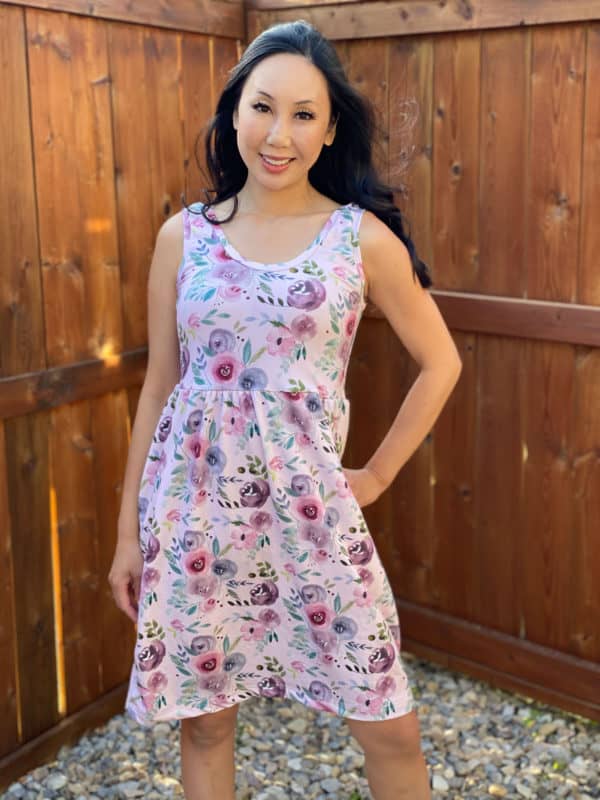
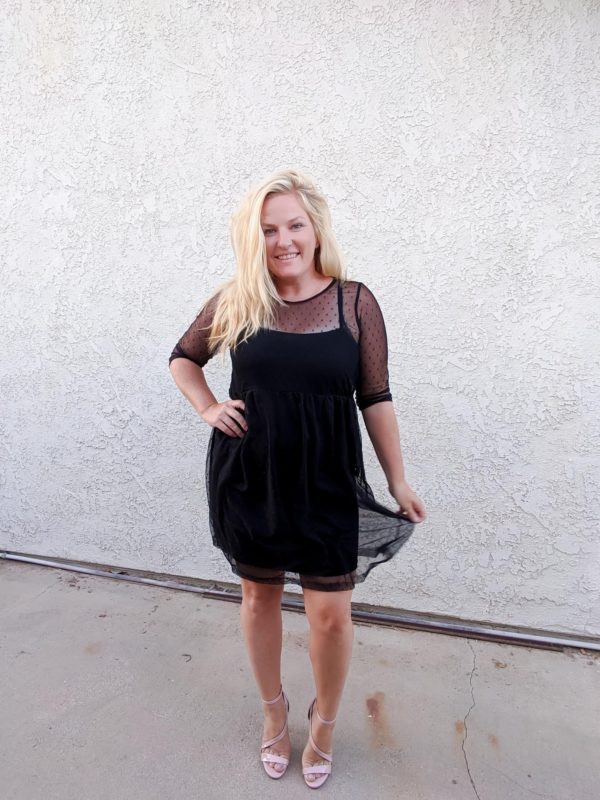
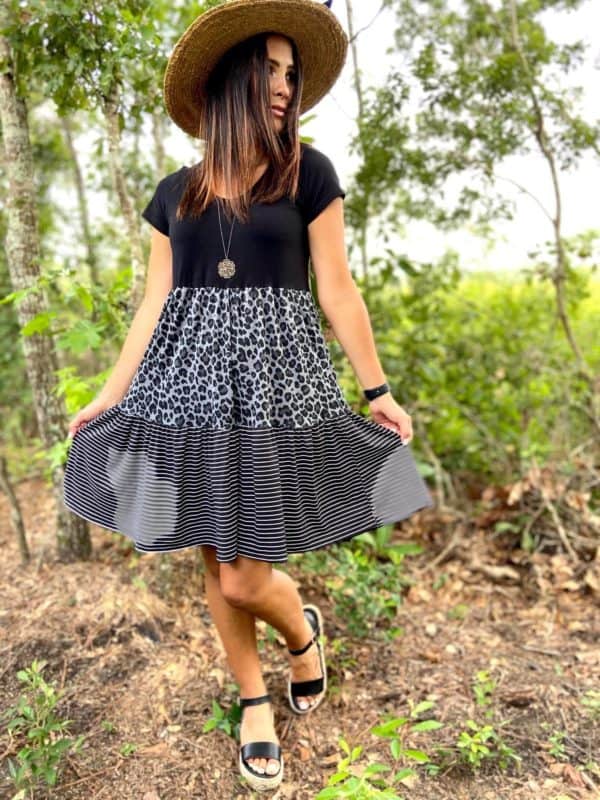
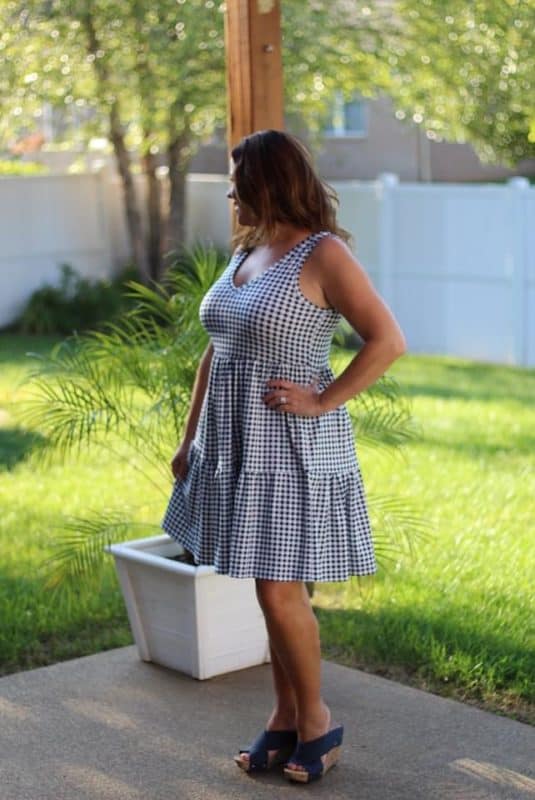
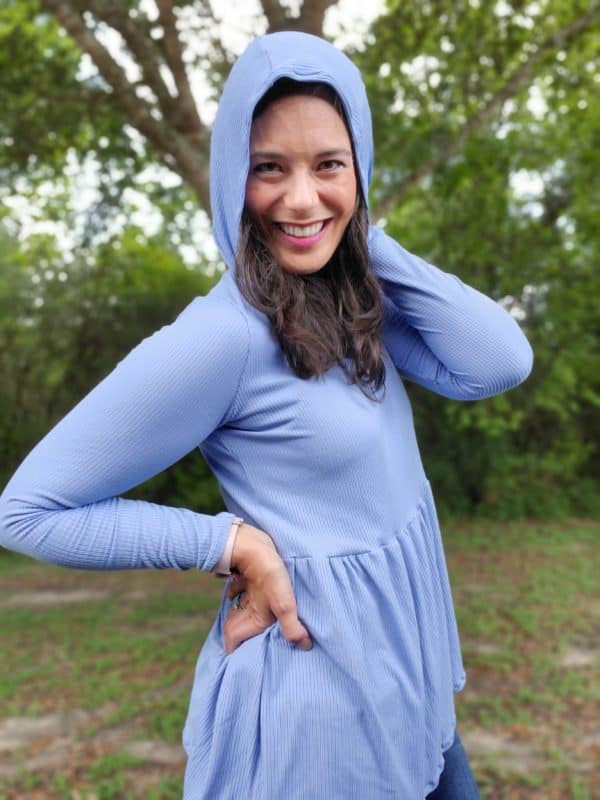
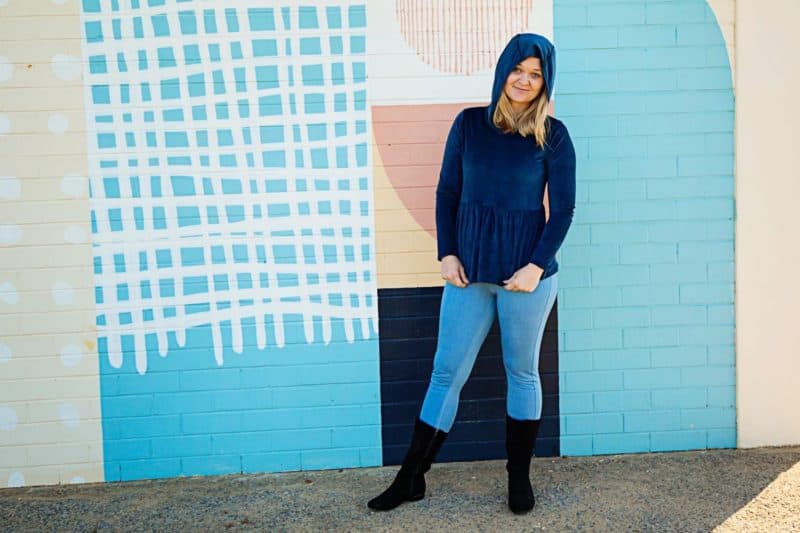
Women’s is fitted through the chest with a looser fit through the waist, and features both low and high scoop necklines. You can choose from tank, short, 3/4, long, or even flutter sleeves! Finish the neckline/armholes with knit binding OR bands. Options include simple or tiered skirt, and lengths in high hip, hip, or dress length.
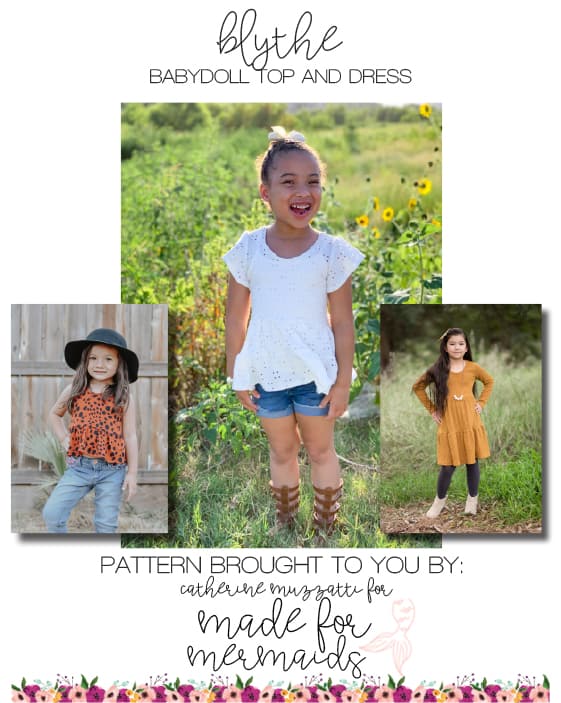
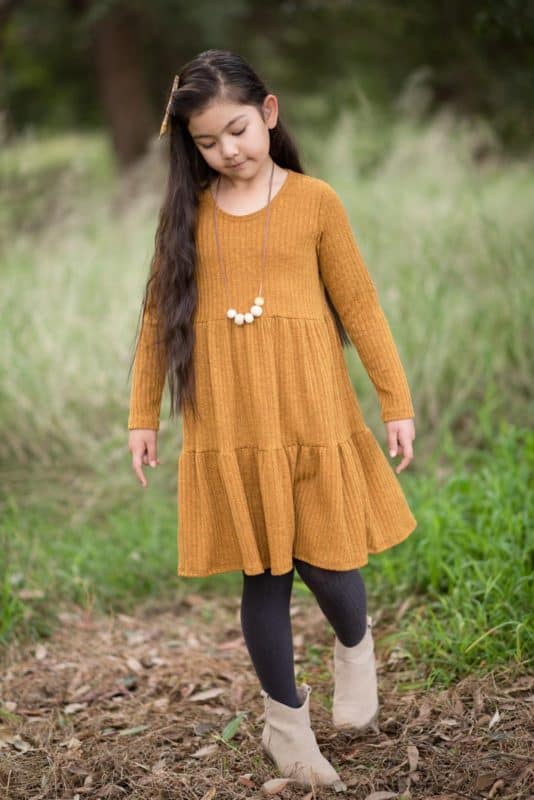
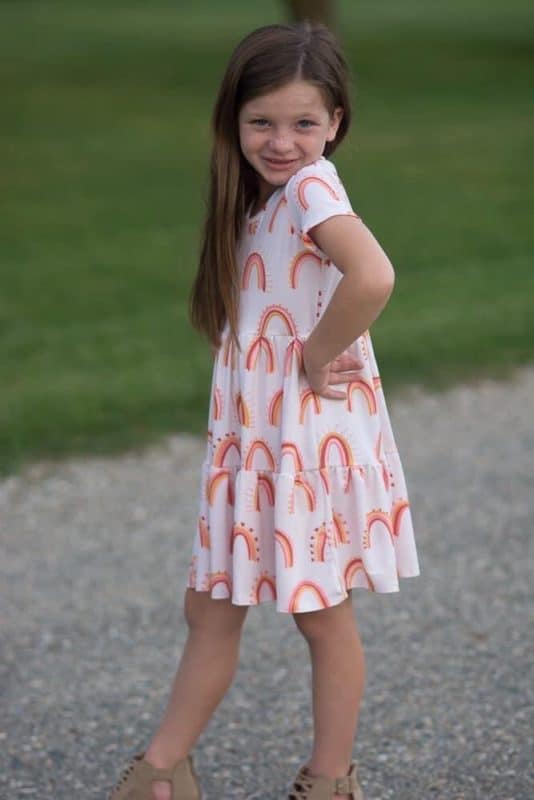
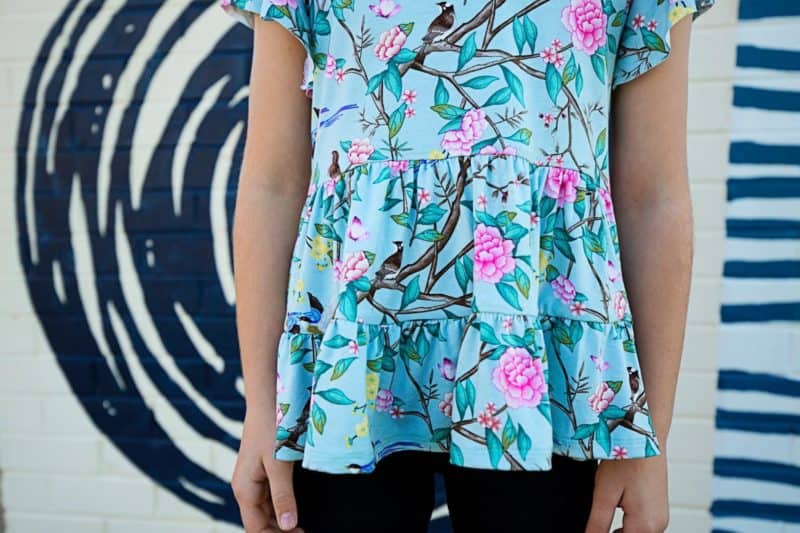
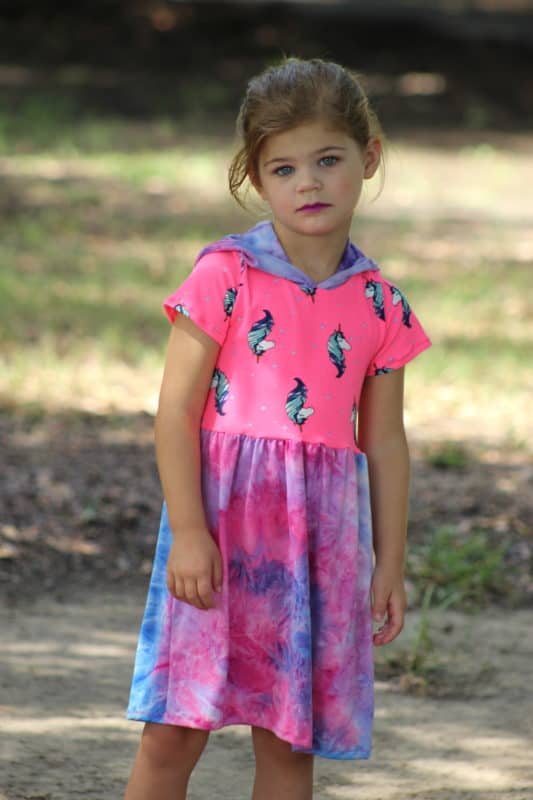
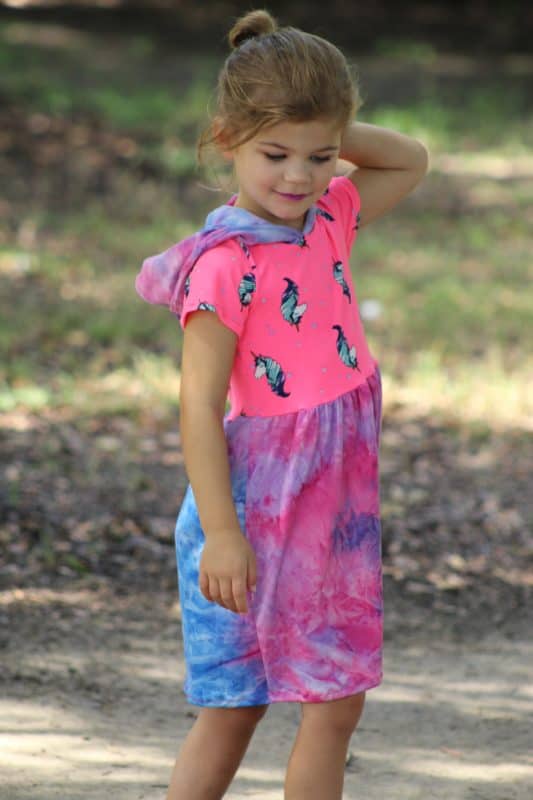
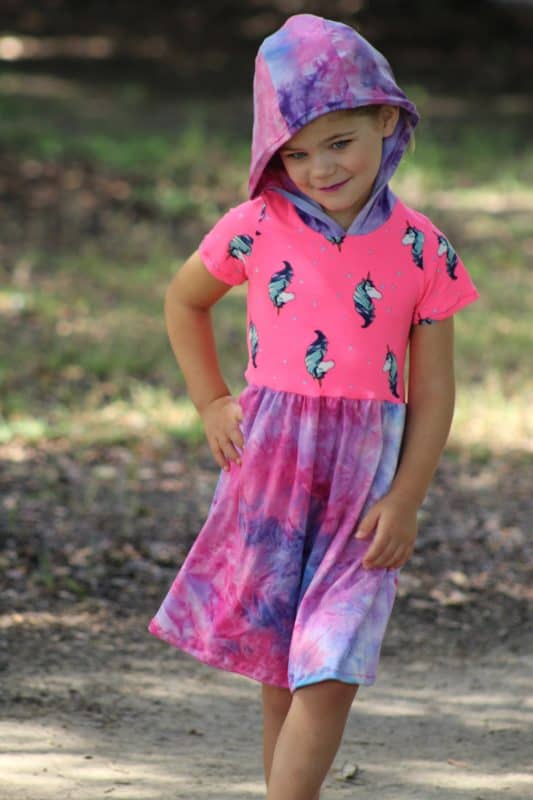
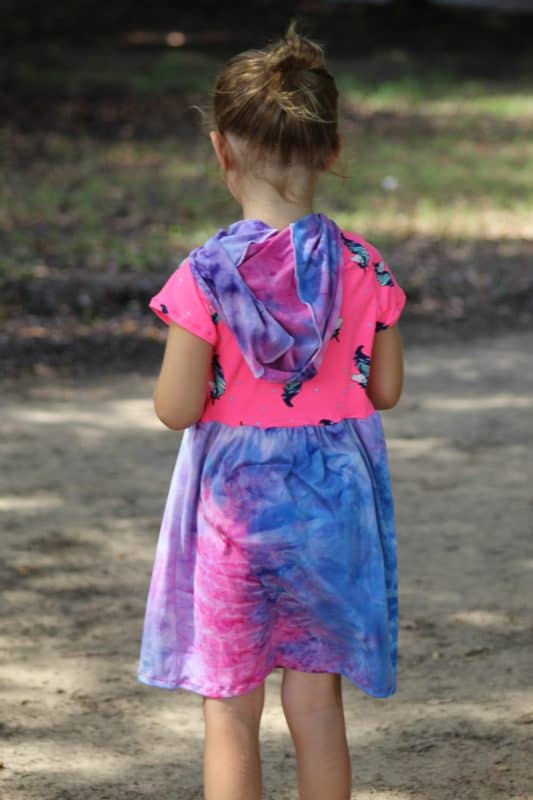
Youth Blythe has lots of the same options – tank, short, 3/4, long, and flutter sleeves; knit binding OR bands; and simple or tiered skirt in multiple lengths.
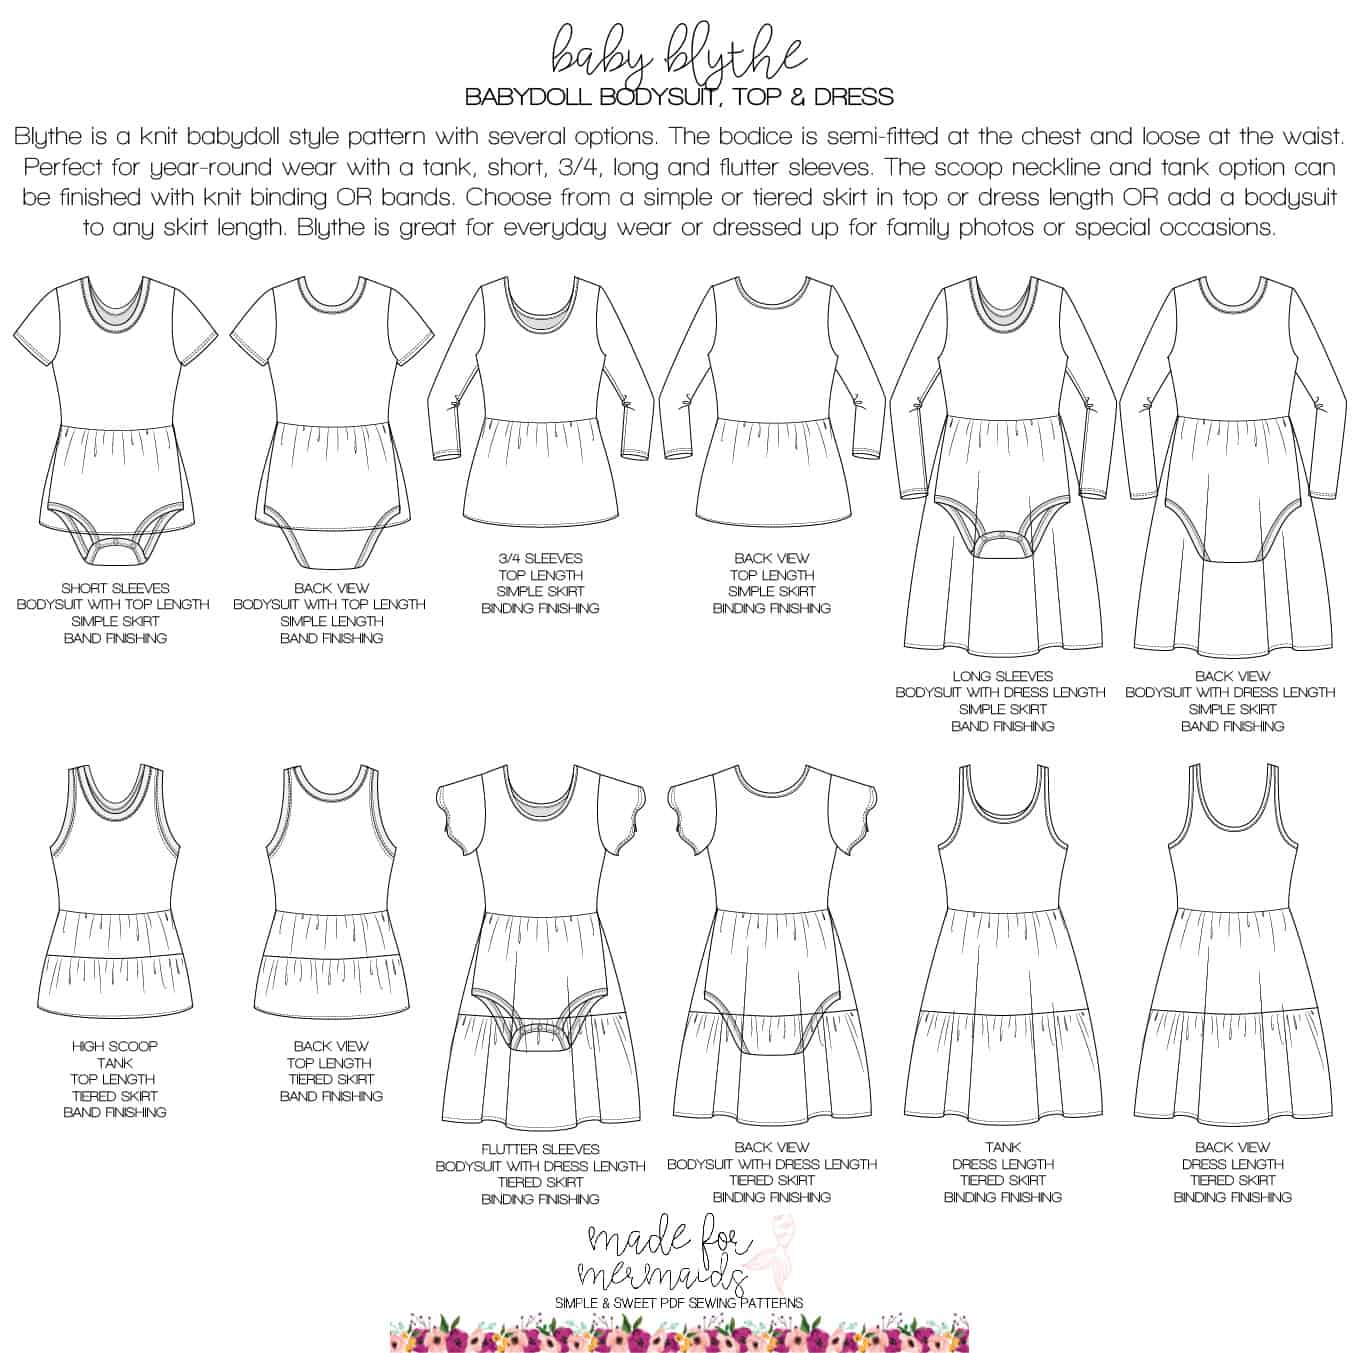
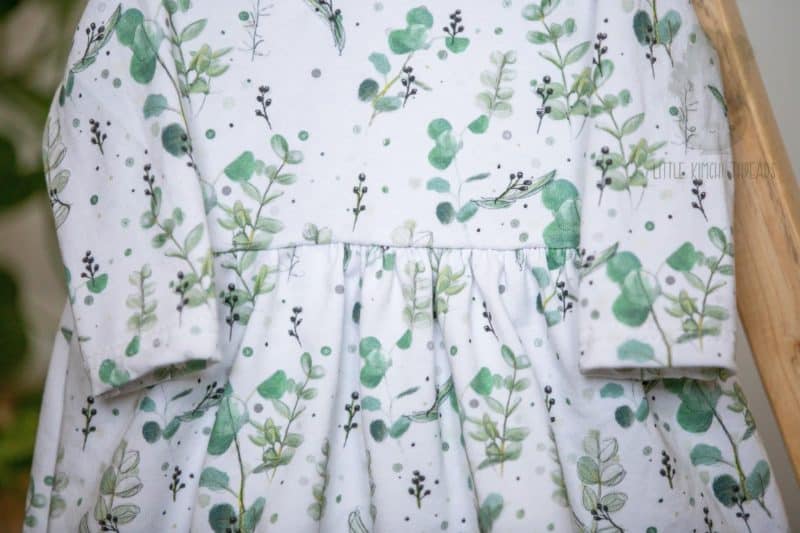
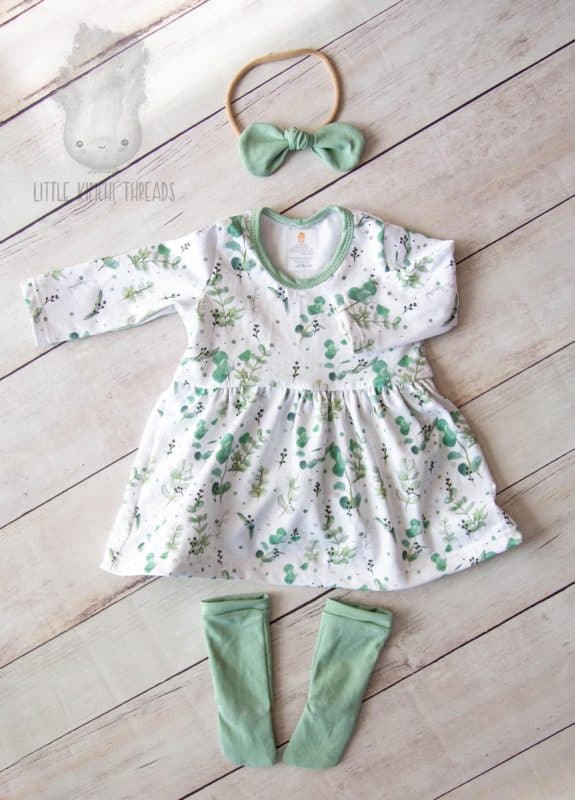
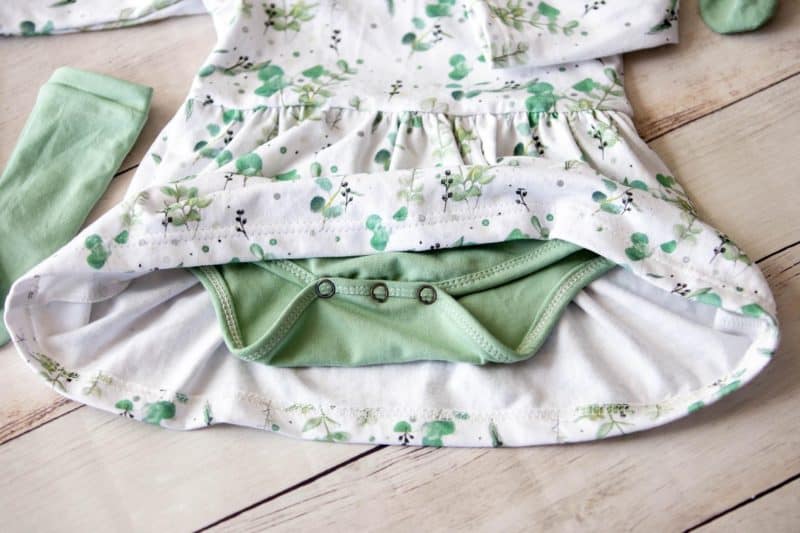
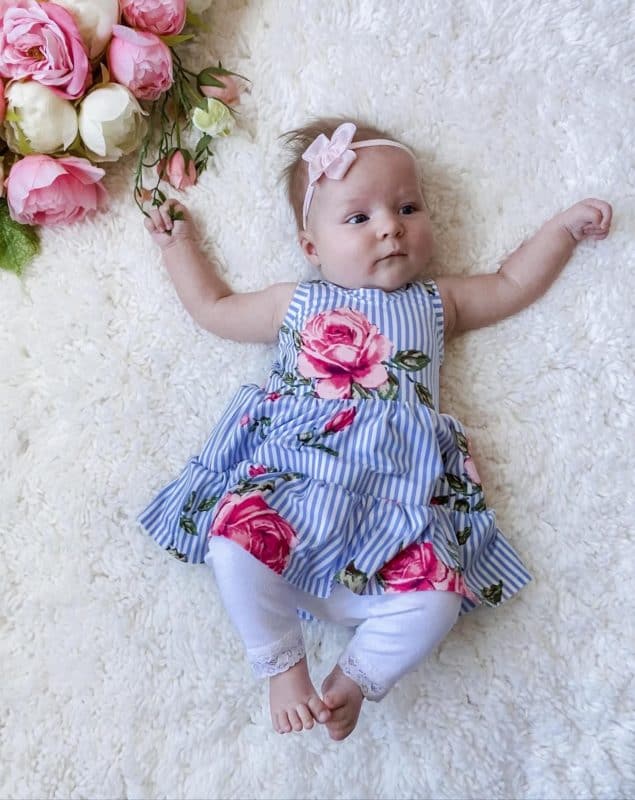
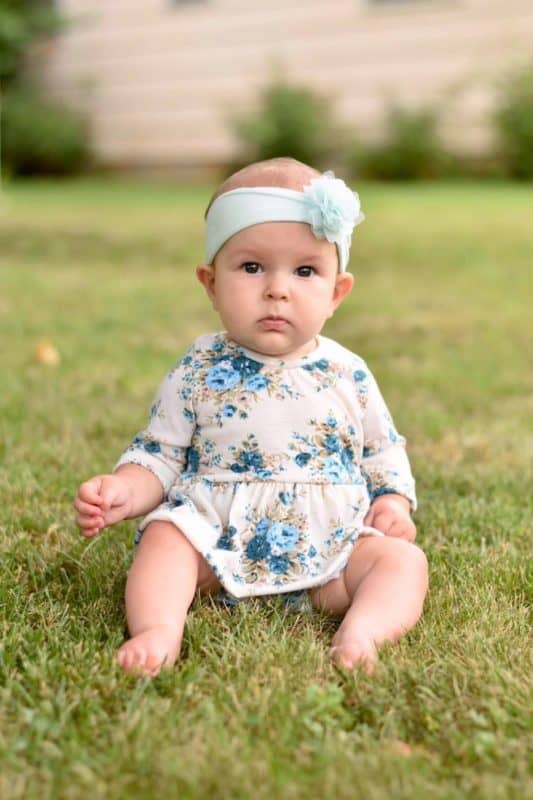
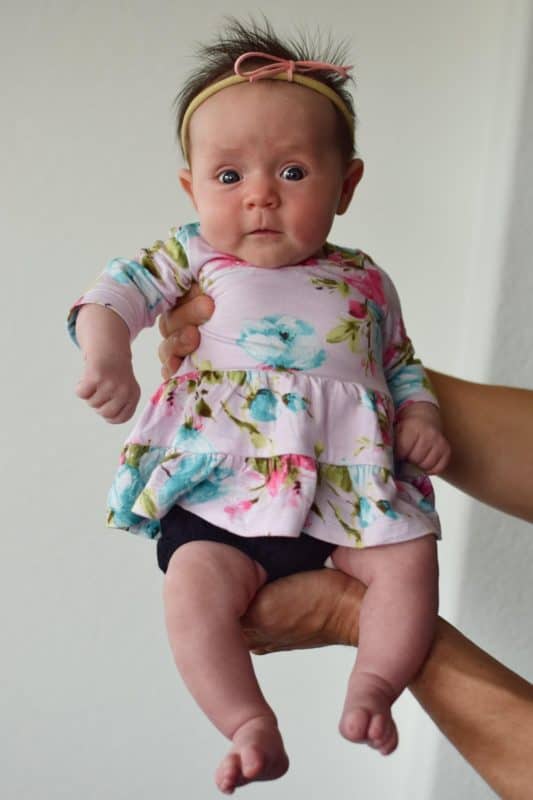
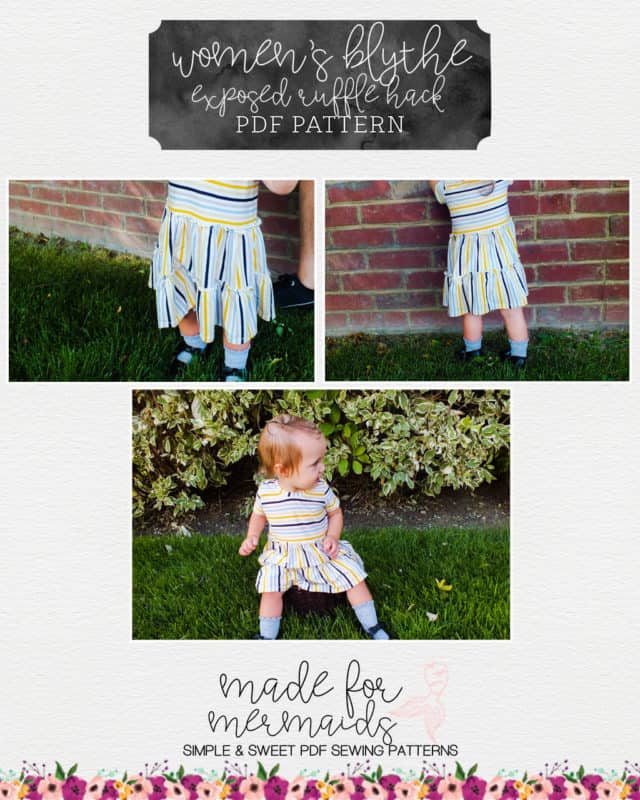
Baby Blythe is just as versatile; baby includes many of the same options, with the addition of a bodysuit option for all lengths. Plus, Baby Blythe is too cute for words:
It pairs perfectly with our 90s socks, our Sydney Sailor Bows, and of course, the youth Blythe, too!
Don’t even worry; the mommy & me possibilities are endless, because the Women’s Blythe rounds out the perfect trio. I’m obsessed with all the versions our testers made. I can’t pick a favorite – I love, love, love how versatile Blythe is!
- A mesh version over a Ruby slip dress? I NEED!!!
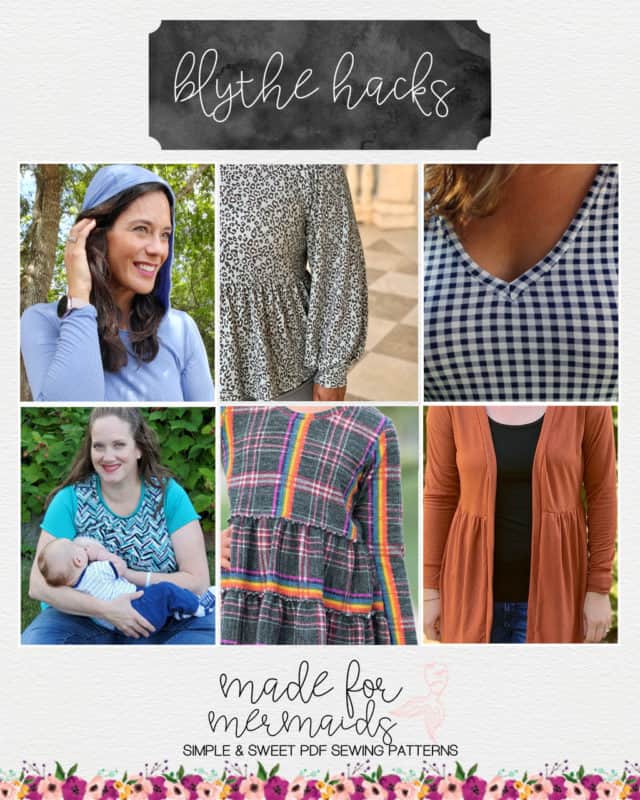
As if Blythe wasn’t already the total package, we’ve also put together some hacks for you to try out!
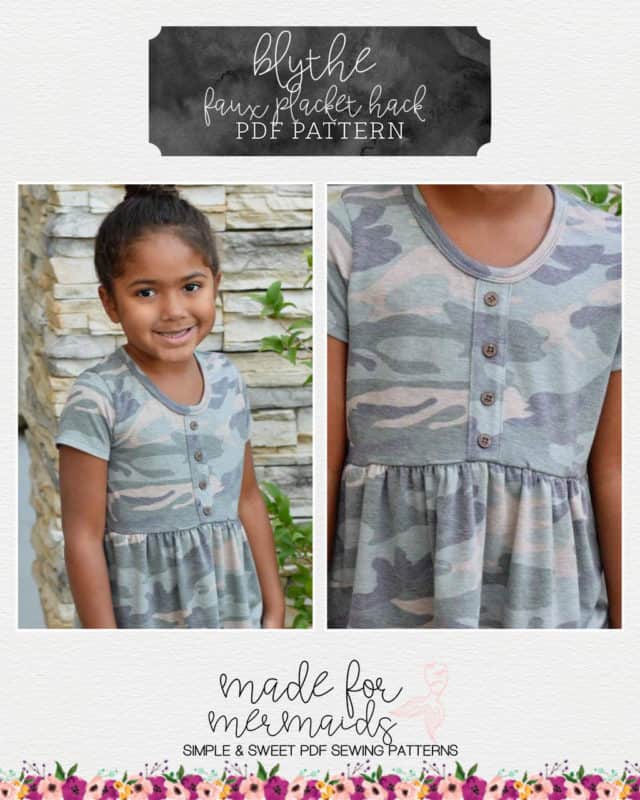
Faux Placket Hack
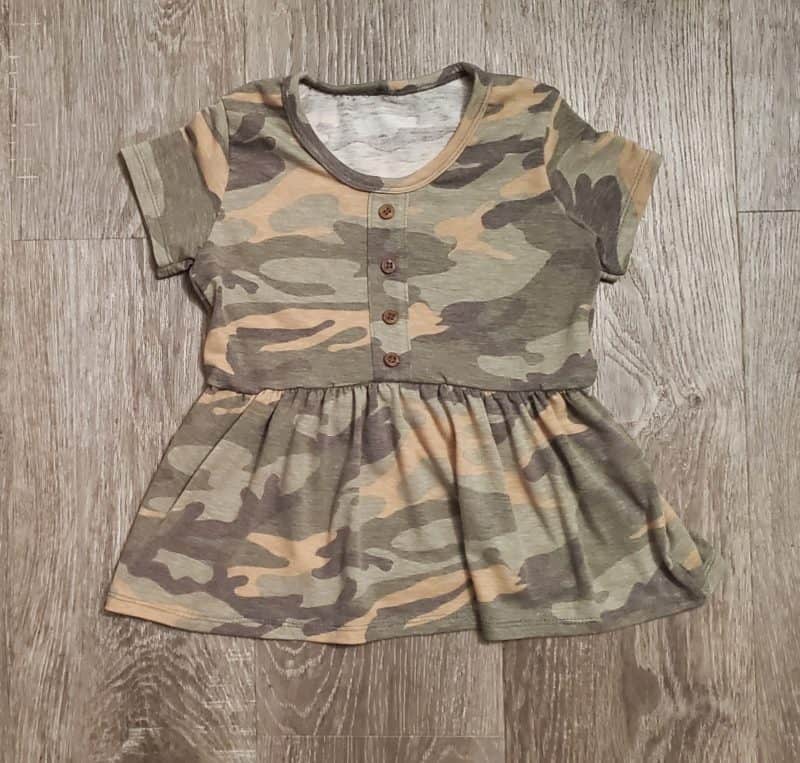
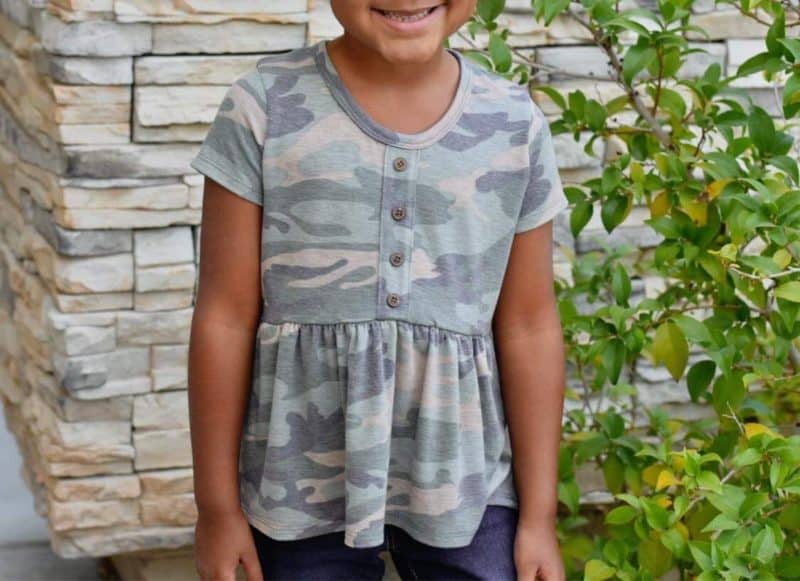
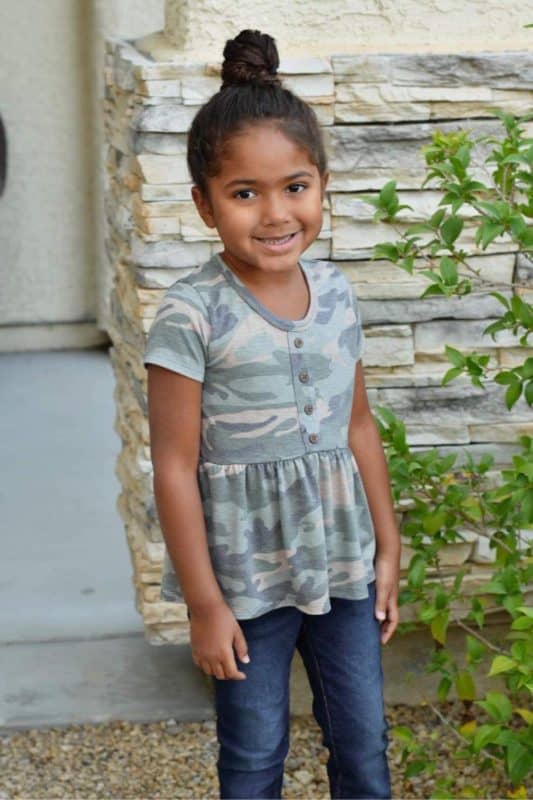
I know we all loved that faux placket from Ruby, am I right? Plackets make everything look a bit more sophisticated – a faux placket though, even better! You get the look without the work! I borrowed the faux placket from Ruby and put it on Blythe, and the results were super adorable!
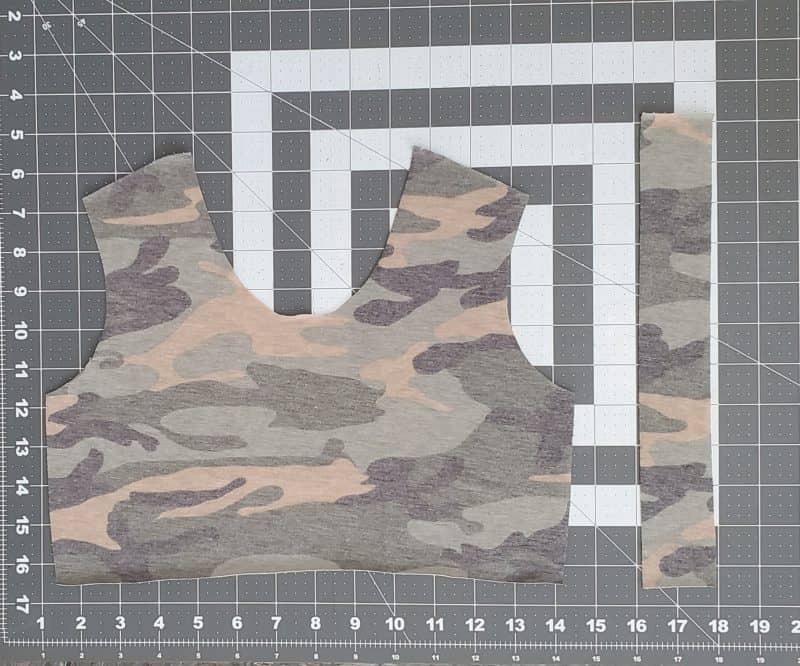
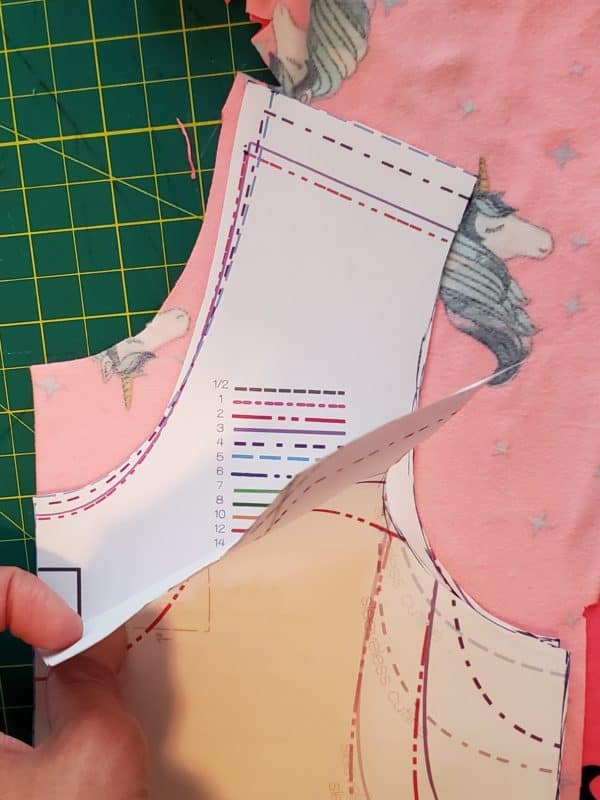
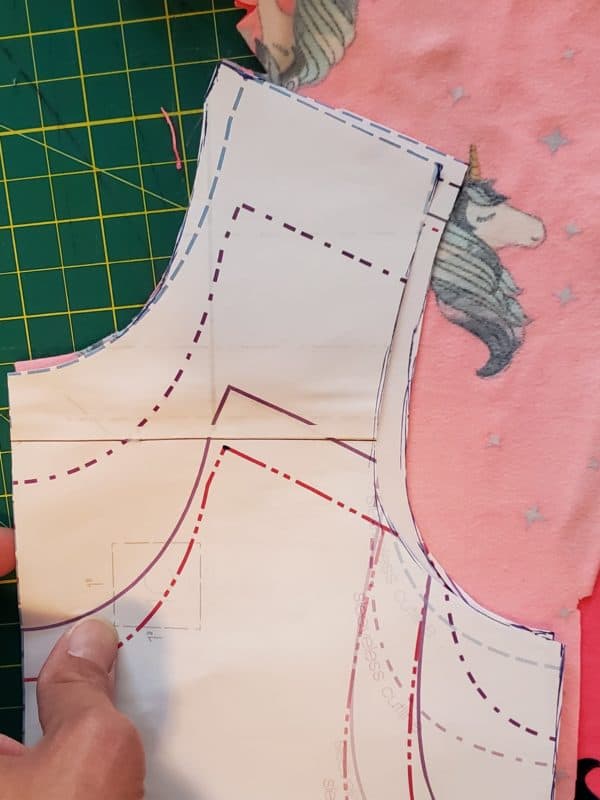
For this hack you’ll take the placket piece from Ruby and cut it about the length of your front bodice from shoulder to hem.
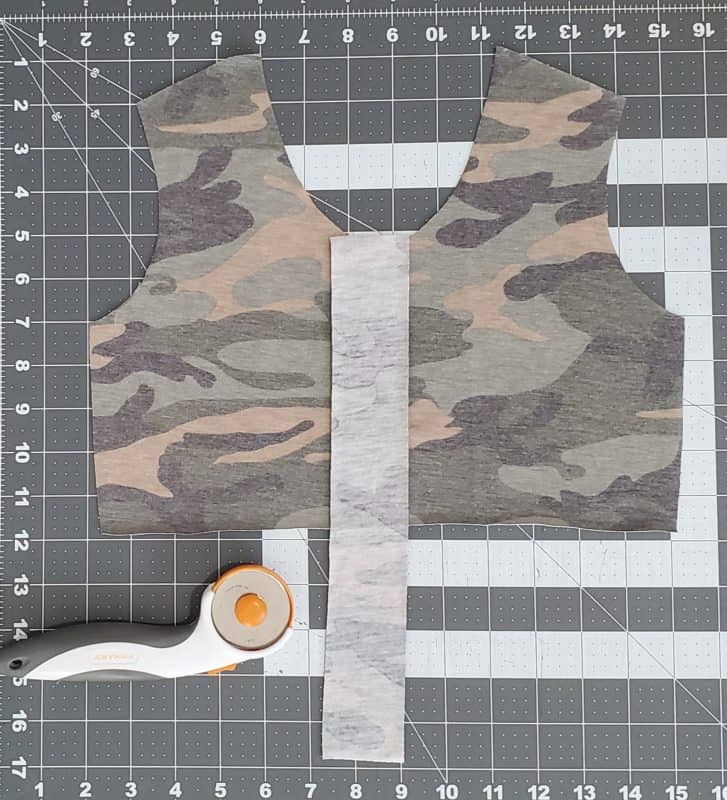
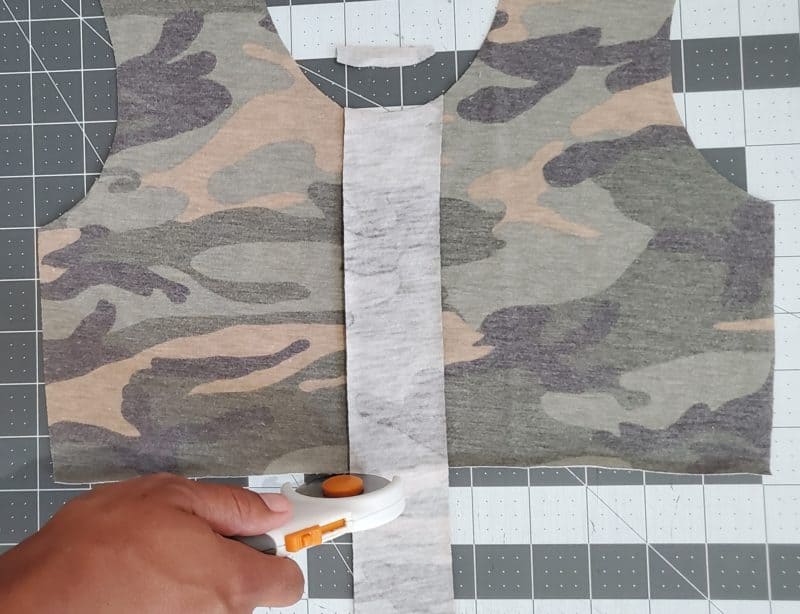
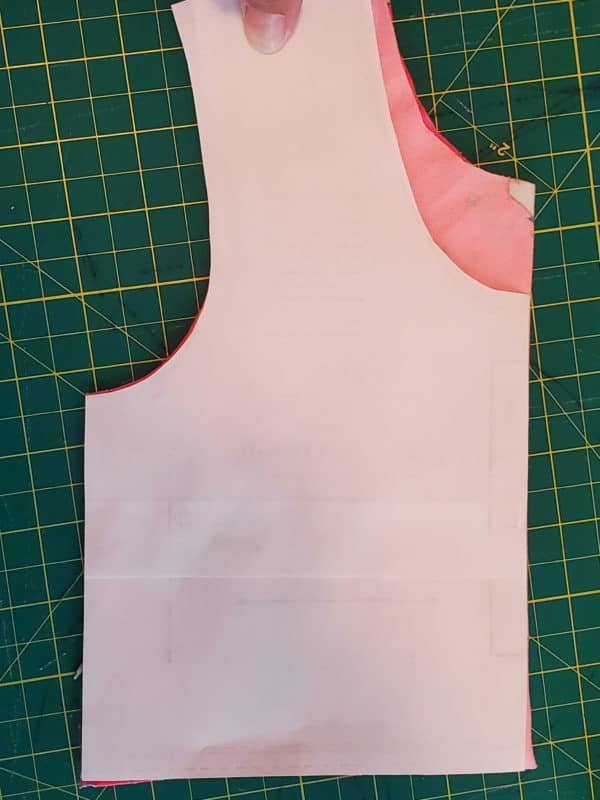
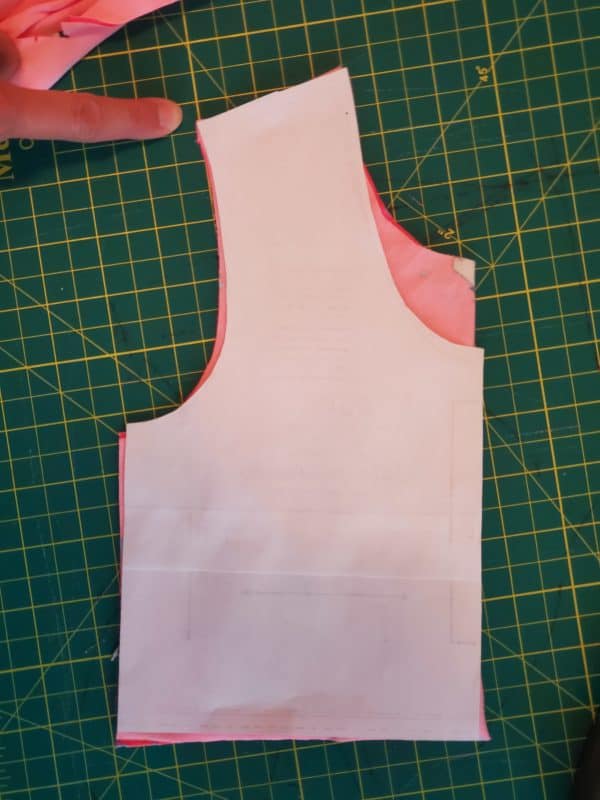
Now, place it over your bodice center where it is going to go, lining up the center of the placket piece to the center of your bodice. You are going to trim your placket piece to be the exact length of your bodice.
Now that your placket is the same lenth of your bodice, you will follow the instructions from Ruby to finish and attach the placket! After attaching the placket, you’ll finish your Blythe per the tutorial. I did the binding option for the neck on mine, since Ruby had a binding option, but you can certainly do bands instead if you wish. That’s it, easy peasy and you get a cute, chic new look for your Blythe!
Exposed Ruffle Hack
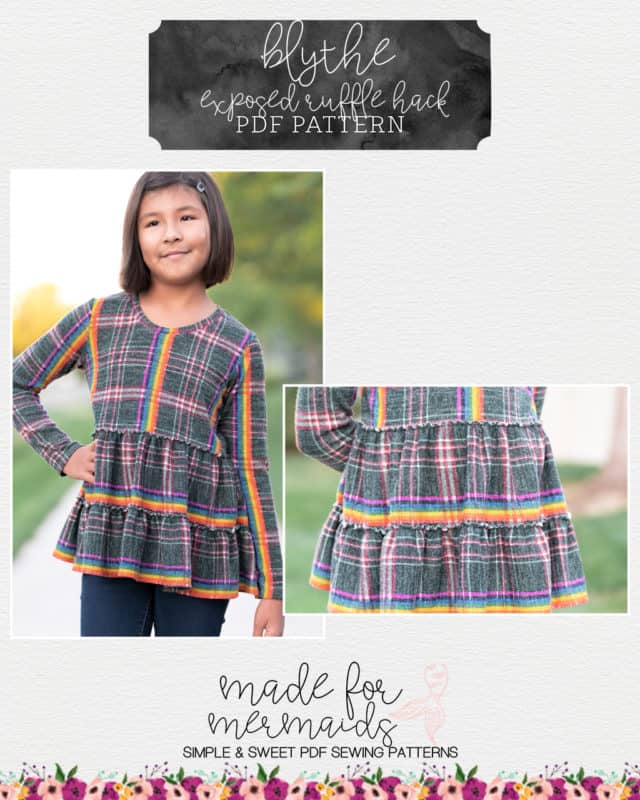
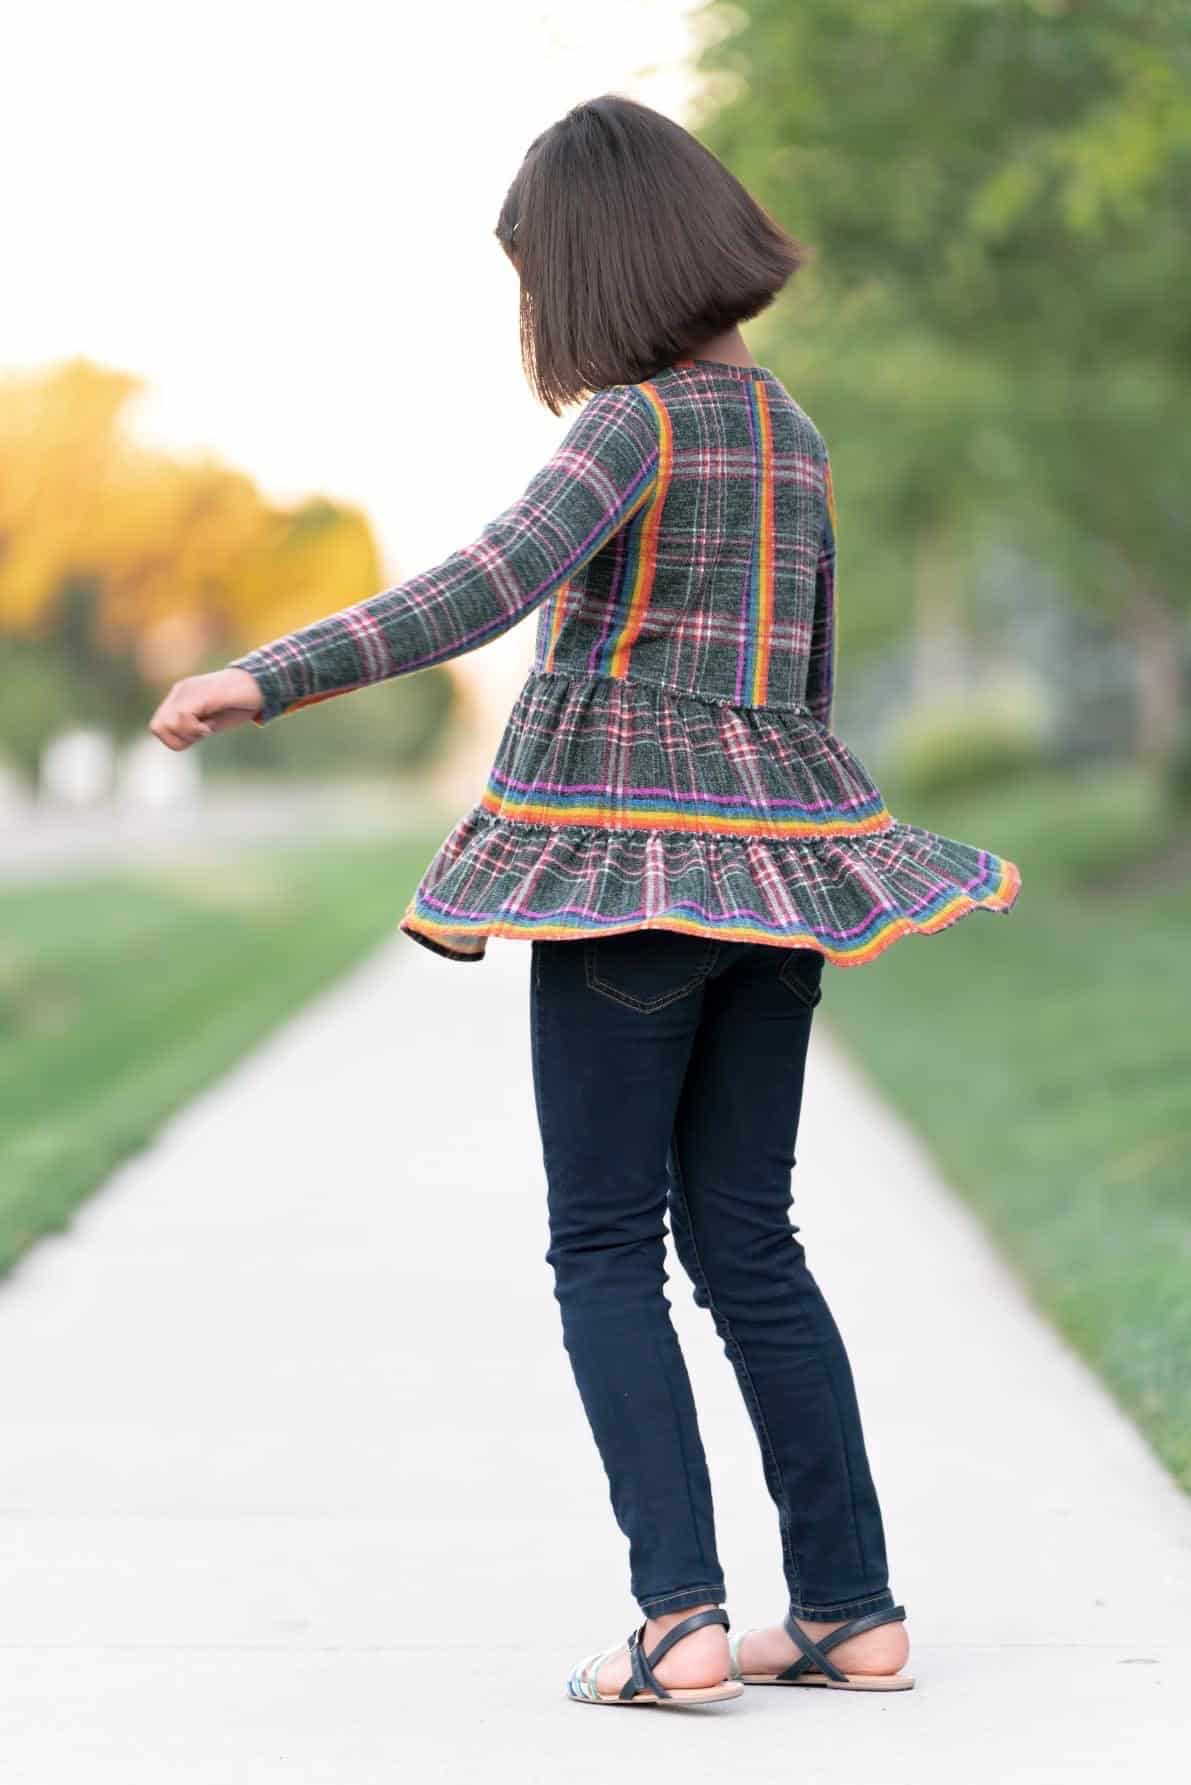
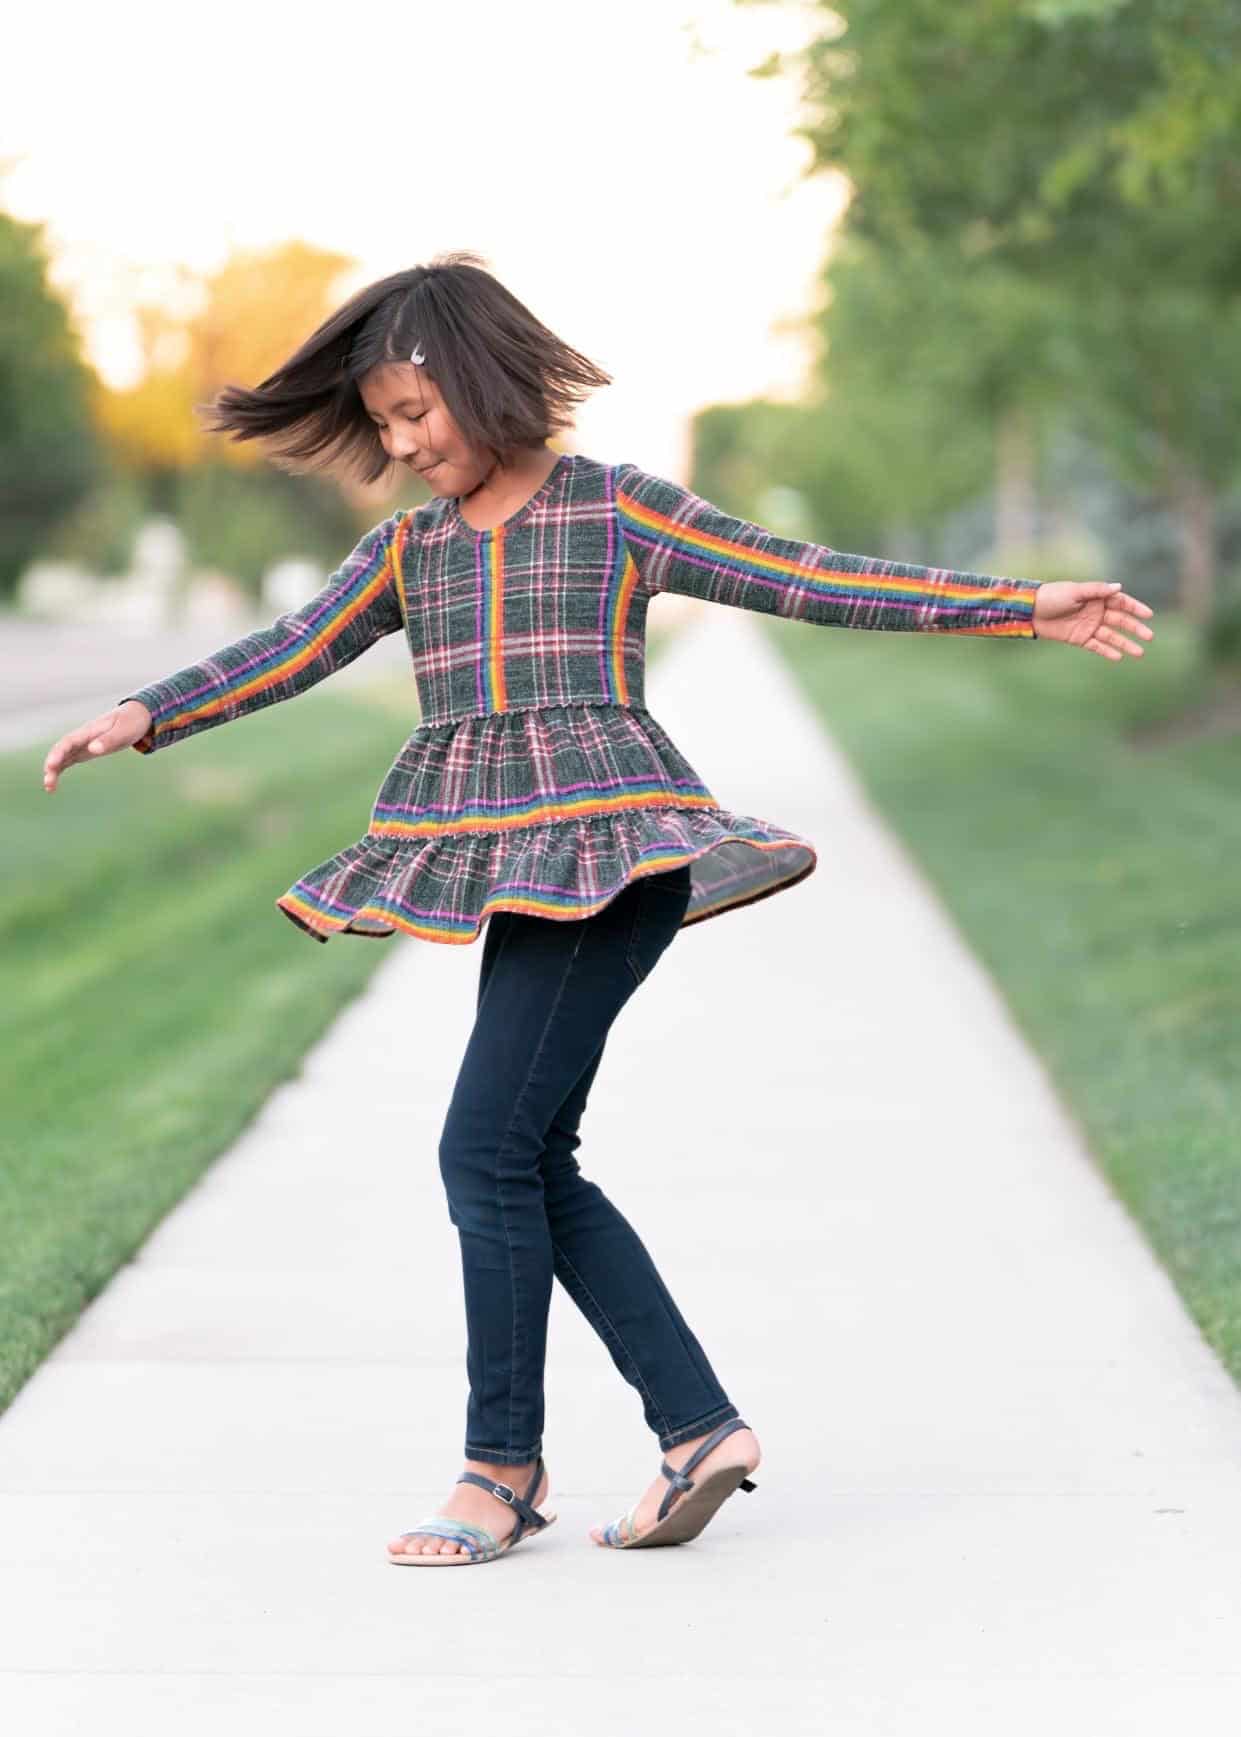
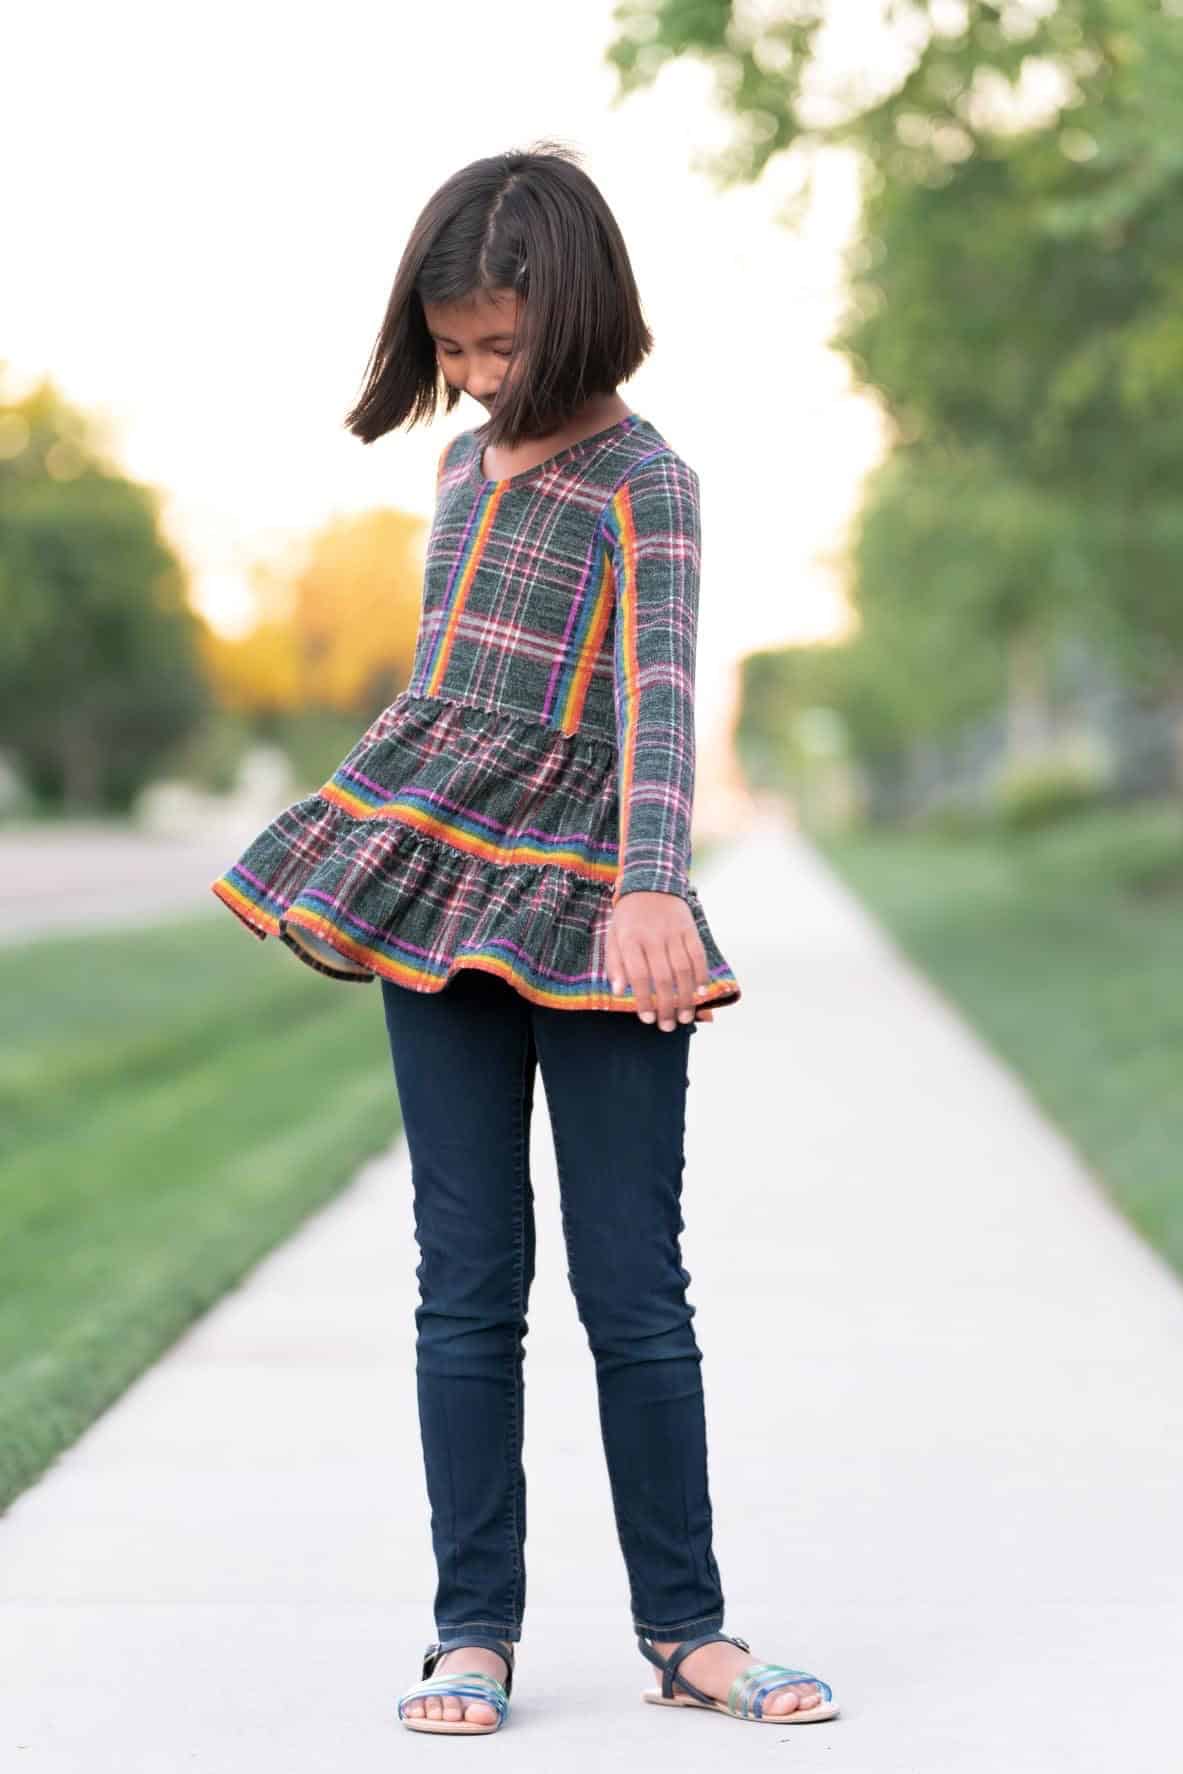
Full disclosure – I do not like doing ruffles/gathers. But, here’s the thing, my youngest LOVES ruffles. She wants all the ruffles with extra ruffles, always! So, here we are. I will take you through how I do gathers with the extra exposed ruffle on top.
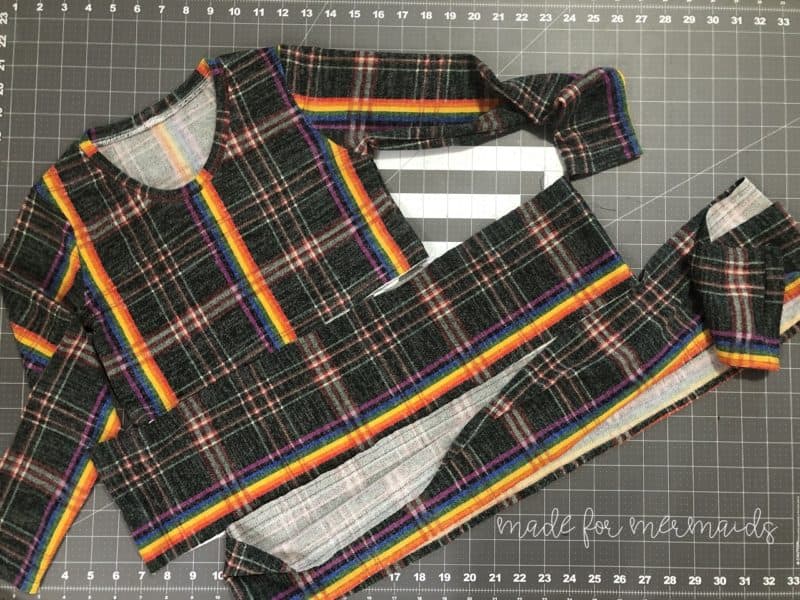
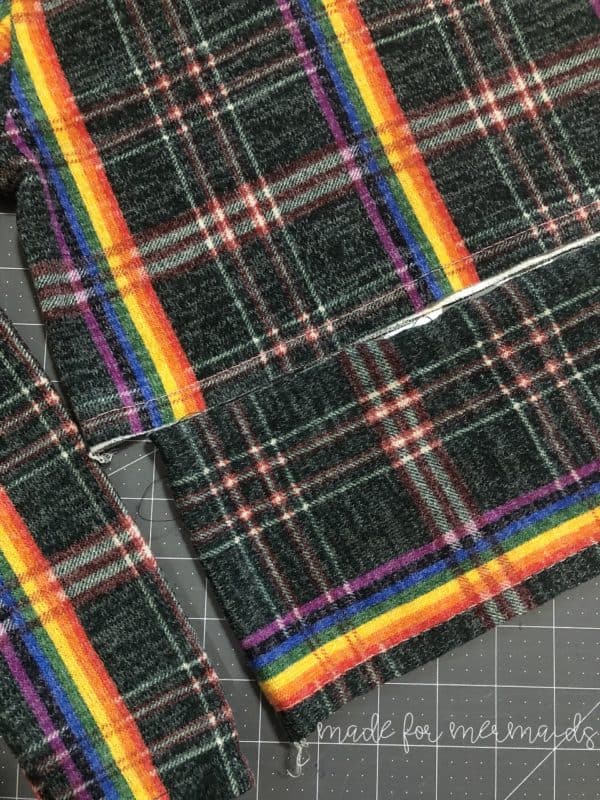
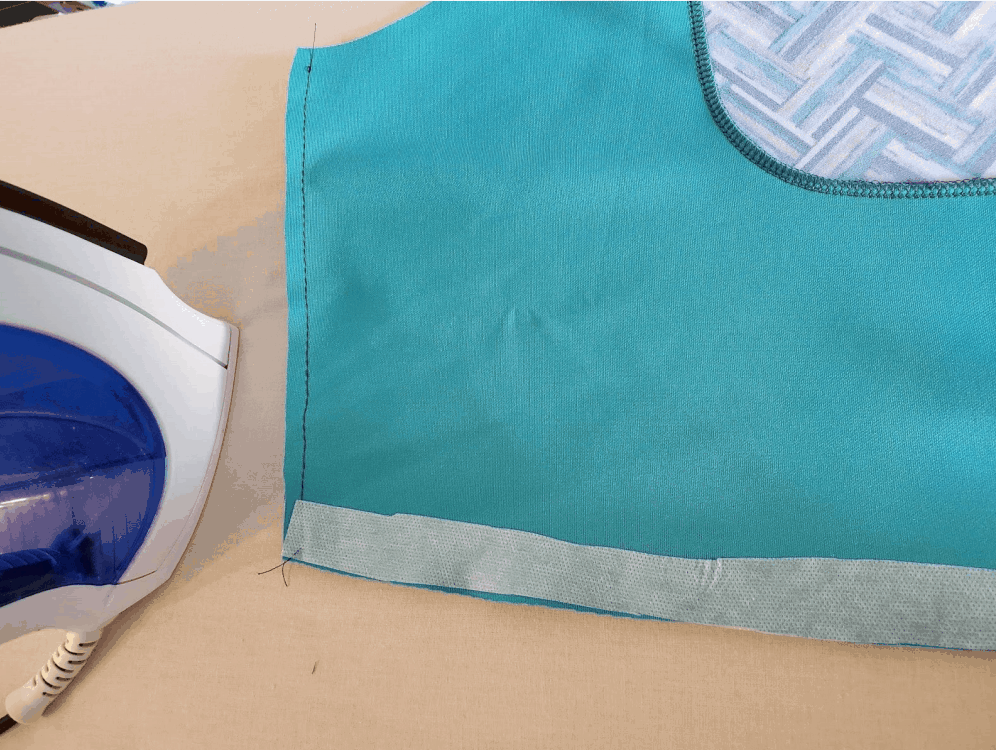
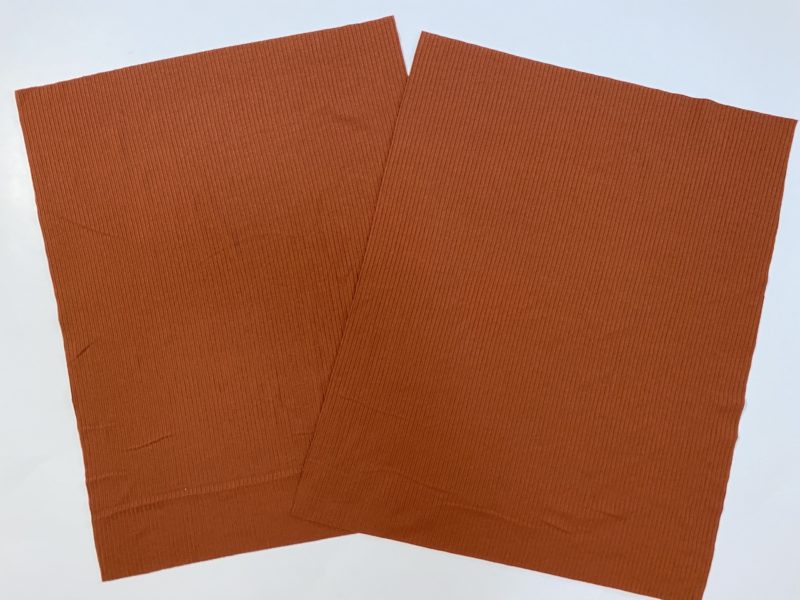
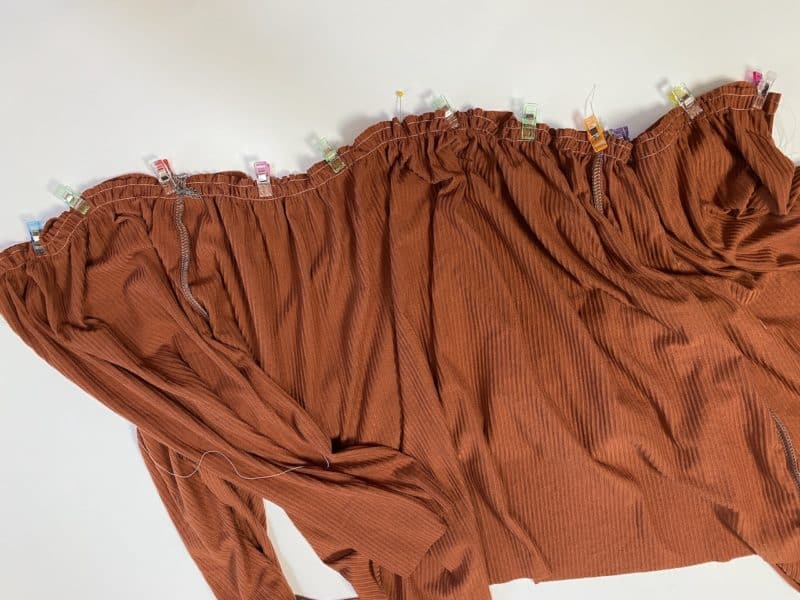
You’ll want to cut and sew your bodice according to the tutorial. Next, prepare your tier or tiers. Do not skip adding the knit interfacing to the bodice and top tier(if doing double tiers). Notes: If you can, I would try doing the basting stitches for the gathers at 1/8” and 1/2”. Not a big deal if you can’t but, it does make removing the basting stitches easier. Also, I hemmed the bottom tier before assembling.
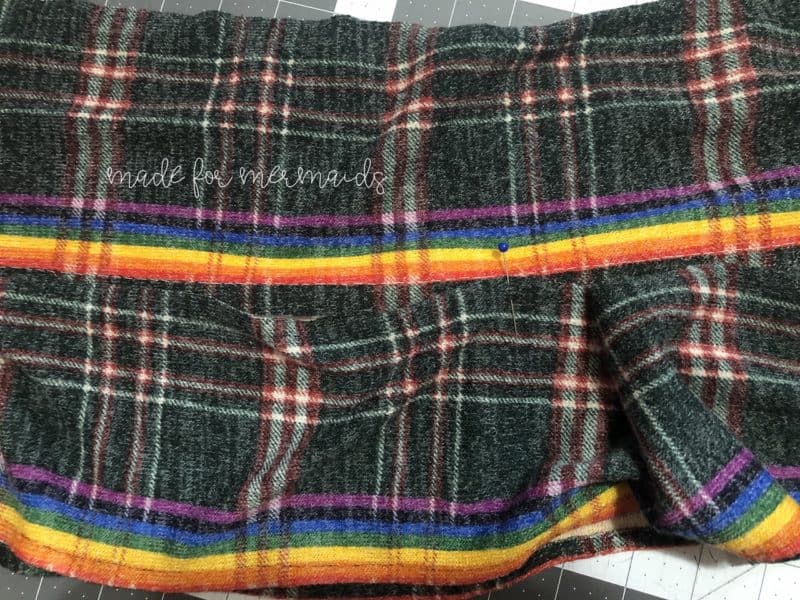
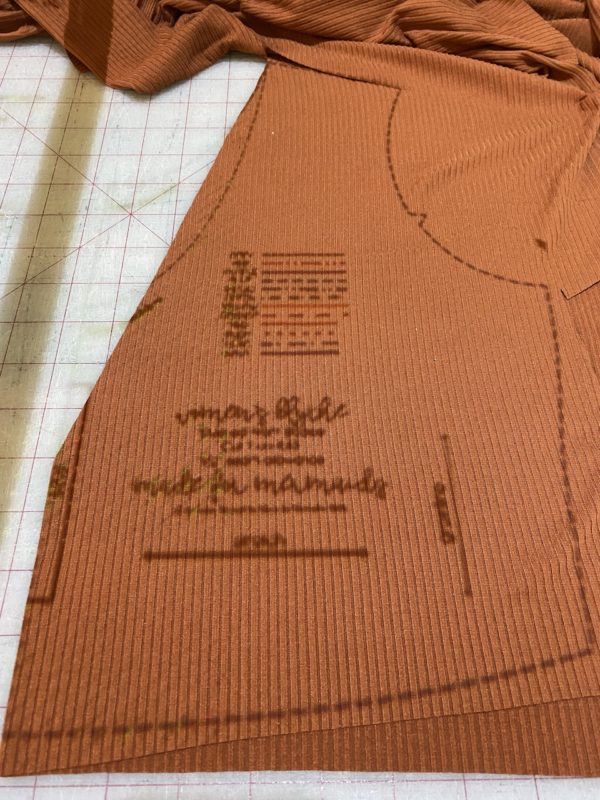
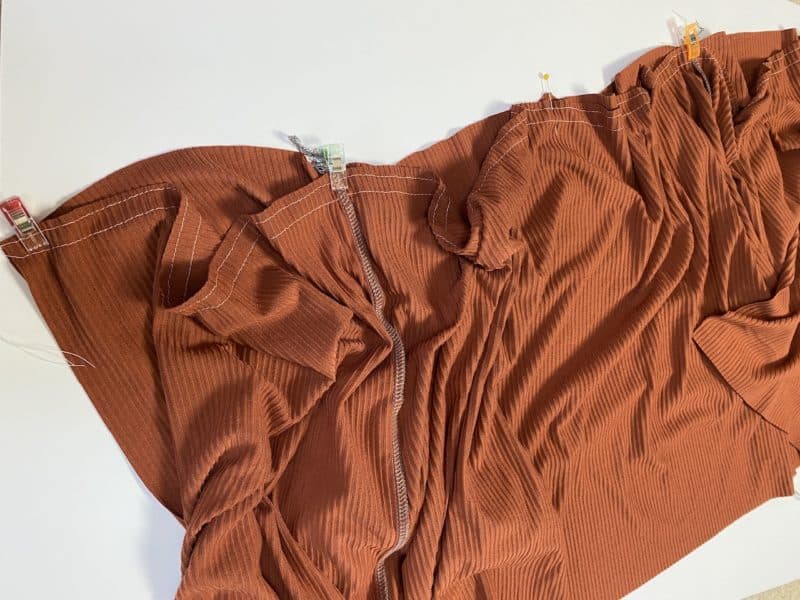
Now you need to mark your bodice and top tier ½” from the bottom edge. This is going to serve as our guide when we pin and stitch our ruffles down. Normally, I love chalk or fabric pens but, those were not going to work on this dark sweater knit. So, I decided to re-thread my machine with a contrast color and baste a guideline onto my pieces. It worked!
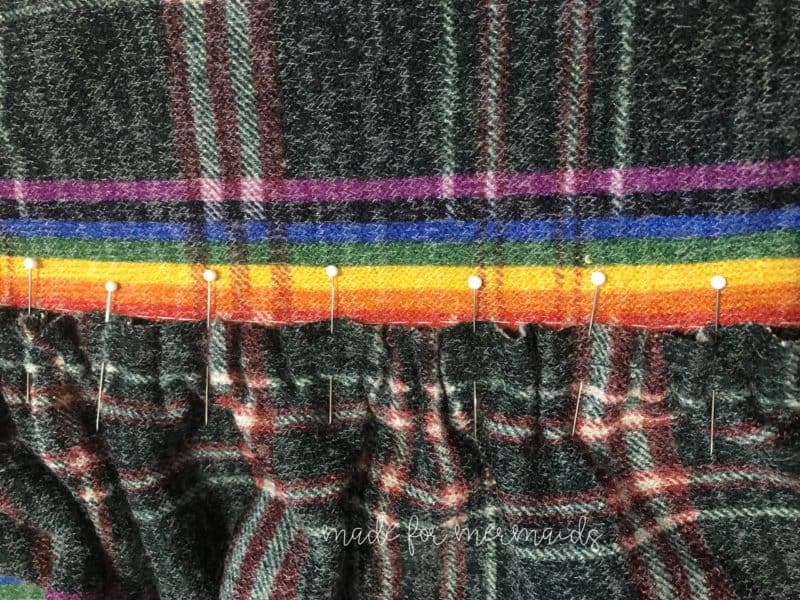
Find the center front and center back of your bodice and tier(s). This really helps make sure those gathers end up evenly distributed. The WRONG side of the bottom tier will go on the RIGHT side of the top tier. The raw edge should line up with your guideline. Gather the bottom tier to fit the top tier, pin in place. Stitch the bottom tier down using a 1/4” seam allowance. Be sure to take your time and make sure your raw edge ruffle is lining up with your guide. Repeat the process attaching the skirt to the bodice. Remove your basting stitches.
Phew! We made it and those exposed ruffles are adorable.
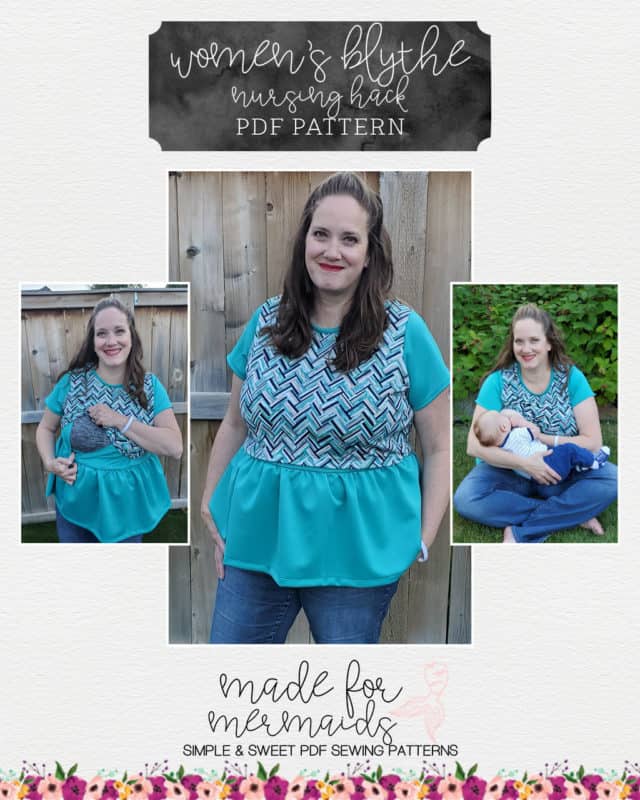
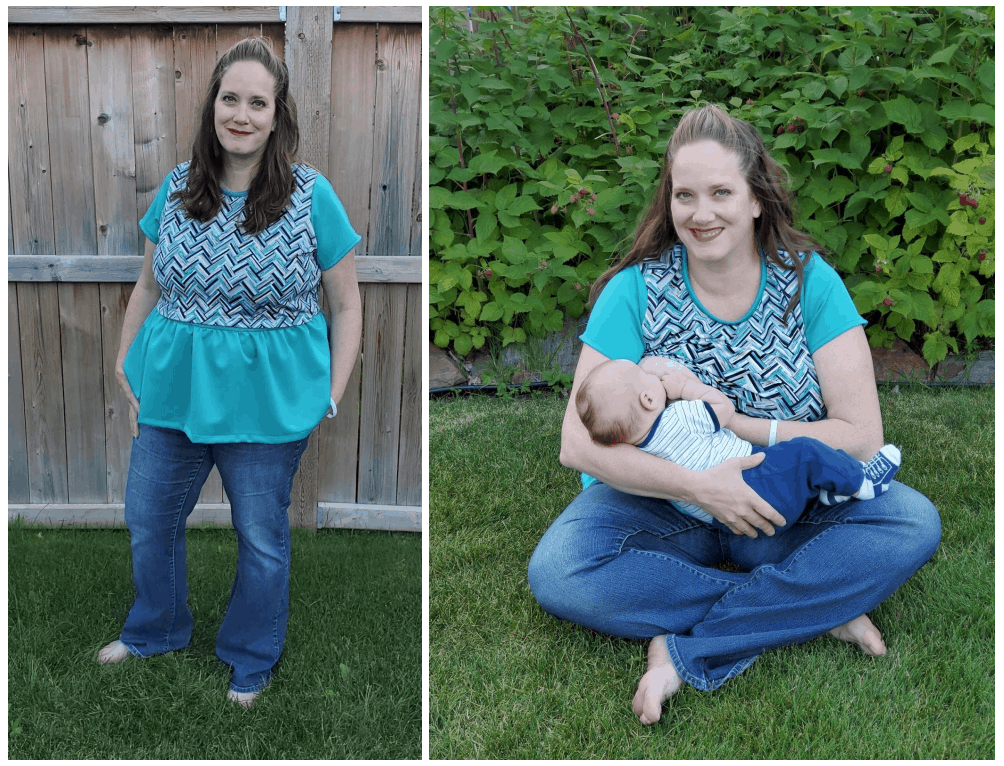
Nursing Hack
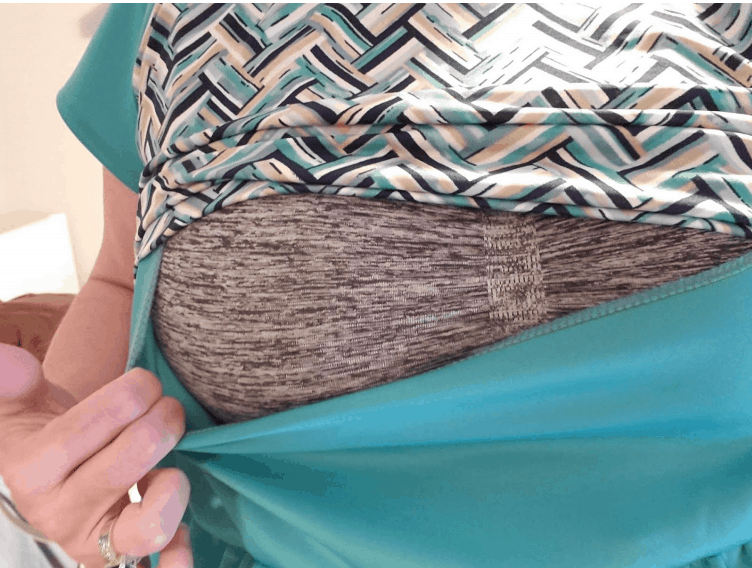
I had a lot of fun making this one. This hack can work for any two piece top or dress pattern.
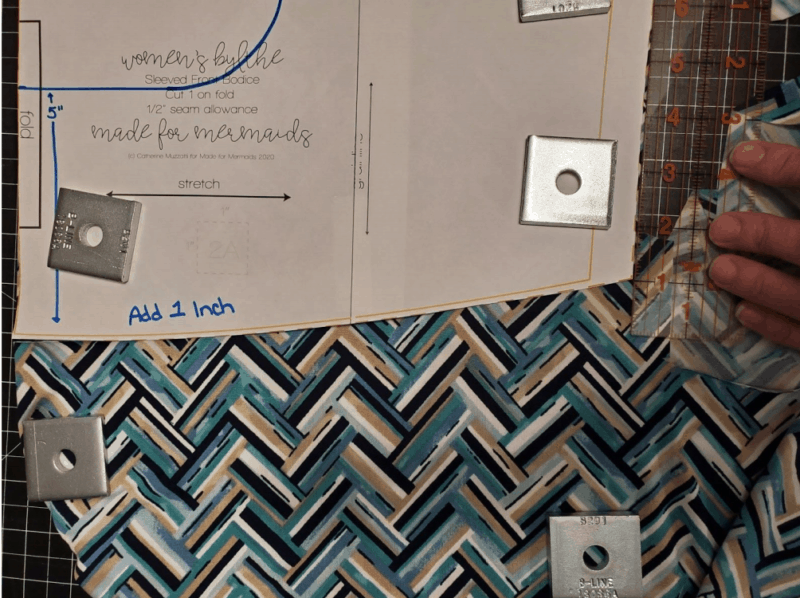
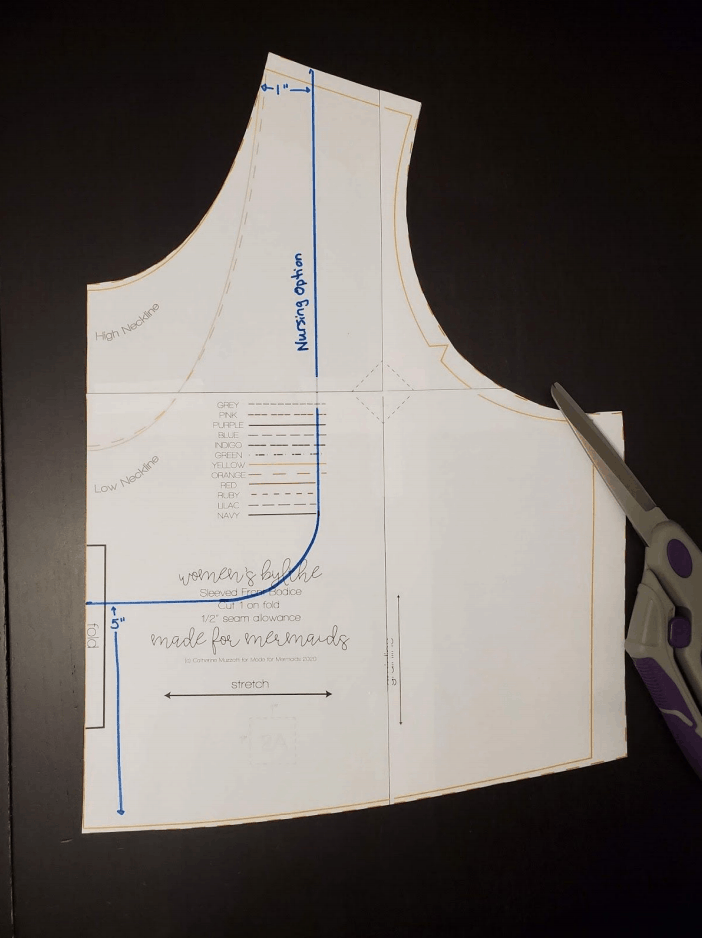
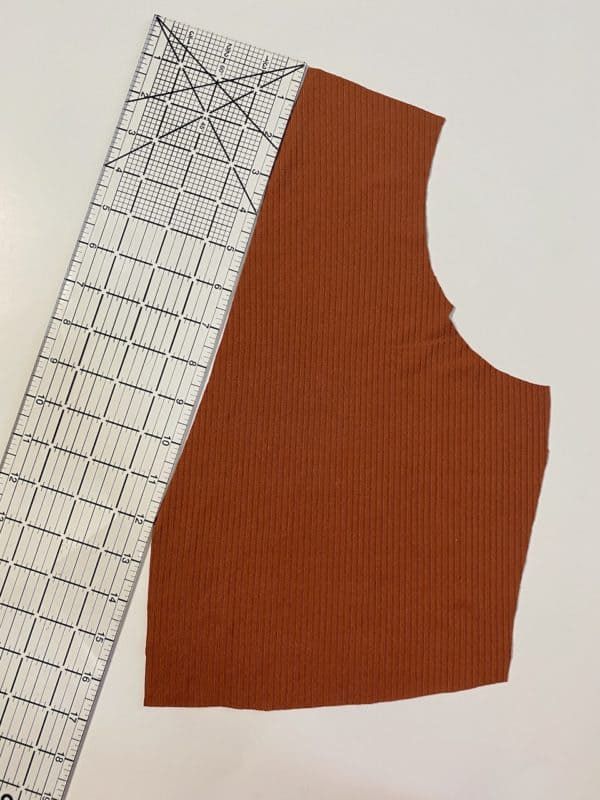
First, cut the front bodice with a crew neck. Add 1″ to the bottom hem for hem allowance. This will be your outer layer, the layer you lift.
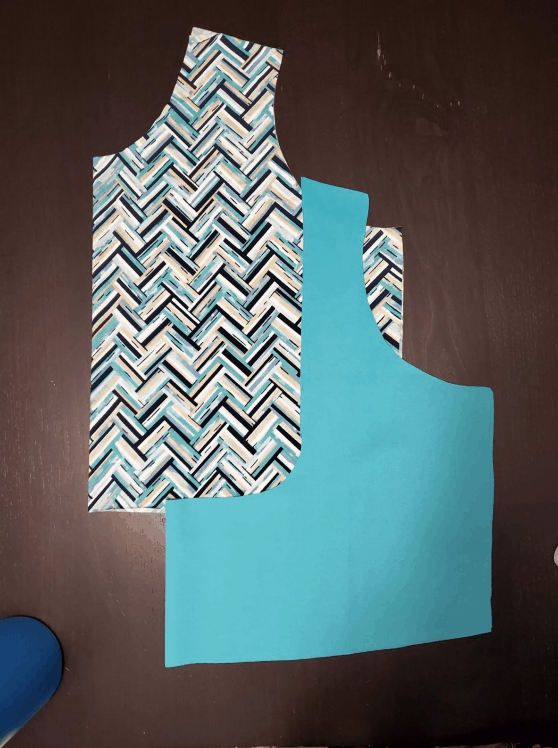
Next, measure from where the bodice piece will sit (natural waist) to the live of your nipples. I made a size “orange” Blythe, and am large busted; my measurement was 5″. Mark your measurement on the center fold side of the bodice pattern, and mark 1″ inside each shoulder on the front bodice piece. Use a ruler to draw straight lines from each mark and curve the corner. Cut out your nursing neckline from the pattern piece and cut the fabric for the nursing top inner layer (the layer you pull down).
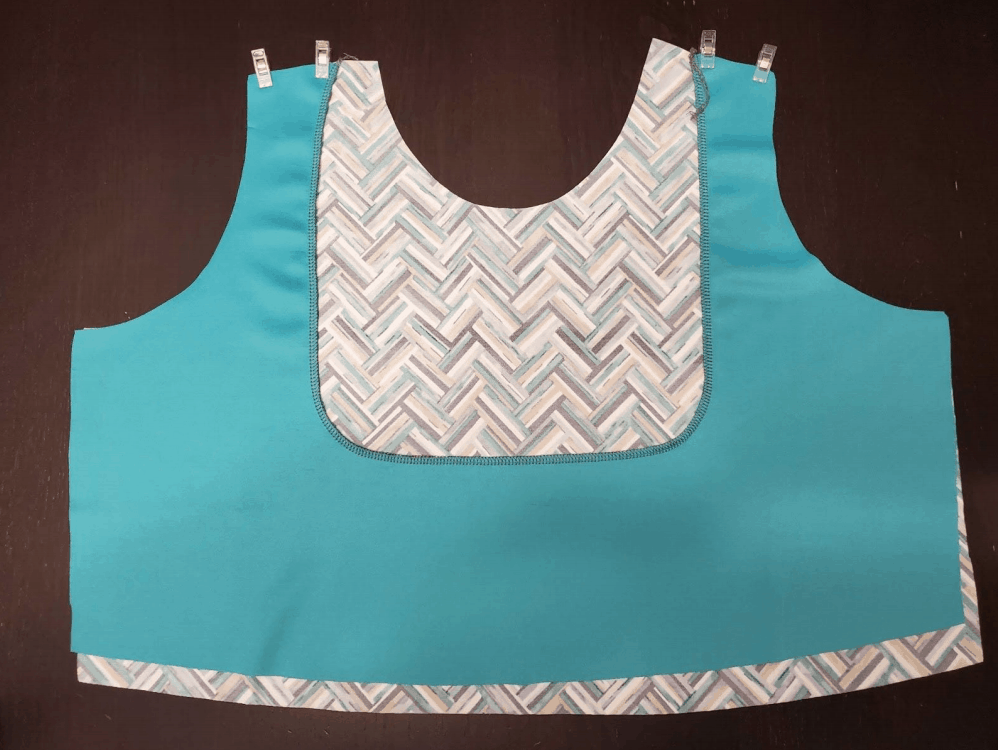
Optional: finish the scooped inner layer neckline with a serger. Attach the two pieces at the shoulder without removing seam allowance. Wrong side of outer layer attaches to right side of inner layer, so that when you lift to access, both right sides are showing.
Hem the outer layer under 1″. I serged the raw edge to make my double brushed poly easier to hem with my sewing machine.
Baste the sides of the two fronts together, leaving 1″ at the bottom so you are able to gather and attach the skirt pieces. If you’re using knit interfacing, Attach it to th wrong side of the inner layer.
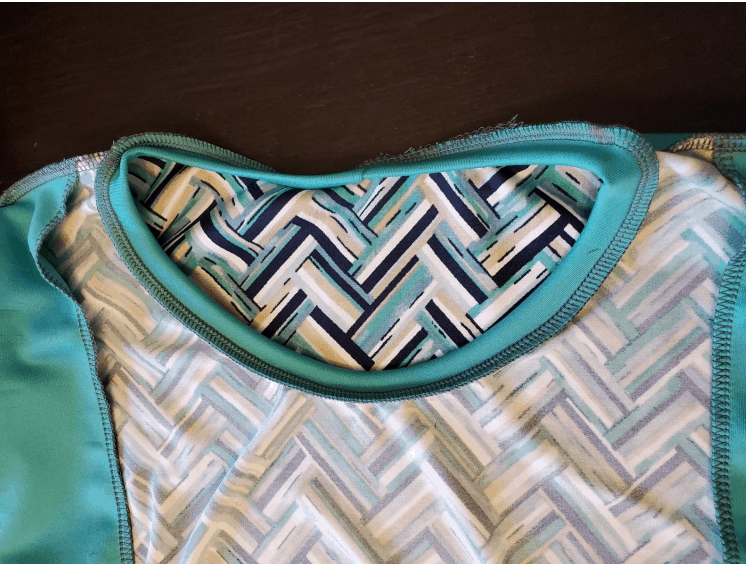
Attach the sleeves and neckband as per the main tutorial. The neckband will only be attached to the outer layer bodice.
You have two options for attaching the skirt:
- Make the full skirt/peplum portion into one piece as per the main tutorial. Sew down the sides of the sleeves and bodice. Attach the skirt as per the main tutorial, being sure not to catch the outer layer.
- Gather the skirt/peplum portion in two pieces. I used elastic to make this easier. Attach each skirt piece to the front and back bodice pieces. Sew the arms, bodice pieces, and skirts together down the side seams.
Follow the main tutorial for finishing sleeves and skirts. You are finished! Enjoy your new nursing top or dress! –Robin
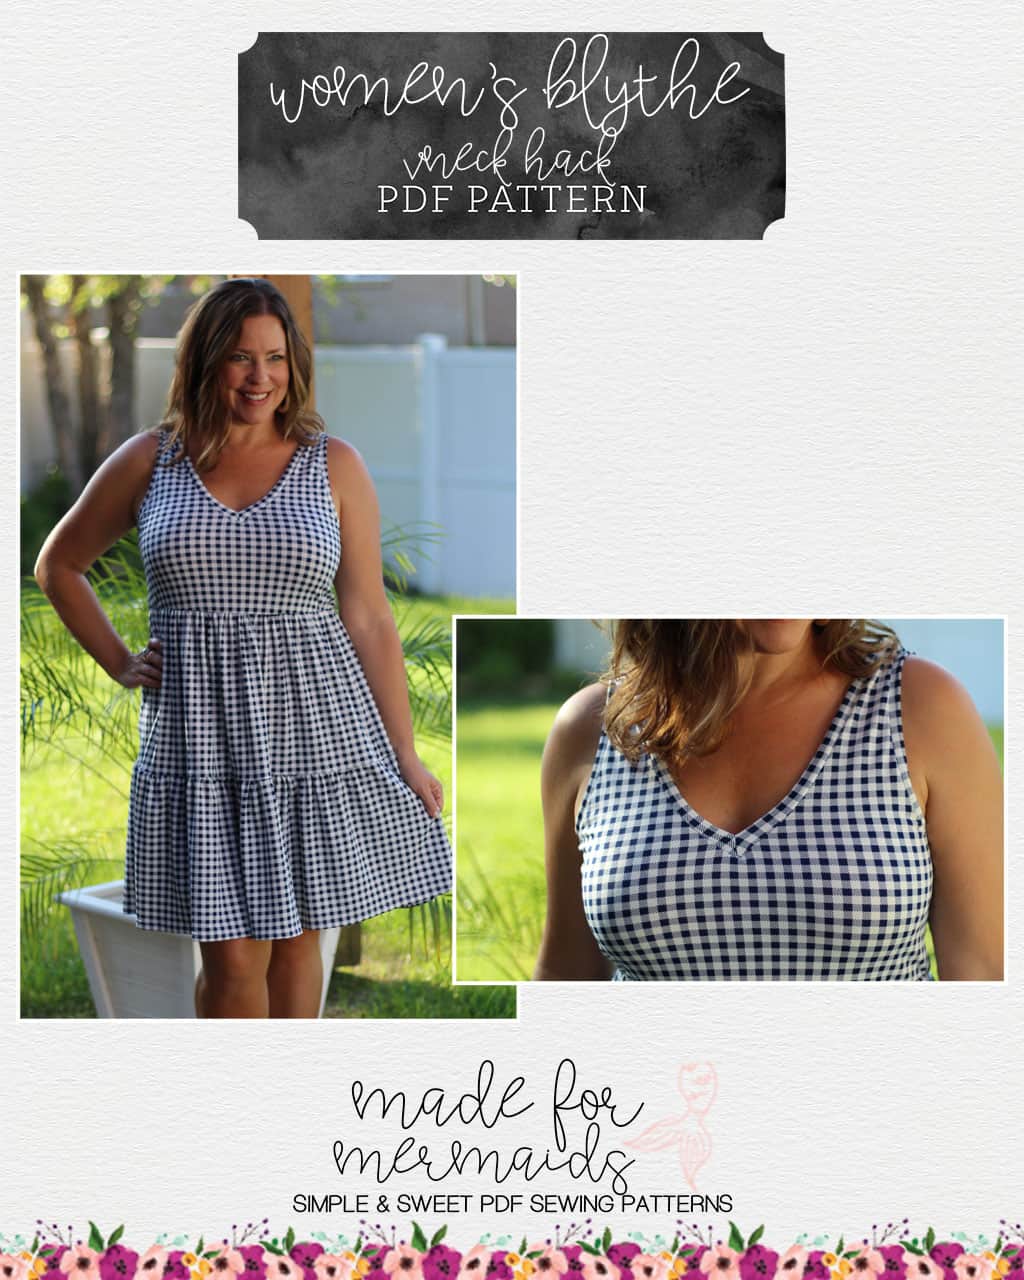
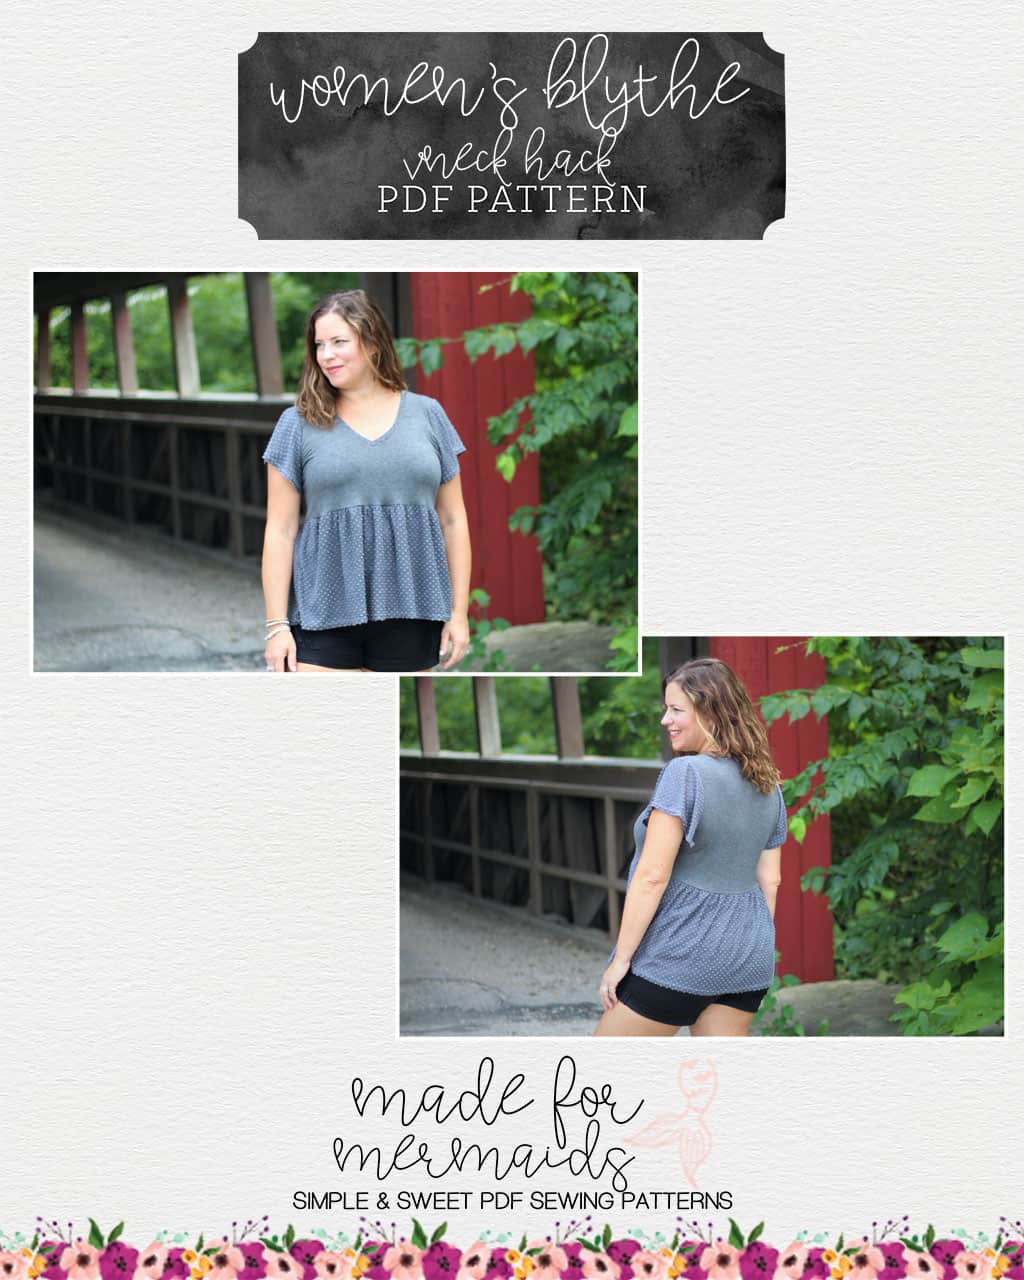
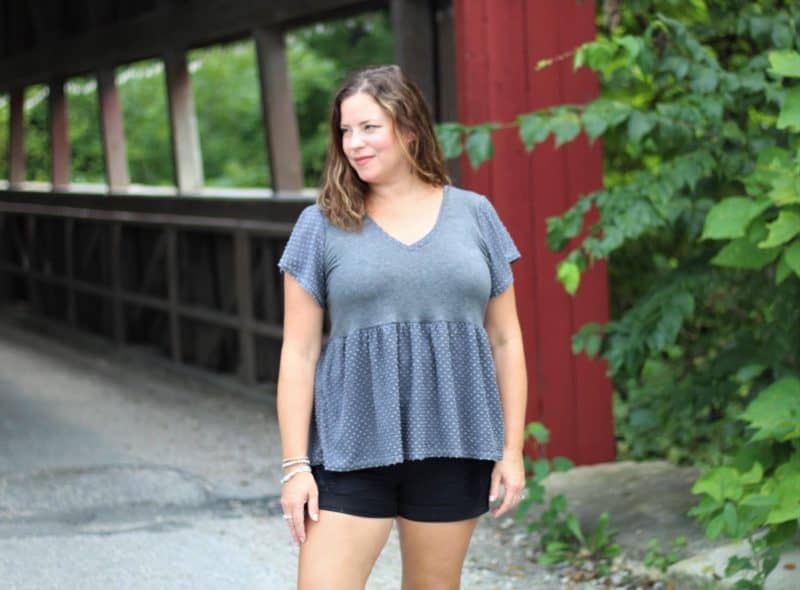
V-Neck Hack
Do you love the look of Blythe but feel like trying a V-neck instead of a scoop neckline? To achieve this easy hack grab a favorite pattern with a v-neck option. I used the Made for Mermaids Tess tee V-neck. Place your Tess V-neck pattern piece on top of the Blythe front bodice to draw a new V-neck cutline. Then calculate the new V-neckline band and sew it just as you would Tess to get the desired neckline. Basting is the key to a perfect V-neck and continue following the rest of the Blythe tutorial steps to complete your pattern. Enjoy wearing your new Blythe! -Amy
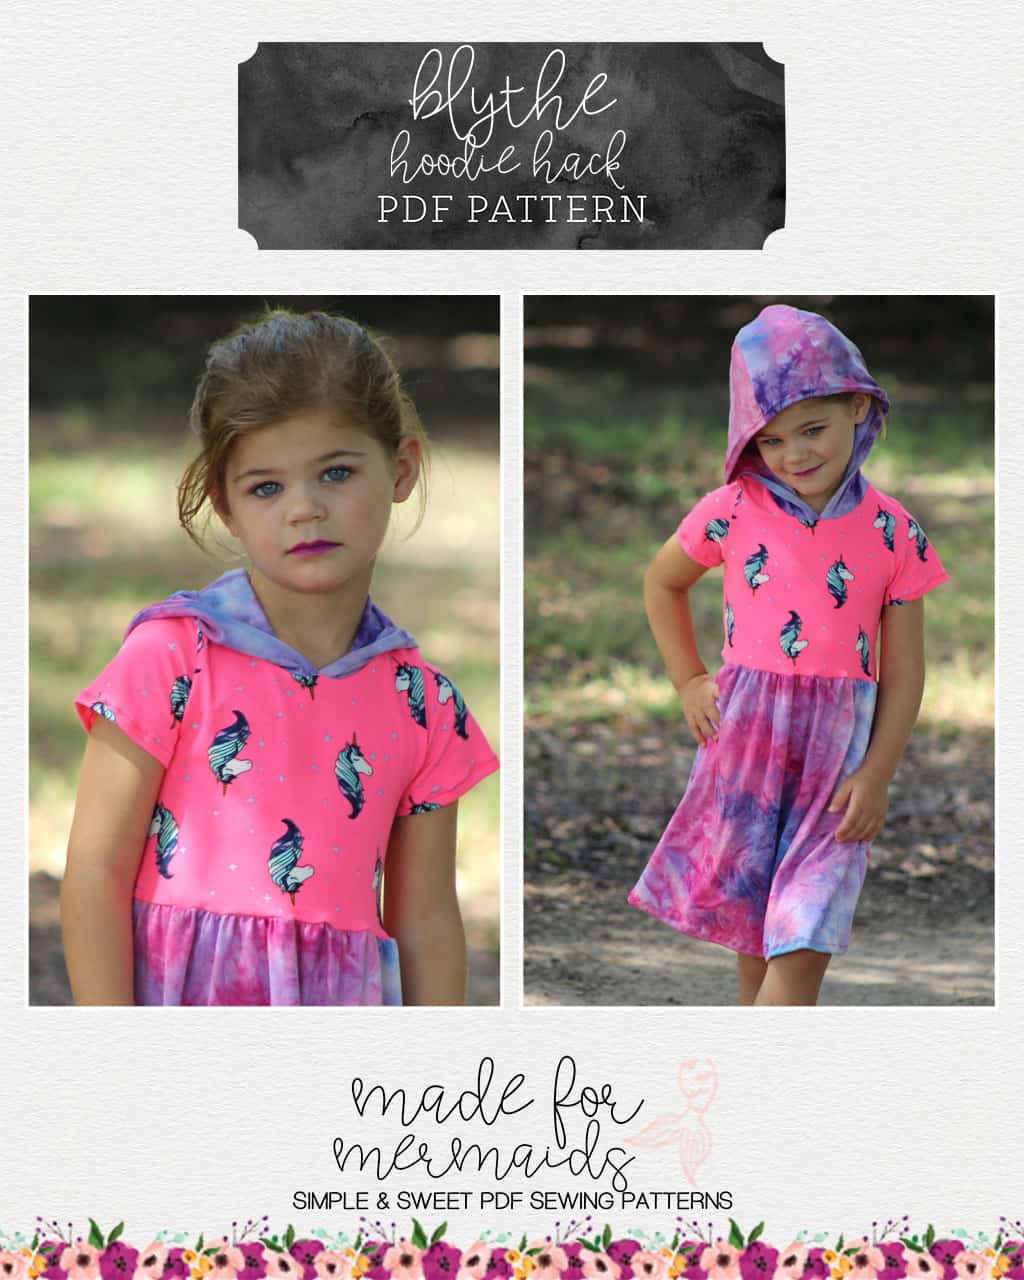
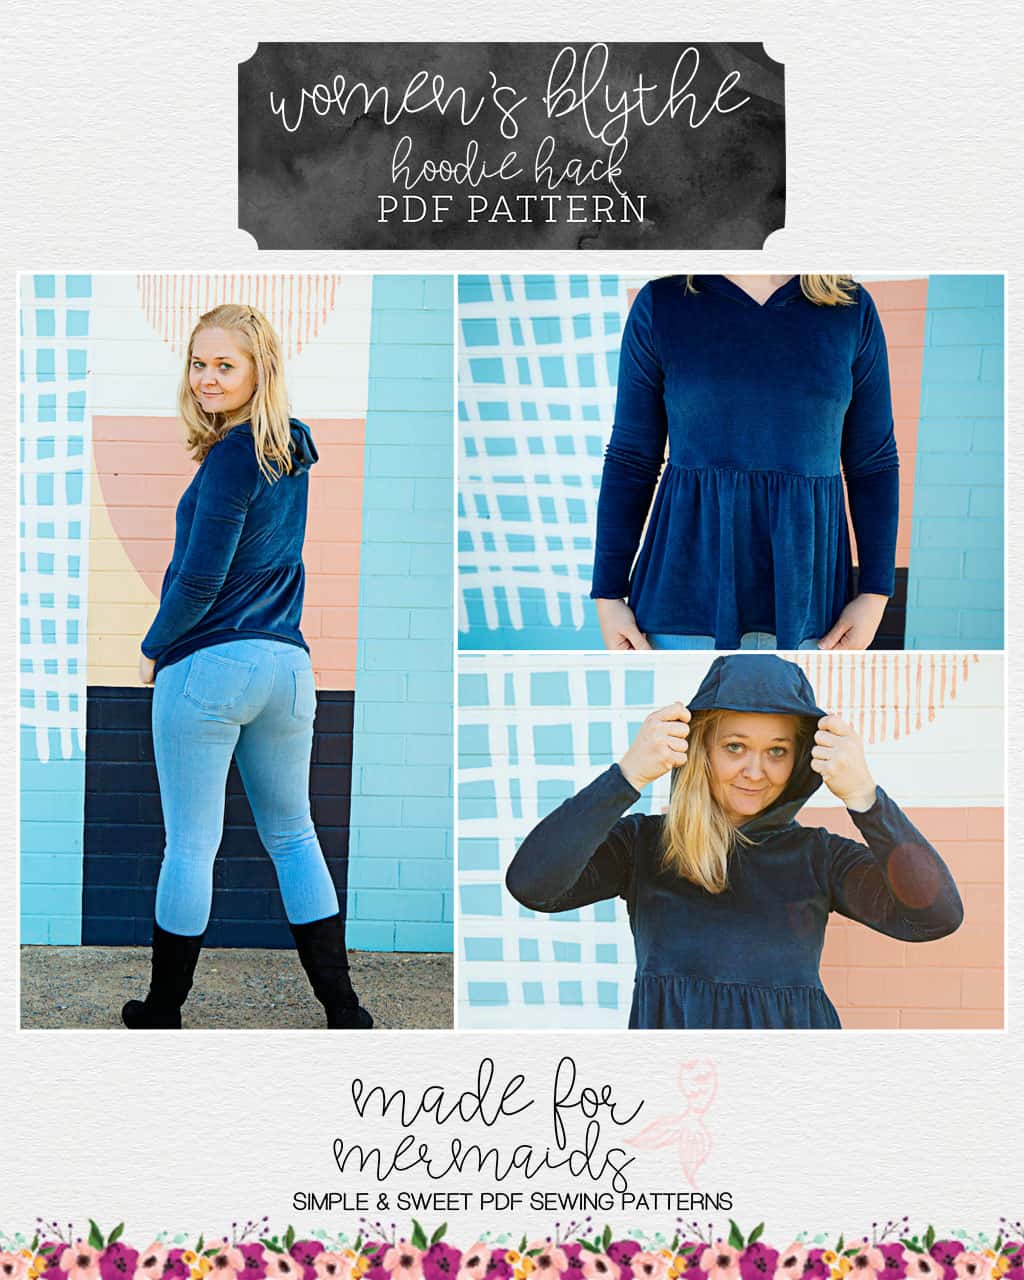
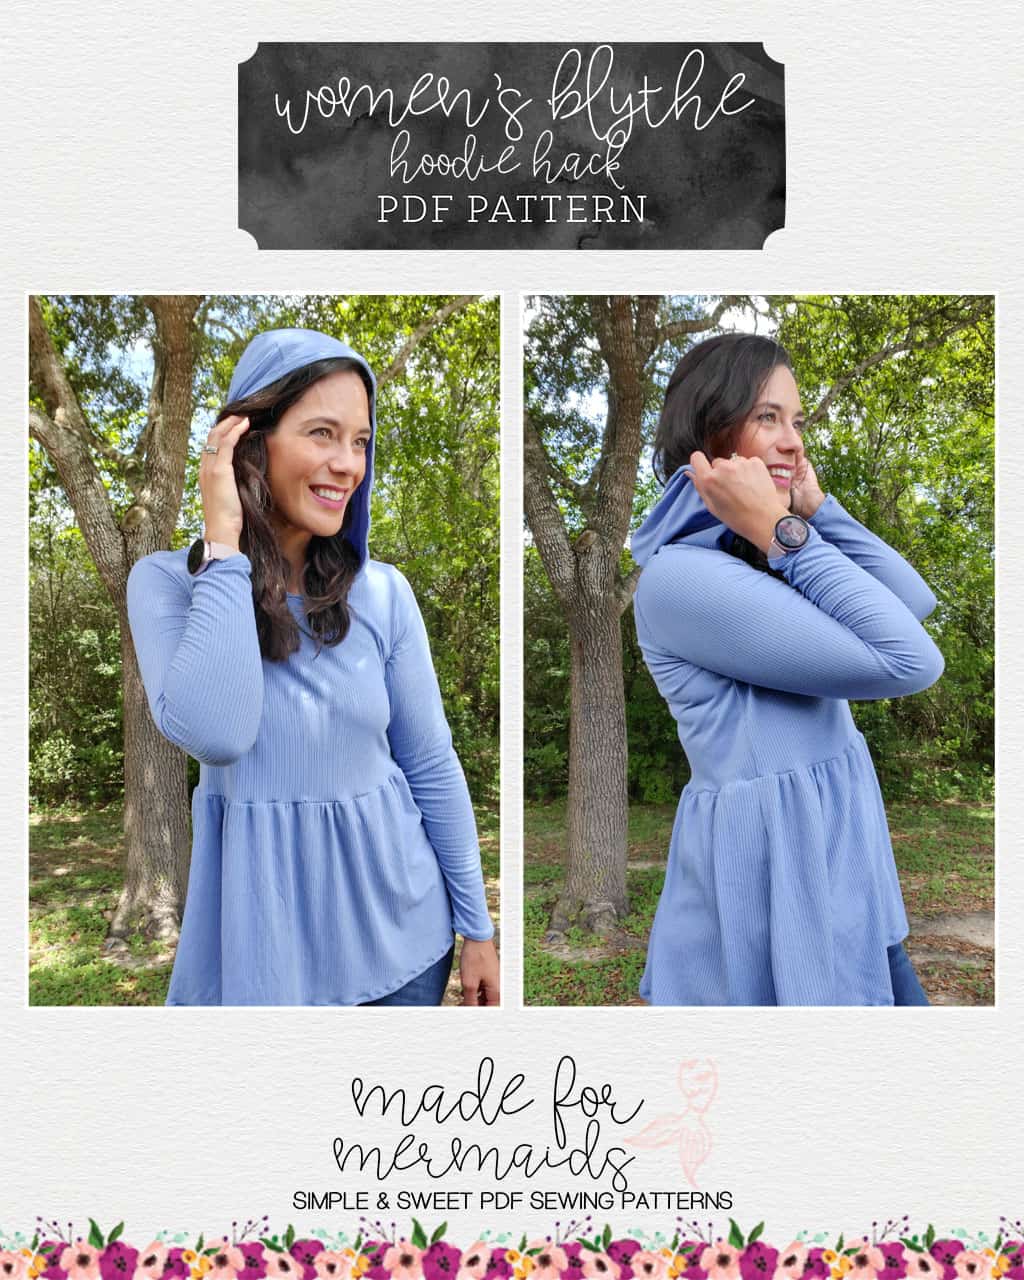
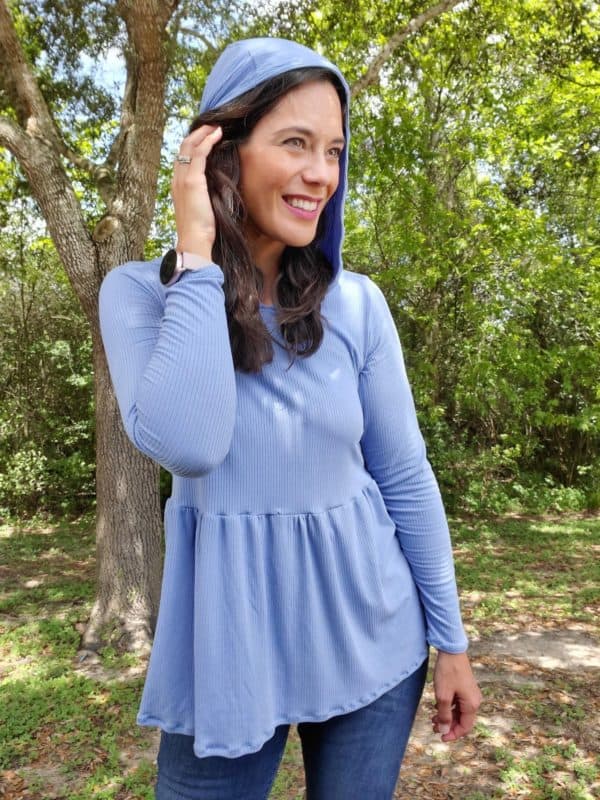
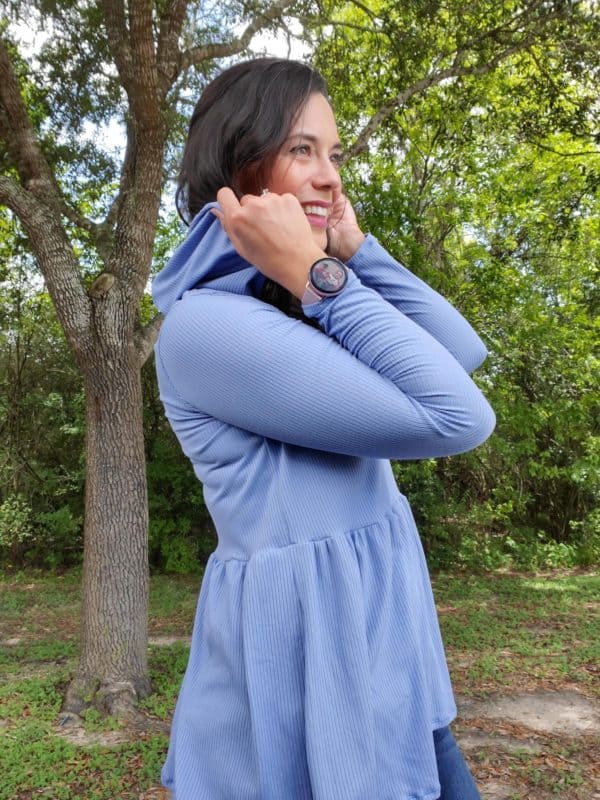
Hood Hack
Cardigan Hack
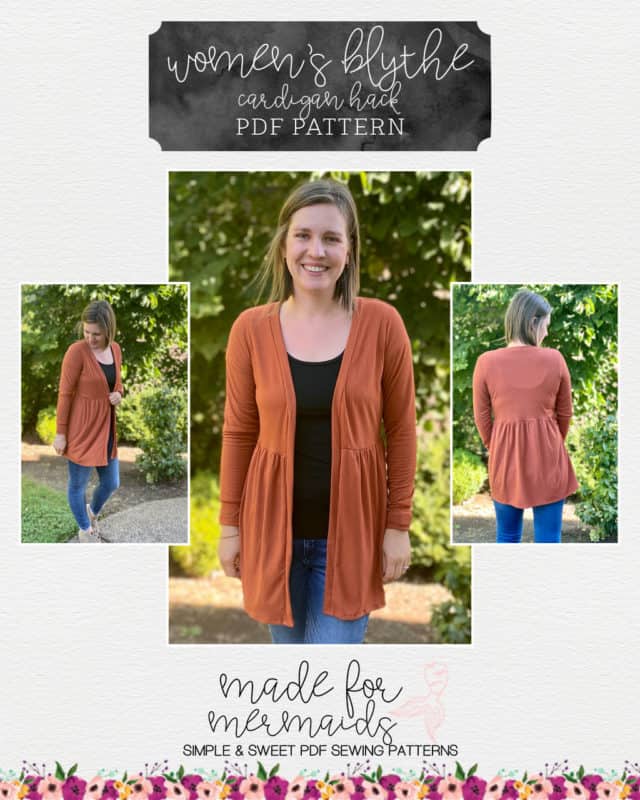
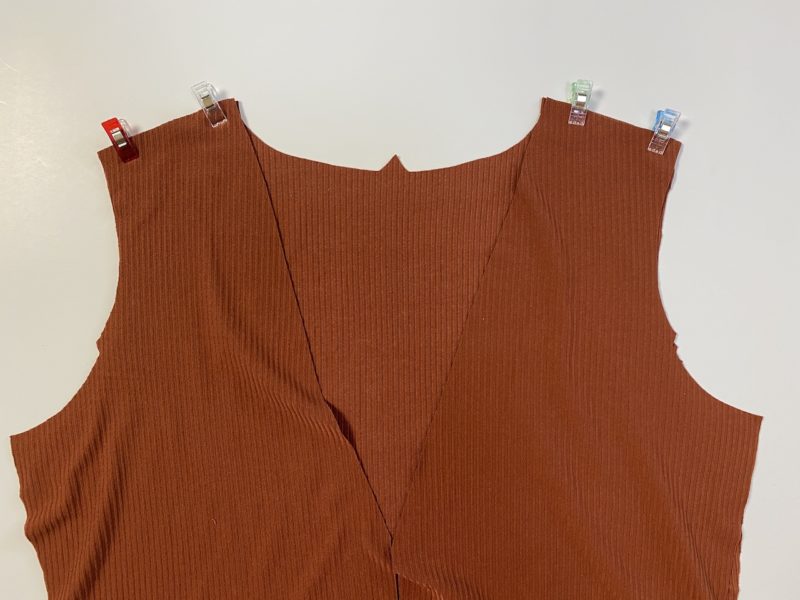
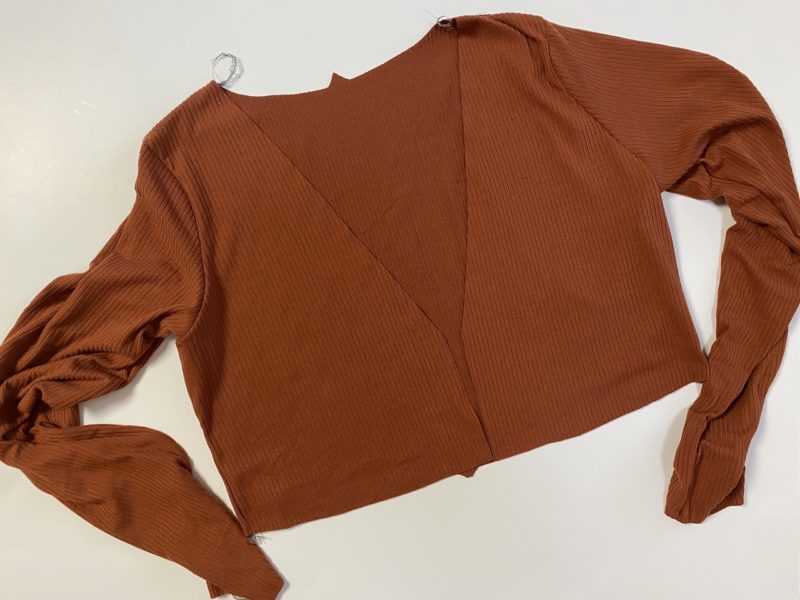
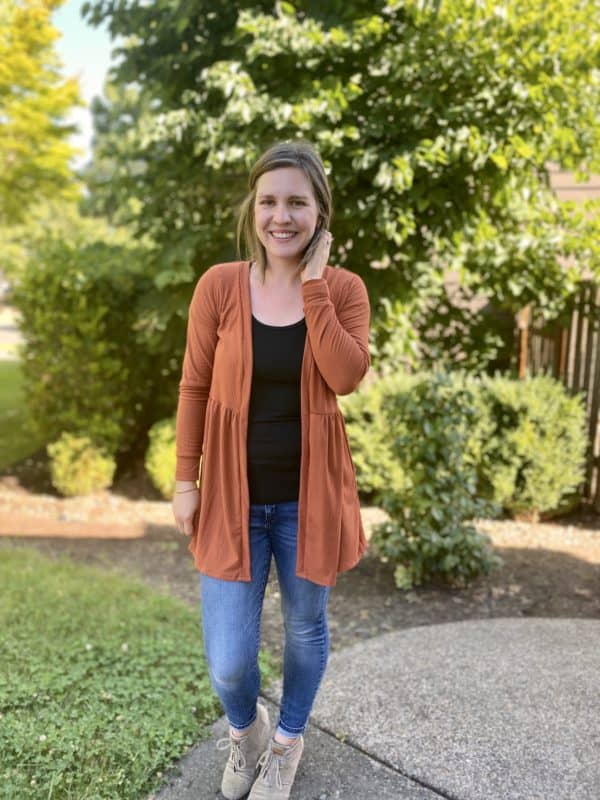
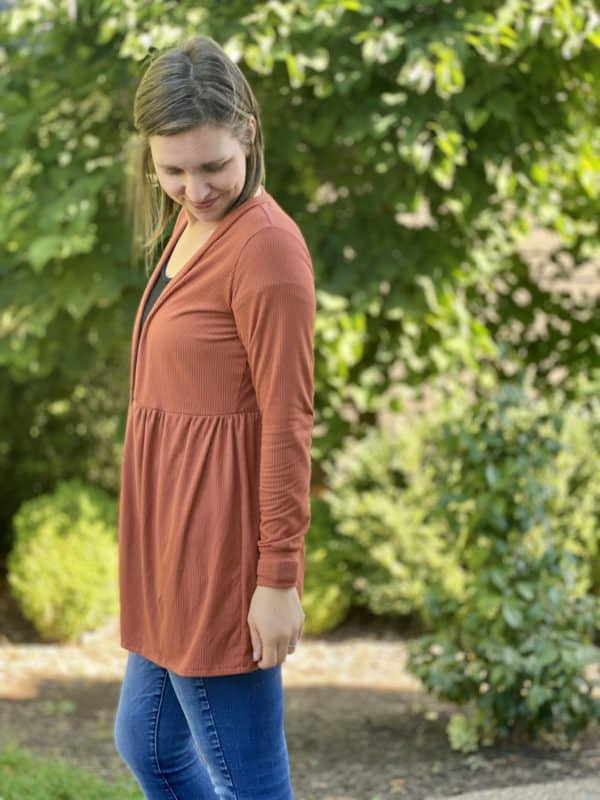
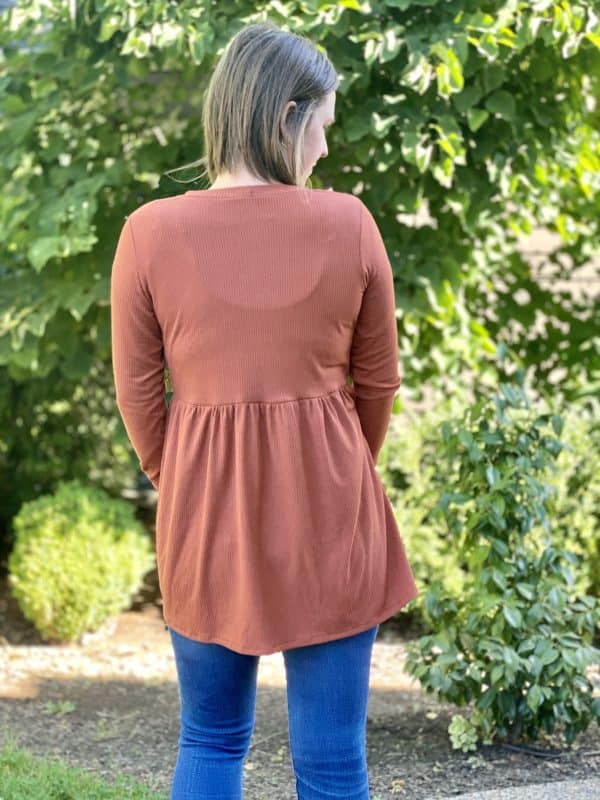
I had so much fun turning the Blythe into a cardigan with help from Darcey. Here’s how you can do it too.
For this hack, you will need your Blythe pattern pieces and if you have it, the Darcey pattern. If you don’t have the Darcey pattern, I’ll show how you can still make it.
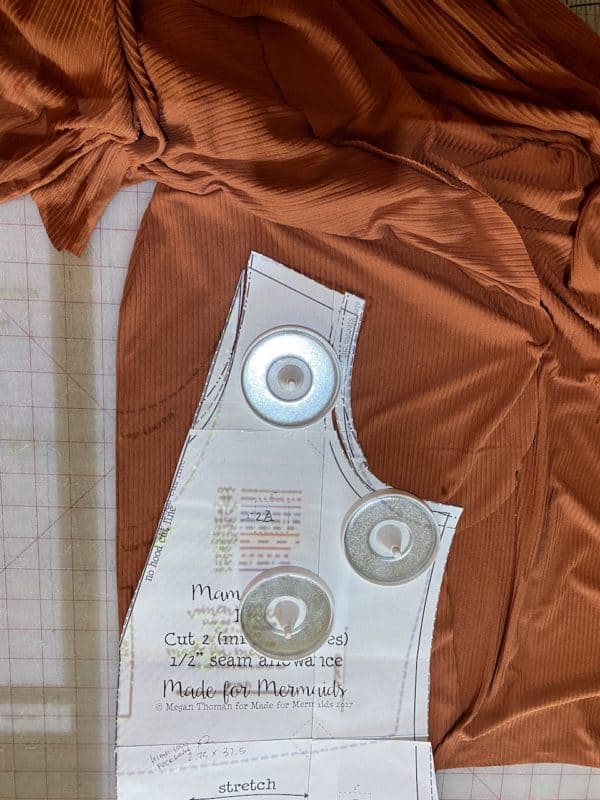
To start, lay the Darcey front bodice on top of Blythe front, matching shoulder and front fold line. Draw/cut new diagonal front cut line. Cut 2 mirror fronts following Blythe lines for the rest. If you don’t have Darcey, line your ruler perpendicular to the shoulder at the neckline. Measure 12” from shoulder to bodice front fold at an angle to get the new line. Cut your Blythe back and sleeve pieces.
Cut one singe tier skirt on fold. Cut 2 skirts for the front the pattern piece size but not on fold. To achieve a tunic length, I cut my skirts 17” long which is about half way between the hip and dress lengths. With right sides together, sew each skirt short side to either side of the long back skirt piece. Run gathering stitches along top of skirt at 1/4″ and 5/8″. Set the skirt aside.
Sew with right sides together the front and back bodice pieces at the shoulder seams. Add the sleeves, making sure to match the notches. Sew them to the bodice. With right sides together, sew the side seams.
Now we’ll prepare to put the bodice and skirt together by marking the center back of the skirt and back bodice. Match those right sides together. Then match the skirt seam to the bodice side seams, clip or pin. Pull the gathers until they are even between each marking. With a sewing machine, sew the bodice and gathered skirt with 1/2″ seam allowance. Finish the seam.
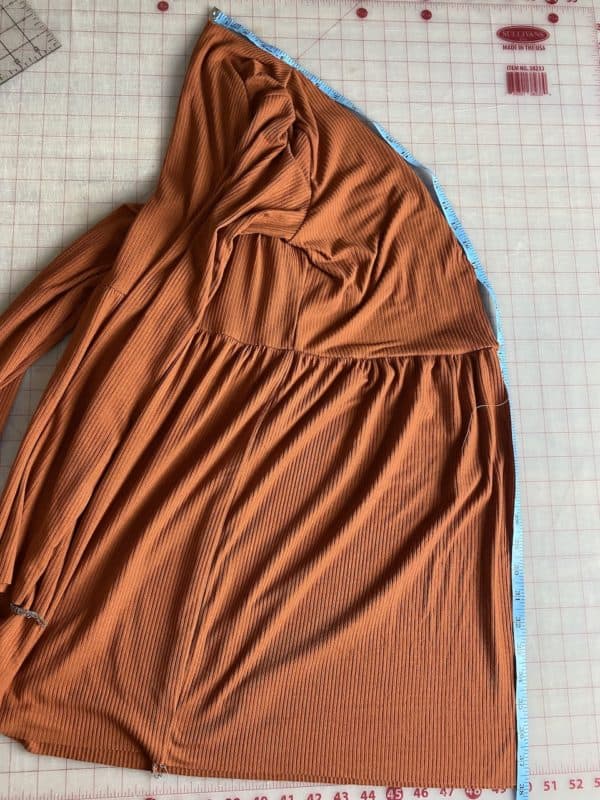
To calculate the neckband, fold the cardigan in half to measure from center back neck to hem. Multiply this length by .95 then add 0.5″ for seam allowance. Cut 2 neckbands 2.75 x calculated length. Place the neckbands right sides together to sew one side of short ends together. Fold neckband with wrong sides together.
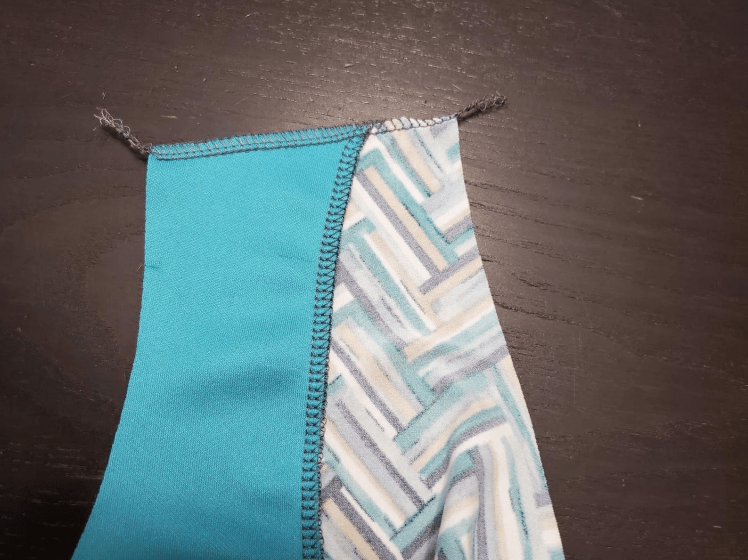
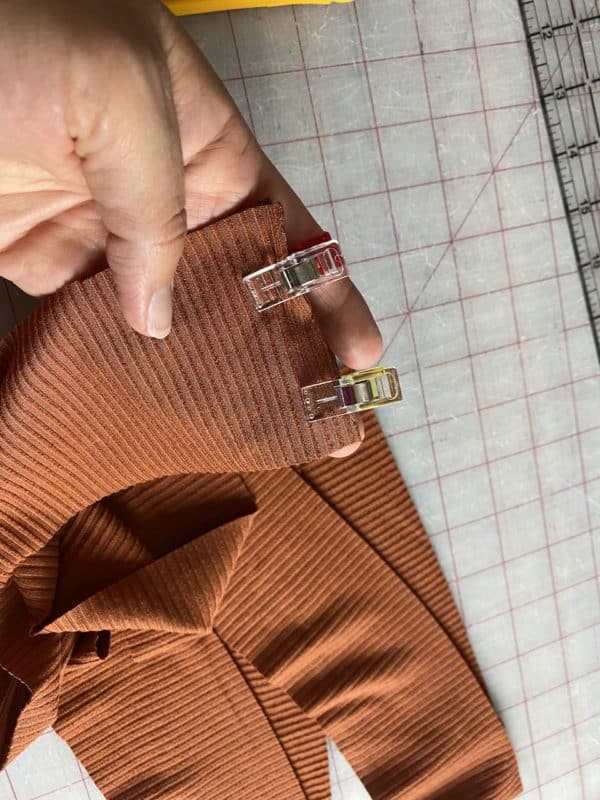
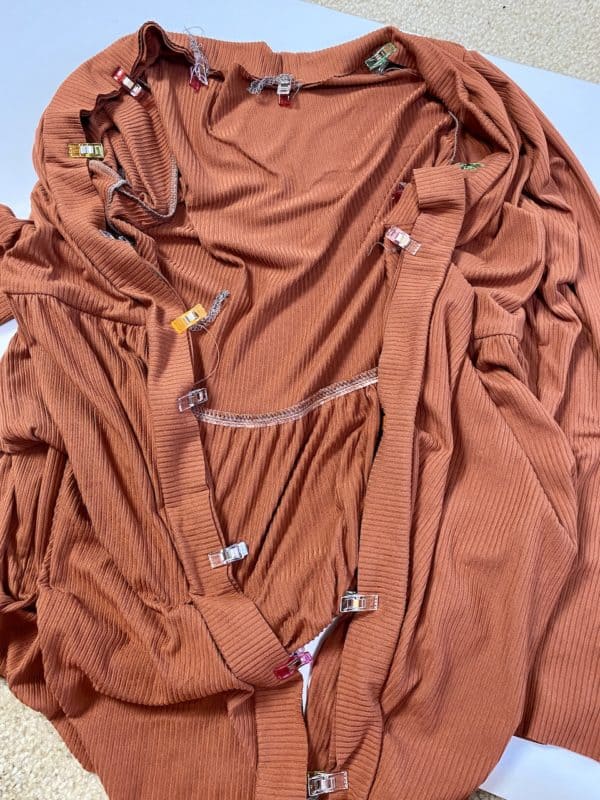
Mark and clip the center back neck seam to the right side of cardigan. Clip the neckband end to bottom front hem. Then clip together from hem to back neck, not stretching until you reach the shoulder seams. Sew/serge. If your seam is wavy you can topstitch here.
Hem sleeves and bottom 1/2″ or add a cuff!
~Katie
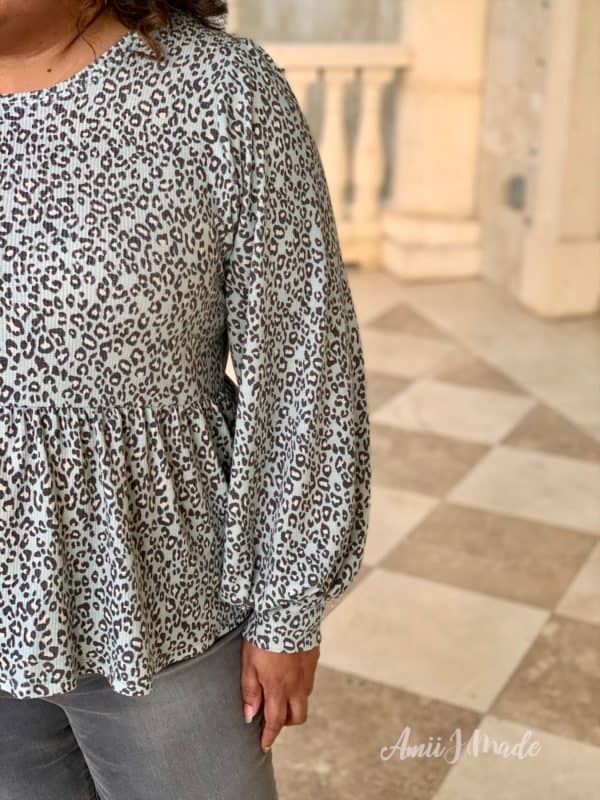
Bishop Sleeve Mash
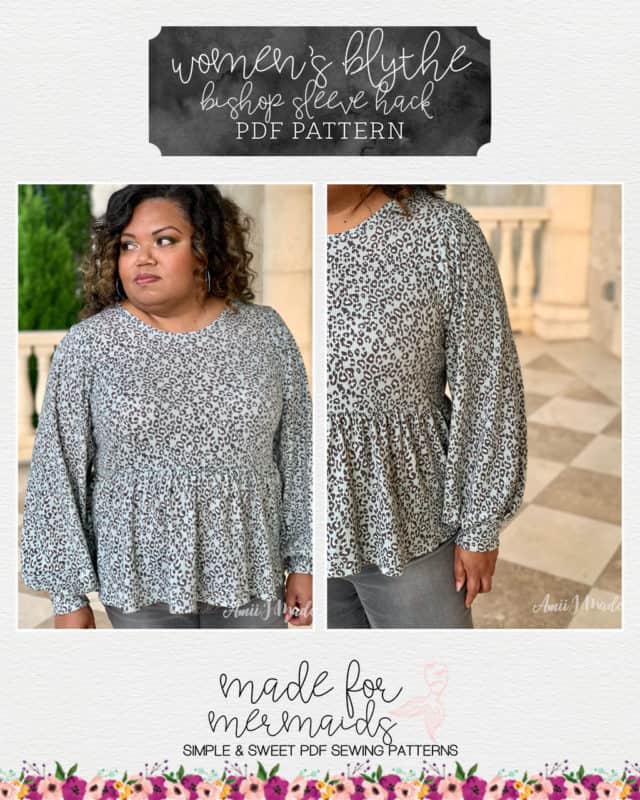
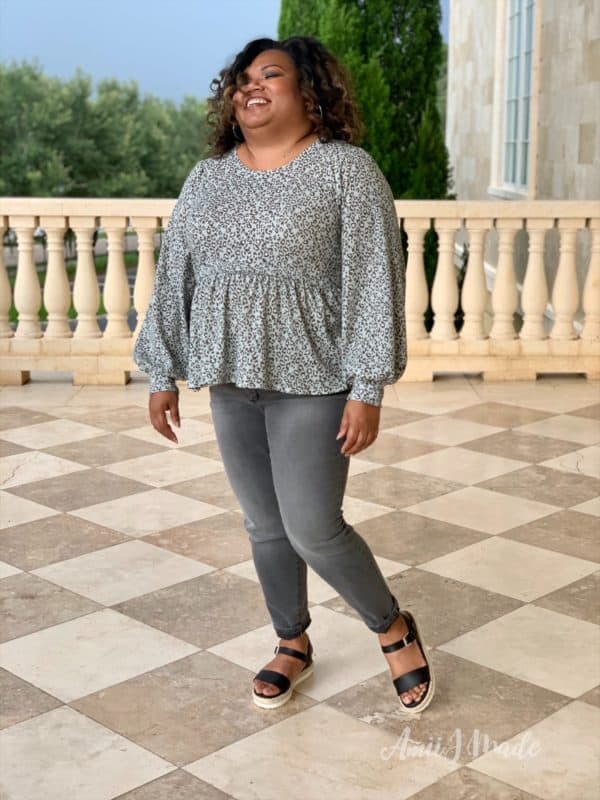
Blythe is perfect as is, but Amii took it to a whole new level with these bishop sleeves! So, so cute. You can mash with any bishop sleeve you’d like, but she used the Penelope sleeve. Just be sure to keep the armscye the same, for ease of sewing 🙂
We hope you feel amazing in your new Blythe Babydoll Tops and Dresses 🙂 Don’t forget to share your makes with us on Insta and in our FB group – we love to share your work, so be sure to give us a tag!

















Can pockets be added to the dress?