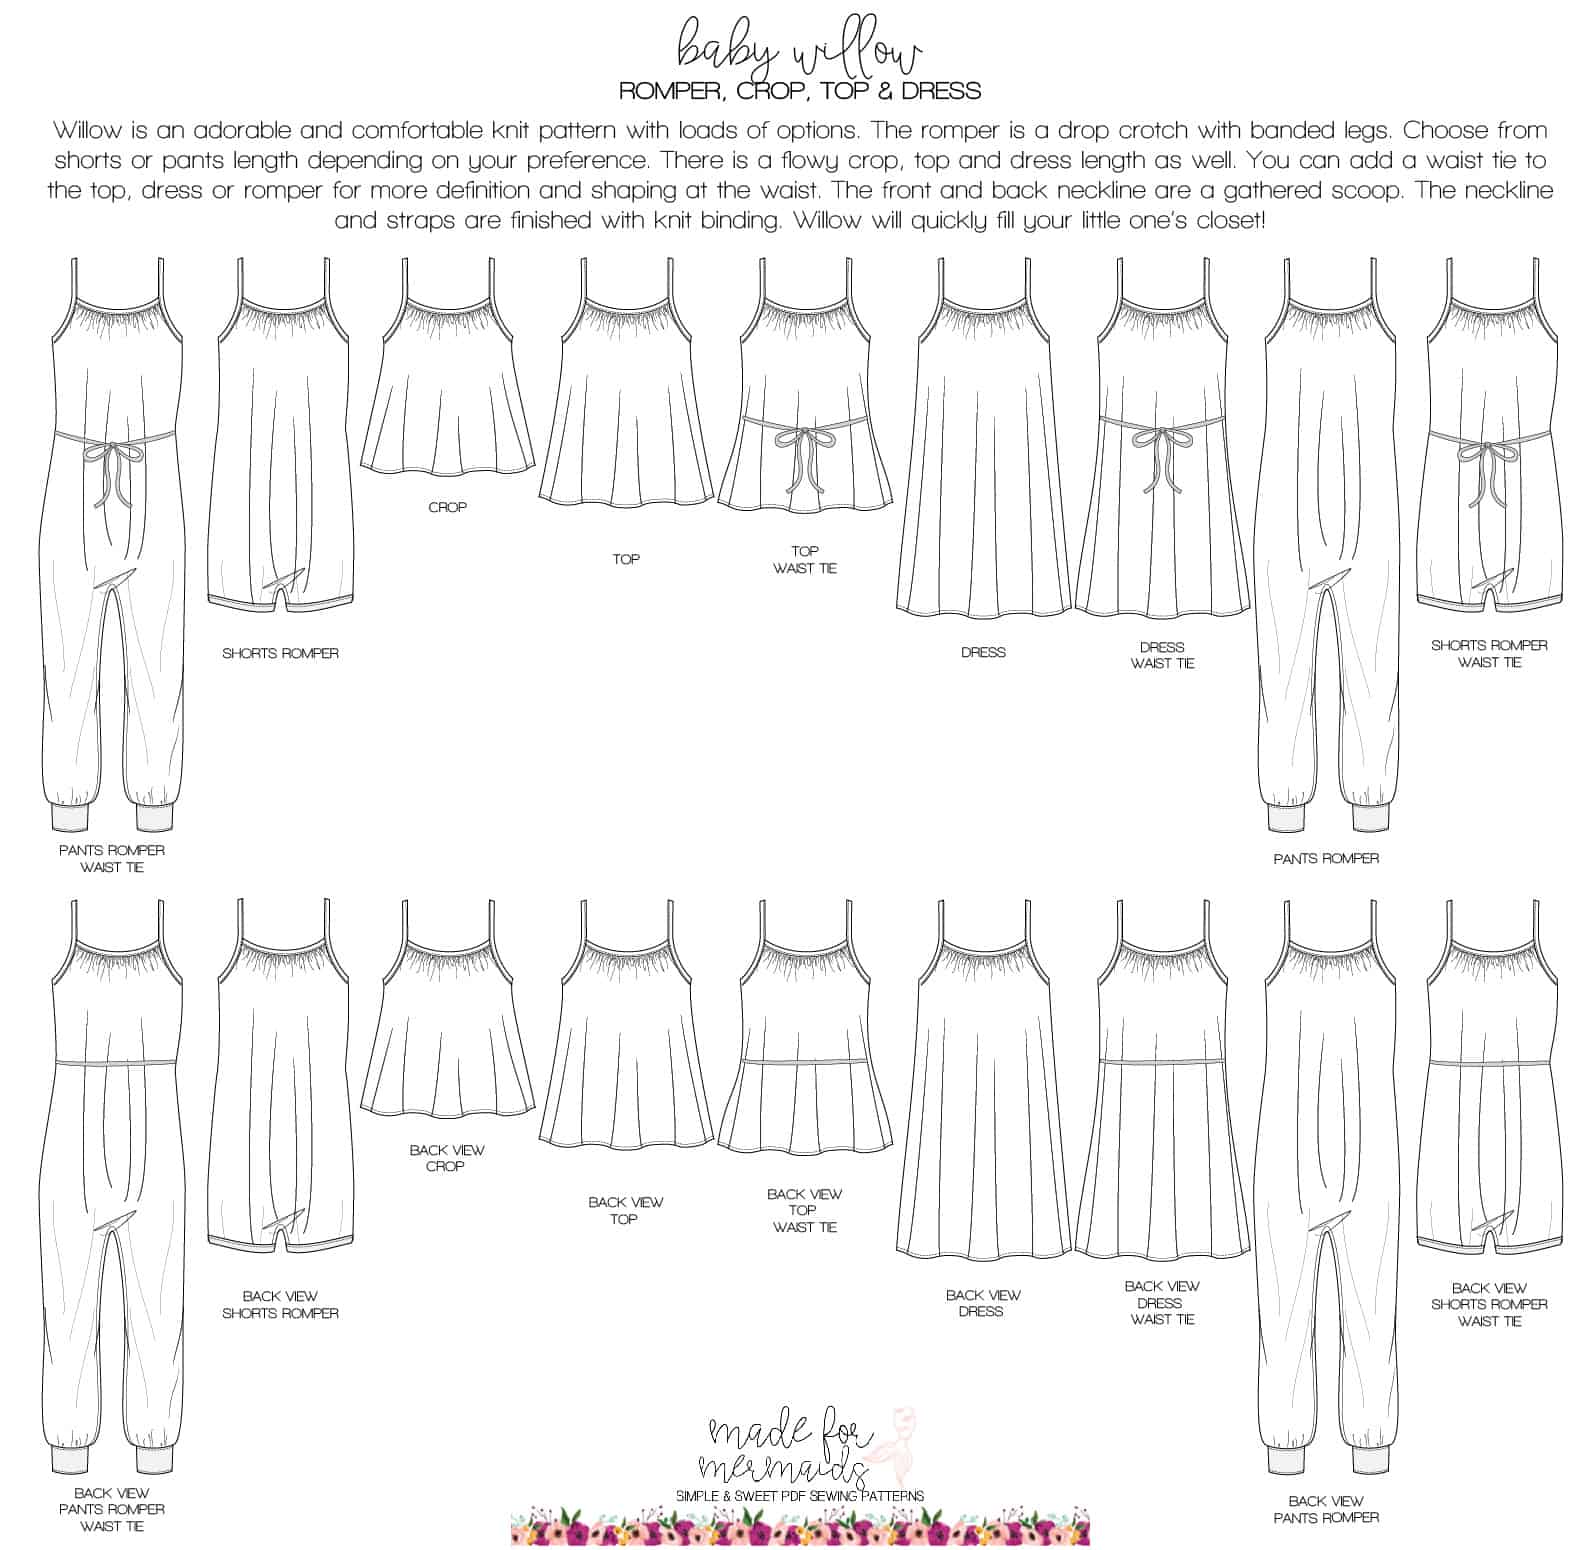
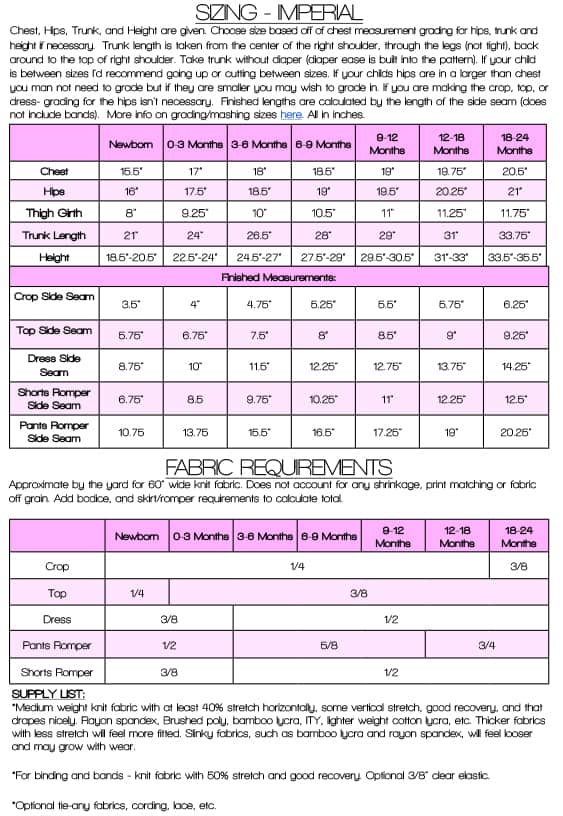
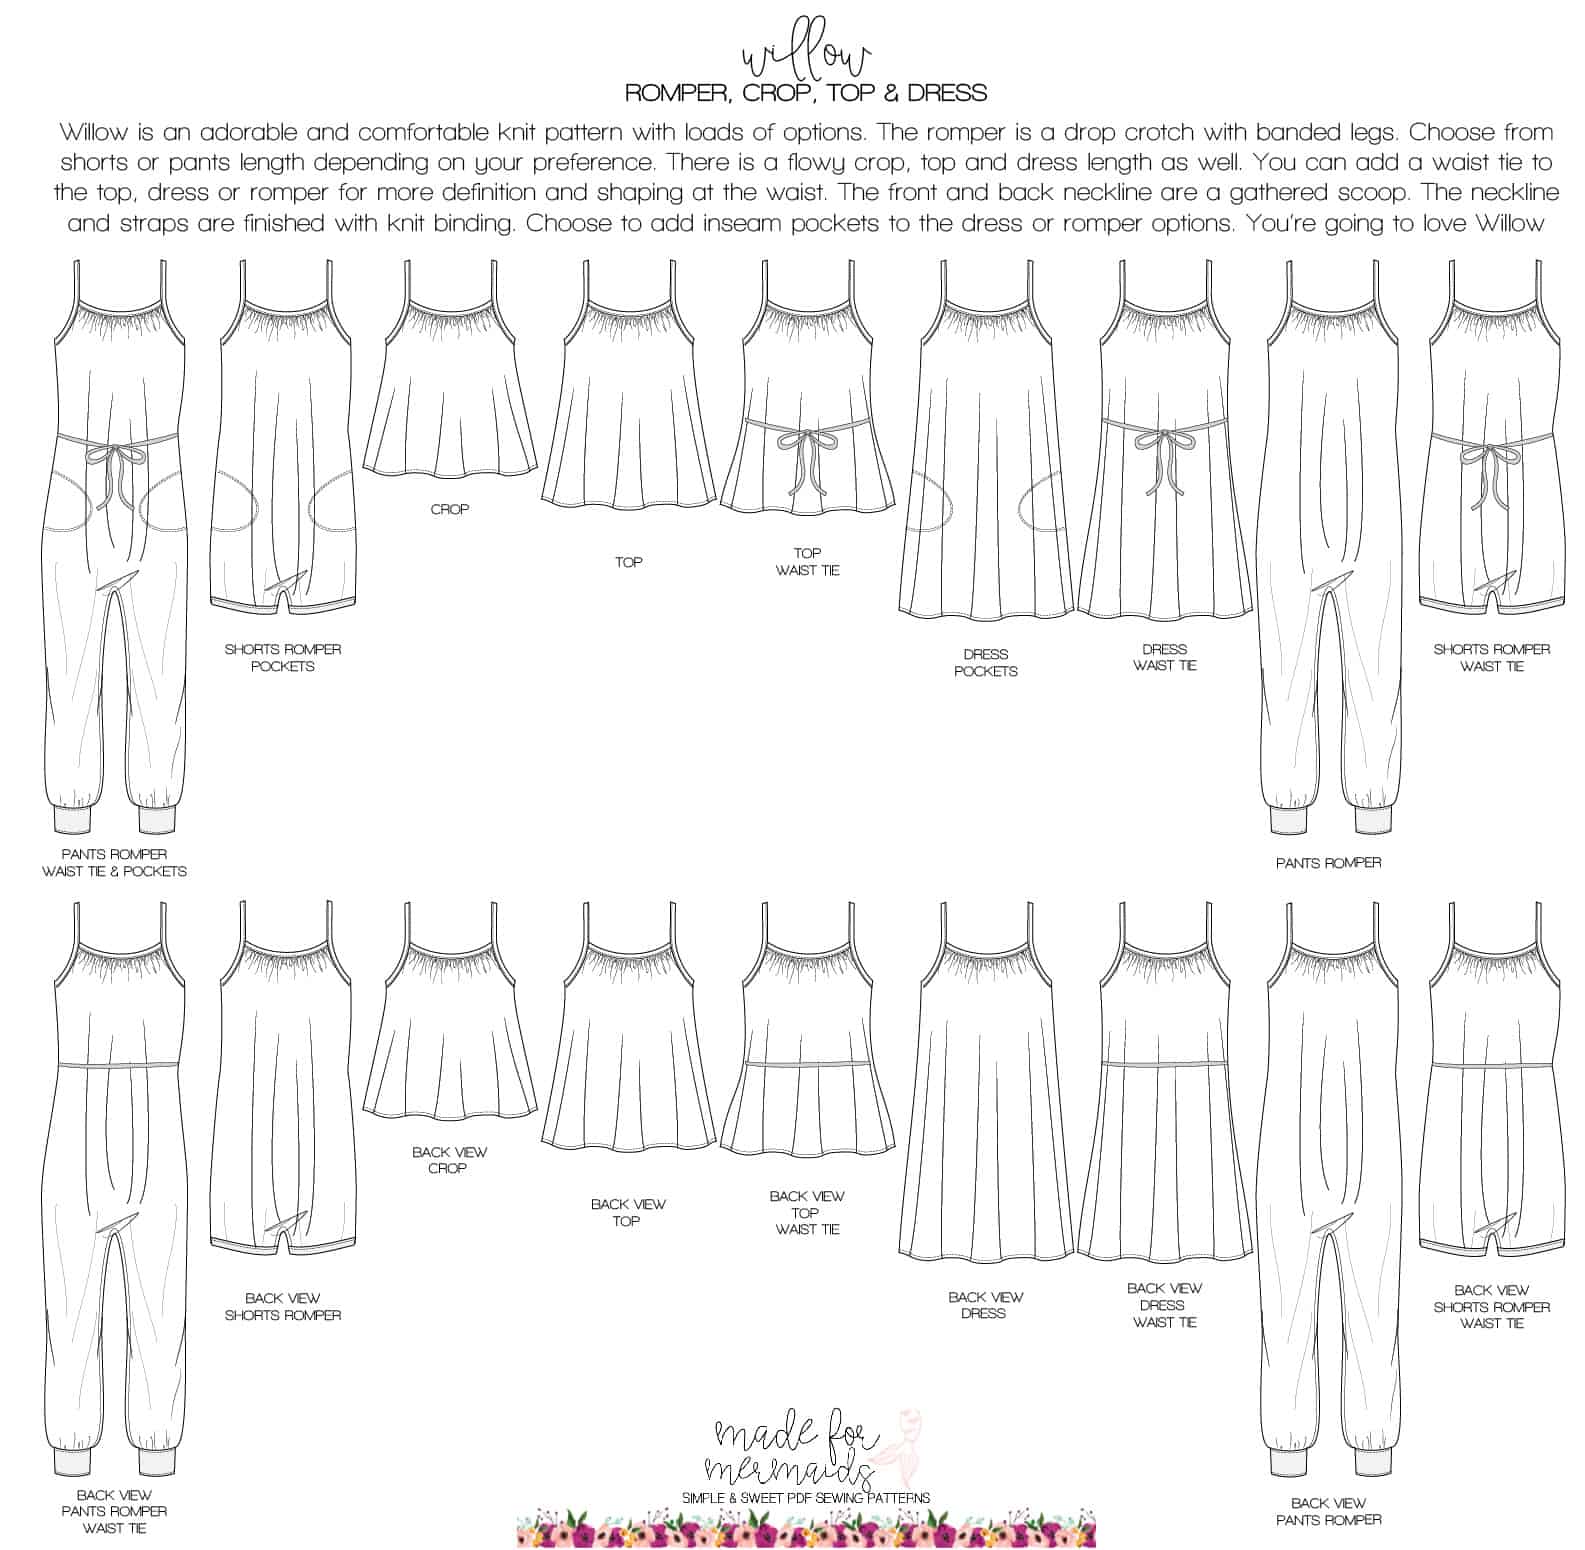
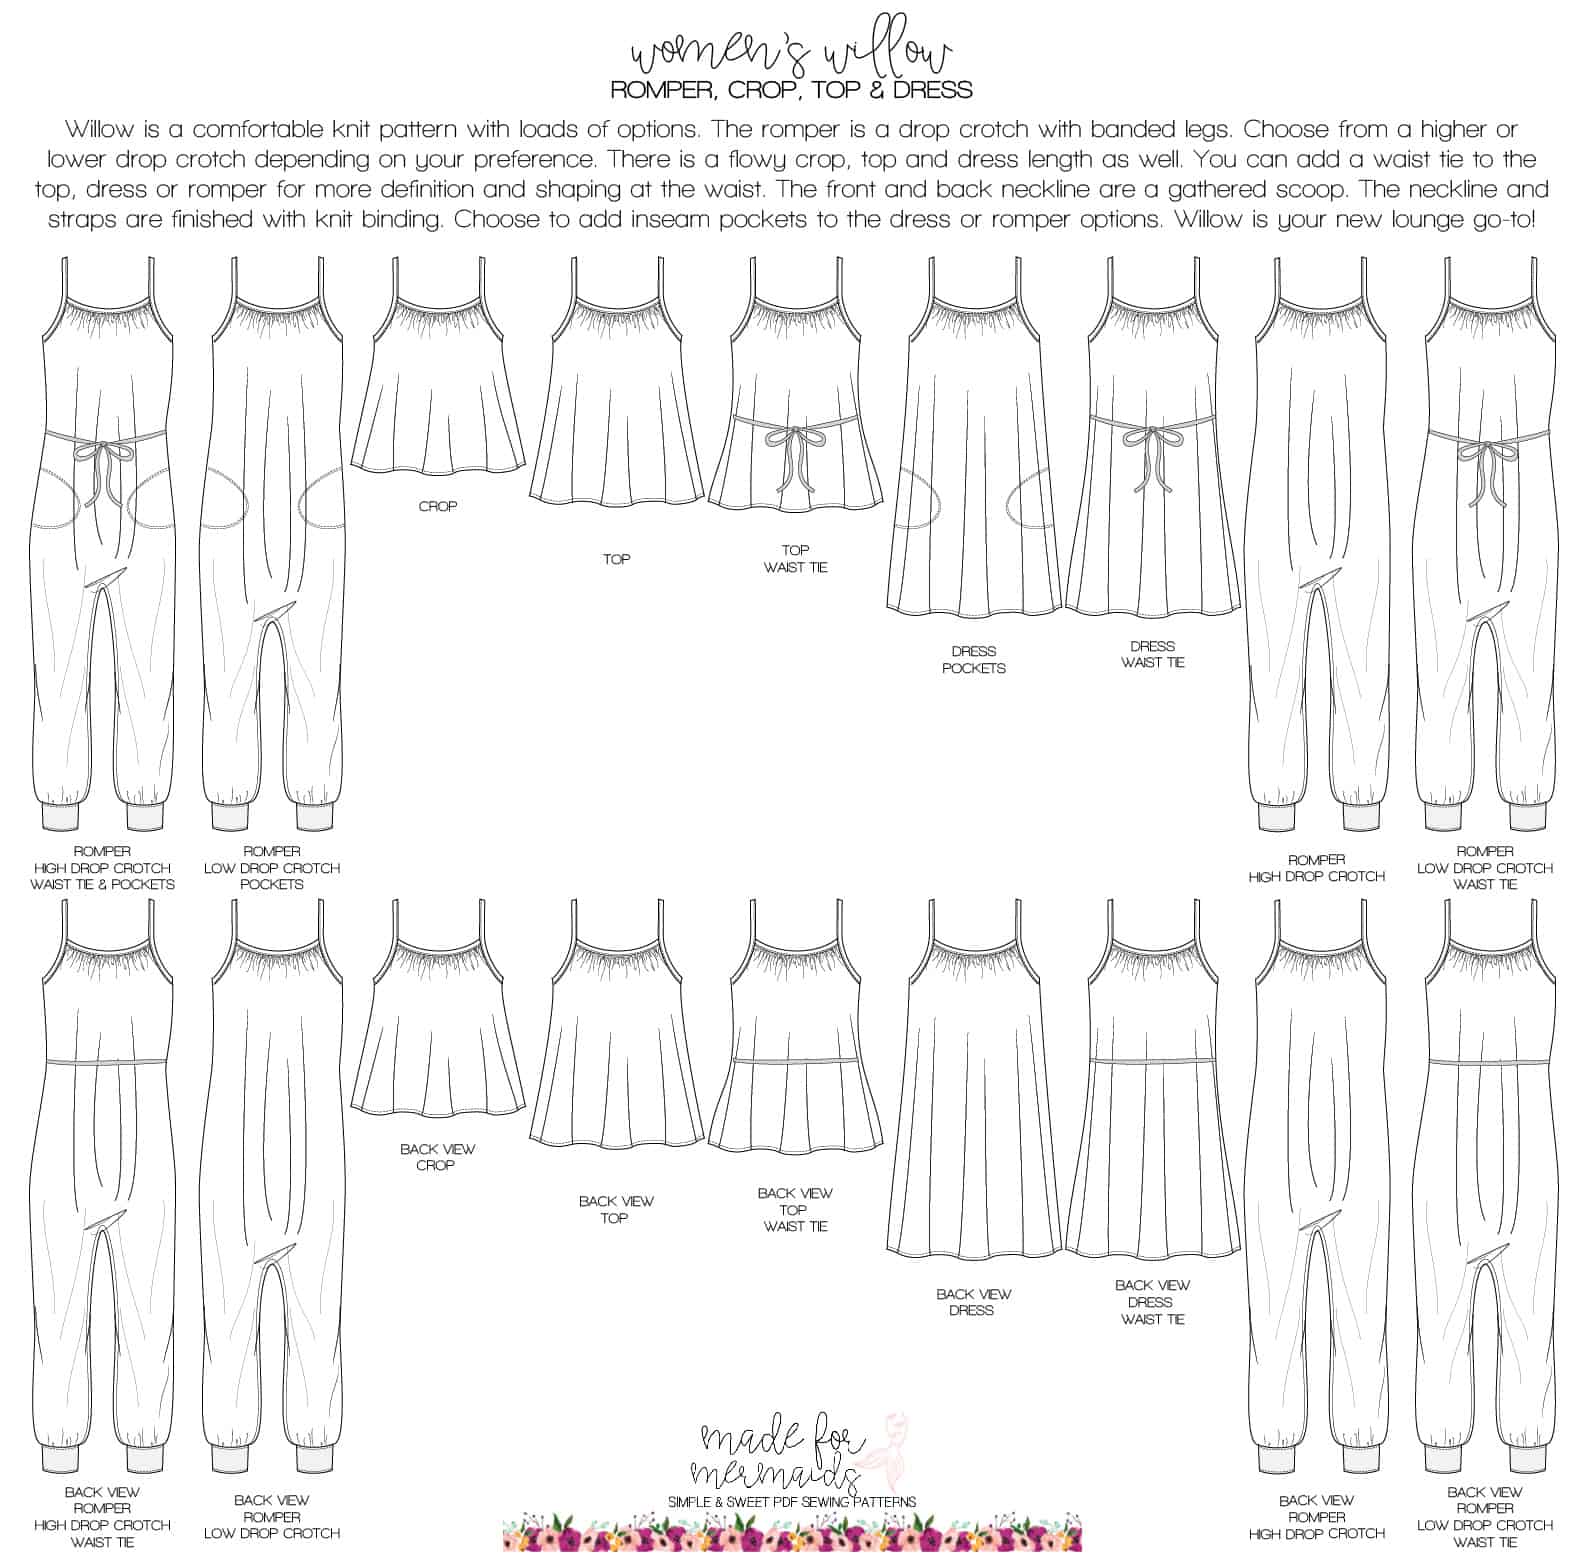
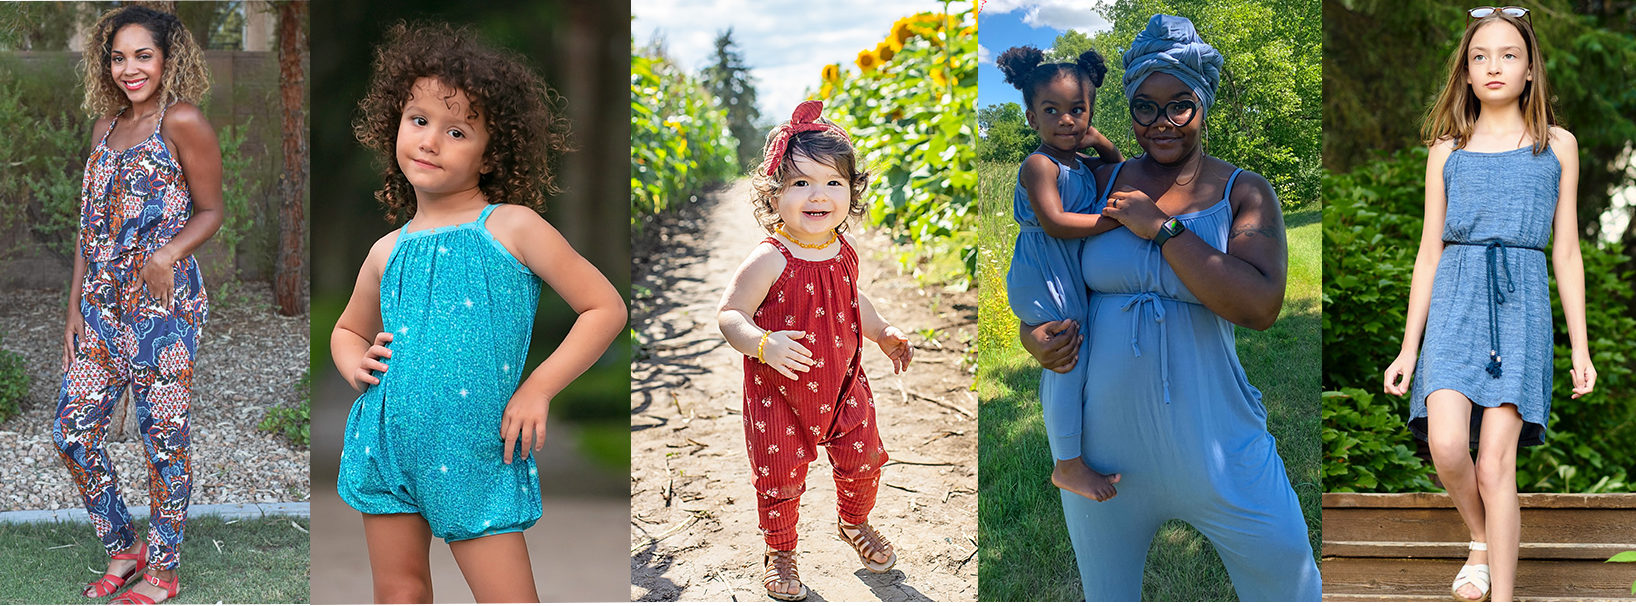
Willow is the romper/dress/top/crop pattern you didn’t know you needed!Our Women’s Willow pattern features crop, top, dress, and low drop or high drop crotch pants romper options. Baby and Youth are just as fun, featuring shorts and pants rompers, dress, top, and crop options. The neckline and armscye are finished with binding. Not super comfortable with binding? No worries – we have a helpful 101 blog post here, as well as some additional photos in the Willow tutorials.
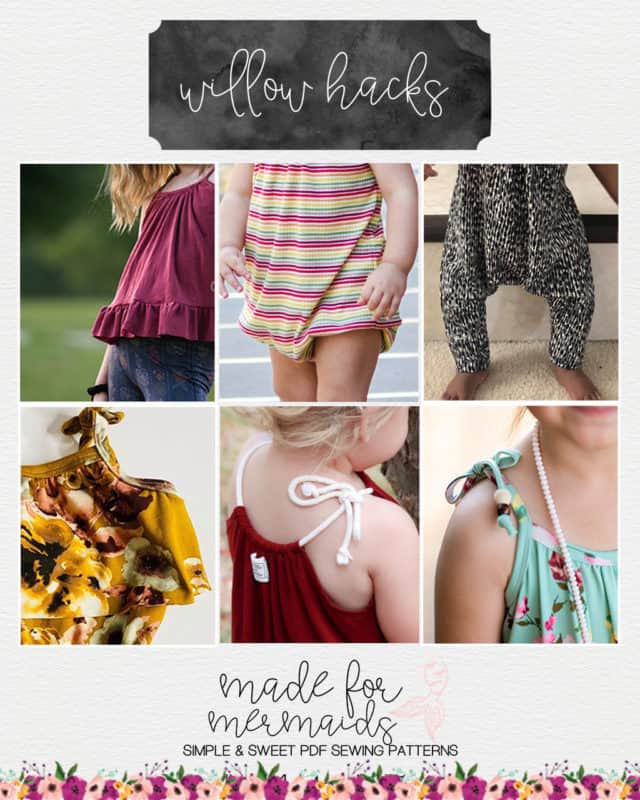
Of course we had to show a few simple hacks to give you even more options 🙂 You can use these hacks on any of the Willow patterns- baby, youth or women’s.
Tied Strap Hack
The Willow pattern looks gorgeous when you hack the straps to create ties. I followed the blog post for the Ruby Hacks to create my tie strap version. I also added some wooden beads on the ends of each tie for decoration. My sweet miss loves her willow pantsuit so much!
SAFETY NOTE: Beads are not recommended for babies, young children, or children at risk of putting items in their mouths.
Hemmed Pant Hack
Not loving the cuffed look, or just want to shake it up a bit? This hemmed hack is very easy!
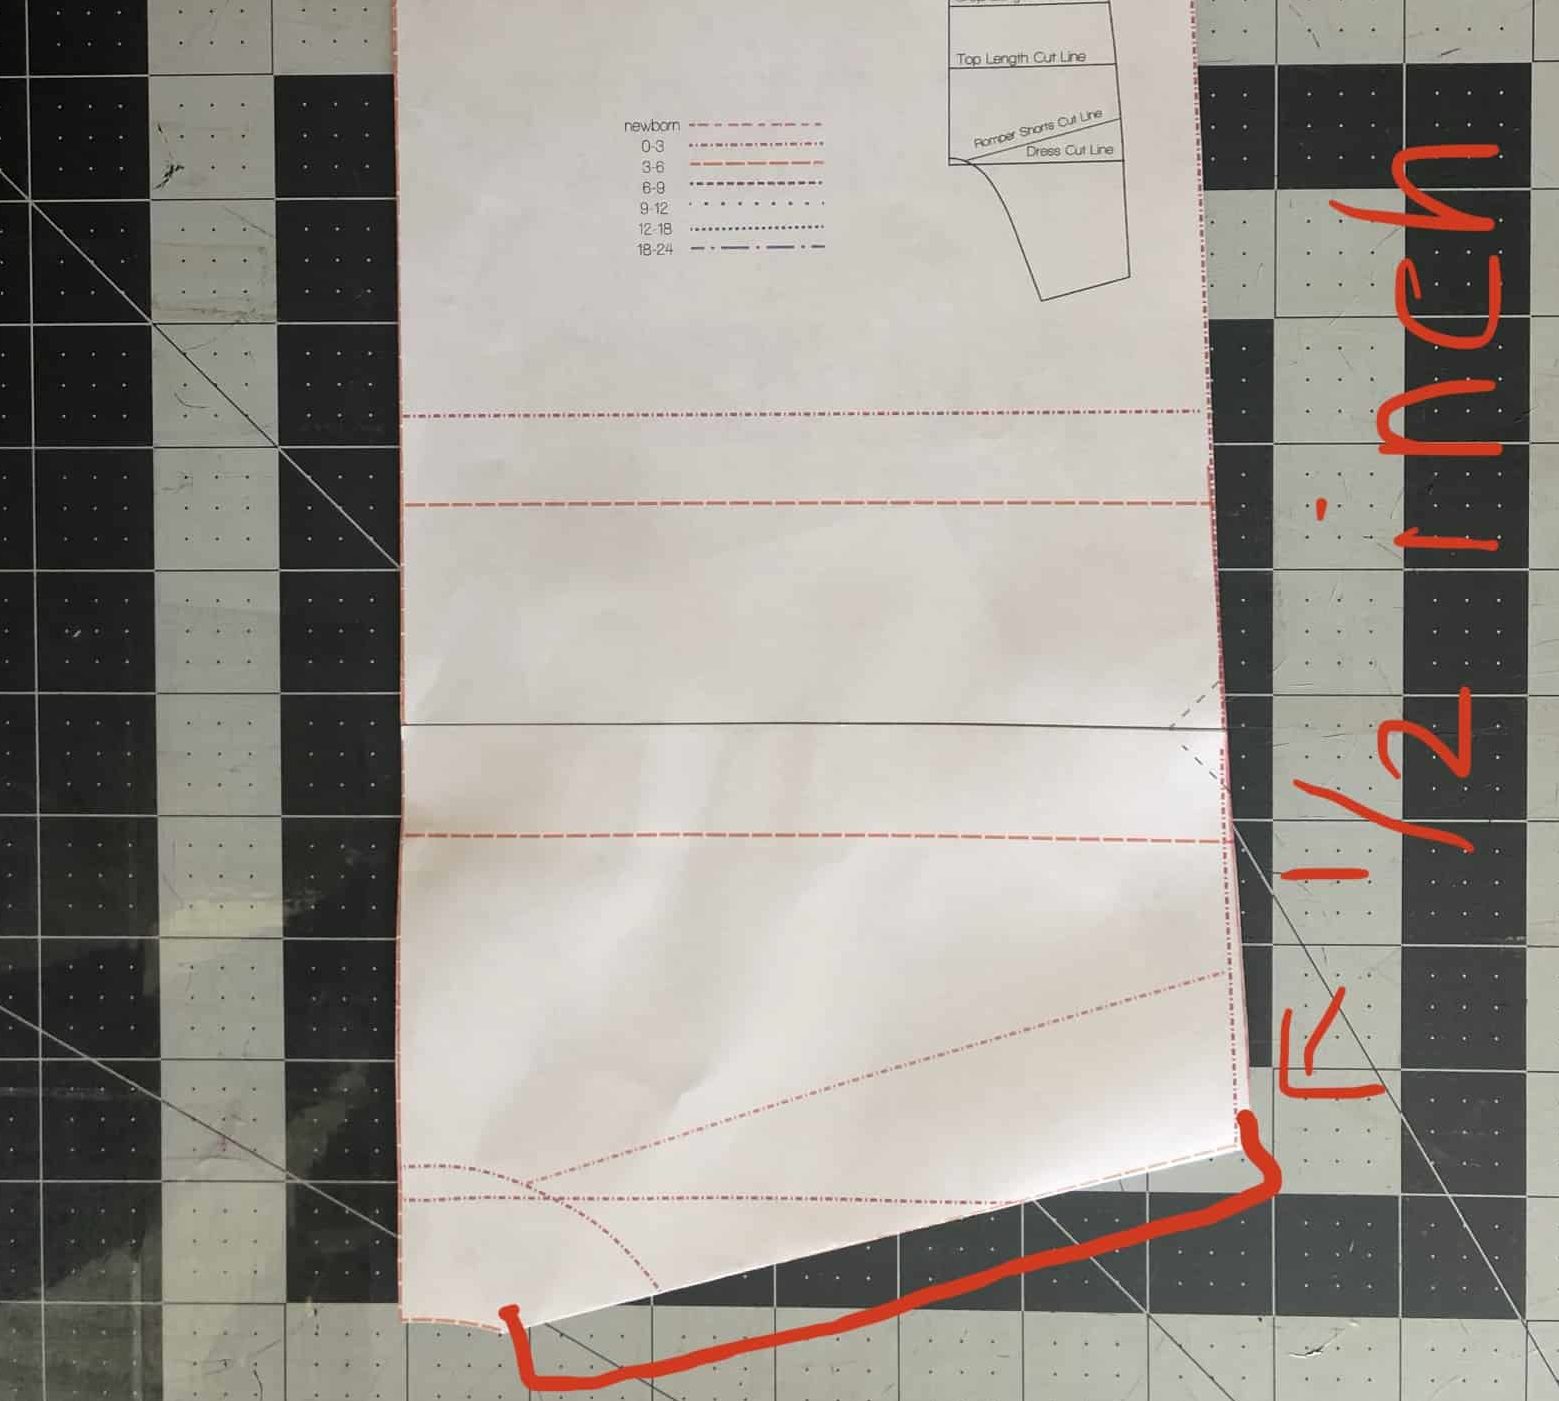
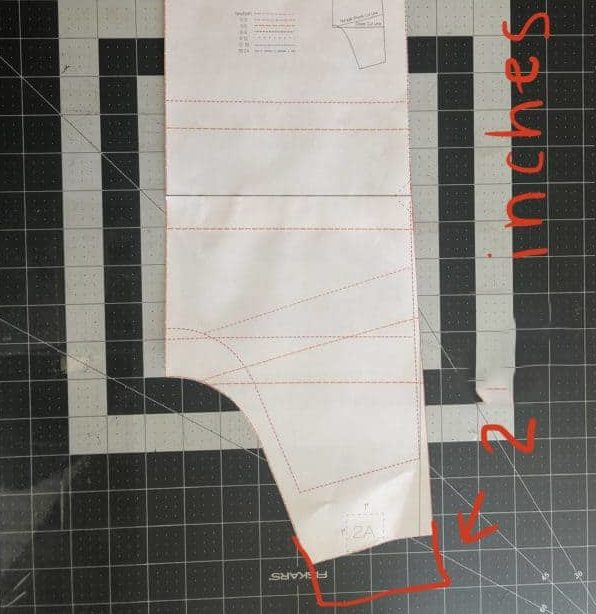
First, we need to figure out your pattern pieces! Since we will not be adding cuffs with this version, you’ll be adding length to the romper bottoms.
For the hemmed shorts, you will add ½” to the length before cutting. That’s it – easy peasy!
The pants version takes a little more math. You’ll need to measure your cuff piece, and divide it by two. Normally, you are losing 1″ sewing the leg and cuff together with a 1/2″ seam allowance. Since we are still hemming, we want to keep 1/2″, so just subtract 1/2″ from your halved cuff measurement. Now, add this measurement to the bottom of your romper paper pattern piece. For example – if your cuff is 5″ long, divided by 2 = 2.5″, minus .5″ = 2″. So, you’d add 2″ to your bottom. Alternatively, you can just eyeball and add a few inches in length, and simply trim and hem to your liking after trying on your little one.
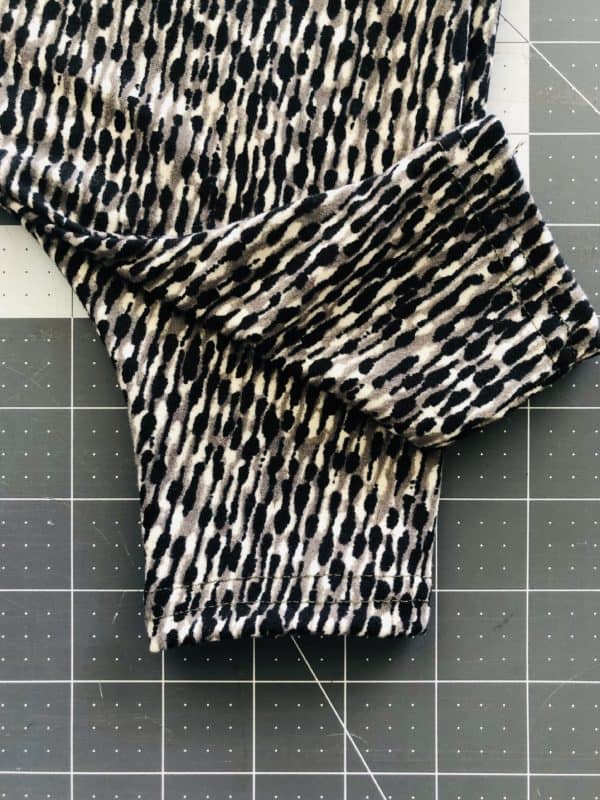
Now you will assemble the pattern as written in the instructions. Simply turn the bottom raw edge under by ½”, and hem! You are all done! -Keosha Gulley 🙂
Flounce Hack
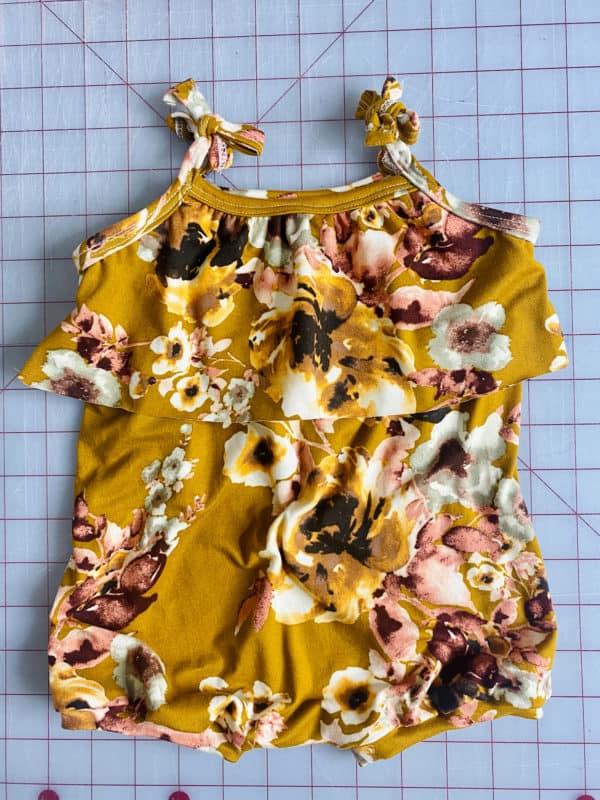
The Willow is such a cute versatile pattern that, dare I say, could be worn year round! You can dress it up, dress it down, or use it for lounge wear during a pandemic… there are so many options! I wanted to create a fun and simple way to sprinkle a little flare with my Willows, and what better way to do so than to add a flounce!
After you’ve followed the tutorial for cutting pieces, you’ll want to determine how far down you’d like your flounce to be.
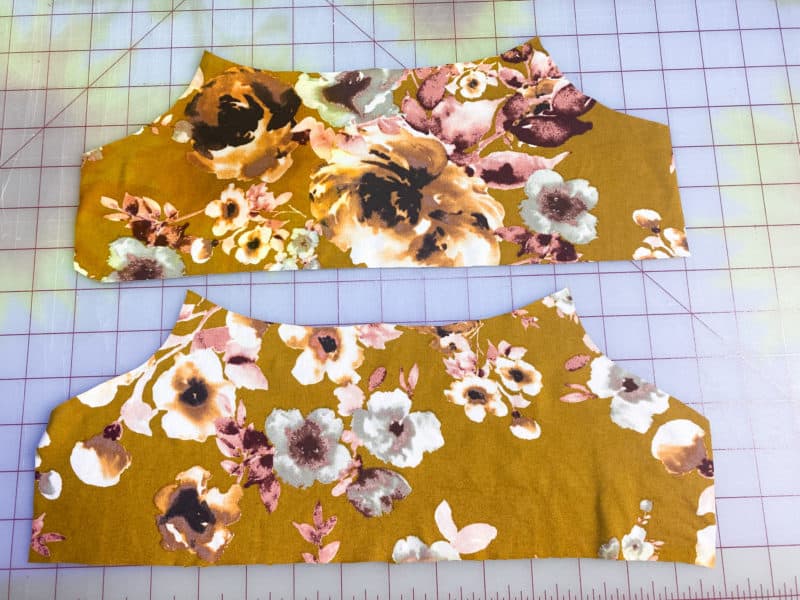
You’re going to cut 1 extra front piece and 1 extra back piece, that will be used for the flounce. I recommend cutting 1-2 inches above the crop line on both your front and back pieces. Of course, if you prefer a shorter or longer flounce, you can add or take away more length.
The construction is similar to the tutorial, with a few adjustments to accommodate the flounce.
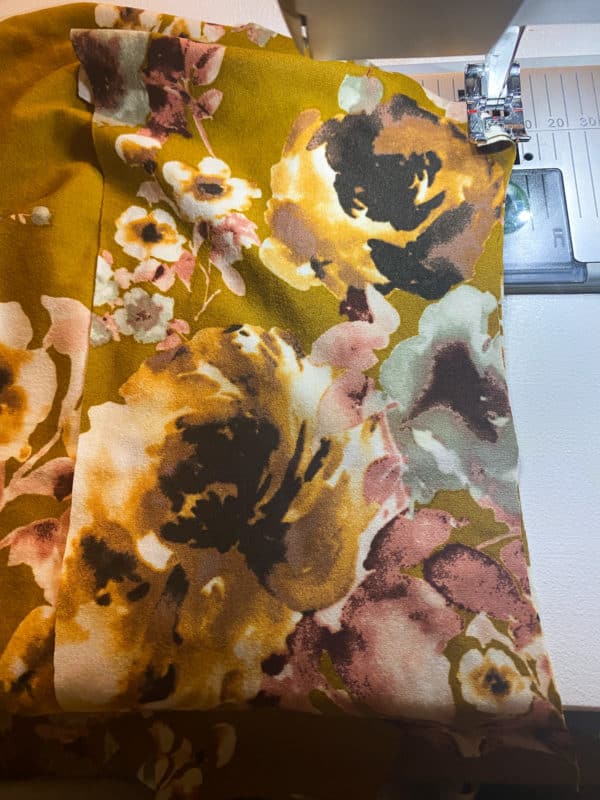
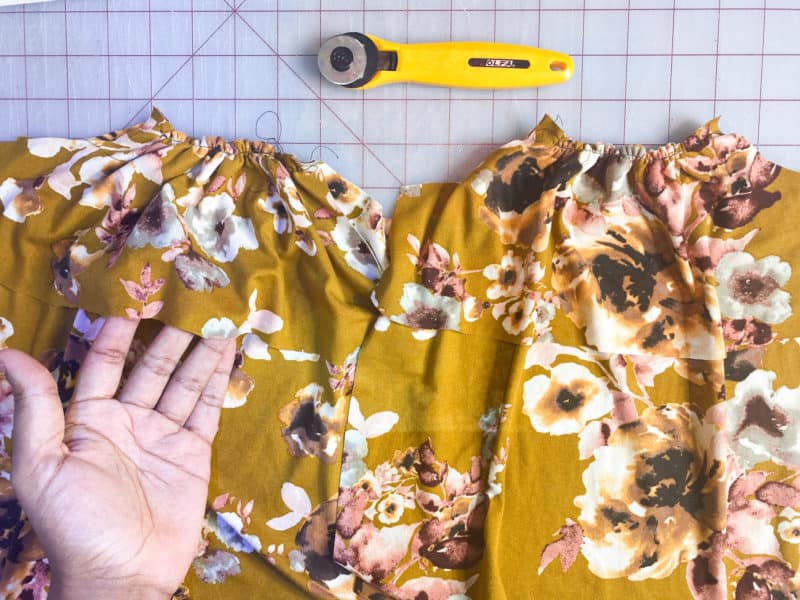
Place your shortened flounce front piece on top of the main front piece and baste together. Repeat with the back flounce piece, and the main back piece.
Following the tutorial, gather the front and back pieces along the neckline only..
After you’ve gathered your front and back pieces, place the two pieces right sides facing together.
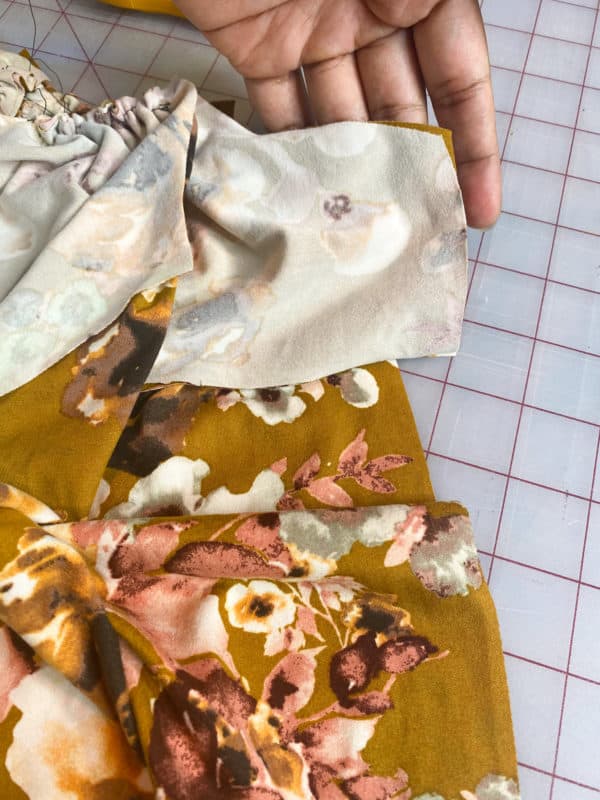
Pin/clip your flounce pieces together and sew/serge using 1/2″ seam allowance. Make sure when sewing your side seams of the main front and back bodice pieces not to get the flounce caught in the seam allowance.
At this point, you may wish to baste both layers along the armscye. Now, you’re ready for your neck binding and shoulder straps using the tutorial!
I can’t wait to see your flounce Willows!! – Jacqueline
Tied Neck Hack
SAFETY NOTE: Babies and small children should always be monitored when wearing articles of clothing that contain long ties. This hack is not intended or designed to be appropriate for sleepwear or other situations where babies and small children are monitored less closely and/or less frequently.
Love the look of the Willow pattern but no time for binding? I’m going to show you the super quick and easy tied neck hack that not only is adorable, but works to add some extra growing room to your willow.
For this hack, I recommend deciding on what type of material you want to use for your tie first. You can use anything from lace to rope cording, or really anything you can tie (that’s comfortable). I used lace and while it was a little harder to go through with the type of lace I used, it was really cute. I think I’ll stick with cording next time though for ease of use! I don’t give a measurement because everyone will have a different preference for lengths. I recommend leaving it nice and long and then trimming to preferred size after tying.
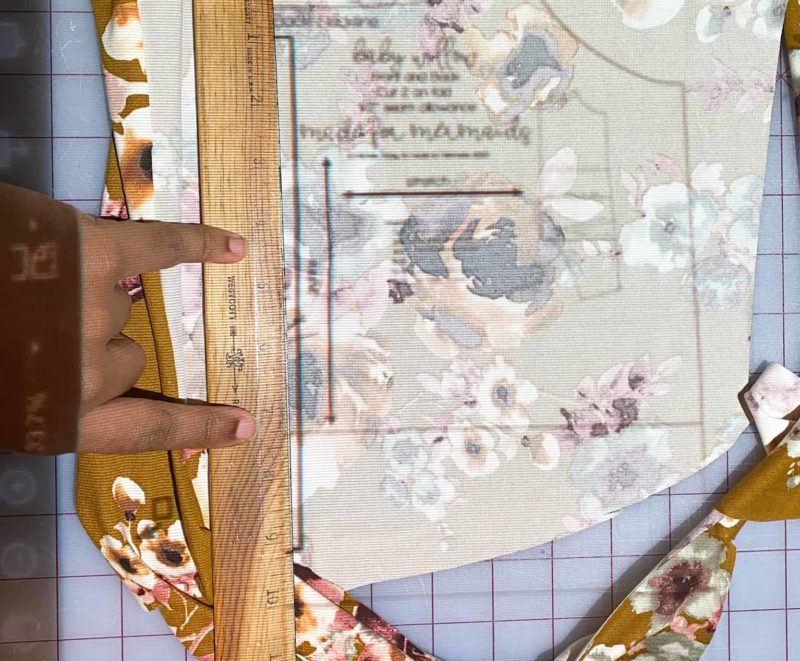
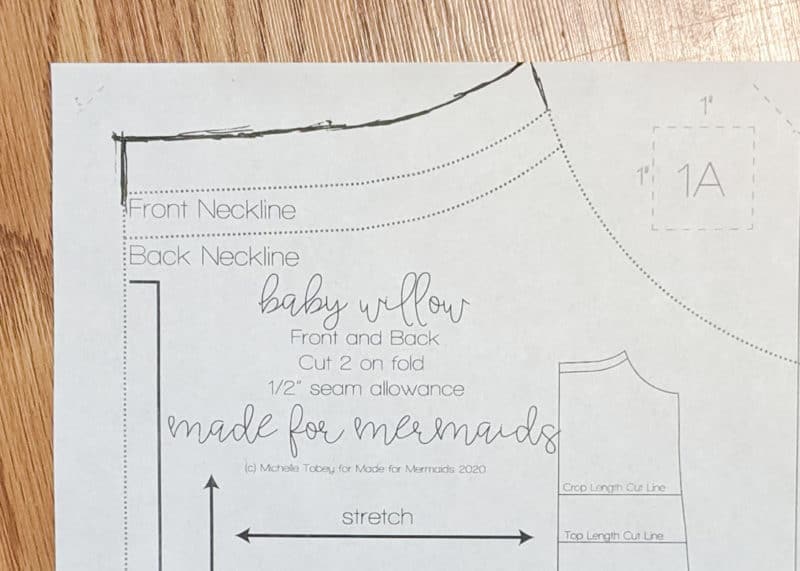
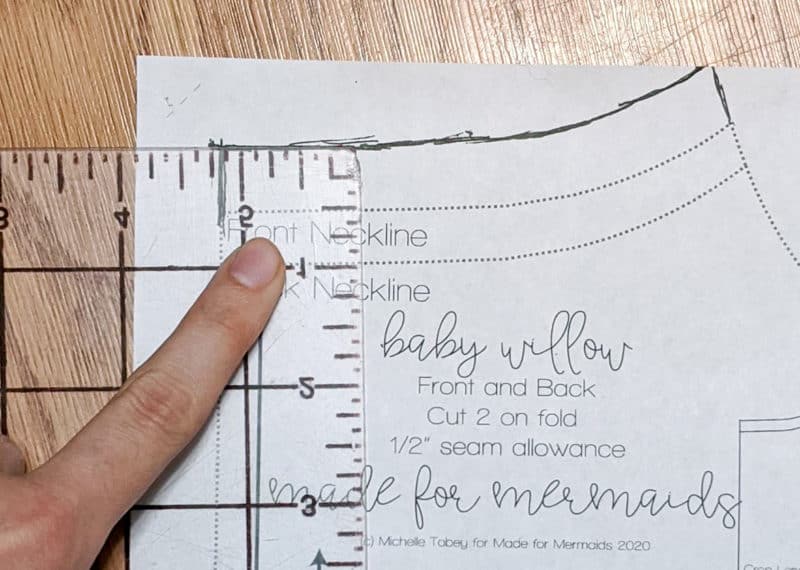
Once you have your tie picked out, go ahead and print your pattern pieces- I recommend printing two body pieces out (one for the front and one for the back since you are altering the pattern) but don’t cut yet. We are going to need to add an extra seam allowance to your neckline. Simply measure between 1/2″ and 3/4″ up from your neckline, and trace a new curve to match the neckline. If you are using a thicker tie, I recommend going with the 3/4″ but if you are using something really thin, 1/2 ” will suffice. Now, cut out your pattern pieces and cut out your fabric with the new higher necklines. Below I show altering the front neckline only; however, you’ll want to repeat for the back.
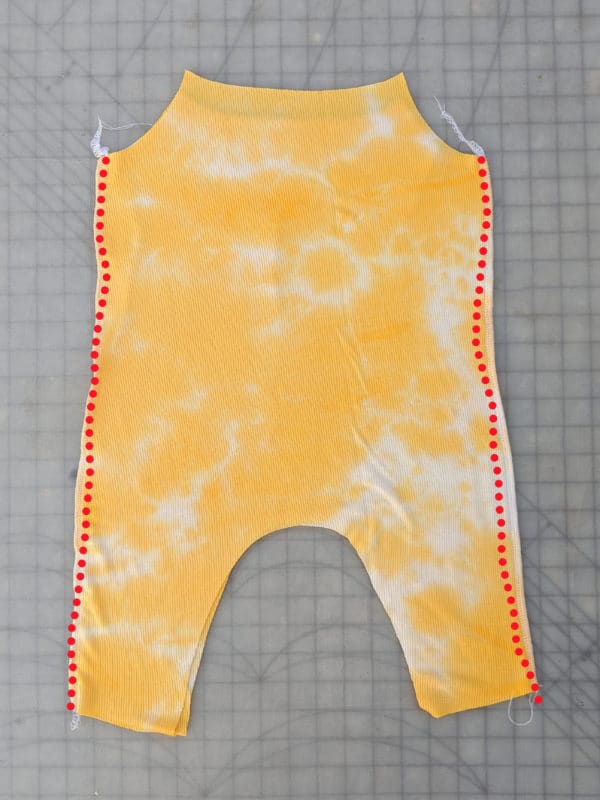
Now you are going to want to line up your side seams with your bodices right sides together and sew with a 1/2″ seam allowance.
Next, take your armscyes and fold them down 1/2″ and hem.
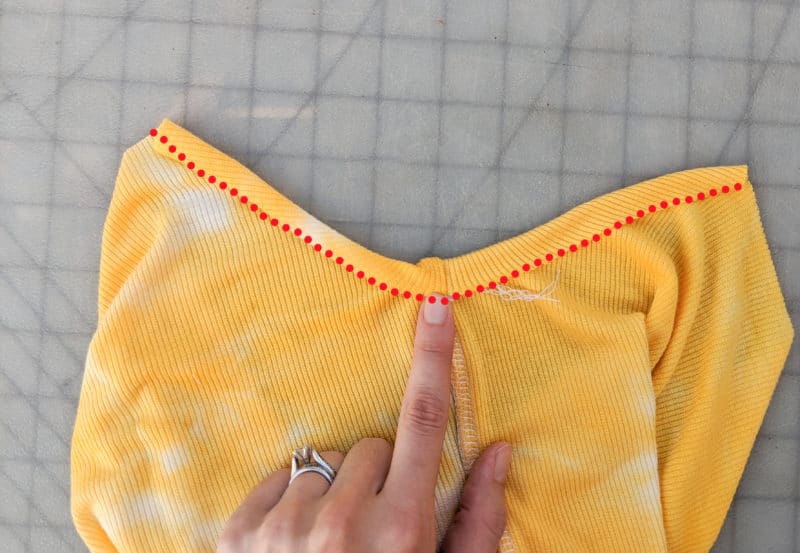
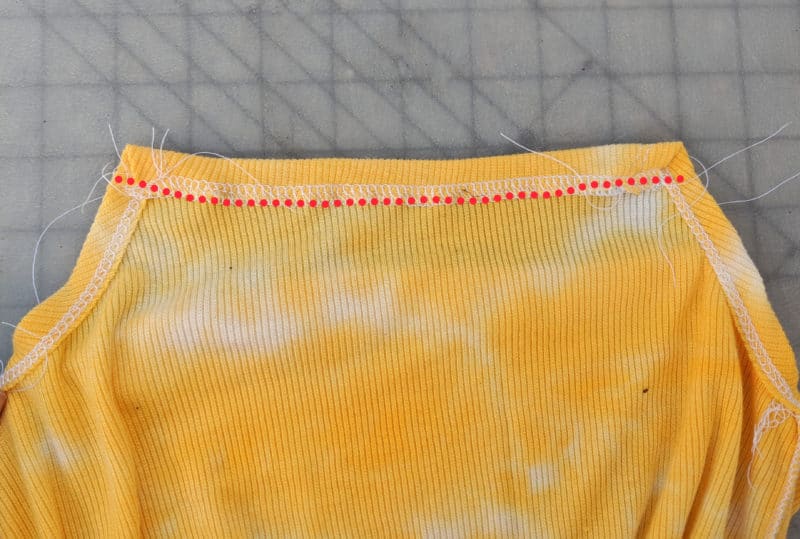
Then, you’ll want to repeat by folding your necklines down between 1/2″ and 3/4″ and hemming with your sewing machine to creating a casing. OPTIONAL: finish your edges prior to sewing to add some more stability to the neckline if using a lighter weight knit.)
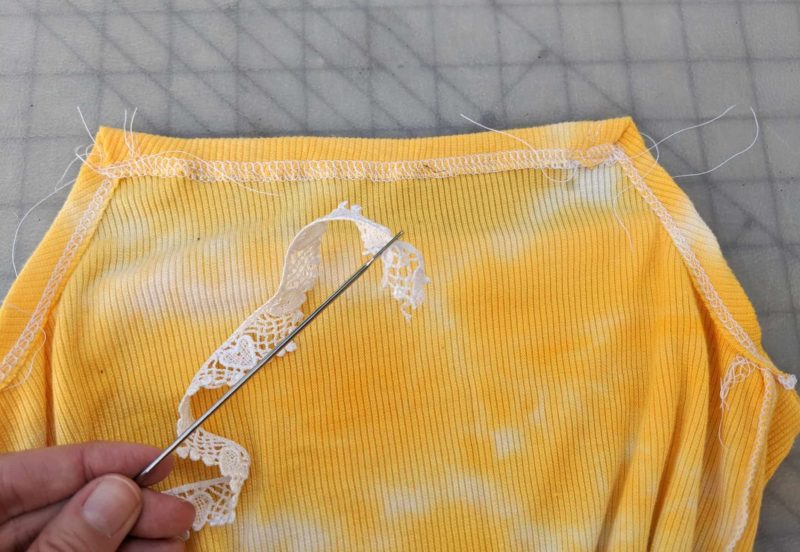
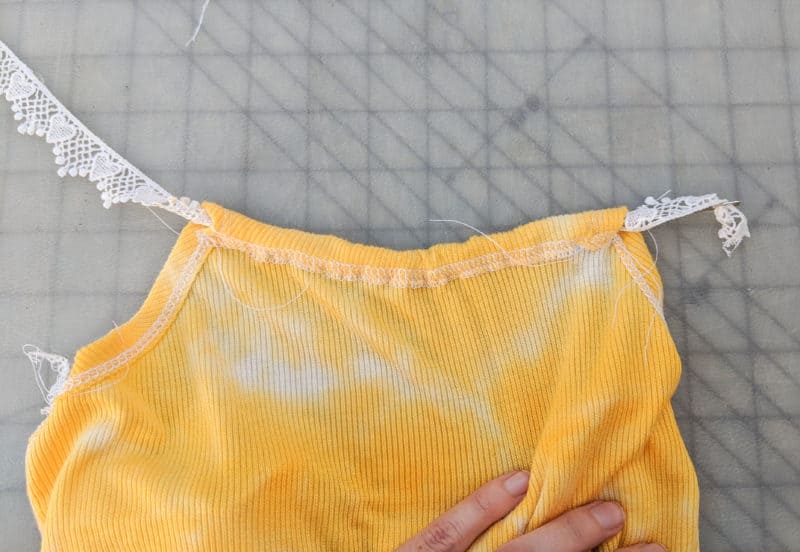
Now, simply grab your tie, and using your favoring threading tool (bodkin, safety pin, etc), thread your tie through both necklines.
Finish your garment as directed in the rest of the tutorial.
Try it on your child, gathering the front and back and tie to where you find comfortable. Trim your tie to your preferred length, and you’re done! Such a cute and quick hack, with tons of options to make it unique! I can’t wait to see what you all come up with.
Happy Sewing! – Michelle
Crop Ruffle Hack
Don’t you just love the new Willow patterns?! As soon as we discussed hacks, I had a vision for the Crop Ruffle Hack! Of course, this ruffle hack could be applied to either the top length or the dress length, as well! It’s just too cute and simple!
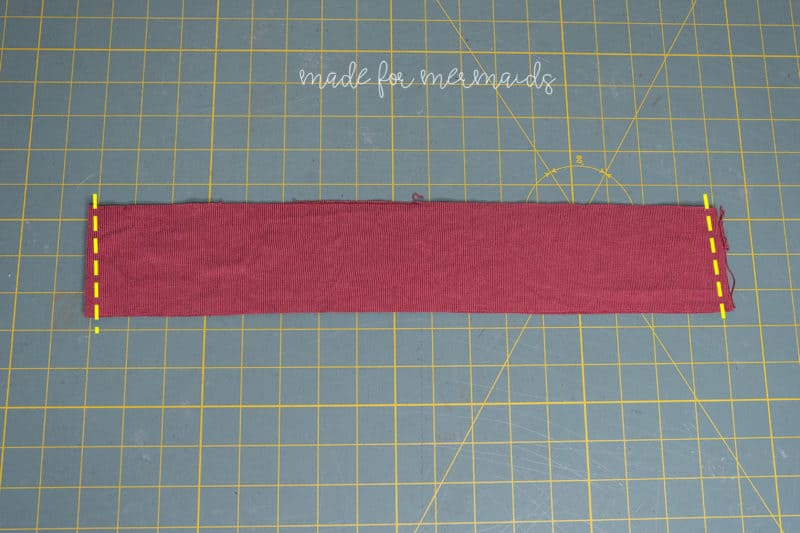
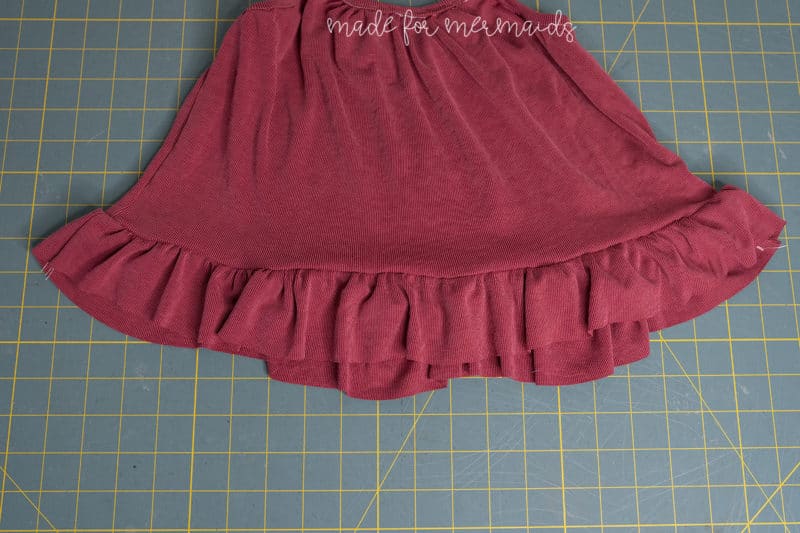
You will follow the entire tutorial exactly as written until you get to the hemming step. Instead of hemming, lay your garment out to measure the bottom edge.Note that I made a slight high-low with this crop length. You could do the same, or just leave it straight! The process is the same. My hem opening measured approximately 17.25″. Remember this is only half of the opening, so I’m doubling that, for a total of 35″. Then you will choose how gathered you would like your ruffle to be. I made mine 2x the width of the opening, for a total of 70″. You could also use 1.75x the width of the opening for less full gathers. I used two ruffle pieces, each one 3″ x 36″ (70″ divided by 2, plus 1″ for the seam allowances on each side). If you are choosing to hem your ruffle, add another 1/2″ to the length for a total of 3.5″.
Place your ruffle pieces right sides together and stitch together along the short edges, as shown above.
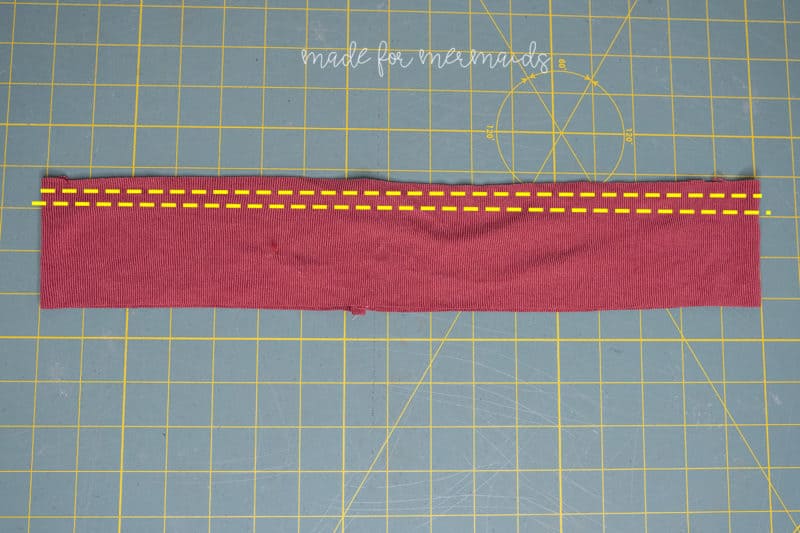
Run two gathering stitches along the top edge of your ruffle piece – one at 1/8″ from the top edge, and one at 5/8″ from the top edge. I like to turn my tension all the way down to 0-1 and use my longest straight stitch length (on my machine, that is a 5).
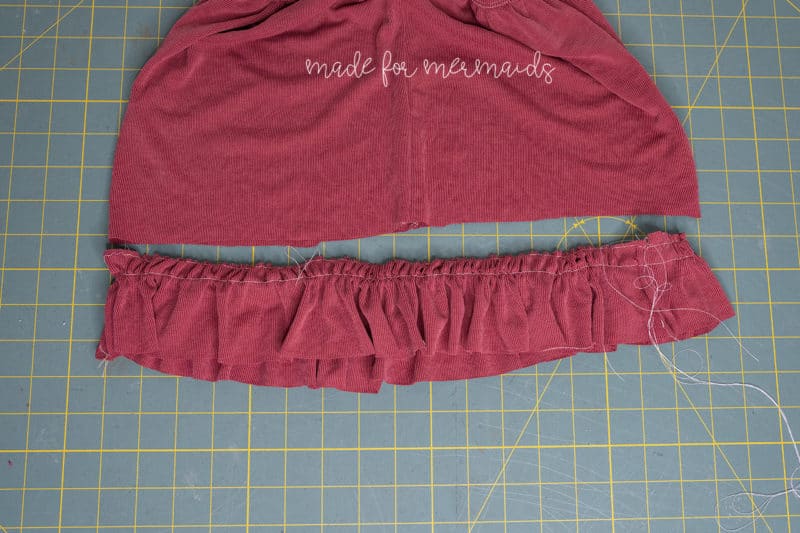
Gather the ruffle pieces to the same width of the bottom hem.
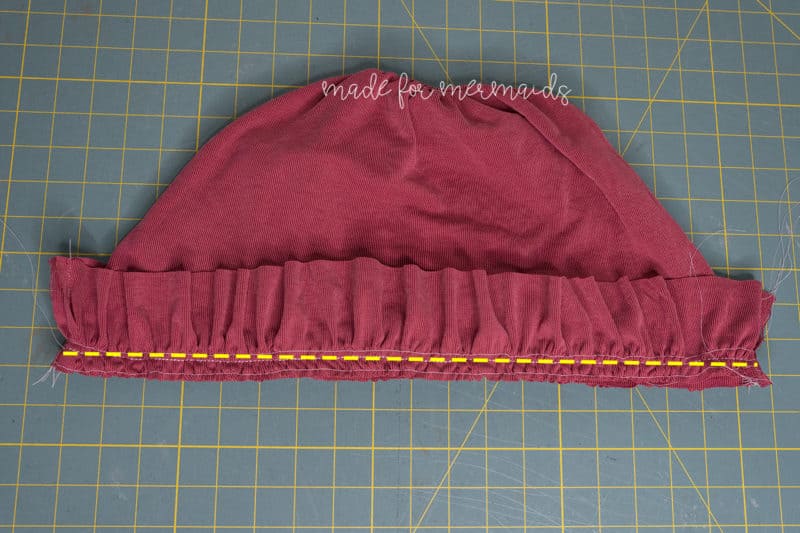
With right sides together, stitch ruffle to bottom edge of bodice with 1/2″ seam allowance. Press with steam. Remove gathering stitches.
And now you have the cutest Boho-inspired crop length with a ruffle! My daughter was absolutely IN LOVE with this top as soon as I showed it to her! I can’t wait to see all of the Willows y’all make!
Super Shorties Hack
The super shorties hack offers more of a bubble romper appearance and is too fast not to try! All it takes is a quick adjustment to your pattern piece, then you sew it up as laid out in the tutorial.
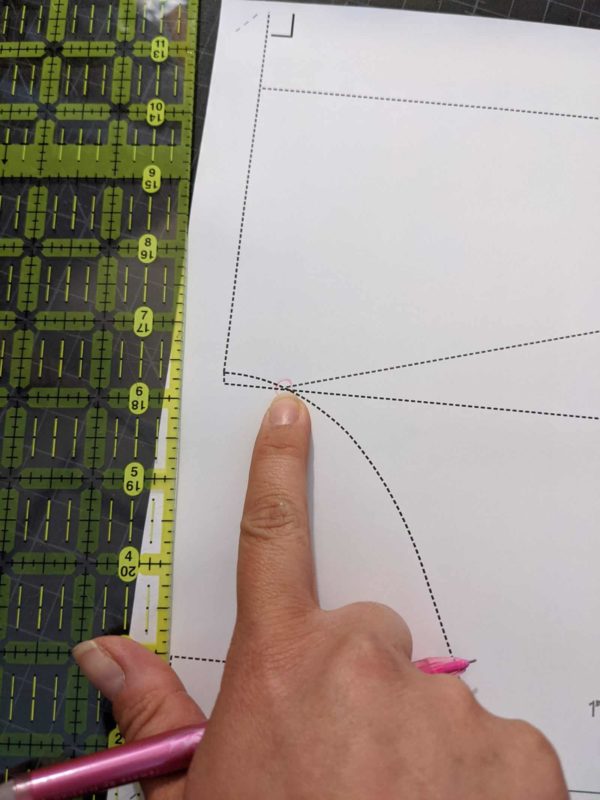
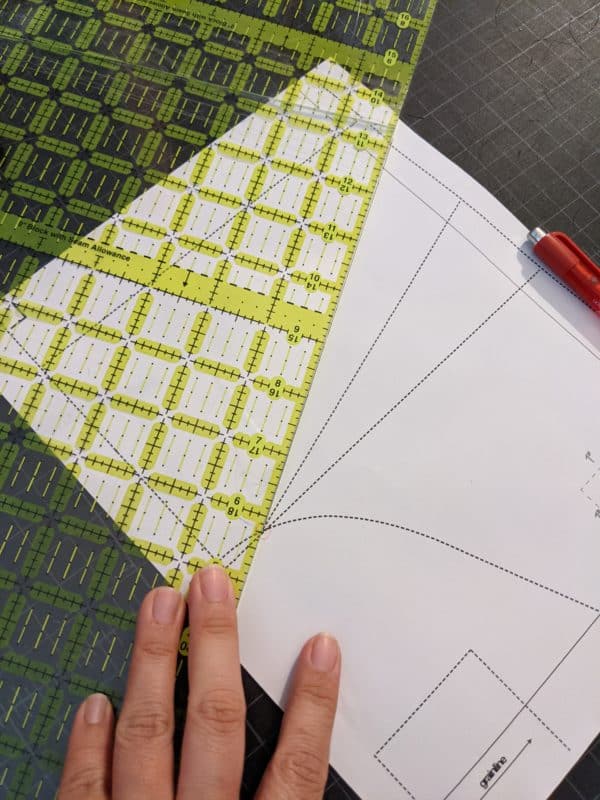
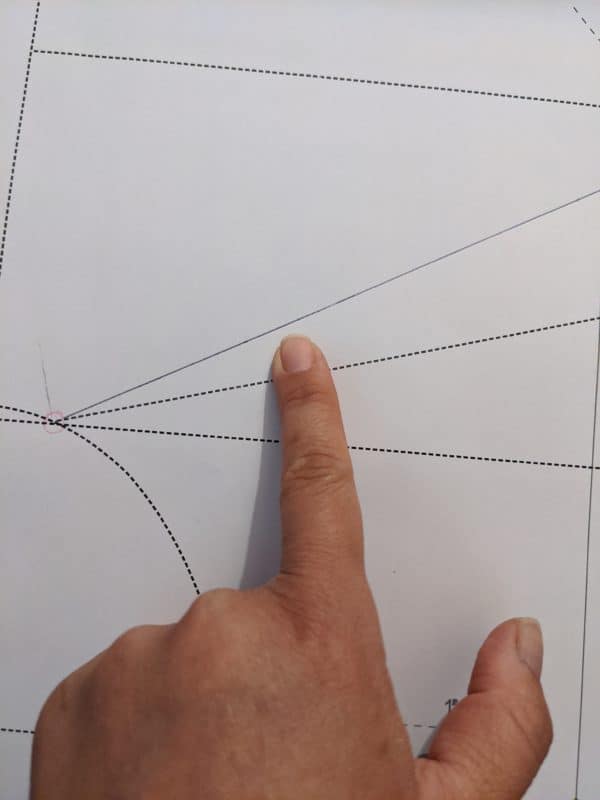
To adjust your pattern piece, start at the shorts crotch cut line and adjust the angle about 15 degrees.
Draw your new cut line, then cut your pieces. Now you’re ready to sew per the original tutorial!
*The shorts band will not require any adjustment.*
Can’t wait to see your super shorties rompers! – Christina
We can not wait to see all your fun Willows sewn up!! Please tag me on Instagram if you make a pair @madeformermaids #willowpattern #madeformermaidspatterns OR post in our Facebook group. Happy sewing!!

















Leave a Reply