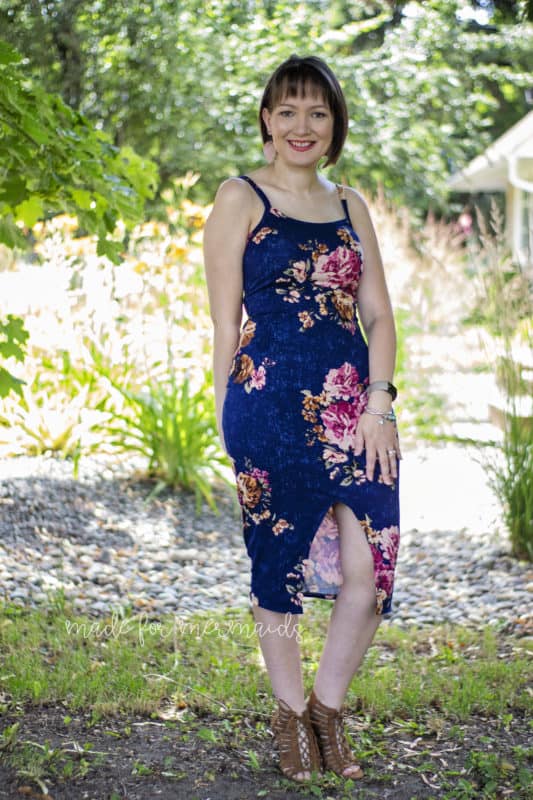
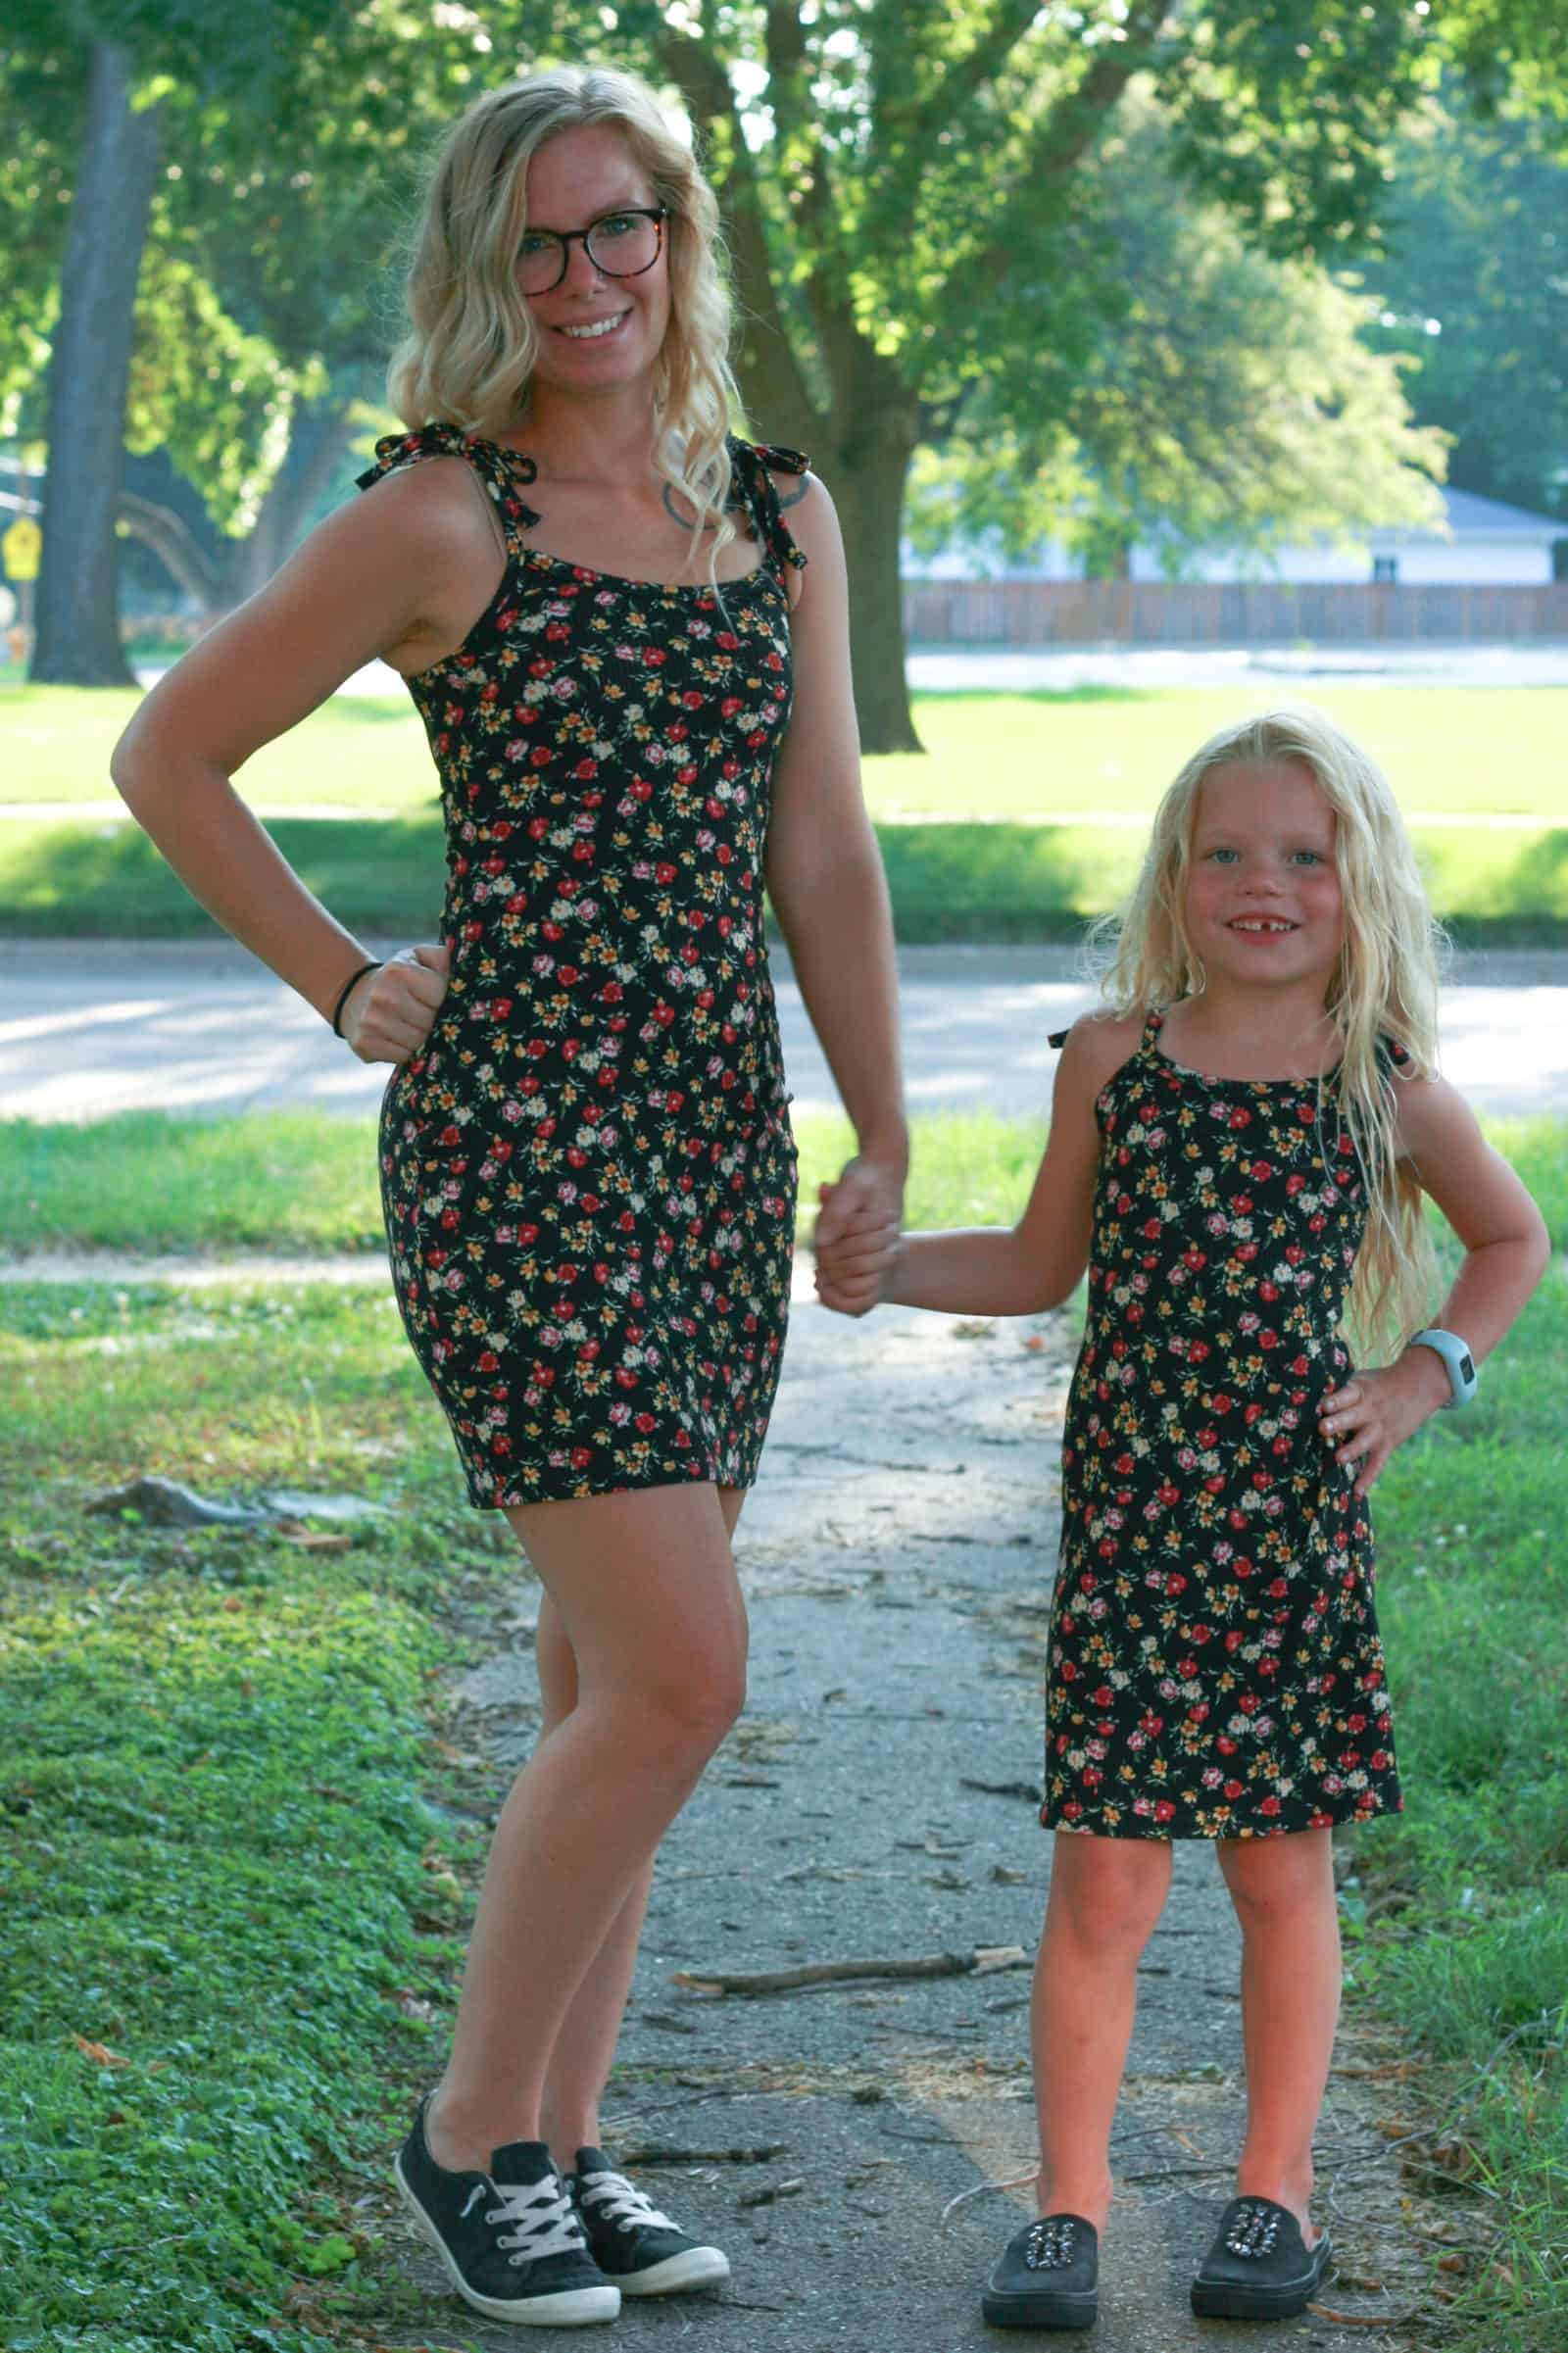
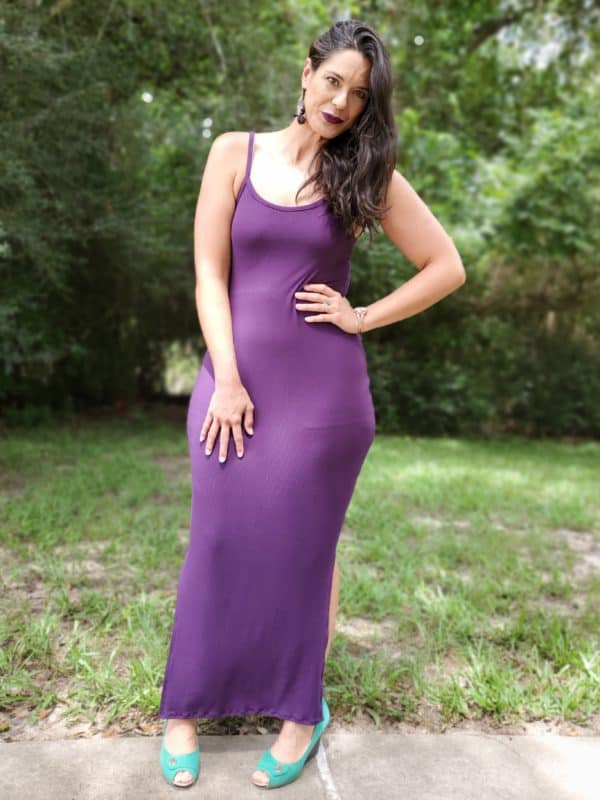
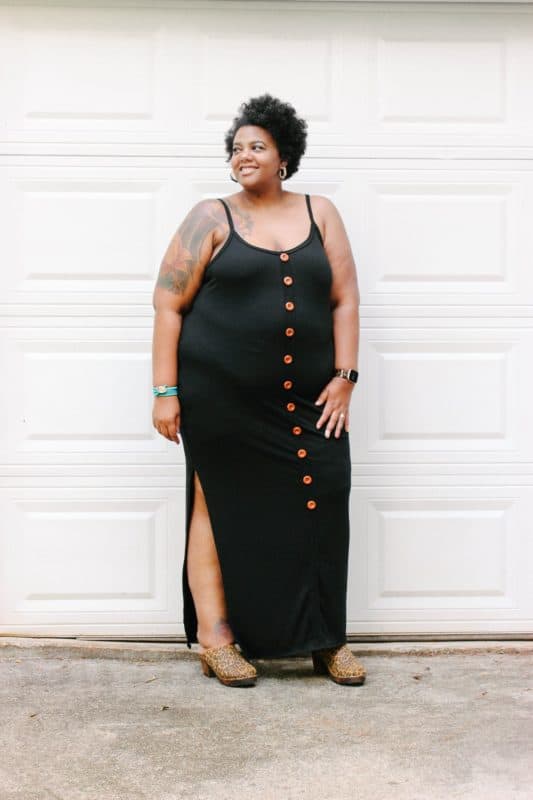
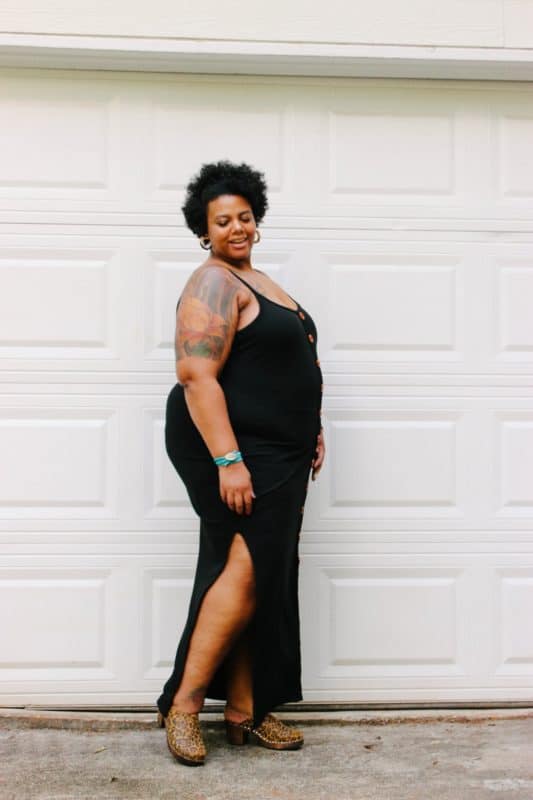
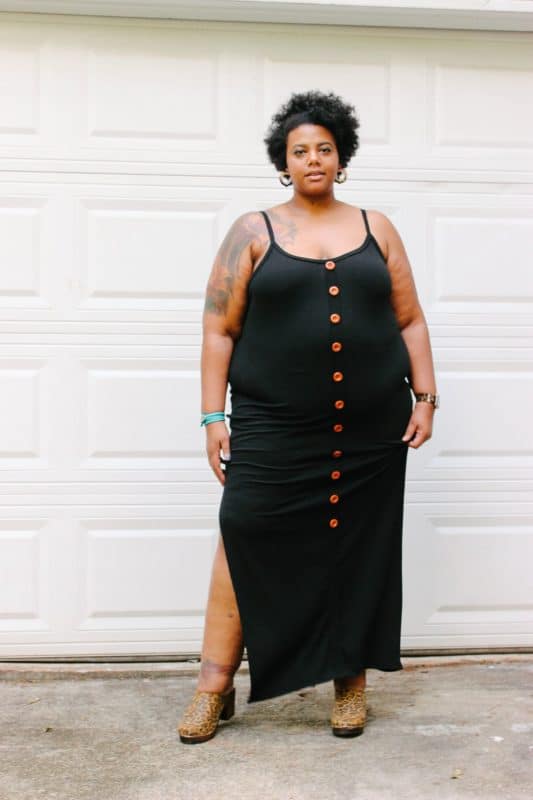
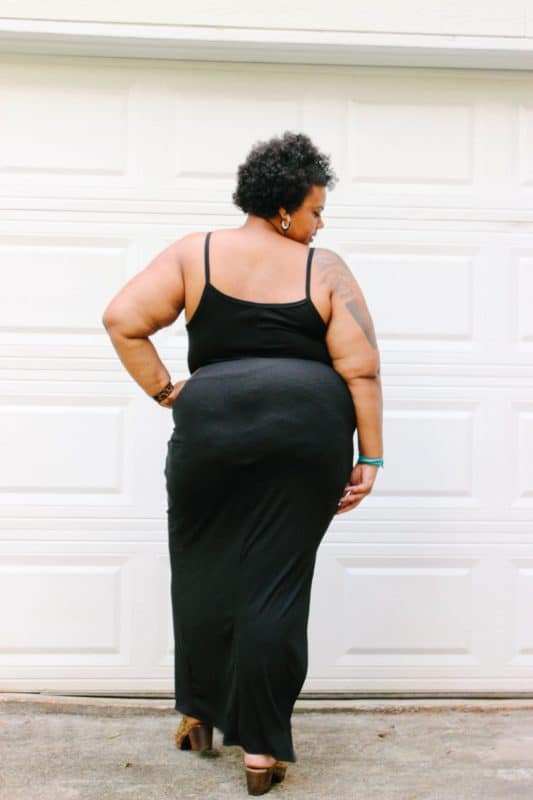
Our new Ruby patterns are finally here, and they just might be the answer to your body-con dress dreams! First, if you haven’t, you HAVE to go scope out our tester album. I feel like we rave about how stunning they look in every.single.test, but holy moly! The Ruby tests were no joke.
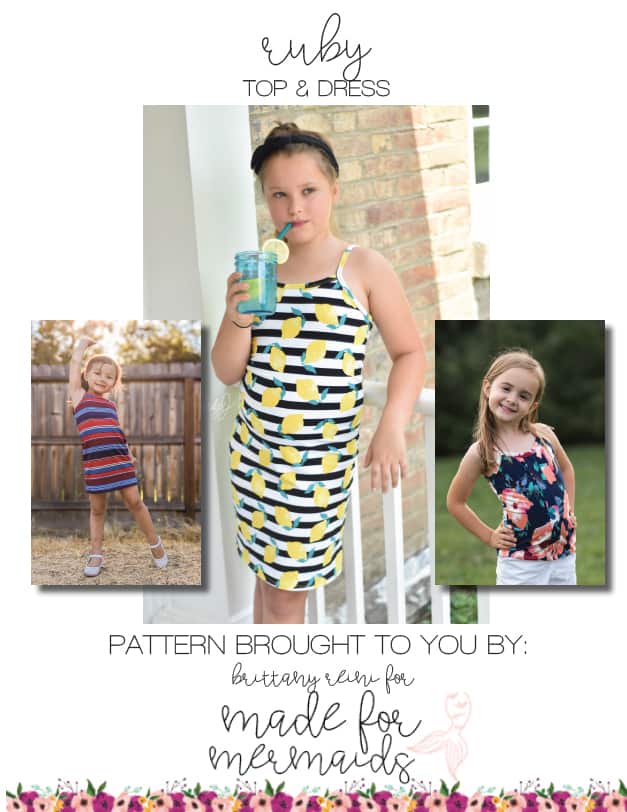
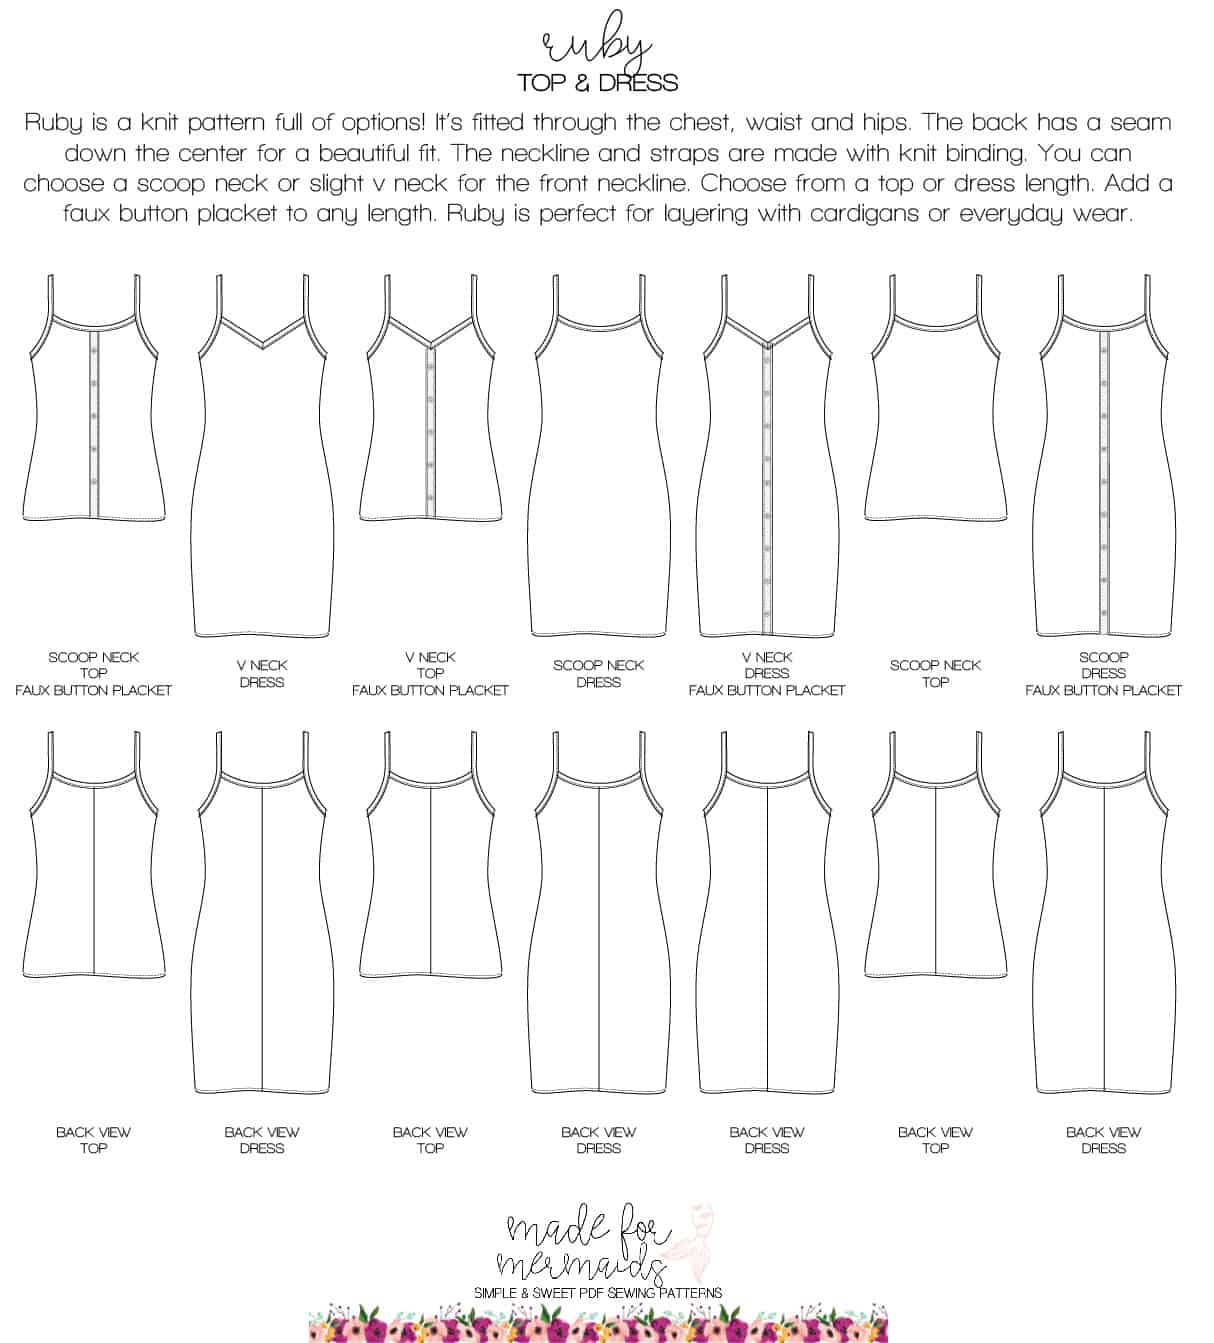
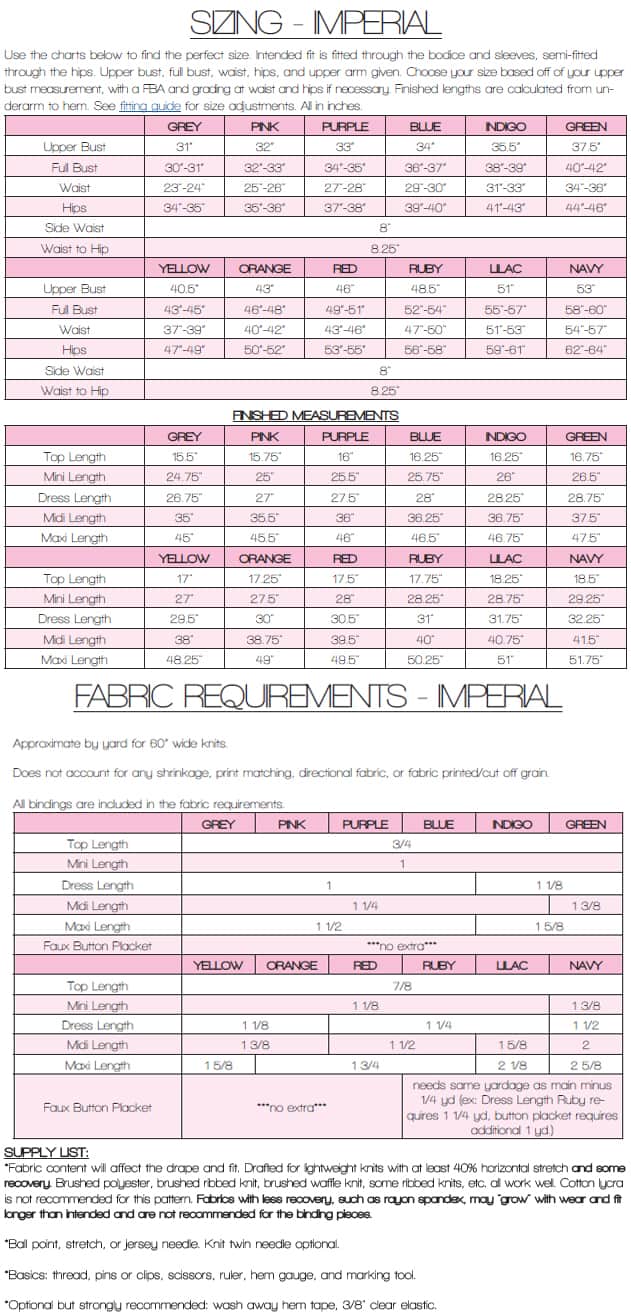
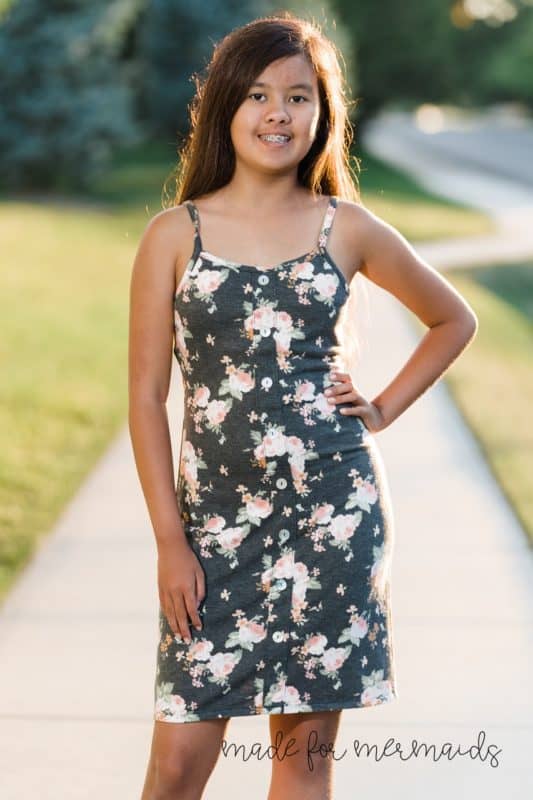
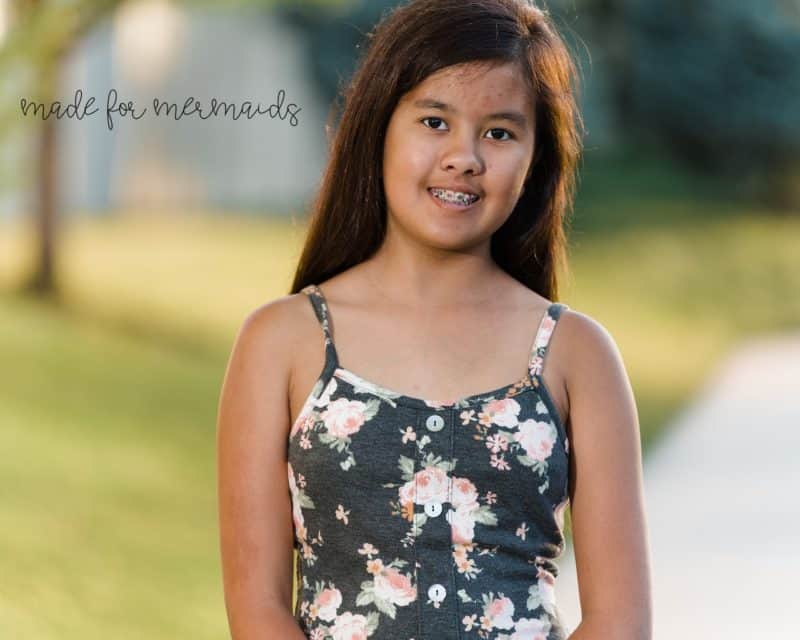
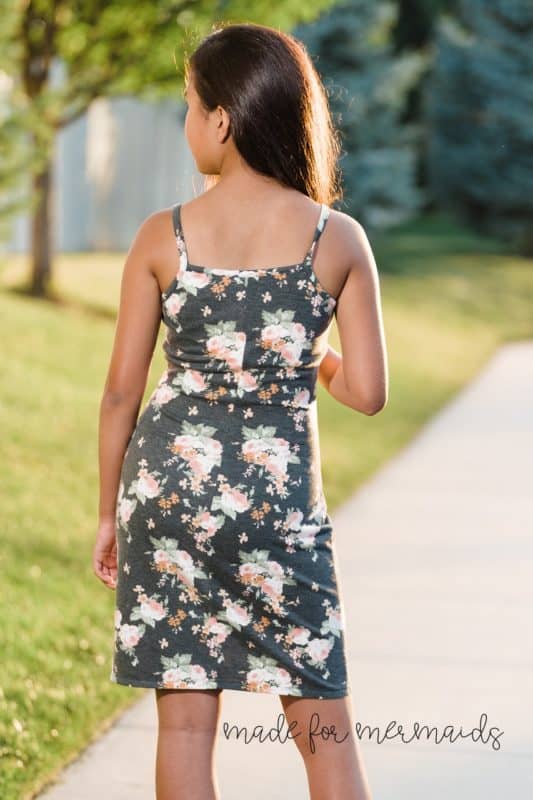
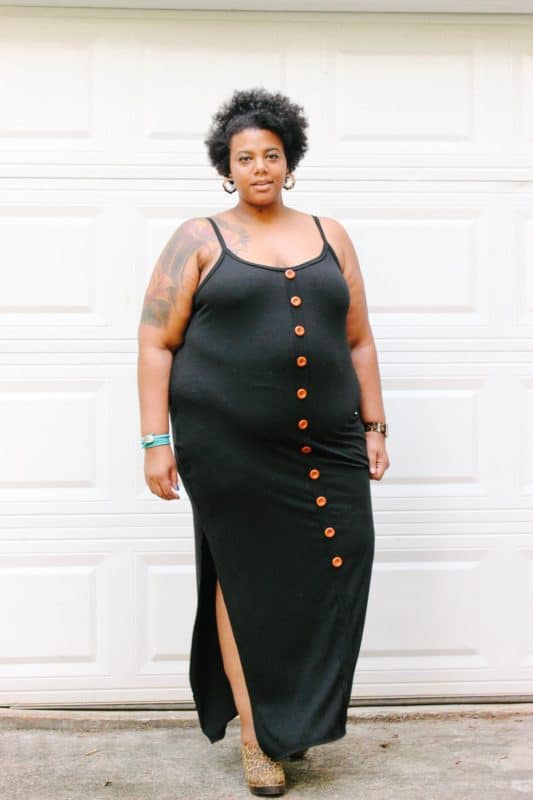
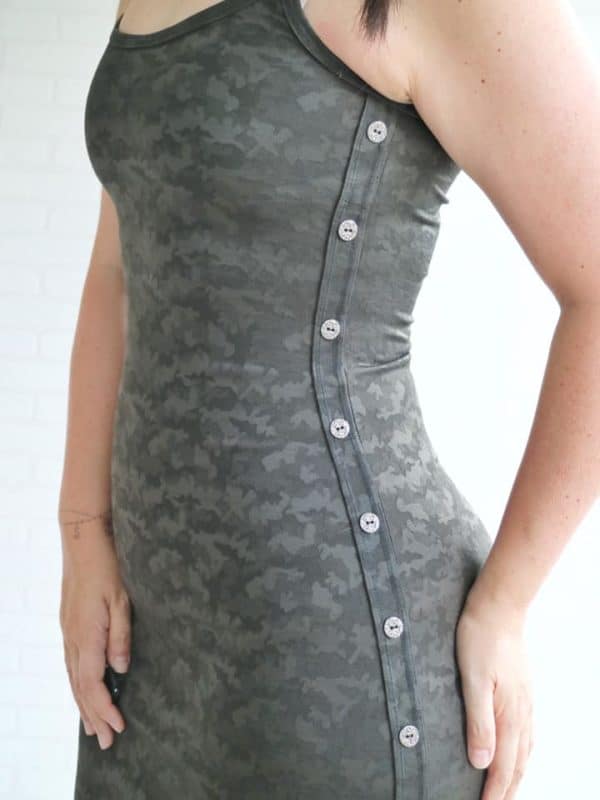
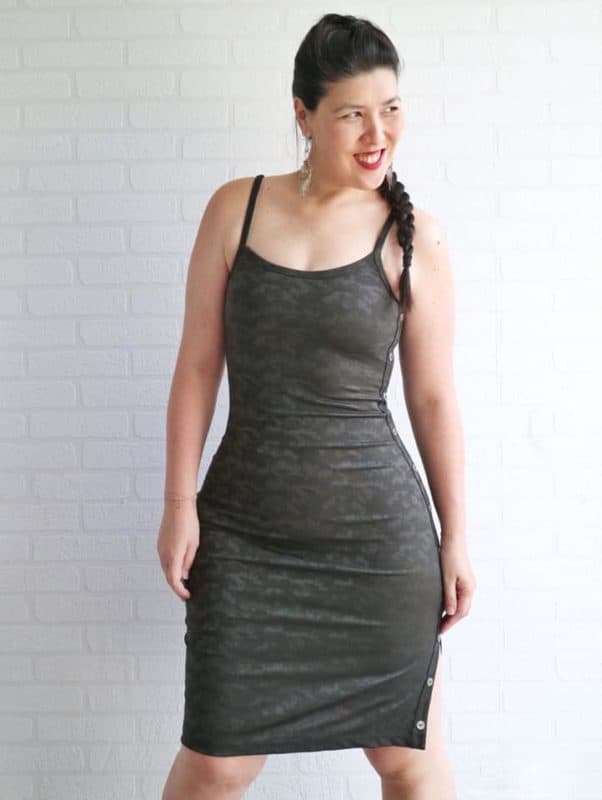
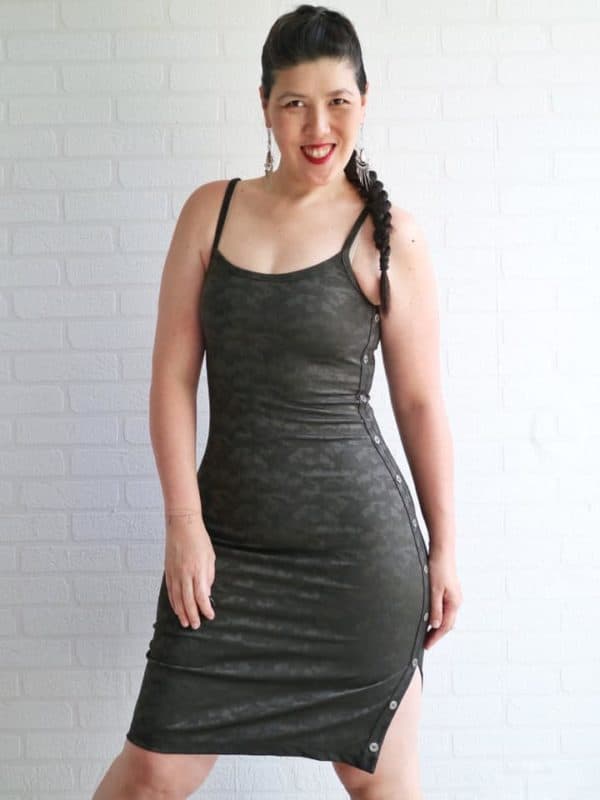
Ruby features top, mini, dress, midi, and maxi lengths from Women. For youth, Ruby features top & dress options. The seam down the center lends itself to a beautiful fit, and the faux button placket is a super easy way to get those boutique-style details we all love, without all the extra fuss of button holes! Intimidated by the knit binding? Don’t sweat it! We have a knit binding 101 post here, and some of our SAL videos feature binding videos too! It does take some practice, but it’s not nearly as challenging as it initially appears.
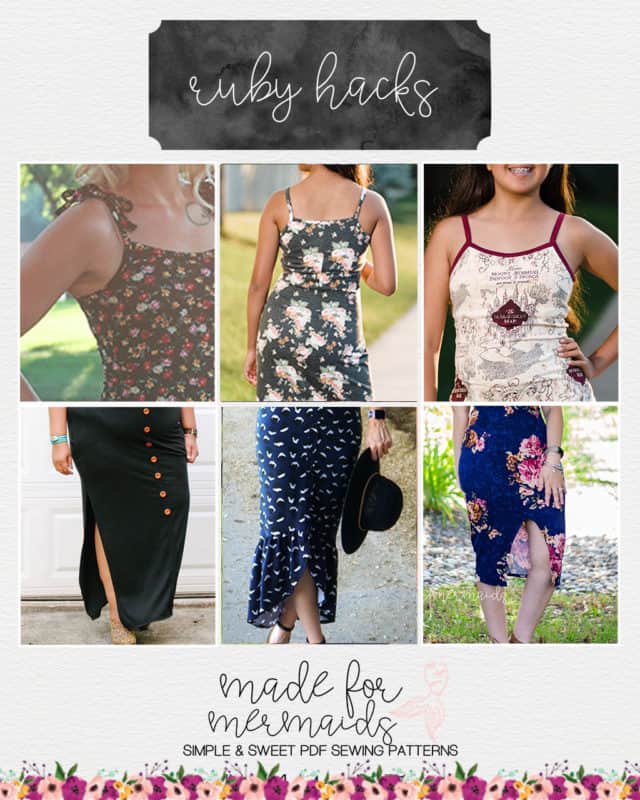
As usual, our team didn’t leave you hanging with the hacks! If you’re looking to take your pattern to the next level, we have several ideas detailed below for you!
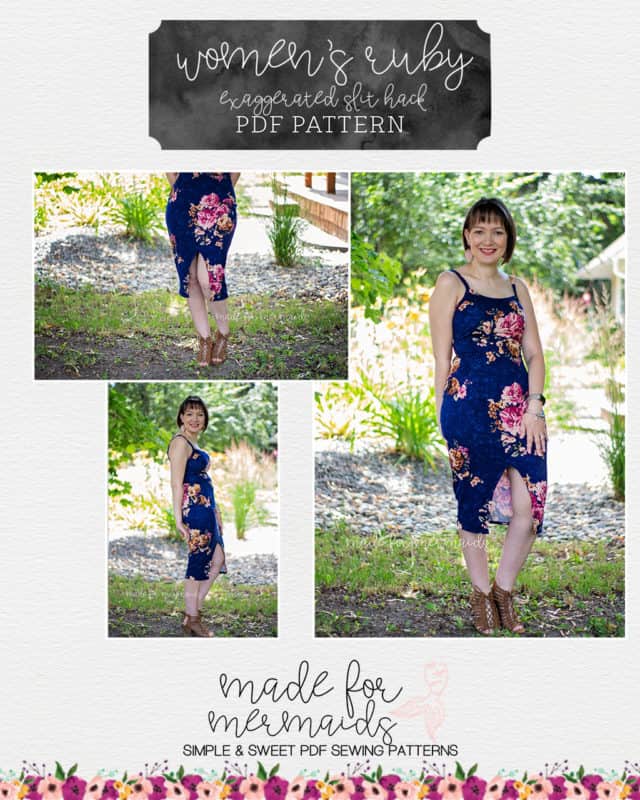
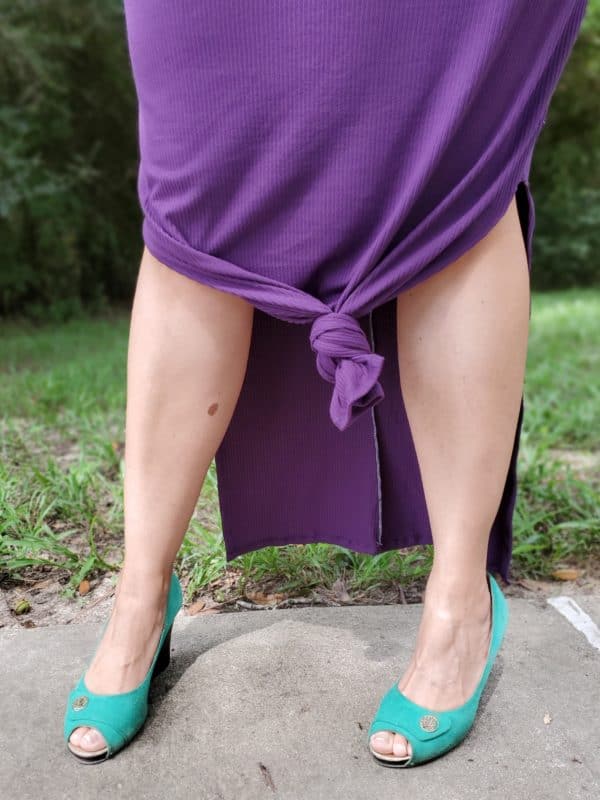
Exaggerated Slit Hack
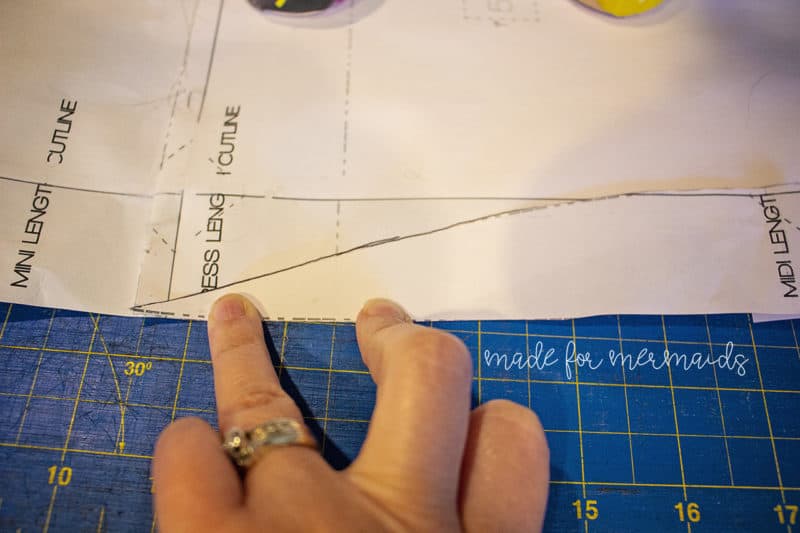
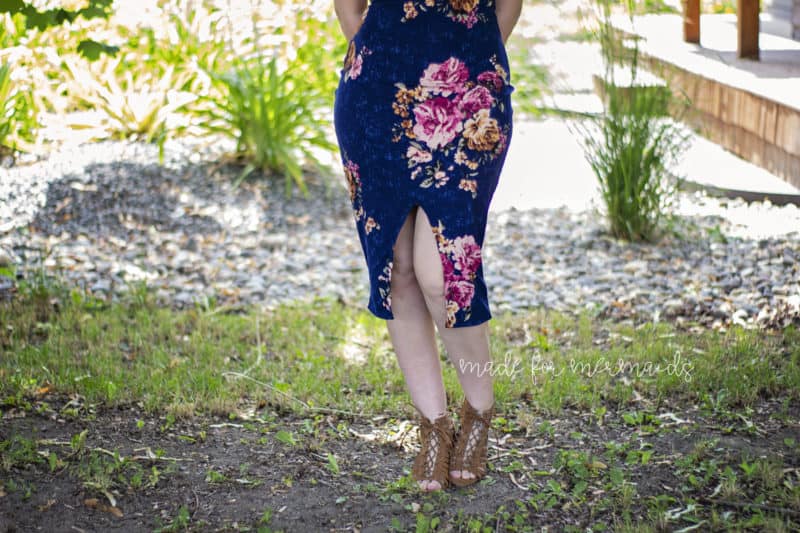
Have a special date night or just want to be little extra and make that front slit even higher? It’s a super easy quick hack to make that slit higher! All we are going to do is move the start of the slit up to the mini cut line, here is how!
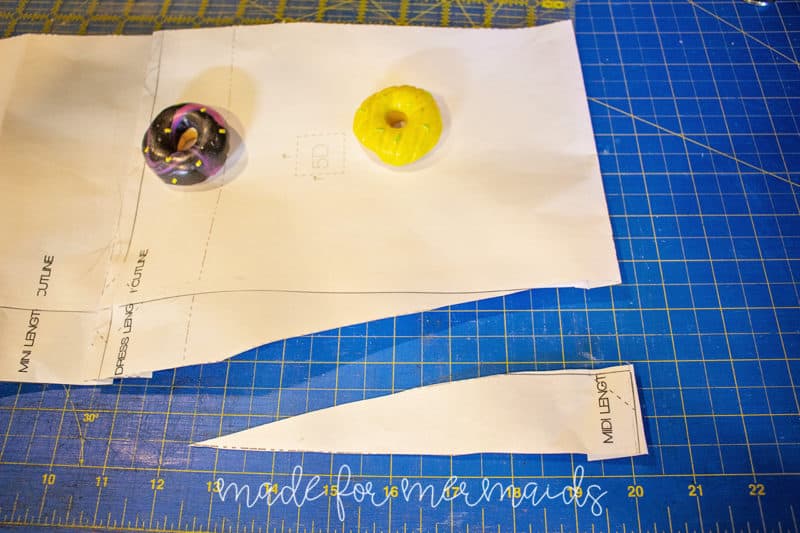
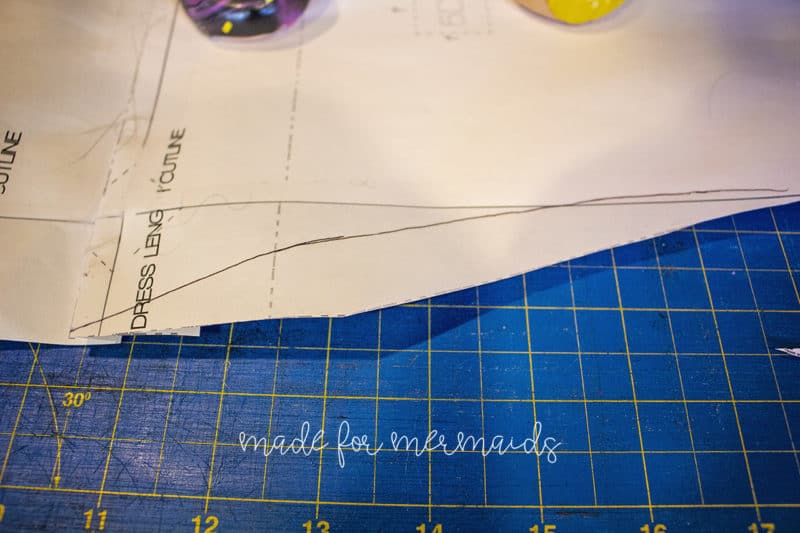
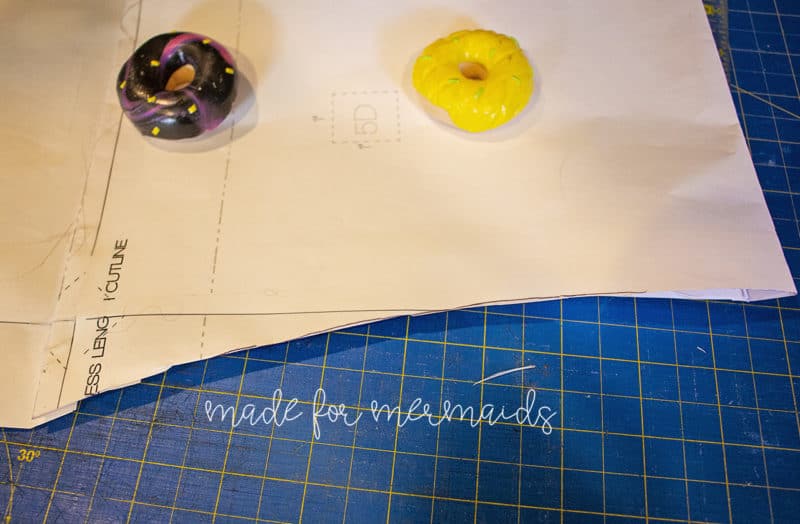
First we are going to cut our pattern out and make any size or length adjustments. Cut out the slit part very last and save that piece! We are going to use that slit piece as a guide to re-draw our slit. Take that piece and place the top of it right at the mini line and trace it all the way down to the bottom of your piece till you match up with the straight edge of the slit.
Once you have traced the line off as shown here just cut your new slit line and sew it up as instructed in the pattern. And now you have a extra high slit! – Angela
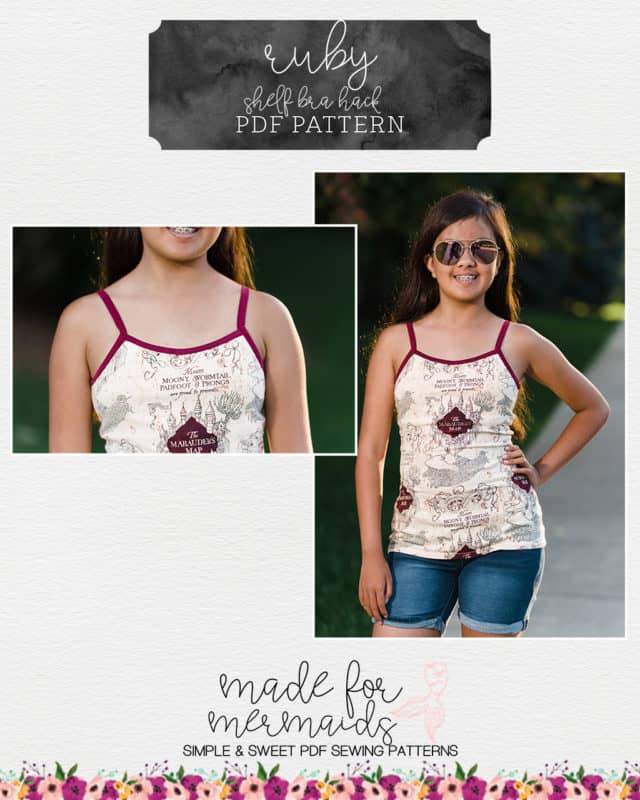
Shelf Bra Hack
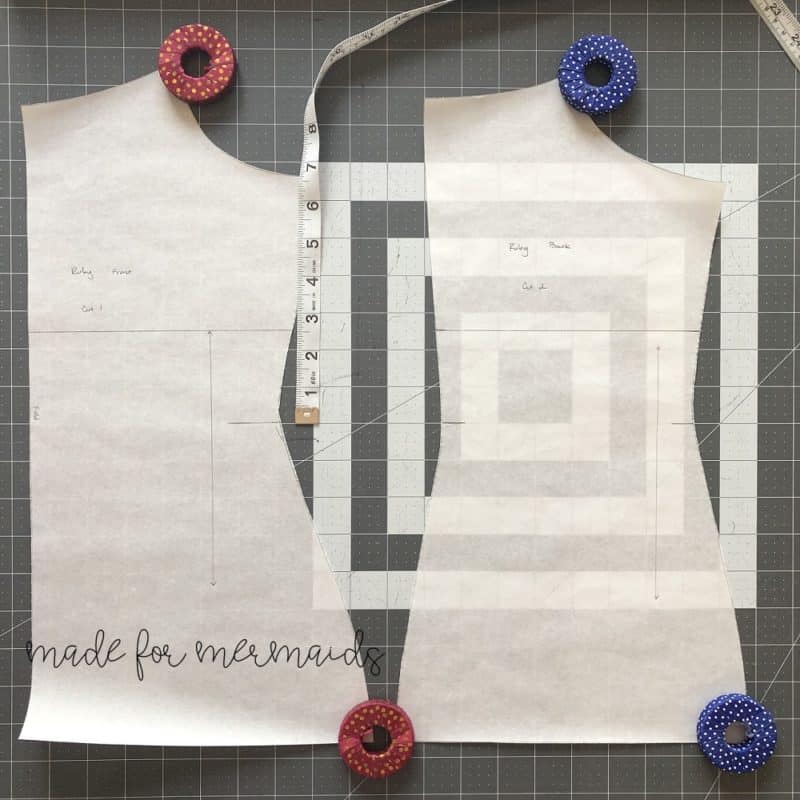
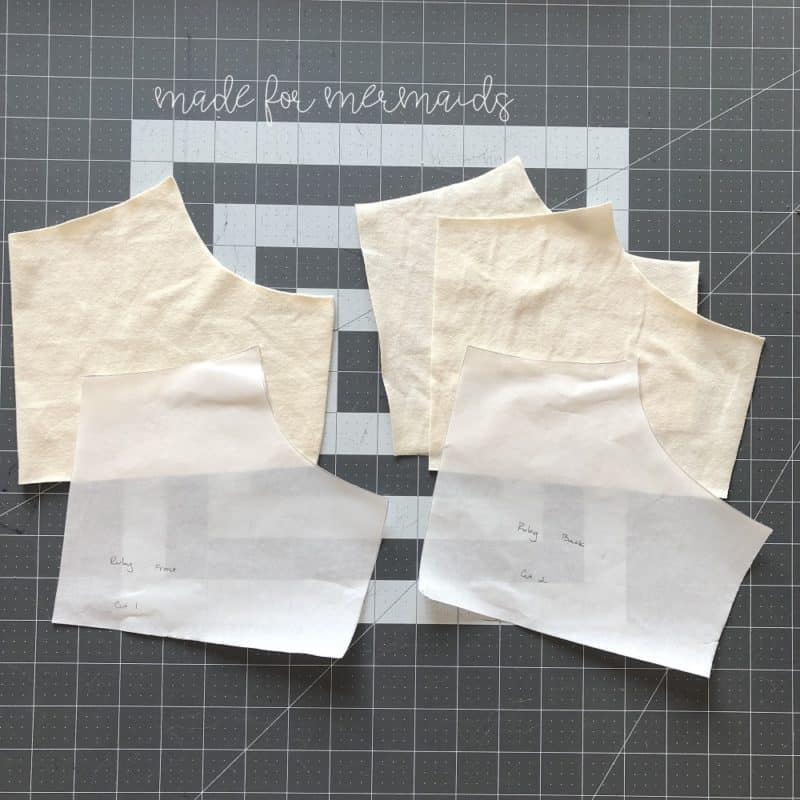
Adding a shelf bra to Ruby is super simple! After making any and all sizing adjustments to your pattern pieces, measure from your waist up to your under-bust. Use the waist marking on the pattern and transfer that measurement onto your pattern pieces. *Note: you may want to add extra seam allowance here before cutting to account for the size/type of elastic you’ll be using.* Cut out your shelf bra pieces same as you would for the main top/dress. You’ll have one front and two mirror-image back pieces.
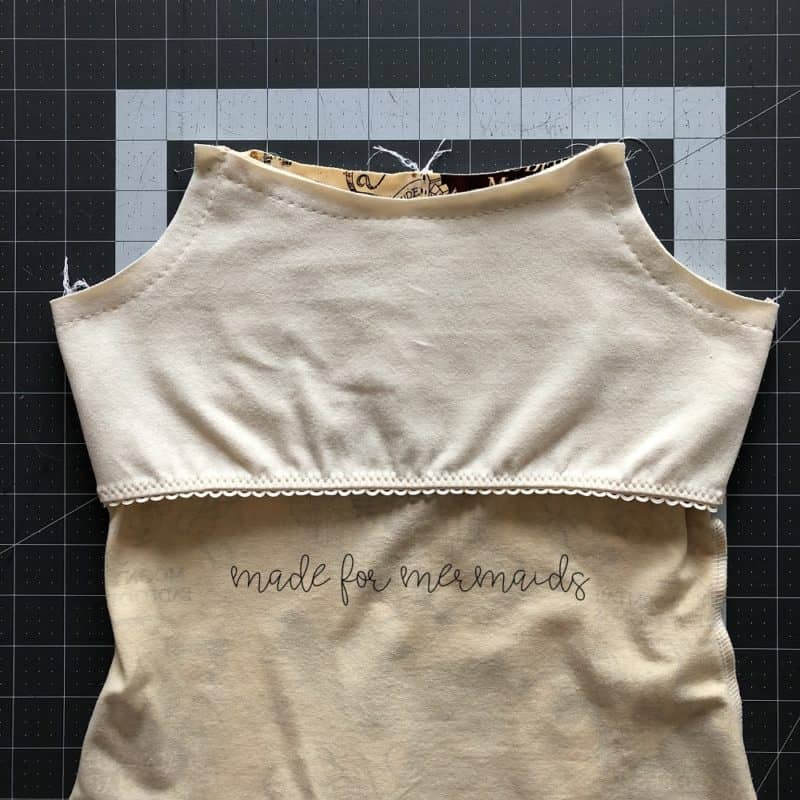
Sew the back and side seam the same as the main. Finish the bottom with elastic, remember to exercise the elastic first. I just used the under-bust measurement, overlapped the ends by 1/2″, quartered the elastic and stretched gently while sewing. I used a thin picot elastic because I actually had a matching color of picot, what luck!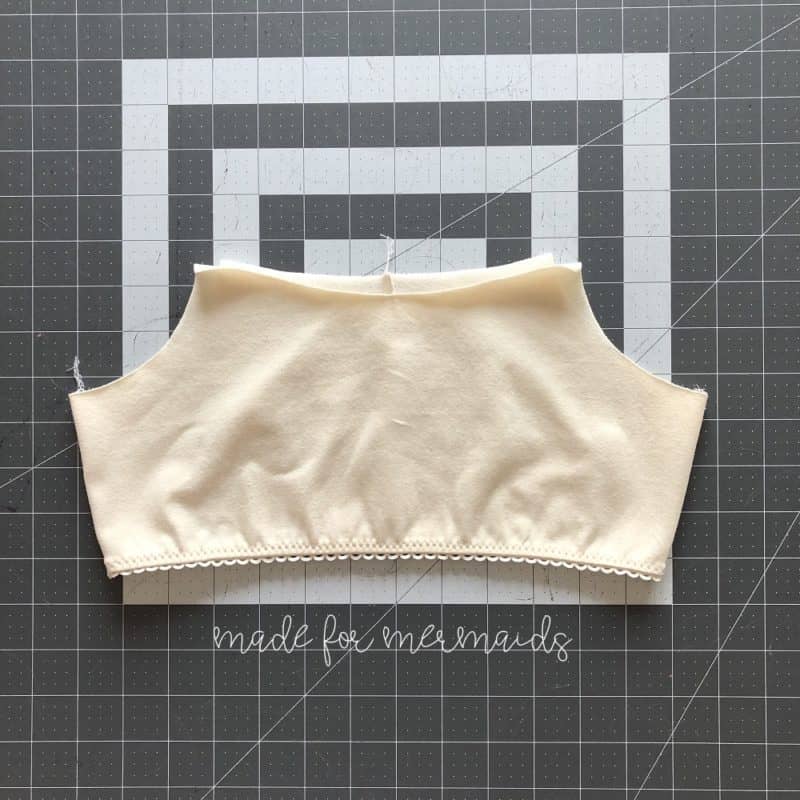
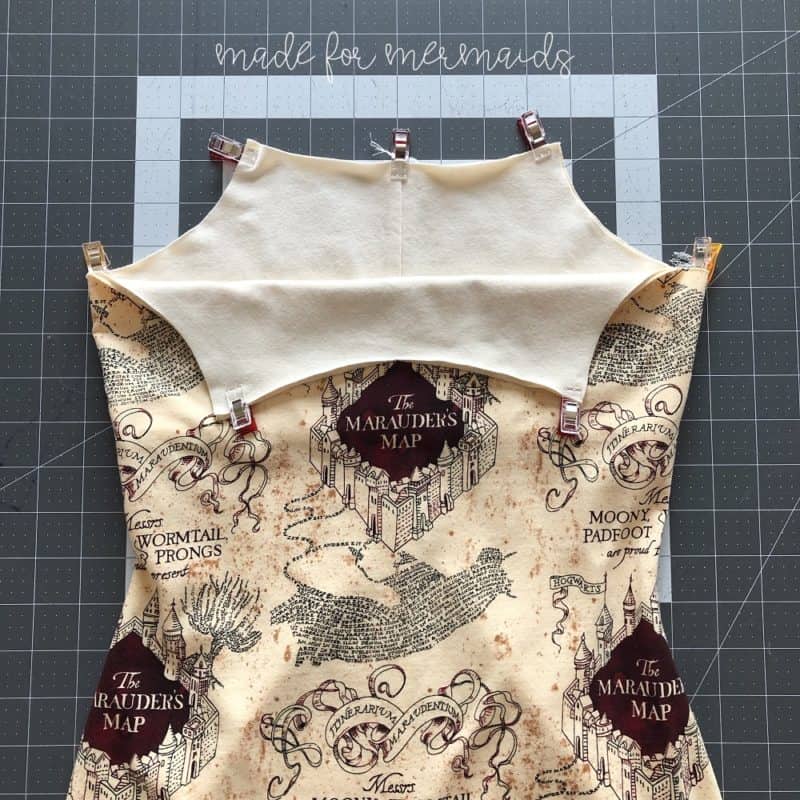
Turn your shelf bra wrong-side out and fit it inside the main top/dress. Match the seams and pin/clip in place. Baste the shelf bra inside of your main top/dress.
Turn your top/dress inside out and you’re ready to finish with bindings and a hem. –Alexandria
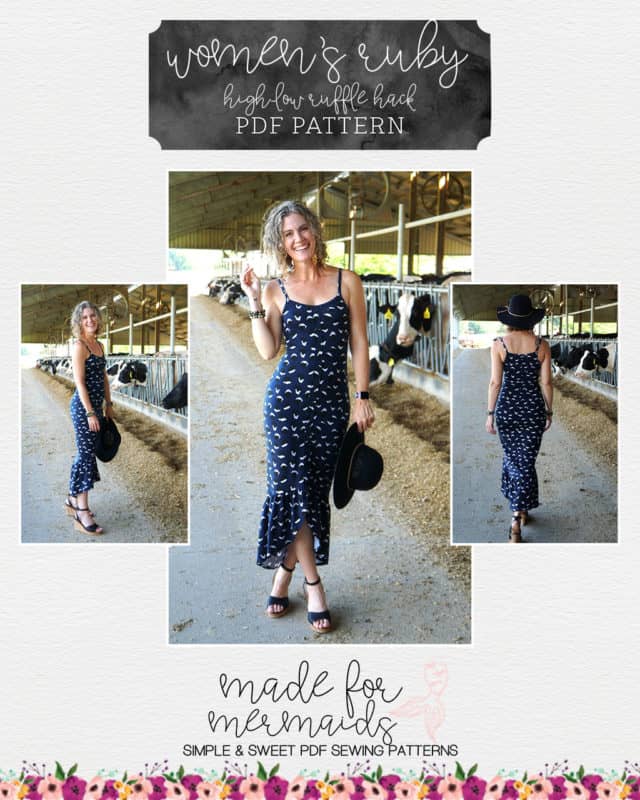
High-Low Ruffle Hack
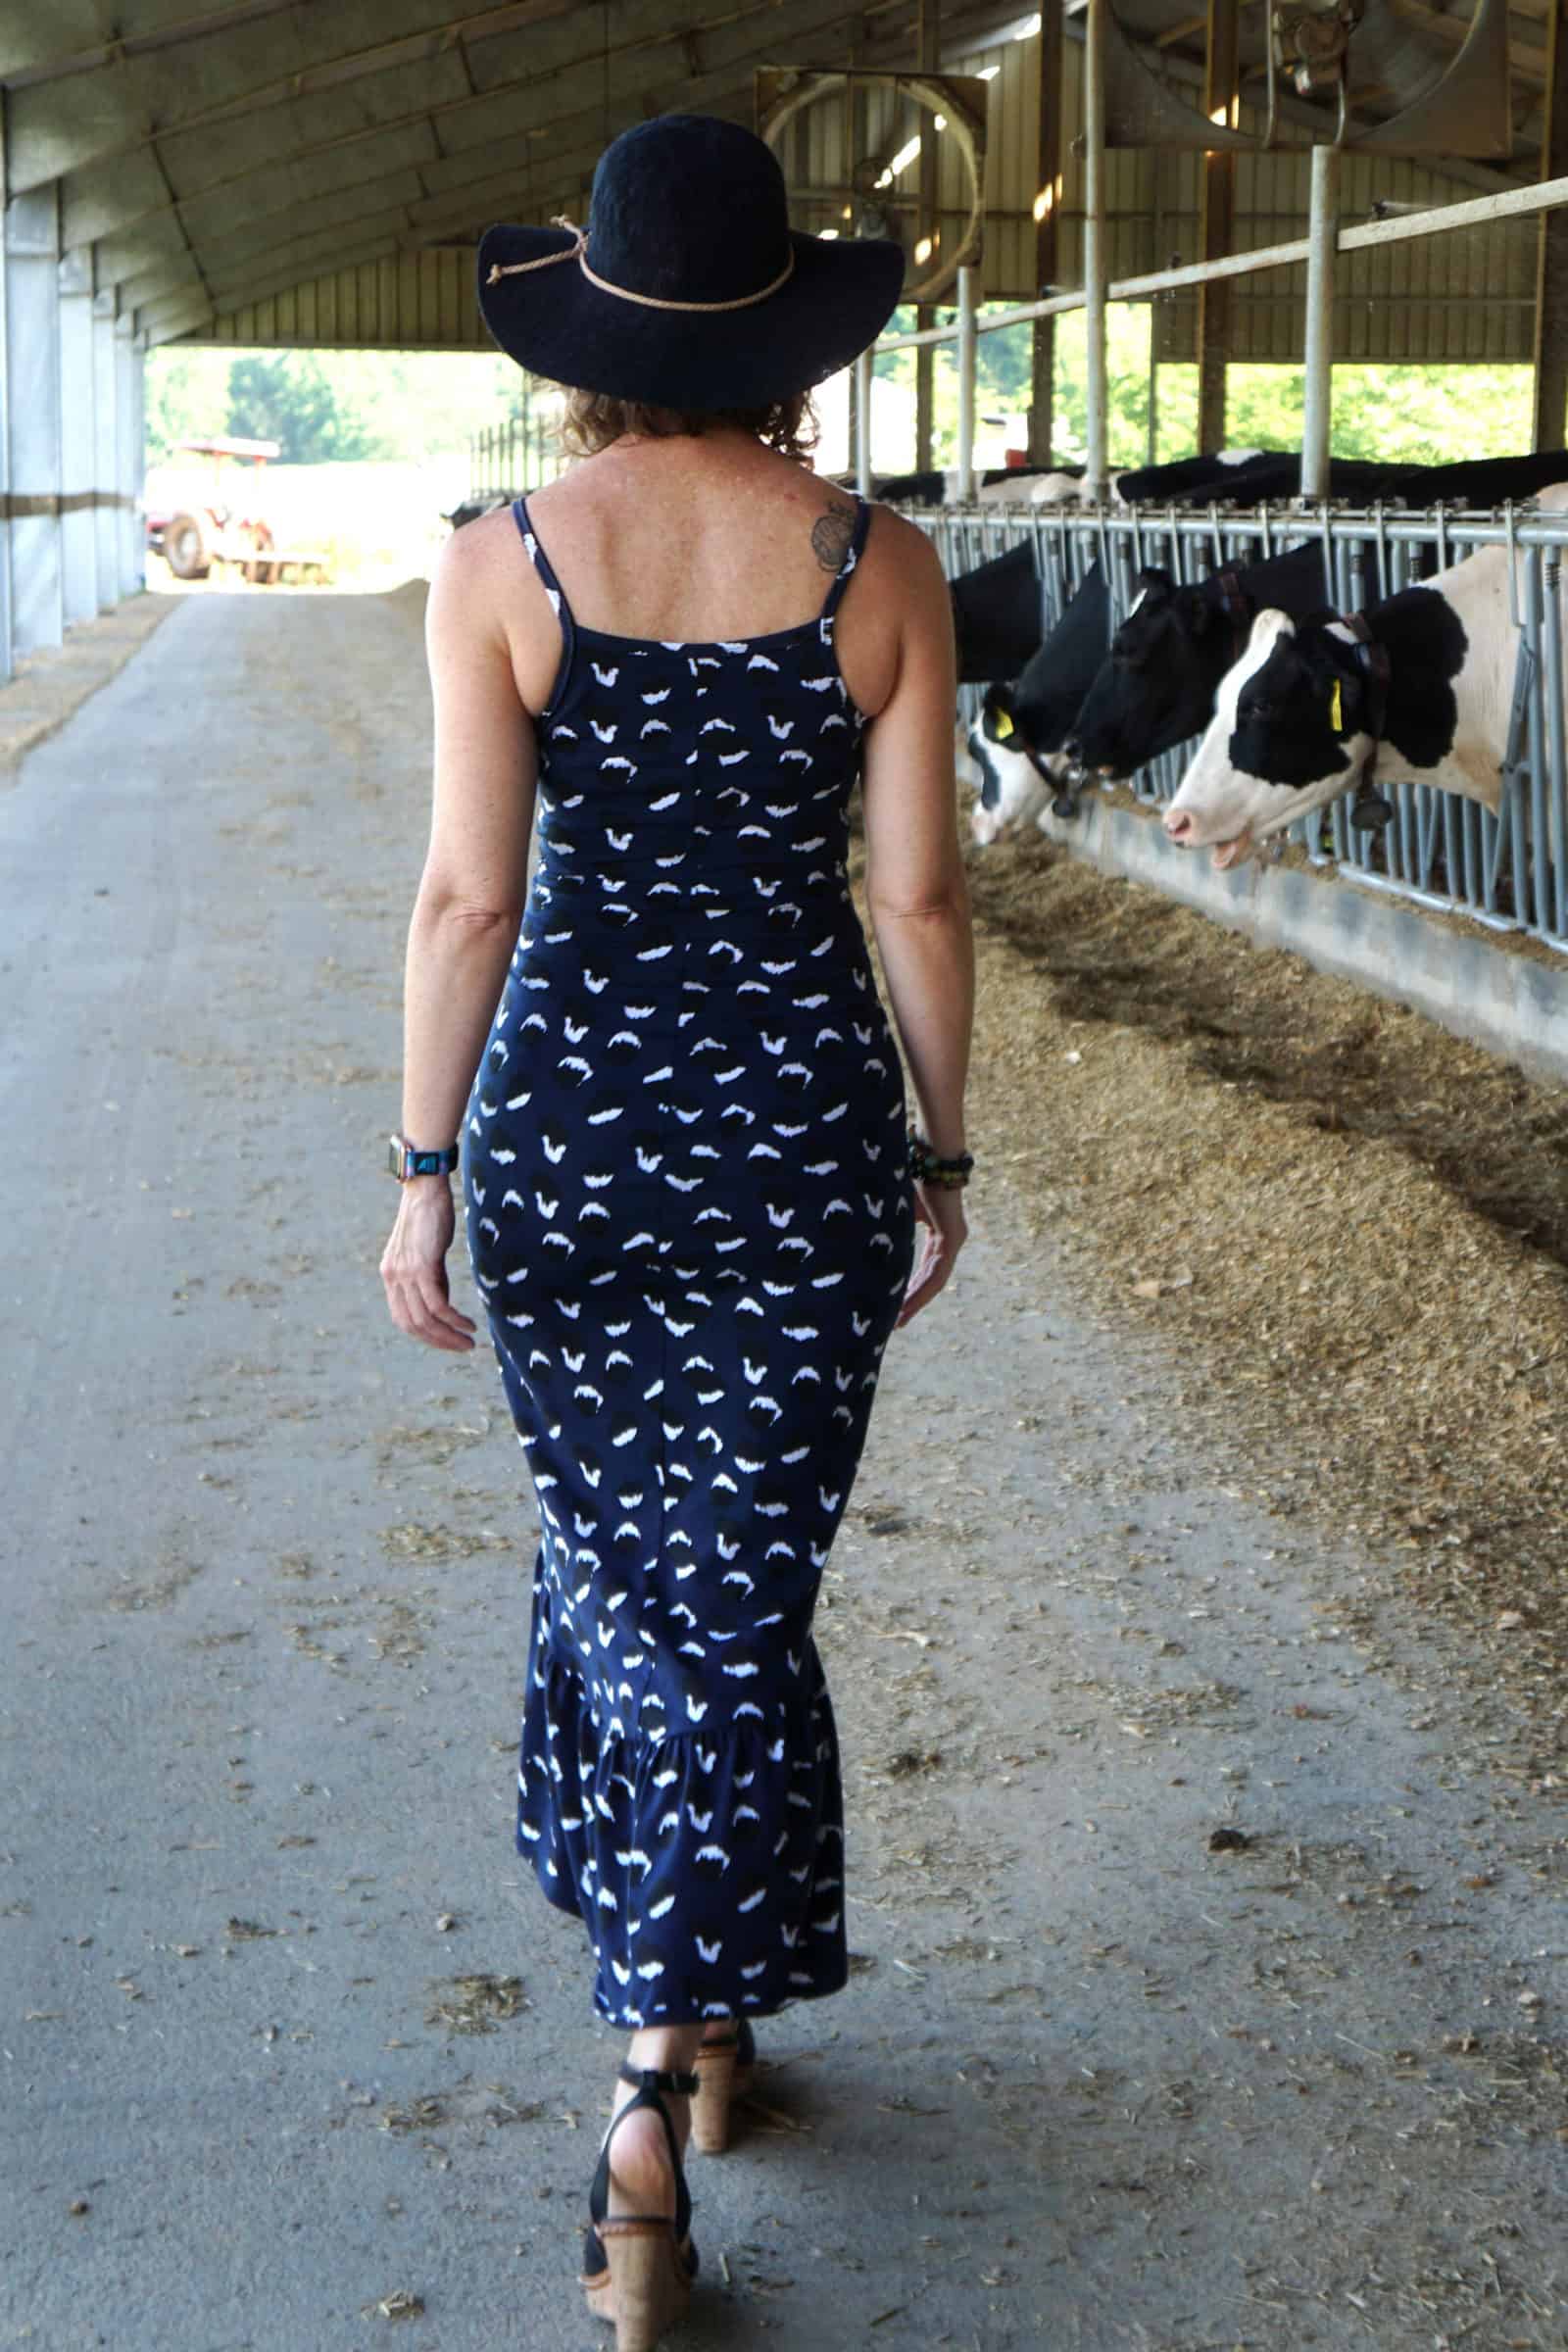
Looking for a gorgeous mermaid ruffle for your Ruby? It is such a dramatic spin on the already sexy shape of the pattern.
For this hack, drape-ier (not a real word, but you know what I mean!) knits work best. Stiffer knits tend to make the ruffle too poofy. Poof is not your friend for this dress.
First, you will need to assemble the midi length dress pattern pieces.
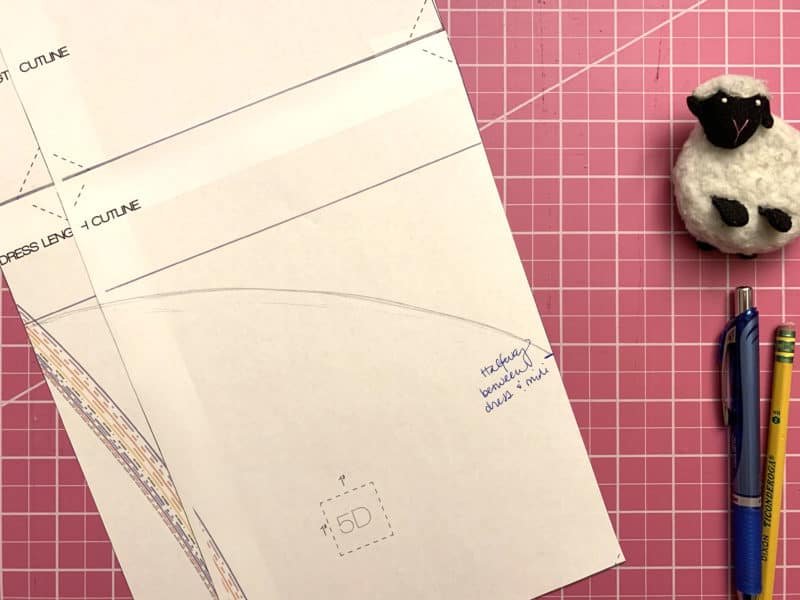
Mark the halfway point on the side seam of the Front between the midi and dress length cutlines. This was exactly 4” on my pattern. Using a pencil, draw an arch from the side seam mark to the inside dress length cutline. Cut away the bottom of the pattern piece along your arched cutline.
I have no mathematical formula for drawing the arch. I simply sketched my arch until I was happy with the shape, which is why I recommend using a pencil!
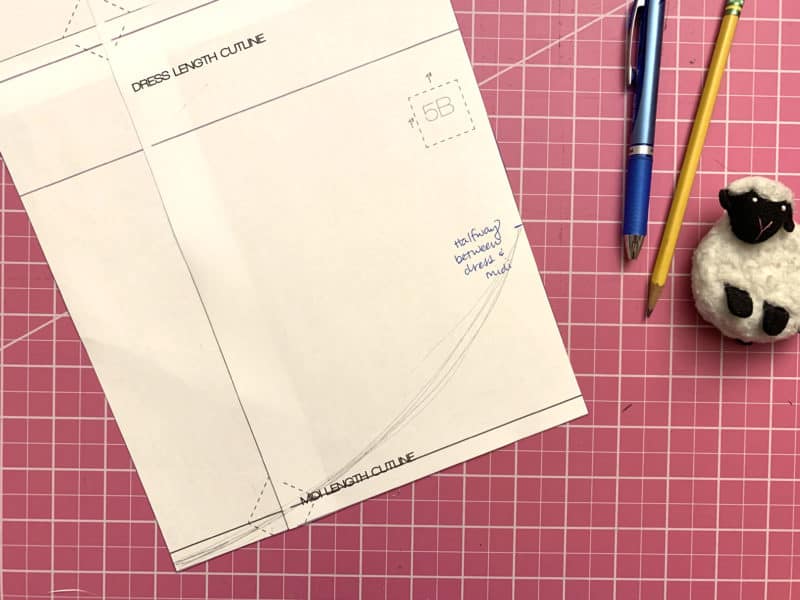
Mark the halfway point on the side seam of the Back between the midi and dress length cutlines. You will reverse the direction of the arch you draw on the Back piece, going from the side seam mark to the inside midi length cutline. Cut away the bottom of the pattern piece along your arched cutline.
From this point, assemble your dress per the pattern instructions until you get to the hemming step.
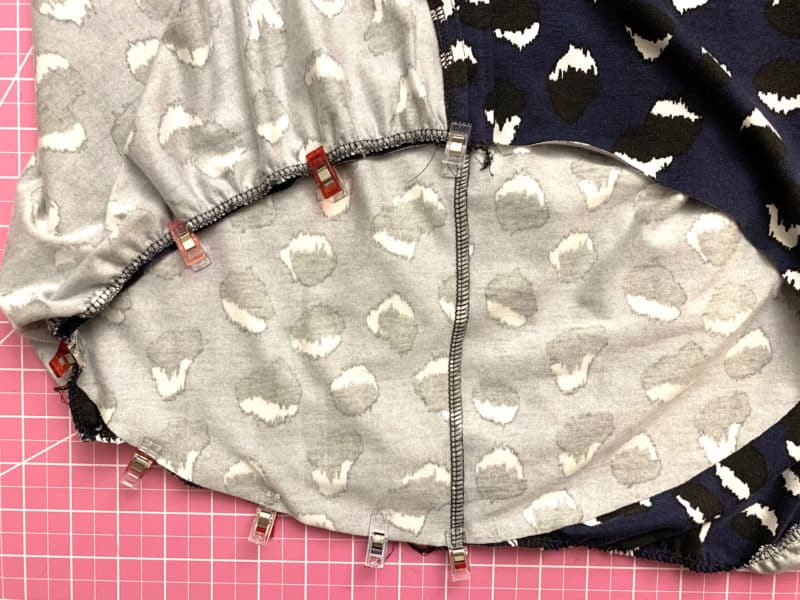
For the ruffle, cut a rectangle 11” x 1.5 times the length of your hemline. For me, my hem was 40”, so I cut my ruffle piece 11” x 60” long.
This next step is completely optional… I gave my ruffle a curved edge by tracing the curve from my Back pattern piece. This hack will also work without the curved hem. Hem the bottom of the ruffle piece.
Gather the top of the ruffle by your preferred method (I use my serger), match the ends of the ruffle piece at centerpoint of the Front (right sides together), adjust your gathers to fit the ruffle to bottom of your dress, and sew together!
Be sure to press the seam upwards, towards the dress. Throw on that dress and get ready to turn heads! You can see who my audience was. Haha! -Rachel
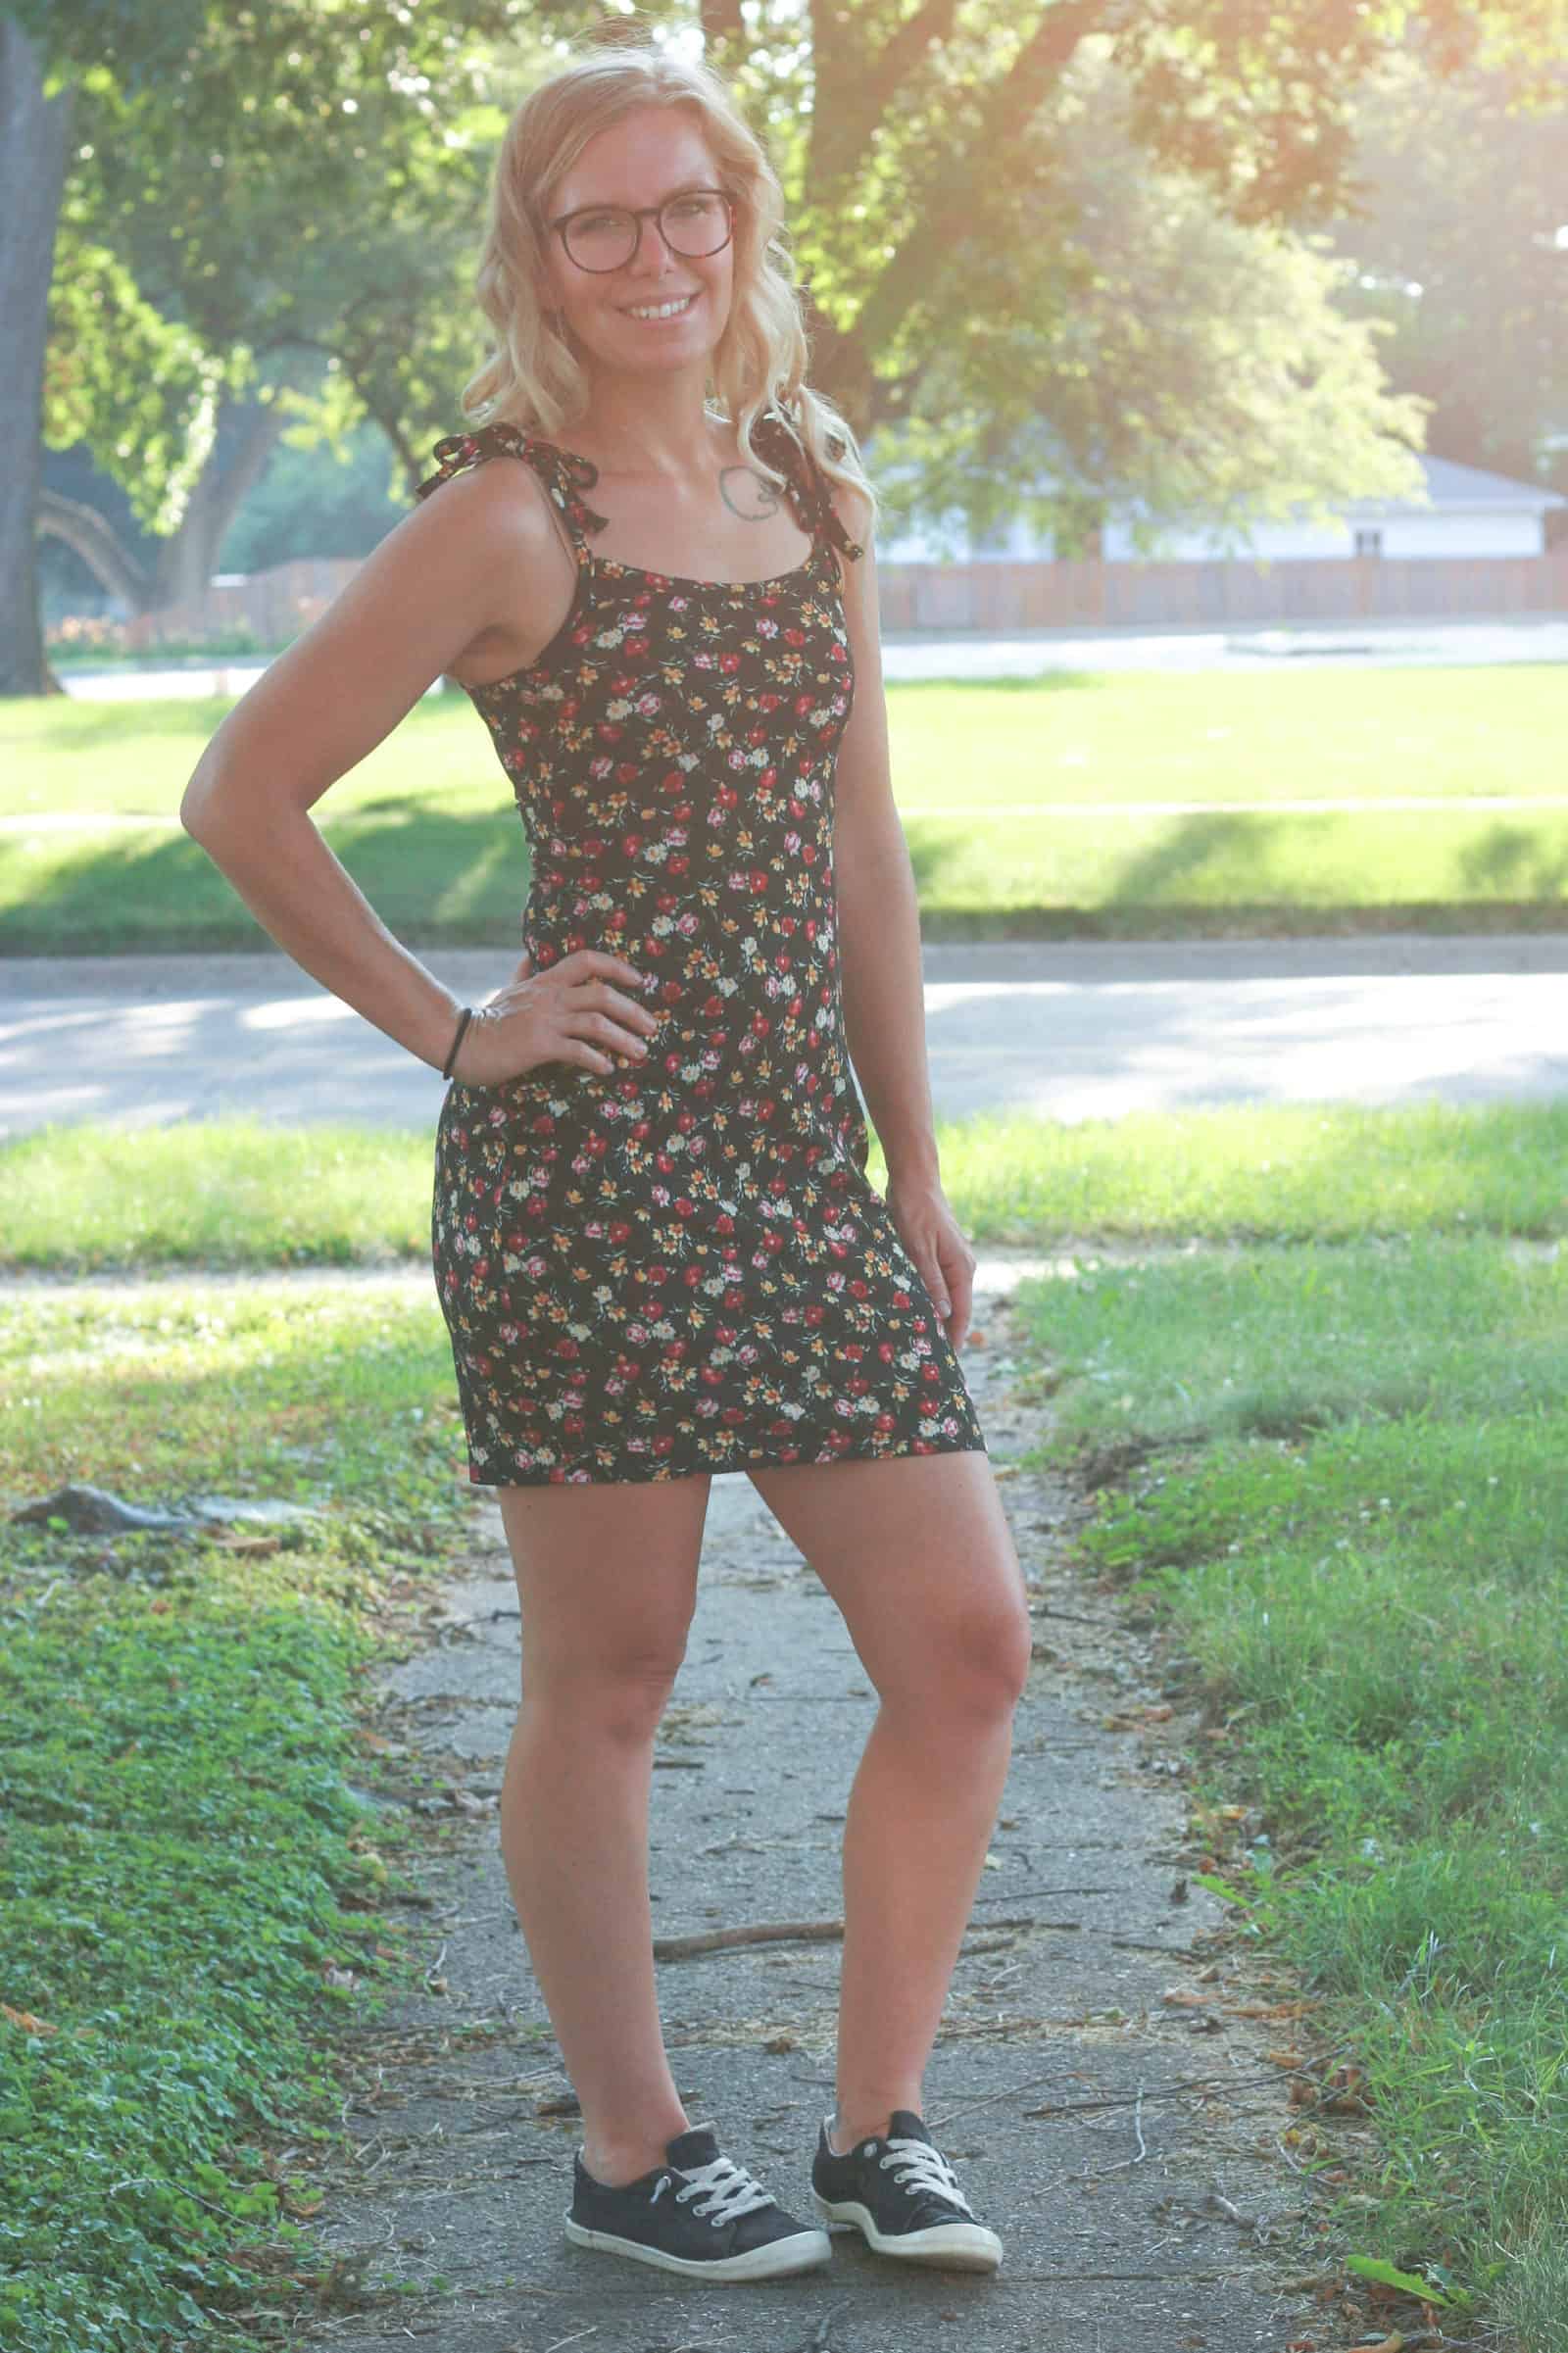
Tie Strap Hack
Step 1: You’ll need to lengthen your straps to accommodate the ties. I chose to lengthen mine by 16 inches (8 inches on the fold) but you can adjust based on your desired look.
Step 2: Marking the strap placements is a little different because the fold will be in the armpit instead of the seam. So I flipped the pattern piece over so the fold was on the opposite side. I adjusted for the half inch seam allowance and marked my placement. (I cut small notches to mark mine but you can use pins or a fabric pen if you prefer)
Assemble per pattern until you get to the straps.
Step 3: Attach notches at either end of the armscye and find the middle. Attach per pattern, except you’ll have 2 loose ends (these will be your ties).
Step 4: fold in the end of each strap 1/4″ and then finish binding per pattern instructions.
All done! -Ashley
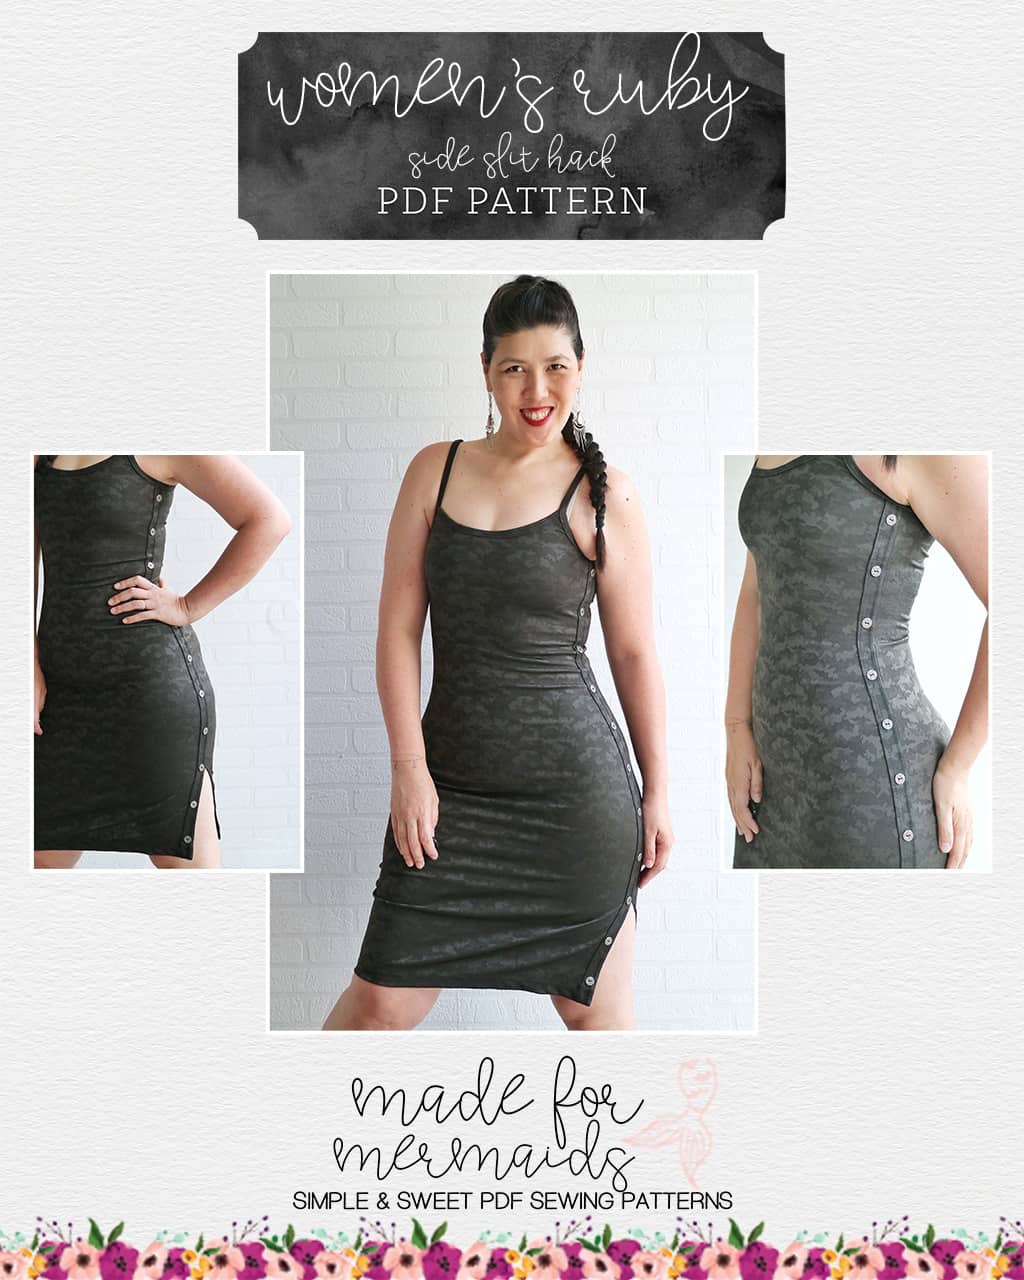
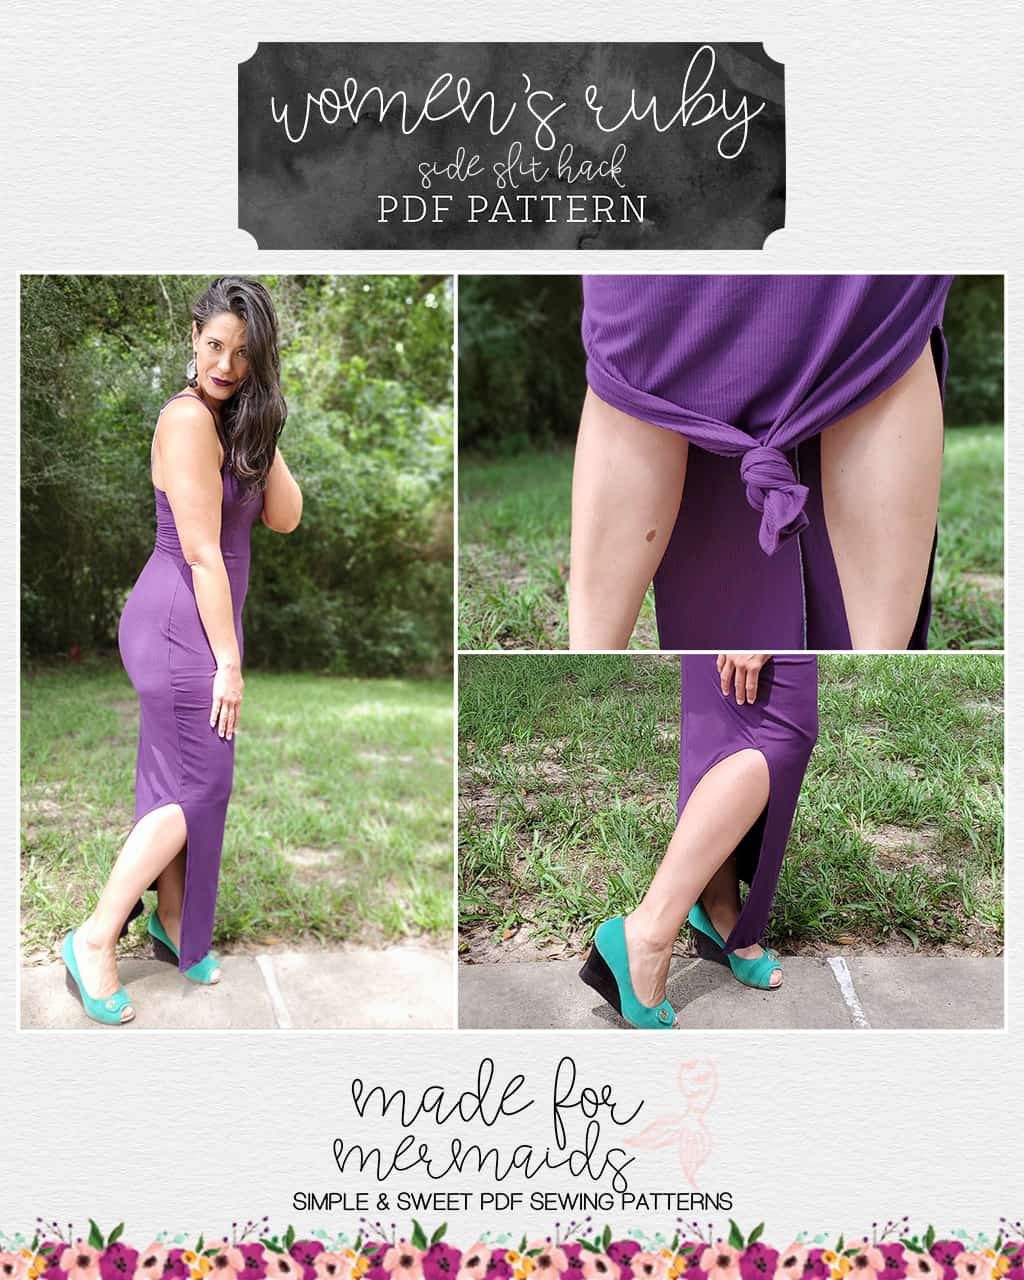
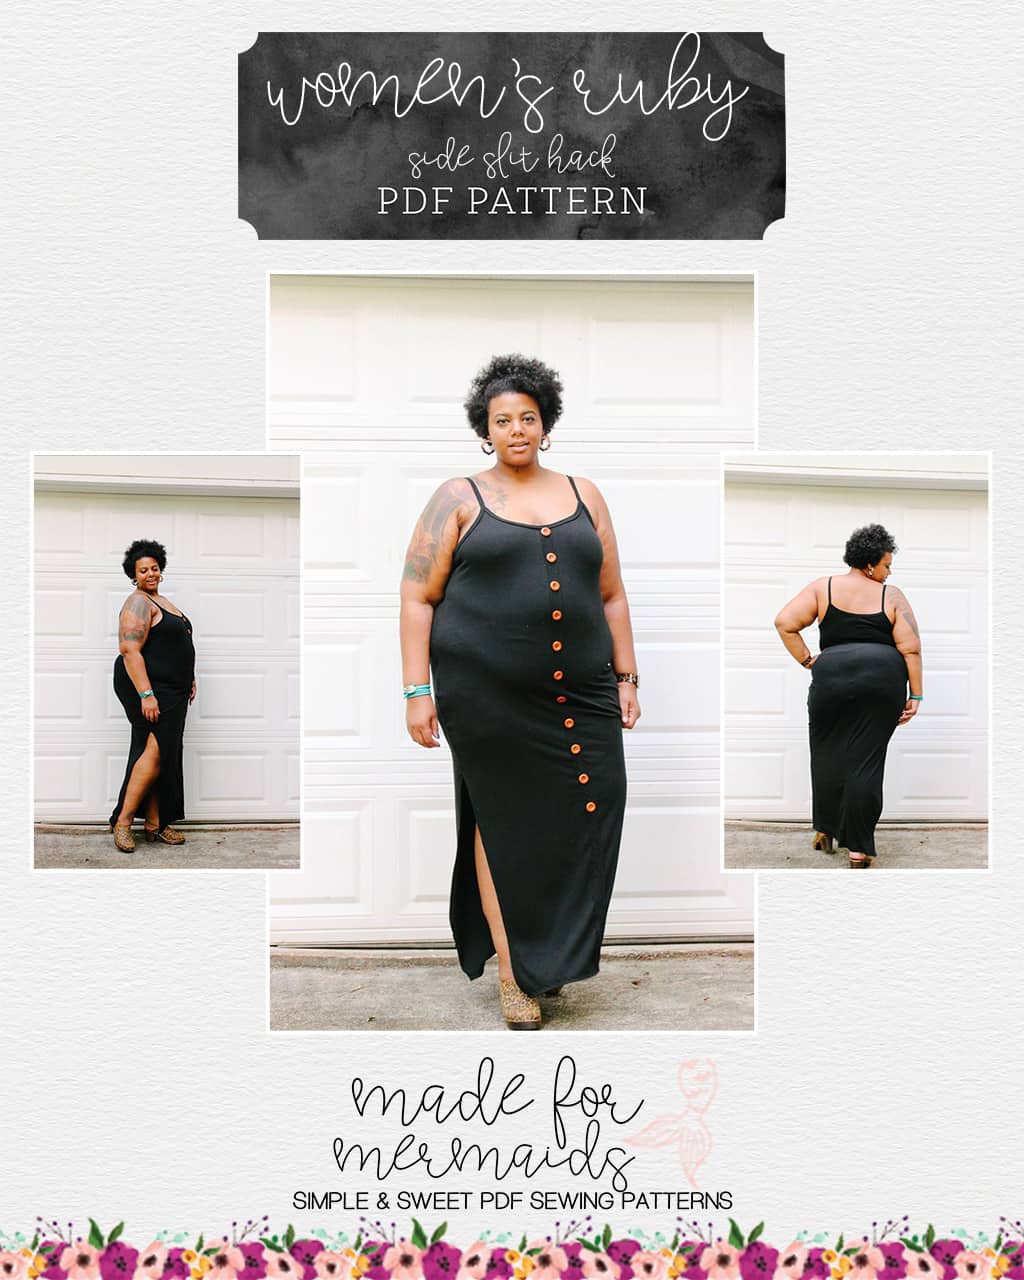
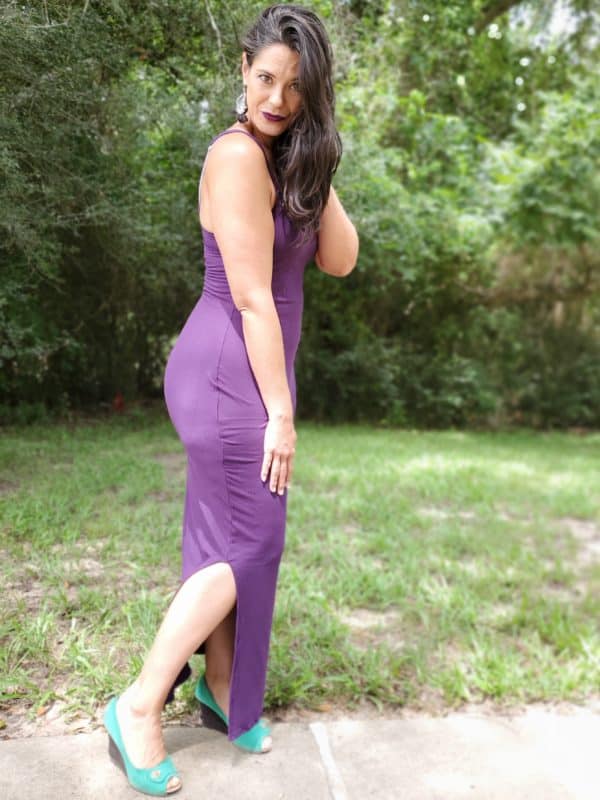
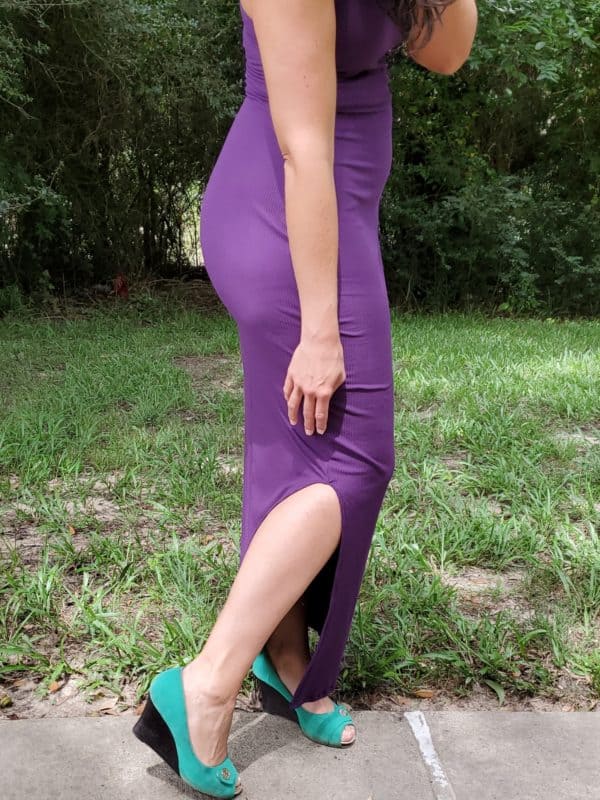
Side Slit Hack
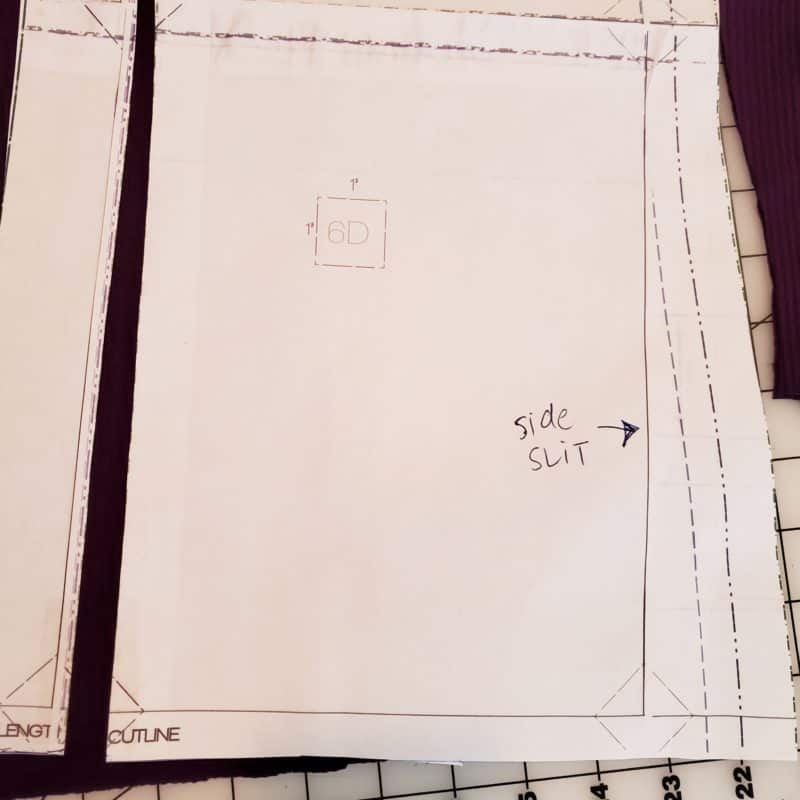
Love the look of Ruby but wishing for a side slit instead? Not to worry – it’s a super easy modification to make! Cut front and back pieces out as normal.
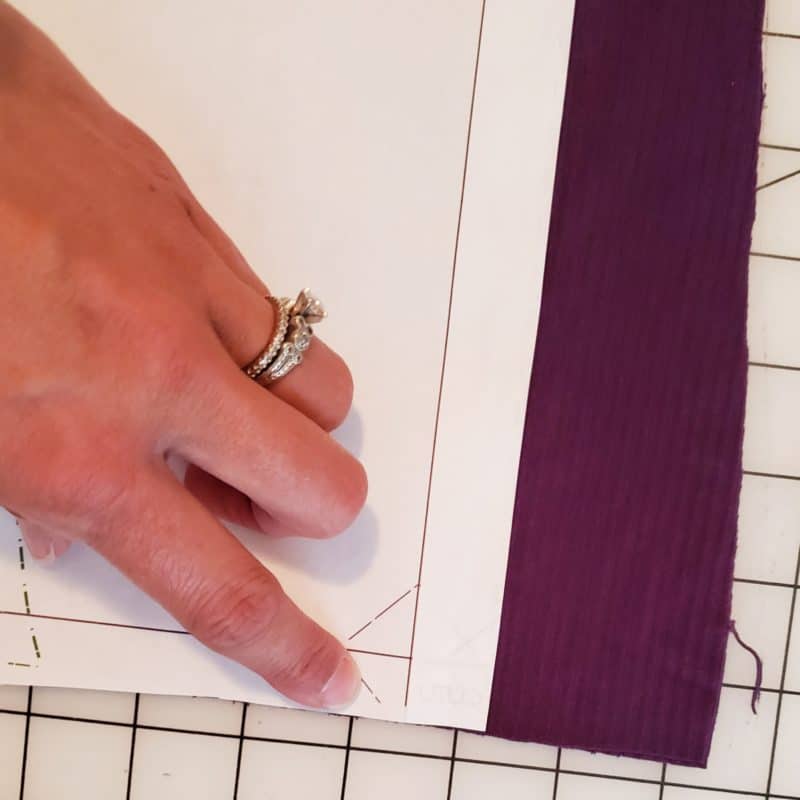
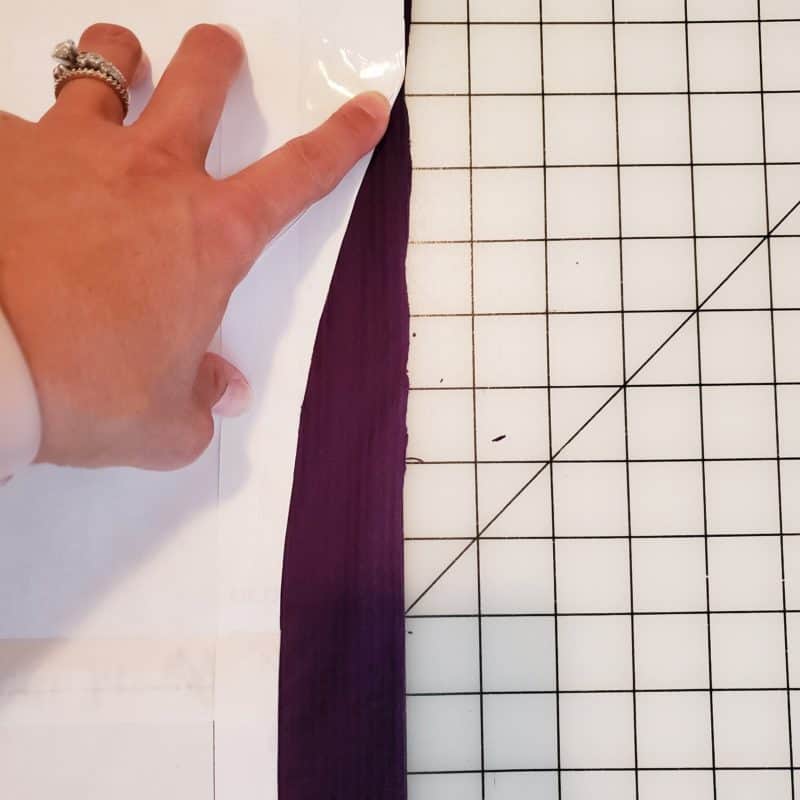
Use your front slit piece and line it up on the bottom and hip side of both cut fabric pieces.
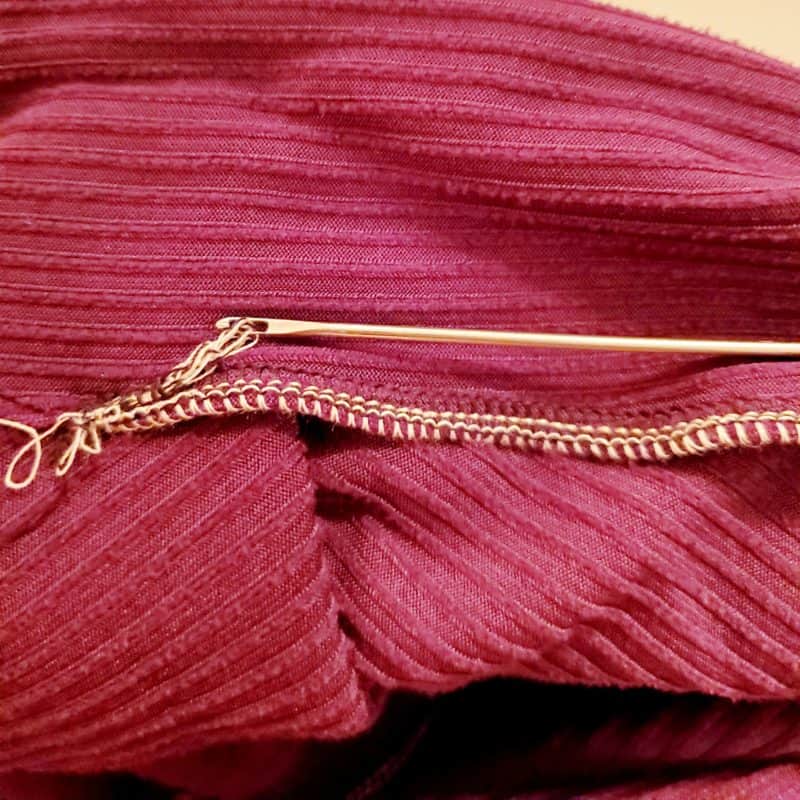
Cut side slit on one (or both!) sides. Assemble pieces according to instructions. Be sure to stop stitching where the slit starts. Optional: you can pull the serger tails in at the bottom of your side seams, which is also the top of your side slit.
You can also modify the look by moving the faux placket to the side, too! -Lindsay
Maternity Hack
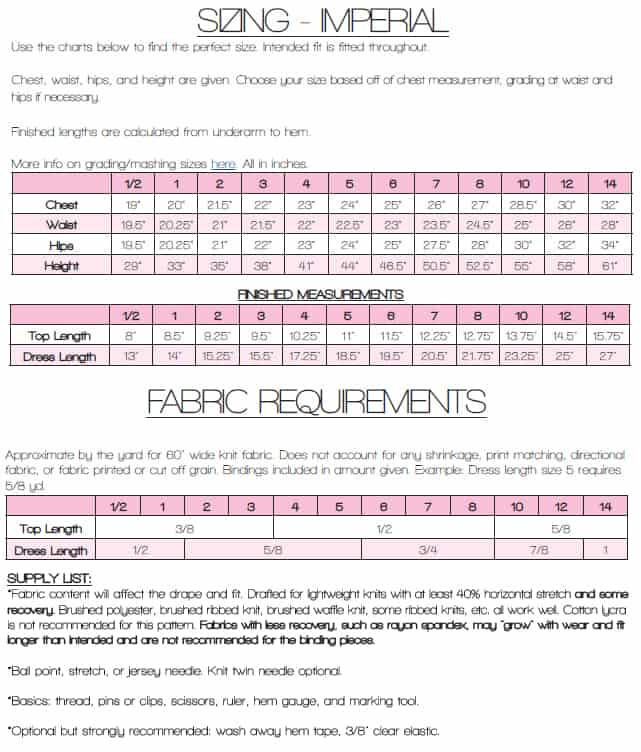
Expecting and looking for a perfect belly-hugging dress? You can use Patterns for Pirates’ Layer Me Up Maternity add-on, or use our Tai maternity hack! Both would give you an adorable and belly-friendly Ruby dress.
Don’t forget to show us your sassy Ruby dresses and tops over in our Facebook group! We can’t wait to see what you come up with!













Leave a Reply