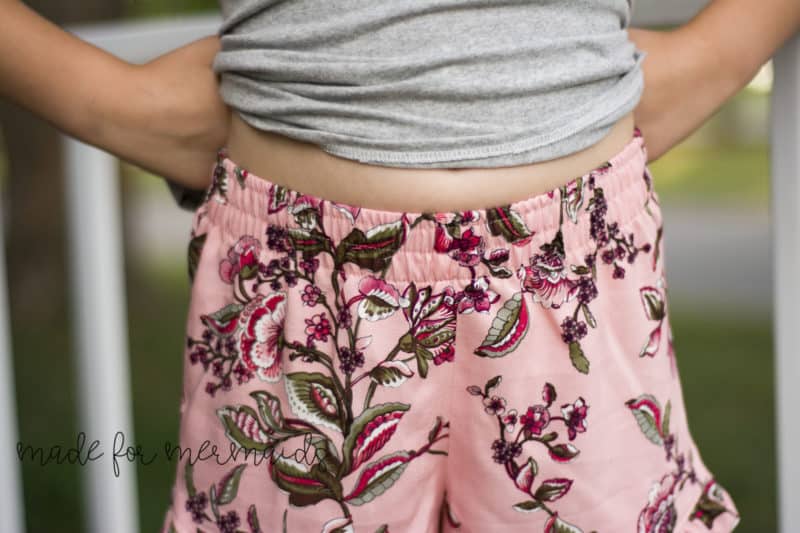
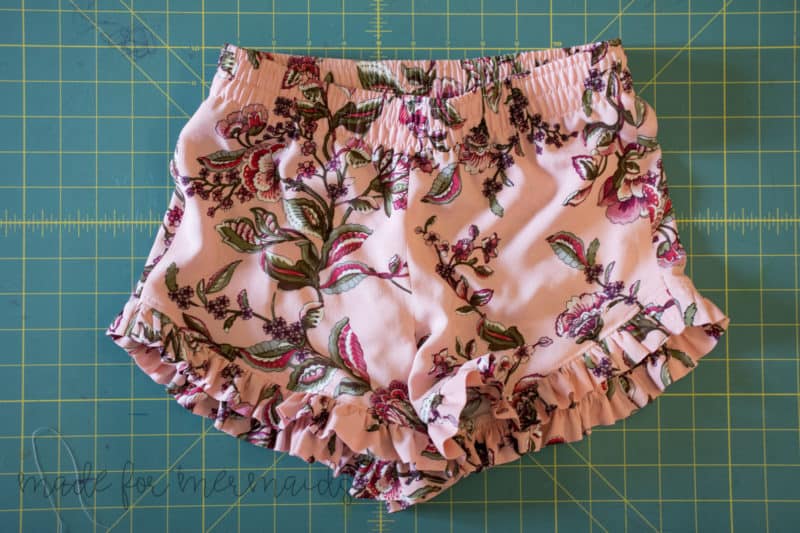
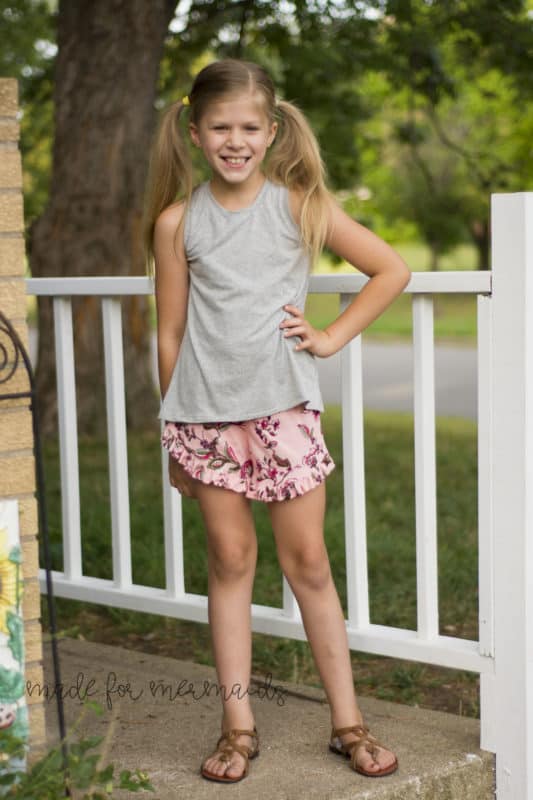
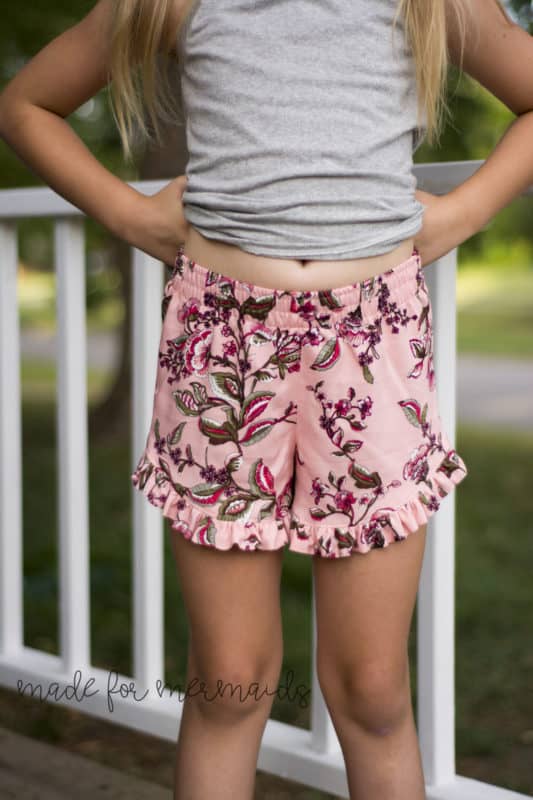
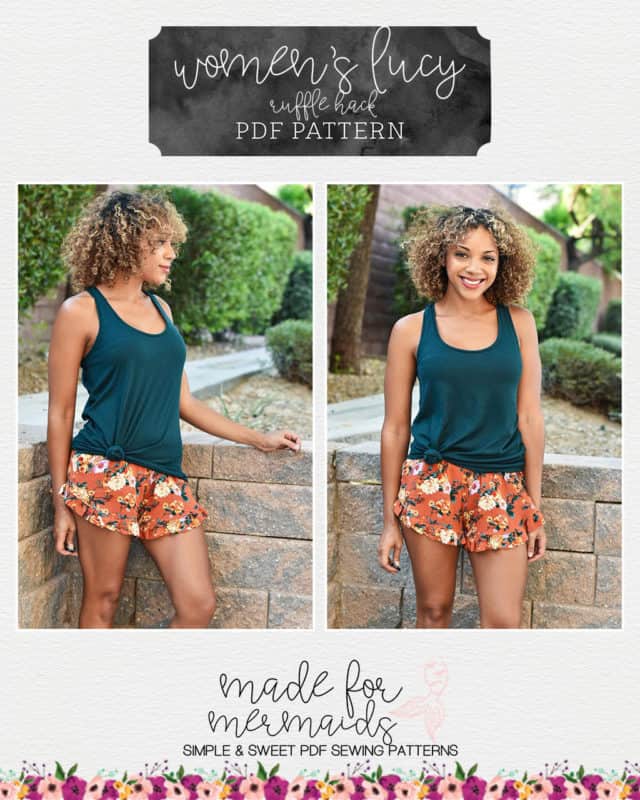
Hurray! The updated Lucy and Women’s Lucy release today! These patterns are designed for knit OR woven, and are so quick and easy. Options for Lucy include a curved ruffle hem or straight hem. Options for Women’s Lucy include 3.5″ or 4.5″ curved hem cut line, plus 3.5″ or 4.5″ straight hem cut line. Both feature elastic waistbands. If you’ve already purchased Lucy or Women’s Lucy in the past, you just need to download the newest version in your account! If you haven’t purchased them previously, be sure to grab them while they’re on sale.
While Lucy and Women’s Lucy would of course work great as lounge shorts, we hope you also have fun creating some trendy looks with the new and improved patterns. We’ve included a few hacks below, as well as styling tips, just in case you’re still unsure about wearing them outside of the house! Be sure to scope out all of our testers in the Facebook group and on the main Made for Mermaids Facebook page, too; they all did such a beautiful job styling their Lucy and Women’s Lucy shorts!
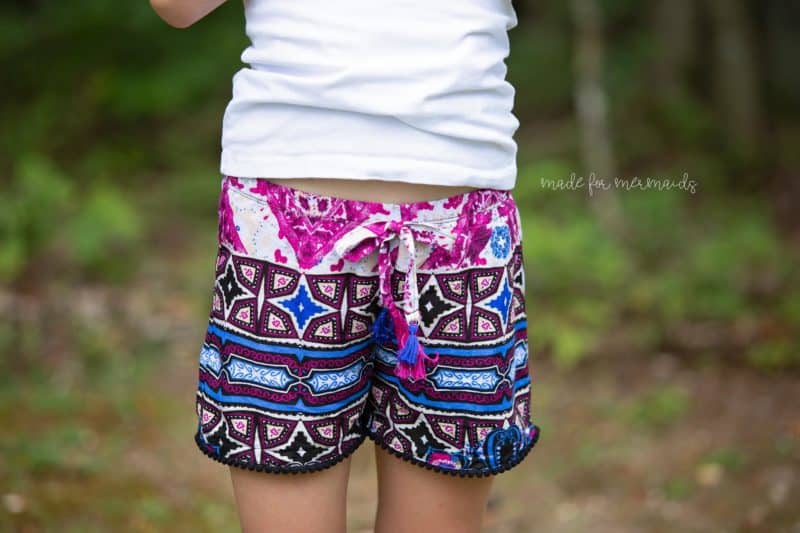
Drawstring / Faux Drawstring
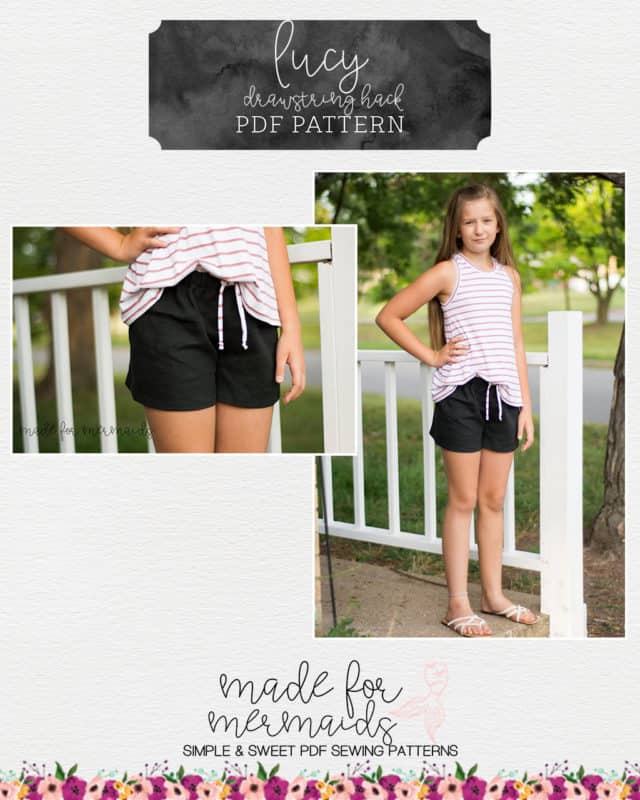
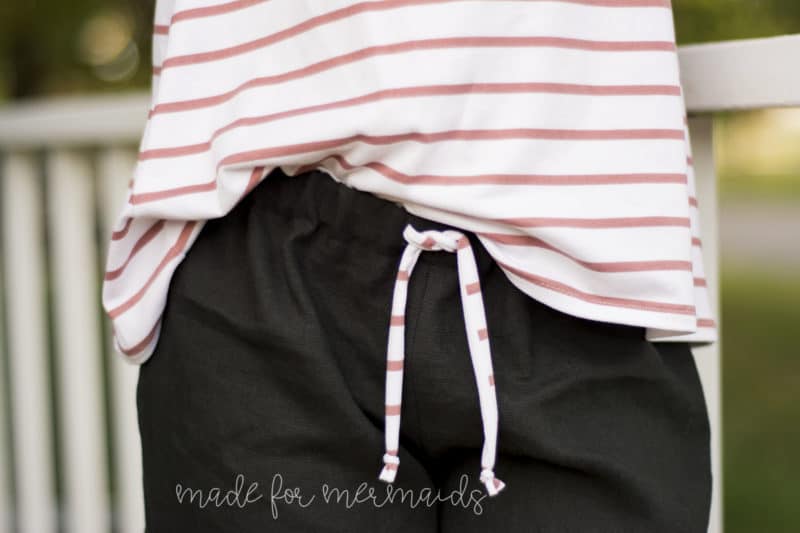
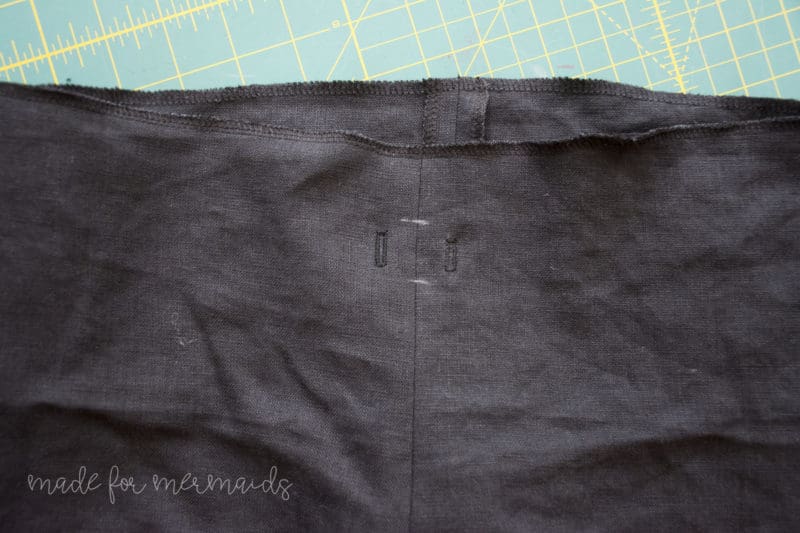
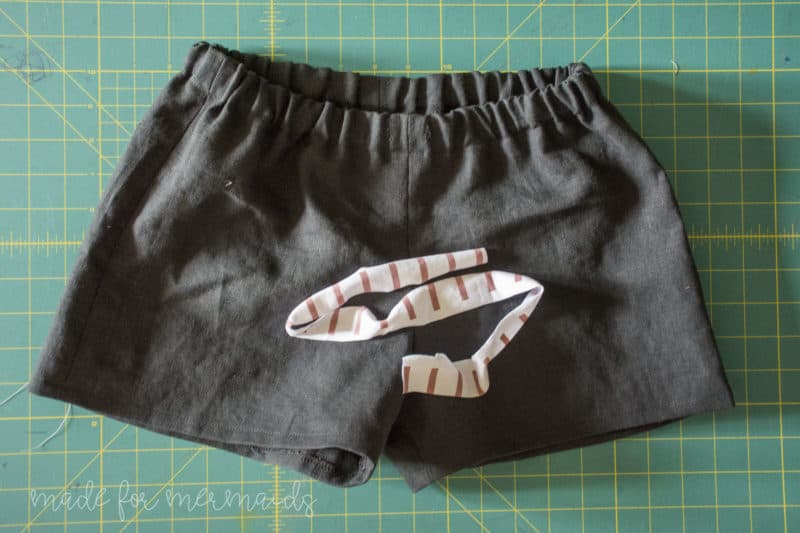
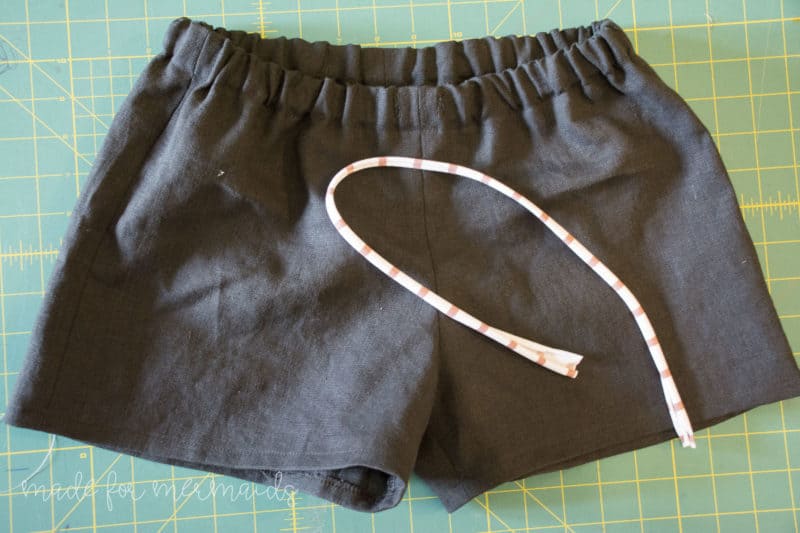
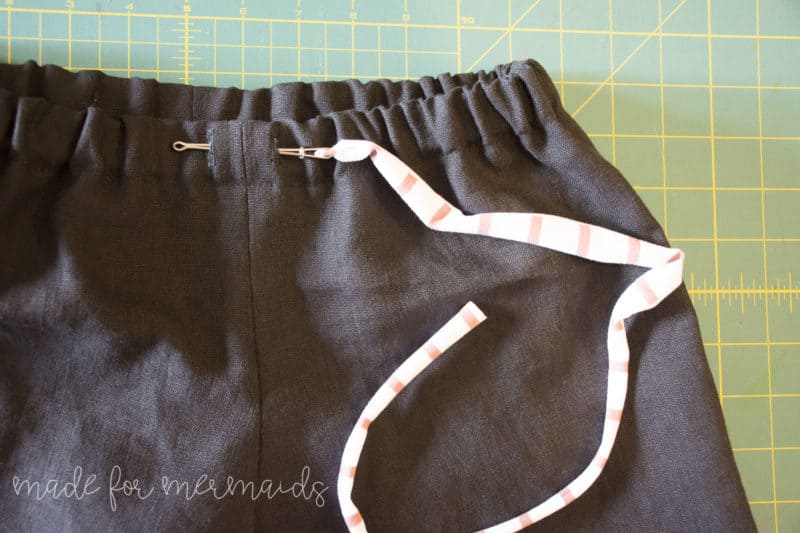
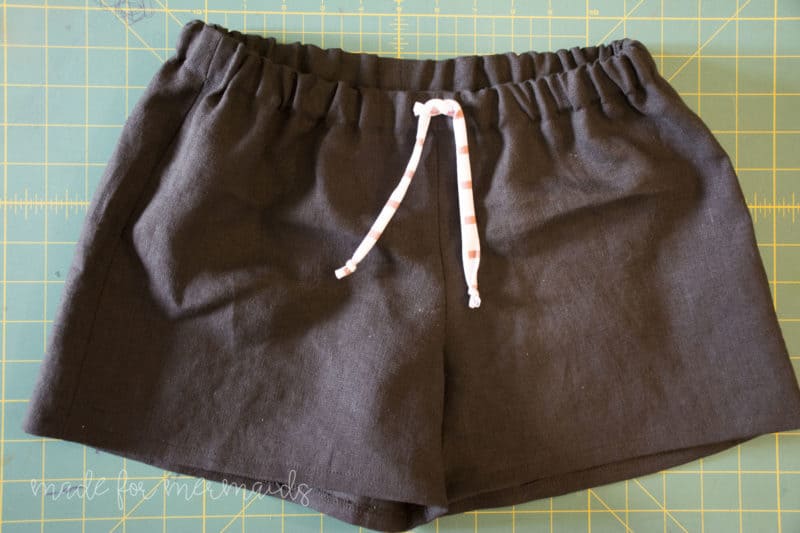
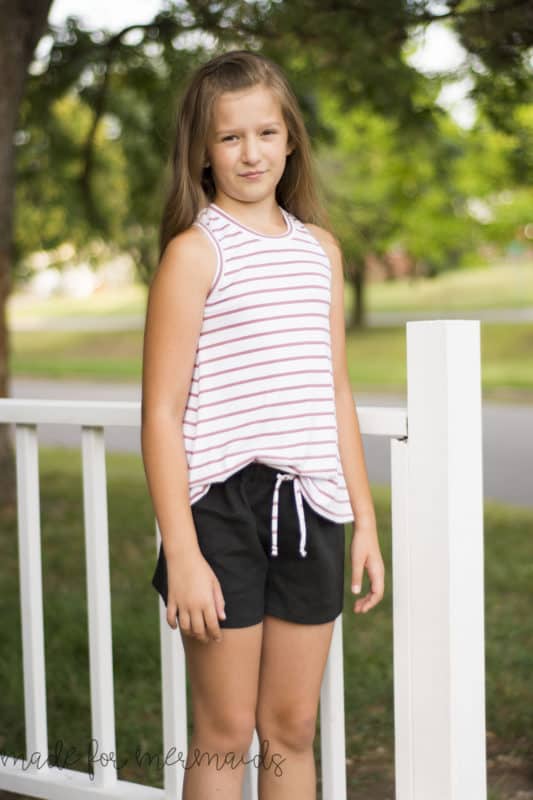
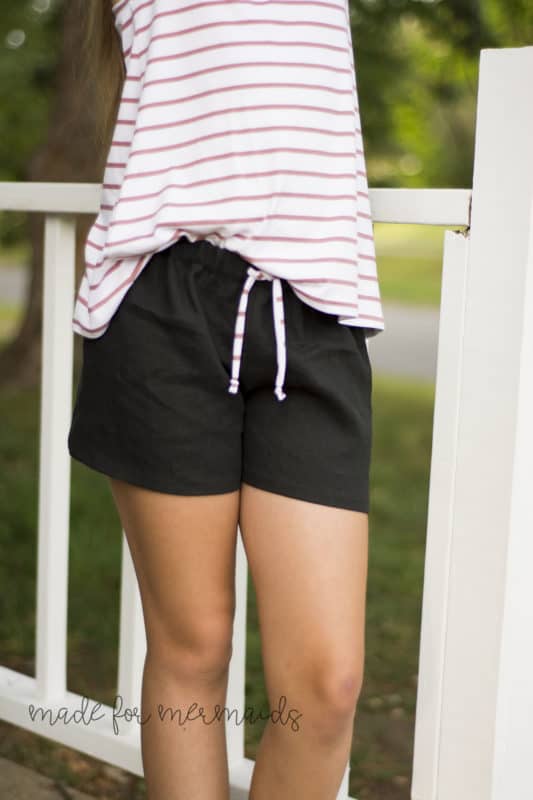
Adding a drawstring or a faux drawstring is a great way to add interest and function to your Lucy shorts! I made mine semi-faux 🙂 This tutorial shows you how to add button holes to thread a drawstring through, and you can put your drawstring all the way around the waist of the shorts. But I often just thread it through the front, to give it the appearance of having a drawstring.
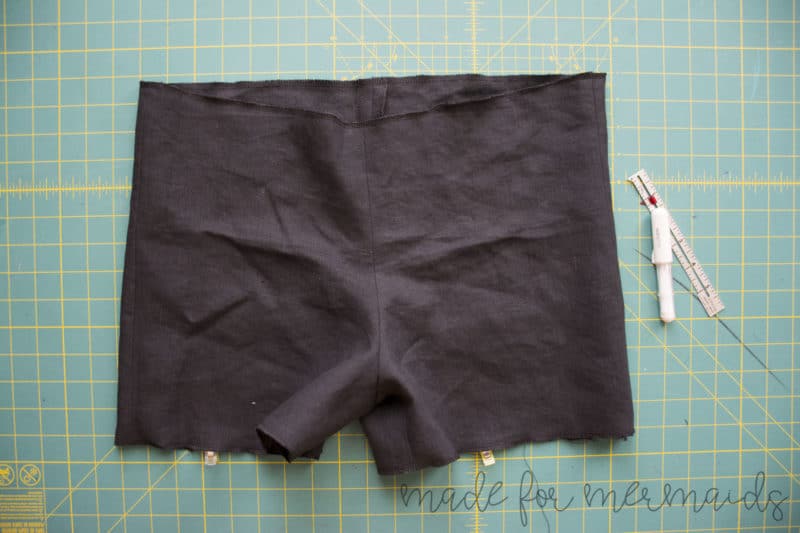
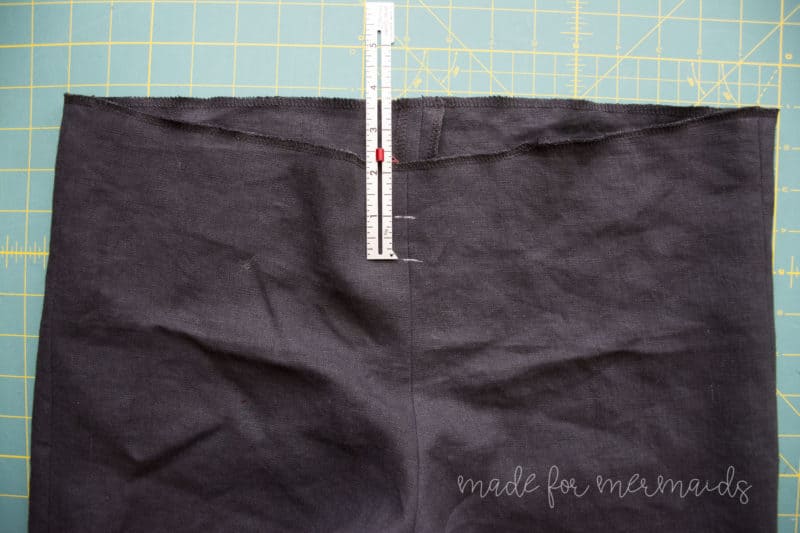
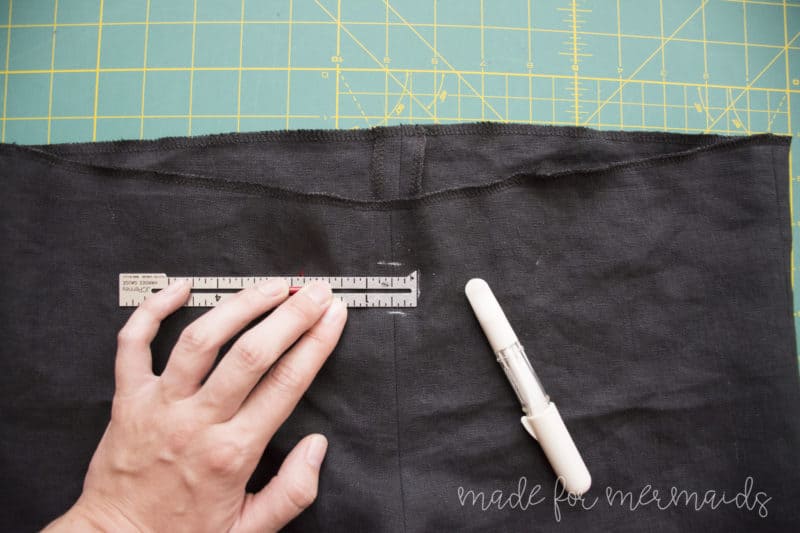
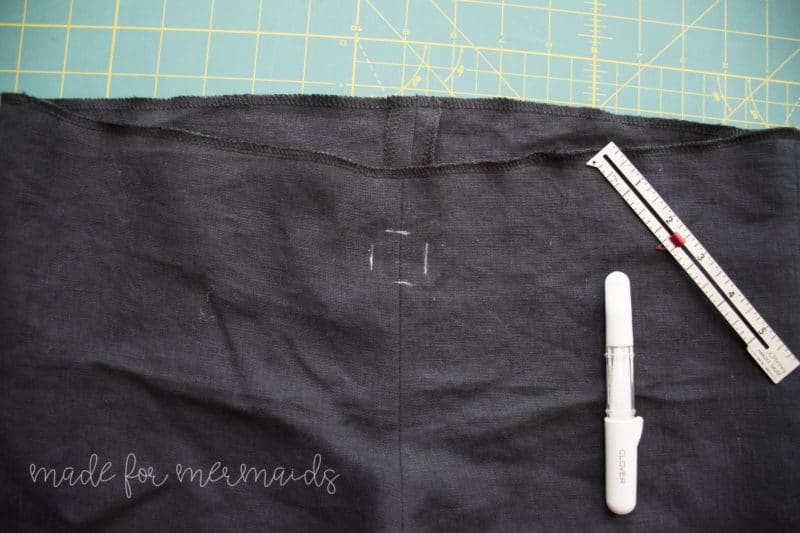
You will want to make the button holes before you sew your waist casing, so complete your shorts up to that step. Now, measure to find the correct placement. Take into account the 1/4″ + 1″ that you will be folding down the top of the shorts to create your casing. And then measure another 1″ down from that. I marked out the top of the waist at 1.25″ down from the top of the shorts, and the bottom of the waist at 2.25″ down from the top of the shorts.
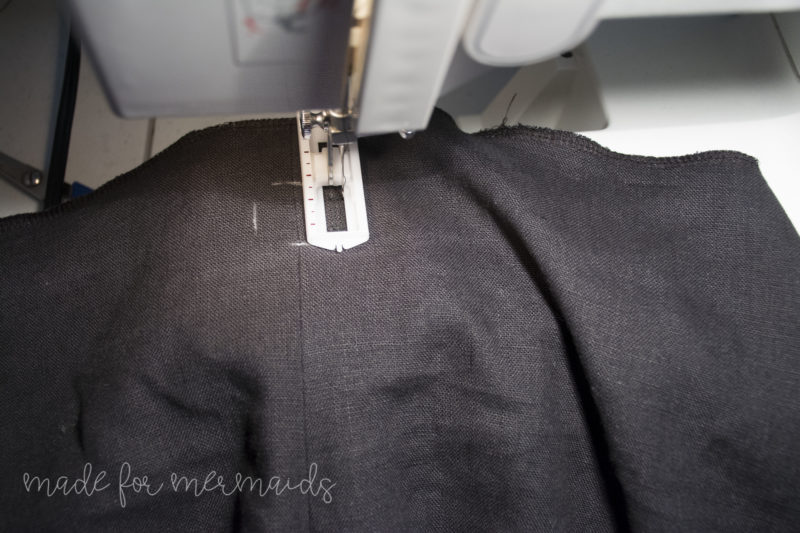
Now mark your button holes. I made mine 1″ apart, which is 1/2″ from either side of the front center seam. Sew your buttonholes, and make sure you clip them open now! It will be much easier. I add a little fray check on the back of the button holes before I cut them open for a neater finish.
Now you can sew your waist casing, and add elastic as described in the tutorial. To finish this look, just thread a drawstring through the button holes you made! There are many things you can use for a drawstring, I always find something I have around the house. My favorite is a 1″ strip of knit fabric. Stretch it out to make it curl up, then cut it to the length desired, and tie a knot in each end, and you’re done! If you prefer a faux drawstring, you can omit the button holes, construct the shorts per the tutorial, and just tack your drawstring on the front center seam using the same measurements given above. -Liesel
Decorative Waistband
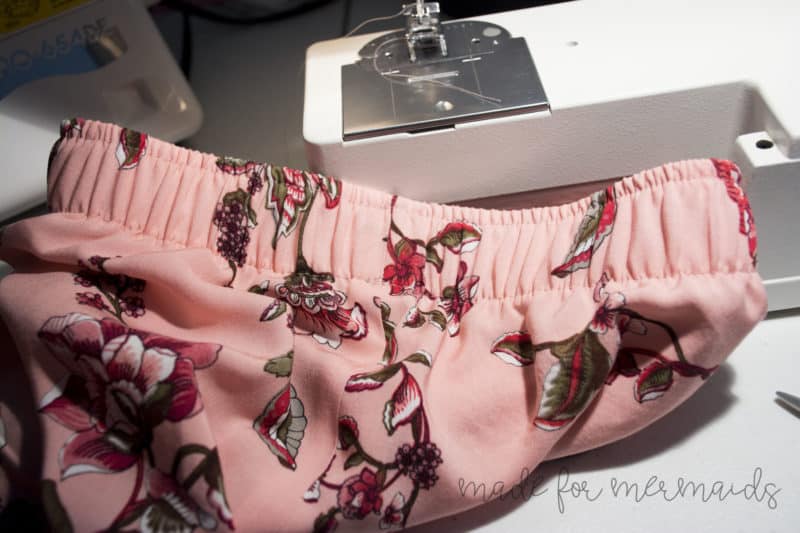
I love the look of multiple rows of stitching. It also helps hold the elastic in place, so you never have any twisting! It’s a perfect way to change up the look of your patterns!
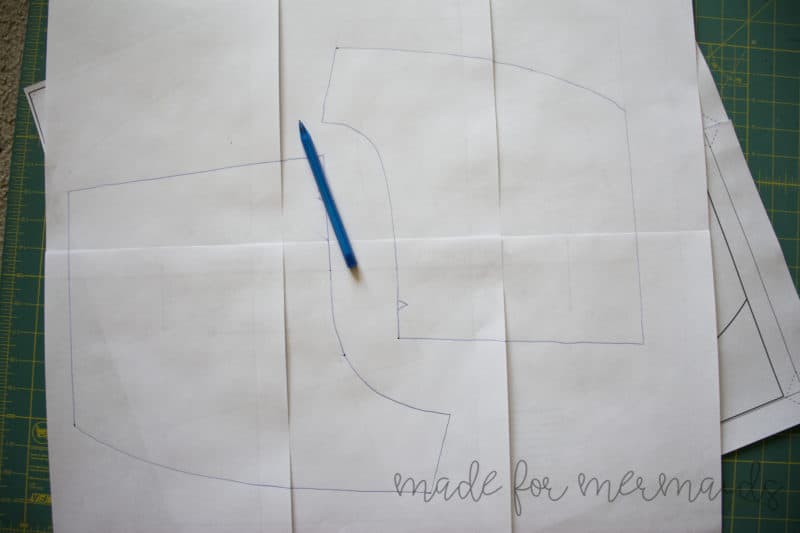
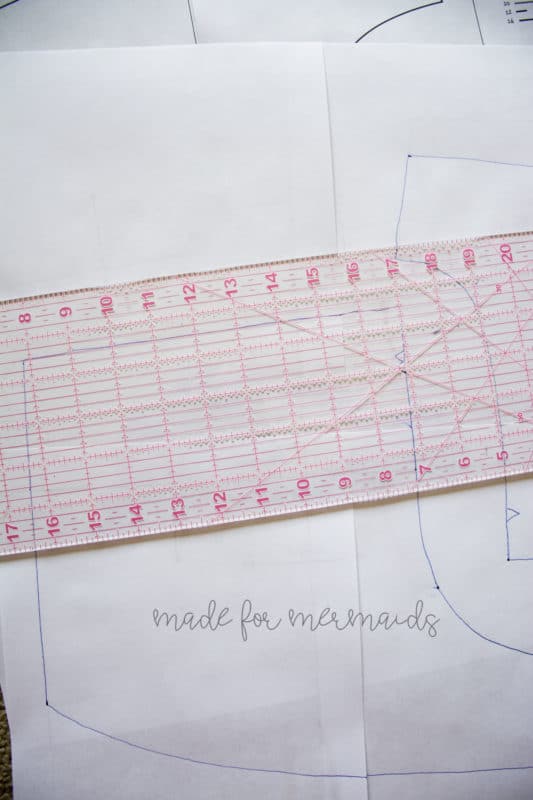
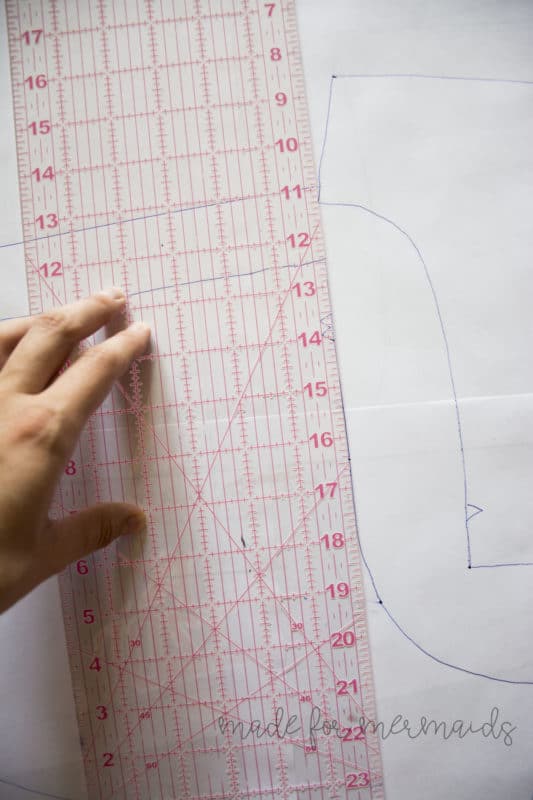
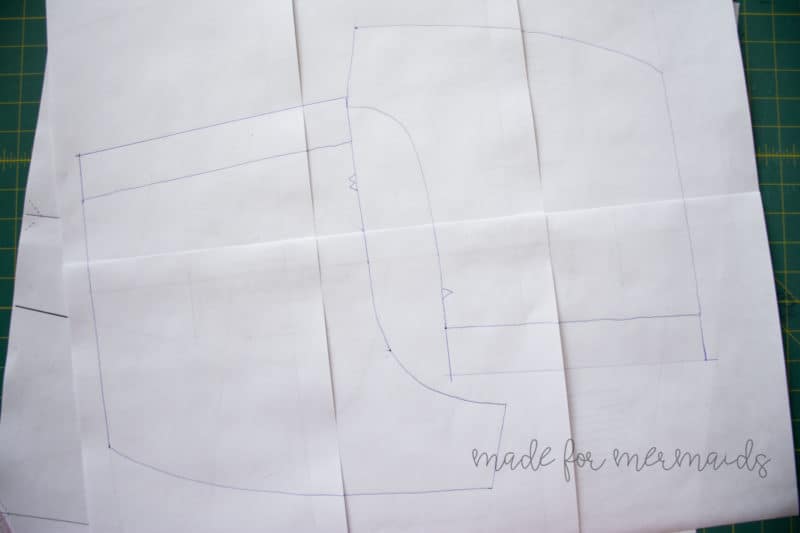
I prefer the look on a taller waistband, so I decided to modify the pattern to accommodate that. I decided to use 1.5″ wide elastic. Since the pattern calls for 3/4″ elastic, I needed to modify the pattern to work with the different width I wanted to use. The waistband folds over the top of the elastic, so I needed to account for the extra height twice – once for the front, and once for the back of the elastic. Since the 1.5″ elastic is 3/4″ taller than the pattern calls for, I added 3/4″ + 3/4″ to my pattern, or 1.5″ total. Draw your line above the waist of both the front and back pieces, and then draw a straight line up from both sides to match. Now you have your new pattern pieces ready to go!
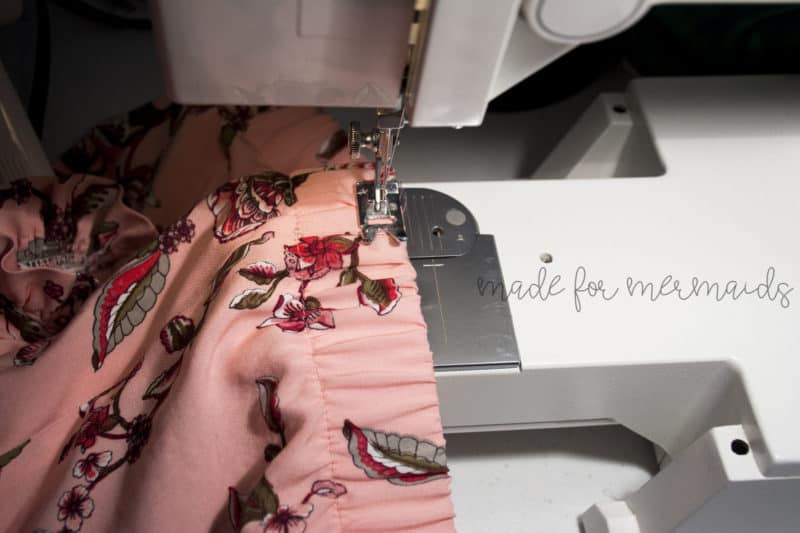
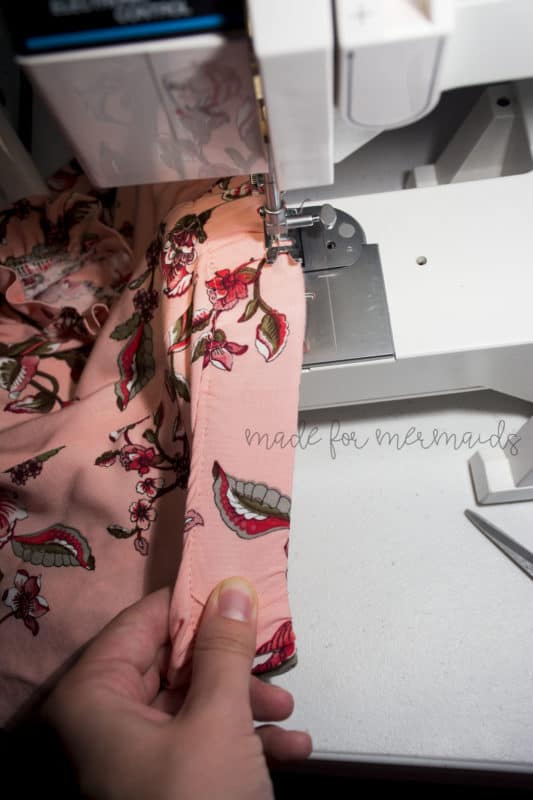
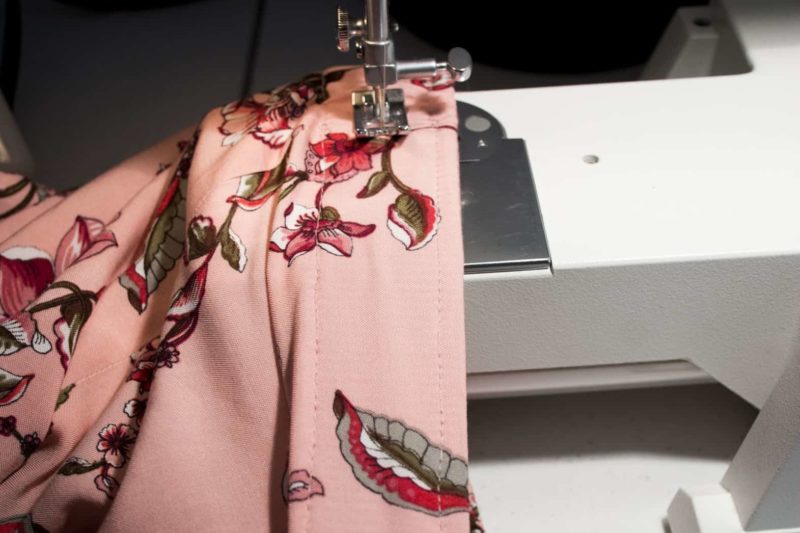
It’s simple to add the extra rows of stitching. But a little care goes a long way in making sure you have even stitching, and your fabric is not pulling to one direction or the other in between your rows. Finish the waistband, and sew it in place at the bottom, as directed in the tutorial. Next, you’ll make your top row of stitching. I chose to sew it 1/4″ away from the edge, since it’s an easy guide on my machine. As you’re sewing, stretch out the elastic, so there are no wrinkles in the fabric. I put one hand behind the presser foot, and one in front, to keep the elastic stretched out completely. Sew all the way around.
Now, measure and mark the middle, in between your top and bottom rows. Sew your third line on that mark. Make sure you are stretching out the elastic all the way, again. Once you’ve finished that, you are done! Enjoy the comfort, and the professional look of your waistband! – Liesel
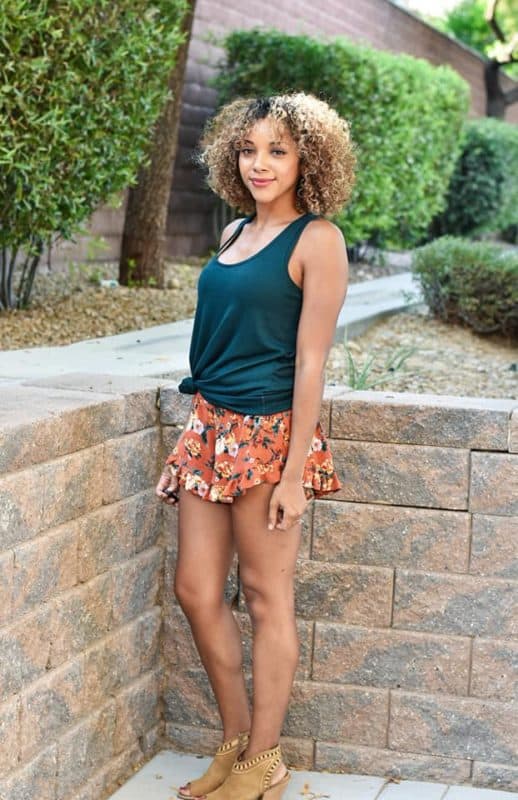
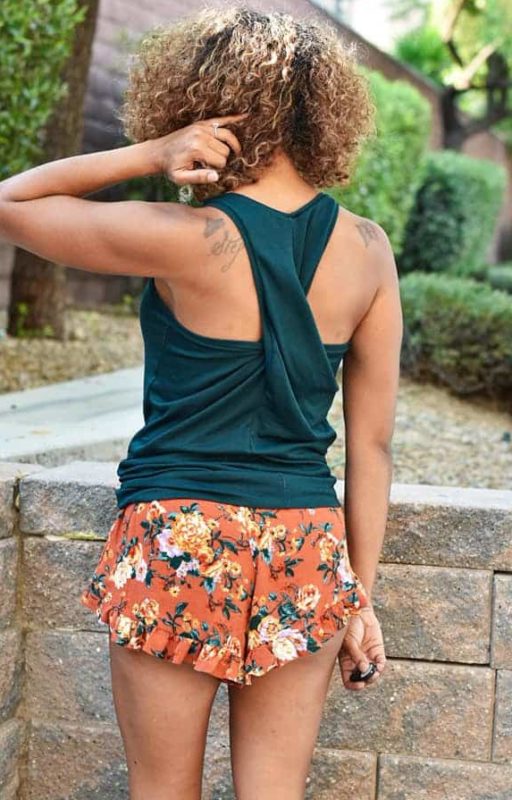
Women’s Leg Ruffle
The girls’ Lucy already has the leg ruffle included in the tutorial, but we thought some of you might love it on the women’s version too!
Cut your Lucy pattern pieces per the tutorial. Stephanie used the 3.5″ cut line for her shorts. Next, you’ll cut two ruffle pieces 4″ long, and to determine the width, you will use the leg opening x 1.75″. For example, if you measured the leg opening at 20″, your ruffle pieces would be cut at 4″ x 35″.
To create the ruffle, press pieces in half with wrong sides together. Use your favorite gathering method to gather top unfolded edge of ruffle. After completing Step 3 of the Women’s Lucy tutorial, pin or clip your gathered ruffle piece to the bottom your leg piece, then stitch together using a 1/2″ seam allowance. Repeat for opposite leg. After attaching the ruffle pieces to both legs, continue with the tutorial as written. Tip: You may wish to topstitch for a more professional looking finish.
DIY Tassel
Looking for another way to add a little character to your Lucy shorts? Megan T. did an easy tutorial for DIY tassels!
Styling Your Lucy!
Let’s be honest, sometimes a loose fitting short can lend itself to feeling like pajama shorts or lounge shorts. But it doesn’t have to be!
Fabric
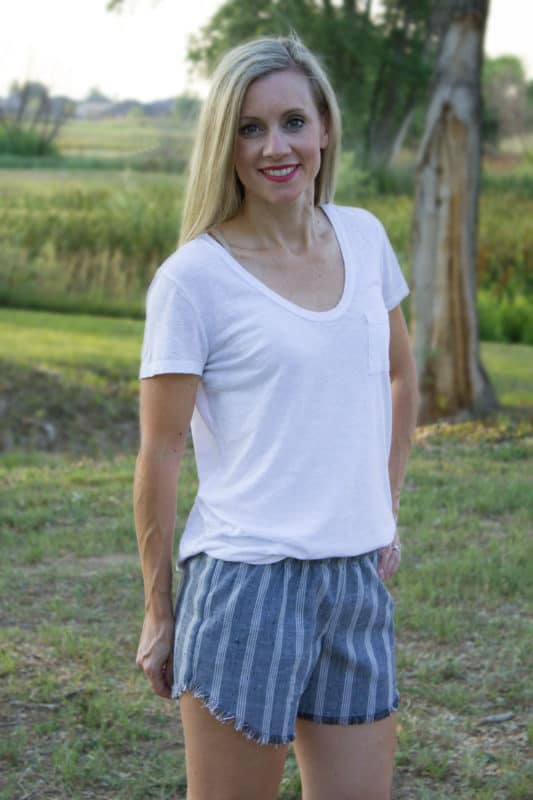
First, let’s talk fabric. Fabric choice is going to play not only a role in the fit of your Lucy, but it will also play a role in the look of it! Knit fabrics, especially lightweight knit fabrics like rayon spandex, will fit much more loosely than an apparel woven or a more stable knit such as cotton lycra. See the difference in my knit woven Women’s Lucy shorts below:
There’s also the type of fabric. Certain fabrics such as French Terry are already associated with pajamas, so you may feel more like you are wearing pajamas if you choose these types of fabric.
Accessories
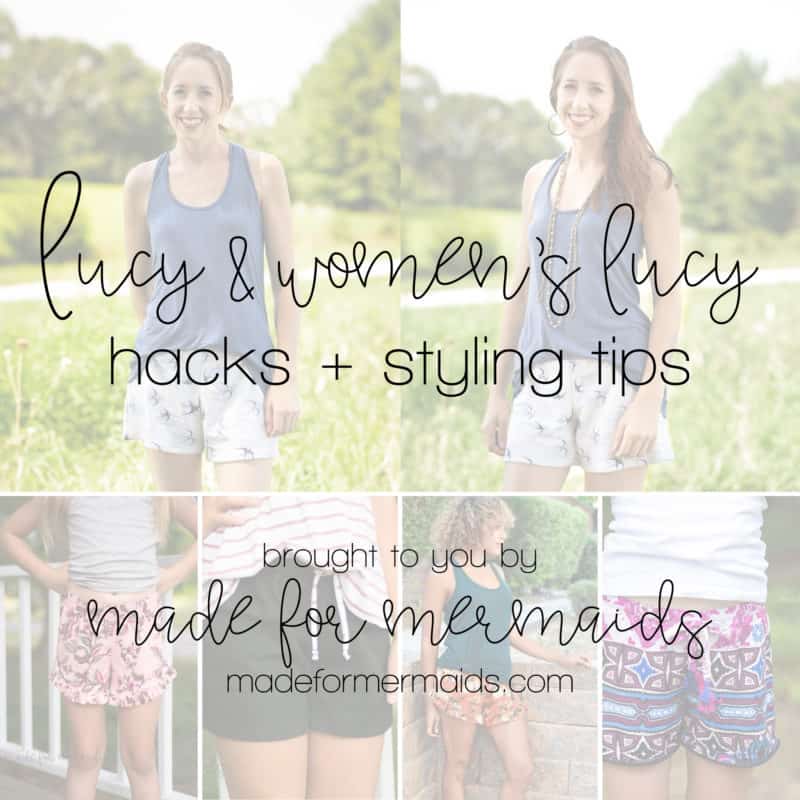
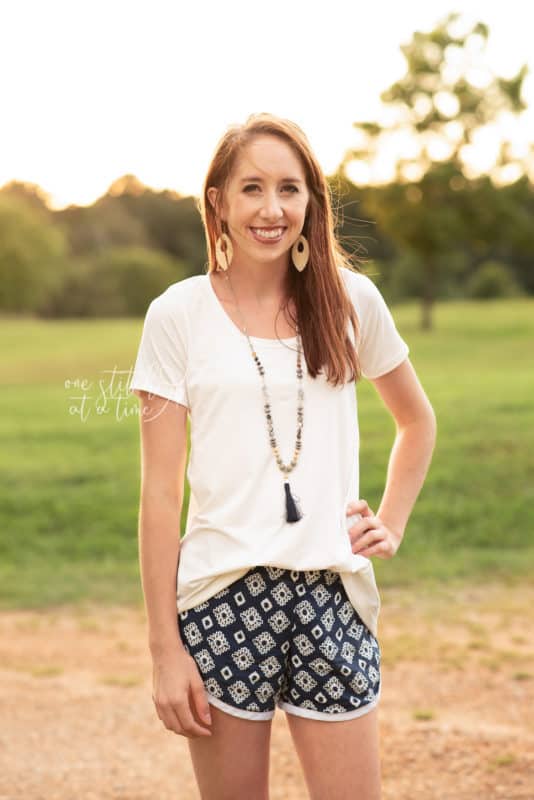
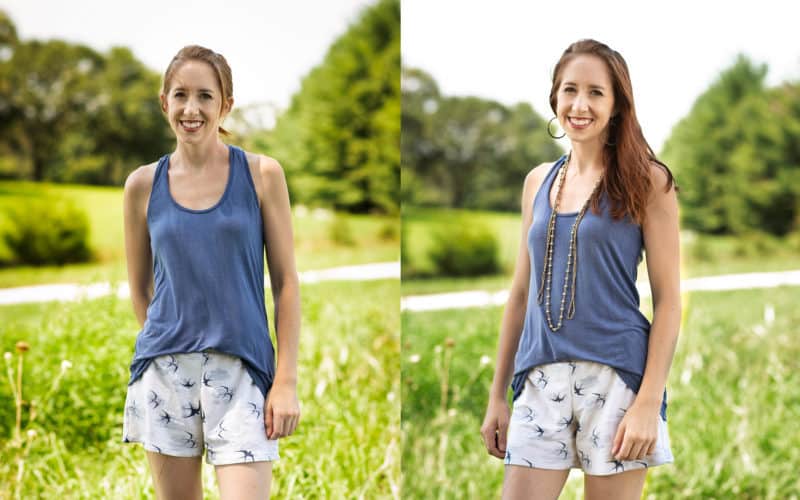
The absolute best way to dress up your Lucy is to add accessories! Add a statement necklace, a cute pair of wedges, a more dressy top, and you can take your Lucy from PJs to everyday wear, or even a casual date night outfit! The images below were taken 60 seconds apart from each other. The only difference was taking my hair down, adding earrings and cute necklaces! If you’re feeling a little frumpy in your Women’s Lucy Shorts, just add something a little extra and it will make all the difference!
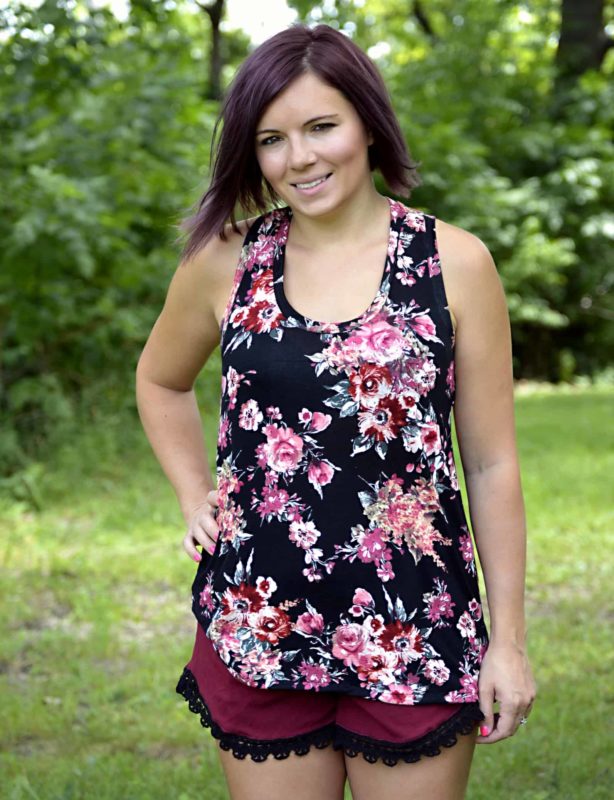
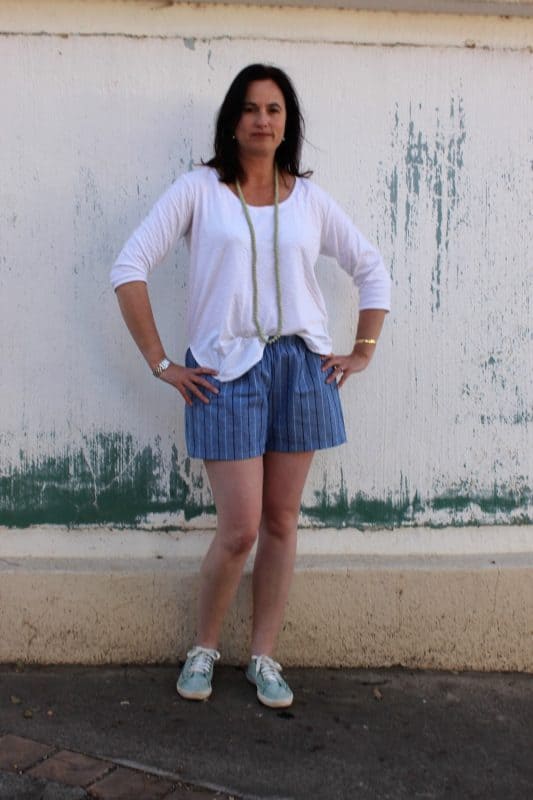
Our testers did an amazing job at styling their Women’s Lucys!
Grab your copies of Lucy and Women’s Lucy if you haven’t already! Don’t forget to share your newest creations over in our Facebook group. We can’t wait to see what you come up with!



OMG I lOVE your blog. I saw a fb posting a about stretch. Just bought a serger and can’t wait to play! I’m a follower for sure!