The new and improved Mya and Women’s Mya are releasing today! She is already packed full of fun options, especially with the addition of the tank cut lines, but we still wanted to give you a few ideas to keep your closet full of Myas looking fresh and unique. Mya is a knit top, curved tunic, or dress that is fitted at the chest with a slight a-line. Options include 3 neck options (high, low, and cowl), 2 tank options (regular tank or racerback), and 3 sleeve lengths (short, 3/4, long). If you’ve already purchased Mya or Women’s Mya in the past, you just need to download the newest version in your account! If you haven’t purchased them previously, be sure to grab them while they’re on sale.
Color Blocking
We have a couple different ways for you to color block Mya! Liesel and Jody did two different versions for totally different looks using the same pattern!
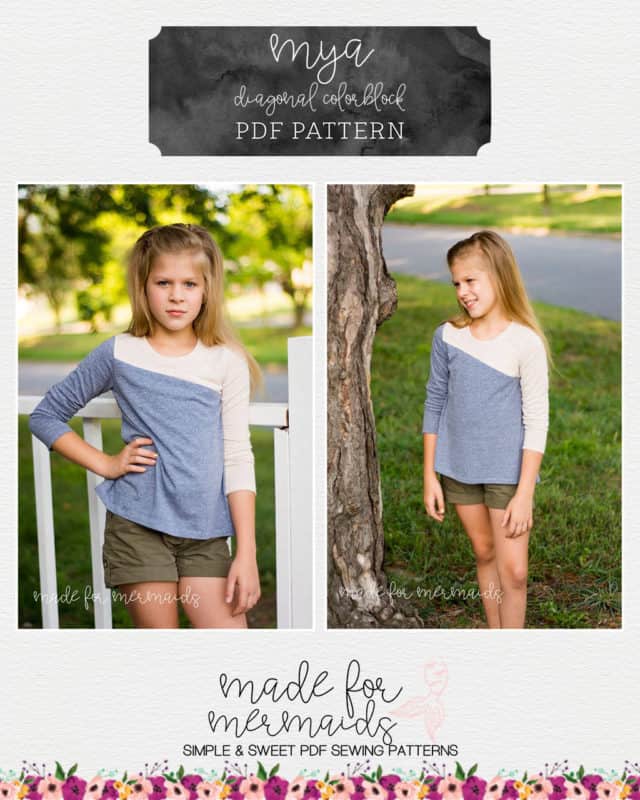
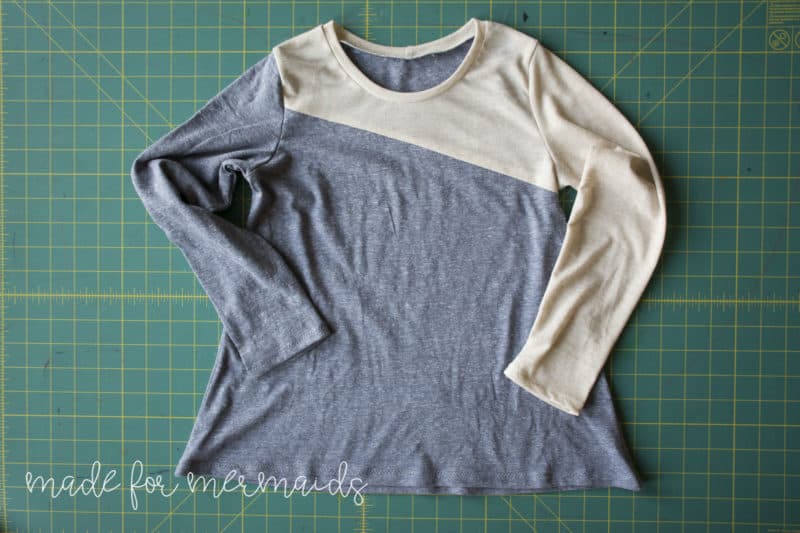
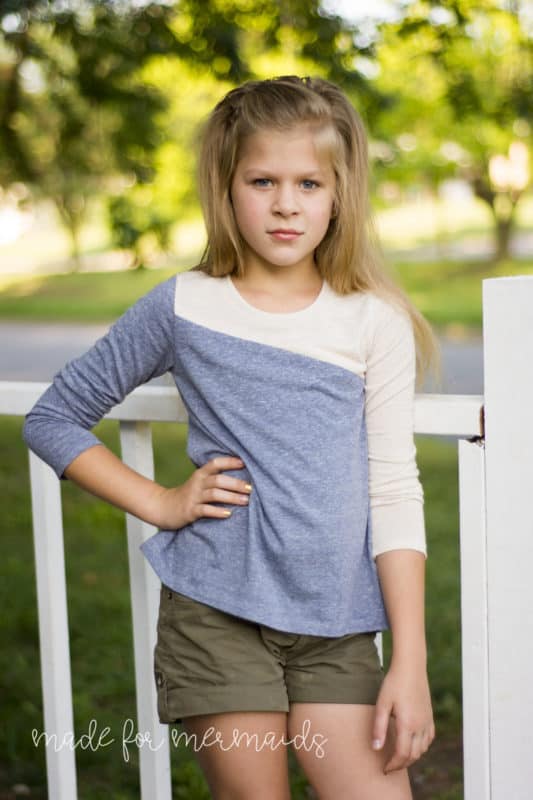
Diagonal Color Block
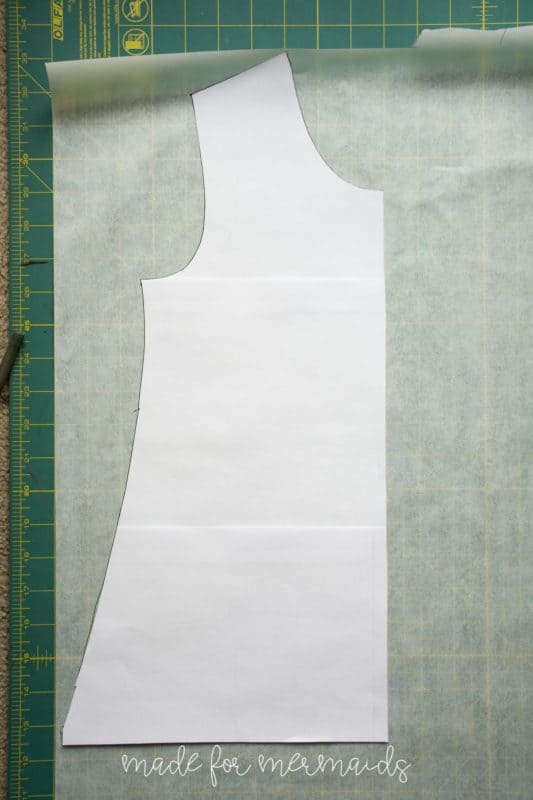
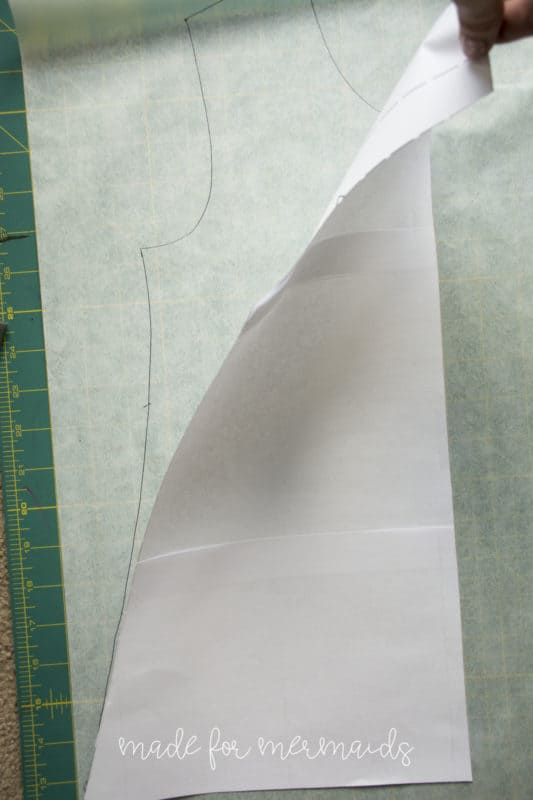
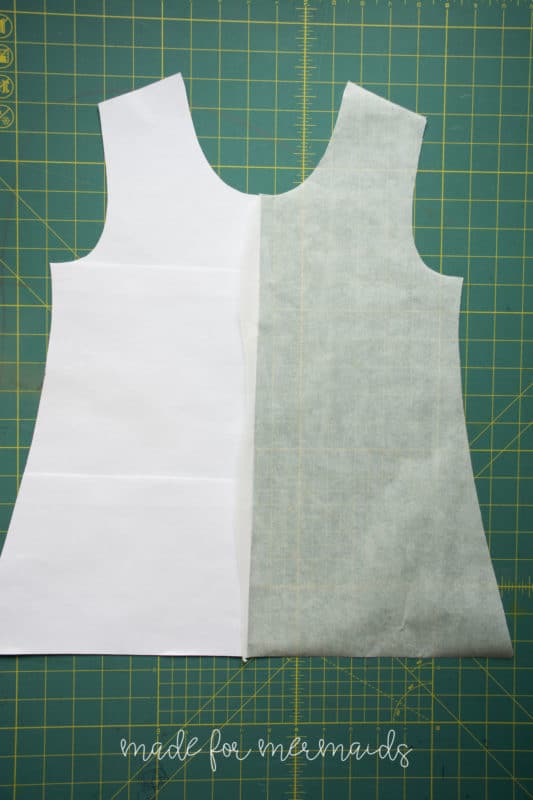
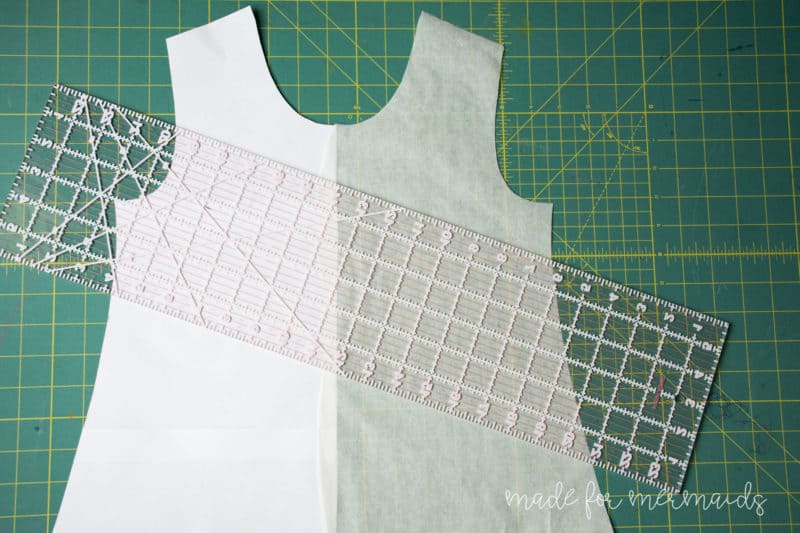
I have a simple color block hack that you can use on any plain front bodice, and it works perfectly on Mya. You can do this with the women’s or girls’ version! This would be fun with school colors, football team colors, or for some print mixing! You’ll need the full front bodice pattern piece to make your color block pieces. The easiest way to do this is to tape it down the fold onto another piece of paper. Trace around it, and then open it up, and cut around the other half you just drew. This is a good time to mark the center of your neckline if you’d like to, so you have it marked when you’re ready to add the neckband.
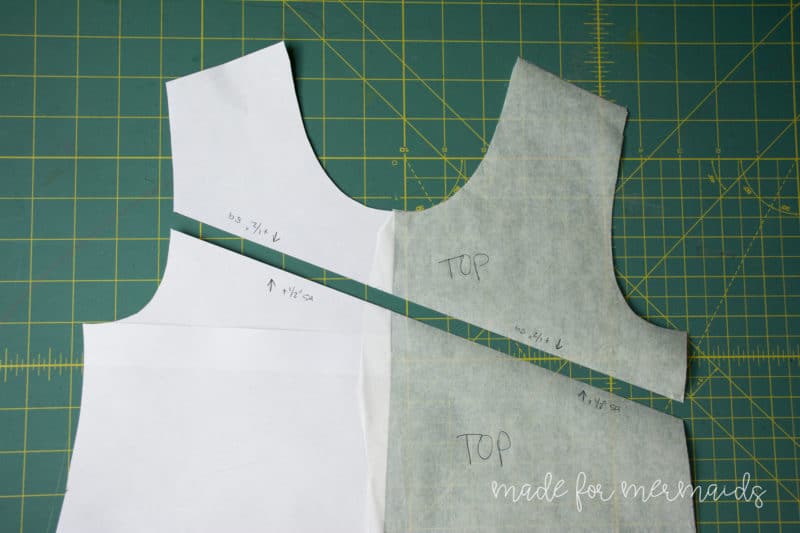
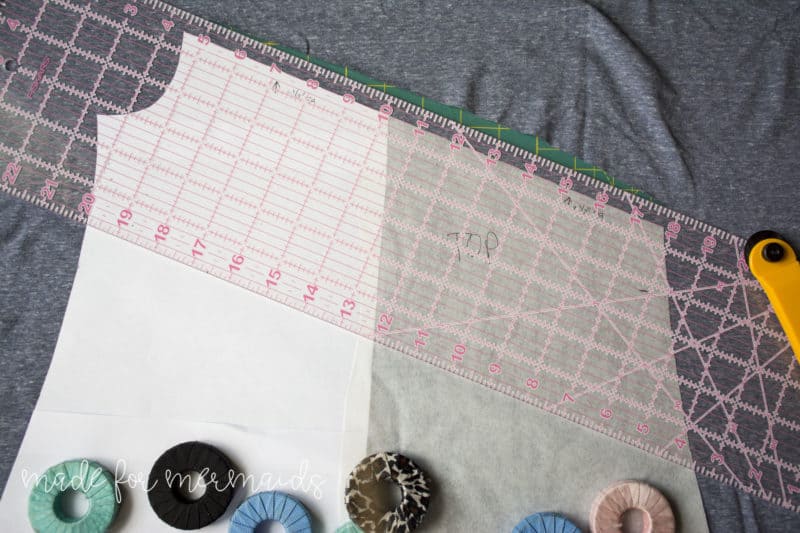
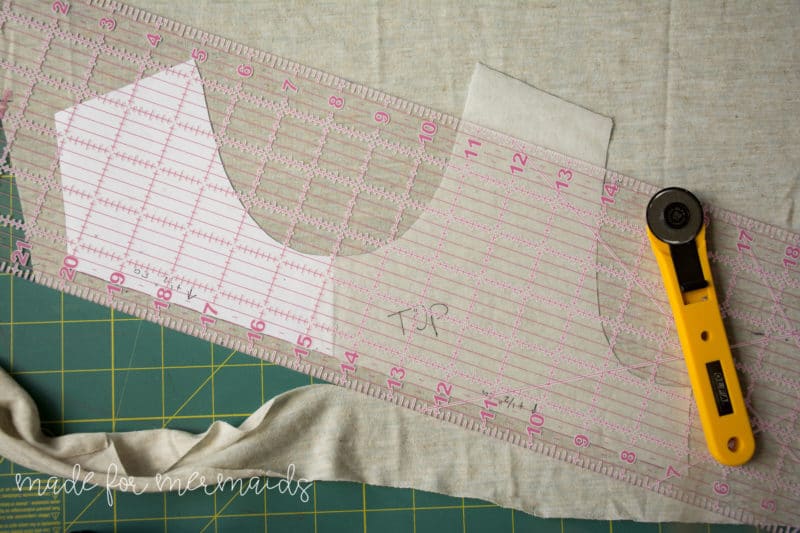
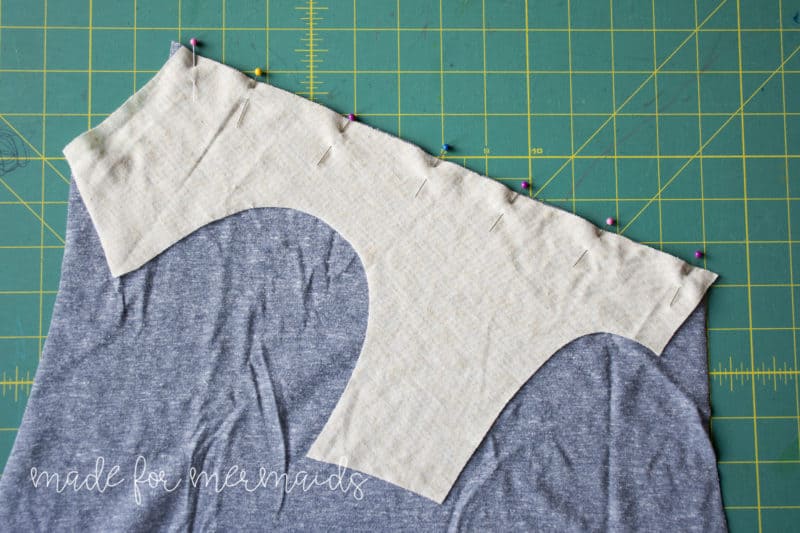
Next, you get to make your line. You can do this in any design you want! I placed mine about halfway up the armscye on one side, and angled it down to about an inch and a half below the bottom of the armscye on the other side. If you’re making a women’s version, the placement of this line will matter a lot more! You don’t want the seam cutting through the middle of the bust. Make sure the lower end of your line doesn’t land more than 1-2″ below the bottom of the armscye. Now, cut your pattern piece apart on the line you just drew. You can trace the whole thing onto another piece of paper, to add seam allowance, but I just make a note to myself to add the 1/2″ seam allowance on that edge on both pieces. I write it twice to make sure I don’t miss it 🙂 Also, mark your pieces somehow, so you place them both right side up when you’re cutting.
Make sure your fabric is right side up, and your pattern piece is right side up when you cut, for both pieces! It’s best to use two fabrics that are similar in weight and drape.
Sew the two pieces together. I prefer to use a sewing machine for this step. Even though I love my serger, the sewing machine provides a much flatter seam, that looks better to me. Line up your pieces so that they match at the seam allowance, and stitch them together. Press your seam open, or down. The rest of the construction for the top is the same as in the tutorial included with the pattern! Enjoy your new creation! – Liesel
Color Blocked Yoke + Center Back Pleat
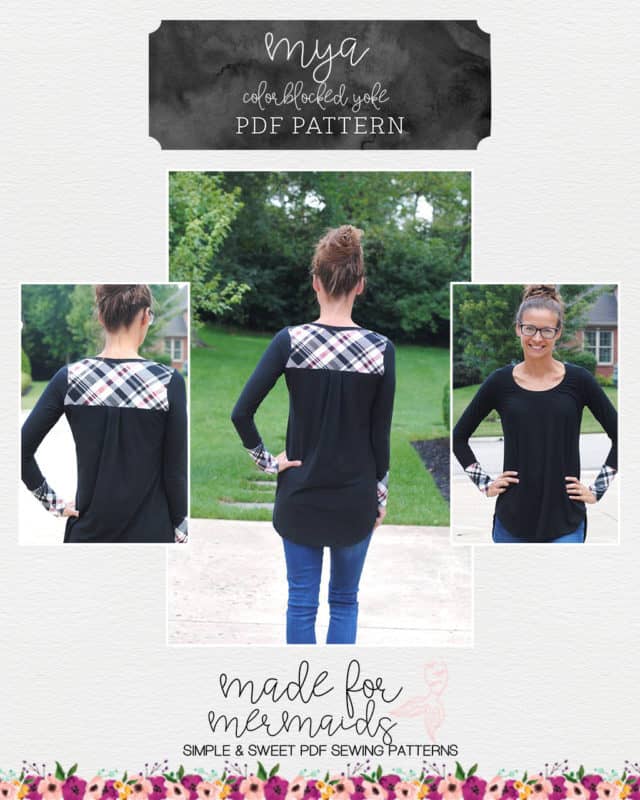
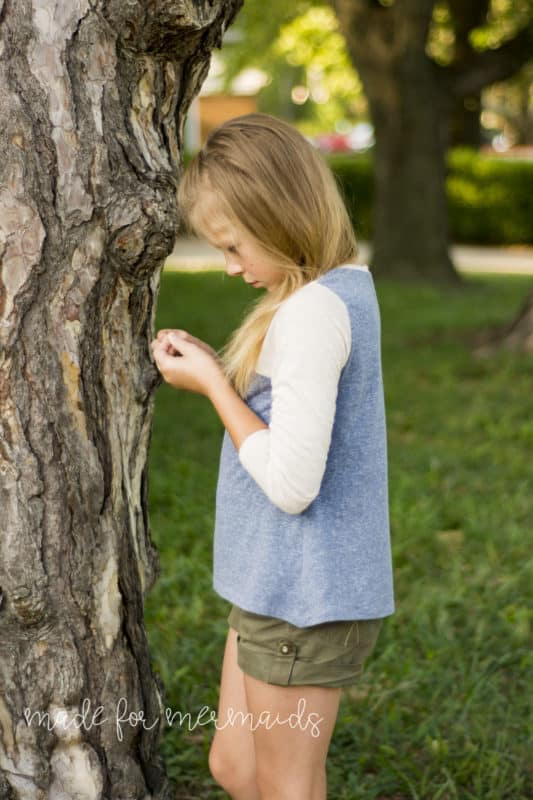
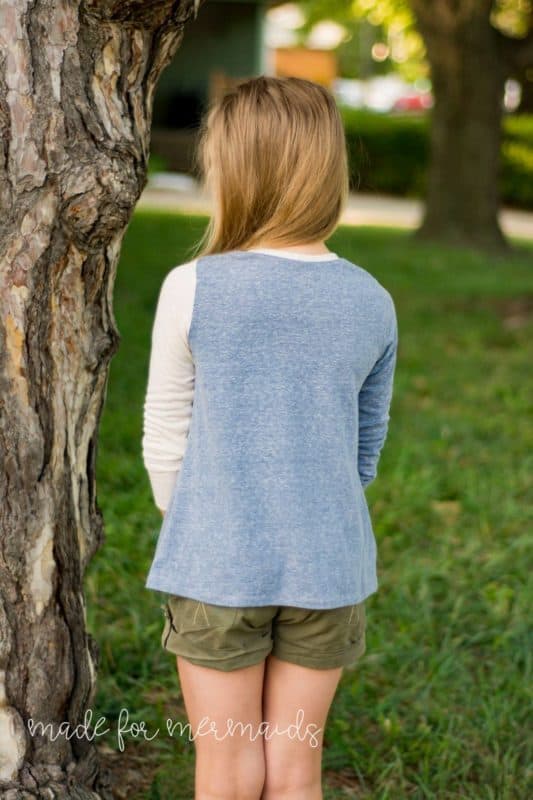
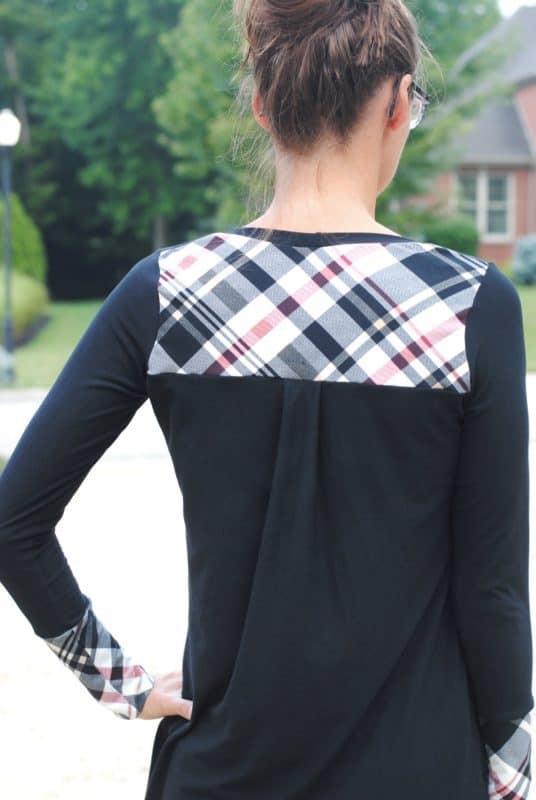
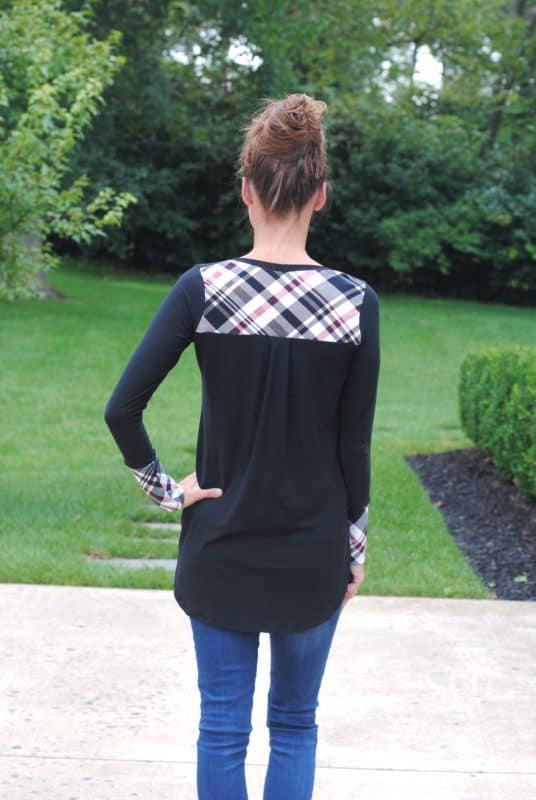
Color blocking is one of my all time favorite hacks that can be done on a really wide range of patterns. By using some of the basic principles that Liesel and I show in our versions, you can really add a color-blocked accent to any pattern! I took this particular color blocked shirt one step further by also adding a little pleat at the center back. I’ve included below how I added the color blocked back yoke, and then the center pleat.
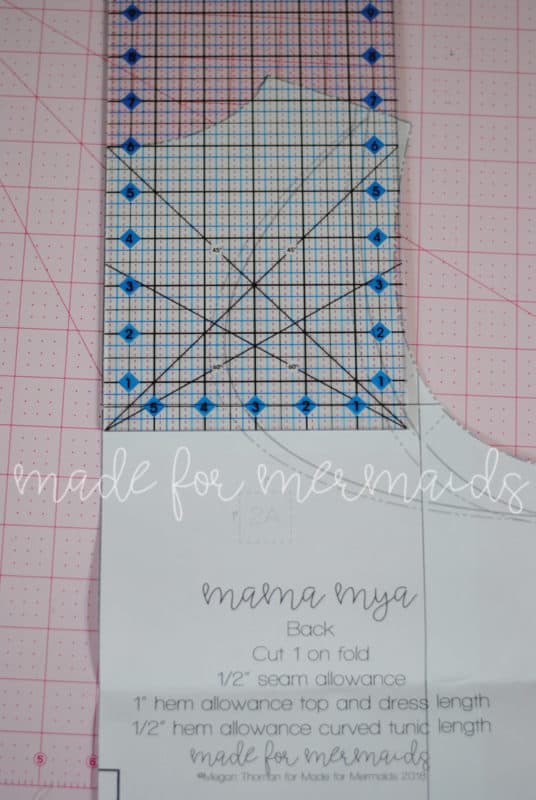
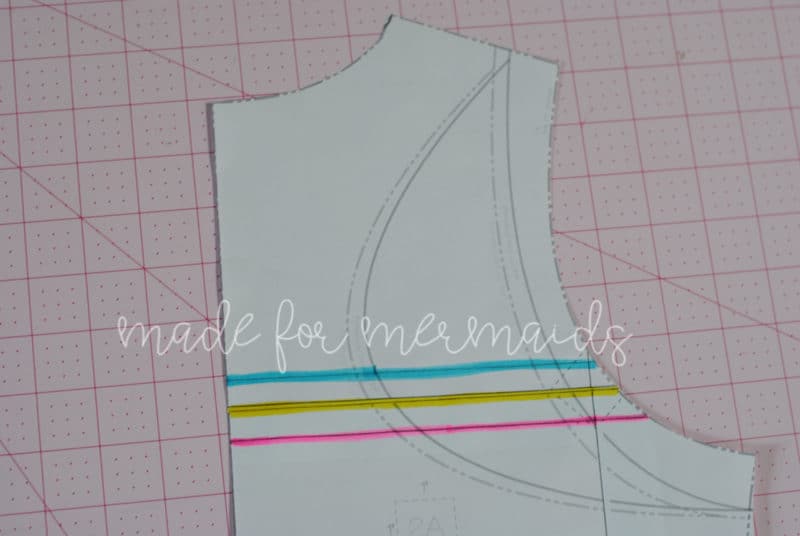
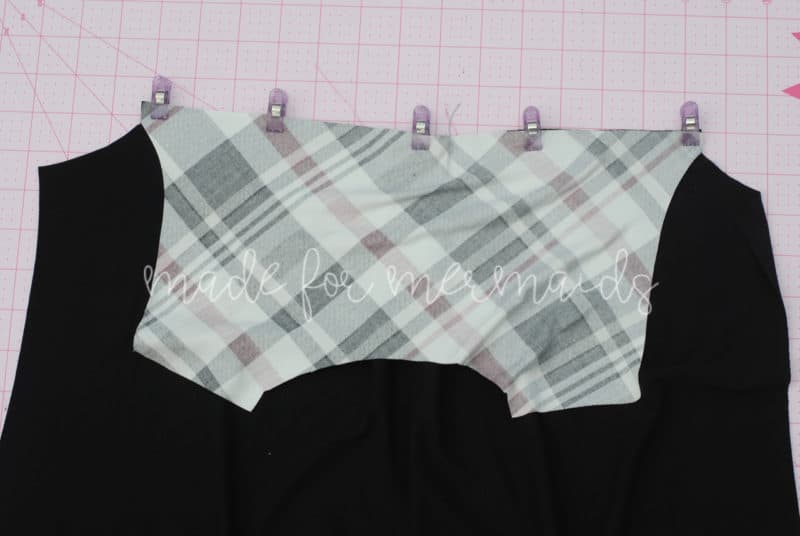
First, I measure how big I want my yoke to be. I decided about 5″ or so would be good for the yoke itself, making sure to include a 1/2″ seam allowance for the neckband, and a 1/2″ seam allowance for attaching the yoke to the bottom bodice.
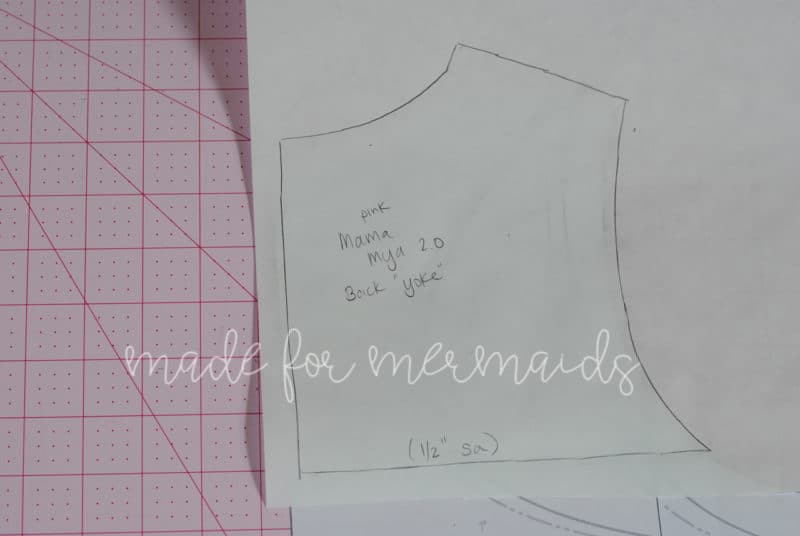
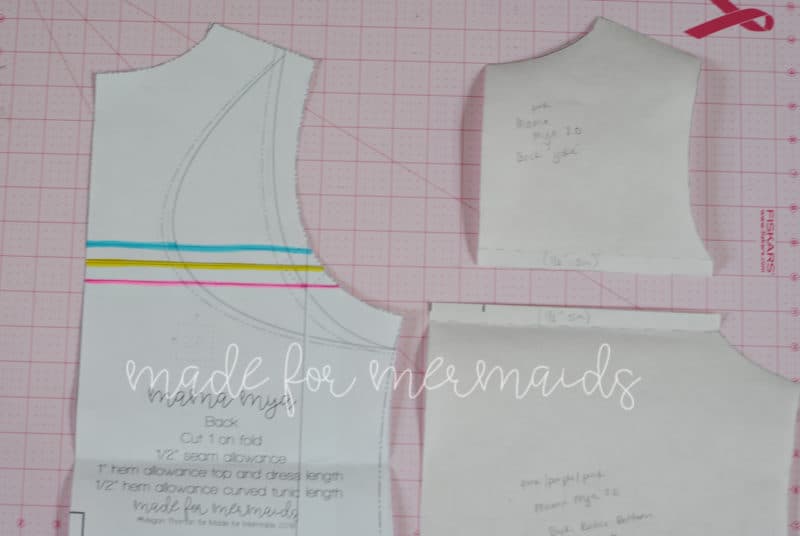
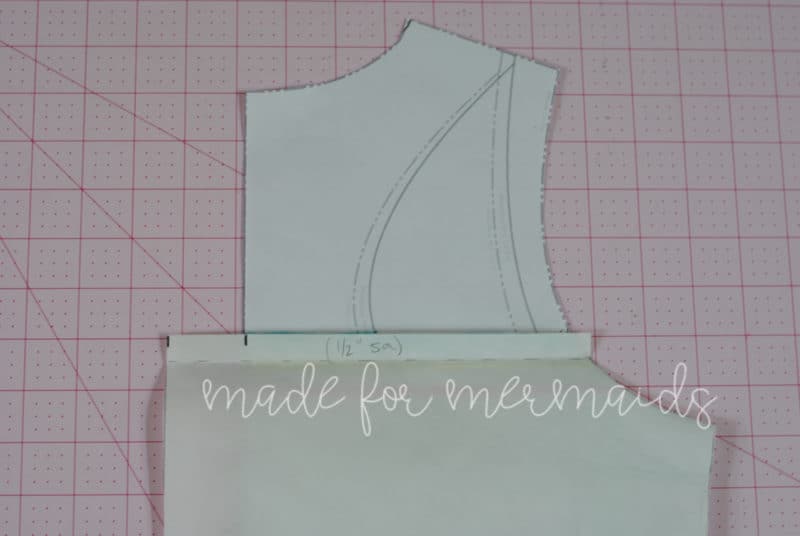
Where the yoke will attach to the bottom bodice is shown above in yellow, the blue line is the seam required for the bottom bodice piece, and the pink line is the seam allowance for the yoke piece. I then traced my yoke piece onto a separate pattern piece, following the outline down to the pink highlighted line.
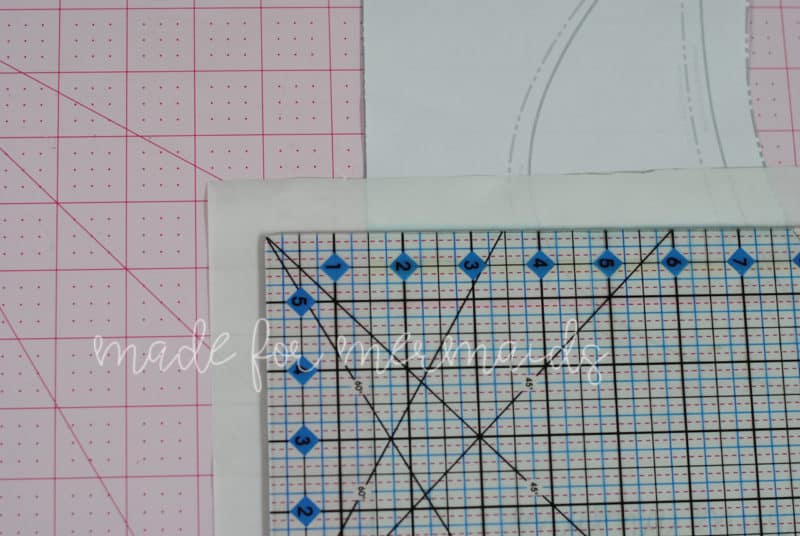
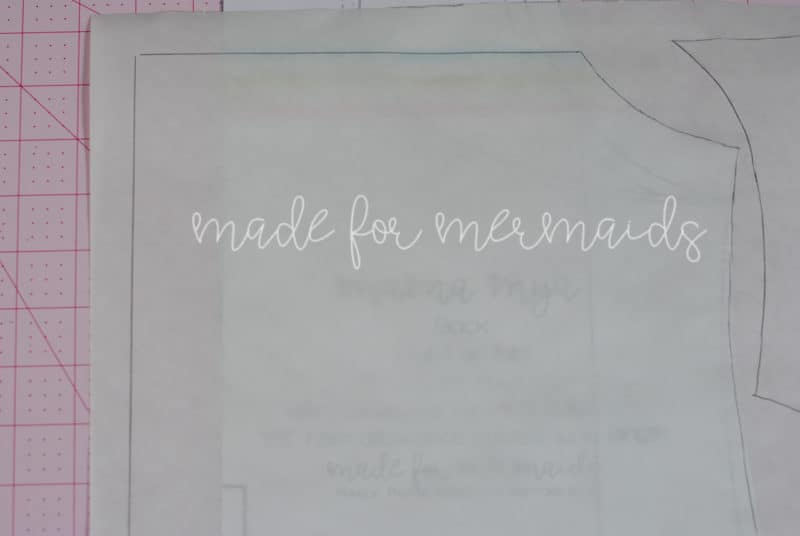
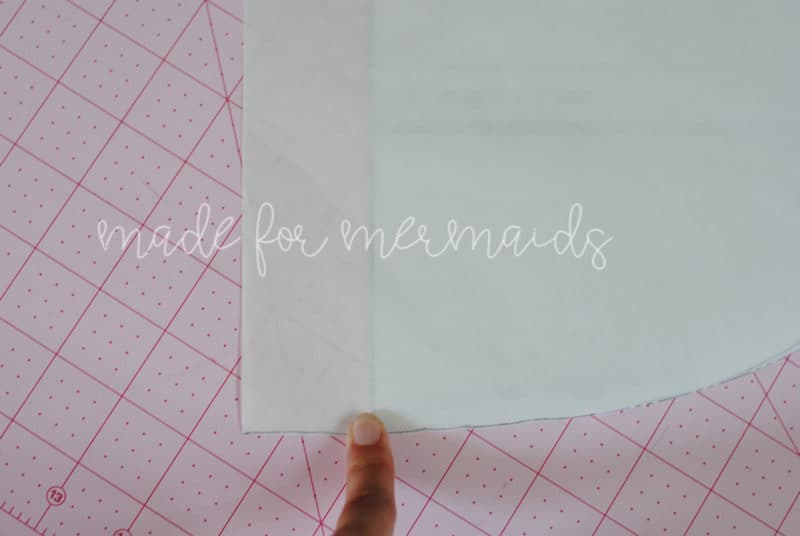
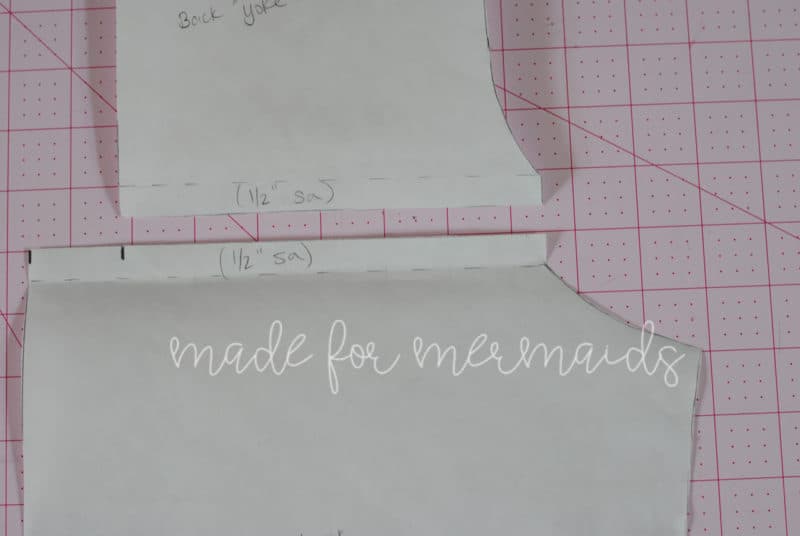
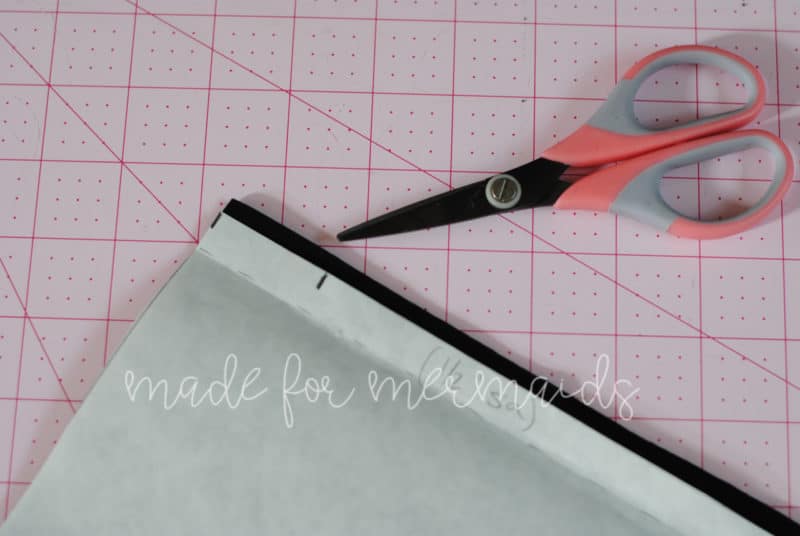
For the bottom bodice piece, I needed to extend the width of the bodice to have enough fabric to create that pleat. I chose to extend the bodice by 1.5″. I simply traced a new bottom piece from the blue line out from the fold line 1.5″ all the way down. You can see the comparison of the full pattern piece to the 2 new pattern pieces: the yoke plus the extended bottom bodice piece. As you can also see in the next picture, I like to “true” the seams (that vertical little bit at the far right side of the new pattern pieces I’ve traced) so that when its sewn together they match up. If you don’t “true” your seam allowances, you’ll have little angled bits that don’t always seem to line up right.
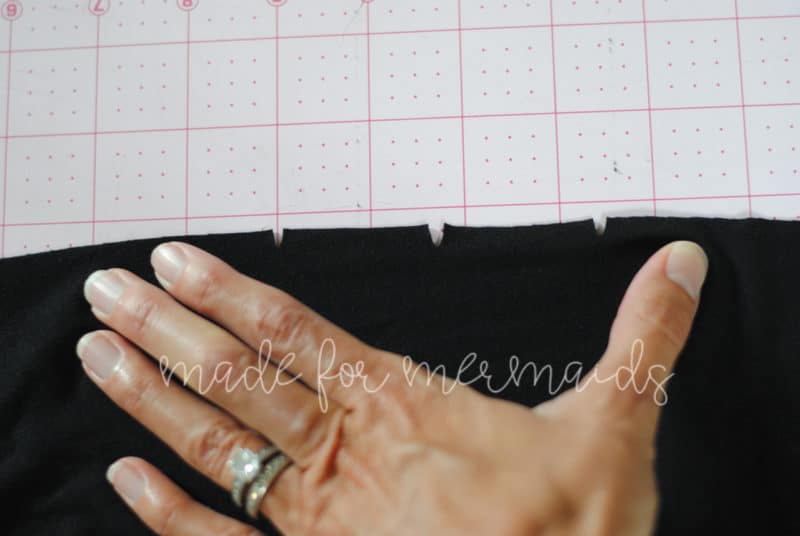
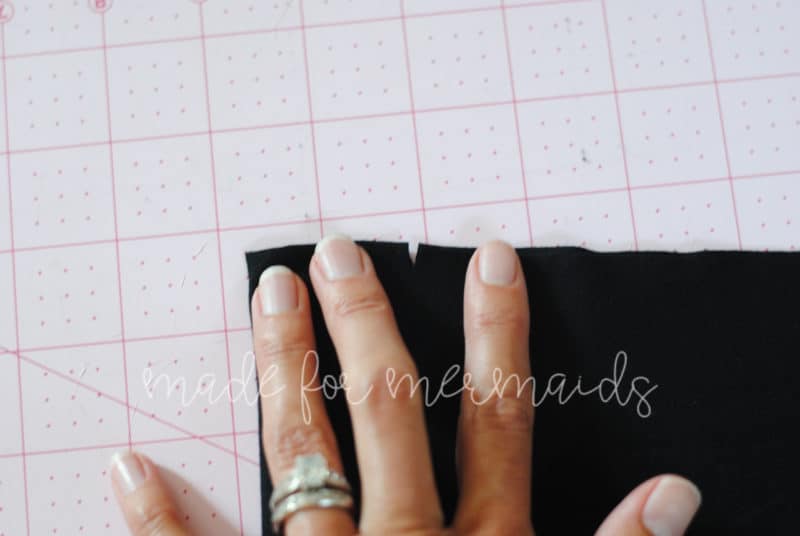
Next, you will need to create notches for your pleat. You will mark at the new fold line, and also on both sides of where the fold line used to be. Somewhat similar to how things work in the Joy pattern, you’ll want to make little 1/4″ snips at the pleat markings. You will have 3 markings total: you will make one snip at the fold line, and another 2 snips at where the old line previously was.
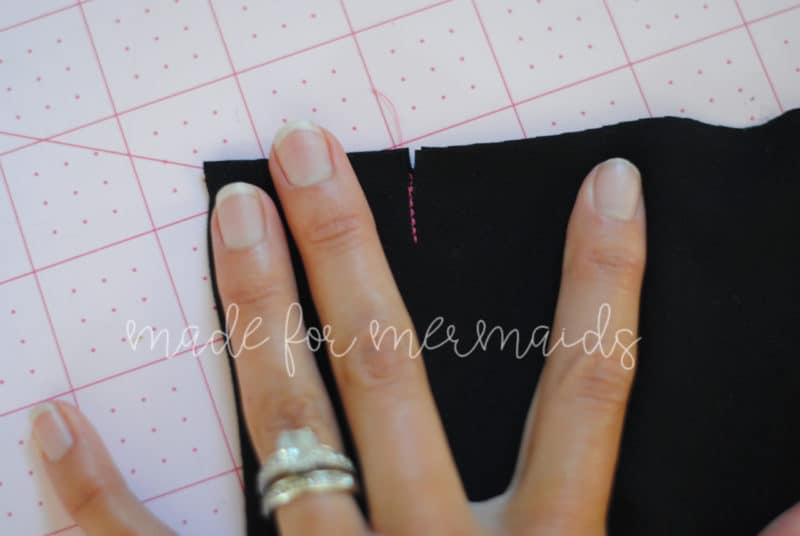
Fold your fabric right sides together at the fold and sew a line of stitching down from your other 2 notches about 1/2″. These stitches will be hidden inside the pleat, so go ahead reinforce them. Joy calls for an option of using basting stitches here that can be removed at the end, but I prefer to leave these stitches in to create a nice, crisp pleat.
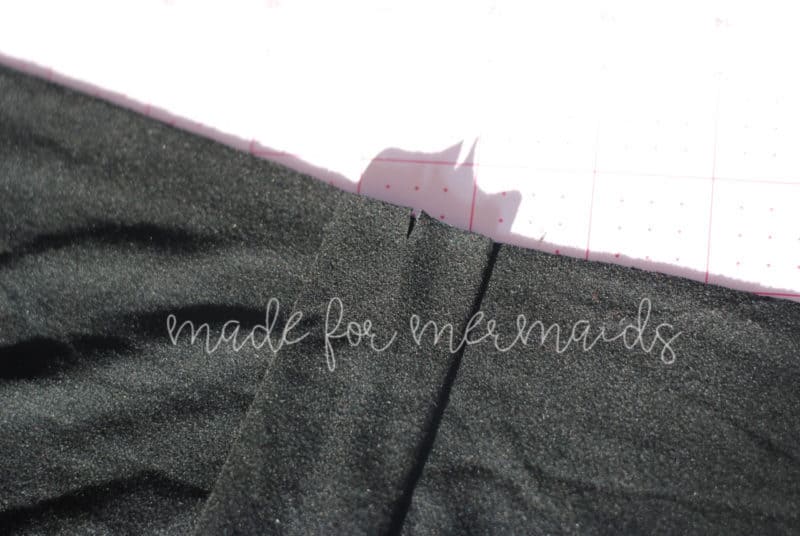
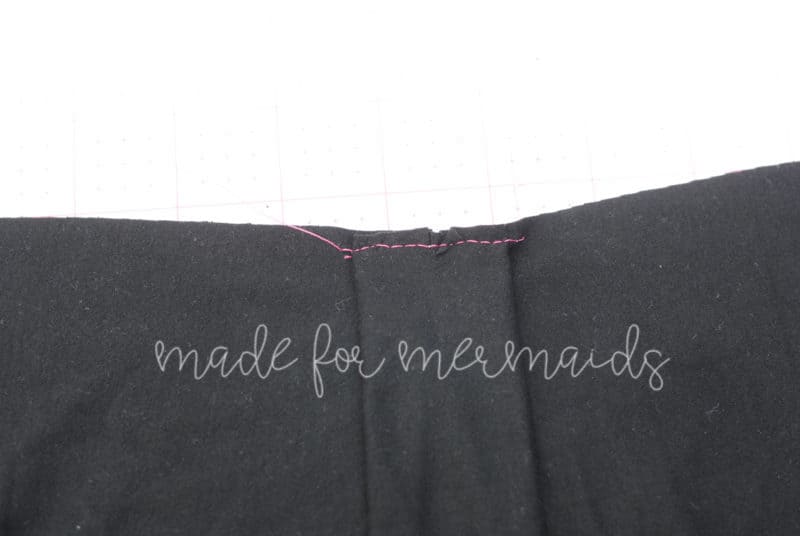
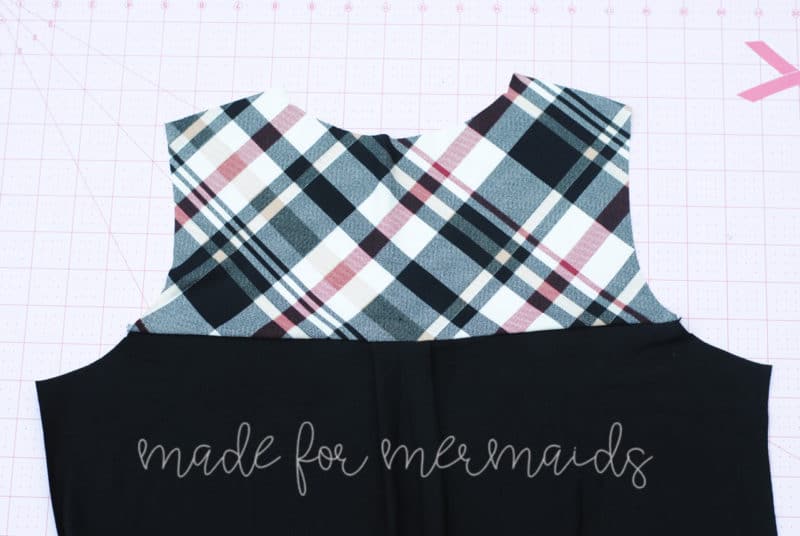
Match up your last, center snip you marked to the line of stitching you just made, and press flat, creating the pleat itself. aste along the top of the pleat to secure it in place
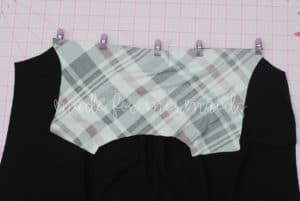
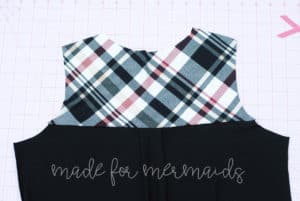
Now, thanks to that pleat you just made, your bottom bodice will be the same width as the yoke again, and you can attach the yoke and bottom bodice, using a 1/2″ seam allowance to create a full back piece, to then continue on with the rest of the pattern instructions.
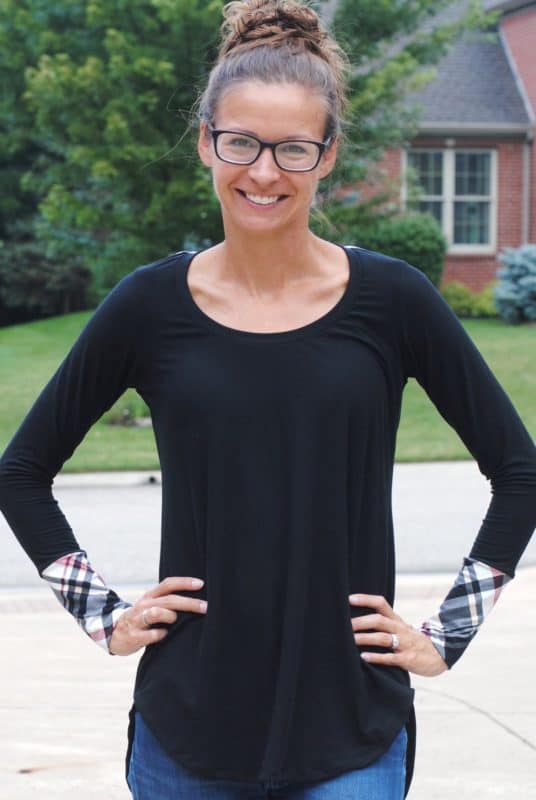
I also added long cuffs to my top, roughly following the Tara cuff hack that Liesel also wrote up, but extending them a little bit. For mine (size pink for reference) I shortened my sleeve piece by 5″ and added a cuff 12″ long (by 8″ wide.)
I foresee lots of these in my future, especially a dress version next as it would be perfect for fall!
Happy Sewing… Cheers, JODY
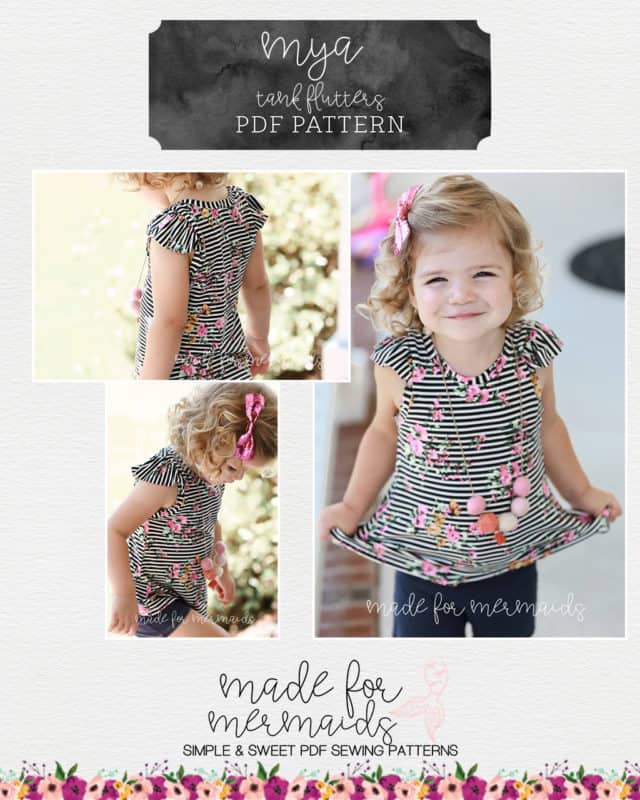
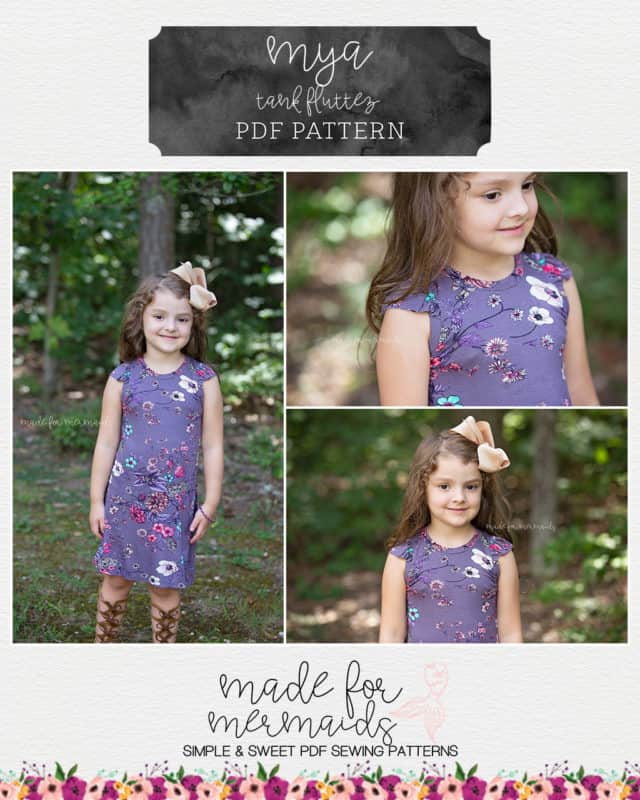
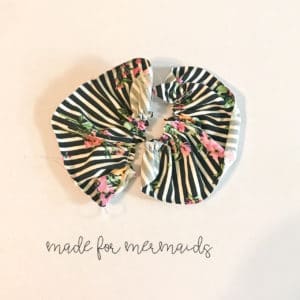
Tank Flutters
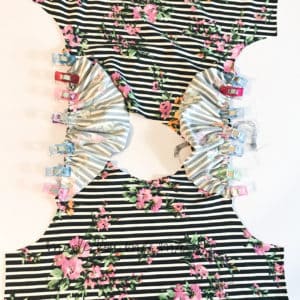
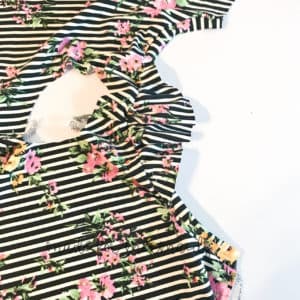
Adding flutters to the Mya tank option is a really easy way to add a little variety! To add them to the tank, cut your Mya tank pieces out per the tutorial using the regular tank cut line. Be sure to transfer the flutter notches from the sleeved version over to the tank version. I just marked them on my pattern piece, and then made sure to cut the notches out when I cut my fabric pieces. You will also need to cut two flutter pieces; the flutter piece is included in the Mya pattern.
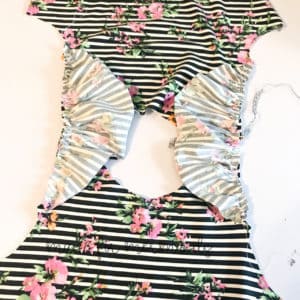
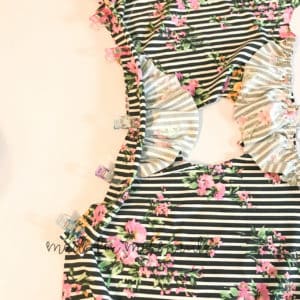
Per the Mya tutorial, attach your bodice pieces at the shoulder seams with right sides together. Using your favorite gathering method, gather your flutters along the curved edge. Clip or pin the gathered flutter between the notches along the armscye. I like to clip the center and each edge, and then even out my gathers in between the clips. Baste your flutters to your armscye.
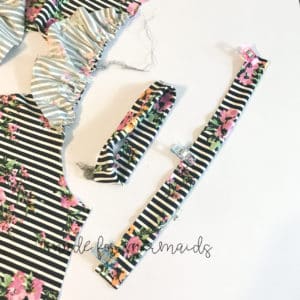
To attach the arm bands, you can either create a loop and attach in the round per the tutorial, or you can attach them flat if you are worried about the flutters getting caught up in the seam allowance. I did one of each and they really are fine either way, but if you don’t feel confident doing bands as is, you may feel more comfortable doing them flat.
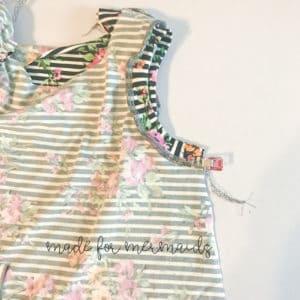
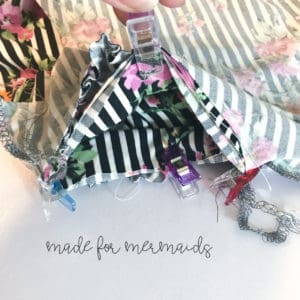
To attach flat bands, find the center point and each end point. Clip the center point to the shoulder seam, and clip the end points to the ends of the armscye. Ease your band in between the clips, being sure to keep your flutters out of the way of where you will be sewing. Serge or stitch your band to your armscye using 1/2″ seam allowance. Once you’ve attached the band, pin or clip the ends together and sew your side seam. If you attach your bands this way, be sure to secure your serger tail so that your threads don’t come loose. Repeat for opposite side.
If you decide to attach your bands in the round as described in the tutorial, you will be able to follow the Mya tutorial as is! The only difference is you will have to be aware of the flutter layer sandwiched in between the band and the armscye. Either way will work just as well.
After your arm bands are attached and side seams are sewn up, finish construction per the Mya tutorial. – Colleen
Tip: This is an easy way to add a “sleeve” if your child’s school has strict tank top strap width guidelines. The straps on Mya are wide as is, but I know some dress codes are more particular than others.
Styling Tips
If you’re looking for fun ways to style your Mya through different seasons or for different occasions, we’ve got you covered!
Mya For All Seasons
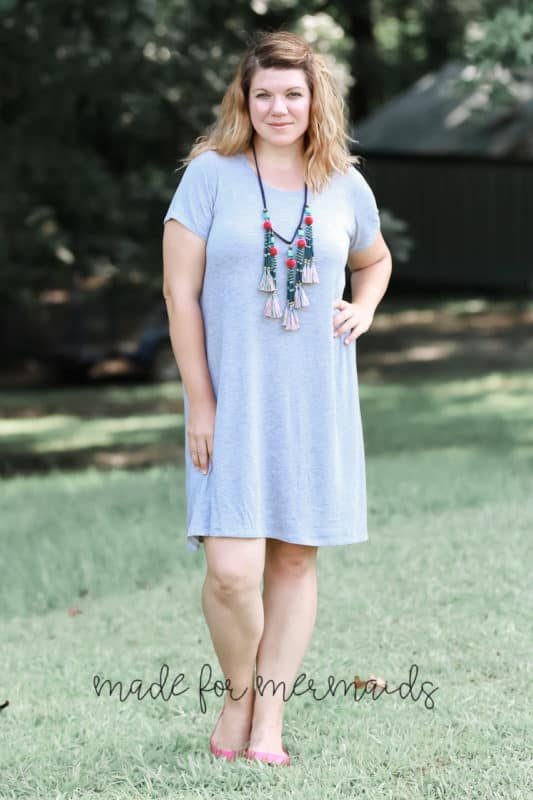
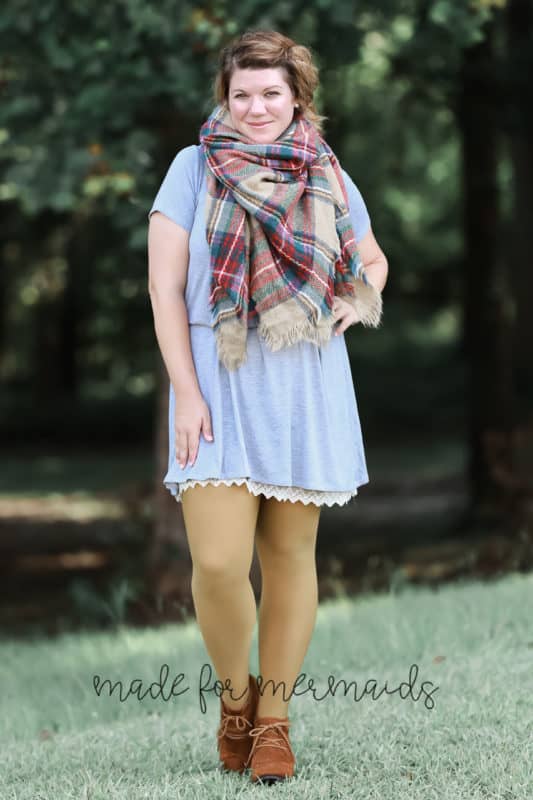
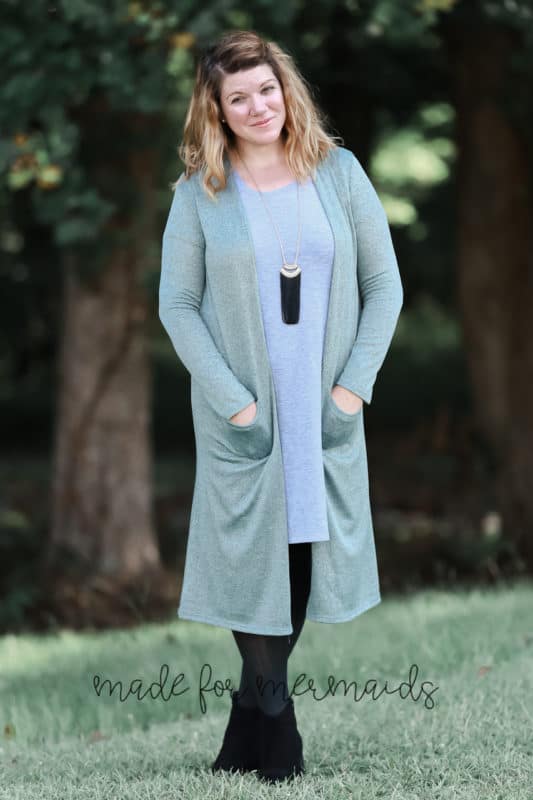
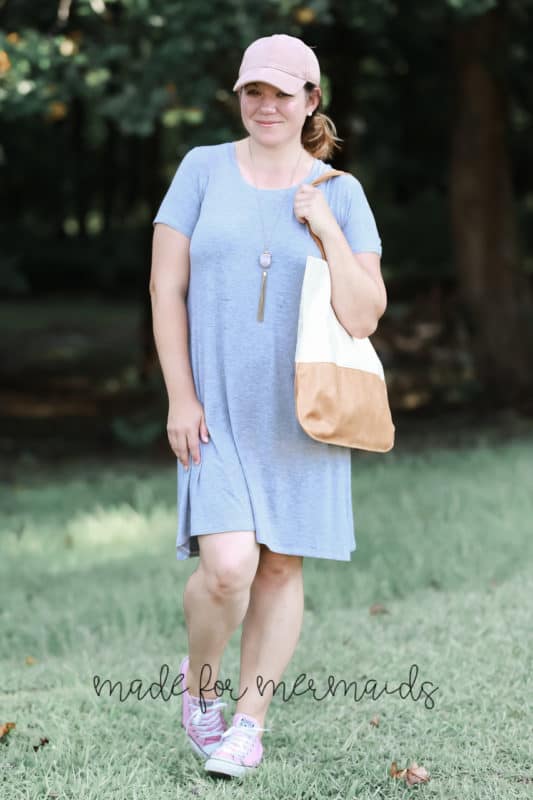
Mya is such a great staple piece, regardless of season! I used the same basic gray Mya dress to show how I might wear it differently in each season. Of course, the sleeve and cowl options make it great for multiple seasons too, but I know sometimes it’s hard to sew up all the versions we’re dreaming of!
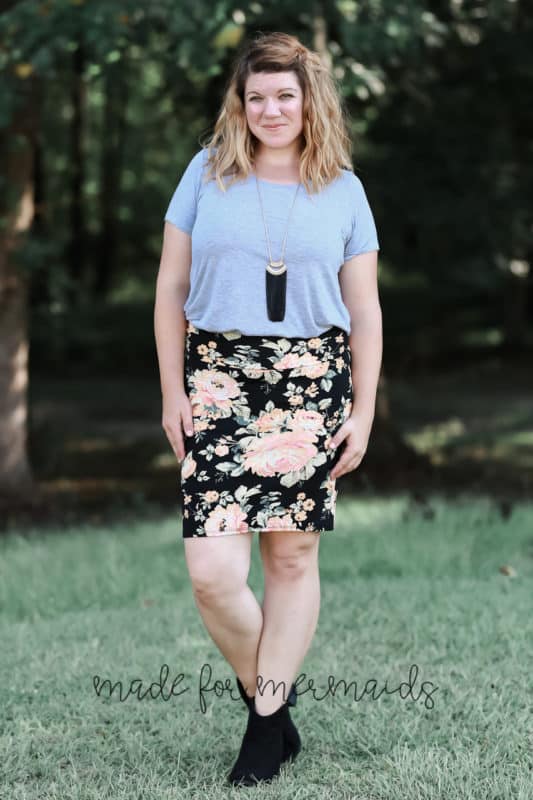
For spring, I might tuck it in to a Pirate Pencil Skirt, or a Mama Joy Skirt separate. Of course, this would be easier with top or tunic length, but it certainly works with the dress length too if you blouse it out a bit. I dressed it up just a bit with booties and a long necklace.
My summer Mya is paired with cute flats or sandals, and a funky necklace.
Fall Mya is my favorite (although I won’t need that outfit for several months, haha!). I belted it so I could blouse it a bit, and layered it over tights and a lace trimmed Mama Quinn dress (but the dress extender would be perfect too!). When it’s actually cold enough for layers, you could throw on a jean jacket or a chambray shirt.
Mya is even perfect for winter! It’s a great layering piece under Darcey or any of the cardigans for Patterns for Pirates. You could play around with the Lola cover up, too, if you wanted to get creative with your layers. I paired with cable knit tights and booties for an easy cold-weather look!
Dress It Up or Dress It Down
We see a lot of posts in the group about whether or not something looks like a nightgown. Truthfully, anything can look like bed clothes, especially if you’re trying it on in the wee hours after you’ve just finished sewing (or maybe that’s just me, hahaha)! If your personal style doesn’t include jewelry or accessories, you may prefer bolder, brighter solids and patterns. I love softer, muted solid colors and florals too, but those fabrics tend to be what people find the most nightgown-esque on themselves.
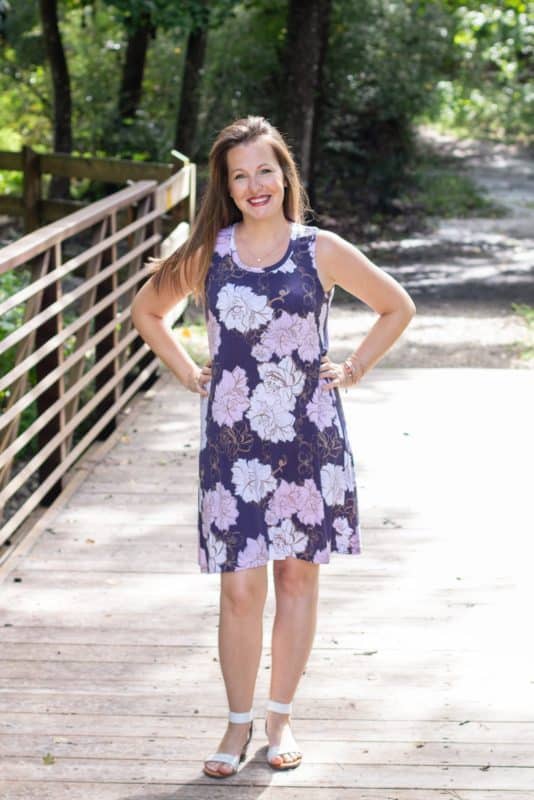
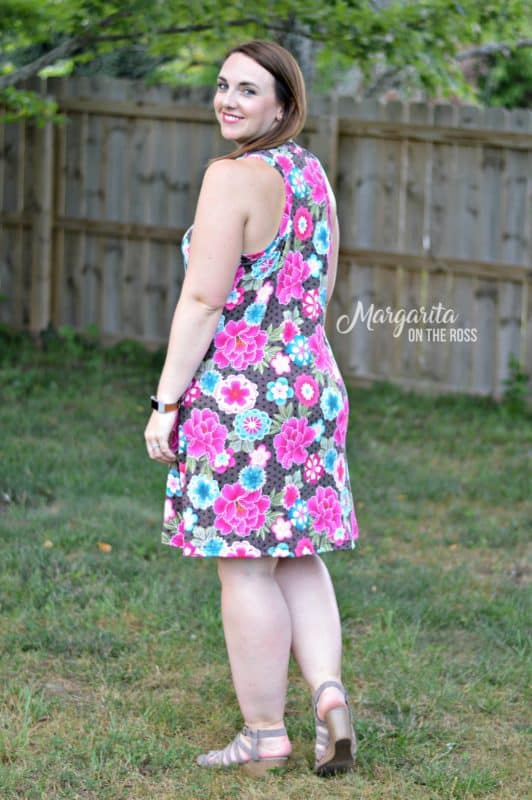
I love the bold prints Kate and Stacey went with for their tank Mya dresses. They would look just as great with the other sleeve lengths too!
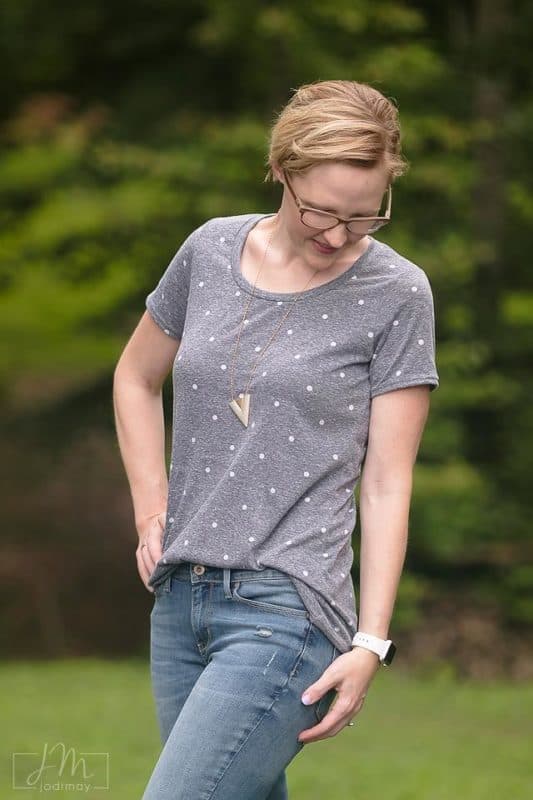
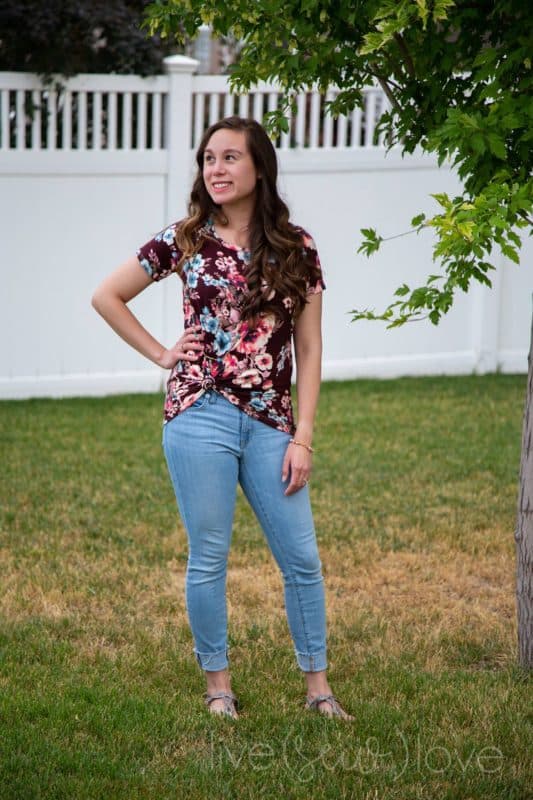
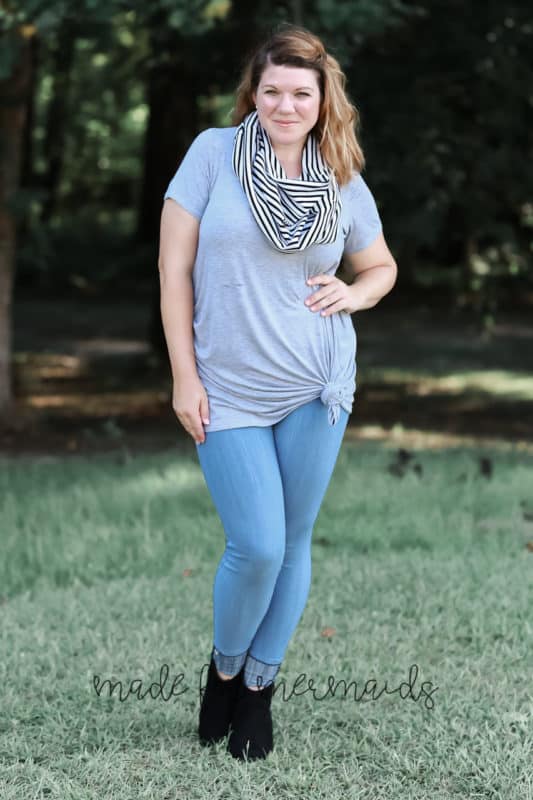
Mya makes a great casual top, tunic, or dress. It’s perfect as an easy t-shirt dress paired with tennis shoes, or knotting to the side and pairing with jeans. I love Jodi’s simple gray polka dot top, and Jessica’s side knot is an effortless casual look!
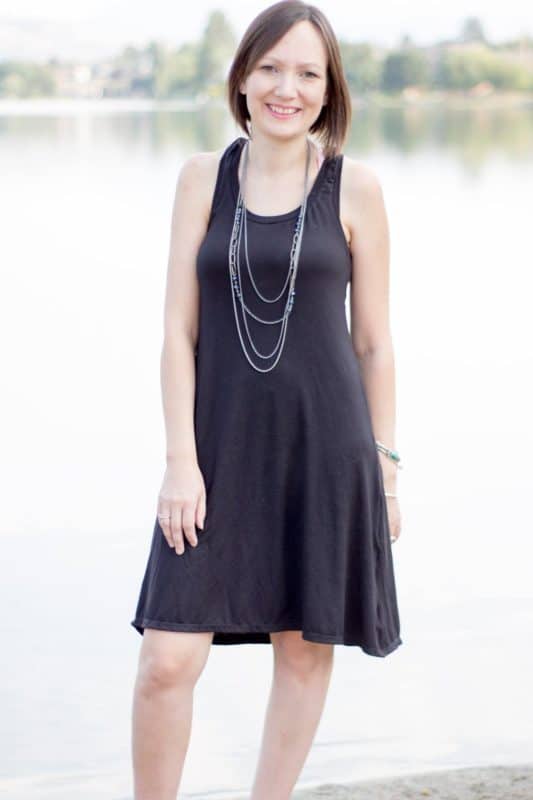
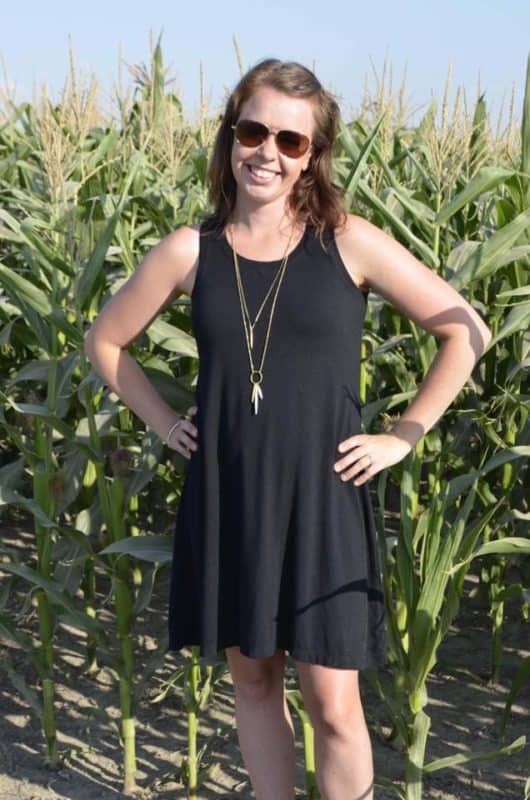
If you do like to accessorize, it’s easy to dress Mya up too! Krista and Angela made these black tank dresses that are great for a summery Little Black Dress! Just remember that fabric can make a big difference in how Mya looks. For something that feels a bit dressier, opt for something with great drape like modal, bamboo, rayon spandex, etc. Add a long necklace and some dressy sandals or wedges and you’re ready to go!
Grab your copies of Mya and Women’s Mya if you haven’t already! Don’t forget to share your newest creations over in our Facebook group. We can’t wait to see what you come up with!



Leave a Reply