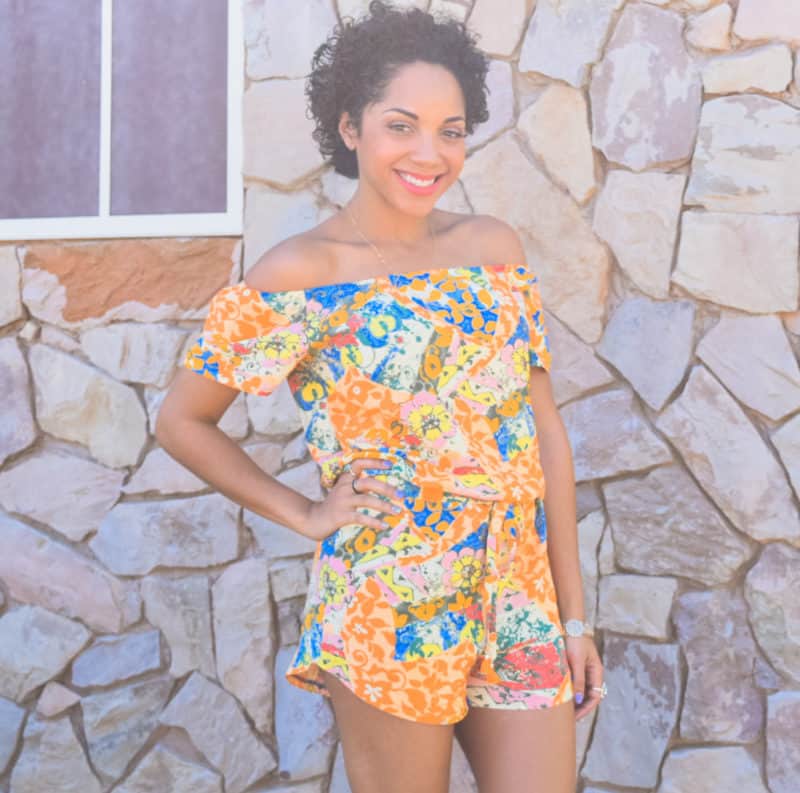
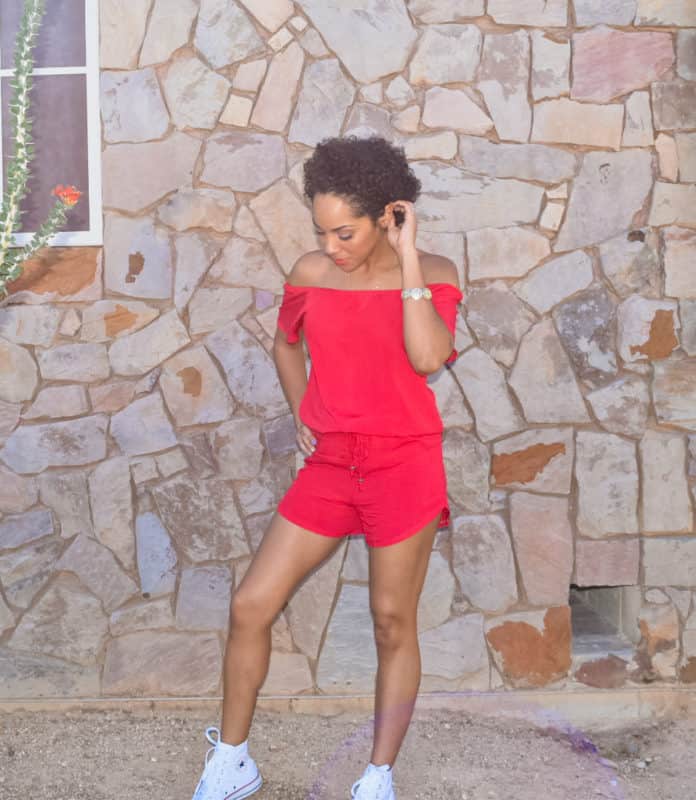
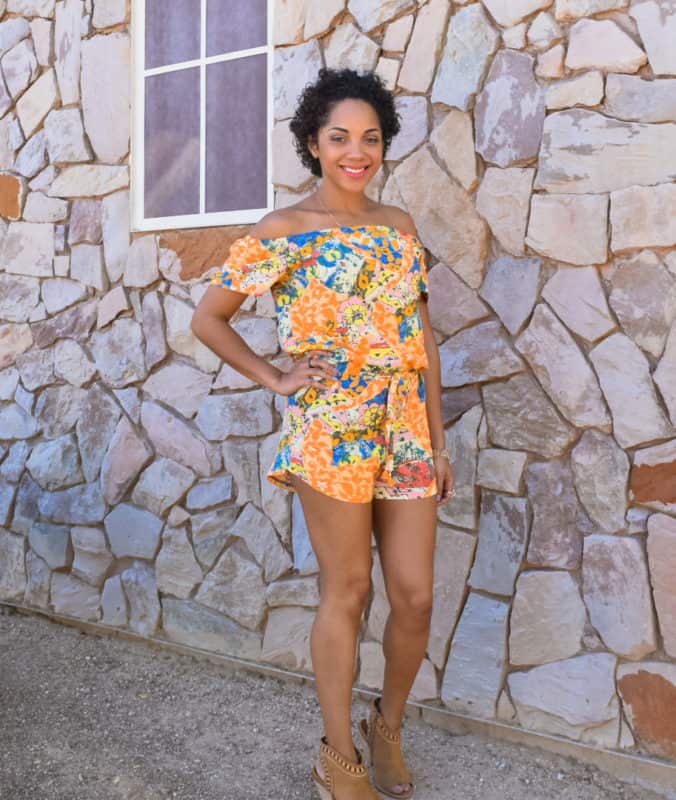
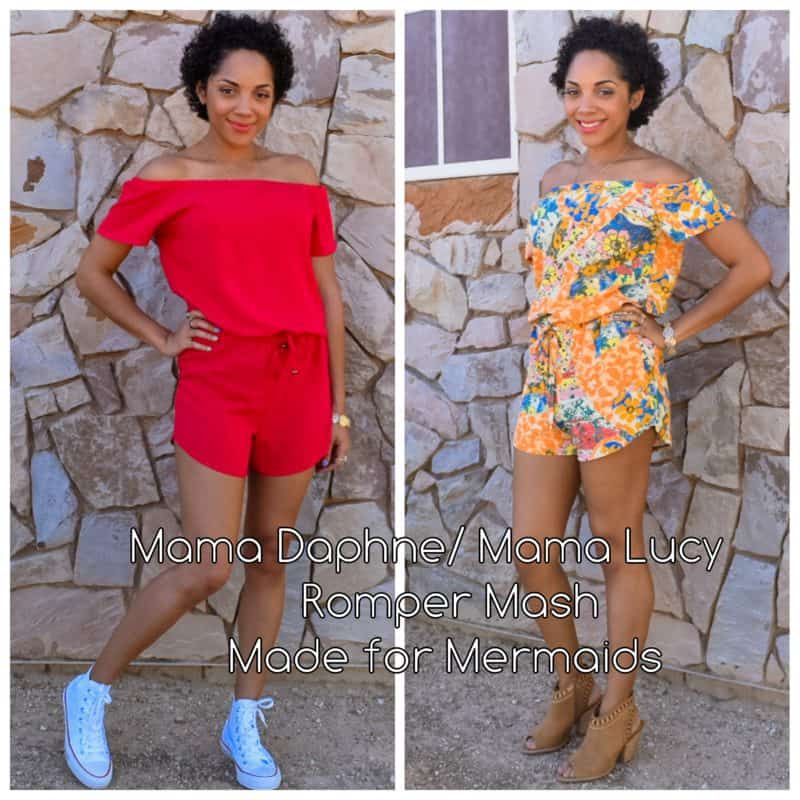
Hey Mermaids, Stephanie here! It’s warming up out there; which in my mind, means romper season is quickly approaching! Well, if you’re familiar with my posts, romper season is really all year long! I try to turn everything into a romper. Today I’ll show you how to take the off-shoulder favorite, Mama Daphne, and mash it with the Mama Lucy shorts, to get the cutest, most comfortable romper that you’ve likely been seeing inspiration for, all over your Pinterest or Facebook feeds! I know I have! I chose to do the short sleeve, no ruffle/flutter option, but it would look just as cute with long sleeves, or with the ruffle/ flutter. I also chose the curved hem option for the shorts, but you can use the regular hemline if you like that one better. That’s the beauty of sewing for yourself, you have options! This is a pretty straight forward mash up, there isn’t too much altering of either pattern going on. HOORAY!!! So get your Mama Daphne (bodice and sleeve only) and Mama Lucy patterns printed and cut out in your size, and you are ready to go! *Both of mine are in the same size. If yours are not, you’ll need to grade your lower Mama Daphne bodice until it’s the same size range as your Mama Lucy shorts (ie: pink bodice graded to purple waist/hips goes with purple shorts).
Take your bodice pattern piece and find where it starts to curve out for your hips. It may be helpful to hold the pattern piece up to your body and find where it hits your high hip/ hip bone area. It will be below the dress cut line and above the top length cut line.
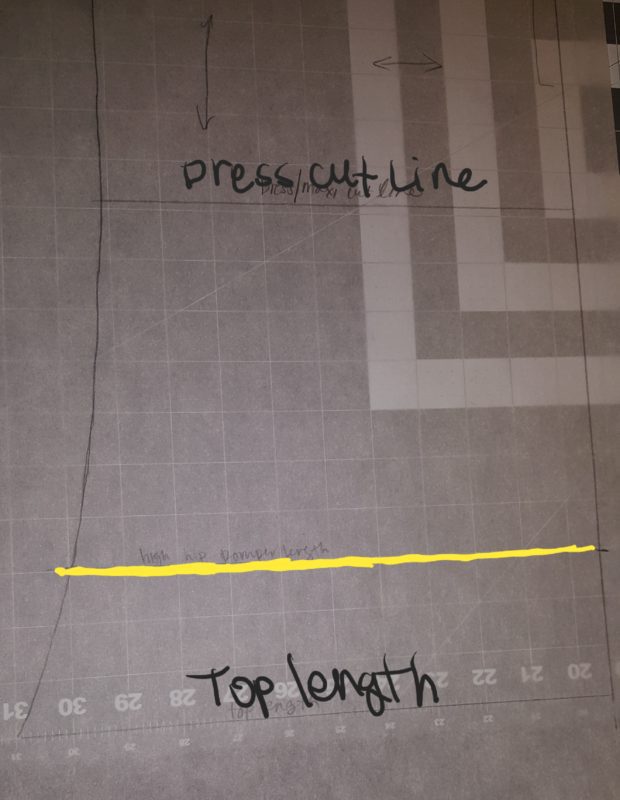
This line (shown in yellow) is your new cut line. The width should match up perfectly with your shorts pattern width when you lay your shorts pattern on top of your bodice pattern. If it doesn’t, you can move your shorts pattern piece up or down to where it does match widths, and draw your cut line there.
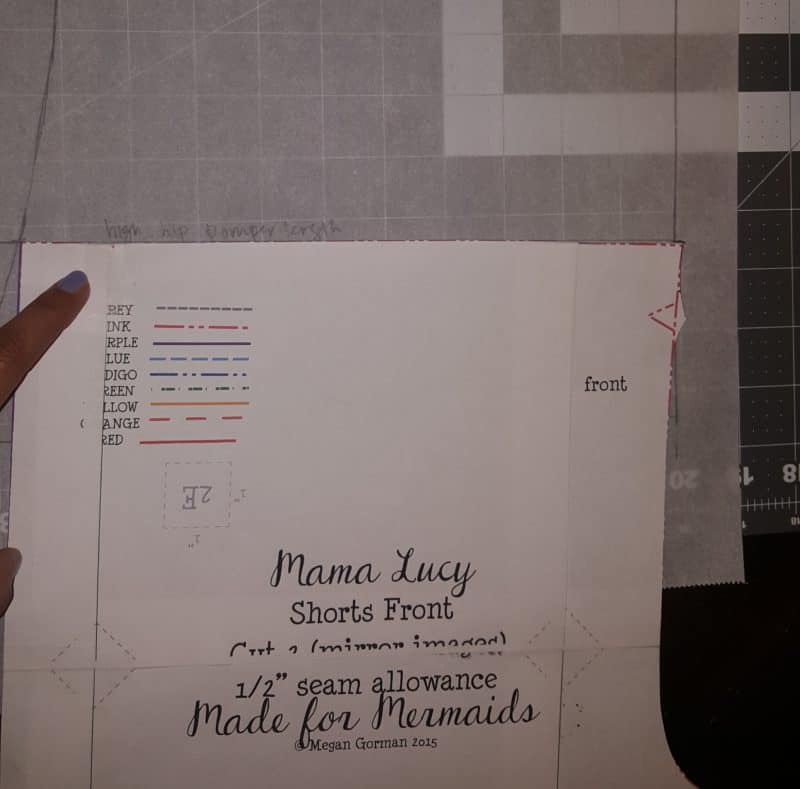
You can now cut out your pieces as directed in each of the pattern instructions. This project is perfect for woven with a nice drape. I used Rayon. I will be using a drawstring in place of elastic for the romper waist, but you are welcome to use elastic if you prefer. If you choose to use elastic, I’d use 1/2″ or 3/4″ elastic. Cut your drawstring piece first, just to make sure it’s out of the way and you aren’t left with too little fabric at the end. Take a measuring tape and see how much you would need to tie comfortably around your waist in a bow, with some tails left over to hang down. Mine ended up being the whole length of the measuring tape, 60″. Cut your piece 2″ by the length you found comfortable for you (mine was 2″x 60″). The direction of stretch doesn’t matter for the drawstring piece, and it does not need to be cut on the bias, despite being constructed as you would bias tape. It will most likely be more practical to cut it from the length of the fabric, not the width, since wovens are typically only around 45″ wide. If you need to make your drawstring out of two strips sewn together, go for it! Continue cutting your other pieces. You should have your drawstring piece; 2 front shorts pieces, mirror images; 2 back shorts pieces, mirror images; your front & back bodice pieces; and your 2 sleeve pieces.
Sew up your Mama Daphne bodice completely, just as you would per the tutorial, skipping only the step where you would finish and hem the bottom. Sew up your Mama Lucy shorts as directed in the tutorial (don’t forget to keep track of which side is the front and which is the back, I like to use a pin to do this) skipping only the step to finish the waist/ create the waist casing, and instead finish the top, raw edge of your shorts with your method of choice; whether it be serging the edge (without cutting any off), finishing the edge with a zigzag stitch, or even trimming the top edge with pinking shears. *This step is to prevent fraying with wash, so it is VERY important not to skip this step!
Next, mark the middle front and back of your bodice edge (I like to use a pin or clip). With your bodice inside out, so your wrong side is facing out, slip your shorts inside the bodice and line up the raw edges, matching side seams and the center bodice pins to the center shorts seams. They should be right sides together.
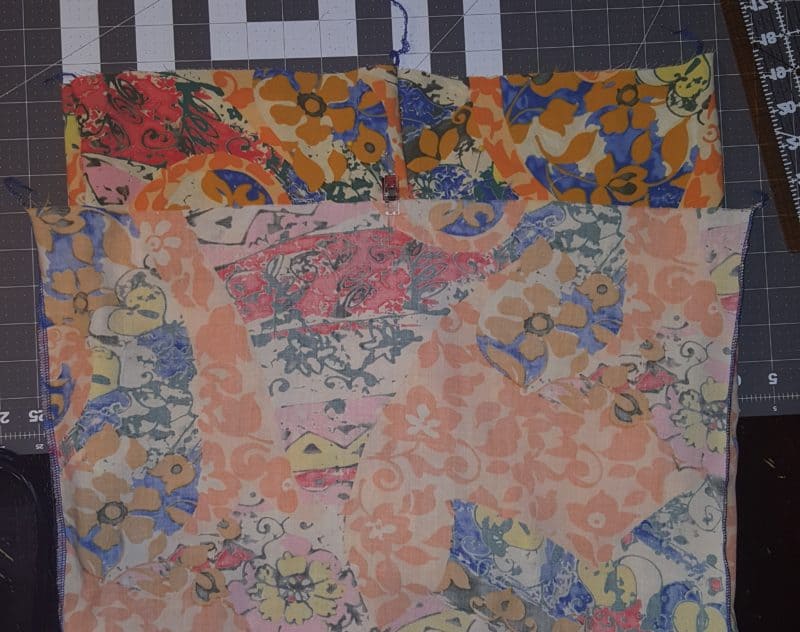
Pin in place. You are going to sew them together using a 1″ seam allowance. You may use a ruler and mark 1″ away from the raw edges all the way round and stitch this line, or use your sewing machine markings as a guide.
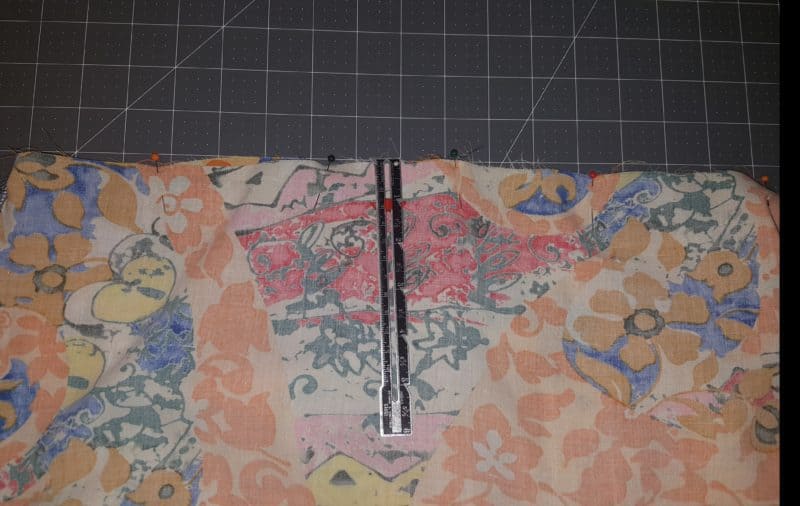
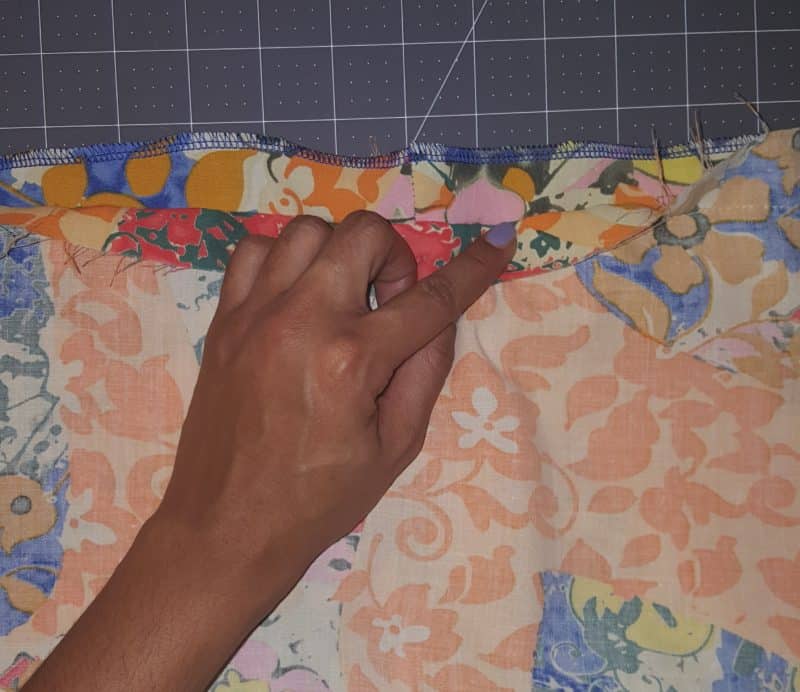
We are going to carefully trim the top’s seam allowance down to 1/4″. I like to use my pinking shears for this step. This is to make the casing less bulky. It is very important to make sure you are only trimming the top’s seam allowance and not the seam allowance of the shorts, we need that to make our casing for the drawstring.
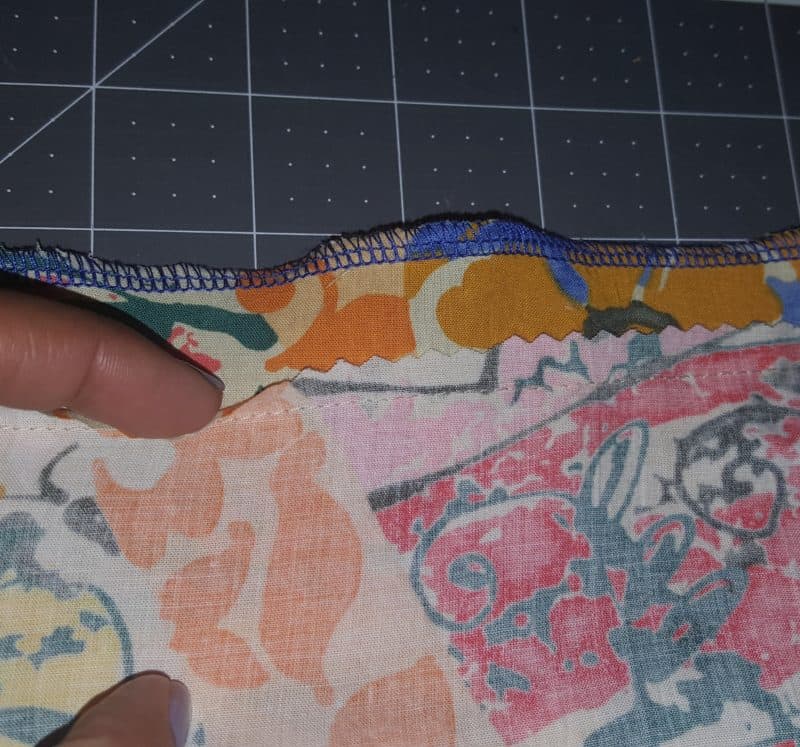
On the front center of your romper pin your waist seam allowance down towards the shorts. We need this down and out of the way to sew a small buttonhole on the center of the front bodice, right above the waist seam.(If you are using elastic, skip this step and the entire buttonhole process) I used 2 pins placed about 3/4″ on each side of the center shorts seam, so that my buttonhole foot could fit between them. Using a fabric pen or pencil mark a 1/2″ line where your buttonhole will go. ( The buttonhole needs to be small enough to stay within the 1″ casing we are about to sew for our drawstring).
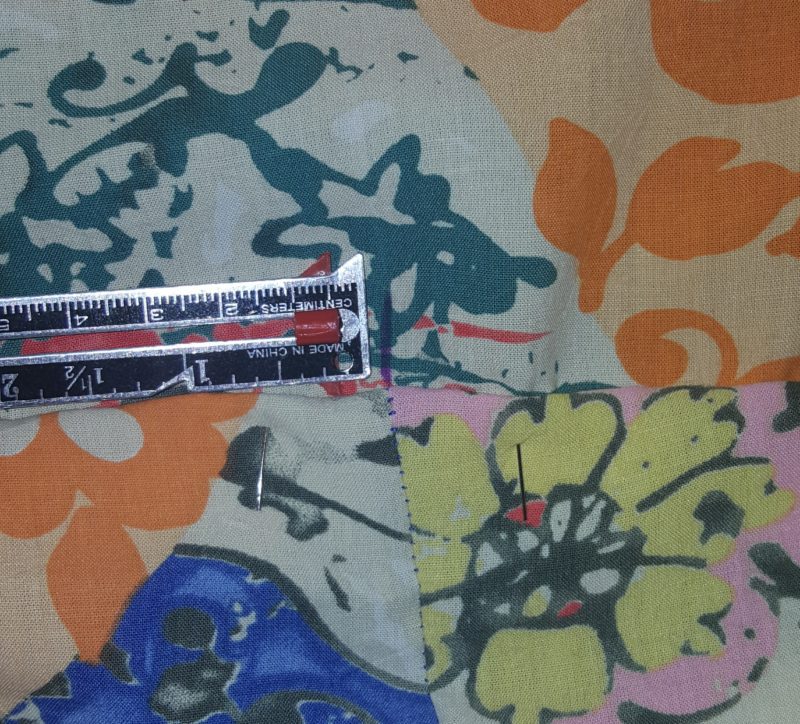
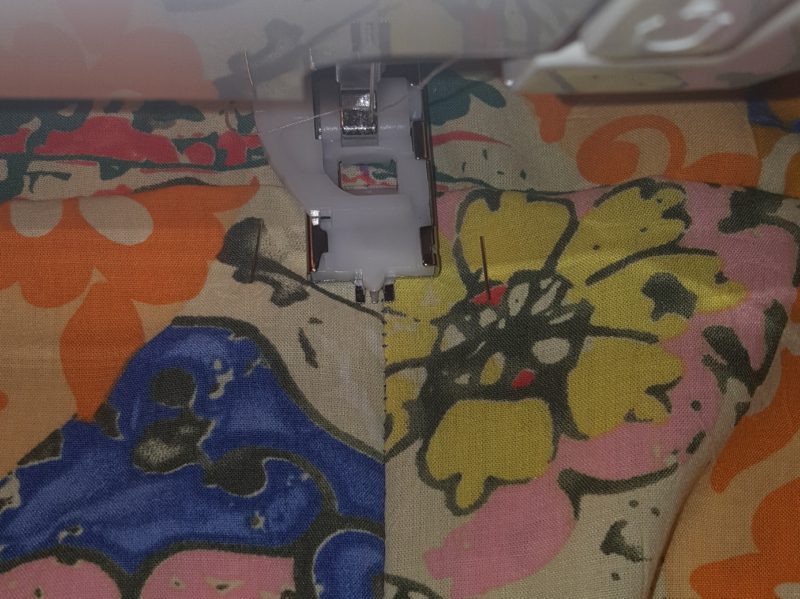
Sew and *carefully open your button hole. Now we are going to press our waist seam allowance up towards the bodice, and stitch the casing closed along your finished edge. (If you are using elastic, don’t forget to leave an opening to feed your elastic through)
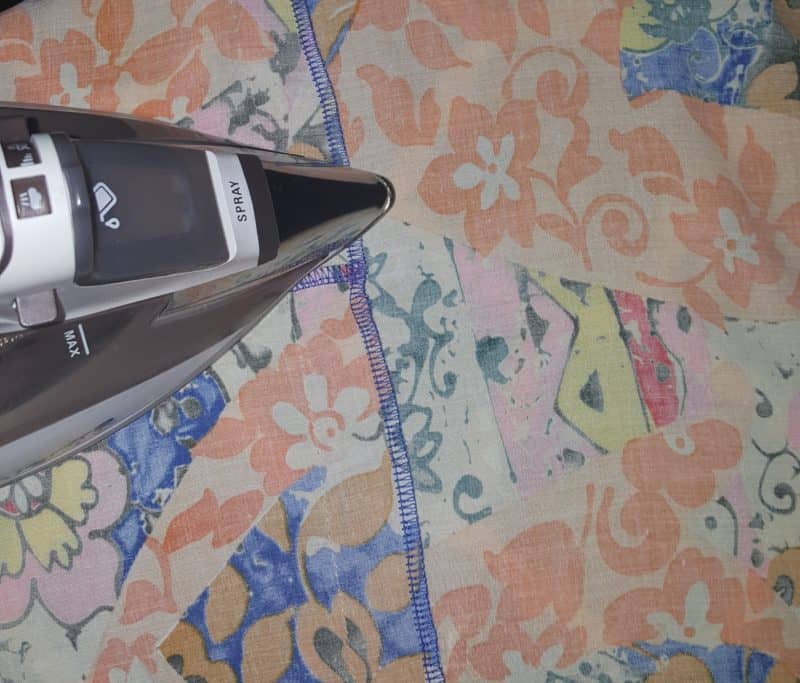
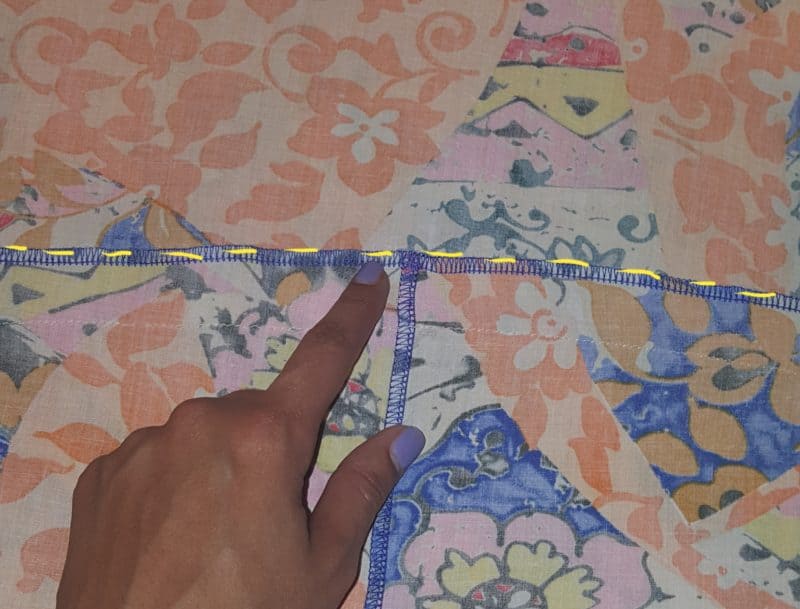
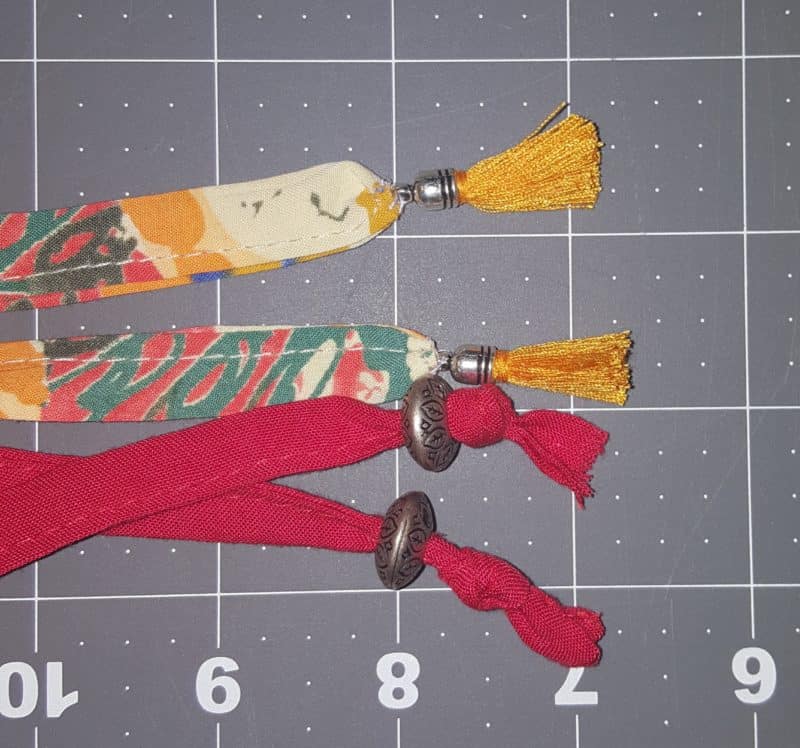
Almost done! All there is left to do is to make your drawstring. You can follow the directions on pages 8 & 9 of the Mama Daphne tutorial for bias tape/ strap construction. *You can finish the short edges of your drawstring by enclosing them like in the strap construction section on page 9 of the Mama Daphne tutorial, OR you may choose to leave them open so that you can tie a knot at the end (after feeding it through the casing) to get some fraying action after a few washes. On one of mine, I strung beads on the ends before tying the knot, super cute! Feed your drawstring through your buttonhole using a safety pin, and *drumroll please* you are all FINISHED! Admire your brand new romper! And, it probably looks even better than the ones you’ve been seeing in your feeds!
Here is a close-up of my drawstring embellishments. Beads and tassels for the win! They add a special little touch.
Stephanie loves to sew for herself and family, especially mommy & me sets. Besides hoarding fabric, she is an avid runner who enjoys travelling, eating great food, and being outdoors.
So perfcet and great job!!Adding this on my sewing wish list
Love this, Stephanie!