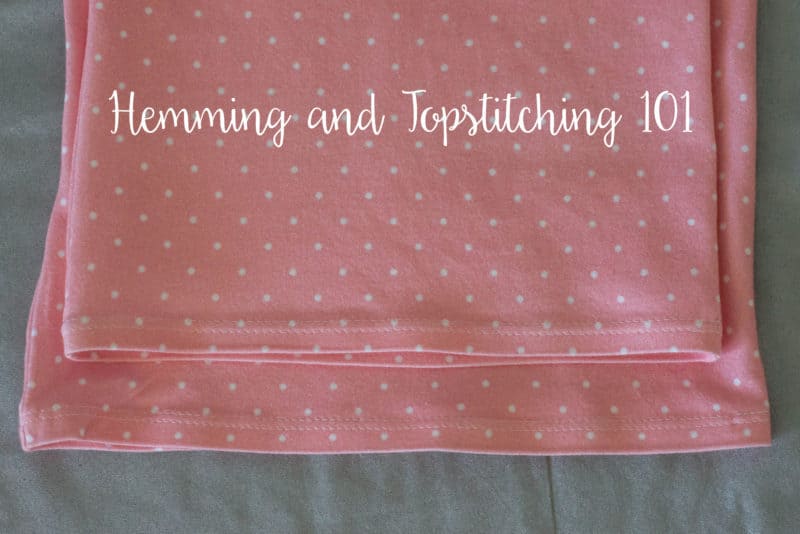
Hey there Mermaids! I’m here today to talk to you about the basics of hemming and topstitching. If you’re like I used to be, you dread hemming, or maybe you’re a beginner and just don’t know where to start. Hopefully this will help! So let’s jump right in.
First, let’s go over the basics. Every pattern will give you a hem allowance, and that tells you how much you need to press up, toward the wrong side of the garment, when you are hemming. For Made for Mermaids patterns, you can find that information in the hemming step of the tutorial, and it is also written on the pattern piece for most of the patterns.
These are some of the tools and notions I like to use when hemming:
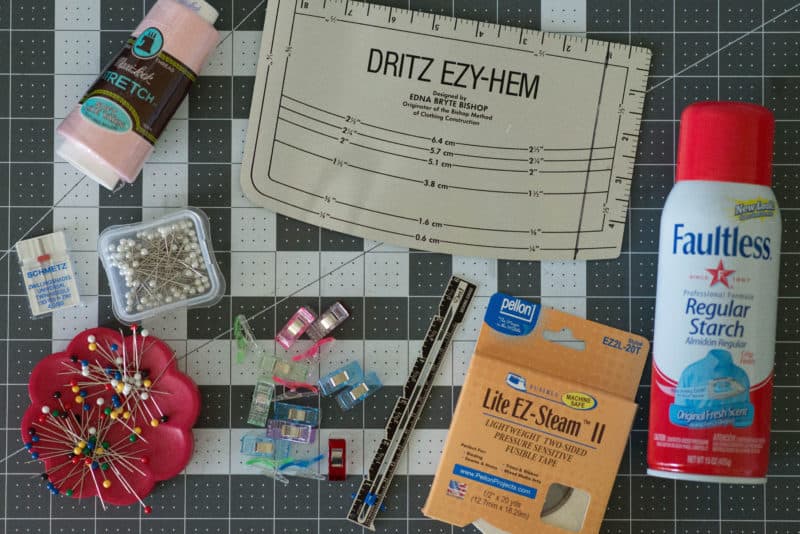
- Hem gauge. I have two. I have a traditional hem gauge and another that I can actually fold the fabric over and iron right on top of. It even has a curved edge for shallow curved hems. A word of advice on the large metal one: the metal gets hot when you iron it! Be careful!
- An iron! I cannot stress enough how important it is to press those hems before you stitch them. Don’t skip this step 😉
- Hem tape. I use a 1/2″ fusible tape that you can find with all the other fusible pre-packaged interfacings at Joann’s. These tapes will help hold your hems in place, and they will also help prevent tunneling and/or stretching on your knit fabrics. You can also use Washaway Wonder Tape. Just make sure you are choosing something machine-safe so it doesn’t gum up your needles.
- Twin needle. If you don’t have a coverstitch machine, this can give you a more professional look and give you a faux coverstitch look on those knit hems. They come in varied widths and types. I prefer a stretch twin needle if I’m working with knit fabrics.
- Stretch thread. I use this in the looper of my serger if I’m doing a rolled hem to fill in the small gaps. I’ll touch on rolled hems a little later on.
- Starch or Best Press. This will really help you if you’re using slippery wovens like rayon and chiffon, or knits that don’t want to hold a press. Spray that on, let it dry a little and press away. Don’t be afraid to apply it liberally. You’ll be surprised at how much easier it is to hem those slippery fabrics.
- Clips or pins. If you’re using pins, make sure you’re choosing ones that are suitable for your fabric type, so you’re not leaving pinholes in your fabric. I keep two types on hand – one for lightweight wovens and another for knits. They’re different colors so I don’t get them mixed up 😉
Now let’s talk about a few different methods for hemming. To keep it easy, all my hems will be 1/2″. You will use the same concept for a 1″ hem. I’ll go over a basic hem on woven fabrics first.
Before I press, I like to serge the ends of my garment without cutting anything off. Not only does this prevent fraying, but it also gives me a nice 1/4″ width to work with. If you don’t have a serger, don’t worry, you will follow the same steps.
Once you’ve serged those edges, you have two options. Either press your fabric 1/4″ to the wrong side, then press another 1/4″ to the wrong side, or fold and press your fabric to the wrong side 1/2″. If you don’t have a serger, you will want to use the first method so that the edges of your fabric are enclosed.
Pressed 1/4″ one time: (Tip: Your serger’s stitch width should be 1/4″. This makes that first press a lot easier)

Pressed 1/4″ a second time:

Again, if you are using slippery wovens, spray that starch liberally. It will make your life so much easier. Pictured below is the hem pressed 1/2″ to the wrong side:
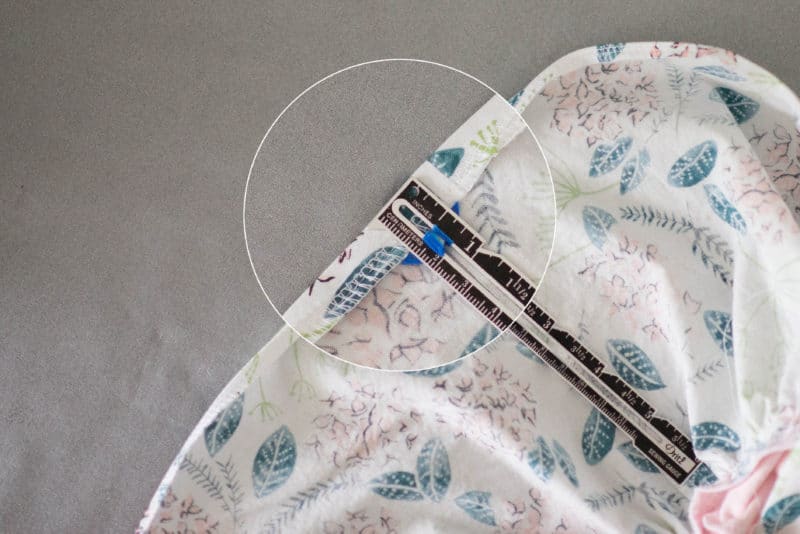
When I’m stitching that hem down, I like to get as close to the top edge as I can, so I’ll use the guides on my sewing machine to stitch just under the hem allowance. If I’ve folded 1/4″ twice, then I stitch just to the left of the 1/4″ guide. See below:
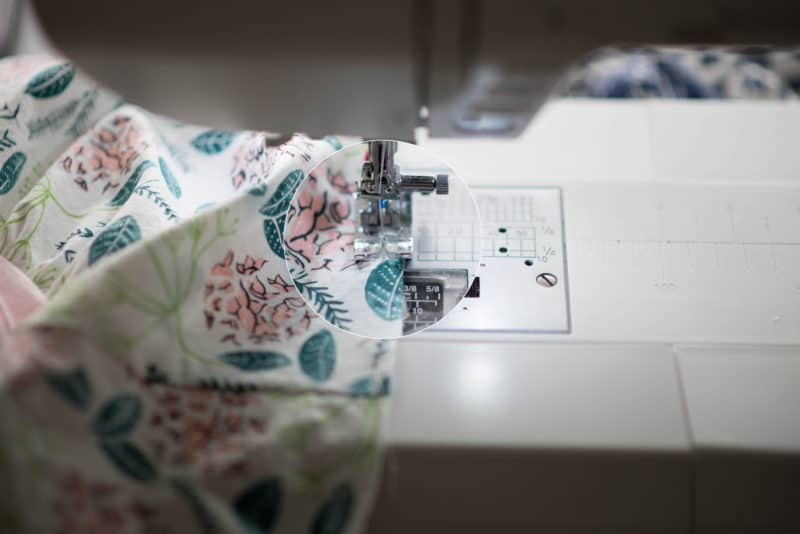
If I’ve pressed up 1/2″, I stitch just to the left of the 1/2″ guide. I like to lengthen my stitch slightly for hems, usually around 3. This is my personal preference. Do what you like and what works for your machine!
Moving on to knit hems! While a coverstitch is nice, you can definitely “fake” those coverstitch hems using a twin needle on your sewing machine. The most helpful thing when hemming knits is that hem tape I mentioned earlier. I apply that hem tape, press, clip, and then get started!
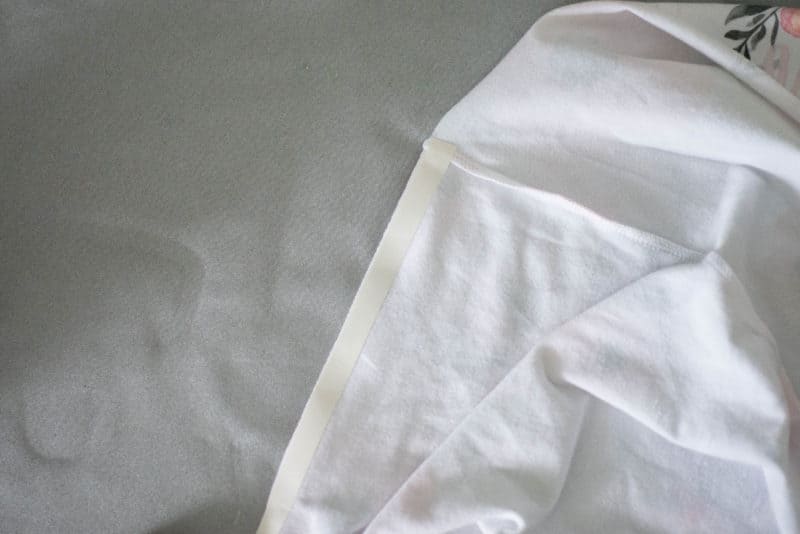
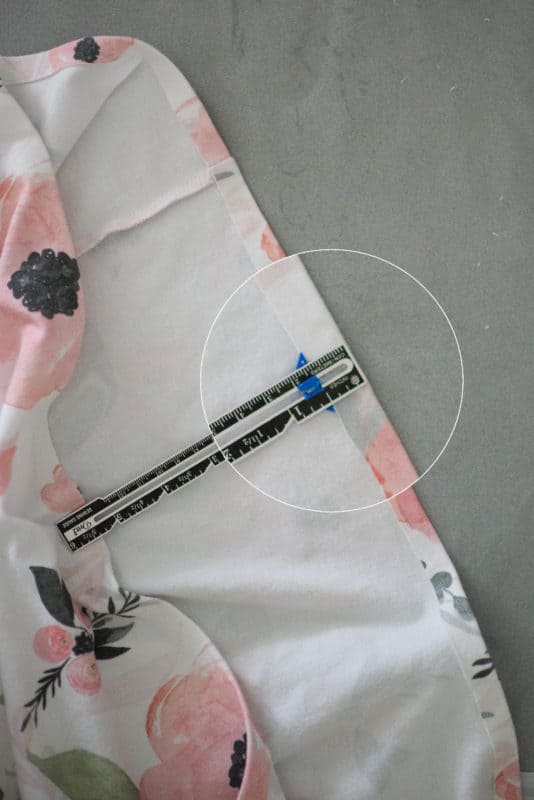
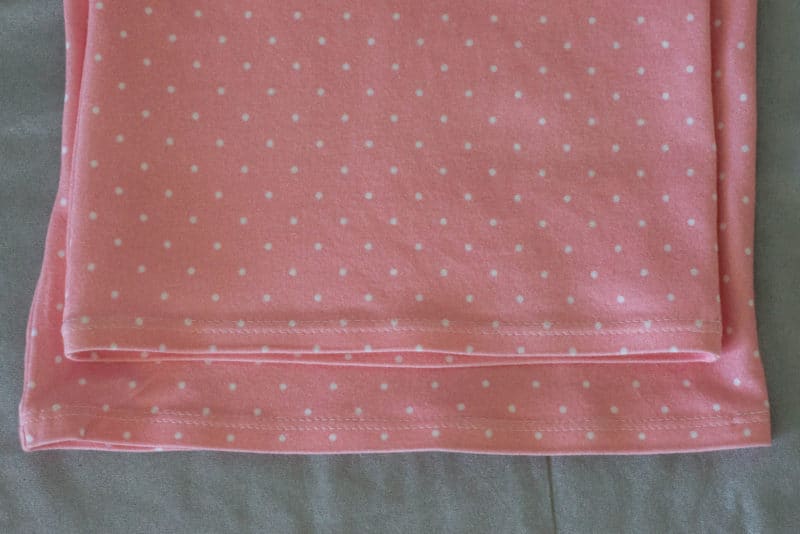
If you’re using a twin needle, you can either leave those edges raw, or serge the edges first and then hem to get that faux coverstitch look. I find my hems lay nicer if I serge the edges first. The wrong side of both options are shown below. The top was not serged and the bottom picture I serged the edges prior to hemming:
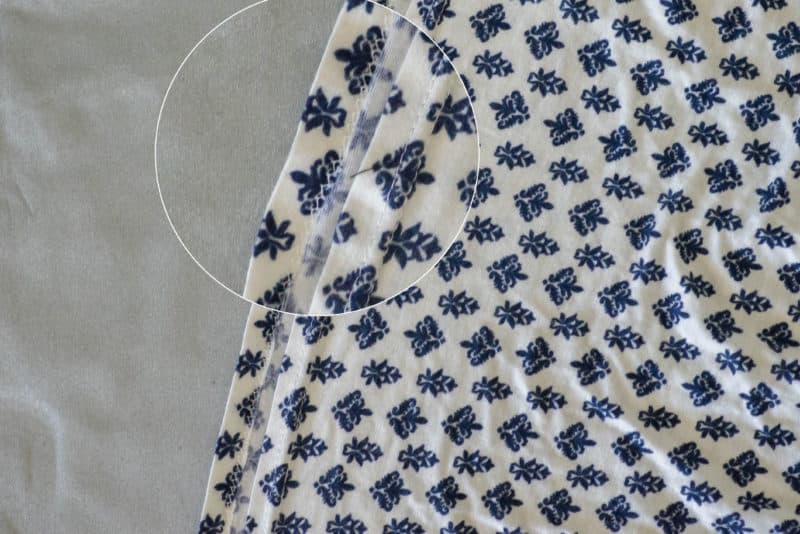
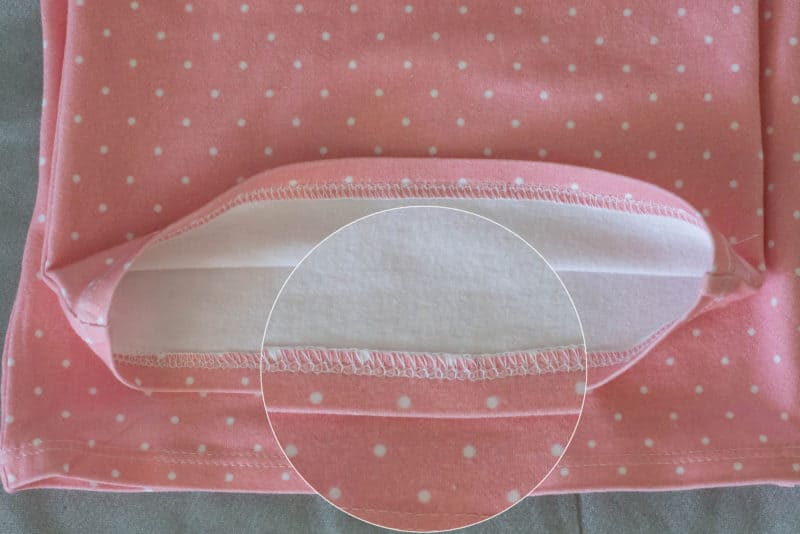
A word on twin needles. The stitches on the wrong side should look like a zig zag. You may need to play with the needle and/or bobbin tensions to get the right stitch. My machine works just fine on auto tension, but every machine will be different. You can also try using stretch thread in the bobbin of your machine to get a little more stretch in your hem. From the right side, your twin needle stitches will look exactly like a coverstitch hem. In the picture below, I used a twin needle for the top shirt and my coverstitch for the bottom:
If you don’t have a twin needle, you can also use a narrow zig-zag stitch or stretch stitch on your sewing machine for a hem. And of course, if you have a coverstitch, use that for your knit hems!
Now for rolled hems on a serger (this is different from a rolled hem on a sewing machine, which can be a little bit more of an advanced technique, so I’m not touching on it in this 101 post). Consult your serger’s manual for exactly how to do it on your machine, but basically it involves using only one needle, narrowing that stitch width, decreasing the length and increasing the lower looper tension. If you are doing a rolled hem on a garment that calls for 1/2″ hem allowance, you want to use the guides on your serger to cut off 1/2″. A basic rolled hem is shown below:
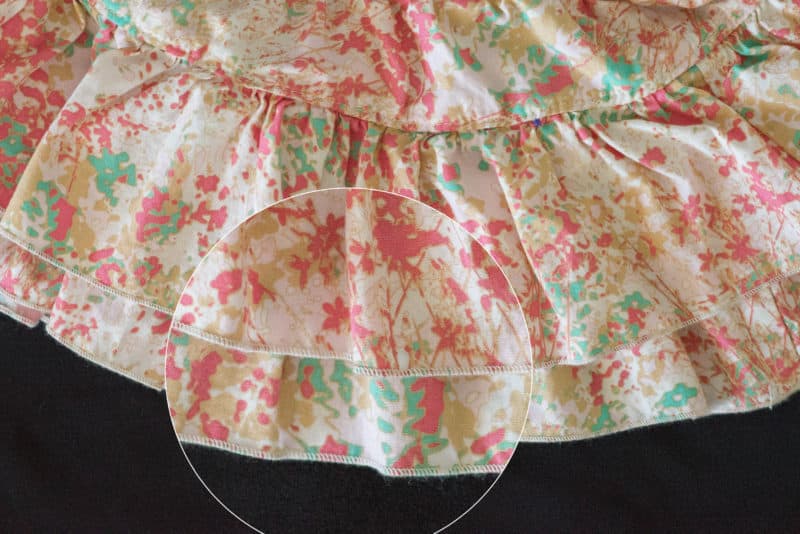
For this rolled hem, I used the same settings, but used stretch thread in the looper. See how it fills in the gaps nicely?
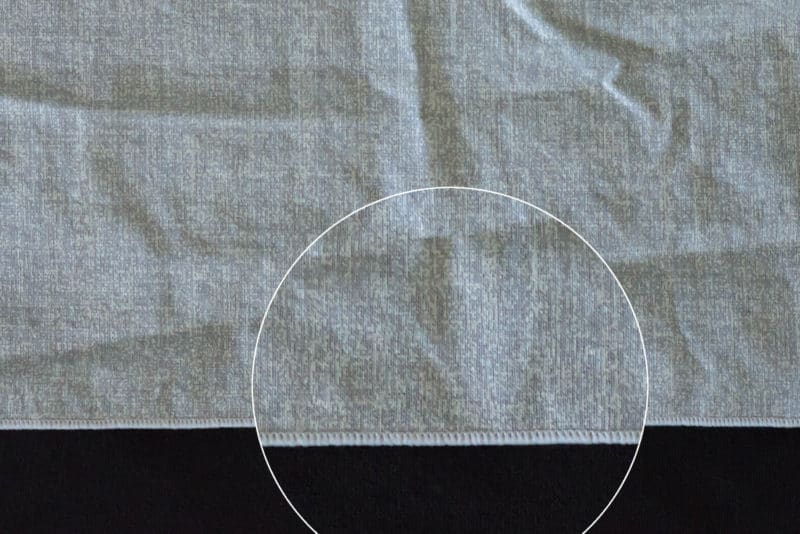
Now that we’ve gone over the basics of hemming, I’m going to quickly mention topstitching. You might need this for some of the new patterns coming soon, hint hint 😉 For woven fabrics, I use the same settings that I do when I’m hemming, so I slightly increase my stitch length to 3. For knit fabrics, I like to increase my stitch length quite a bit, usually to 4 or 4.5. This is especially helpful for less stable fabrics that tend to stretch during topstitching, like rayon spandex. It also allows the knit to continue to stretch. Again, these settings are what works for me and my machine. Adjust as you need or prefer!
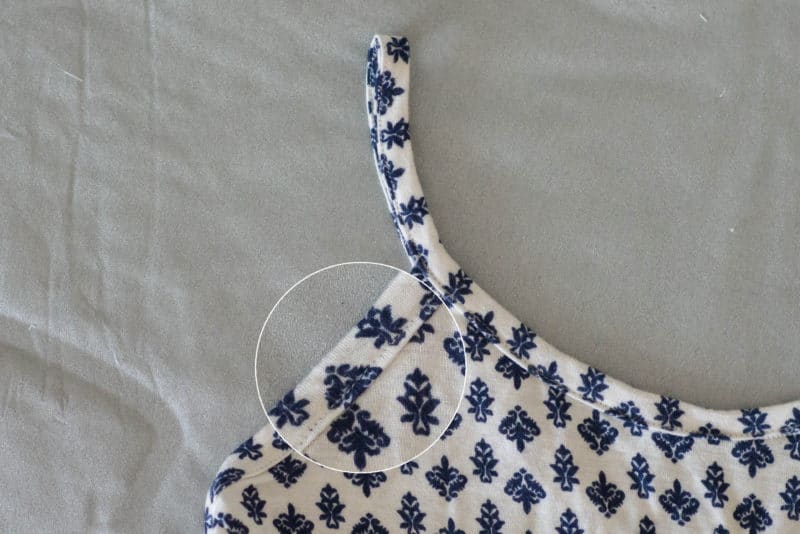
You can also use a twin needle or a coverstitch for topstitching.
I hope this post has been helpful for you, and you learned some new tips and/or techniques! Keep watching the blog for some more great 101 posts this spring and summer. Comment below if there is a topic you would like to see!
Brittany is a busy mom of 3 little ones under 5. She loves coffee, all things crafty, and building/designing homes with her husband.
Some great tips to try here!