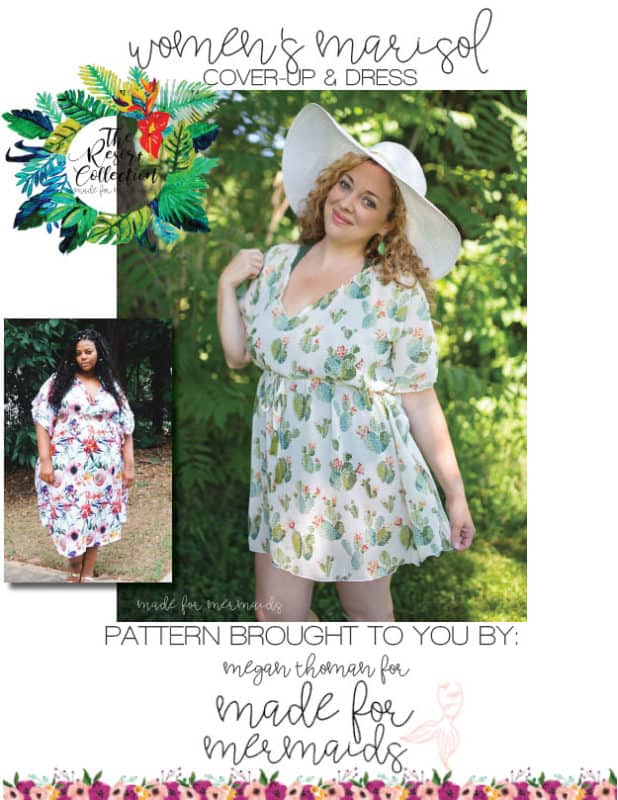
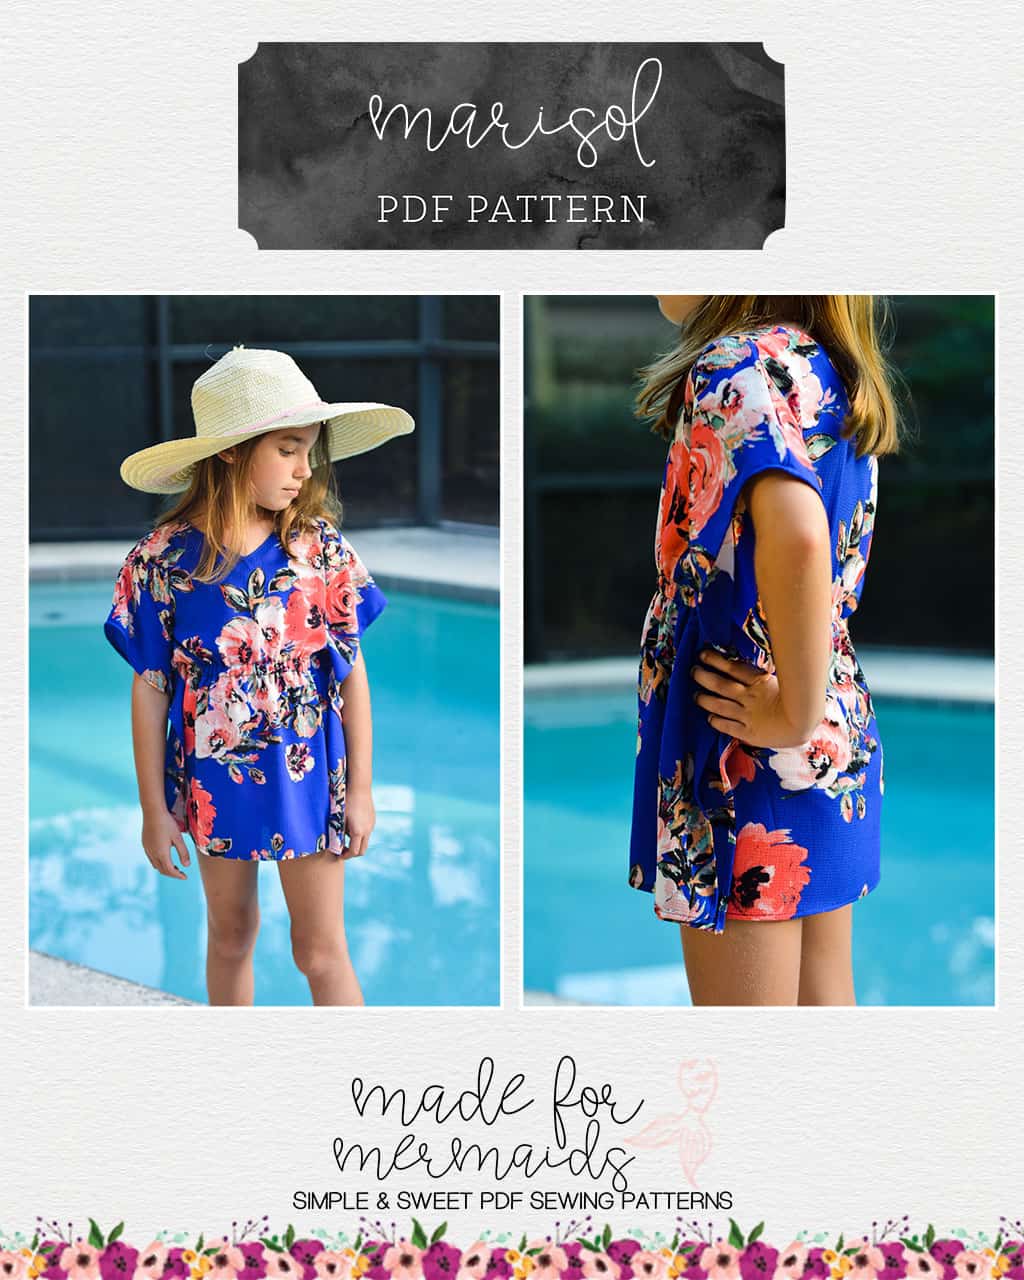
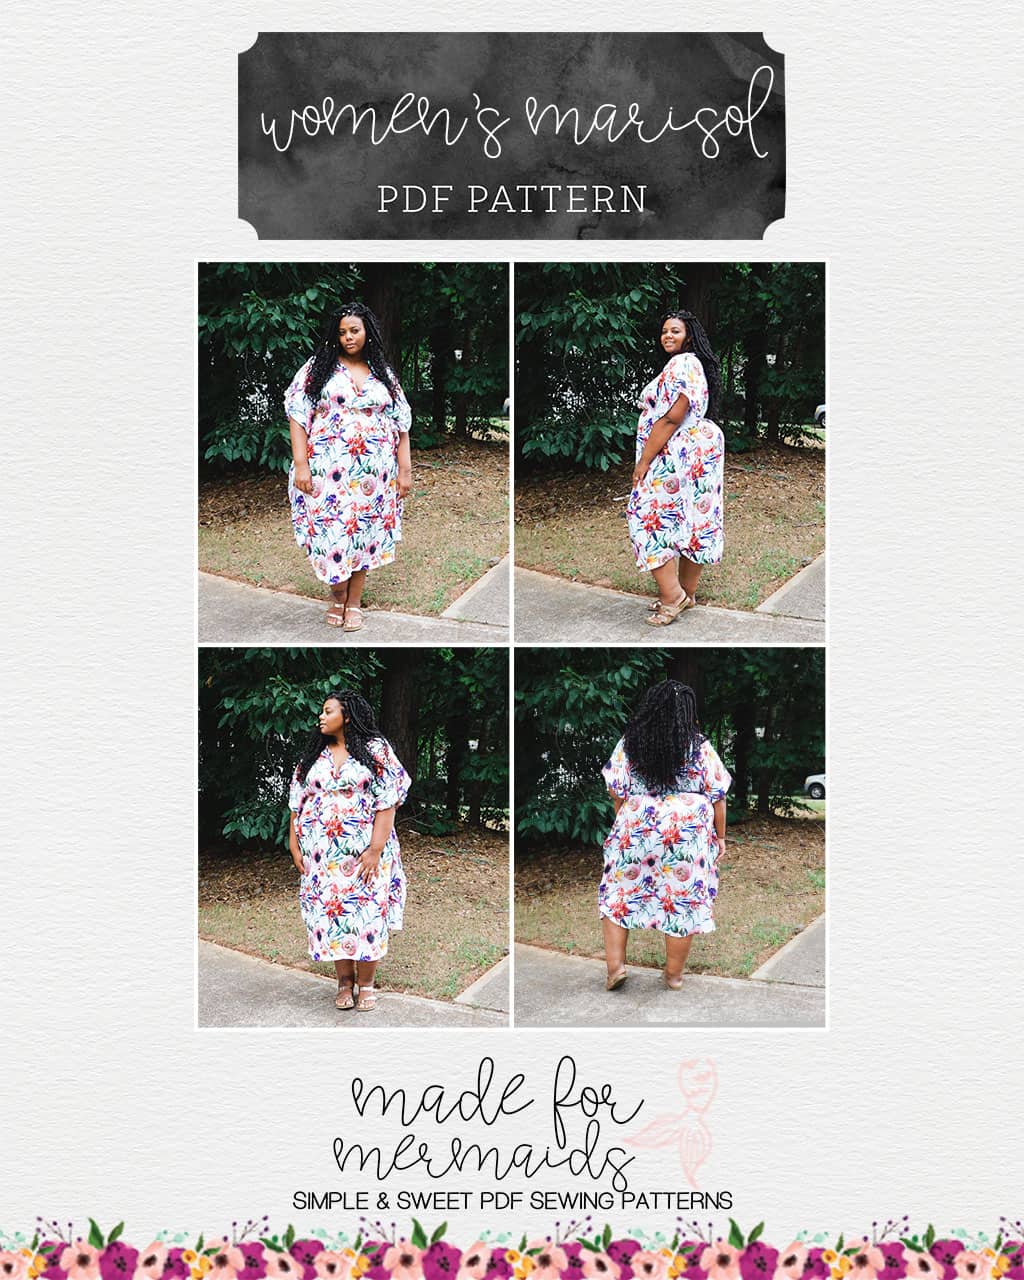
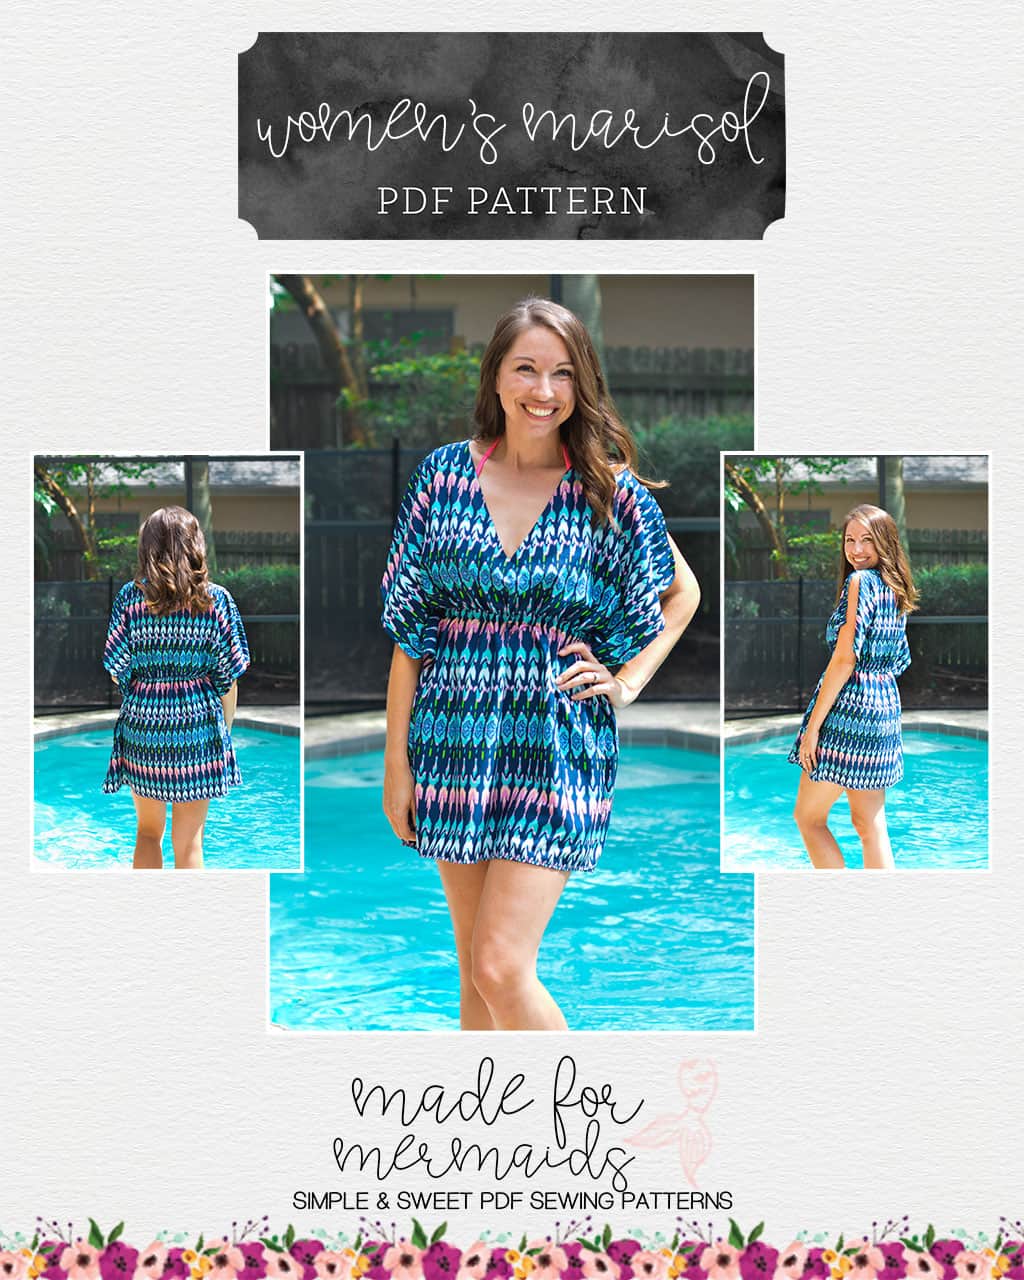
The next pattern in our fun and trendy Resort Collection releases today! Marisol is perfect as a cover-up, or even as a lightweight top or dress!
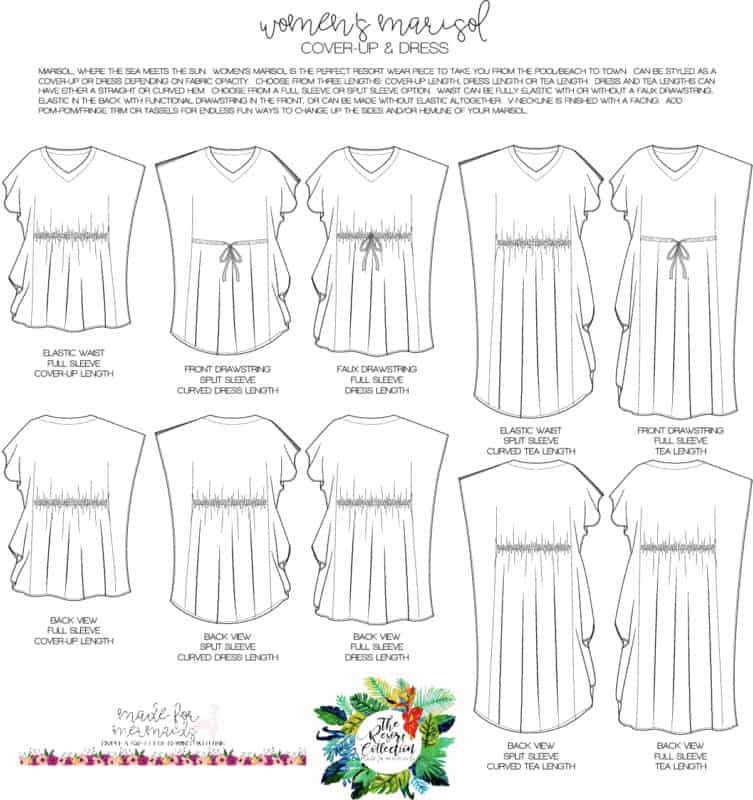
With three lengths to choose from, two hem options, and two sleeve styles, there are so many possibilities! Use sheer fabrics for pool/beach coverups or layering over other pieces, or use more opaque fabrics to wear anywhere! Our testers had fun finding unique pieces to use as trim on the side seams, as well!
Looking for other ideas for your Marisol patterns? We have a few hacks for you to try!
Ruffle Hack
The Marisol Pattern is so cute on it’s own, especially with the trim options available. But, if you are looking for another great way to change it up, try this hack to add a ruffle. I think this hack would be super adorable as a dress in a light summer gauze as well, and I plan to try that soon. For this hack, I chose to cut my ruffle on the bias. This allows you the option of leaving the ruffle unhemmed since it will not fray. However, this does require more fabric, so please keep this in mind. You could choose to cut your ruffle on the lengthwise or cross grain and finish per your preference as well.
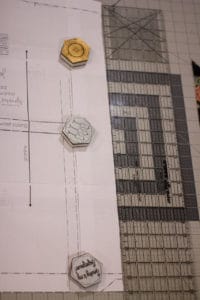
First, measure your pattern pieces from the shoulder to the hemline you are using. Make sure to measure your pattern pieces, rather than your fabric, as it can be distorted during cutting and sewing. Take the measurement of your front and back pieces, add them together, and subtract 1 inch. My pieces were 23 inches each. 23 x 2 = 46 – 1= 45 inches. **Sew together the SHOULDER SEAM of your Marisol and complete the casing (if using) prior to completing the steps below.**
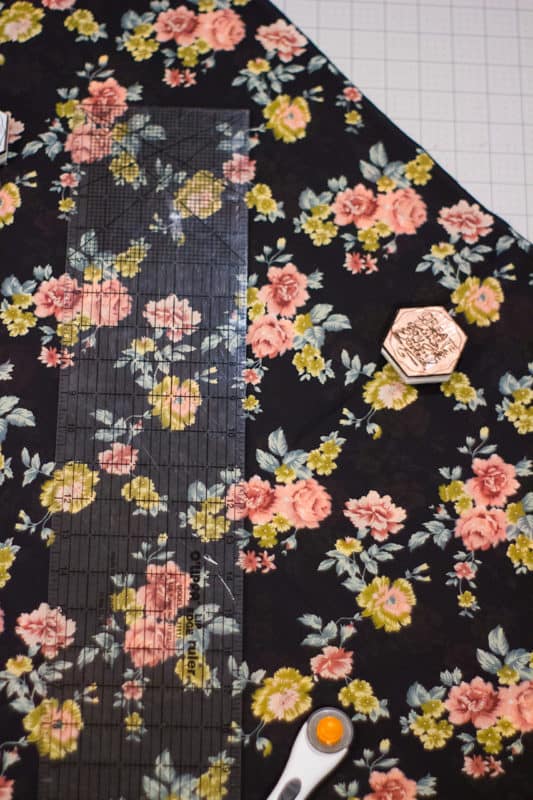
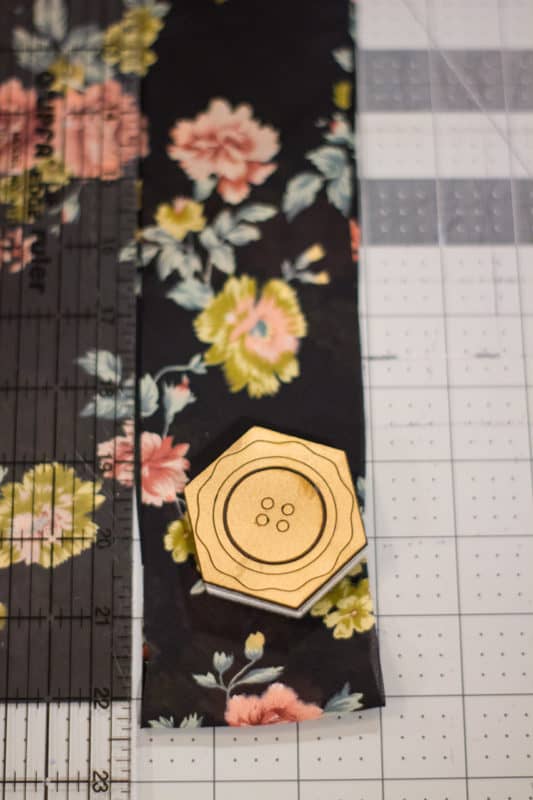
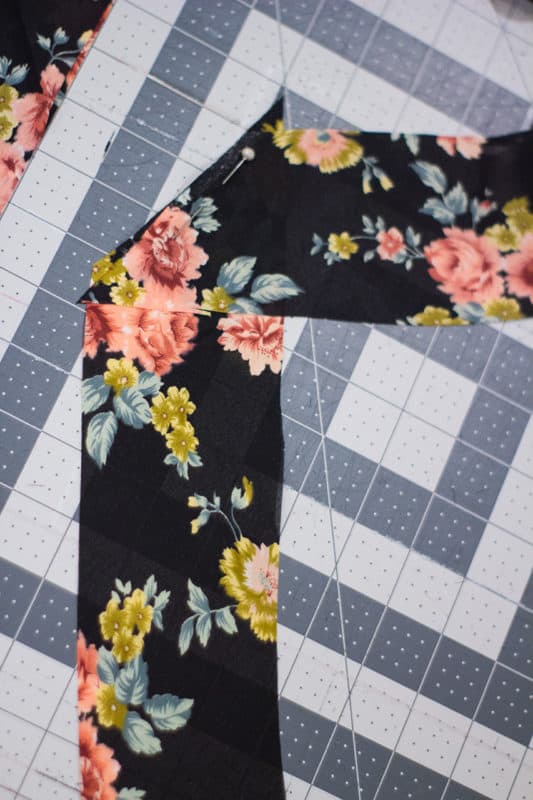
Next, determine how full you want your ruffle. You can choose 2-4 times the length of your pieces. I chose to use 3 times the length calculated in step 1, so 45 x 3 = 135 inches. My ruffle strips will need to equal 135 inches when cutting. Then determine how wide you would like your ruffle. I chose 3 inches. I cut my ruffle strips on the bias at 3 inch wide strips, sewing strips together until I had 135 inches of strip for each side.
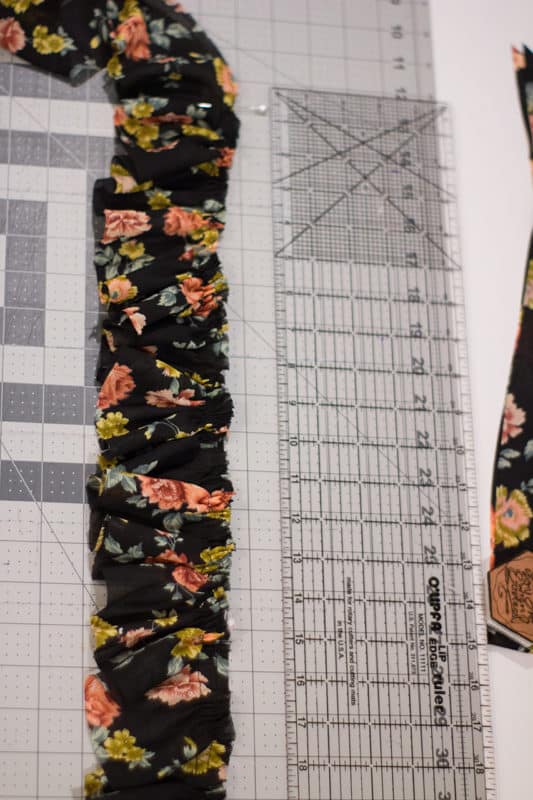
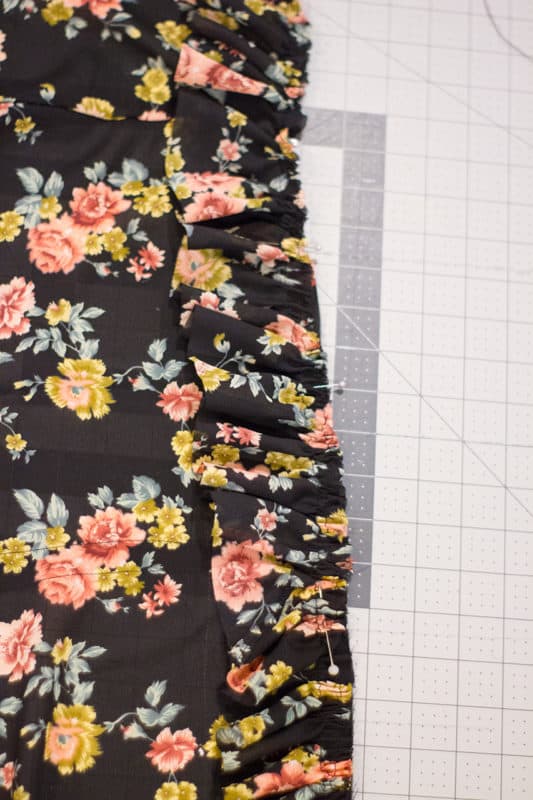
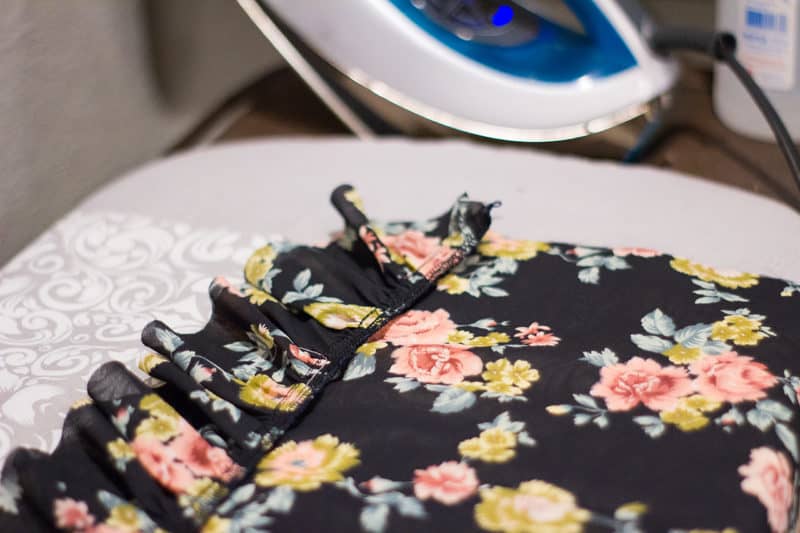
Sew two rows of basting stitches along one long edge of each ruffle. I like to sew one at 1/2 inch and the other 1/4 inch from the edge. Mark the center of each ruffle with a pin prior to gathering your stitches. Now, pull your basting stitches and gather the ruffle to 22 inches (or whatever your length from step 1 was) on each side of the center pin. With right sides together, pin your ruffle to one side of the pattern from one hem to the other hem. Make sure your ruffle is evenly distributed and pin well. Stitch the ruffle on to the Marisol using a 1/2 inch seam allowance (sew directly on top of your basting stitches you used to gather). Now finish your seam, and press the seam allowance towards the bodice/back.
Topstitch your ruffle. Finally, hem the bottom hems of your Marisol using your preferred finishing, making sure to include the ruffle as you’re finishing these edges. Your ruffle is now complete, and you can finish the Marisol per the tutorial.
Enjoy this swingy, fun addition to your Marisol – Shannon
Lace-Up Hack
Megan T., here! I’ll be showing you how to add a lace-up detail to the front neckline of your Marisol cover-up or dress! You will need a strip of fabric for the loops, and a long strip of fabric for the laces. You could also use ribbon, cording or some other kind of trim!
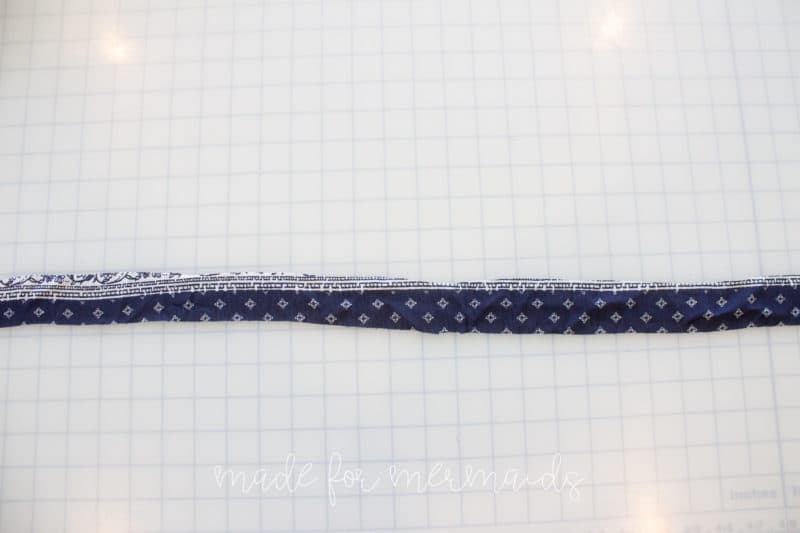
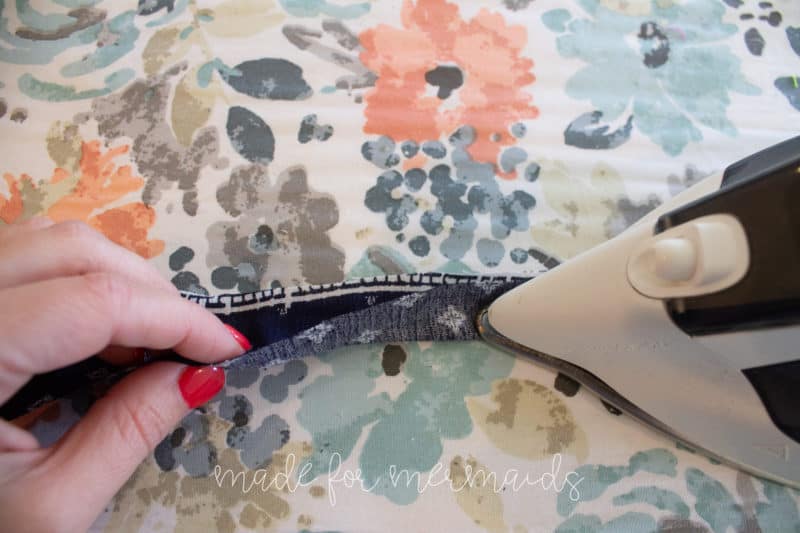
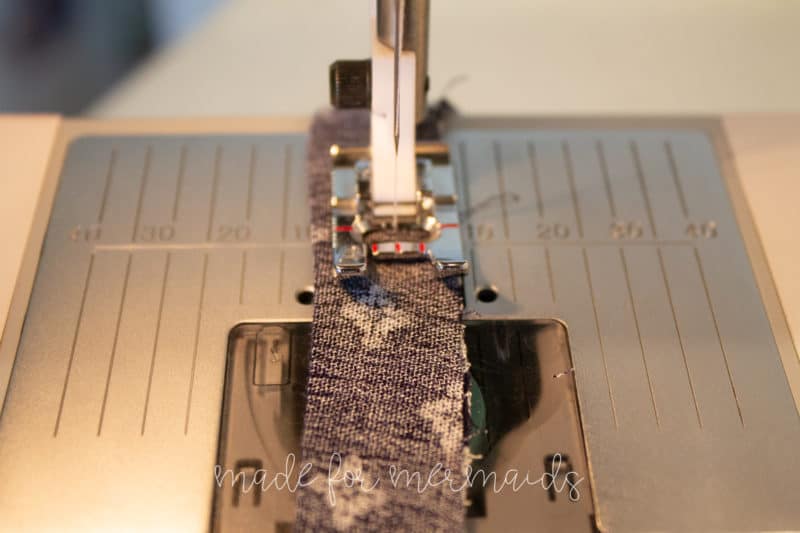
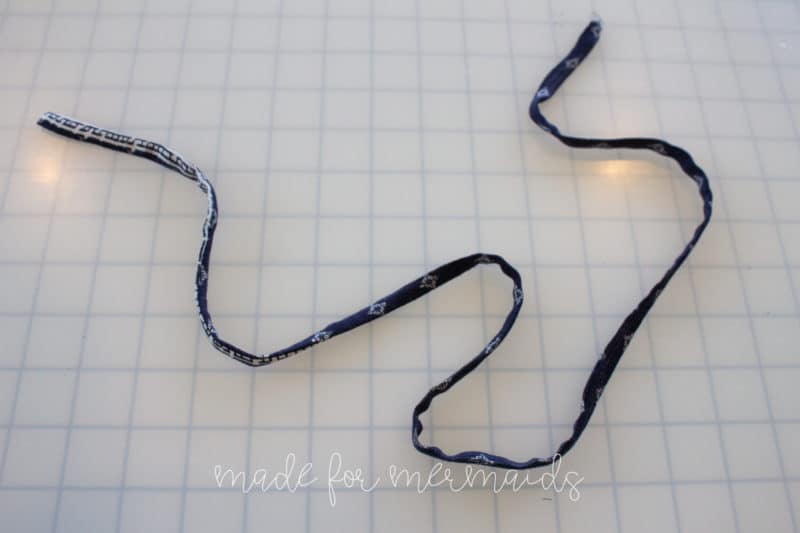
Assemble your cover-up following the tutorial until you get to the neckline facing at Step 10. Cut a strip of fabric 1.5″ x 12″ (for 6 loops) and a strip of fabric approximately 1.5″ x 38″ for the laces. Create your loops using the same technique as making the waist ties in the tutorial. Press fabric in half lengthwise with right sides together. Stitch with 1/4″ seam allowance down the long, raw end. Use a safety pin or tube turner to turn loops right side out. Press well and topstitch if desired.
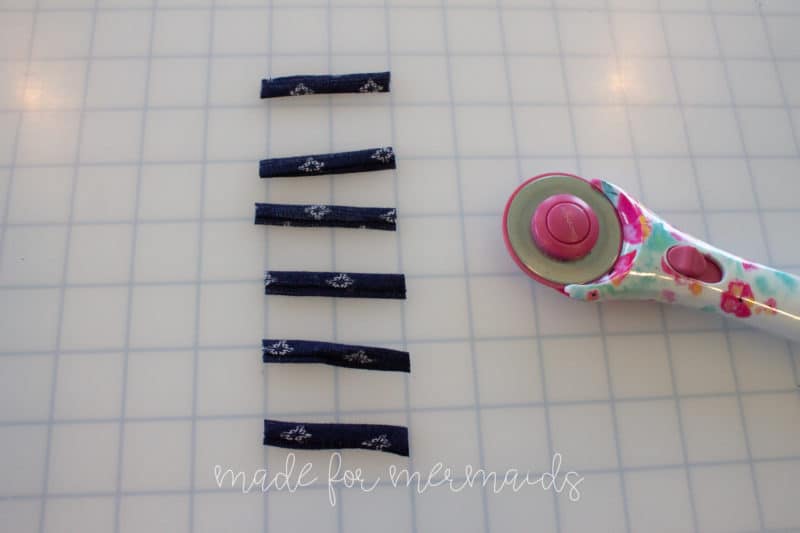
Cut your loops piece into 6-8 equal sections. I made mine 2″ long and used 6 loops on my size Indigo. Depending on your preference and if you are making this for a child or adult, you may want to use more or less loops!
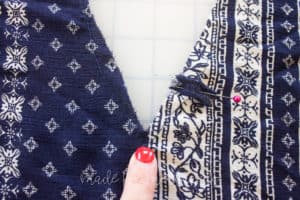
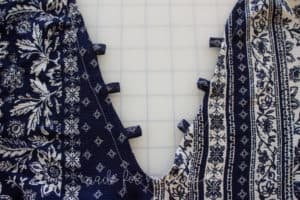
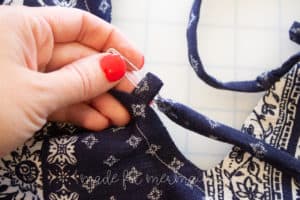
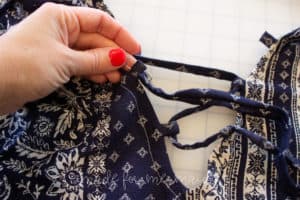
Fold one loop in half and place it 1-1.5″ above the v-neck “point” on one side. The raw ends of your loop should be in line with the raw edge of your neckline. The folded end should be pointing away from the neckline.
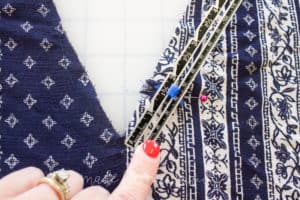
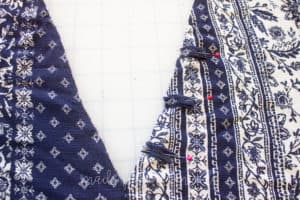
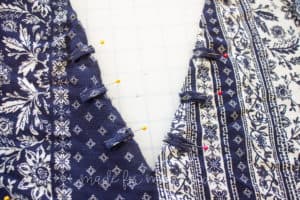
Measure 1.5″ – 2″ above your pinned loop and pin another loop in place. Repeat 1 – 2 more times, depending on how many loops you want. Repeat on other side of neckline. Baste loops in place.
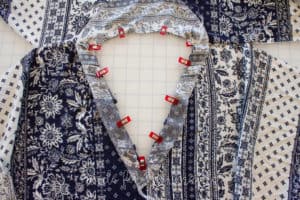
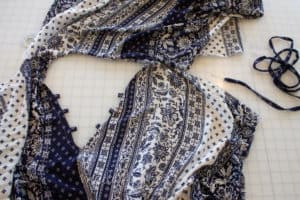
Construct neckline facing per tutorial instruction (Step 10). Place facing on top of neckline right sides together. Your loops will be sandwiched in between the cover-up and the facing. Stitch facing to cover-up. I understitched the seam allowance before edge stitching the facing and it really helps keep the loops from rolling to the lining side.
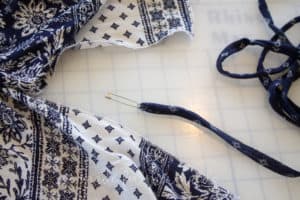
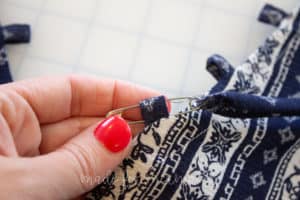
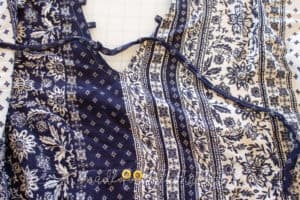
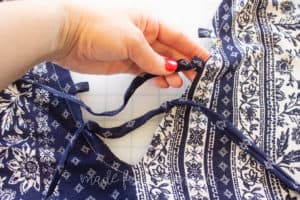
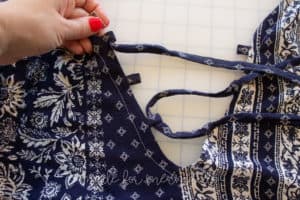
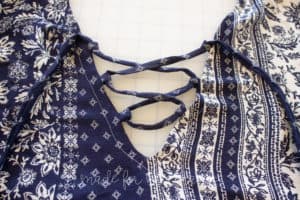
Create your laces just like we made the loops and the waist ties. Turn right side out, press and topstitch, if desired. Put a safety pin in one end of your laces. Starting at the bottom right loop, thread laces across the bottom and through the other bottom loop. Begin lacing diagonally. Then repeat on other side. Play around with your laces to get it to lay how you want. Trim the length to your preference. Finish your laces by folding the end of 1/4″, folding it again, tucking the raw end under. Edge stitch ends closed.
**As always, use extreme caution when using lacing or drawstrings on small children. Do not leave children unattended. Made for Mermaids is not responsible for any injury or damage done while wearing this pattern.**
I just love how this gives Marisol a totally different look!

Hospital Gown Hack
If you’ve ever spent any time in a hospital, you know that hospital johnnies are the worst. They’re unflattering, uncomfortable, and if you’re a kid, they likely don’t fit very well. Enter the Marisol Hospital Gown Hack!
The side seam construction on the Marisol makes this pattern really very adaptable to your hospital needs. Before beginning, think about what your needs are. For example, if you’re turning this into a birthing gown, you may want the snaps to travel all of the way down the back, and perhaps elastic waist in the front only. For my daughter, I modified it based on the type of surgery she has upcoming (open heart); the two things I wanted to make sure that the gown had were easy side access for IVs and incision checks, and a snap in the back to allow it to go over her head without tugging too hard. I also decided to forgo the drawstring and elastic waist casings in order to not put any extra pressure on her incision.
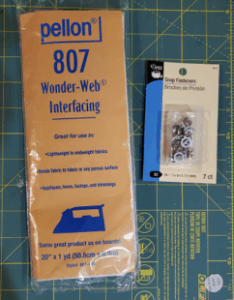
For this project, you will need the following additional notions: snaps of your choice (I went with Dritz, size 16) and Wonder-Web fusible interfacing- the type that allows you to bond two pieces of fabric together.
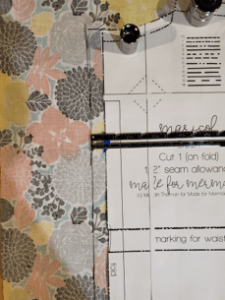
After assembling the pattern in your size, cut out one front and one front neckline facing on the fold as directed. If you are opting to do the elastic or drawstring waist, you can cut out the casing and drawstring pieces as directed as well. For the back piece, lay out your pattern piece on your folded fabric, not on the fold. We will be adding space for a seam down the back. Note: I highly recommend marking the side seams on your front and back pieces, as well as the waist casings if needed, before beginning to sew.
Measure 1/2″ out from the center edge of the pattern piece, and draw a line from neckline to hem. Cut two, mirror images of each other.
Similarly, with the back neck facing, repeat the above process. Lay out your pattern piece on your folded fabric, not aligned with the fold. Extend the pattern piece by 1/2″ from the edge labeled “fold”, and cut two mirror images.
Next, you will need to decide how long you would like the opening on the back of the neck to be. I decided to make mine a 4″ opening, so I cut two strips of interfacing that were 4″ long by 1/2″ wide, and two strips of fabric that were 4″ long by 1/2″ wide. On your fabric, mark that distance from the edge of the neckline.
Next, I measured the length of the side seam, from armscye to hem. For the 12 month cover up length, this worked out to being 12.5″ long. Therefore, I cut two strips of interfacing that were 12.5″ by 1/2″, and two strips of fabric that were 12.5″ by 1/2″.
Using a 1/2″ seam allowance, sew the back center seam from the bottom hem to the marking that you made for the neckline snap. Reinforce your seam using a serger or a zigzag stitch within the seam allowance.
Sandwich your short strip of interfacing and the matching fabric piece and place on one side of your back piece, aligning it with the neckline and the top of your back seam. Iron in place. Repeat on the other side. Press back center seam to one side.
Stitch shoulder seams as indicated in the pattern. If you are inserting a waist casing, do so now.
With right sides together, line up the short sides of the neckline facing pieces and stitch with a 1/2″ seam allowance. Back pieces should curve towards the center. Press seam towards the back.
Place the facing and cover-up right sides together, matching up the v-neck, shoulder seams and the back edges of the neckline. I found it easiest to start at the v-neck point and work my way out. Pin in place. Stitch with 1/2″ seam allowance.
Flip facing to the wrong side of the garment and press well. Before edge stitching the facing to the neckline, snip along the back seam, right at the edge of your interfacing. Fold over by 1/2″ on each side and press well.
Edge stitch along the two pieces of interfacing on either side of the back seam. Then, edge stitch the neckline facing. I also stay stitched the back seam down at this point as well, directly underneath the pieces of interfacing.
Finished neckline will look like this:
If you have not hemmed your piece, do so now! Then, stitch one side seam as the pattern directs. I chose to stitch the right hand side seam this way.
For the opposite side seam, you will follow these steps! Line up the long piece of interfacing with the side seam marking on wrong side of the front of your garment. Place the long fabric strip on top of the interfacing and press well to fuse. Cut off and discard any extra, and repeat for the back of the garment.
The best piece of advice I can give you is CHECK CHECK CHECK and RECHECK your snap placement before installing any of your snaps! For the neckline snap, I decided to install one snap at the top of the neckline. Mark your snap placement on both interfacing pieces on either side of your pack seam. I checked my placement by pinning the two pieces together through the markings to insure that they were aligned correctly.
Decide which piece is going to be on the bottom. Install the male snap piece on your mark, facing out. On the other side, install the female snap piece on your mark, facing the inside of your garment.
For the side snaps, you will need to mark snap placement on both the front and back of your garment. Starting on the front, line your ruler with the top of your reinforced strip. Measure and mark 1/4” down from the top edge. Add a new mark every 2″ until you reach the bottom hem. Repeat on the back of your garment.
To check if your dots line up, insert a pin through the back of your garment through each of your markings, and match the pin with the markings on the front. The garment should still lay smooth, without large bunches between the pins.
Once you are satisfied with your snap placement, install the male snaps along the markings on the front of your garment, and the female snaps along the back. And that’s it!
Hospital stays are the worst, but at least now you (or a loved one) can be stylish while you’re there! Make sure to post your creations in the M4M facebook group, and best of luck to you! – Hannah
DIY Drawstring Tassels
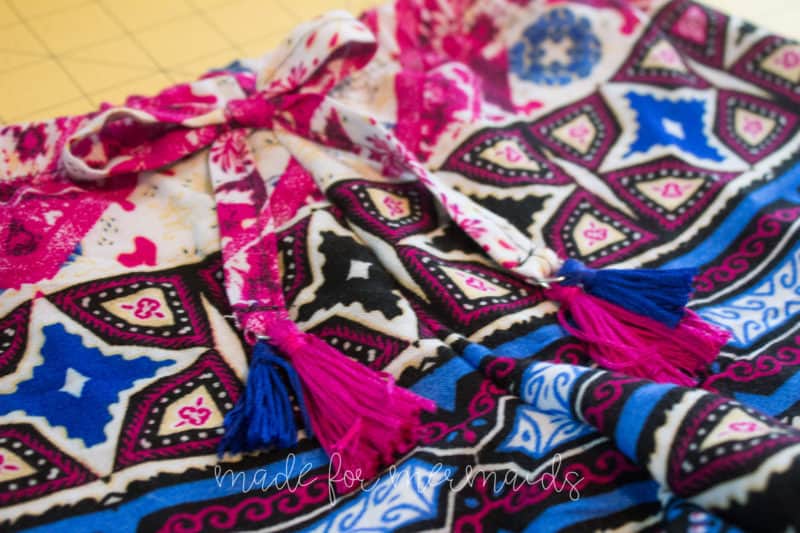
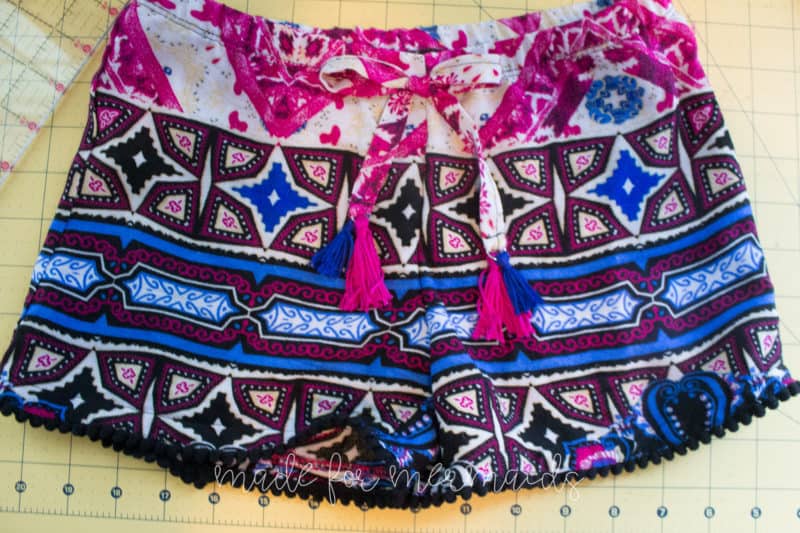
You can add tassels to your drawstring or lace-up hack as well, using this simple hack from our Lucy update!
We hope you love the newest patterns for the Resort Collection, no matter which option or hack you choose to sew up!!
Grab your patterns here and be sure to tag us in the Made for Mermaids Patterns Group! on Facebook and on Instagram!
We love to see what you’ve created!


















Leave a Reply