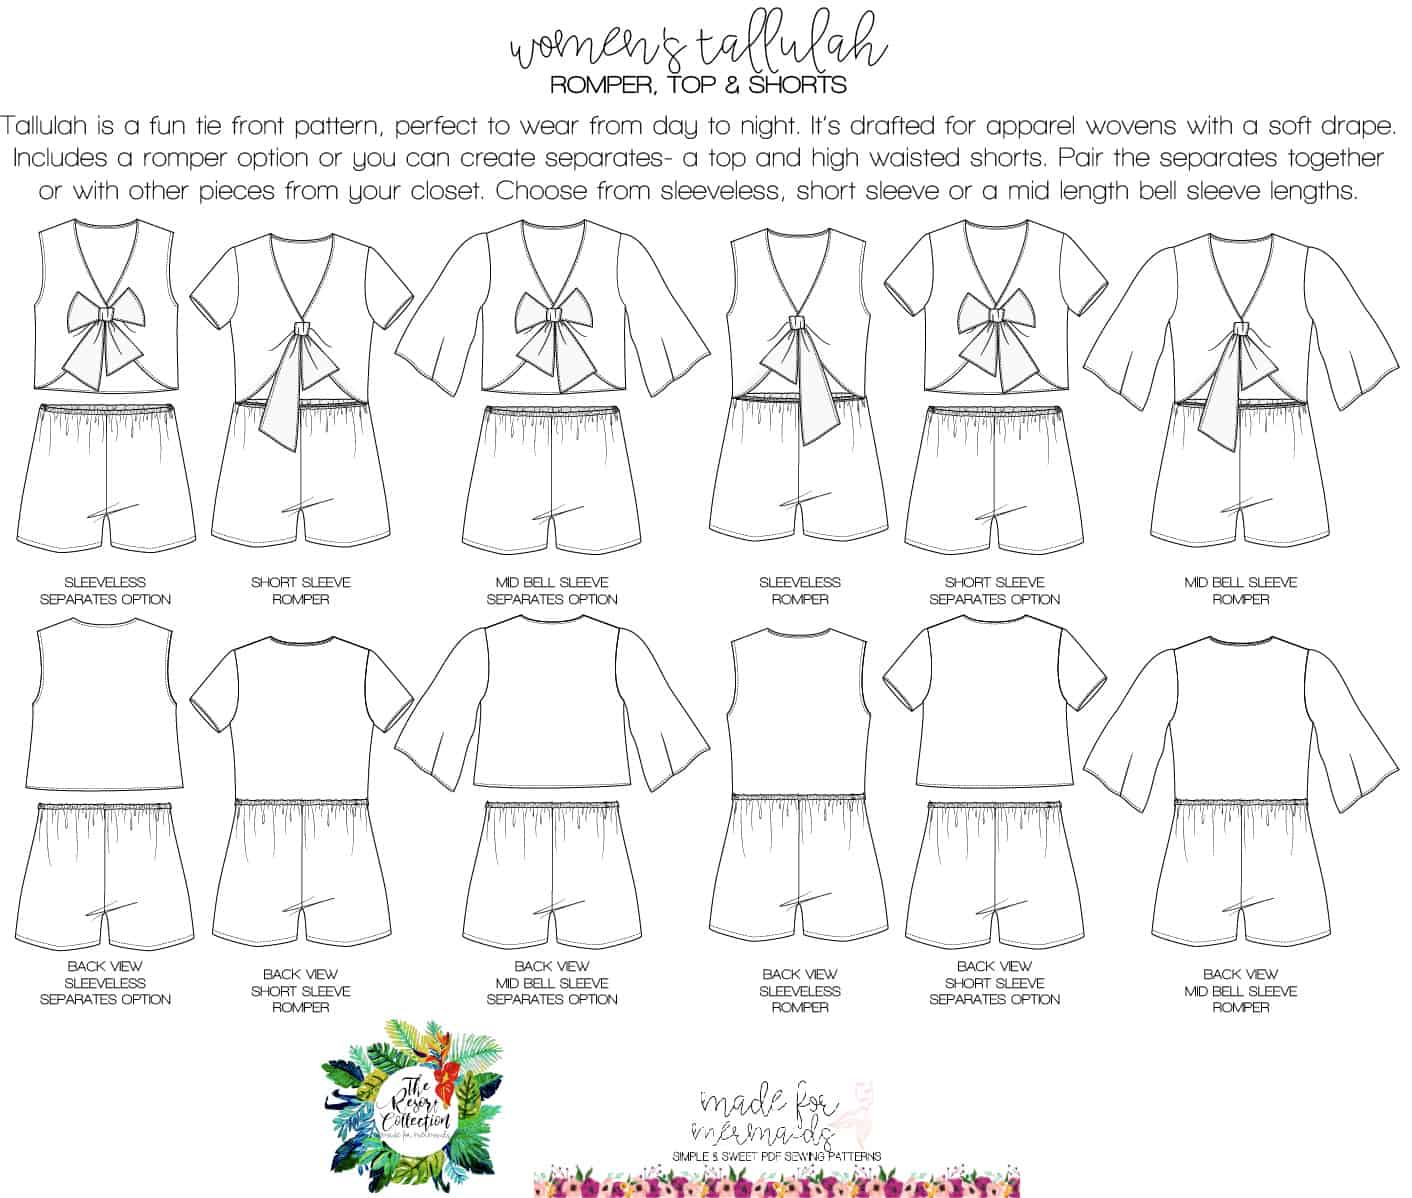
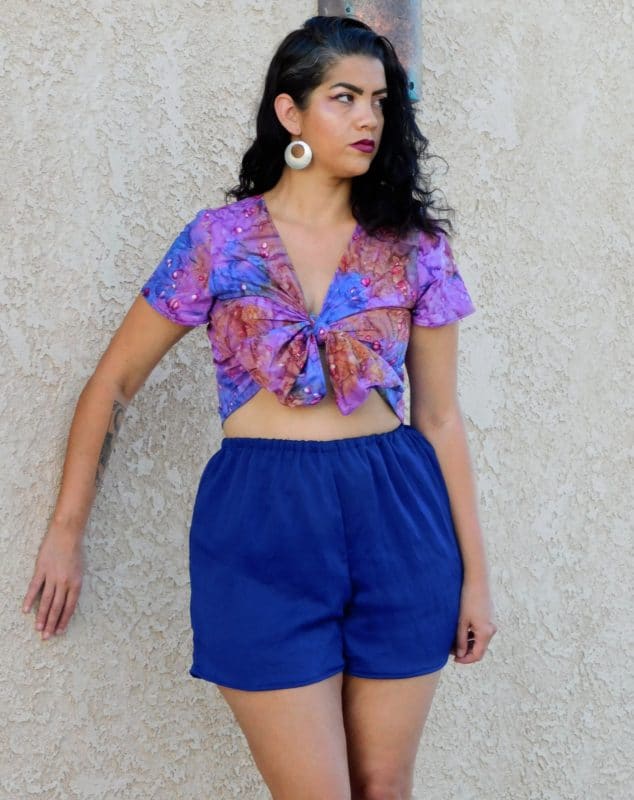
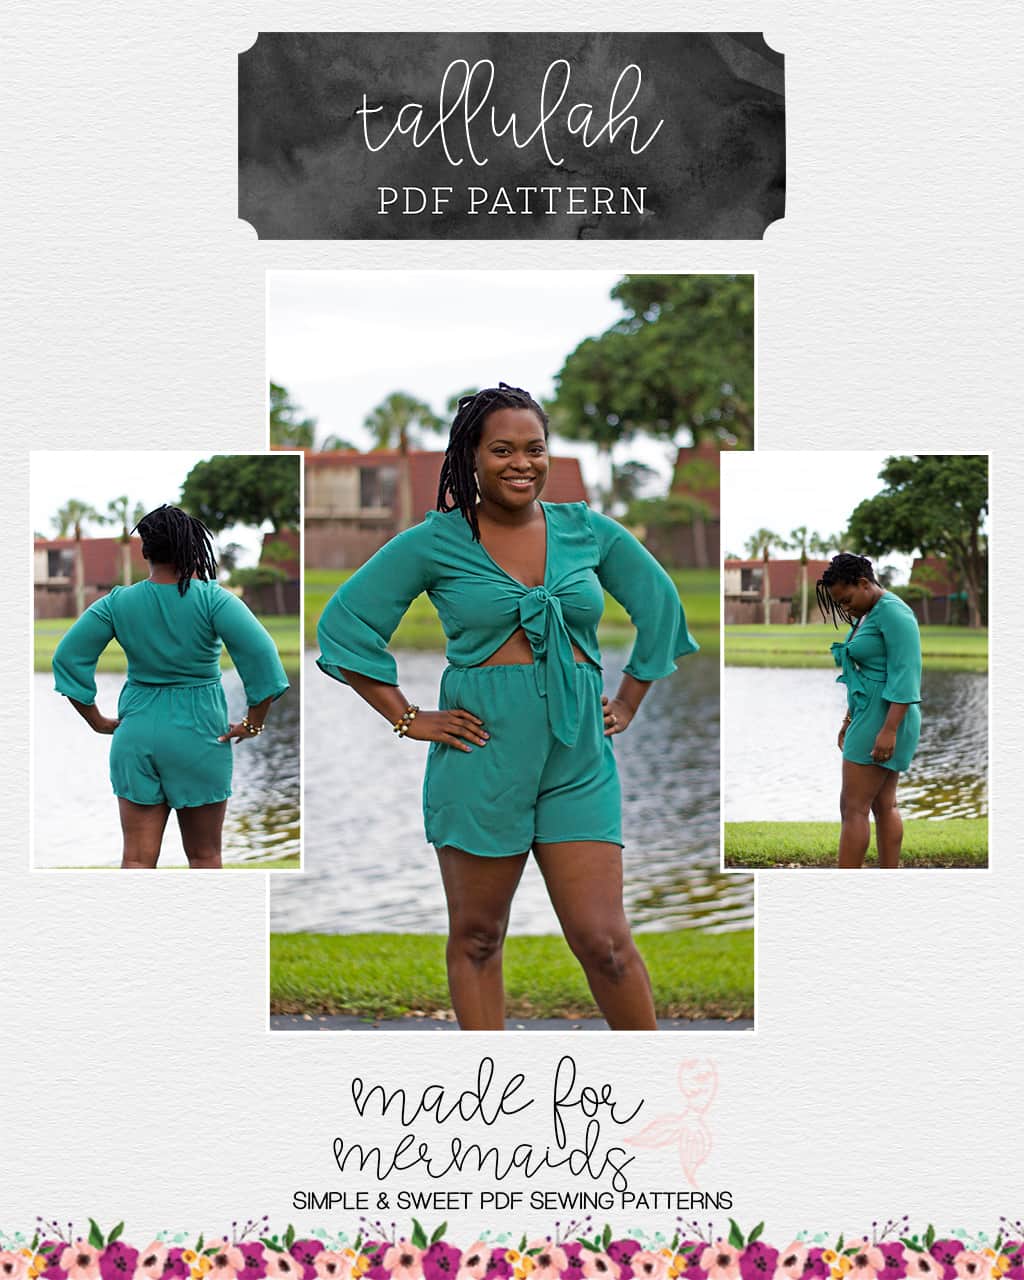
We’re still in vacation mode over at Made for Mermaids! Tallulah is the latest Resort Collection, and we think you’re going to LOVE it! The Women’s Tallulah Top, Shorts & Romper is designed for medium- weight apparel wovens with soft drape- rayon challis, rayon crepe, poly blends, peach skin, etc. The best news is, you can also use a medium-weight knit with soft drape, like double brushed polyester, cupro, etc. Be sure to check out our tester photos on the site AND in our Facebook group to see all of our mermaid goddesses!
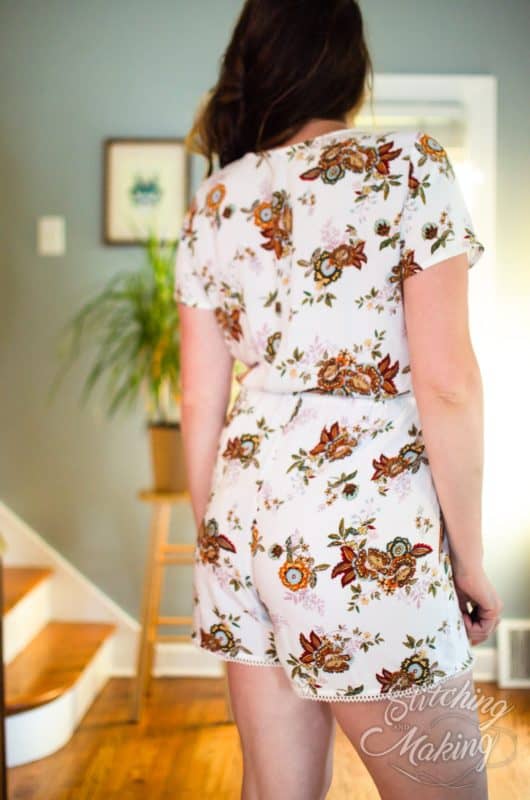
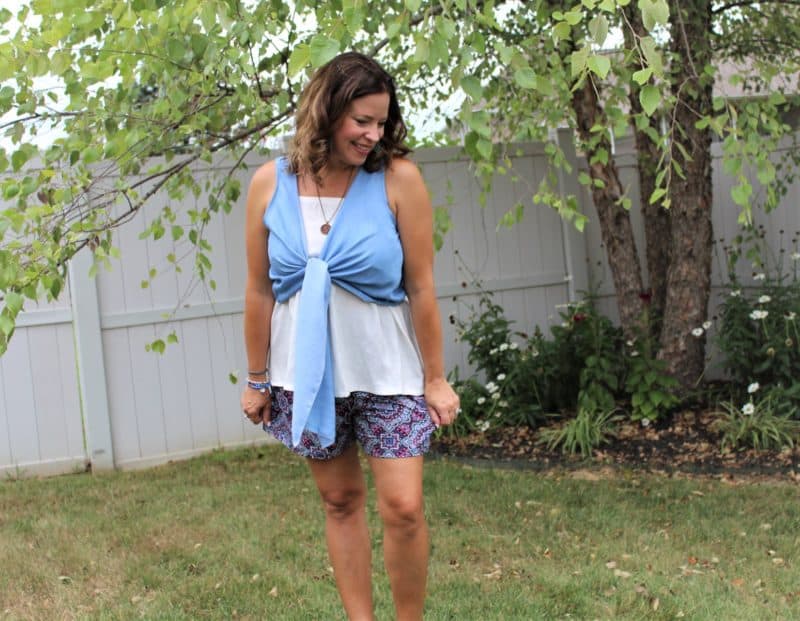
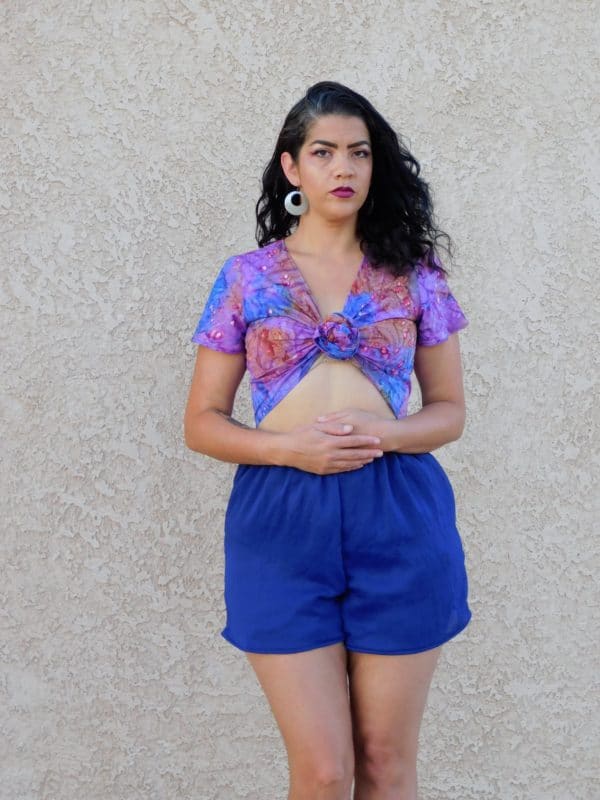
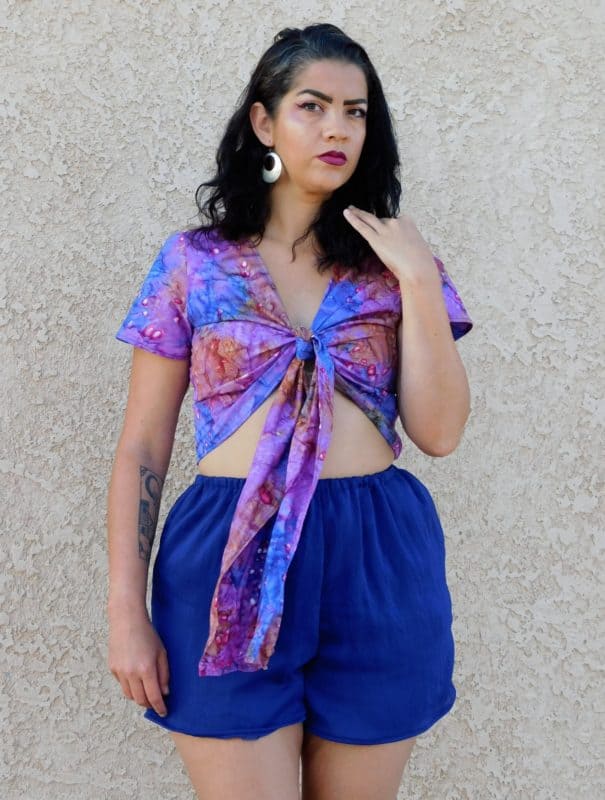
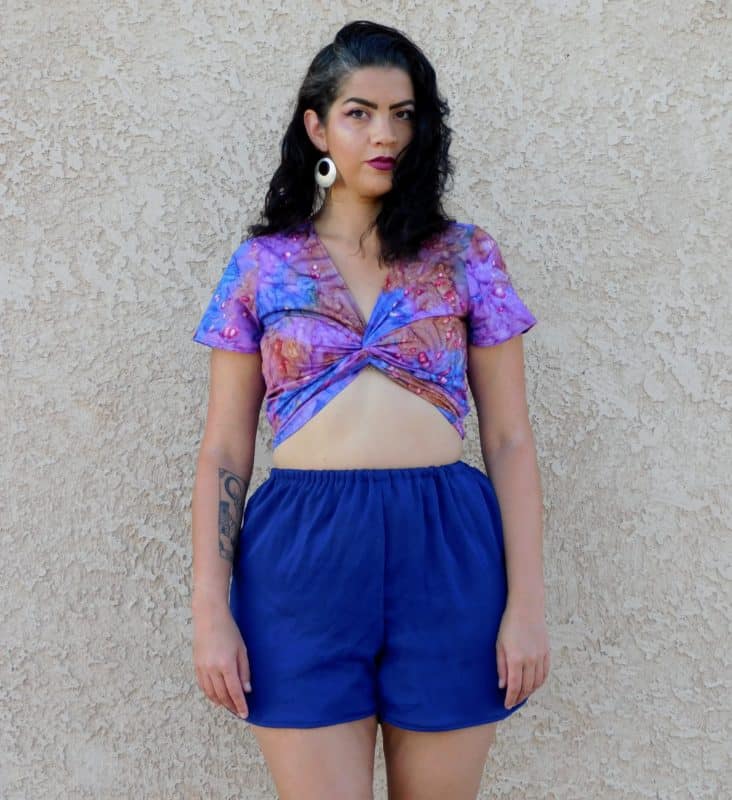
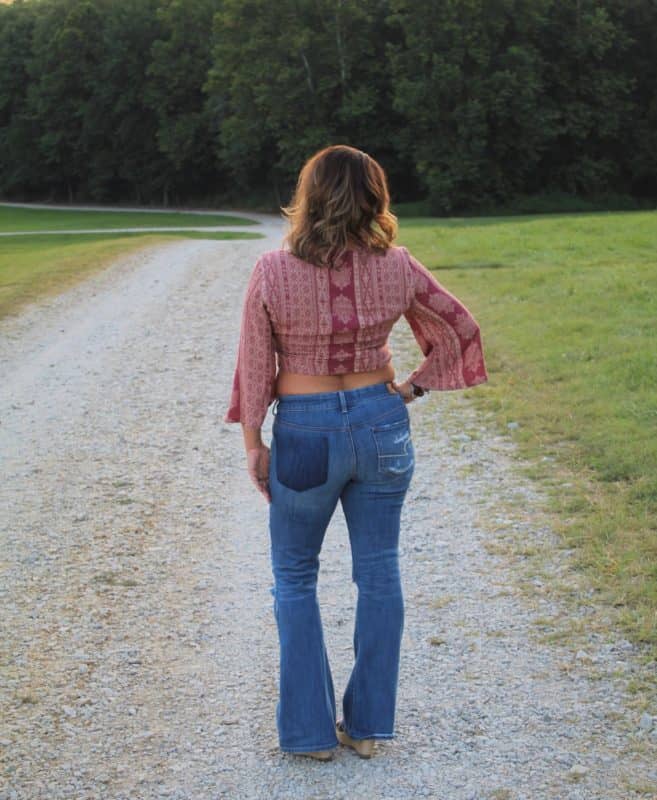
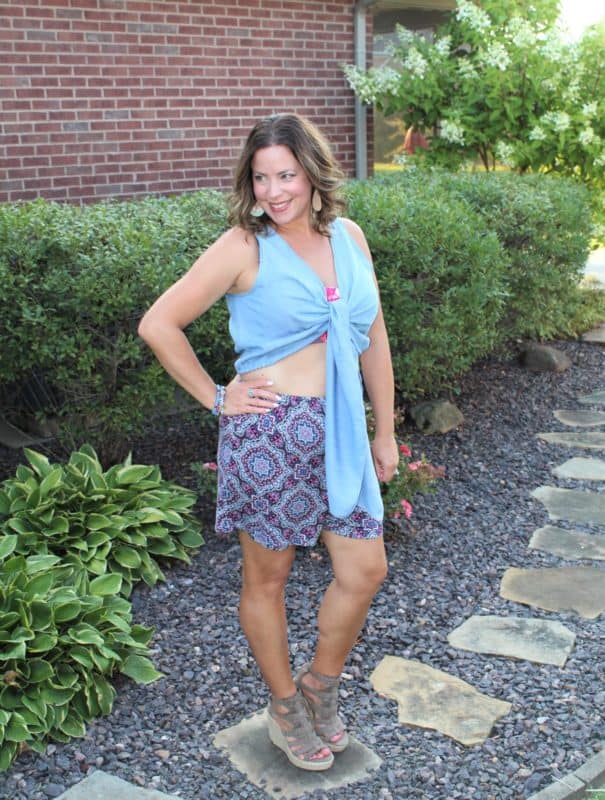
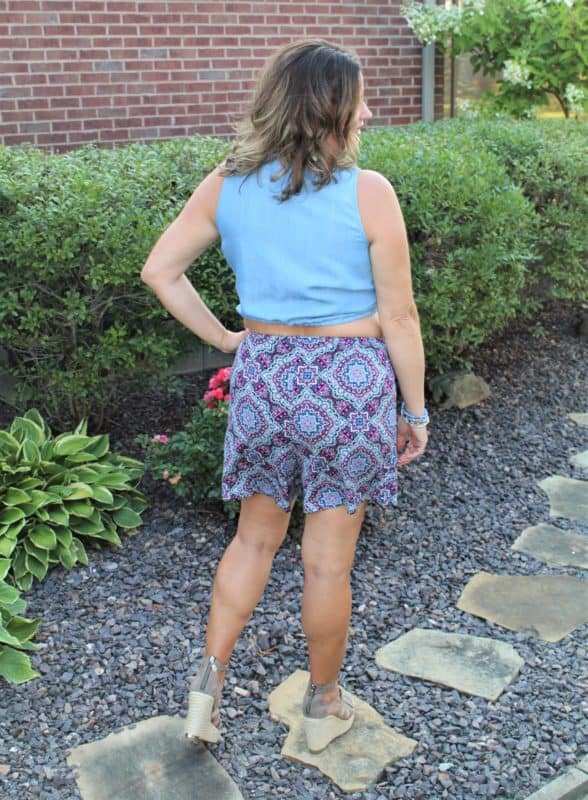
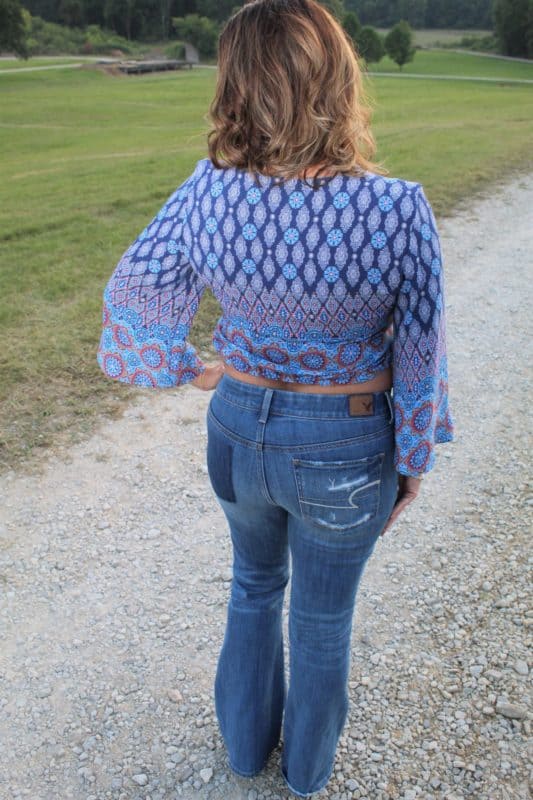
One of the best things about the Tallulah pattern is that there are so many ways to style Tallulah, especially if you make them as separates!
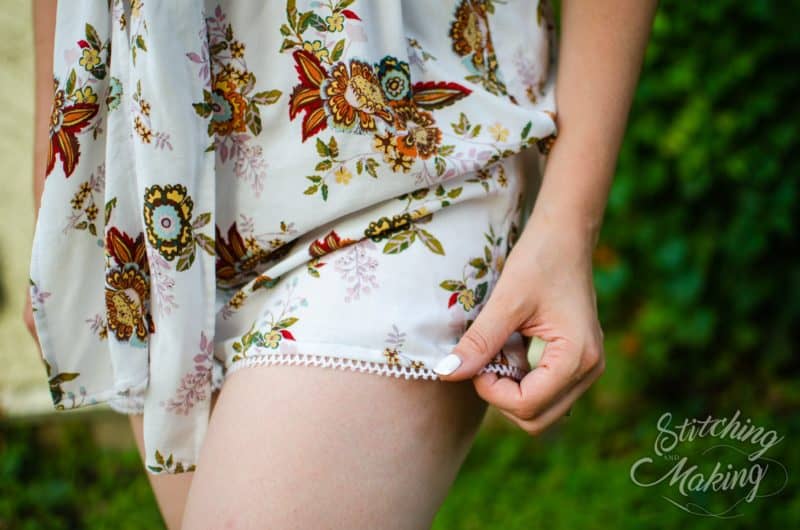
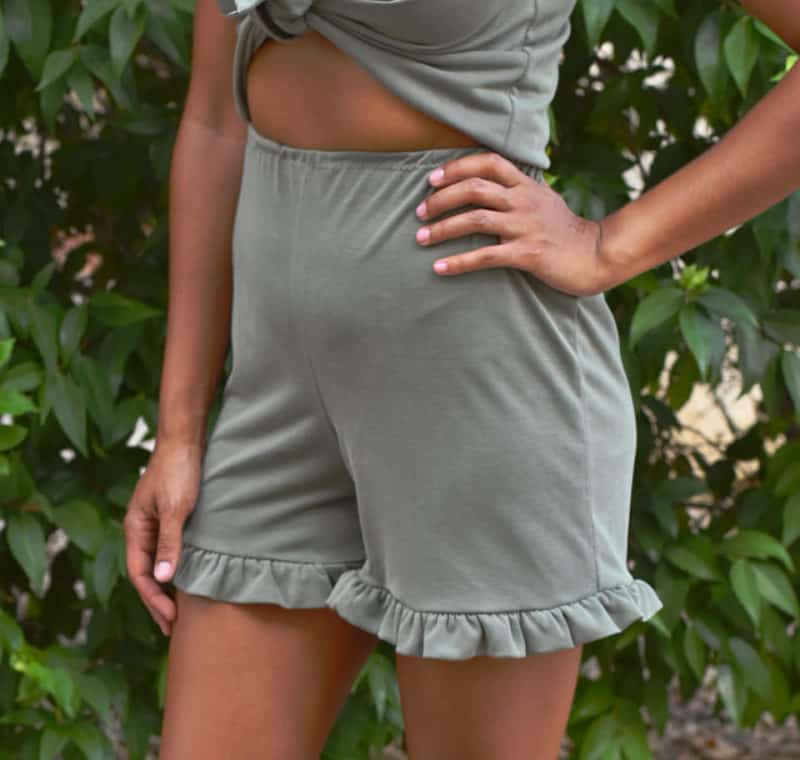
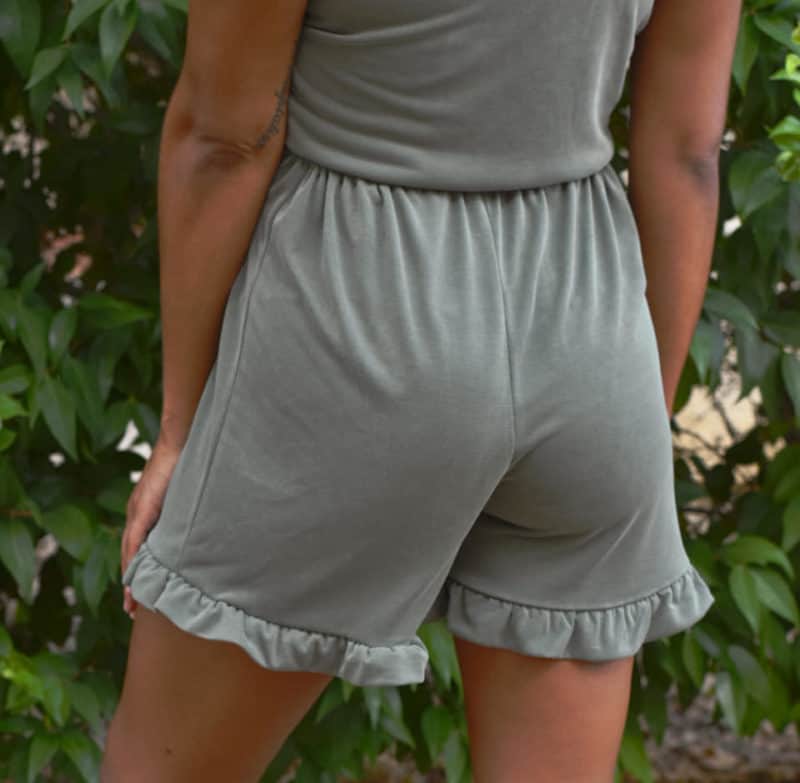
An easy way to shake up your look is by adding trim to the bottom hem! You can use a dainty trim like pictured below, or use some of the funkier trims, like our testers used for the Marisol patterns!
Need to make your pieces more dress-code-friendly? Amy layered hers over a flowy tank! Layering is another quick option for changing the look of your Tallulah pieces.
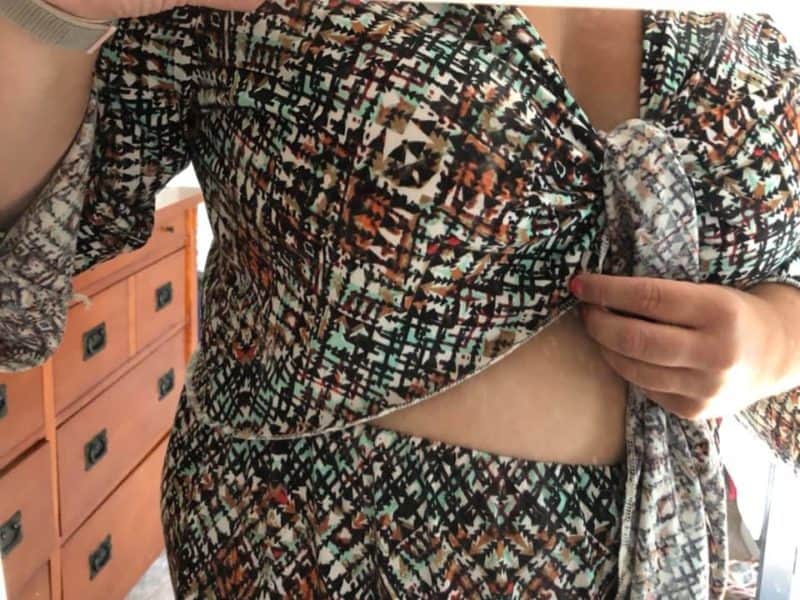
You can also keep it simple just by playing around with the ties:
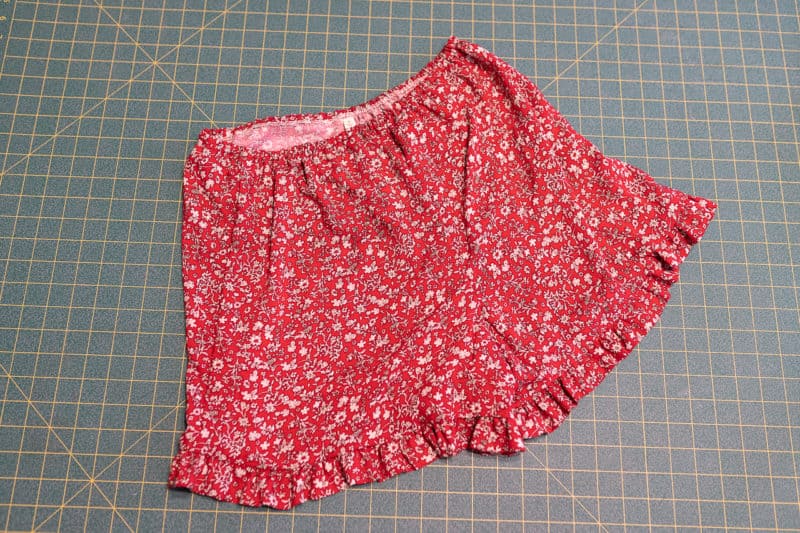
Ruffle Hack
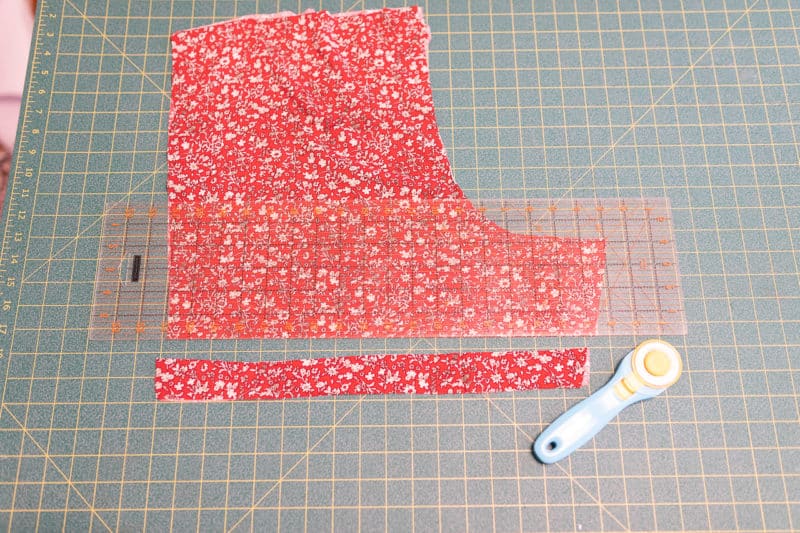
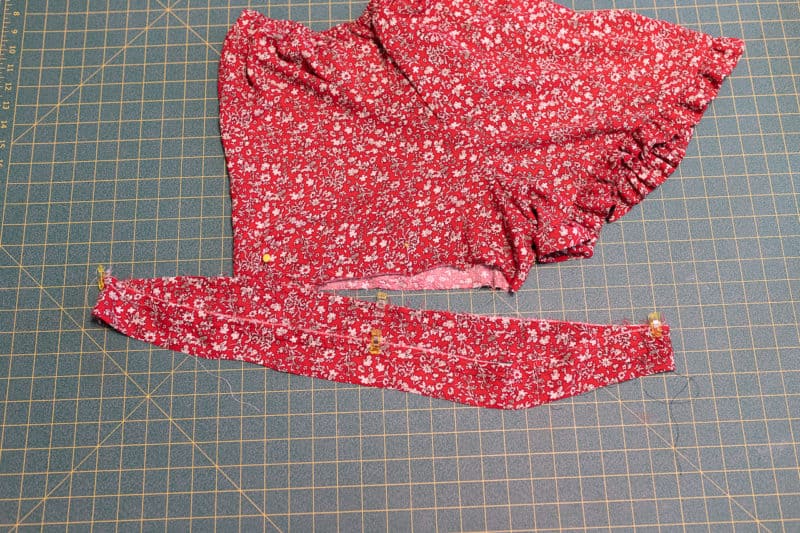
The ruffle hem hack for Tallulah is so, so cute, and really simple! Cut two strips at 4″ x (1.75 x the width of your leg opening). For example, if your leg opening measures 28″ around, you’ll want to cut your strips at 4″ x 49″. If your fabric is bulkier and you prefer to hem the bottom of your ruffle piece rather than folding in half, you can cut it at 2.5″ x 49″ (replace with your actual strip measurements, of course).
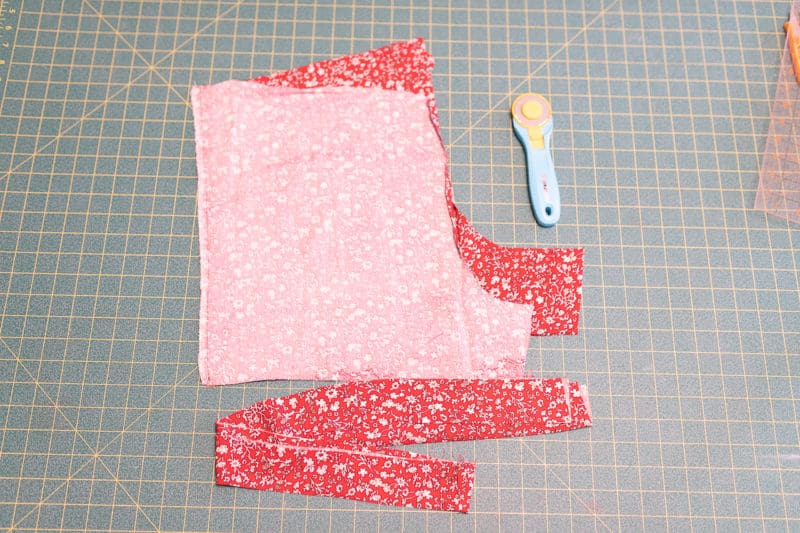
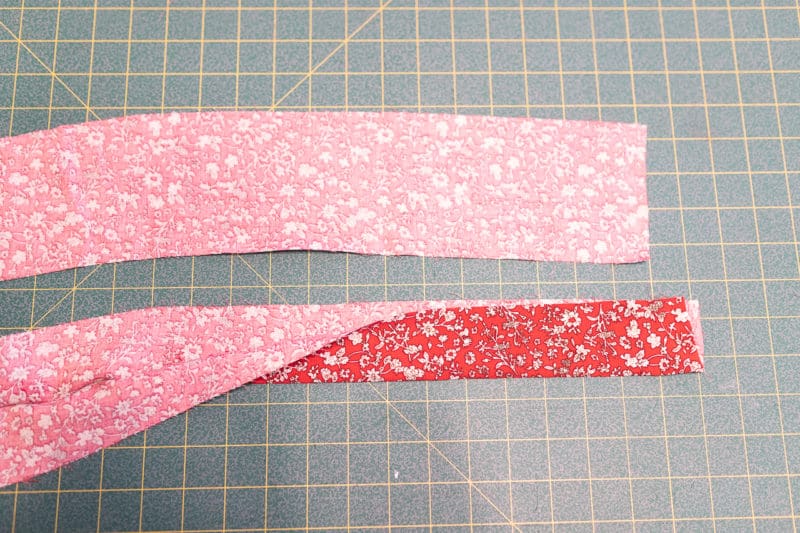
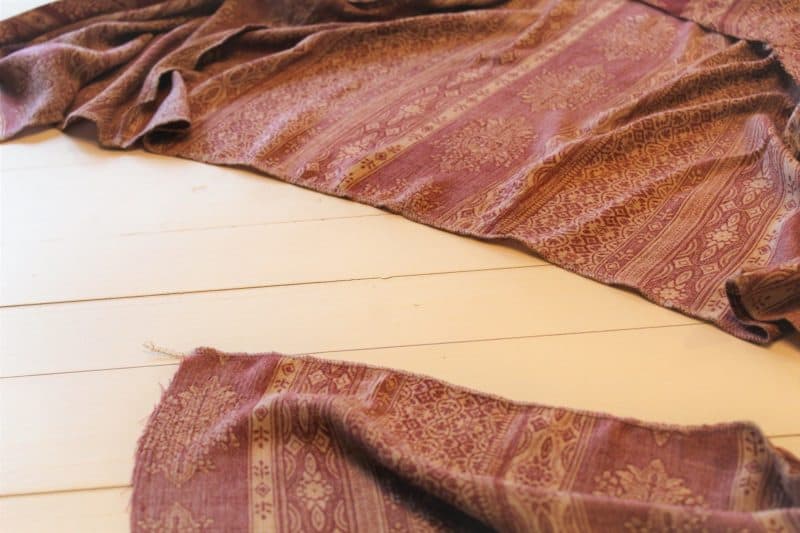
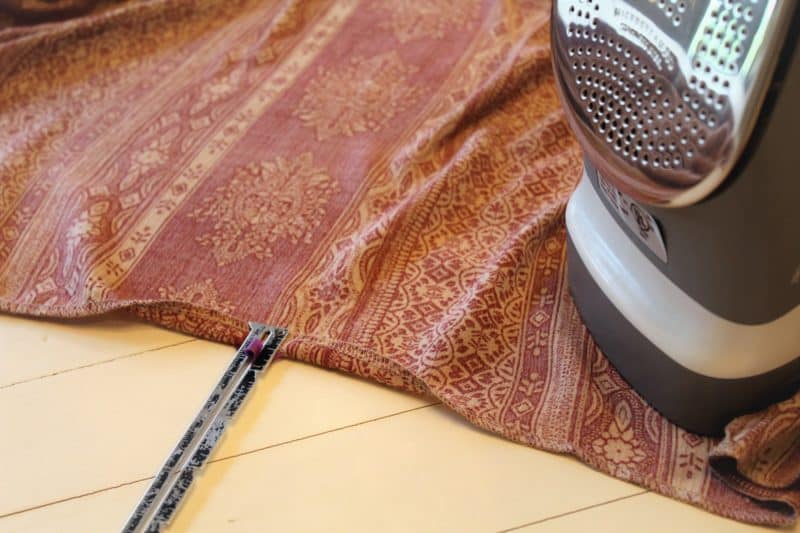
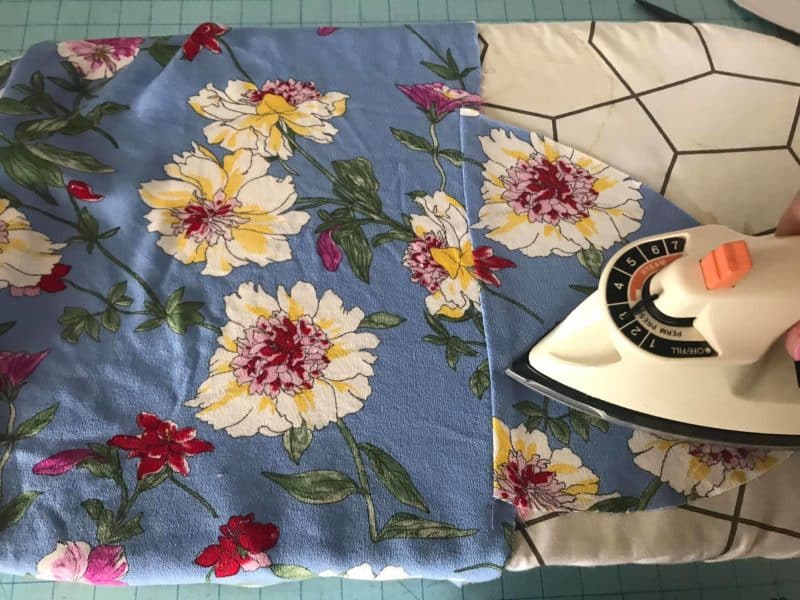
To construct the ruffle, fold ruffle strips in half, with wrong sides together. Press.
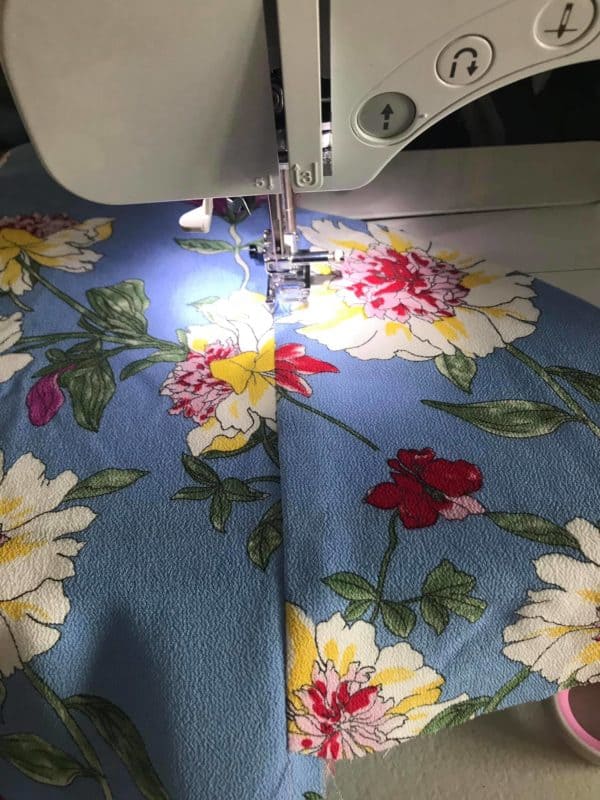
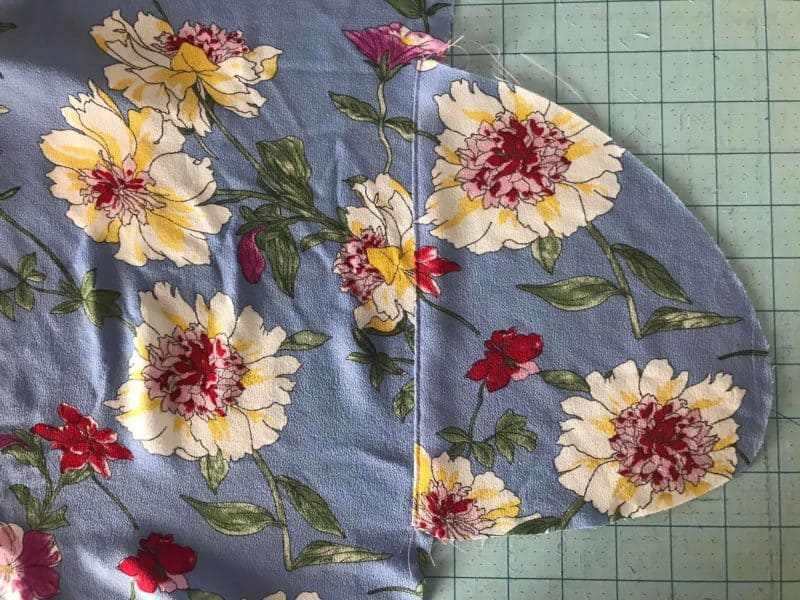
Unfold your memory press, and stitch the short ends together with right sides together, to create a loop. Trim seam allowance, and press open.
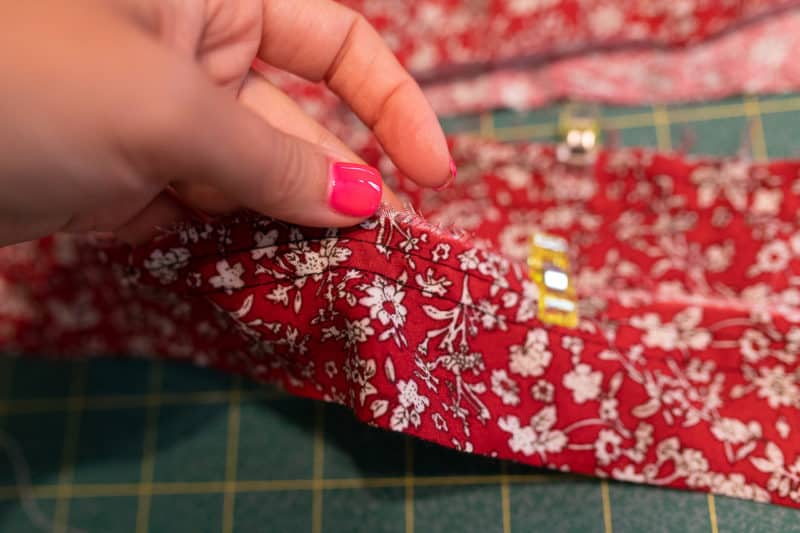
Refold your ruffle strips. Sew two rows of gathering stitches, one at 3/8″ from the top and one at 5/8″. Be sure to stitch along the raw edges, not the folded edge. Do not gather yet.
Before gathering, quarter your ruffle strip like you would a neckband. Gather between the quarter points to make sure your gathers are evenly distributed. Your finished ruffle strip should be the size of your leg opening.
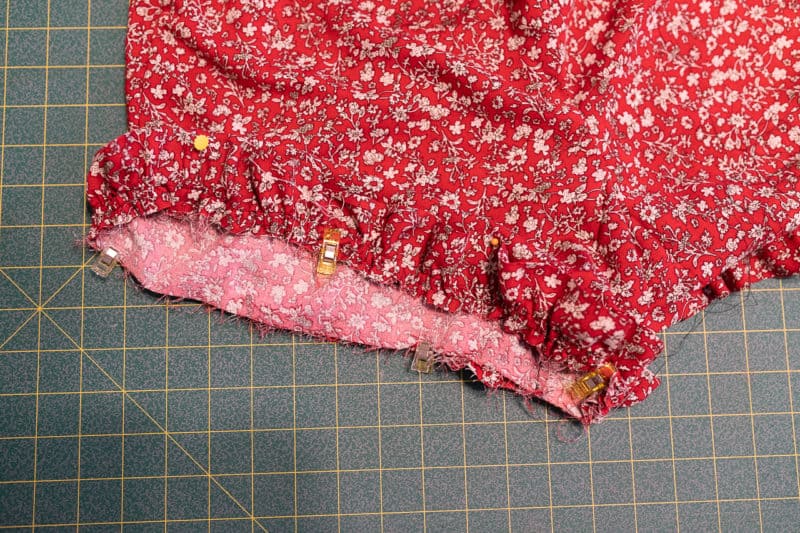
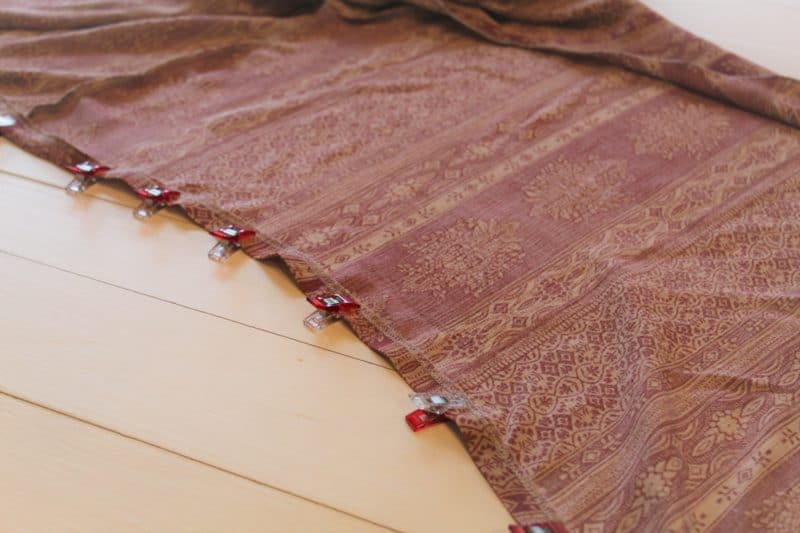
Pin or clip the raw edges of your ruffle to the raw edge of your leg opening. Tip: I like to match the ruffle seam to the inner leg seam.
Attach using 1/2″ seam allowance. Press your seam allowance up. Topstitch if desired. Repeat on opposite leg/ruffle strip!
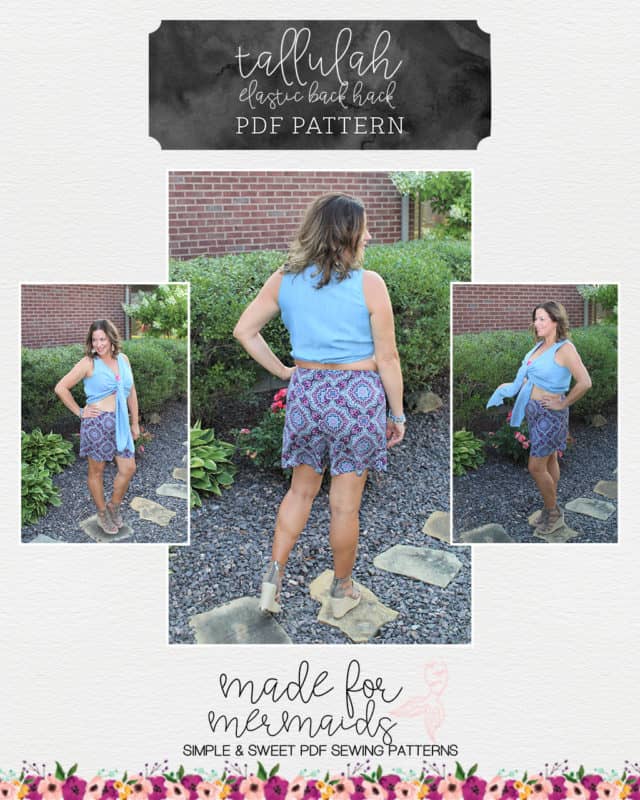
Elastic Back
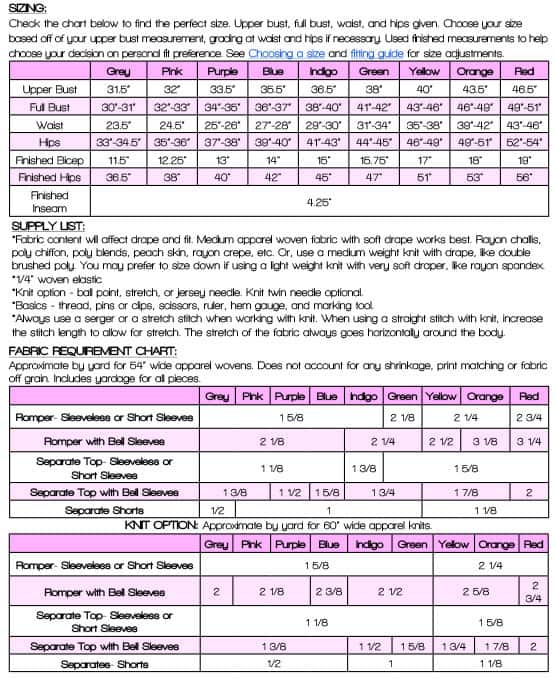
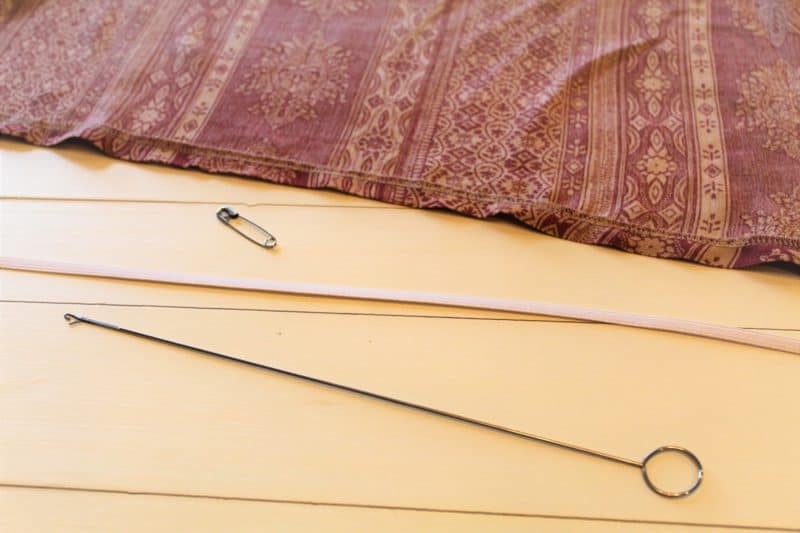
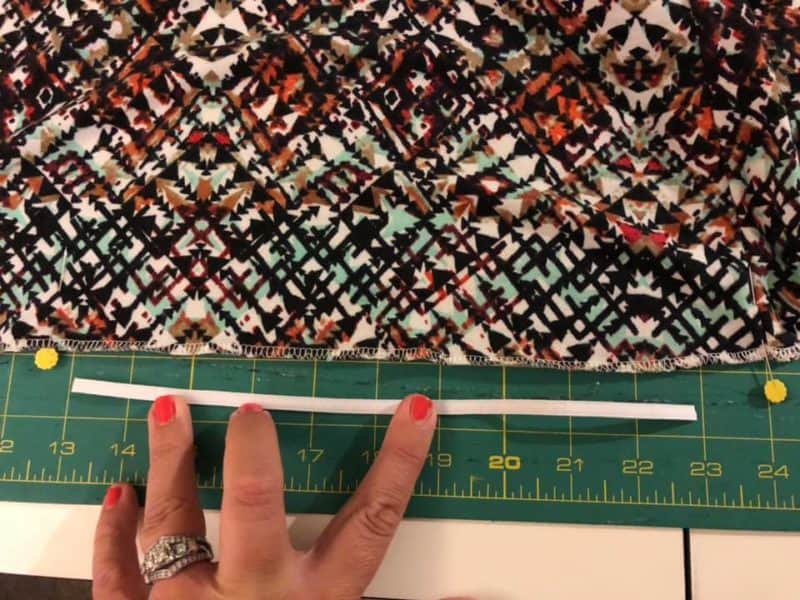
If you choose the separates option for your Tallulah, you may find the top a bit loose for your preference! An easy way to adjust is to add elastic to your bodice pieces. For this hack, you will need 1/4″ elastic, and your preferred tools for threading the elastic.
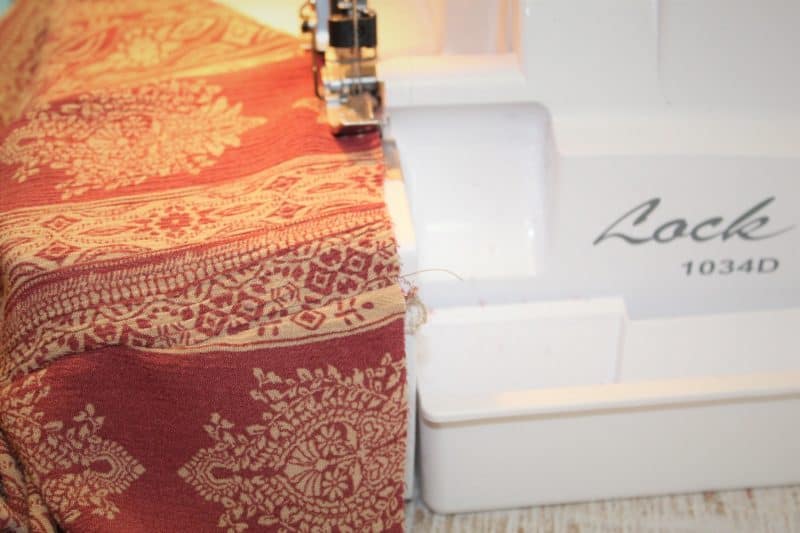
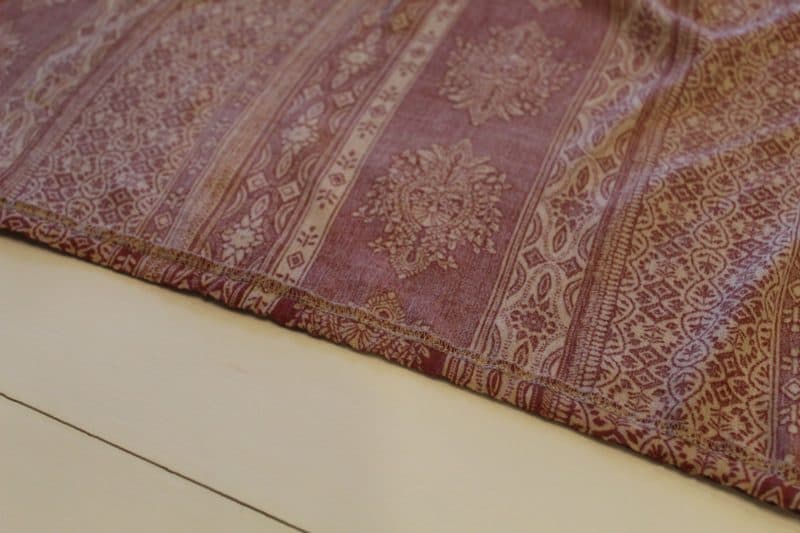
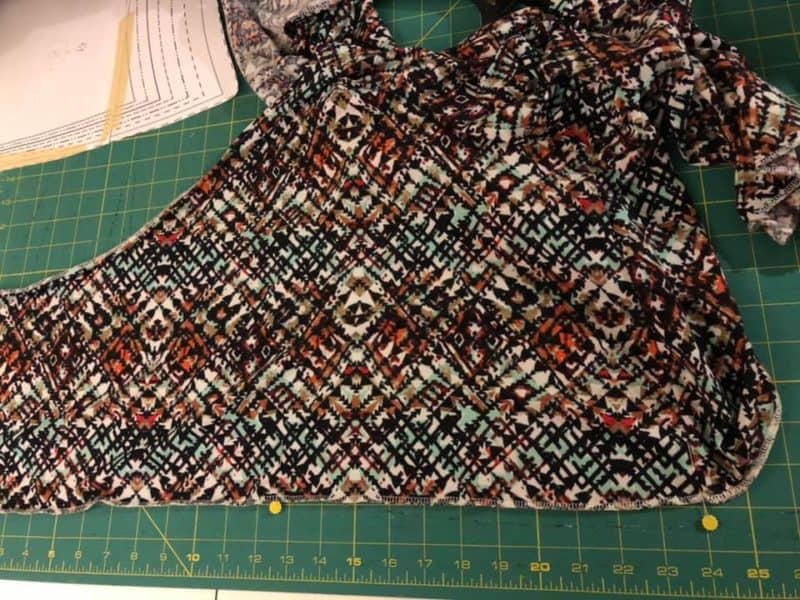
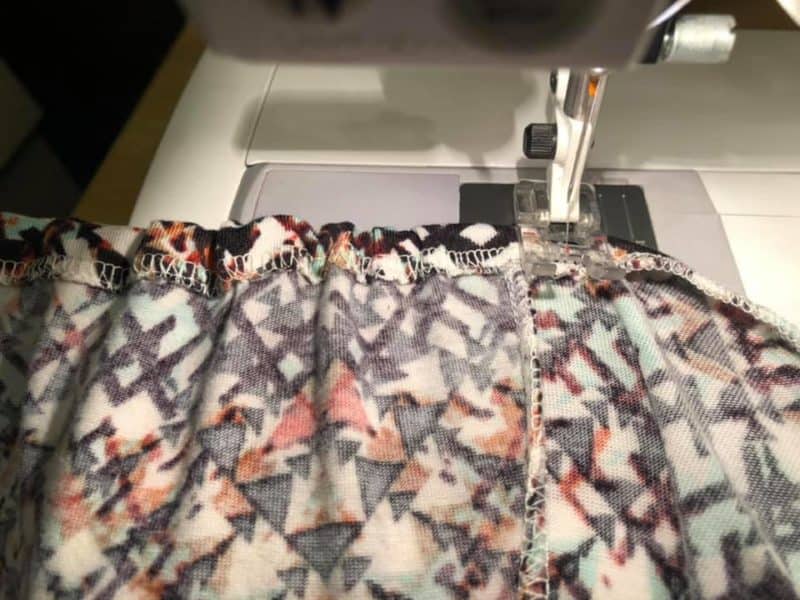
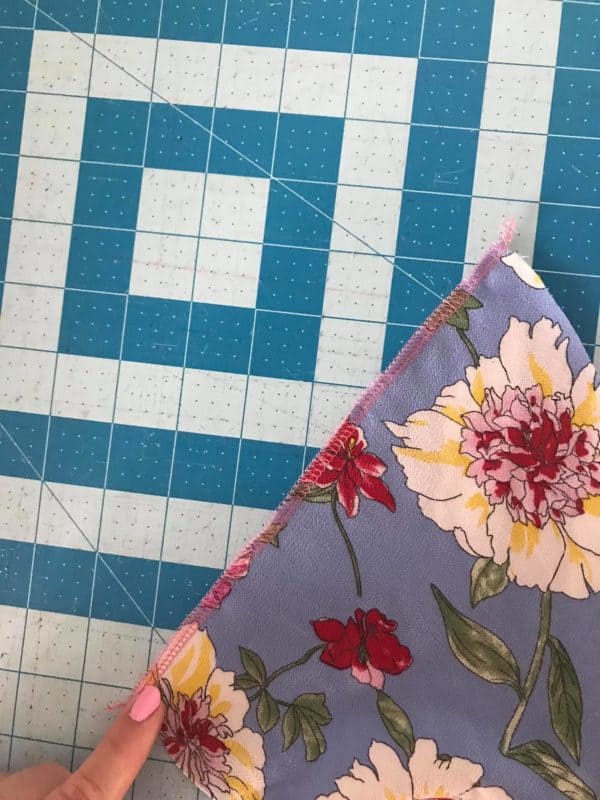
First, you’ll want to finish the raw edge bottom of your bodice. I serged the bottom edge, without cutting any off.
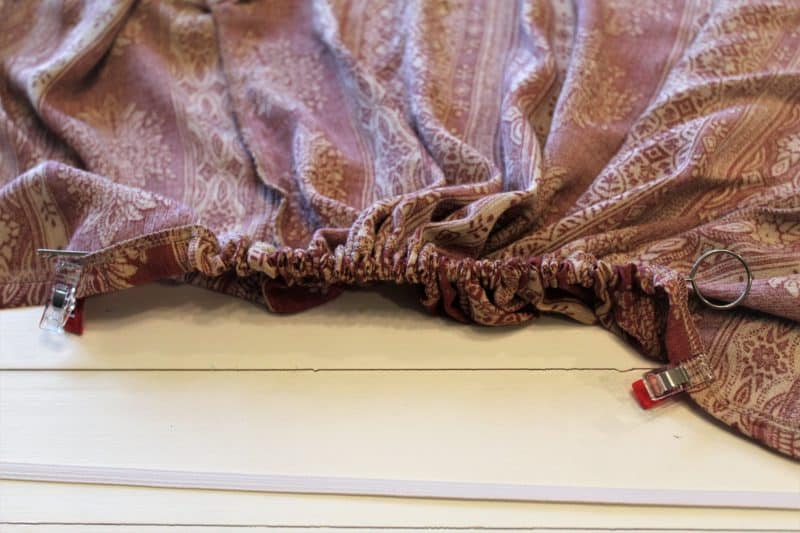
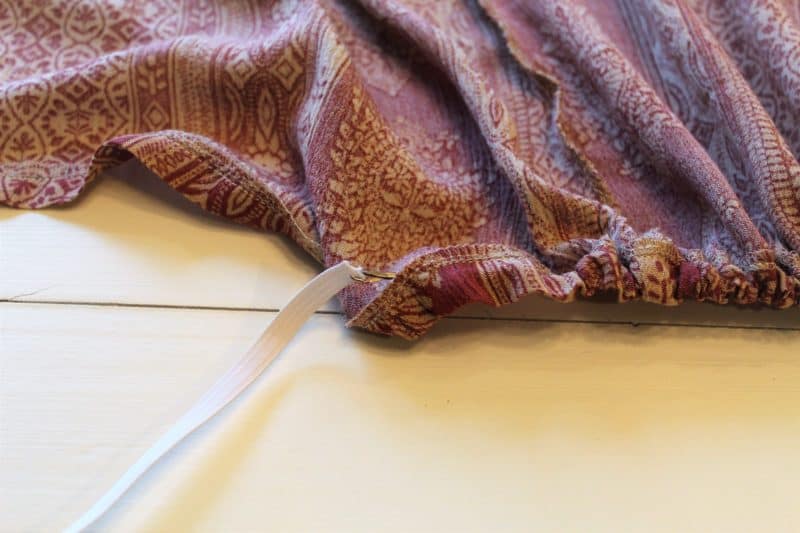
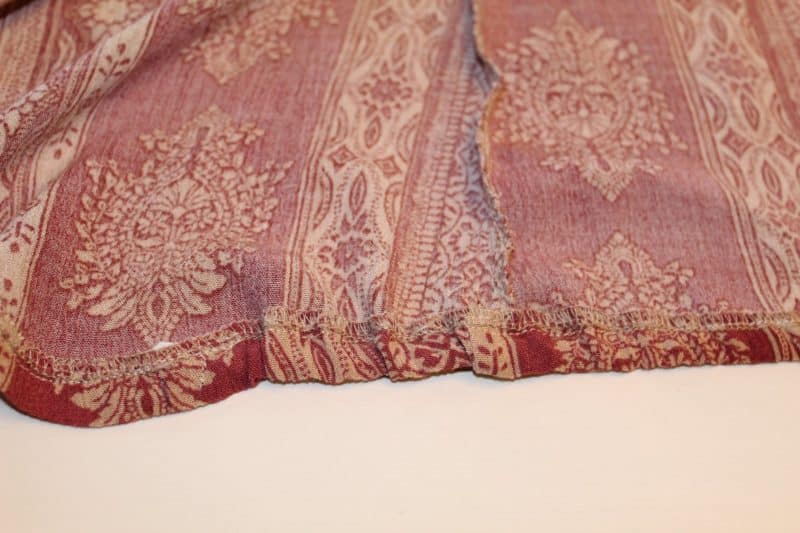
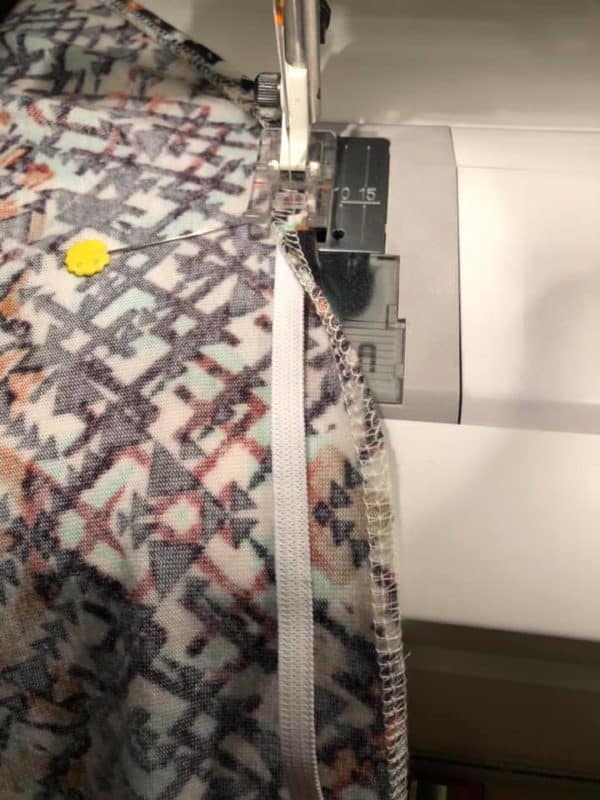
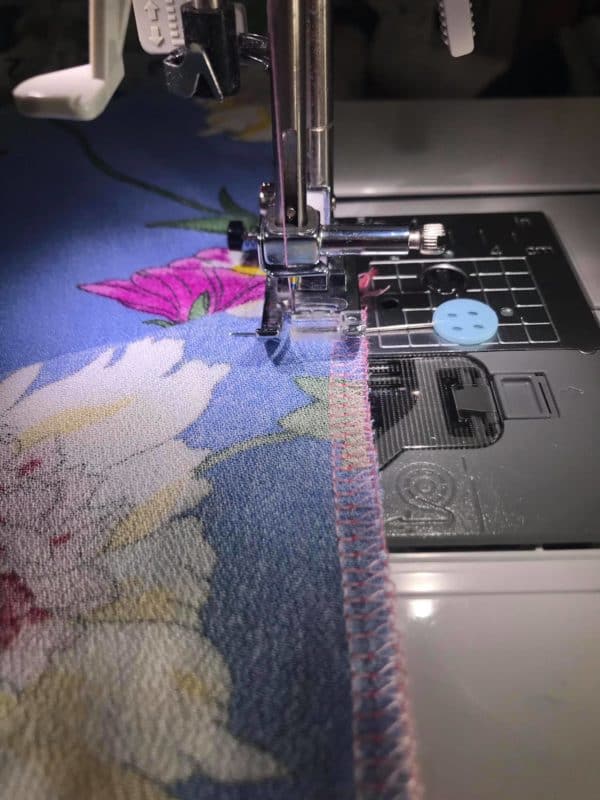
Next, you will create your elastic casing. Press up 1/2″ toward the wrong side. Edge stitch along the width of your back bodice only. After casing is edge stitched, get 1/4″ elastic and preferred tools to thread elastic though casing. *The exact length of your elastic is up to you; you may wish to start with 1″ shorter than the back bodice, and then adjust to fit your preference after threading it through the casing.*
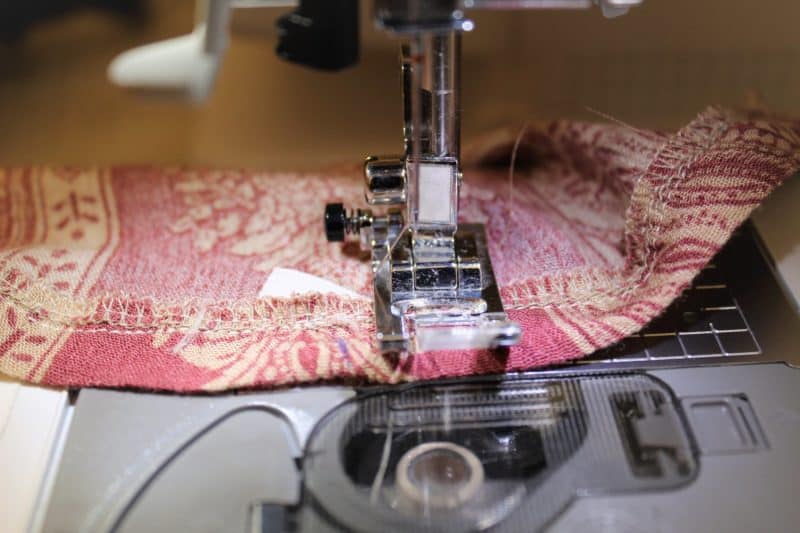
Thread elastic through casing. When you are happy with the fit of the elastic, secure the ends of your elastic by stitching along both side seams.
Evenly distribute your elastic. Edgestitch the remaining portions of your bodice hem.
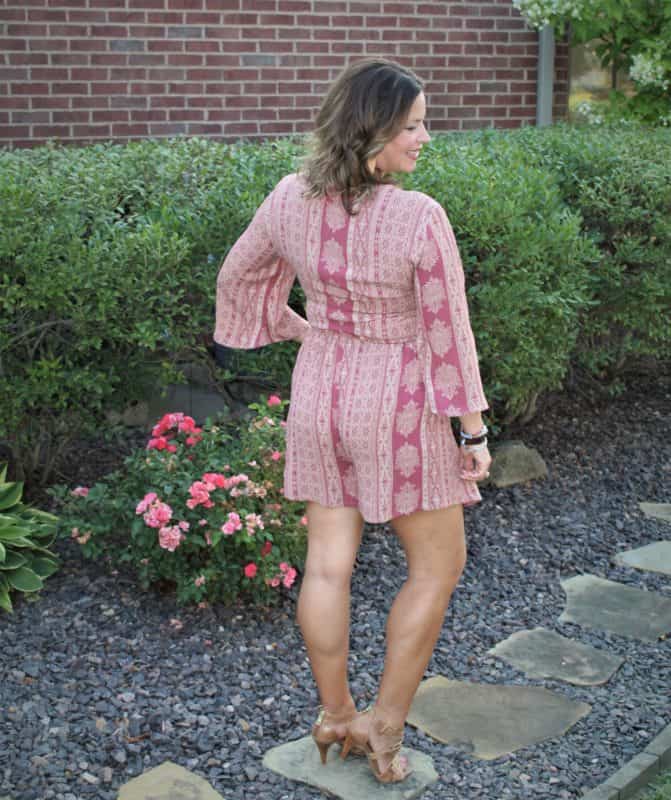
That’s it! Enjoy your Tallulah separates! -Amy
Want to add a bit of elastic to the front of your bodice as well? You can do that, too! One option is to just extend your casing/elastic and use the same steps as listed above.
If you ONLY want elastic on the front, and not the back bodice, you can mark where you would like the elastic on the front (while wearing it). Measure on the fabric piece, then cut your elastic 1″ shorter than that measurement (possibly a little bit shorter if you prefer).
Sew the elastic in as you hem, and then tack your elastic at the end to keep it in place. -Alison
Pockets
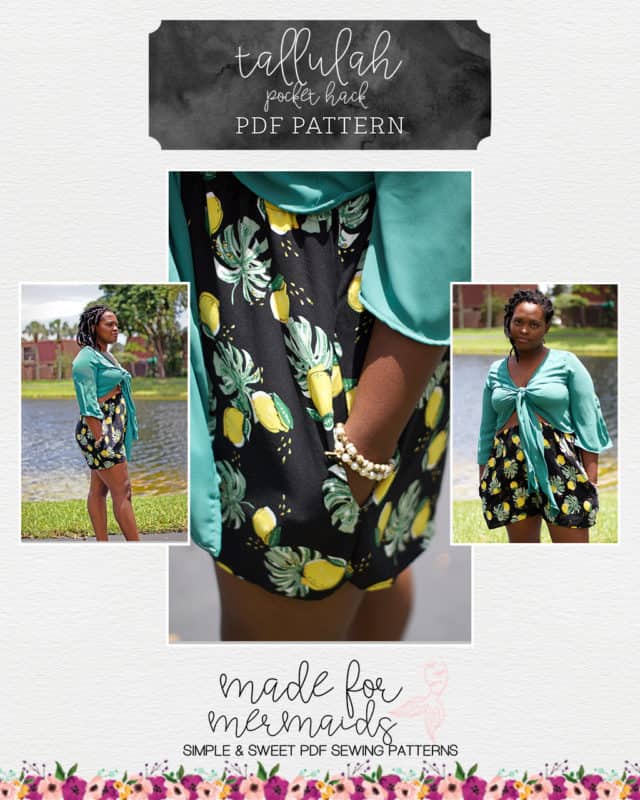
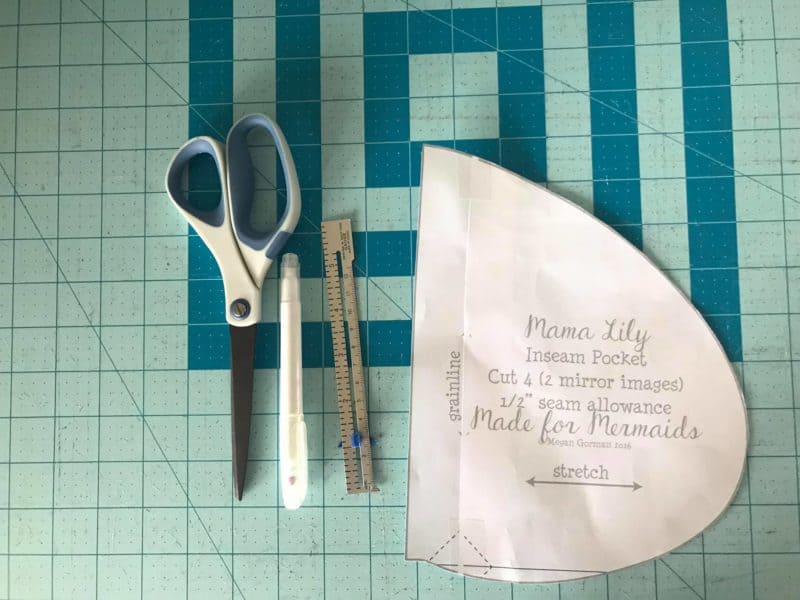
We know it’s going to come up …..does it have POCKETS?! As written, it does not. BUT! Never let that stand in your way 😉 You can modify most any pocket piece, but for this quick tutorial, we’ll use the Women’s Lily pocket pattern piece.
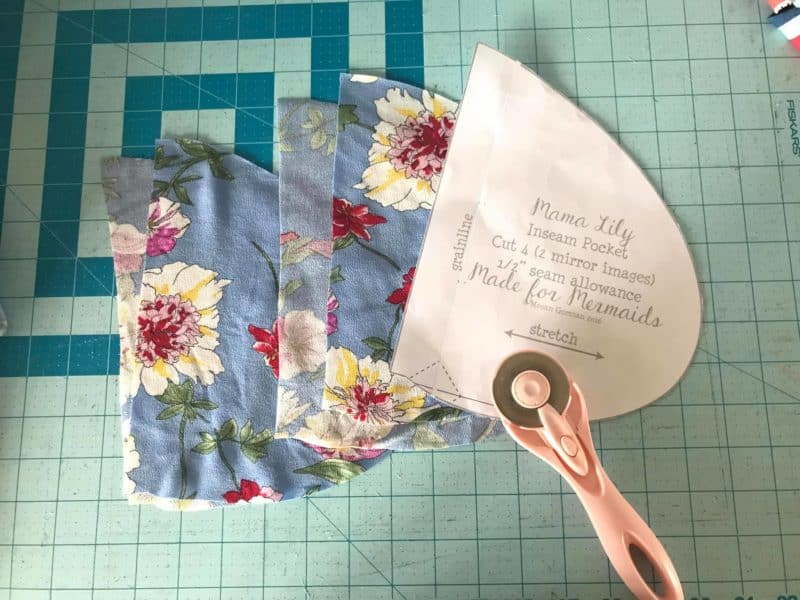
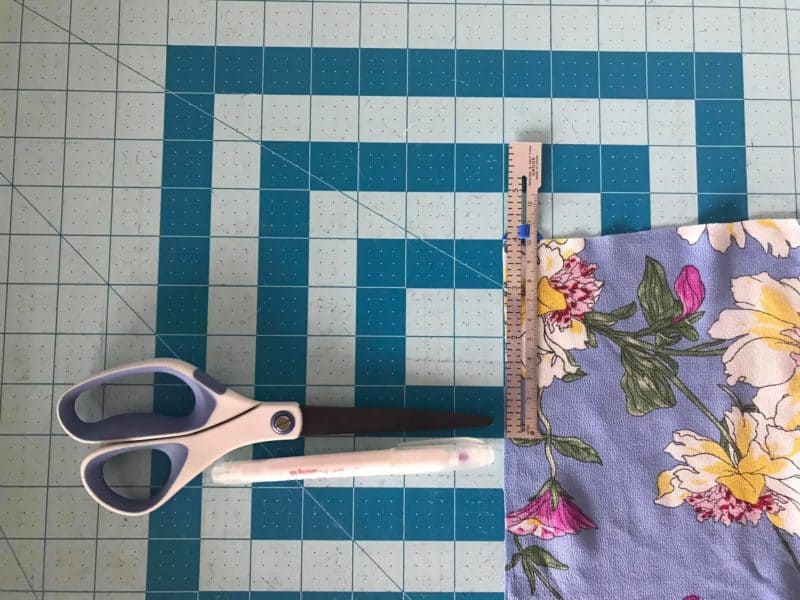
First, cut out four pocket pieces (two sets of mirror images). Measure down 4″ from the top raw edge of your romper bottoms. Note: This exact measurement may vary depending on individuals and personal preference. Mark this pocket placement point on each romper bottom side.
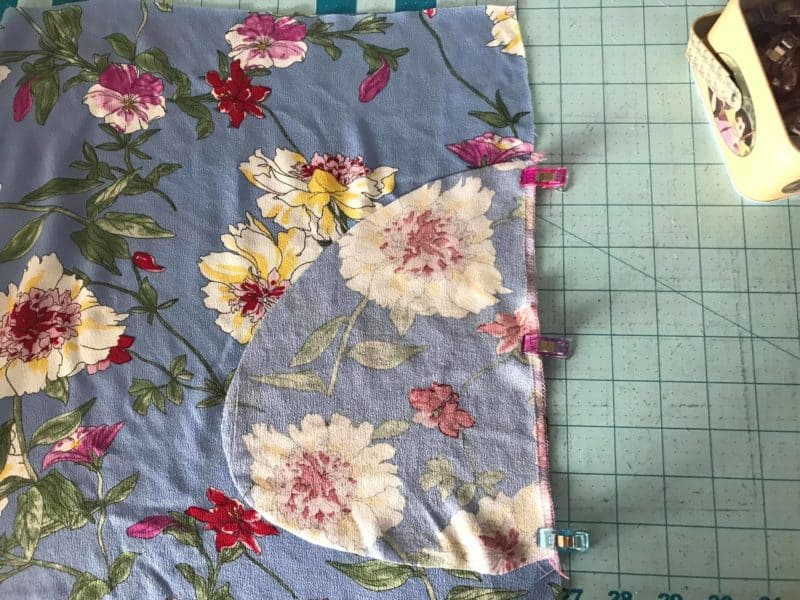
Finish the straight, raw edge of each pocket piece. Pin or clip this edge to the romper piece, with right sides together. Attach your pocket piece to the romper piece, using 1/2″ seam allowance.
Open up so both pieces are right side up. Press pocket piece and seam allowance away from the romper piece. Top stitch pocket piece, catching the seam allowance underneath. Repeat for all four pocket pieces.
With right sides together, pin or clip romper side seams and pocket pieces together. Remember: you will NOT sew along the straight pocket edge, as that will close your pocket up. Stitch using 1/2″ seam allowance. Repeat for opposite side.
And now, your romper has pockets!! -Kaara
Don’t forget to share your makes with us in our Facebook group! We love to see what you’ve sewn up.
#madeformermaids #madeformermaidspatterns #tallulahpattern


























Leave a Reply