Summer’s not over yet at Made for Mermaids! We’re in back-to-school denial over here, and can’t stop with the Resort Collection sews! The good news is, Jade can transition perfectly into fall 😉
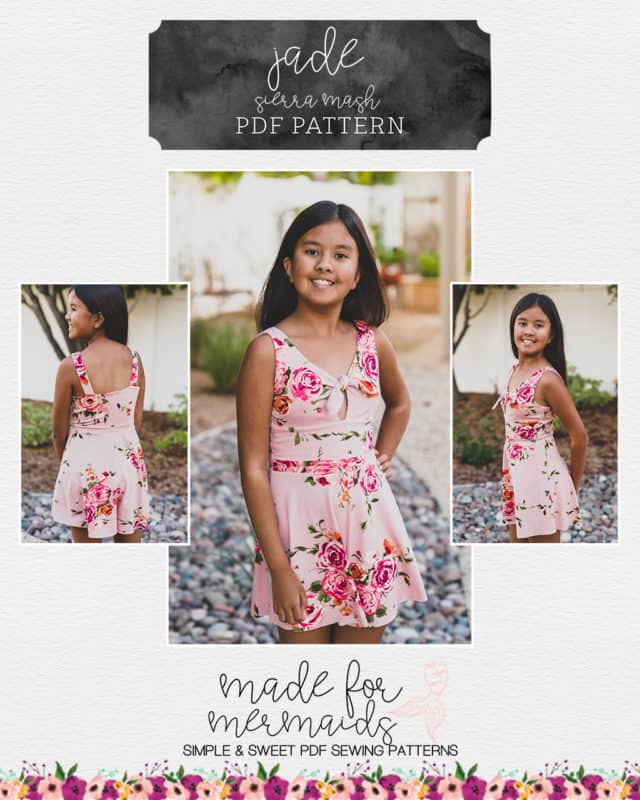
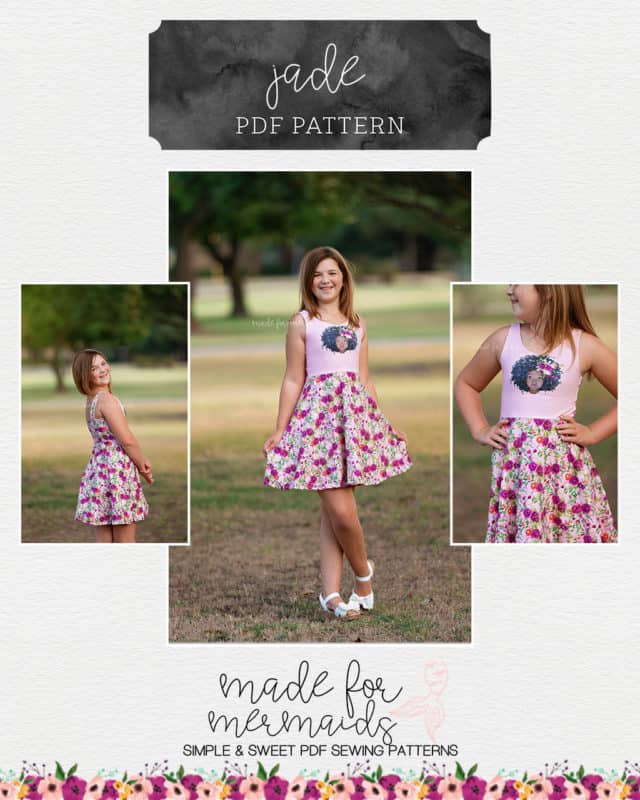
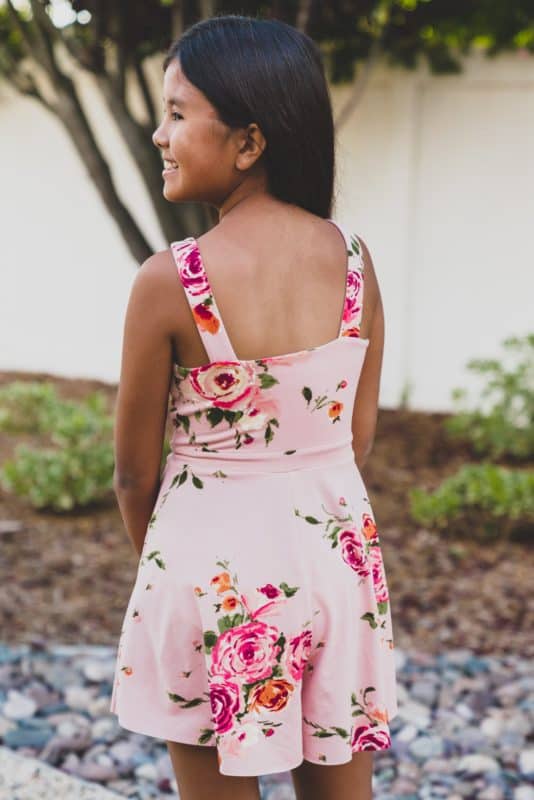
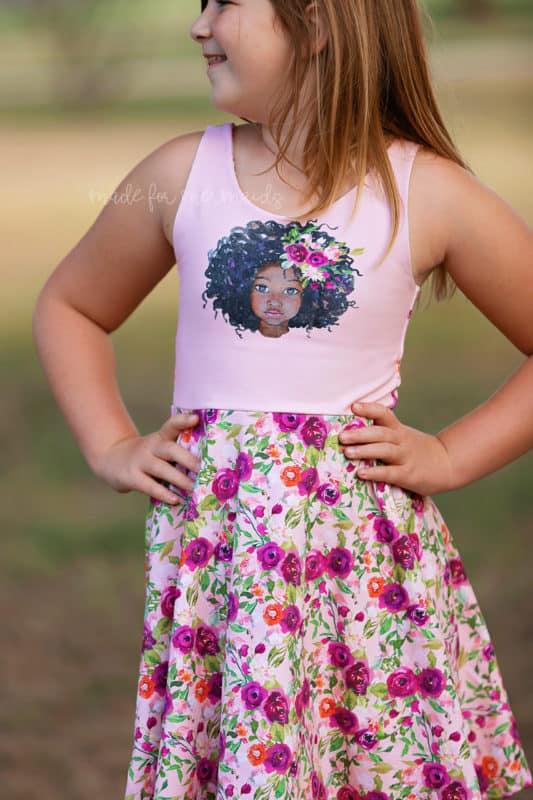
Women’s Jade, Jade, Baby Jade, and Dolly Jade are our newest knit Peplum, Dress, and Romper patterns. All of them have SO many options, and have been a huge hit with even the most particular of our testers (we’re looking at you, tweens!). Choose from a tie front or scoop from bodice, with optional shoulder ties. If you like the look of the tie front bodice but want a little more coverage, add a faux bodice tie to the scoop front bodice. For length options, choose from peplum, dress, romper, or pants romper (with optional pockets!).
Scoop up one, a few, or all four patterns while they’re on sale, and be sure to check out our Jade hacks below!
BUBBLE ROMPER HACK

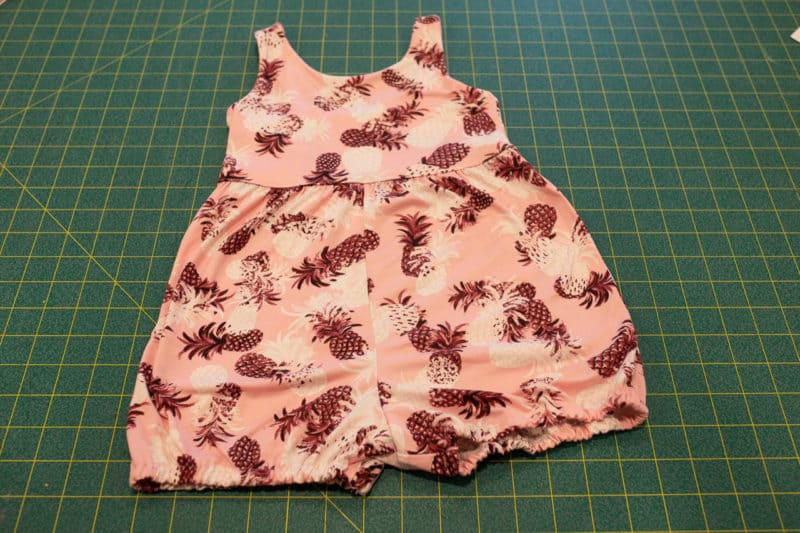
There is something so adorable about a bubble romper! We knew the adorable bubble romper option of the Baby Jade pattern was going to be a big hit with so many of you, so we decided to have a hack ready for you to do something similar with the girl’s Jade pattern too! This hack is very easy to do and only requires 1/4″ or 3/8″ elastic (see cutting chart below), in addition to the Jade Pattern and pattern requirements.

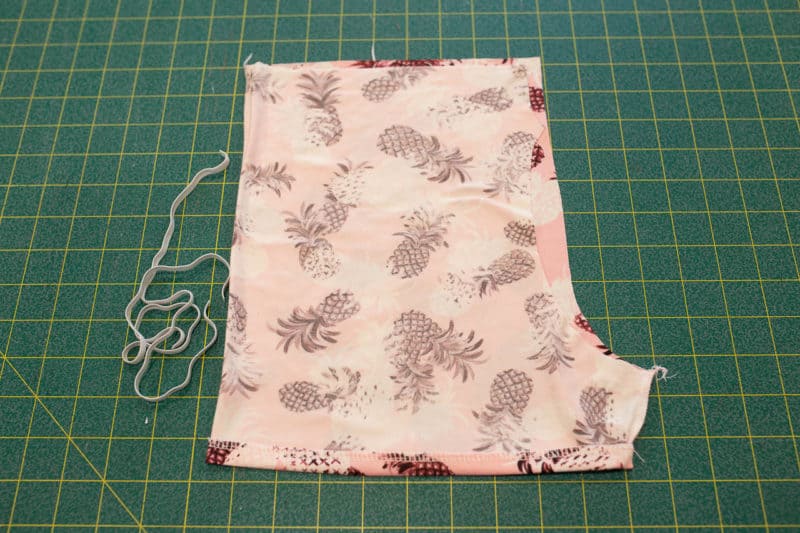
Construct the Jade pattern until you get to the romper portion. Sew the front and back romper piece together at the side seam and crotch as stated in the tutorial. Press the memory hem as instructed.
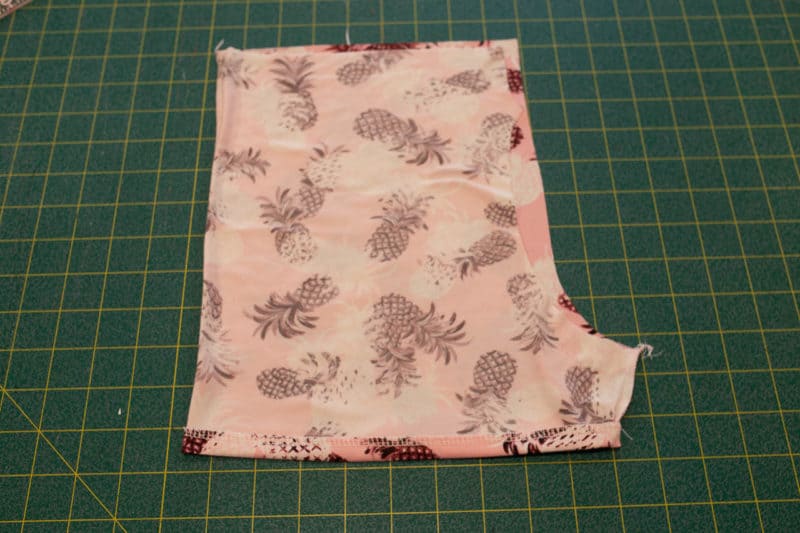
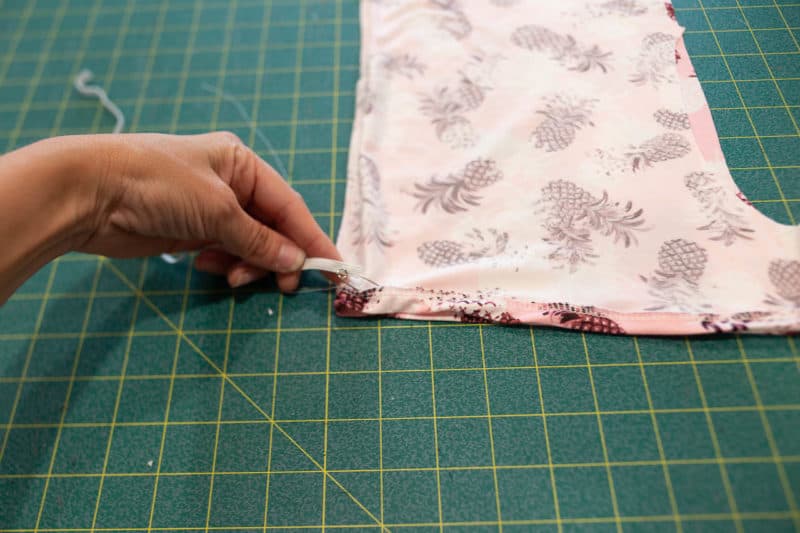
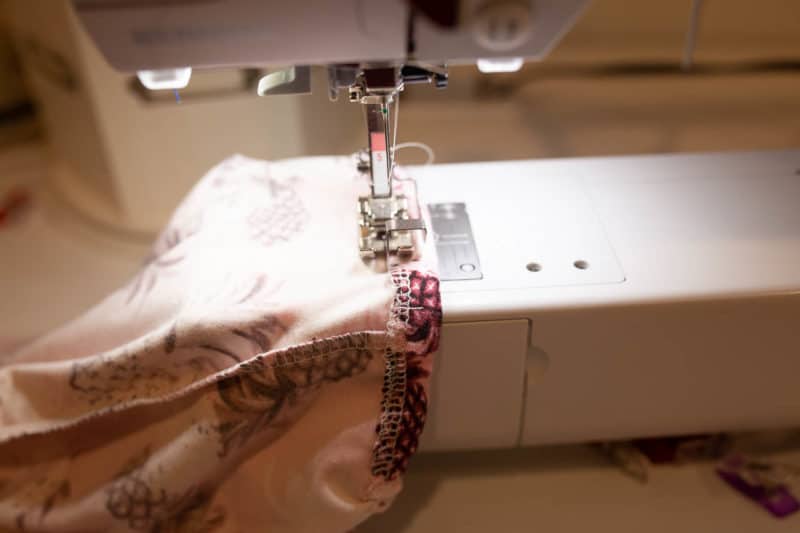
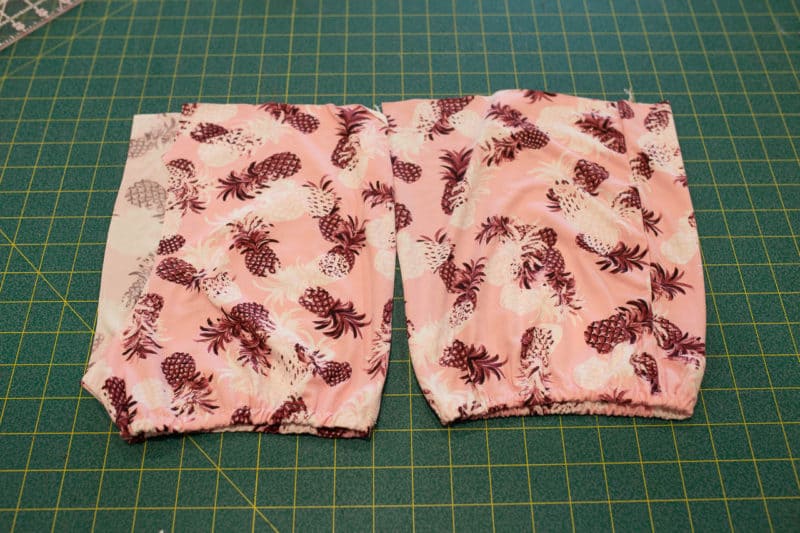
Re-press the memory hem. Edge stitch along the hem, creating a leg casing for the elastic. Make sure to leave a 1″ opening to thread your elastic through the casing. Thread the elastic through the casing. Sew the elastic together, going back and forth to secure the elastic together. Once the elastic is sewn together, edge stitch the opening in the leg casing closed.
Finish constructing the romper as instructed in the tutorial. That’s it! It’s that easy to create a super cute bubble romper look!

FLUTTER SLEEVE HACK

I adore flutter sleeves…If I can add a flutter sleeve to a pattern, I usually will! Enter the Flutter sleeve hack! You can use any flutter sleeve for this, as long as it’s not too long or wide (it should be about 2 X the length of space you want to add it too. In this case, I will be placing the flutter sleeve 1″ up the armscye on the front side of the bodice and 1″ above the bottom edge of the strap. I’ve decided to use the Ainsley Flutter sleeve (Grab the Ainsley pattern here or the Baby Ainsley pattern here) for this particular Jade since it’s a nice a full flutter. I will warn you that the Ainsley flutter is a WIDE flutter and you must be very careful adding a flutter to the Jade bodice/strap – you don’t want to catch your flutter in your seam allowance!! I might suggest cutting a little width off of the Ainsley flutter if you choose to add that one.
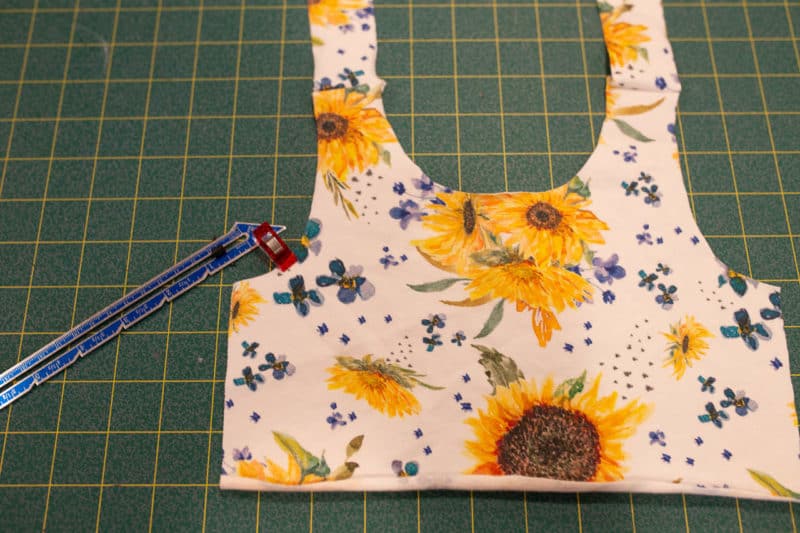
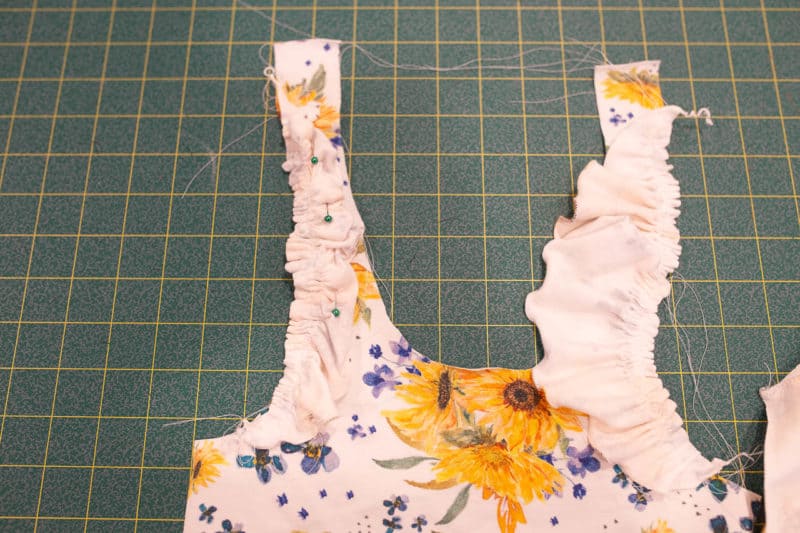
For this hack, add the straps to the bodice of the jade pattern and stop there. Then cut out and finish the hem of the flutter sleeve as per the flutter sleeve tutorial or simply leave the hem raw. Here, I have decided to roll the hem. Gather the curved edge of the flutter. I like to use 2 rows of basting stitches for this!
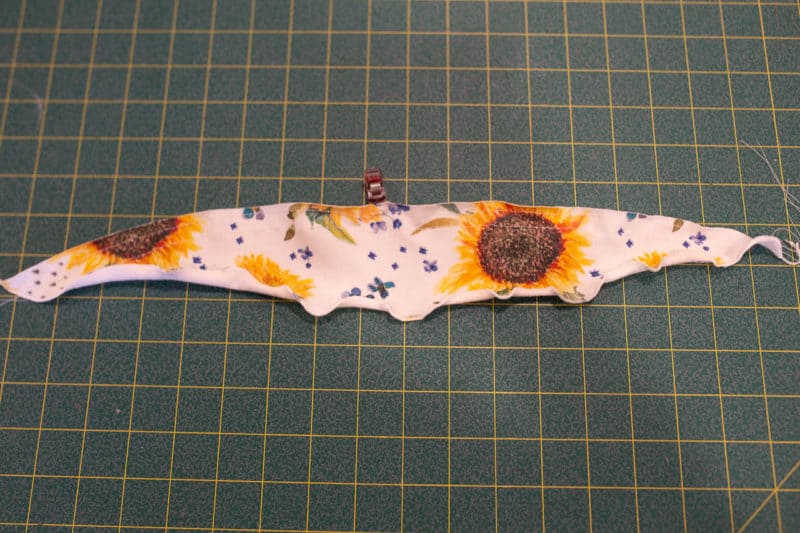
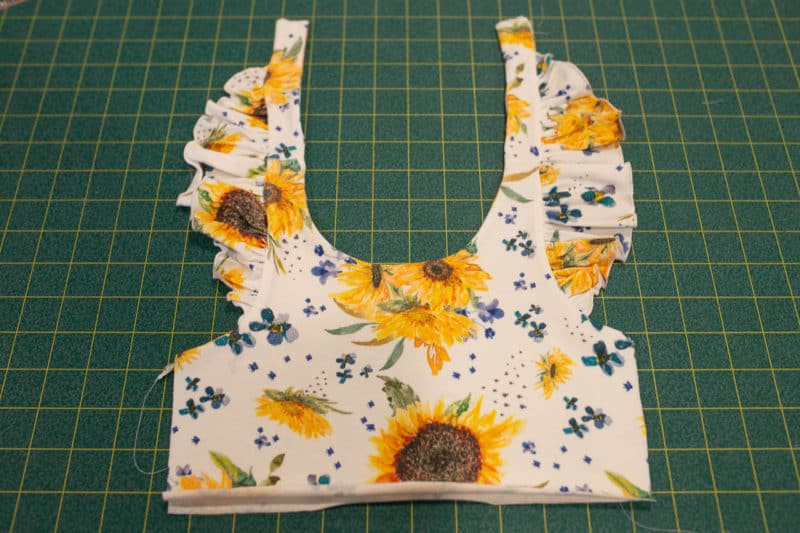
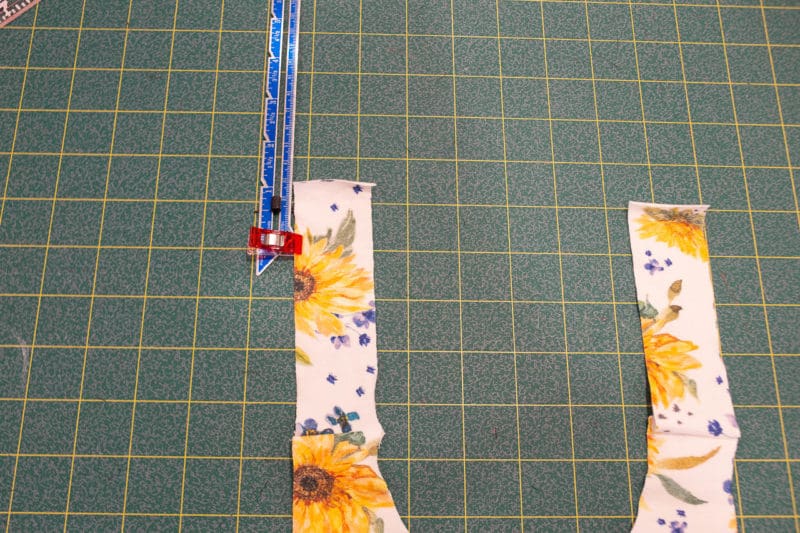
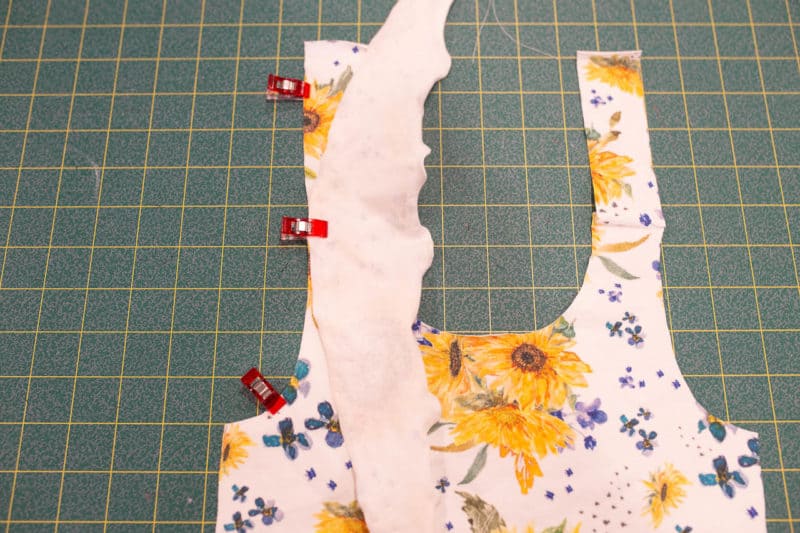
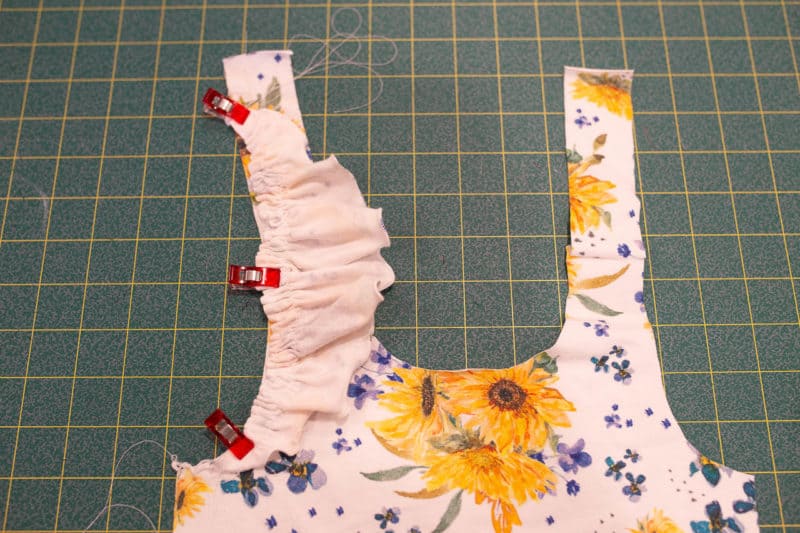
Measure 1″ away from the armscye edge and strap edge. Match the center of the flutter to the shoulder point of the bodice, with right sides of the flutter to the right side of the bodice. Then match the edges of the flutter sleeve to your marked points. Pin in place. Pull the bobbin thread of the basting stitches, gathering the flutter sleeve to fit. Distribute the gathering stitches. Baste flutter in place. Repeat with the other side.
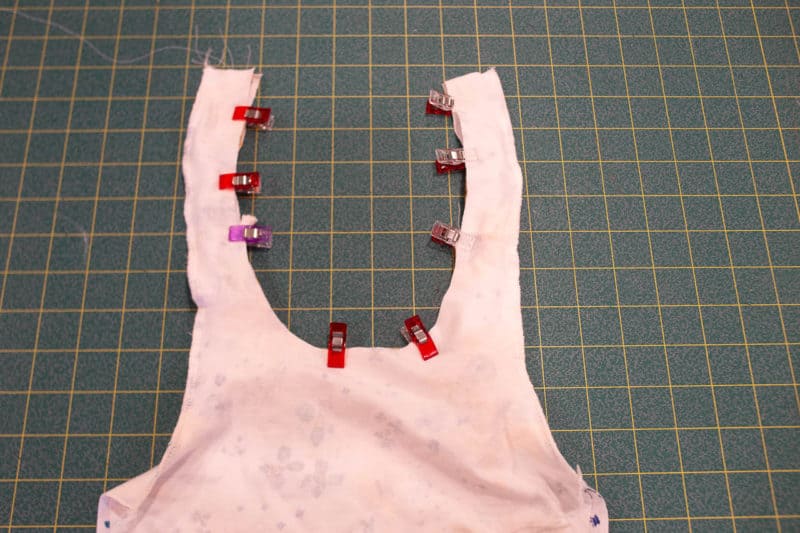
Carefully pin the flutter sleeve out of the way of the seam allowance. Pin the bodice lining on top of the bodice main, again carefully keeping the flutter sleeve out of the seam allowance. Go slowly when sewing this seam!! Sew the armscye and neckline as instructed in the Jade tutorial.
Pull the bodice right side out and remove any basting stitches. Give the bodice a nice press. That’s it, now your Jade bodice is sporting a super cute flutter sleeve!! Continue constructing your Jade as instructed by the tutorial.
SIERRA MASH
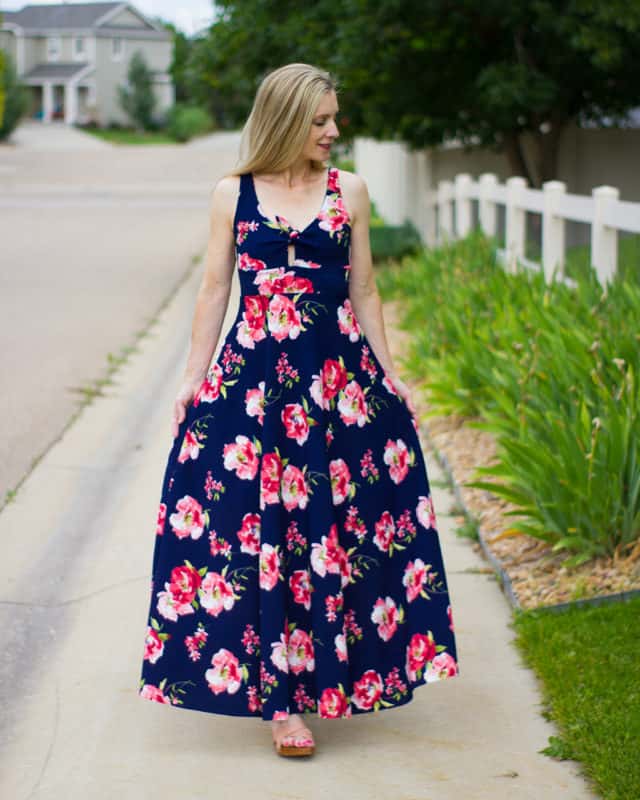
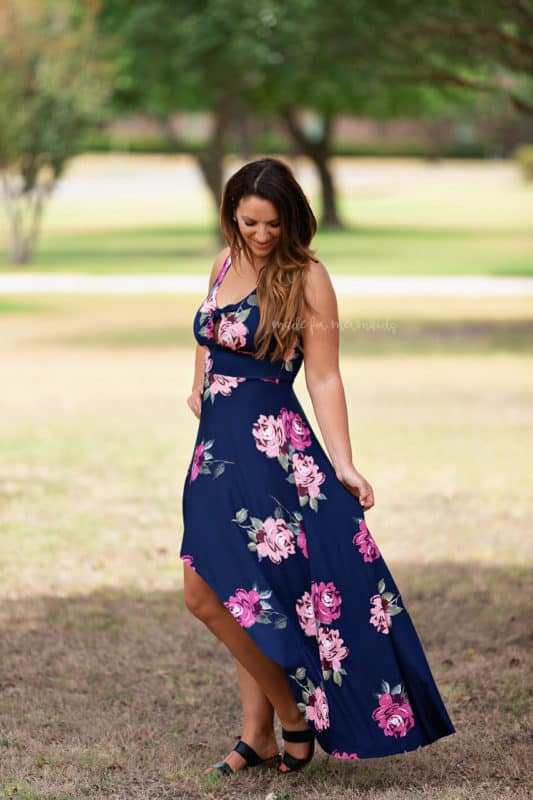
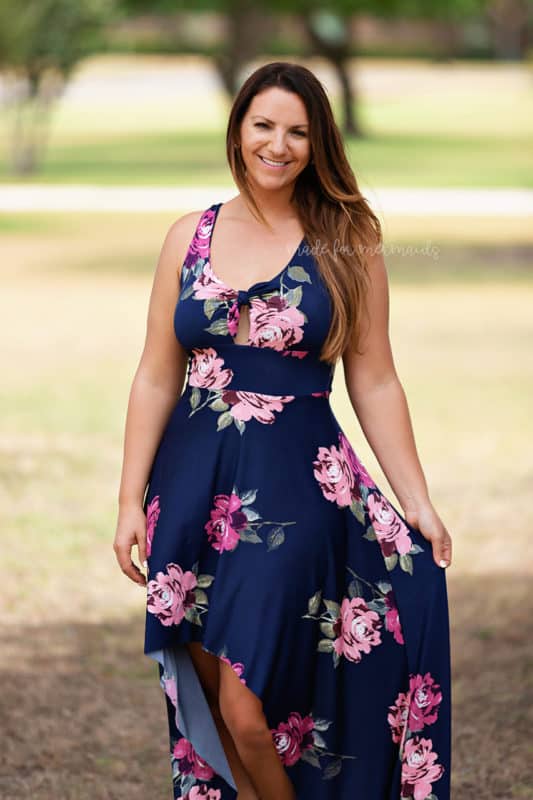
I would like to take a moment to introduce you to one of the world’s easiest hacks that results in one of the world’s greatest dresses. The Jade pattern on its own is wonderful and versatile, but add a full length maxi skirt and this became the dress of my dreams. I used a Liverpool fabric and the end result is dreamy. The dress is lightweight, full of glorious volume and best of all – includes pockets. Read on to see how to create your own maxi length Jade.
You can do this one of two ways:
Option 1: Add your own desired length to the included skirt pattern
Option 2: Use the maxi length skirt piece from the Sierra Pattern
I choose Option 2 because why not mash patterns when possible and save the work of drawing your own pattern pieces. To mash the two patterns here is what you need to do.
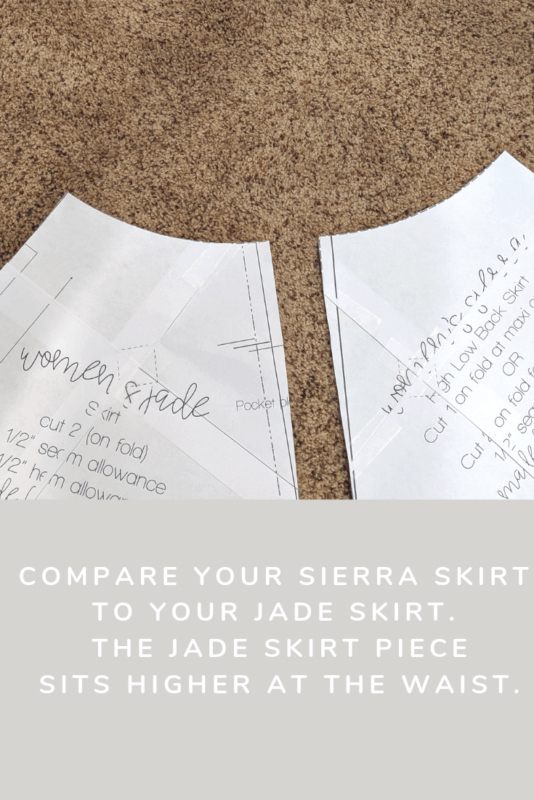
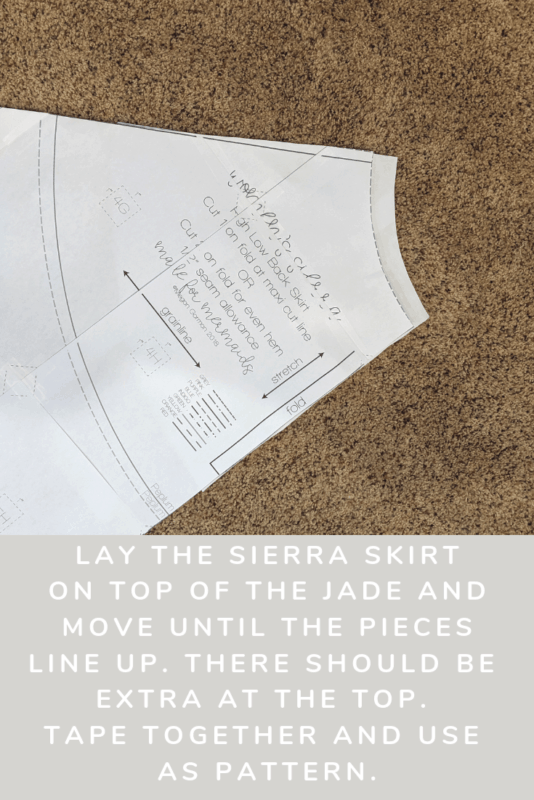
You will notice that the Jade skirt sits a little bit higher at the waistline than the Sierra Skirt piece. Simply lay your Sierra on top of your Jade pattern piece and move until the edges line up. You should have some extra pattern (from the Jade) hanging out at the top of the pattern. Tape the pieces together and use this as your skirt pattern piece. This will ensure your waist seam of your skirt and Jade bodice match up when attaching the maxi skirt. If you prefer, you could use the Sierra Skirt as is and add .75 inches to the Jade bodice piece instead to make up for the difference. Any of the methods will work well. To help with the extra weight of the maxi skirt you can add clear elastic or stabilizer to the seam as you are sewing the waist seam together.
 I added pockets to my skirt using the Jade pattern for placement. After cutting the maxi skirt pieces, I followed the rest of the Jade pattern as written. This is such a quick and simple hack but creates a beautiful full length skirt. Enjoy your gorgeous new maxi dress! –Shannon
HALTER HACK
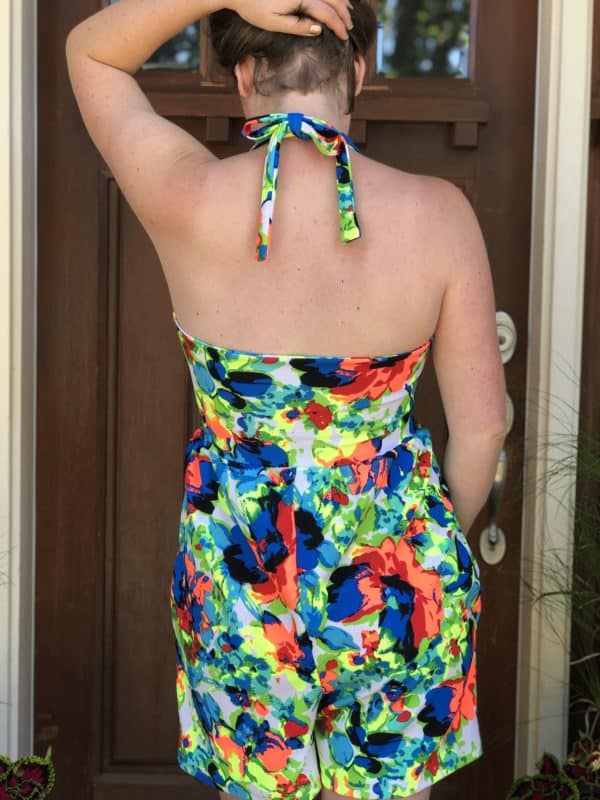
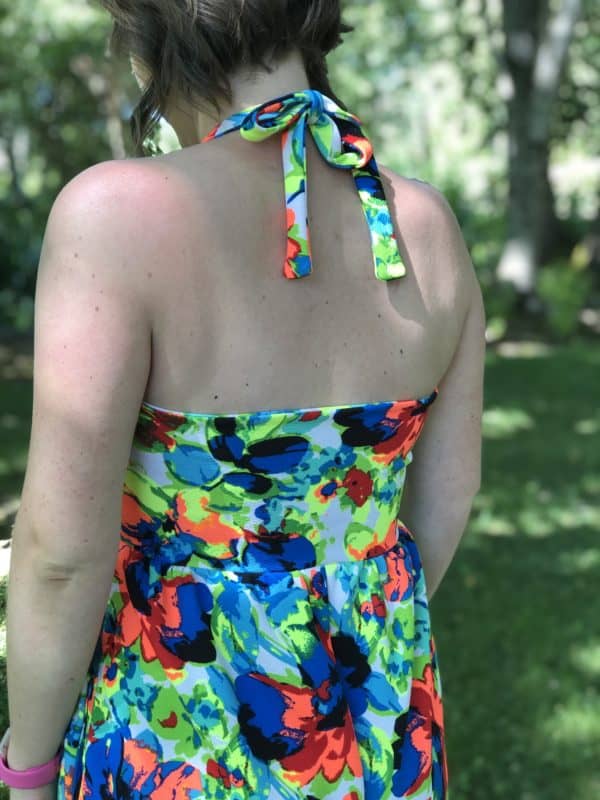
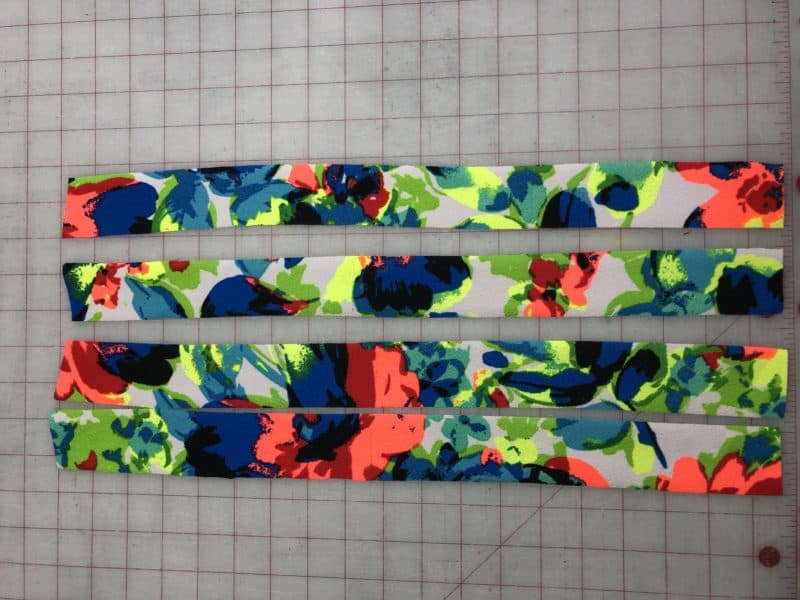
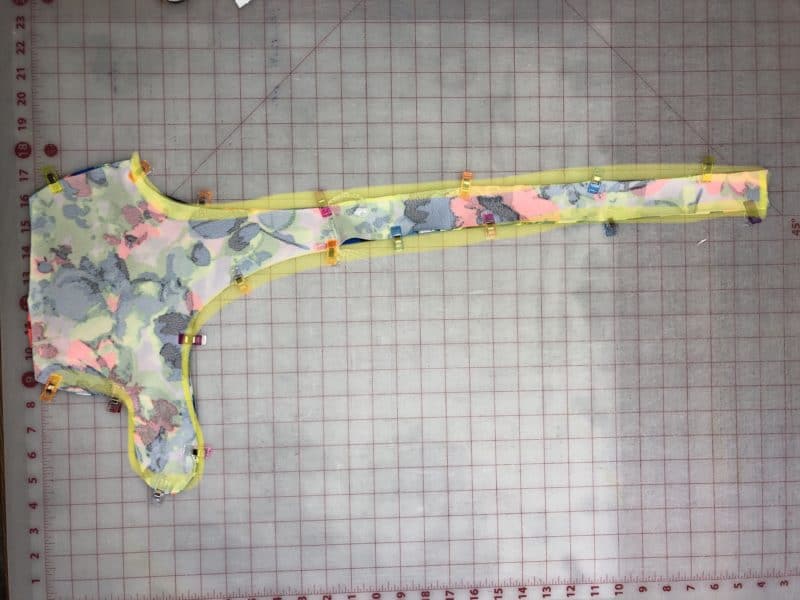
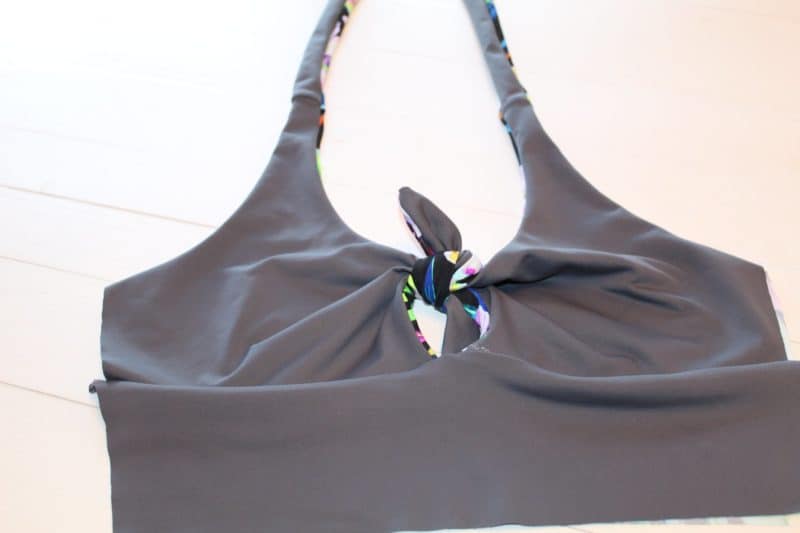
I love to wear halters in summer! I personally find halter necklines to be more supportive but also love that halters don’t have tan lines too. For this hack, we will be extending the strap length and creating a straight back. This same process can be used for either the tie front or scoop front bodice. I will be showing it with the tie front option. To start, cut all of your pieces for Jade as normal with the exception of the straps.
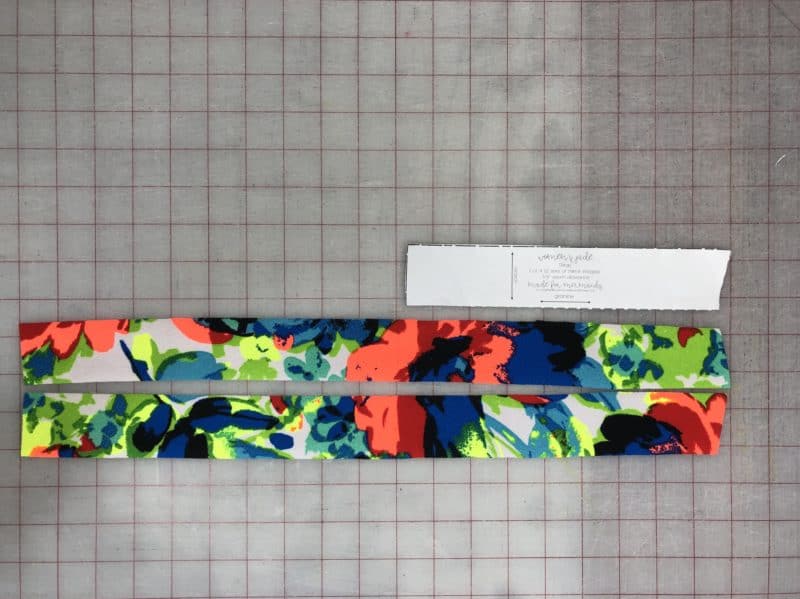
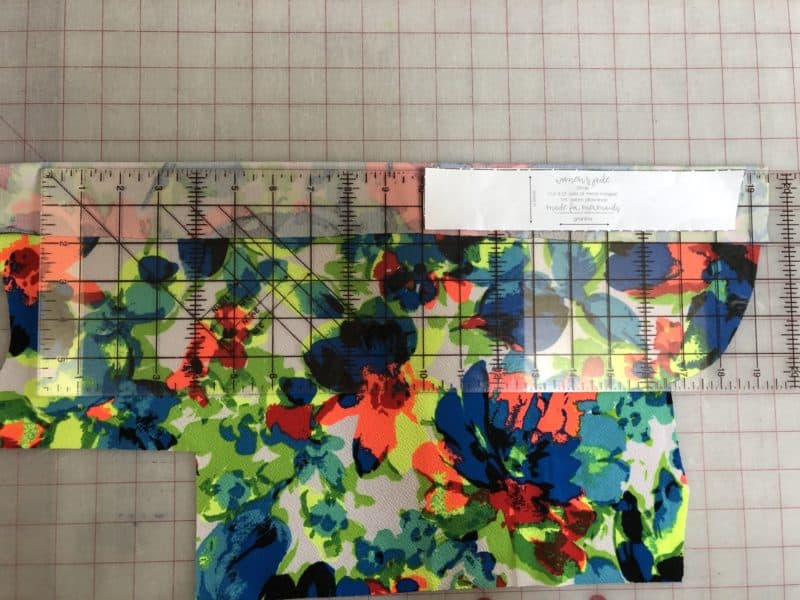
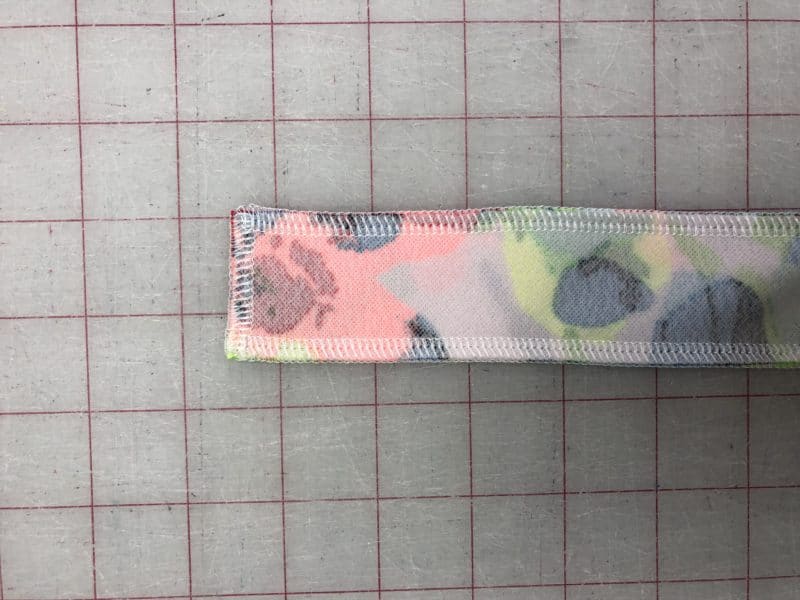
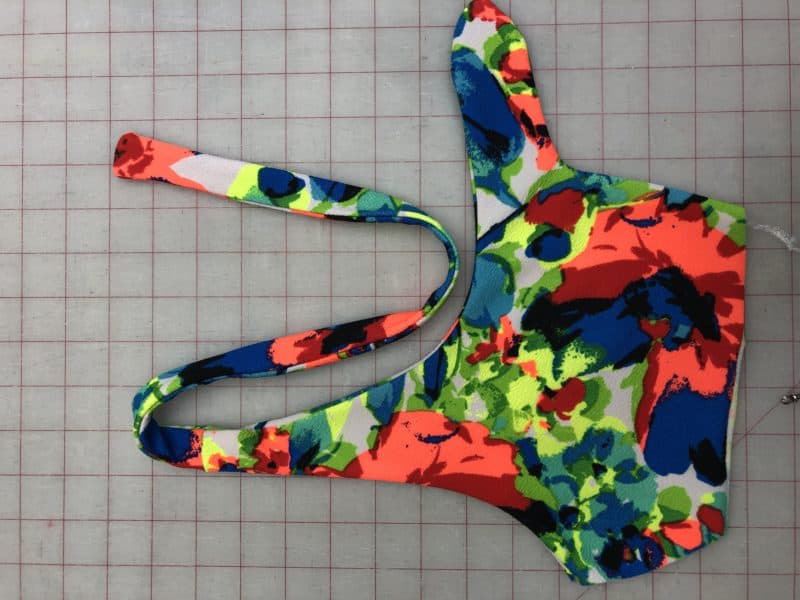
For the straps, we will be cutting them 10″ longer than the pattern piece by extending the straight short end out 10” longer. You still need 2 sets of mirrored straps.
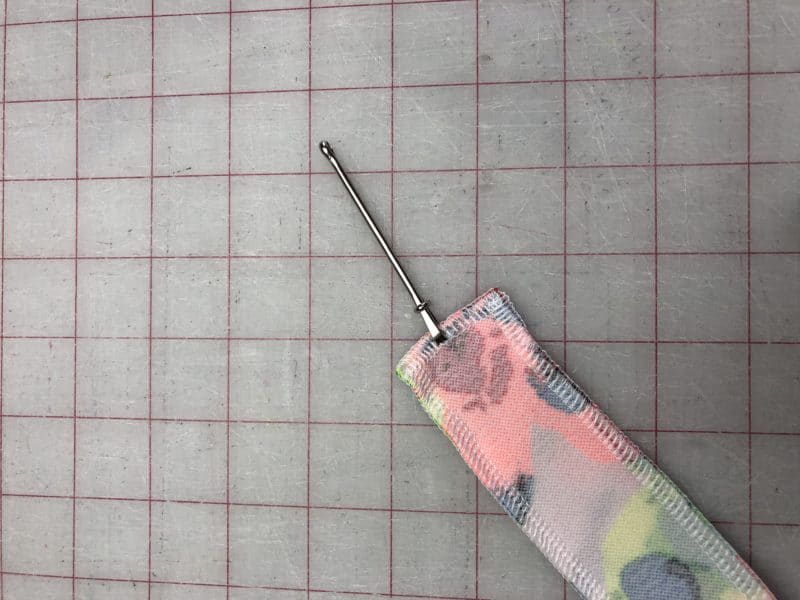
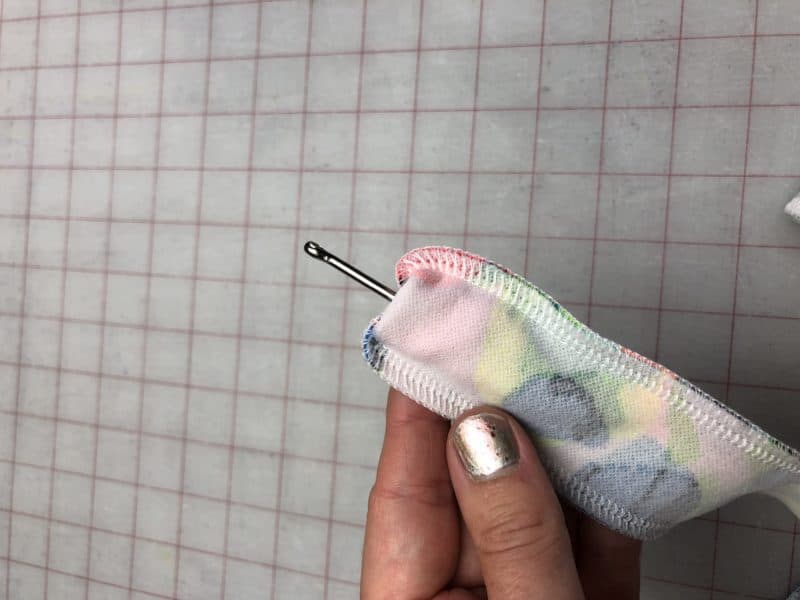
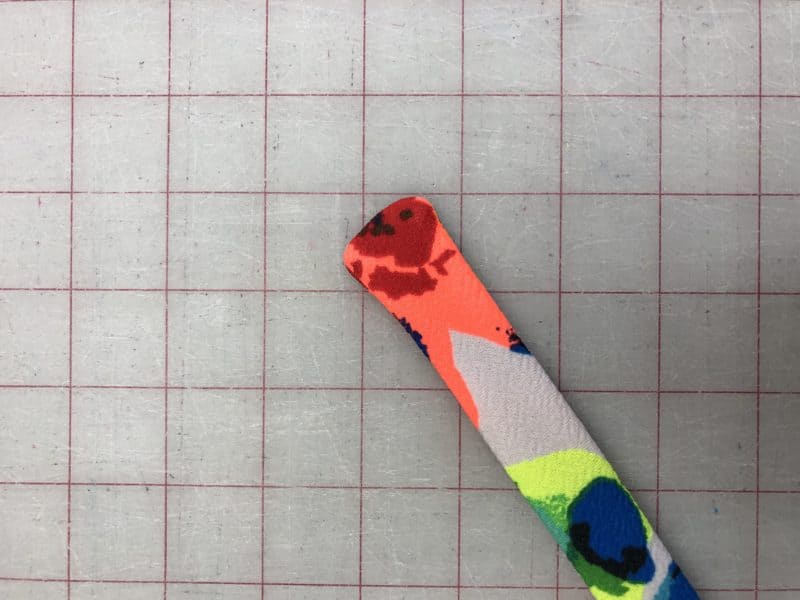
This can be a bit more challenging, but I clip my bodkin to the strap seam opening then push it through.
Press well.
If making the front tie bodice, continue with adding the front bottom as instructed. If making the scoop front, continue with adding the back bodice. For the back bodice, rather than attaching the straps as marked, put the back bodice pieces right sides together. Sew or serge across the top with 1/2” seam allowance. Finish as instructed.
Tie the halter however you feel comfortable. I usually prefer to do a double knot or a tight bow! –Katie
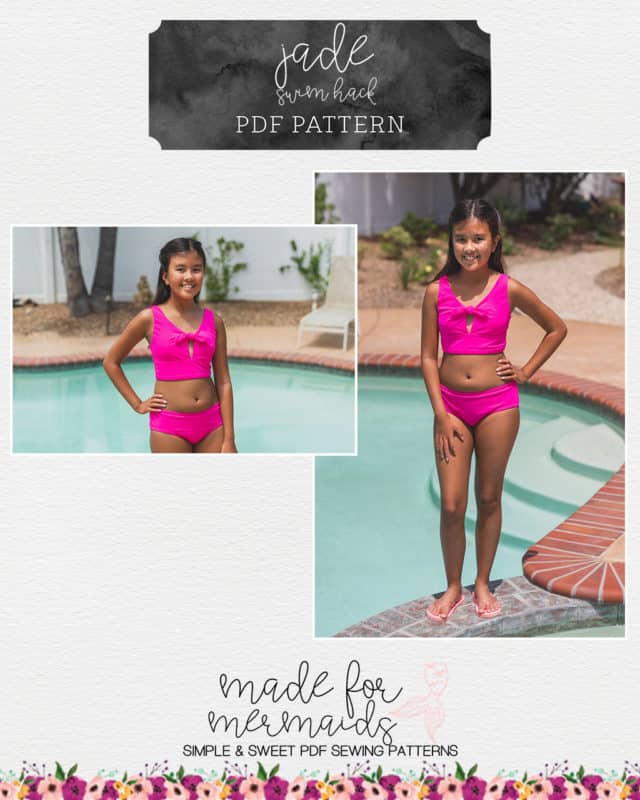
SWIM HACK
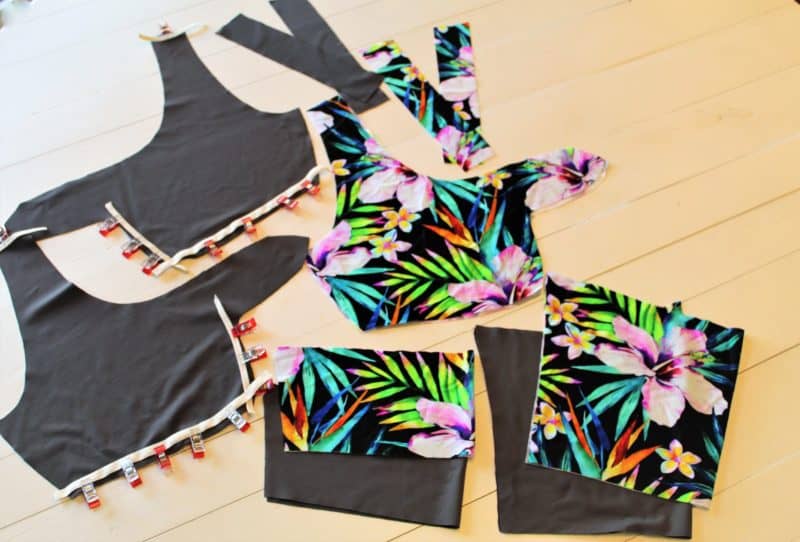
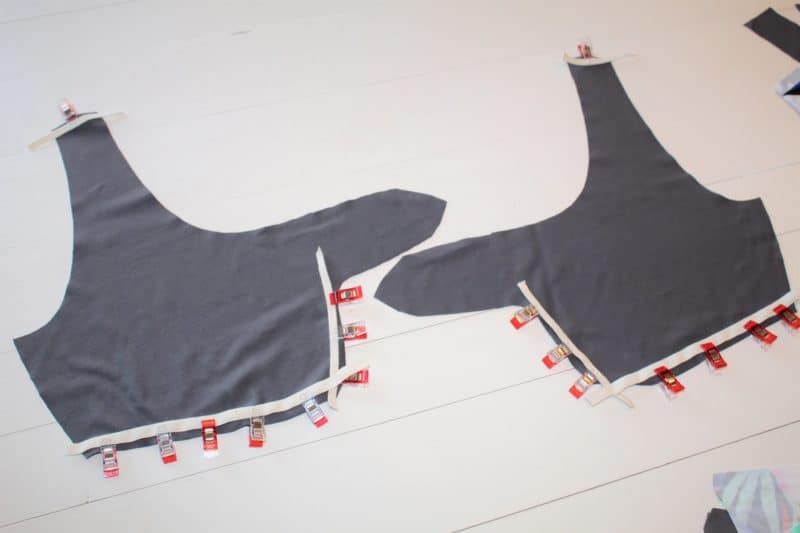
Cut all main and lining swim knit pieces just like the pattern. In addition, cut either 1/4″ or 3/8″ swim elastic at a 1:1 fit, or make a little longer to sew on and then trim. I used 1/4″ swim elastic on the shoulder seam and center of tie bodice piece. Then, I used 3/8″ elastic on the bottom (underbust) of the bodice.
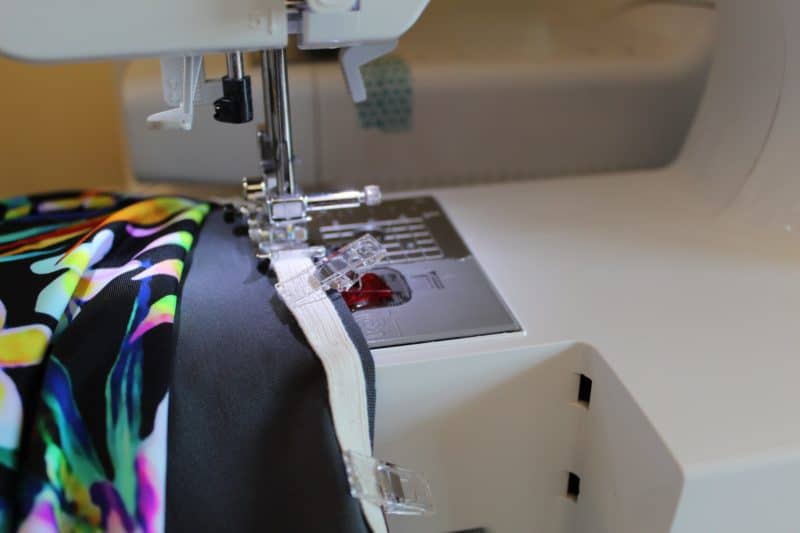
Clip or pin swim elastic to the edges of shoulder, center bust, and underbust. Stitch the elastic to the wrong side of the lining pieces, being sure to use a stretch stitch.
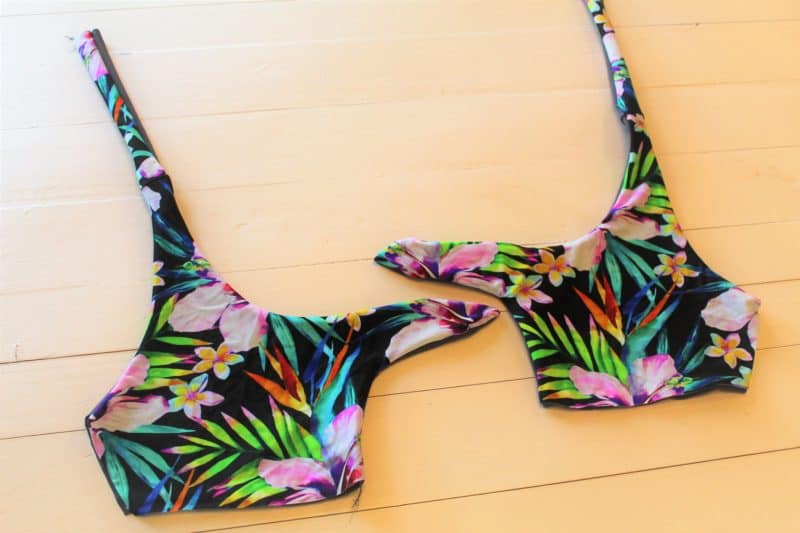
After attaching your elastic, follow the pattern tutorial steps as written for finishing the bodice. Your elastic will be enclosed.
Sew up your side seams, per the pattern tutorial.
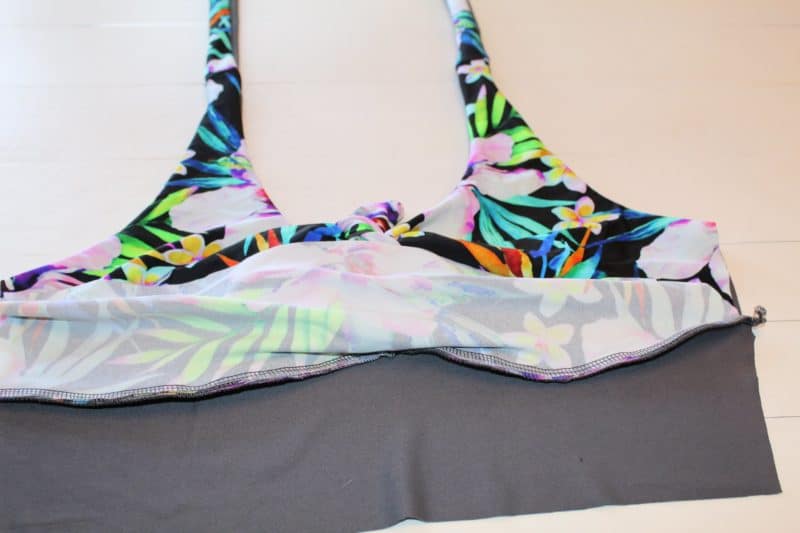
Note: When adding lower front bodice, you may wish to add another piece or swim elastic for added support. Clip or pin elastic 1:1 to the seam allowance, where the lower bodice attaches to the Tie front bodice. Stitch the elastic with a stretch stitch, then if you use the serger, be careful not to cut the elastic.
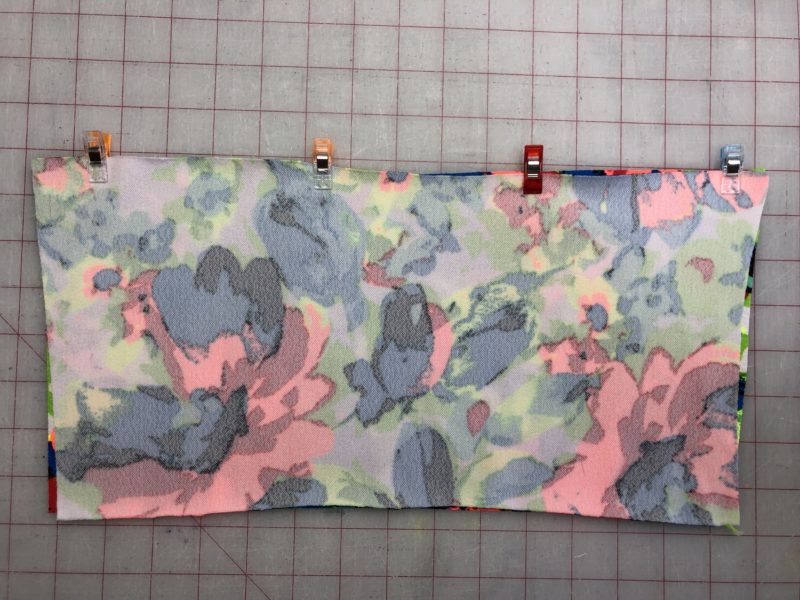
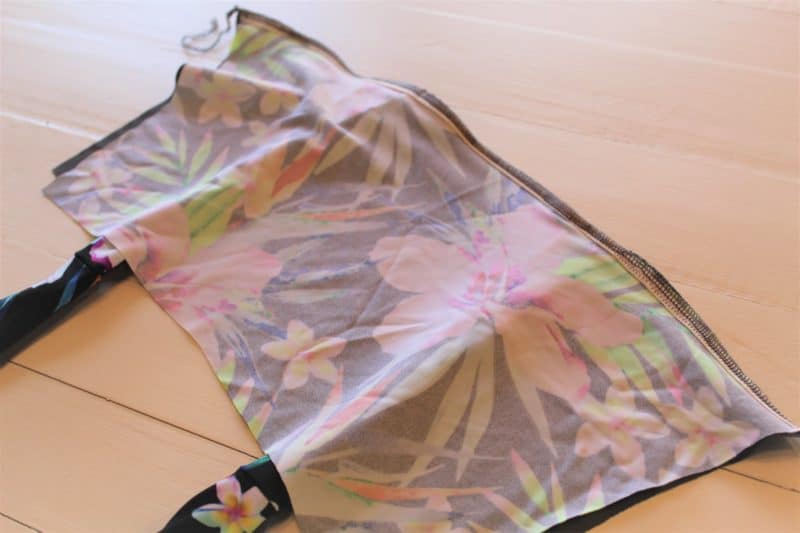
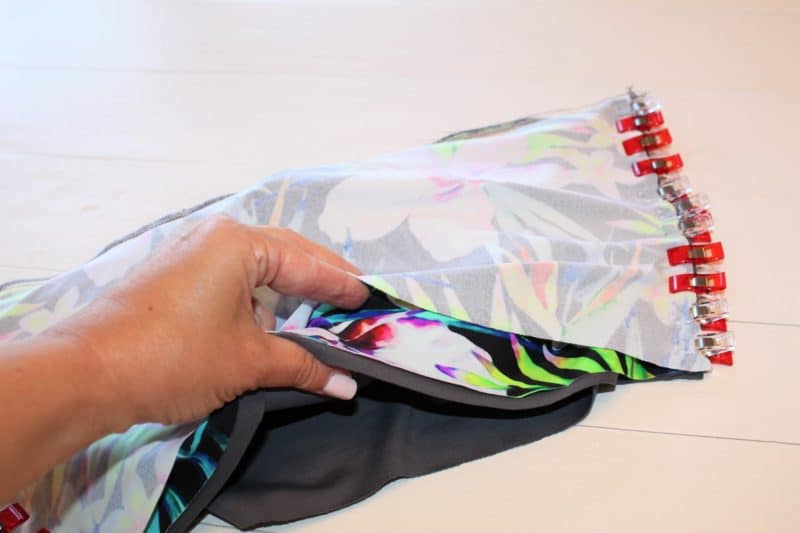
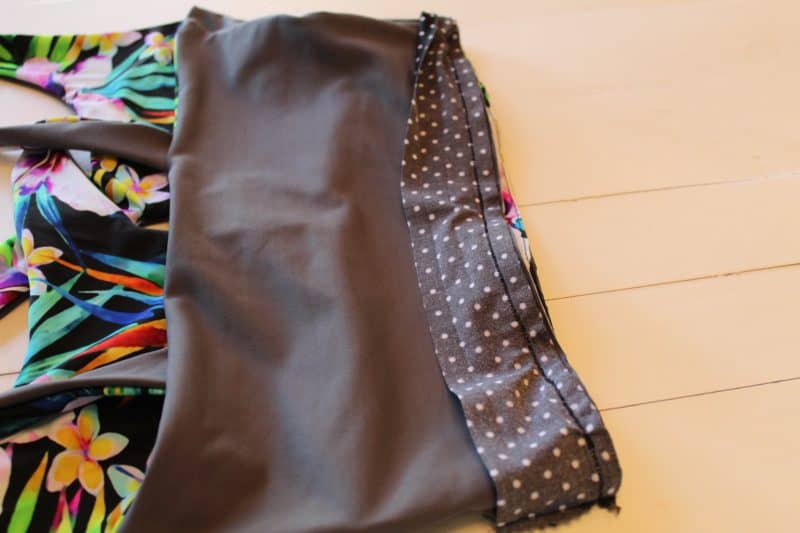
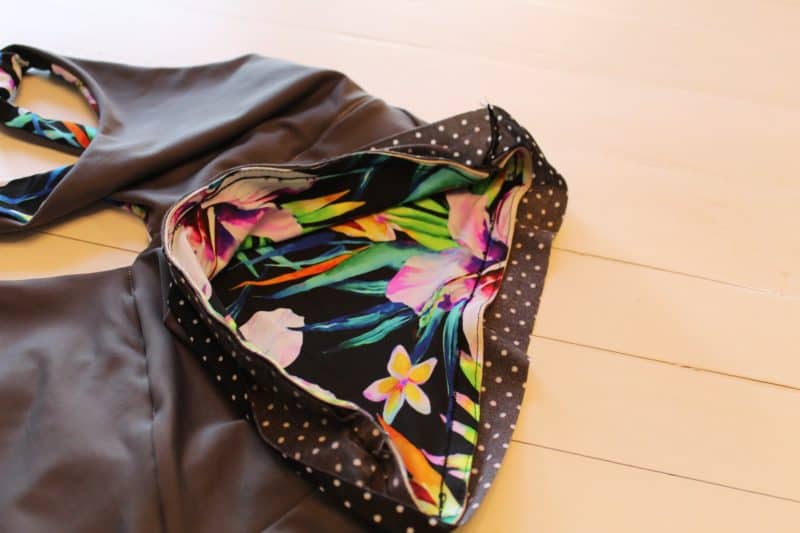
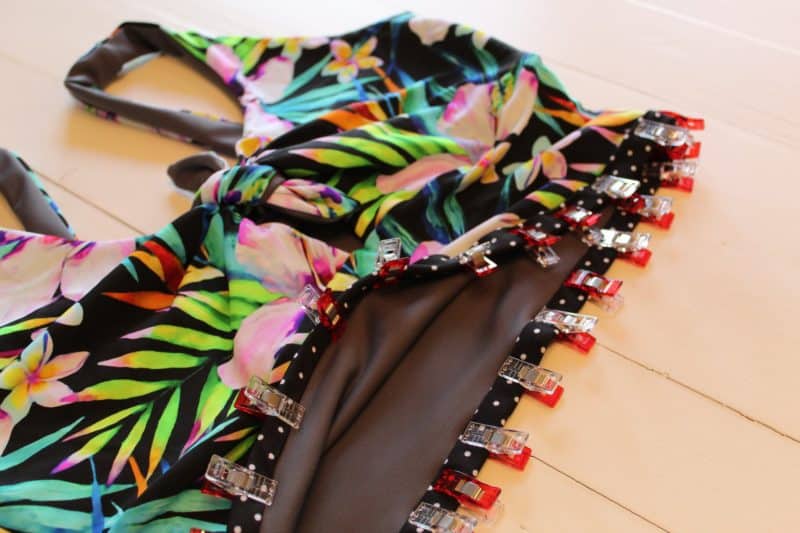
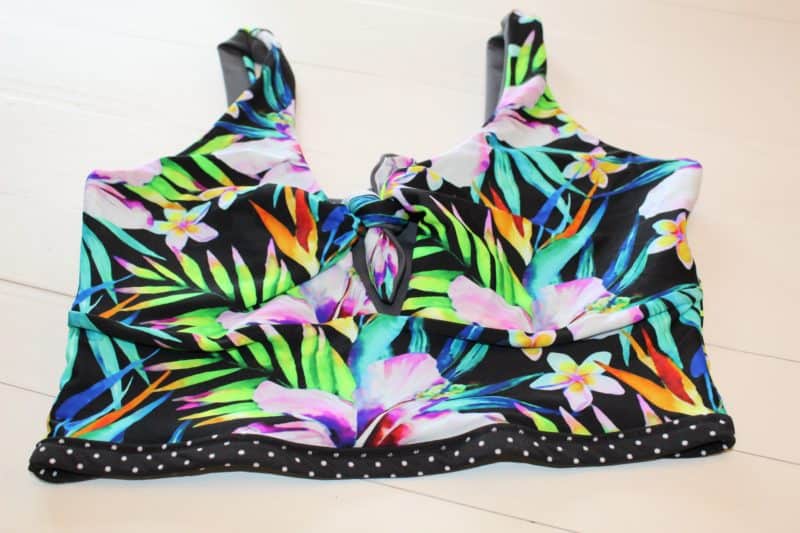
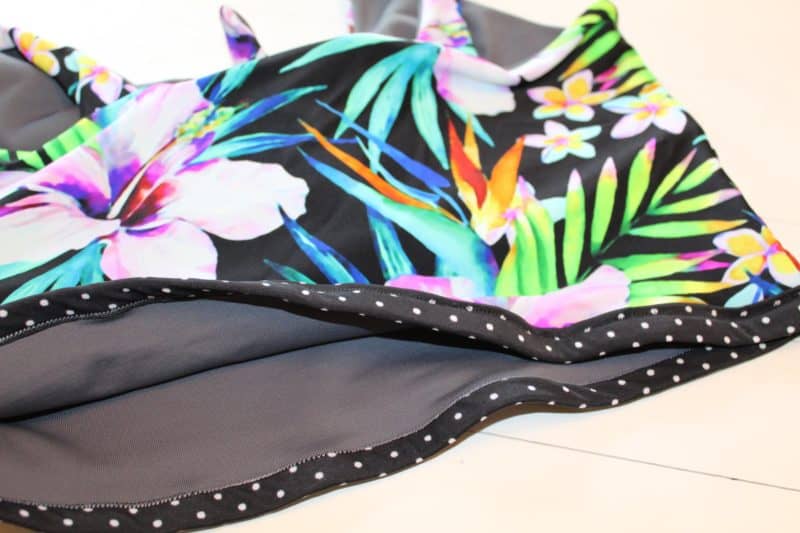
To finish the bottom bodice, I chose to use a binding method. The binding will give the swim top a nice finish if you want it to be reversible. Cut binding 2″ x the width of bodice. You want it to be snug, but not too tight to get on. It helps to pre-press the swim binding but use a LOW HEAT AND PRESSING CLOTH while being careful with the swim knit. Then attach swim binding with right side of binding to the lining of the bodice. Using a stretch stitch, sew in the 1st crease to bodice edge.
If you don’t want to use binding you could attach elastic, then turn and stitch.
All done! Enjoy your new swim top! – Amy
Which Jade option or hack is your favorite? Don’t forget to share with us over in our Facebook group! We love seeing what you come up with 🙂























Leave a Reply