The Molly is such a fun, versatile pattern. It comes in top, tunic and dress length. The elastic back and adjustable straps make it the perfect “grow-with-me” style for your daughter OR boutique. It also comes in baby sizes, which includes dress, romper, top and bloomer. The Molly is a great base pattern and easily can be changed up to create different looks….which I LOVE! This tutorial will show you how to use the Molly for this sewn-on strap look! The fabrics below are from Art Gallery’s new Anna Elise line and are stunning! I have already made another dress (sneak coming soon) from the same line!
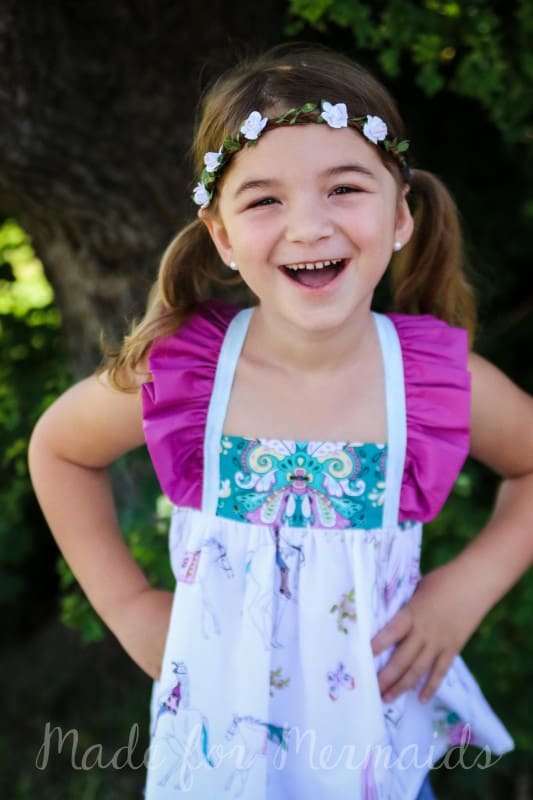

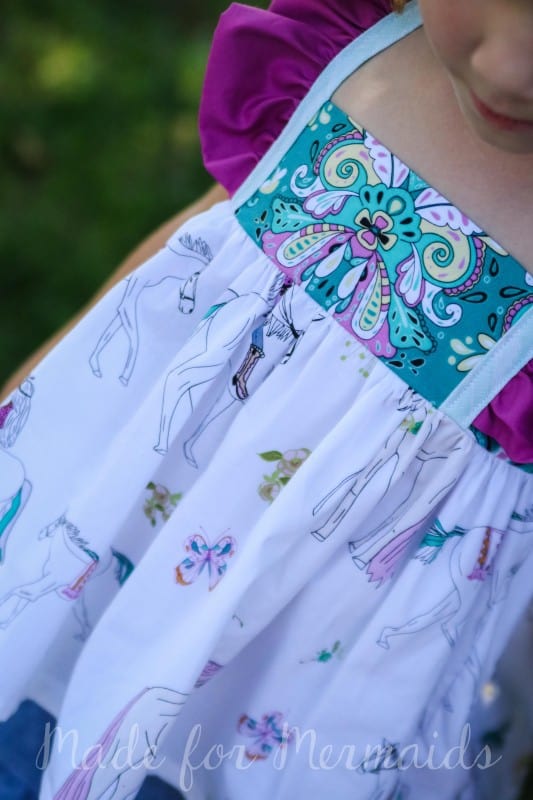
This hack is not as easy as THIS tutorial, showing how to make the Alyssa or Molly with a knit bodice. It is simple after A LITTLE math.
So BEFORE you start cutting, read and follow along! I will follow how they are listed in the tutorial.
Your front and back bodice, cut per tutorial.
The straps add length in chart below. I wanted a little thinner- more like a bias tape size…..you could simply use double fold bias tape- picot edge like this– so cute! So for the width I cut 2.25″- this will give you a finished width of 5/8″ so you can adjust if you want even thinner/wider.
Flutters- add width in chart below.
Back loop and skirt, cut per tutorial.

Now, you CAN absolutely cut exactly per original tutorial and construct as shown in this post. The only difference will be that your flutters and straps will be a little shorter. Your flutters will stop before you ties your straps through the back loop.
Ok so you have everything cut.
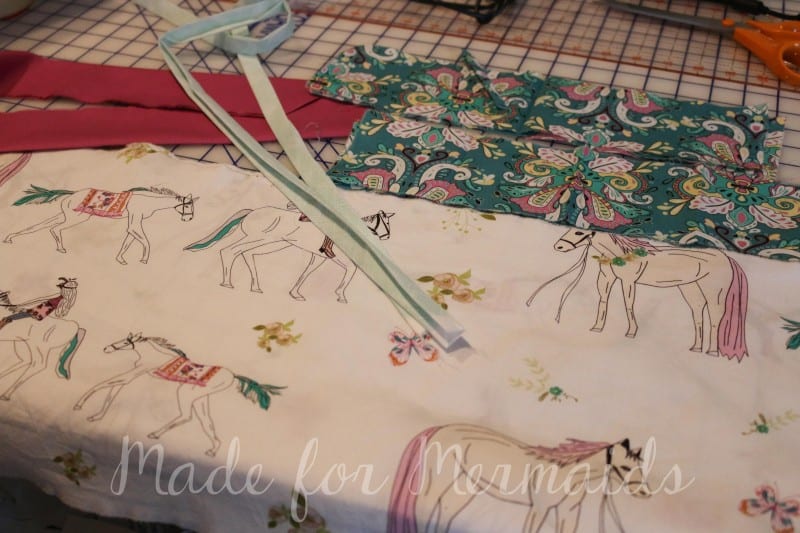
Your straps will be pressed, as if making bias tape. Press 1/4″ of one short end to the wrong side. Press in half, wrong sides together, to find center. Open back up and iron each raw edge to center crease. Press in half again, enclosing raw edges.
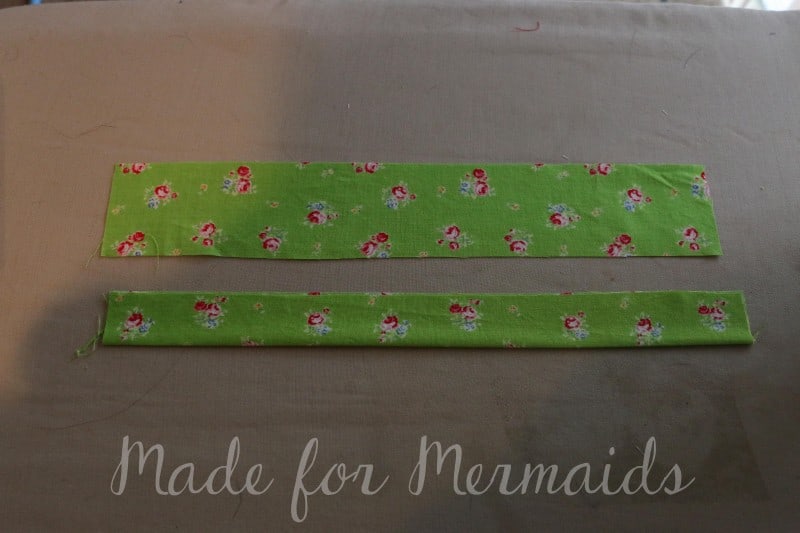
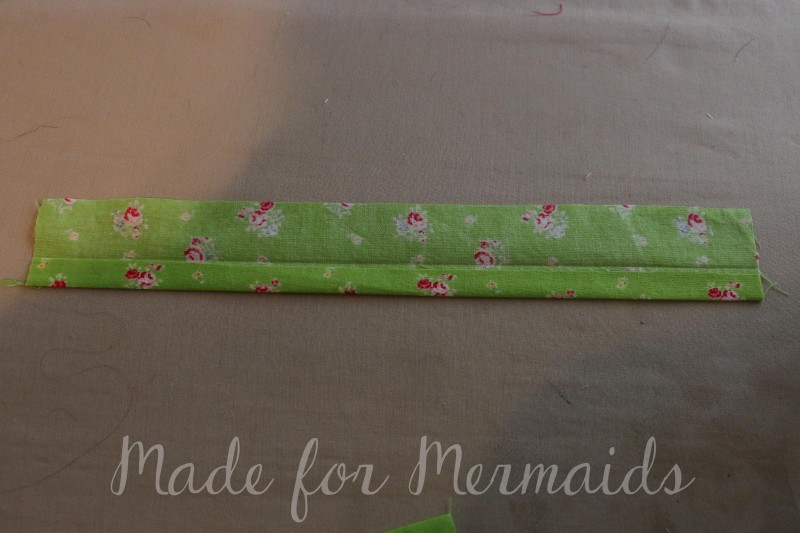
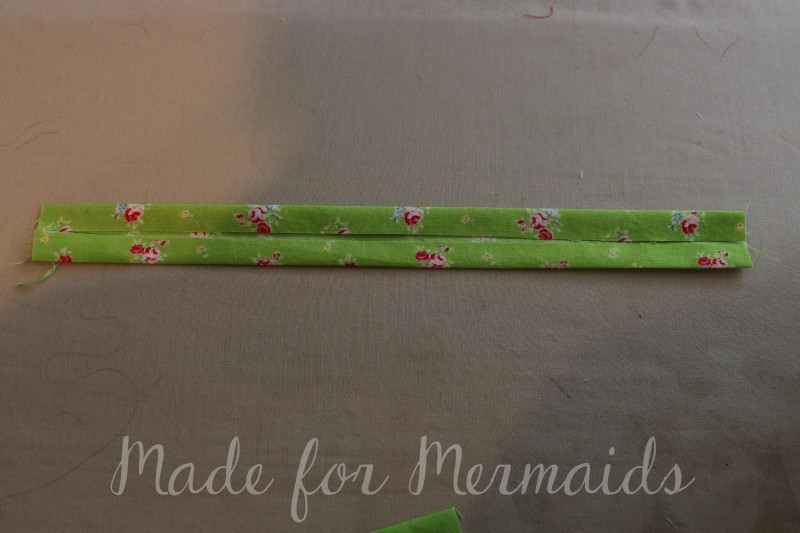
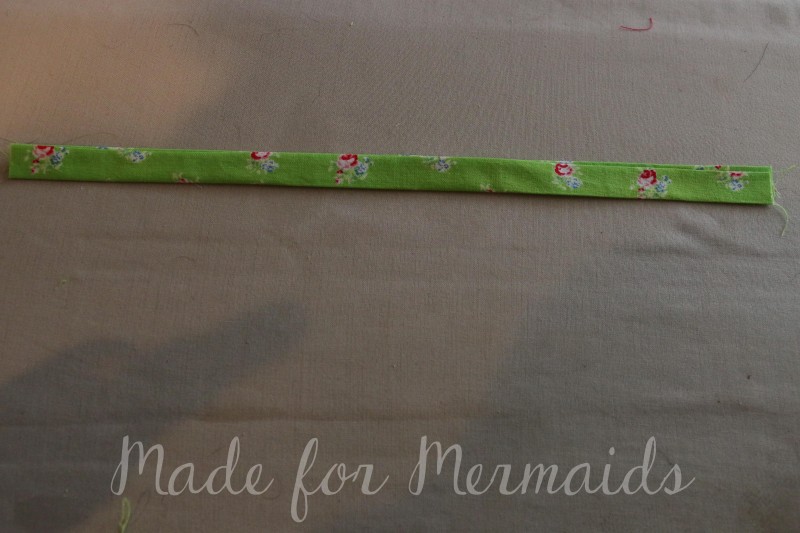
Flutters will be constructed per tutorial, but use this chart to gather flutters.

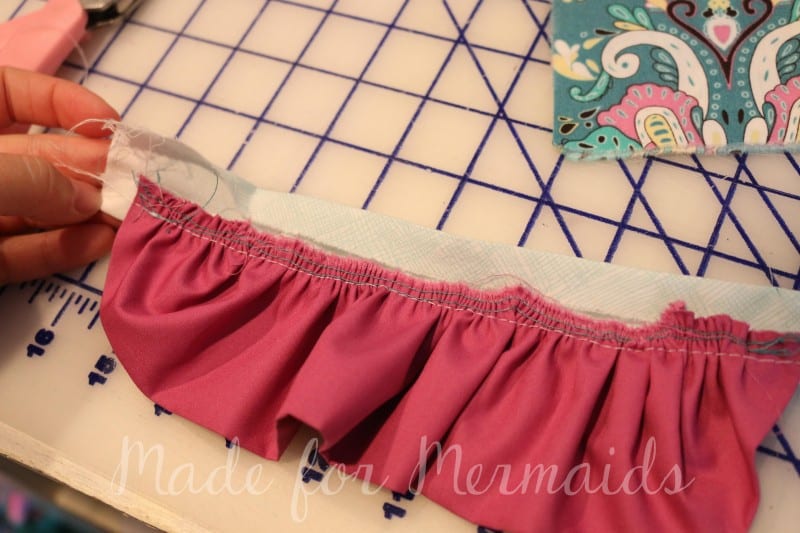
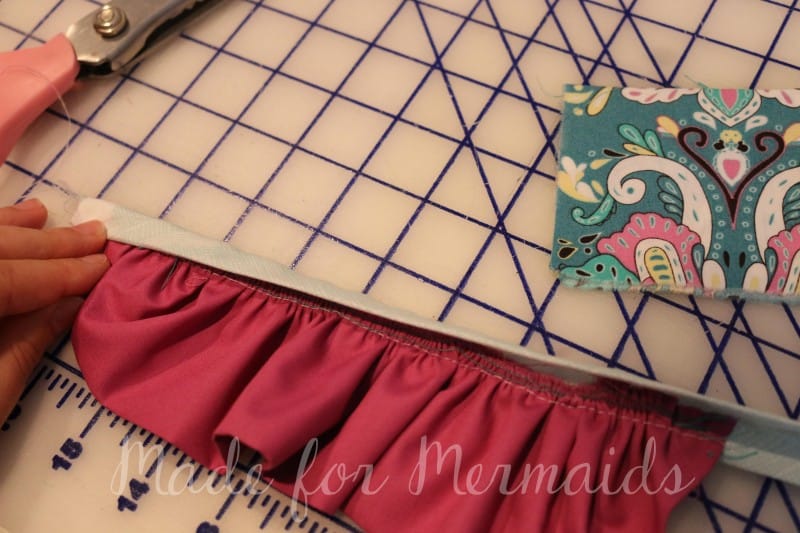
Now we will attach the flutter to the strap. Unfold the strap on the unpressed end of strap. Place right side of raw, gathered edge of flutter along raw, right side of strap 5/8″ from strap end (see the white selvage edge? It is 5/8″ and I used to try to help show where to place strap). The 5/8″ is needed so when we attach our bodice to the skirt, our flutters don’t get sewn in the seam! Baste the flutter to the strap along the crease line. You don’t want to stitch outside the crease or your strap won’t fold back up correctly.
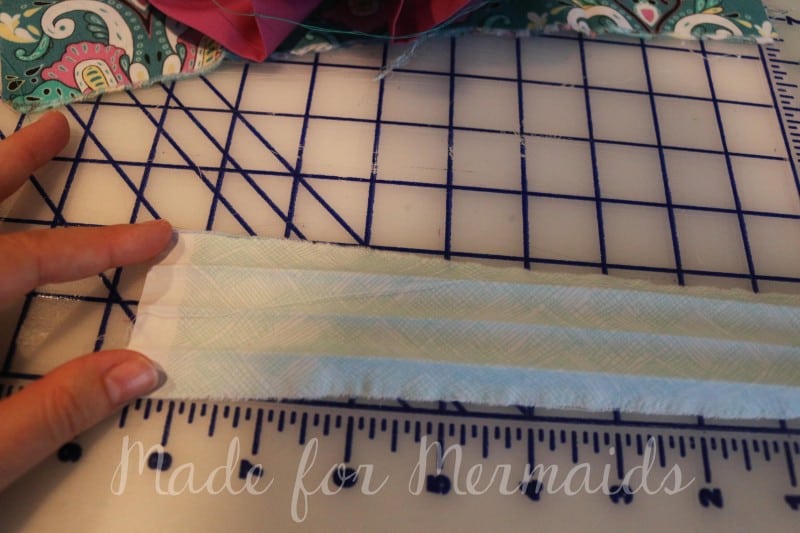
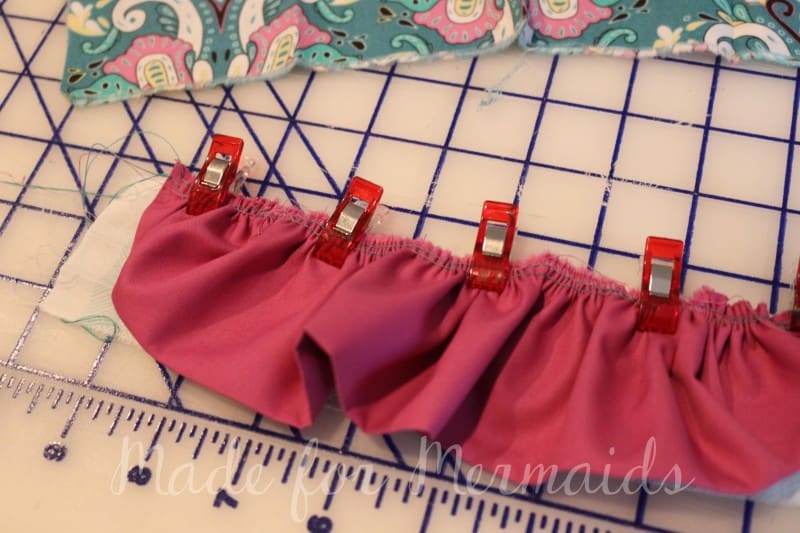
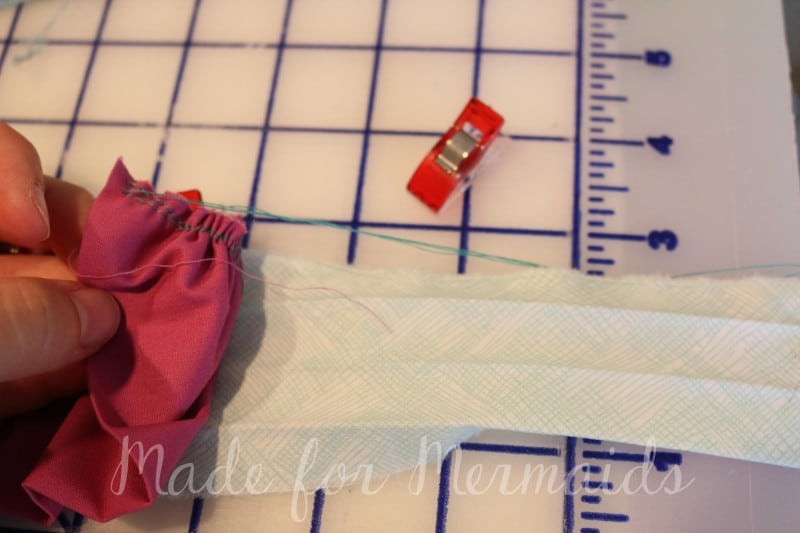
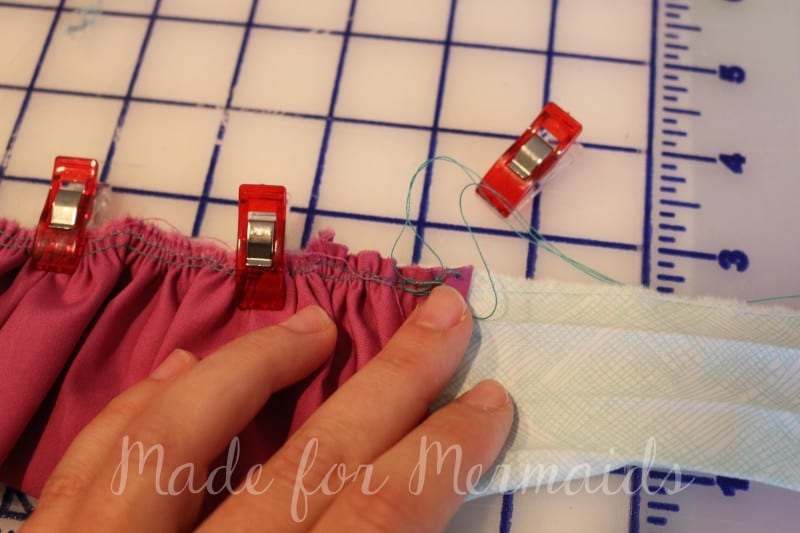
Refold strap, enclosing the raw edges. Re-press if necessary. Repeat with other strap and flutter…..remember your straps should be mirror images! We will stitch closed our straps later, so set aside.

For the front bodice construction, we will switch around the steps a little. Place lining on front bodice, right sides together. Stitch along top raw edge. Press seam toward back bodice and understitch. Construct back bodice per tutorial and understitch as well. 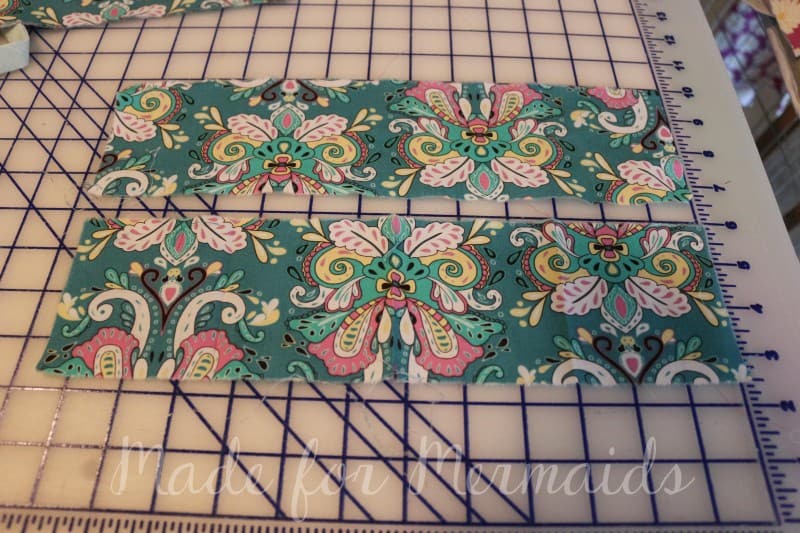
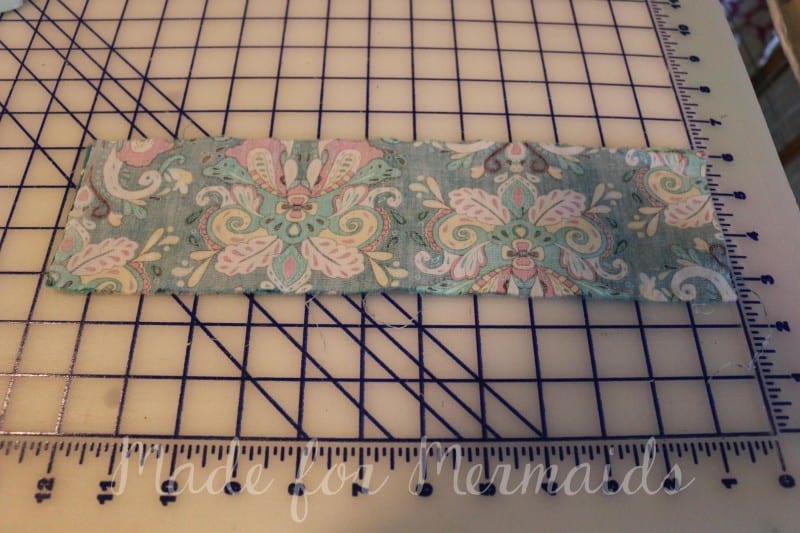
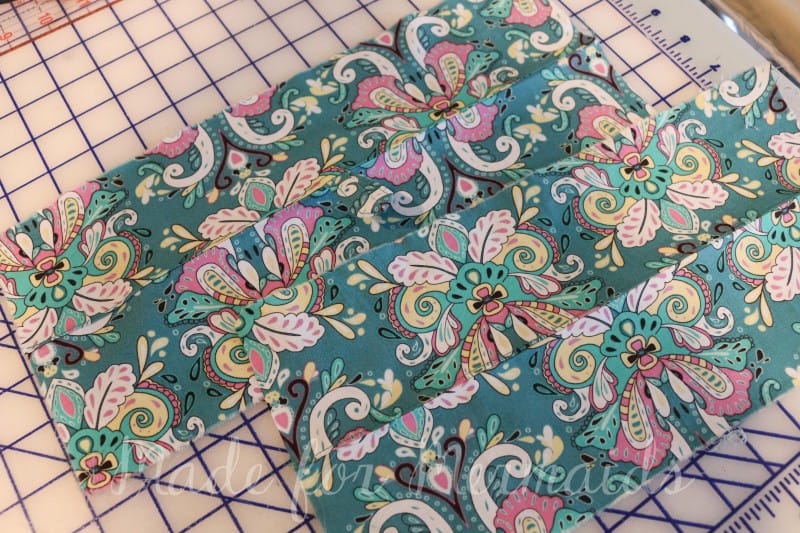
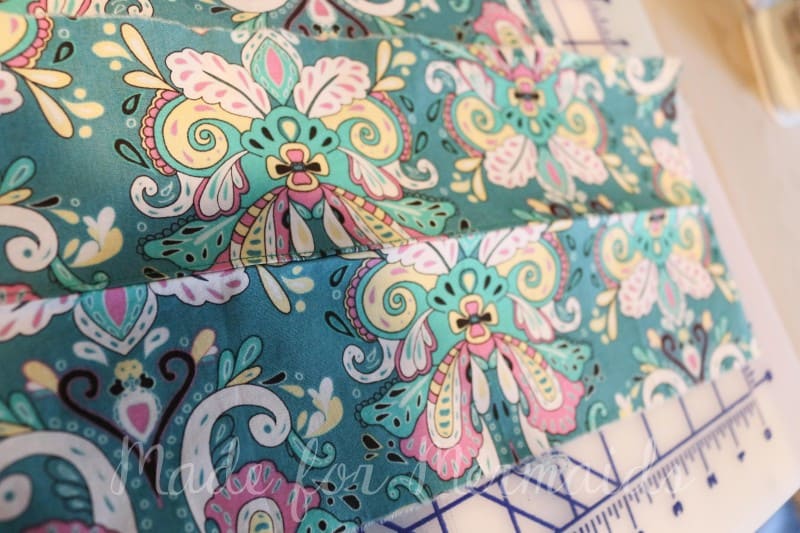 Press front bodice per tutorial on page 11, for strap placement. DO IT NOW BEFORE STITCHING SIDE SEAMS!! Then stitch front and back together per tutorial, creating side seams. Continue following tutorial for elastic casing instructions.
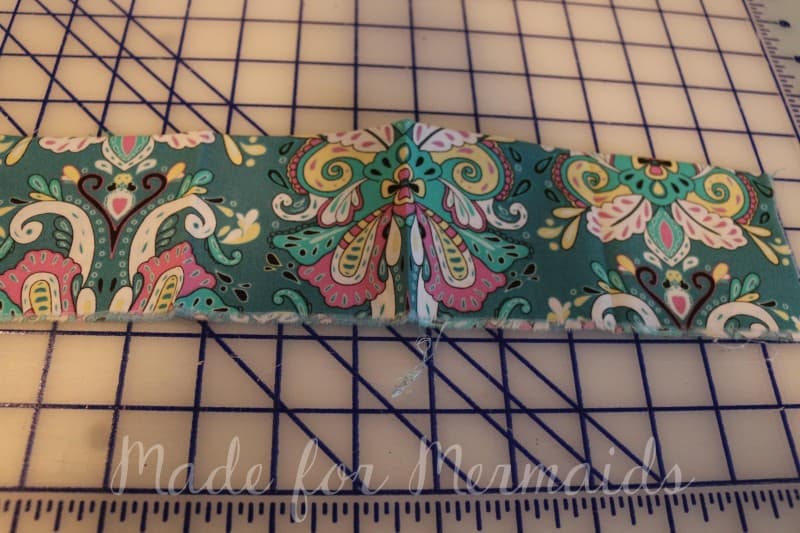
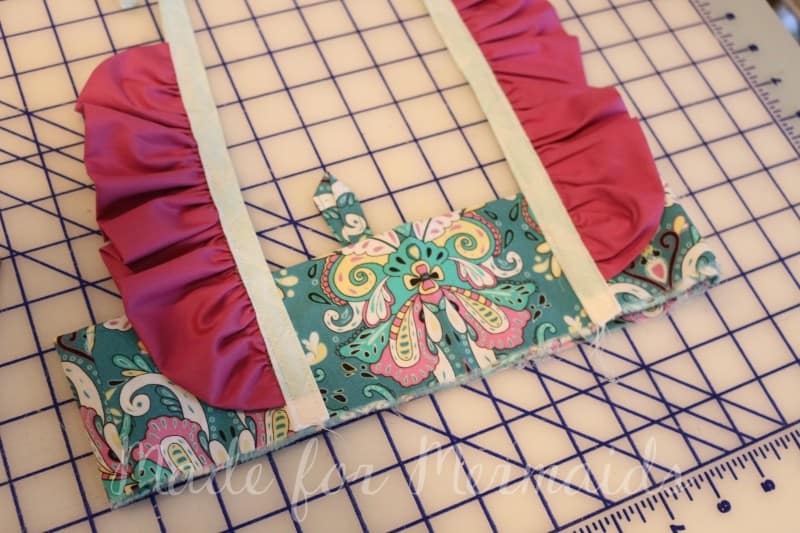
Now on to sewing on your straps. Using the creases as a guide (page 11 in pattern) pin straps to front bodice. Bottom raw edge of strap should match bottom raw edge of your front bodice.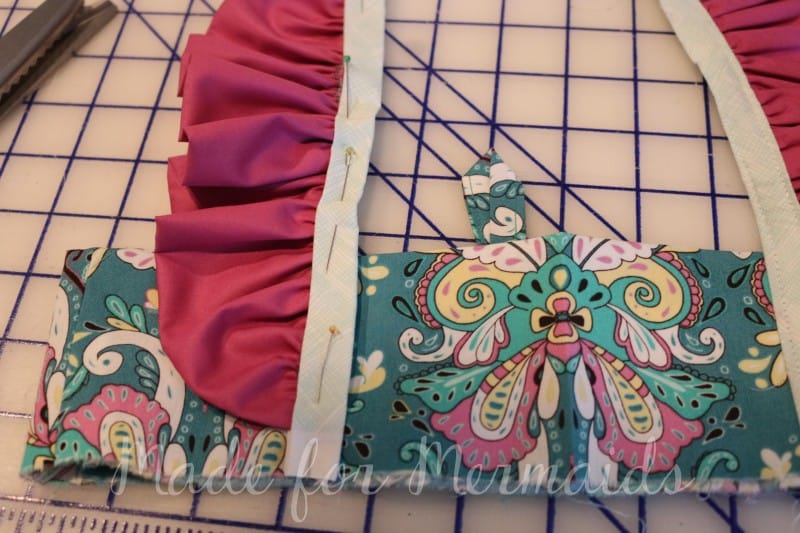
Increase your stitch length, this will make the top stitching easier and more professional looking. I typically stitch with a 2.5 length, when top stitching 3 length and here I use 3.5 since it is fairly thick with the gathered flutters, straps, bodice and lining. Edge stitch strap to bodice, starting on flutter side at bottom raw edge of bodice. Continue to stitch down strap length, closing the strap. Turn at end and continue stitching along folded side until you reach the edge of the bodice again. Repeat on other side. Then construct and attach skirt per tutorial.
TADA!! Beautiful right?? I hope you found this tutorial helpful and if you use it PLEASE share in my facebook group and page! I would LOVE to see! This Molly below is top length and paired with the Lucy shorts in chambray.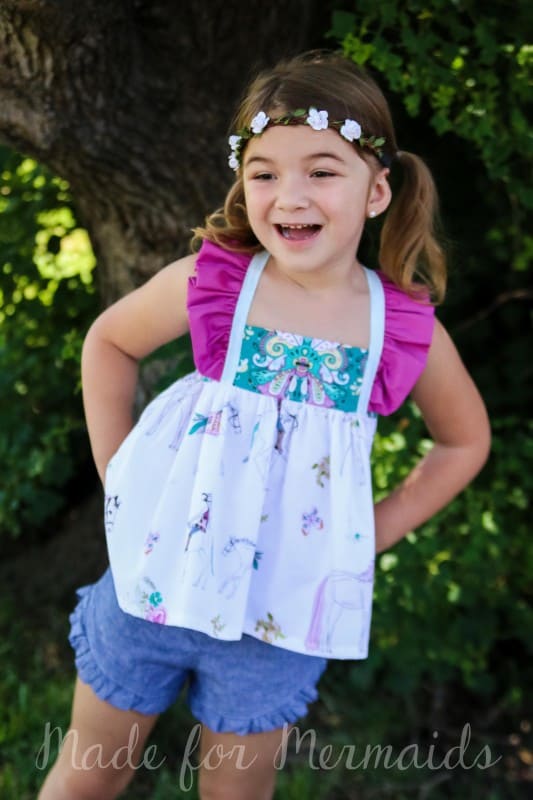

Leave a Reply