You’ve covered a lot of the basics in PDF Patterns 101.
You’ve downloaded your pattern… you’ve matched your measurements with your garment size… you’ve printed out the pattern pieces.
So, what’s next?
Assemble Your Pattern
It’s time to assemble your pattern pieces! Grab some tape and a pair of (paper) scissors and find a place to spread out.
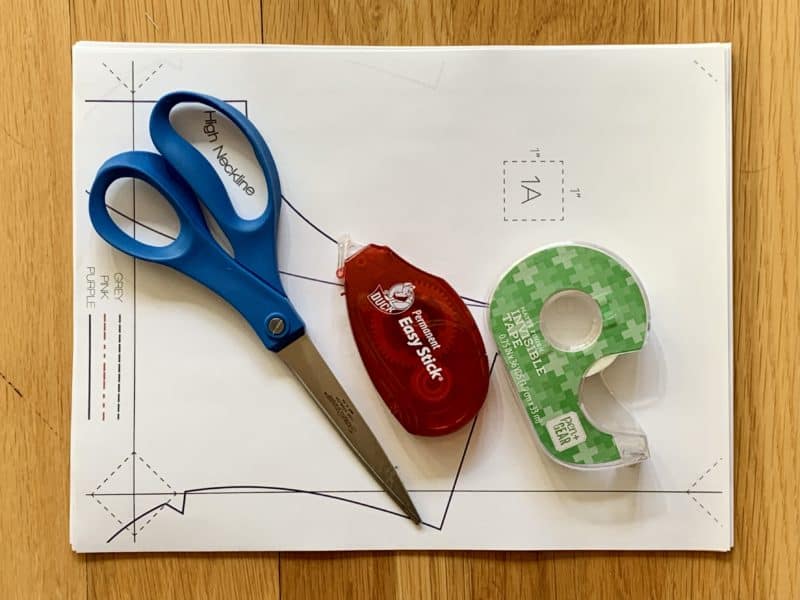
If you are new to sewing, you’ll see a lot of references to the bad things that happen to loved ones who use our beloved fabric scissors. It’s always meant to be funny, but so relevant! Be sure you never use your sharp fabric scissors to cut out your paper patterns. Have a dedicated pair for each duty.
Another tip! Use a tape runner, like this one, instead of Scotch tape. It’s so much faster! And you don’t need to run your tape or adhesive along the entire pattern piece. Just use a little at the critical places, like junctions and edges.
Take a moment to notice the numbering system that appears on each page. You’ll see “1A,” “2A,” “1B,” etc… If you were creating a grid, the number would represent a row and the letter would represent a column. I like to assemble my patterns by rows first so I tape together all of my “1” pieces, move on to my “2” pieces, then join them together. See the quick video below for my process.
One amazing feature about Made for Mermaids’ patterns is that they feature NO TRIM PAGES! That saves sewists, like us, so much time when assembling patterns.
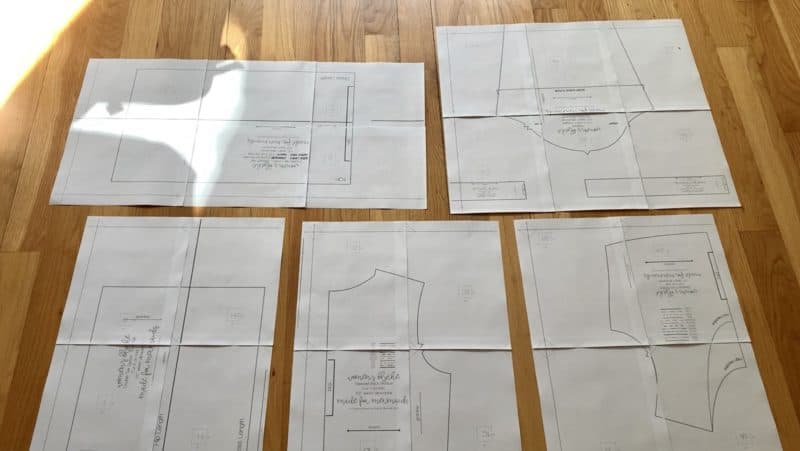
There is a guideline on the right and bottom sides of each page to assist with lining up each piece. There are also a series of dashed lines that form a diamond when the page corners are aligned correctly.
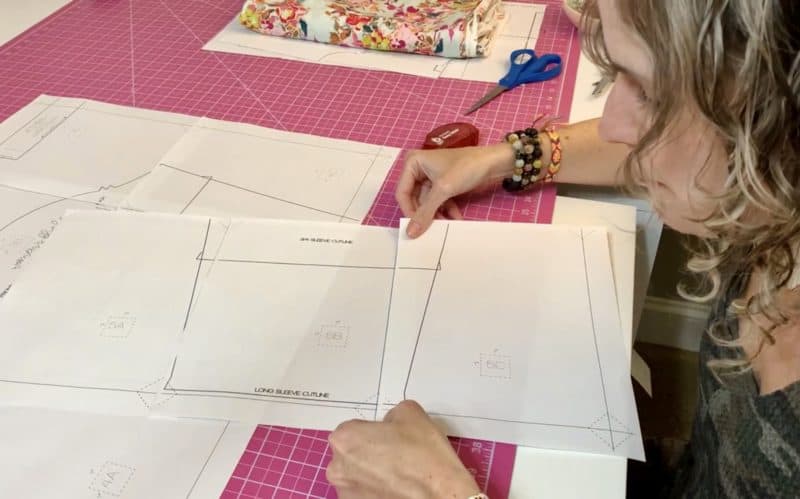
Cutting Your Pattern Pieces
Once you have your pattern taped together, it’s time to cut out your pieces (with your paper scissors).
Pay close attention to the various cutlines. If you are cutting a tank, there is likely a lighter, labeled guideline that directs you where to cut. The same is true of different necklines. They will all be marked and labeled so you know exactly where to cut.
Tip! Here’s what I do to save time and conserve resources:
Another feature to point out are the notches on your sleeve and bodice pieces. They are there to assist by making our garment assembly quicker and eliminating confusion between the back and the front. Sometimes it’s hard to distinguish between the two and we’ve all sewn a sleeve on backwards at least once in our sewing lives. Depending on the designer, you might only see notches on the back of the sleeve.
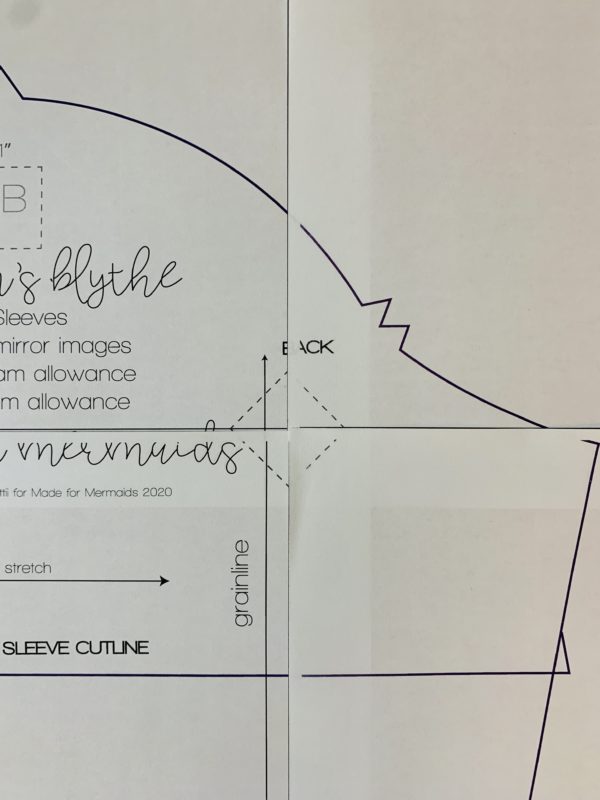
One notch signals the front of the sleeve. One notch also signals the middle point of the sleeve. You’ll line this up with the shoulder seam when you’re setting your sleeves. Two notches signals the back of the sleeve.
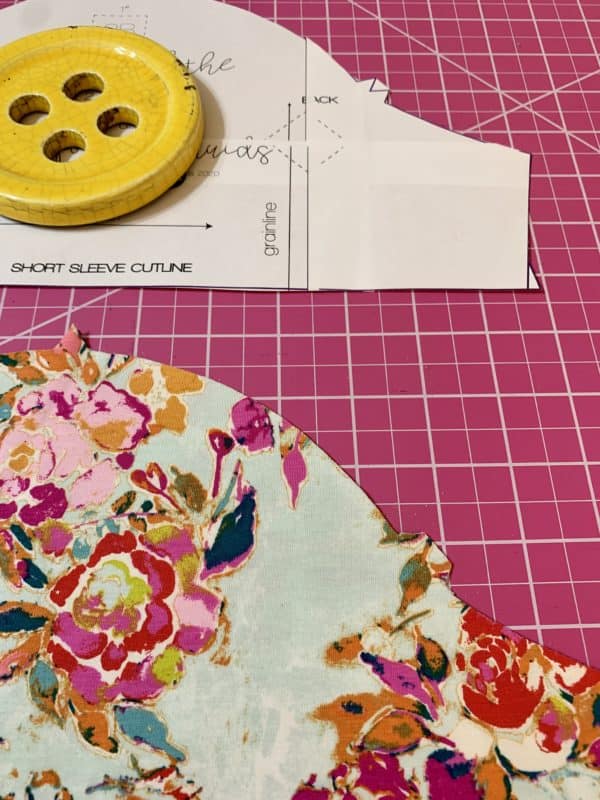
If you prefer not to cut out the notches, you can always make a small snip into the seam allowance of your fabric to serve the same purpose. Or mark with a Wonder Clip.
Cutting Your Fabric
You’ll see quite a few other notations on your pattern pieces that are critical in building a garment you can wear.
You’ll see directional arrows for “grainline” and “stretch.” This is especially important to understand for knit fabrics.
Typically with knits, the greatest stretch in your fabric runs from left to right. If you wish to achieve the same look and ease in your garment that you see in the tester photos, it’s important to line your pattern pieces up correctly with the direction of the stretch.
Grainline references the fiber construction of your fabric. If you look closely at your fabric, you’ll see vertical lines where the fabric has been knit together. It is important to correctly line up your pattern pieces with the grain of the fabric so it will hang on your body as intended. I sometimes make a crease at that grainline arrow so I can line it up with the vertical lines in my fabric.
Once I have my pattern piece lined up with the grainline, I drop pattern weights on top of my piece to hold it in place for cutting.
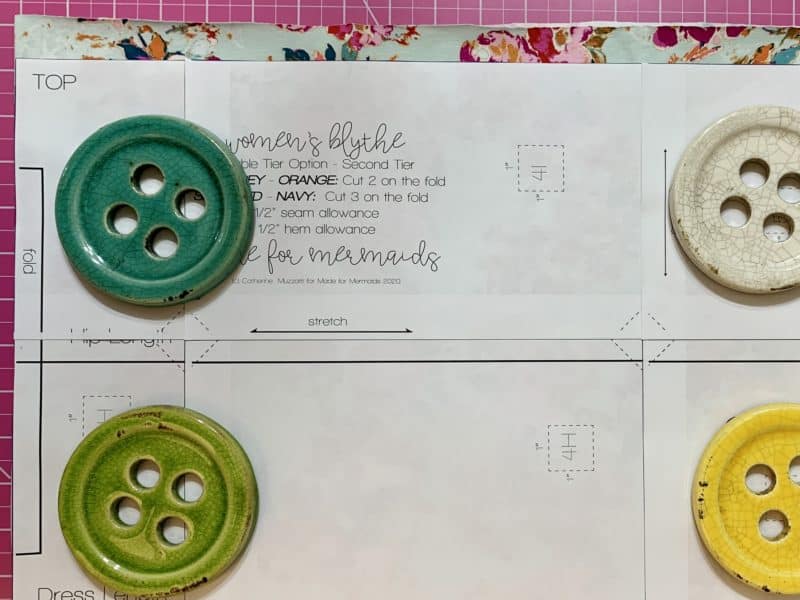
Unlike the tissue paper you may be familiar with from the “Big 4” patterns, a majority of home sewists print their PDF patterns directly onto printer paper. It is a heavier weight than the tissue paper and very difficult to pin to your fabric. Pattern weights are the perfect solution. You can use as many or as few as you’d like and the pattern doesn’t shift while you’re cutting around it. Pattern weights can be nearly anything you choose… “official” pattern weights, kitchen tiles, canned goods, or even kitty assistants! Just watch out for the whiskers.
Another notation you’ll see is “fold.” This simply means to fold your fabric along the grainline. Line the pattern edge, marked “fold,” with the folded edge of your fabric before you cut.
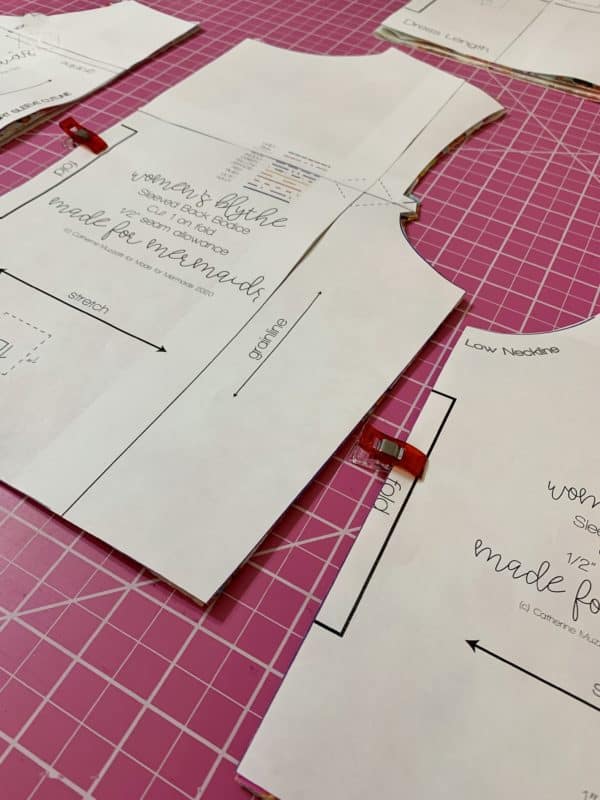
Another tip! Once you have your fabric cut, clip the pattern piece to the garment piece to help you stay organized as you sew.
You’re ready to start sewing up your garment! Join us on Facebook for more pattern chat, tips and tricks from other Mermaid sewists. And, be sure to share your make with us. We’d love to see it!
See our PDF 103: Links & Layers for more info!
Leave a Reply