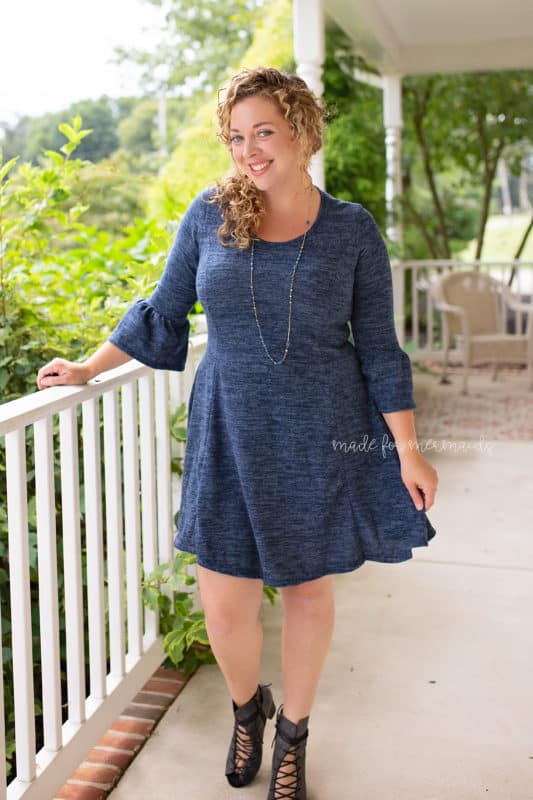
Our new Penelope Princess Seam Dress is here! We know some of you are always on the hunt for new sleeve options, and Penelope definitely delivers! Choose from regular (short, half, or long) sleeves, puff short sleeves, banded bishop sleeves, or ruffle sleeves! There are also two hem lengths. Penelope is great in cotton lycra, sweater knit, double brushed poly, and many other knits. For those of you can’t get enough custom fabrics, this dress is perfecting for using up every last bit of those pricey pieces. Just keep in mind that you will need a fabric with good recovery for the bands, and if you DO opt for using up those gorgeous customs, you may need to adjust the band to accommodate the recovery of your custom cotton lycra.
We have two super cute hacks for you, plus a separate post for doing a Full Bust Adjustment if you’re finding your full bust measurement falls in a larger size than your upper bust. You can find that post here. Of course, Penelope is wonderful for everyday wear through all four seasons, but it’s also the perfect base for so many costumes!
Princess Penelope Hack
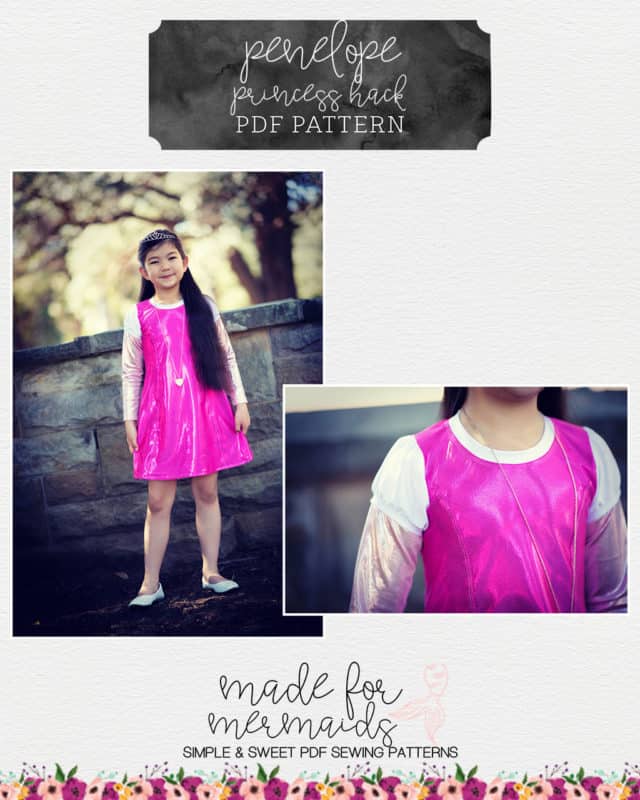
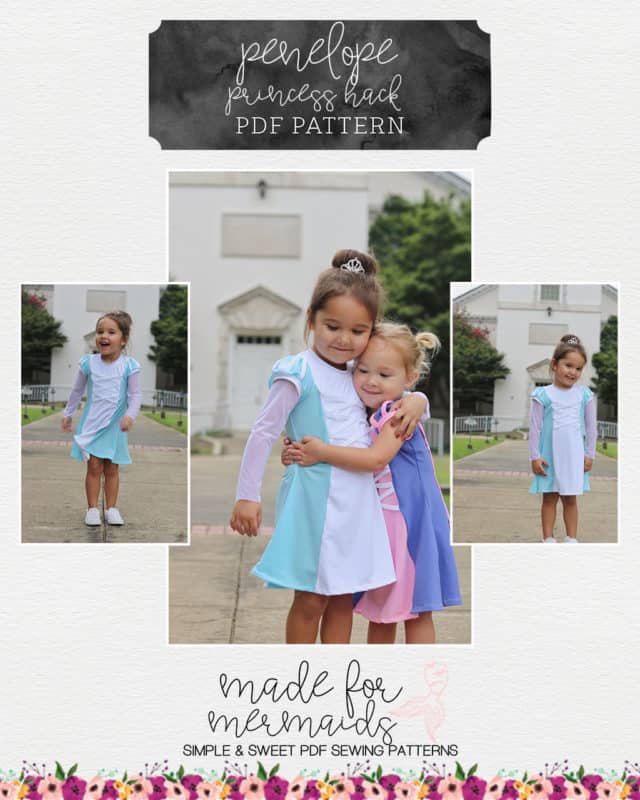
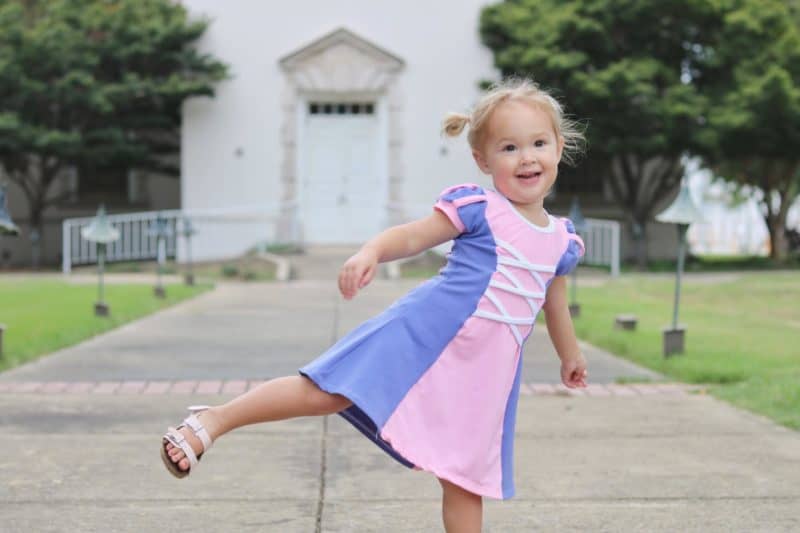
Penelope is a perfect dress to hack to be a princess dress. The princess seams look exactly like Rapunzel’s dress, which is what initially inspired me. It is so versatile, you can create any princess dress you’d like. The detailing, plus layering the puff sleeve over the long sleeve, adds a few extra princess-y touches.
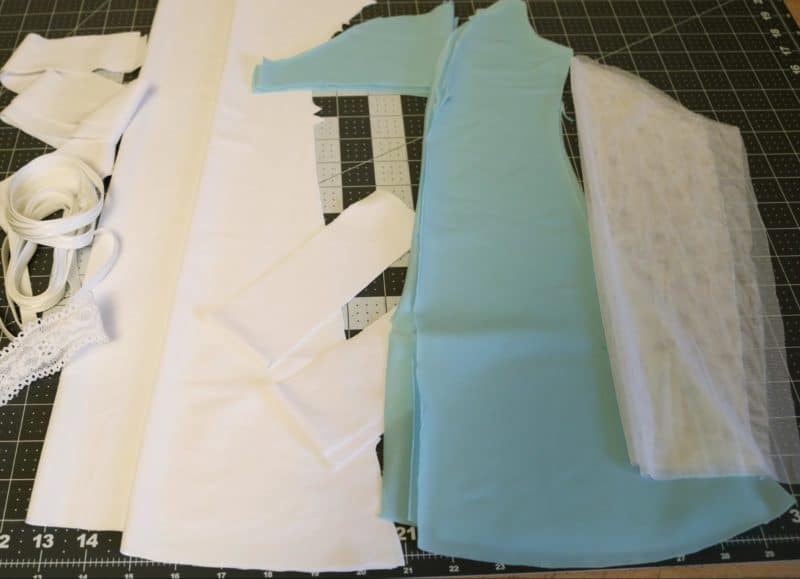
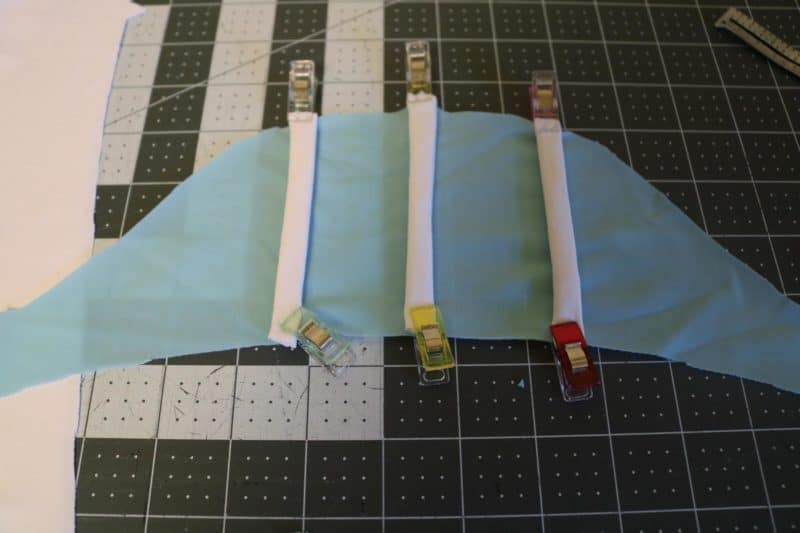
After you’ve cut out your main pattern pieces, you’ll also need to cut pieces for the sleeve and bodice detail. I’ve used a tube of fabric, lace, or even bra strap elastic and it has worked great. I prefer the bra strap elastic so I don’t have that extra layer to serge through. If you decide to use a tube of fabric, I cut mine two inches wide, and once turned, it looks like it does on the purple and pink dress. NOTE: To determine the length of your pieces, use the sleeve and center bodice pieces as your guide.
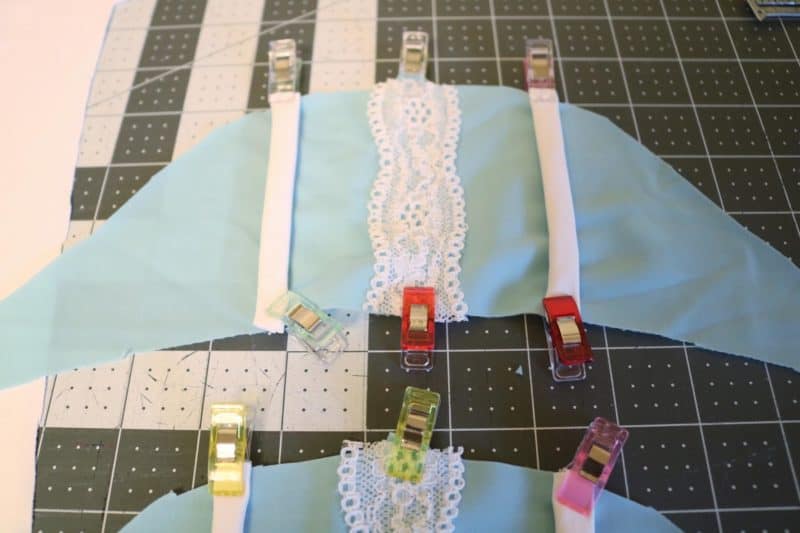
Once you have your strips cut, you are ready to begin adding the detailing to your sleeves. First, find the center notch of your sleeve. Line up one raw edge of your tube/lace/elastic with the notch, and the opposite raw edge with the bottom of the sleeve.
Pin or clip the other two strips 2″ to either side of the center strip. Once you’ve pinned or clipped the strips, go ahead and baste them in place.
- You can use stretch lace trim for added princess flair!
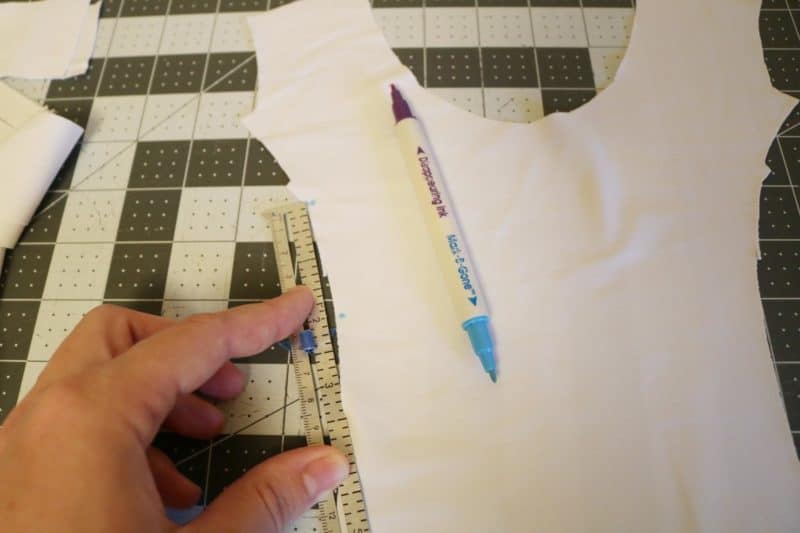
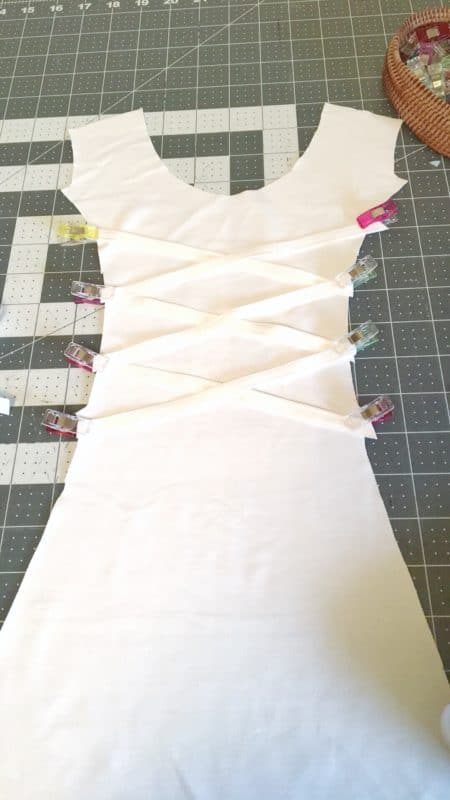
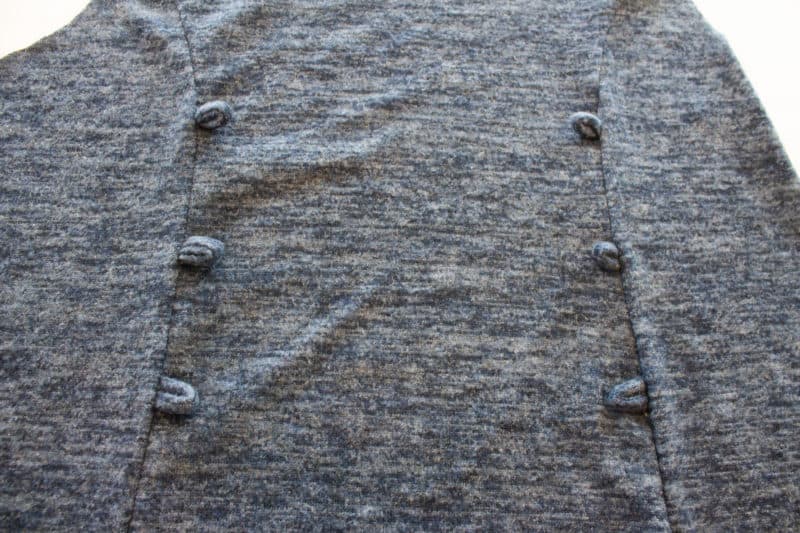
You’ll use the same 2″ spacing for the front bodice. Measure and mark 2″ down from where the side panel is attached. Repeat down the bodice until you have your desired number of criss-crosses, then repeat on the other side. For reference, I made four markings for three criss-crosses.
Pin or clip your strips to the bodice, using the markings as a guide, in a criss-cross pattern. Baste all strips in place.
After the bodice is basted, treat it as you would the regular bodice, and continue construction per the tutorial!
For the sleeve, I chose to layer the puff sleeve over the long sleeve. Once the detailing is basted on the puff sleeve, you can gather between the marks on the pattern piece and attach the band. Then, to attach the puff sleeve and long sleeve at the same time, baste them together before sewing them to the bodice
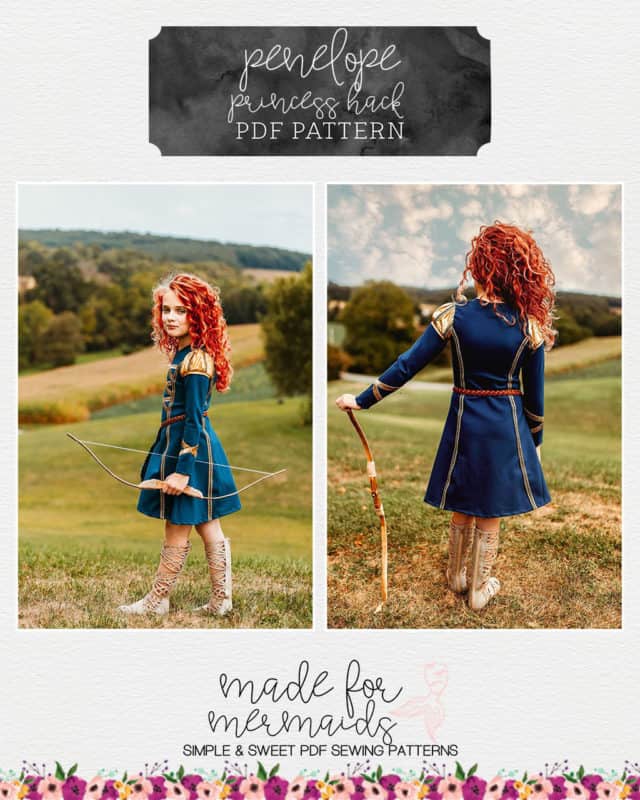
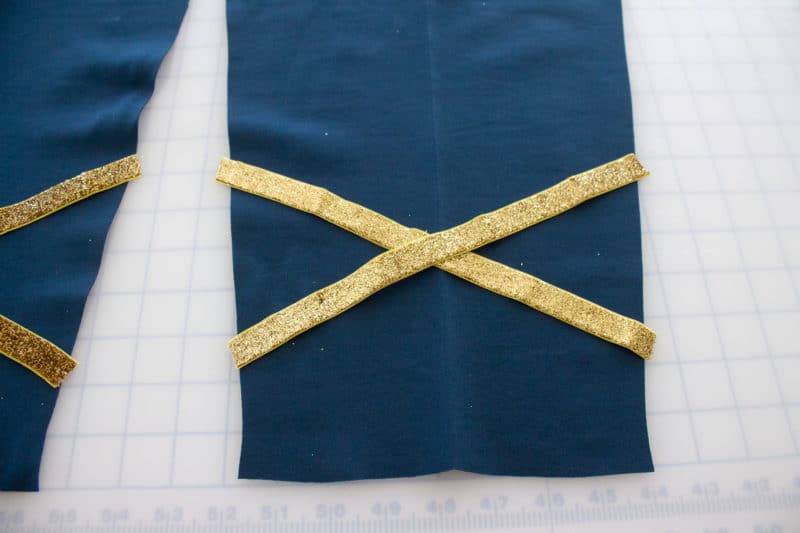
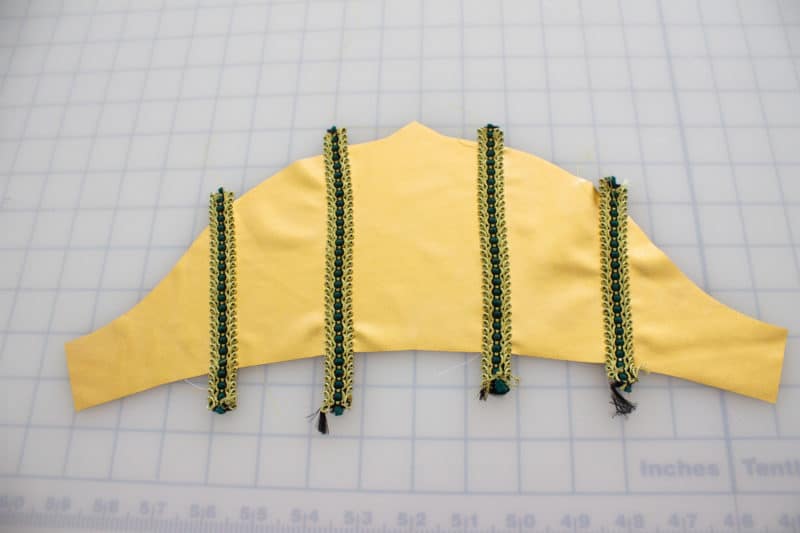
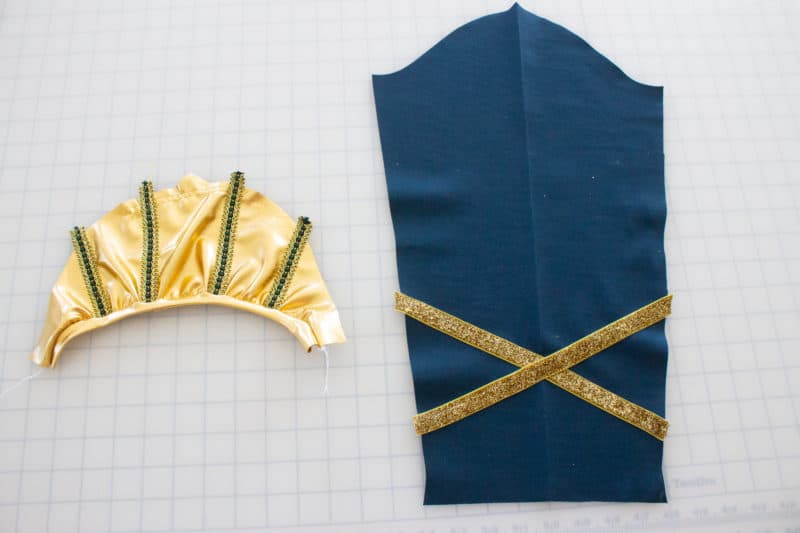
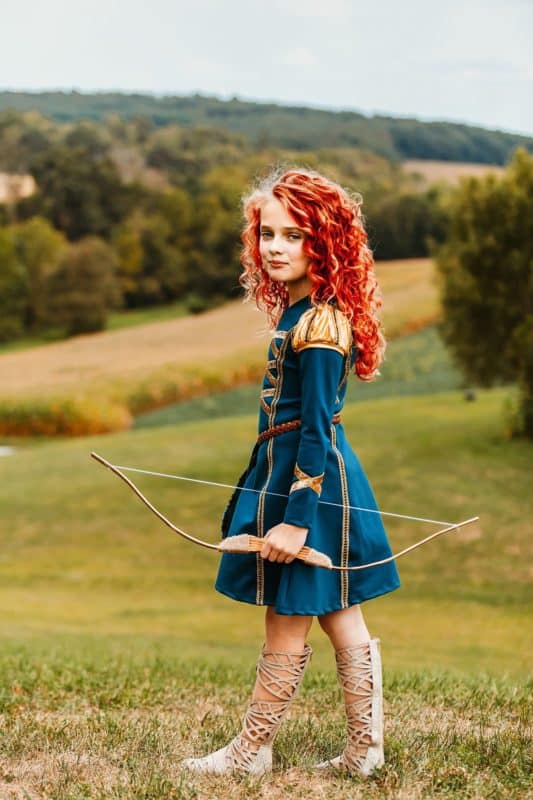
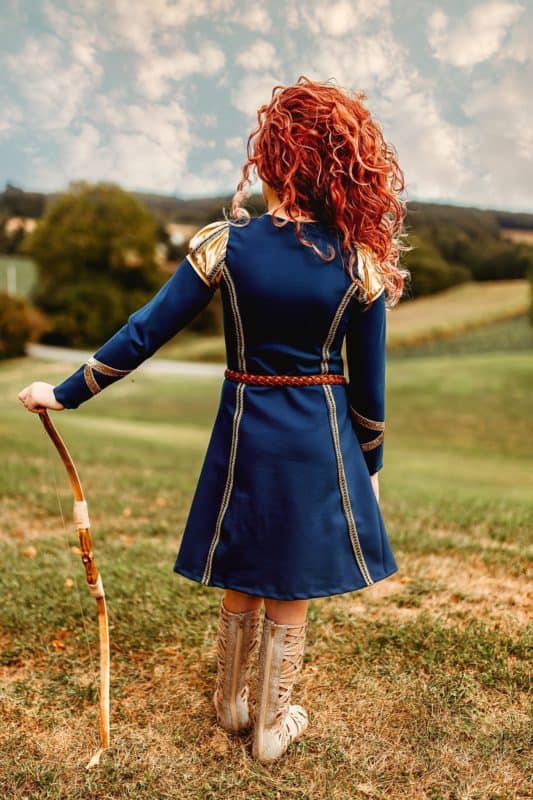
Megan T. used fold over elastic (FOE) and premade trim to add details to the sleeves and bodice for her daughter’s Merida-inspired dress. She also used the puff sleeve layered over the traditional long sleeve for the ultimate puffy princess sleeve!
Check out Katy’s adorable Aurora-inspired dress! She layered the puff sleeve over the long sleeve as well.

You could also stitch all strips down using a stretch stitch, but I preferred the looser look after removing basting stitches. I hope you enjoy making everyday princess dresses for the little ones in your life! – Whitney
Corset Hack
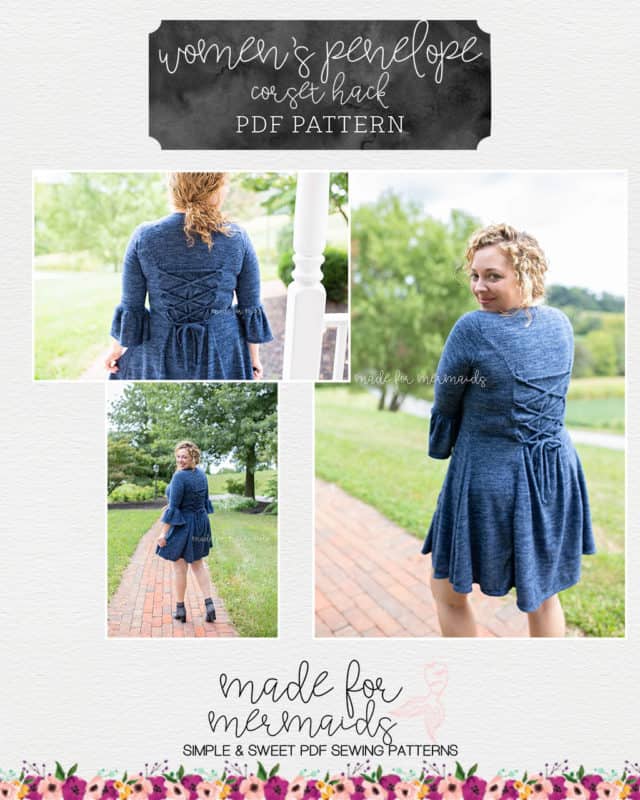
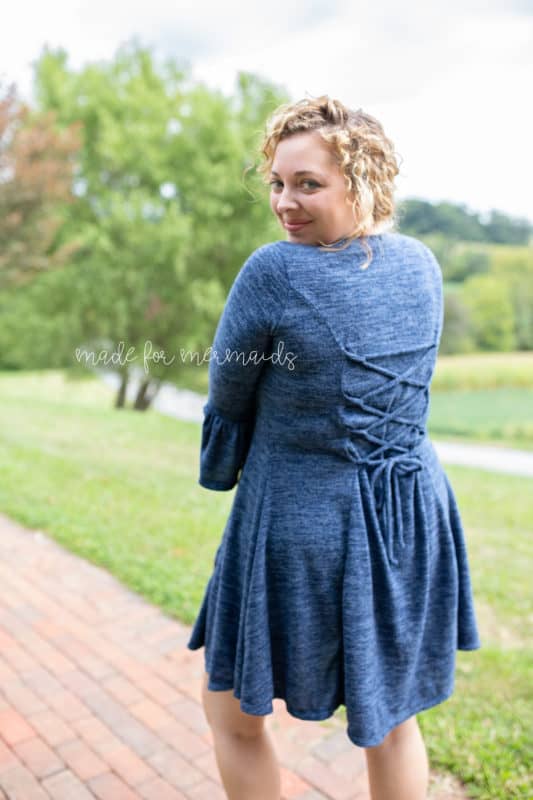
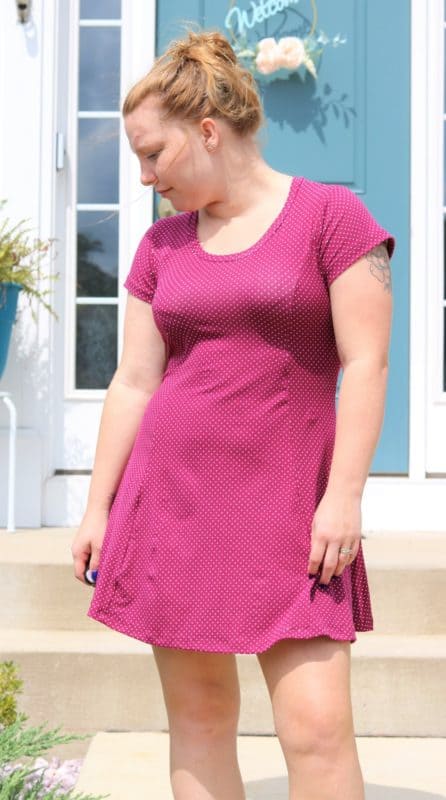
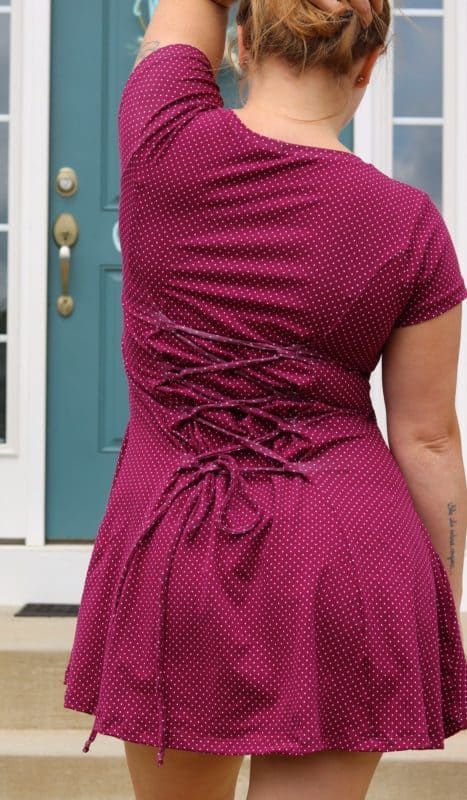
The princess seaming of Penelope gives you the perfect opportunity to add a lace up or corset detail. I used the back panels, but if you were wanting a front lace-up look, you could just modify this tutorial to use the front pieces.
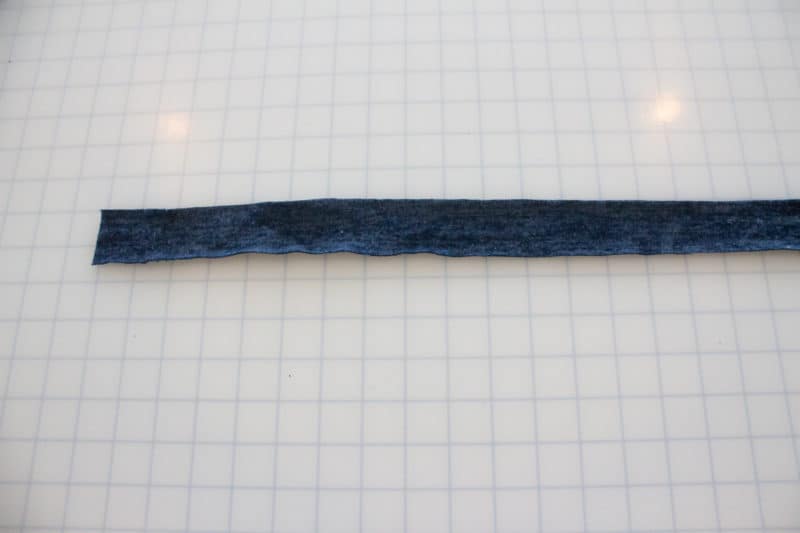
Cut 2 strips of knit fabric, one strip will be made into the loops and the other piece will be for the laces. Note: if you are using a longer length for your laces tie, you may have to sew two pieces together to get the length you need!
1.25″ x 60″- 75″
1.25″ x 24″
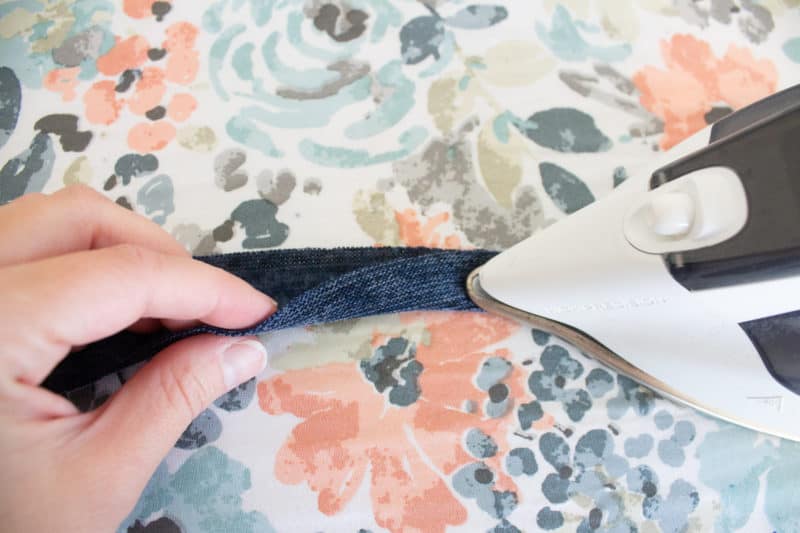
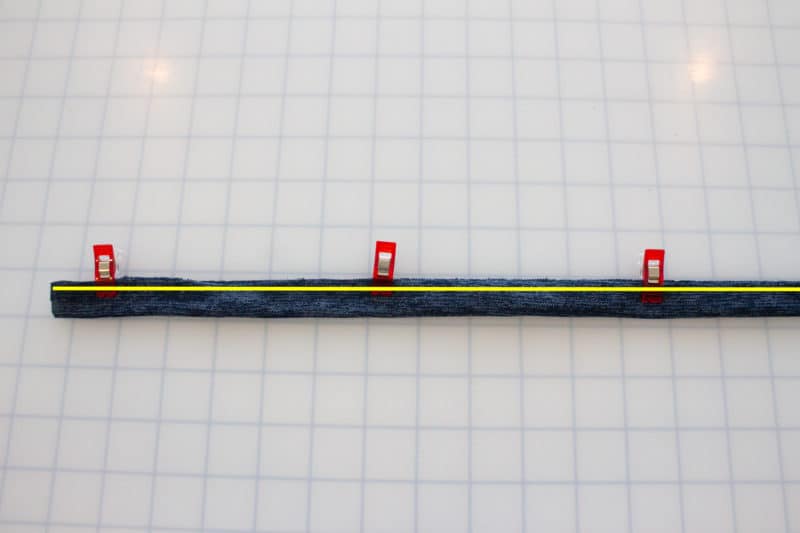
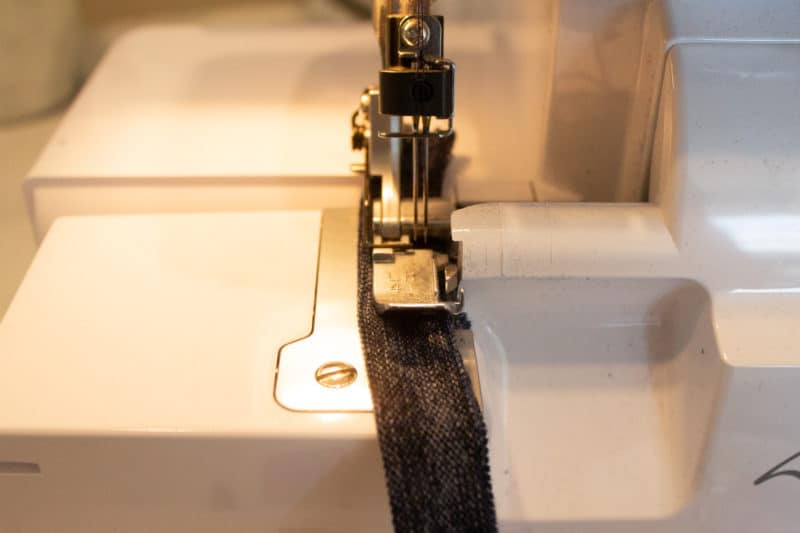
Take your shorter strip of fabric and press with right sides together. Pin the long open edge. Stitch together with 1/4″ seam allowance.
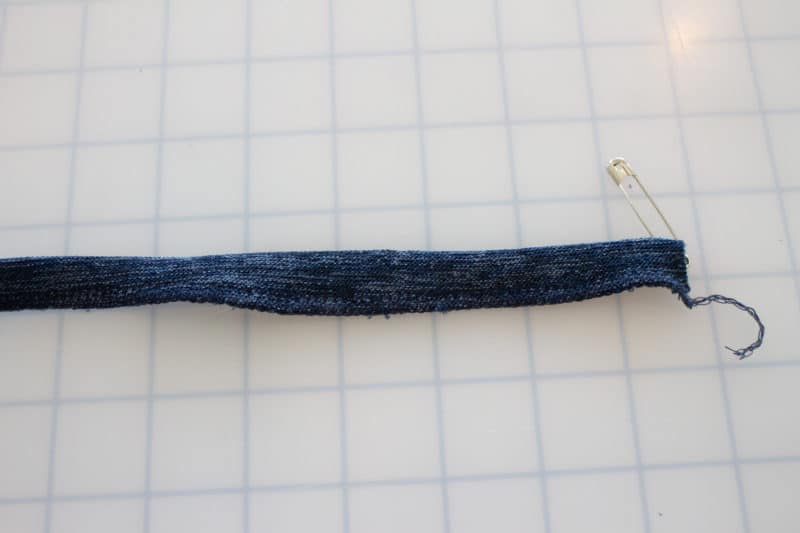
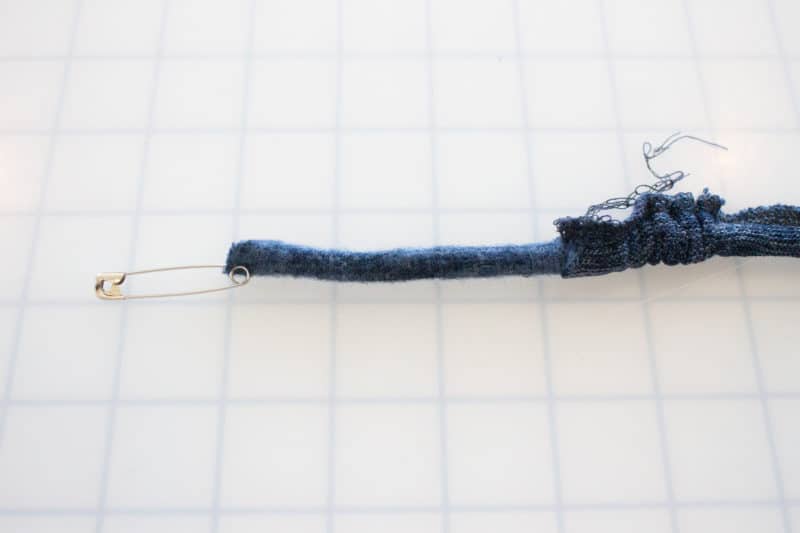
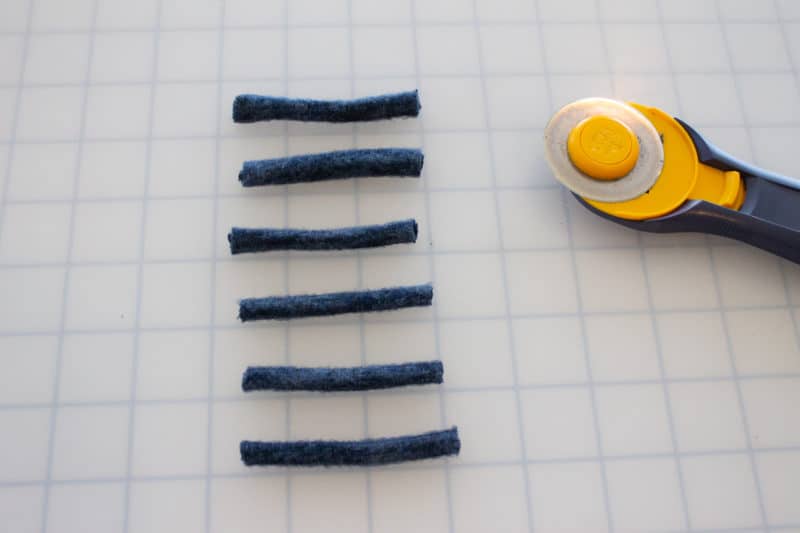
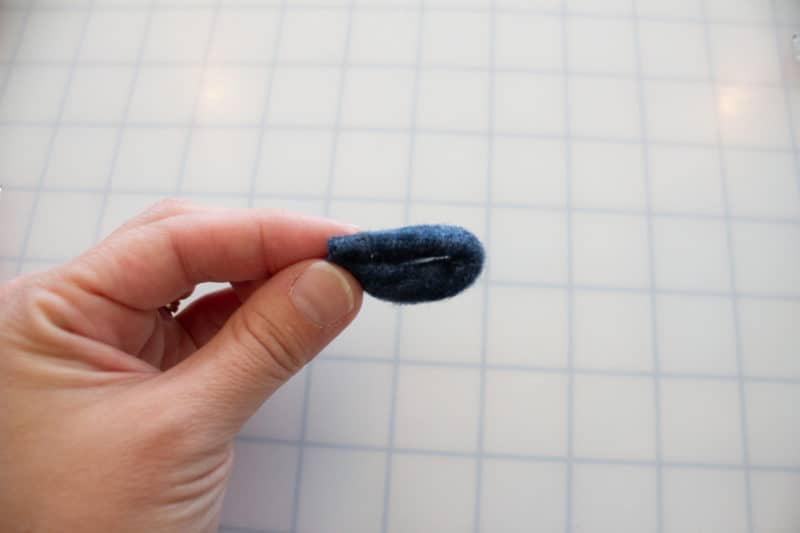
Use a safety pin or tube turner to turn strip right side out. Cut strip into 6-8 equal pieces measuring 2.5″ each. Note: I originally only cut 6 loops, but I decided for my size Indigo/Green dress that I would prefer 8. I added two loops later.
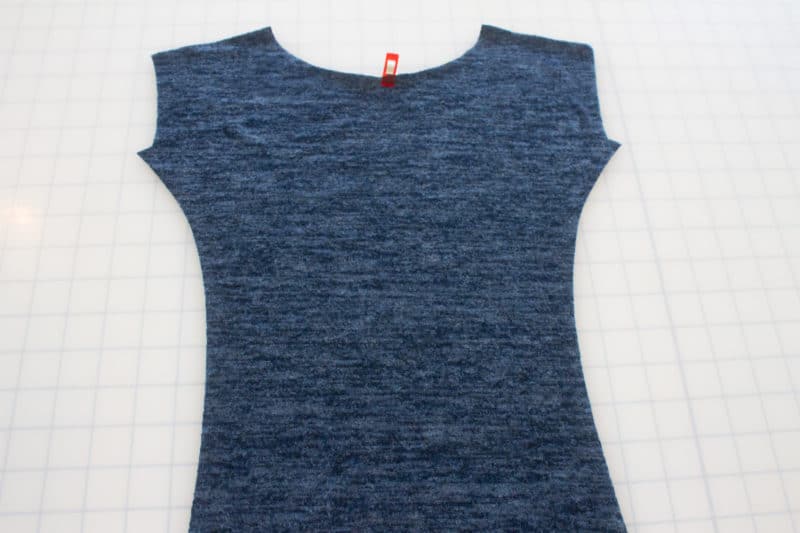
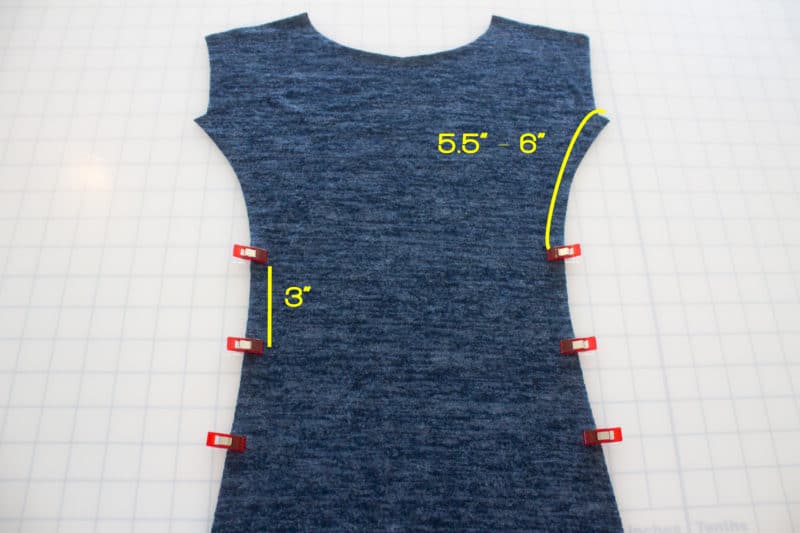
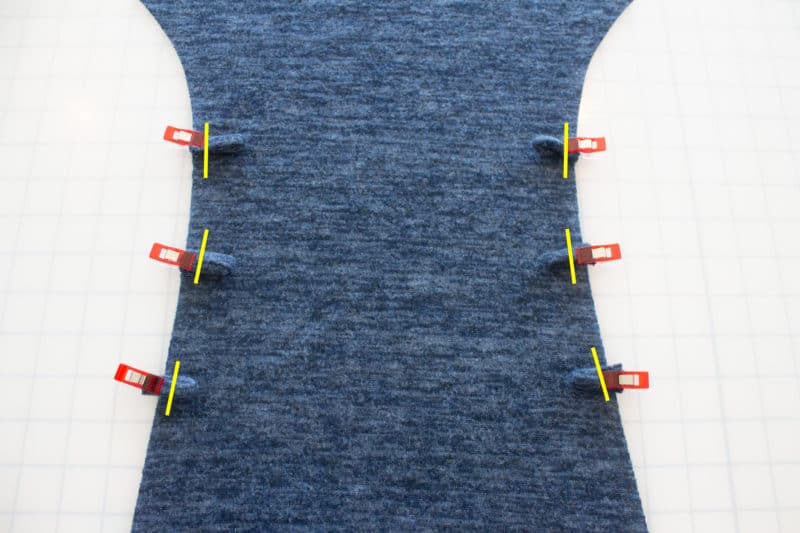
Take your back center panel. Measure 5.5″ to 6″ down from the “C” Notch. Place a pin. Measure 3″ down from your first pin and place another. Repeat for however many loops you want on this side. Repeat on other side of back center panel.
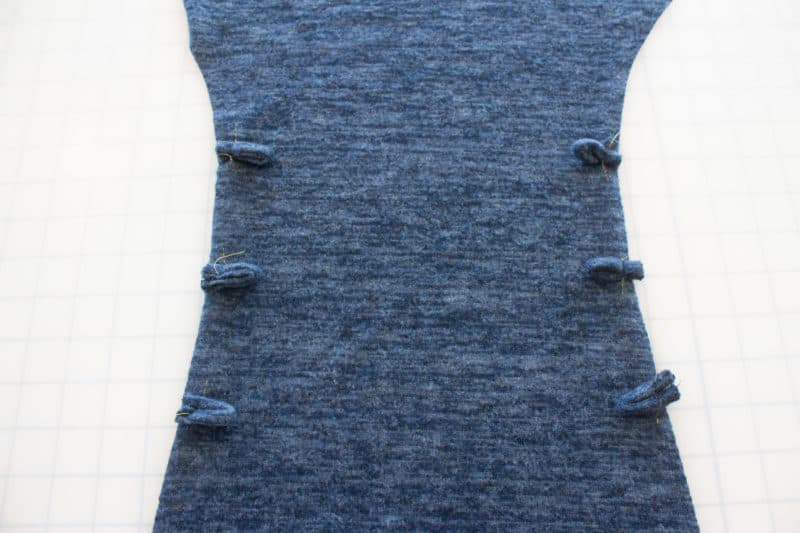
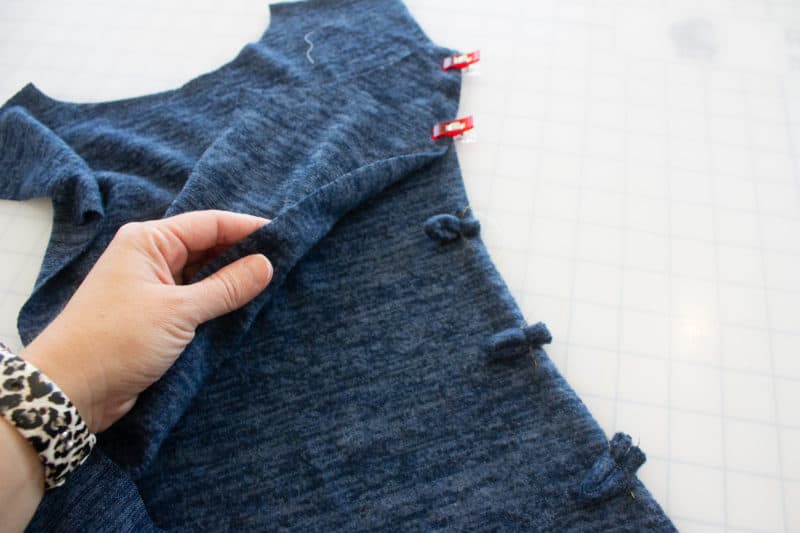
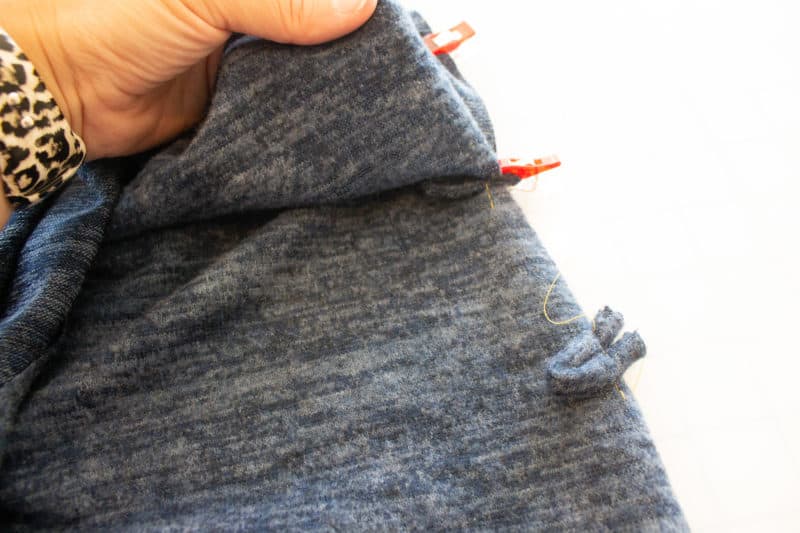
Fold your loop in half. Pin loop to your back center panel at the markings. Your loops should be pointing in towards the center and the raw edges should be in line with the raw sides of your back center panel. Baste loops in place.
Continue following your tutorial for constructing the back of your dress. Your loops will be sandwiched between the side panel and the back center panel. You may wish to topstitch along the side panels to keep your loops laying in the right direction.
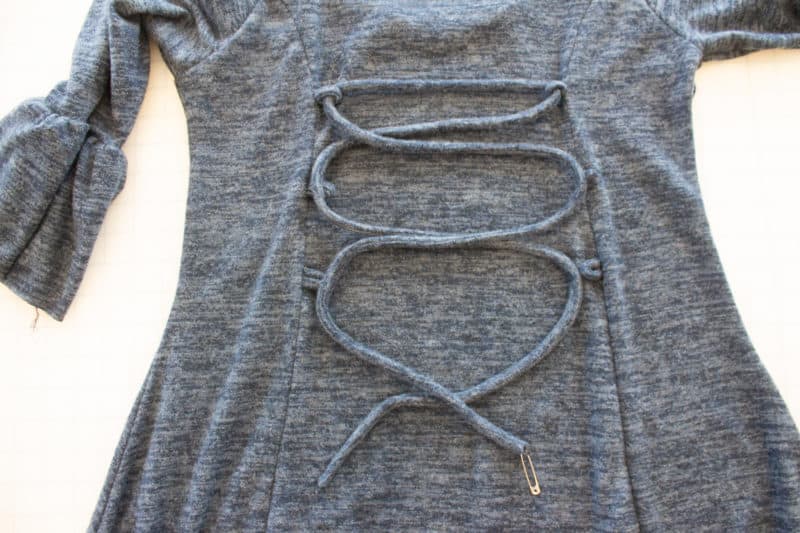
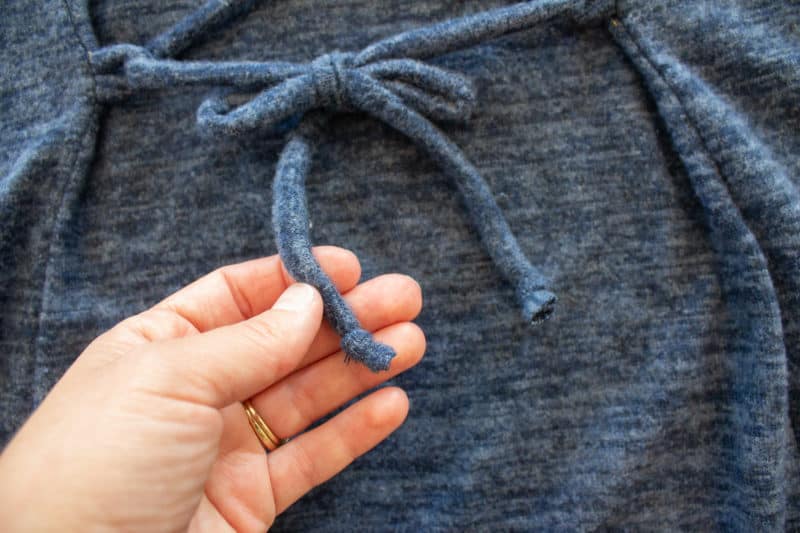
Construct the laces the same way you made the loops. Use a safety pin to thread the long lace through the loops. Tie off the ends of your laces in a knot.
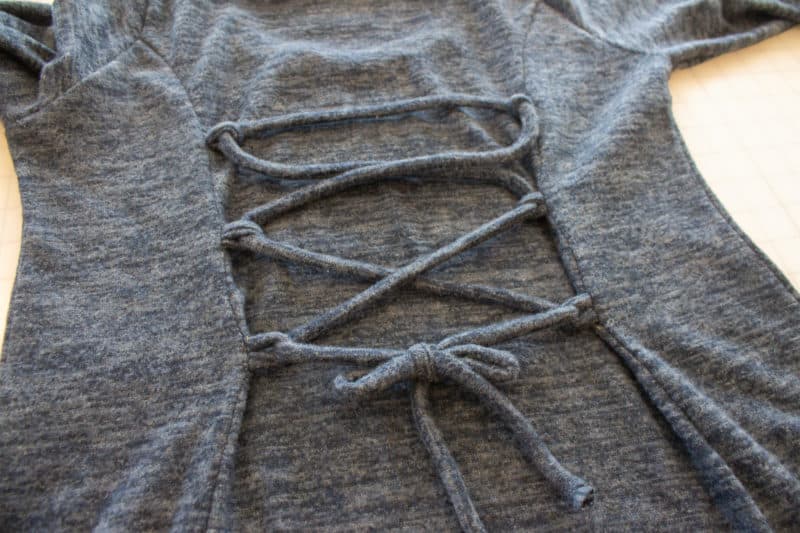
Remember I said how I added another pair of loops? Here is what the back looks like laced up with four loops on each side:
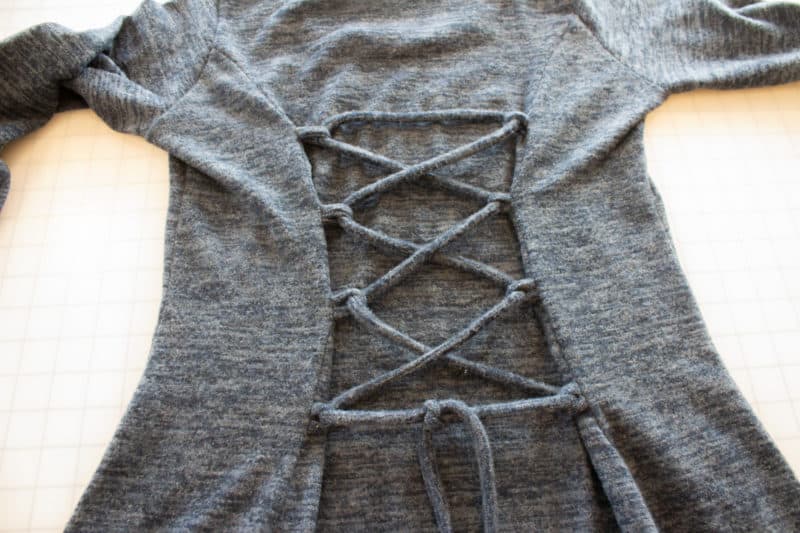
All done! You can pull your laces as tight as you want. Pulling them tight will result in a gathered/bustled look of your back center panel.
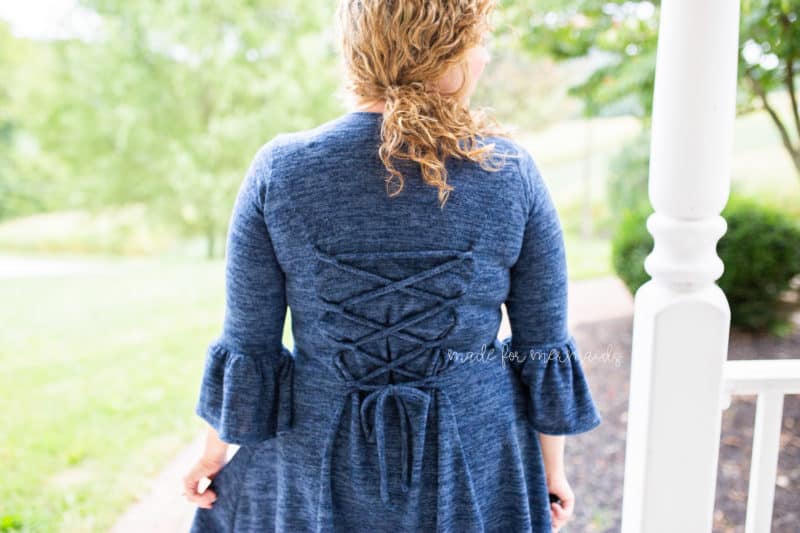
The possibilities are endless with this hack and I can’t wait to see what you come up with!

Don’t forget to share your makes over in our Facebook group. We love to see what you’ve been sewing up.






Leave a Reply