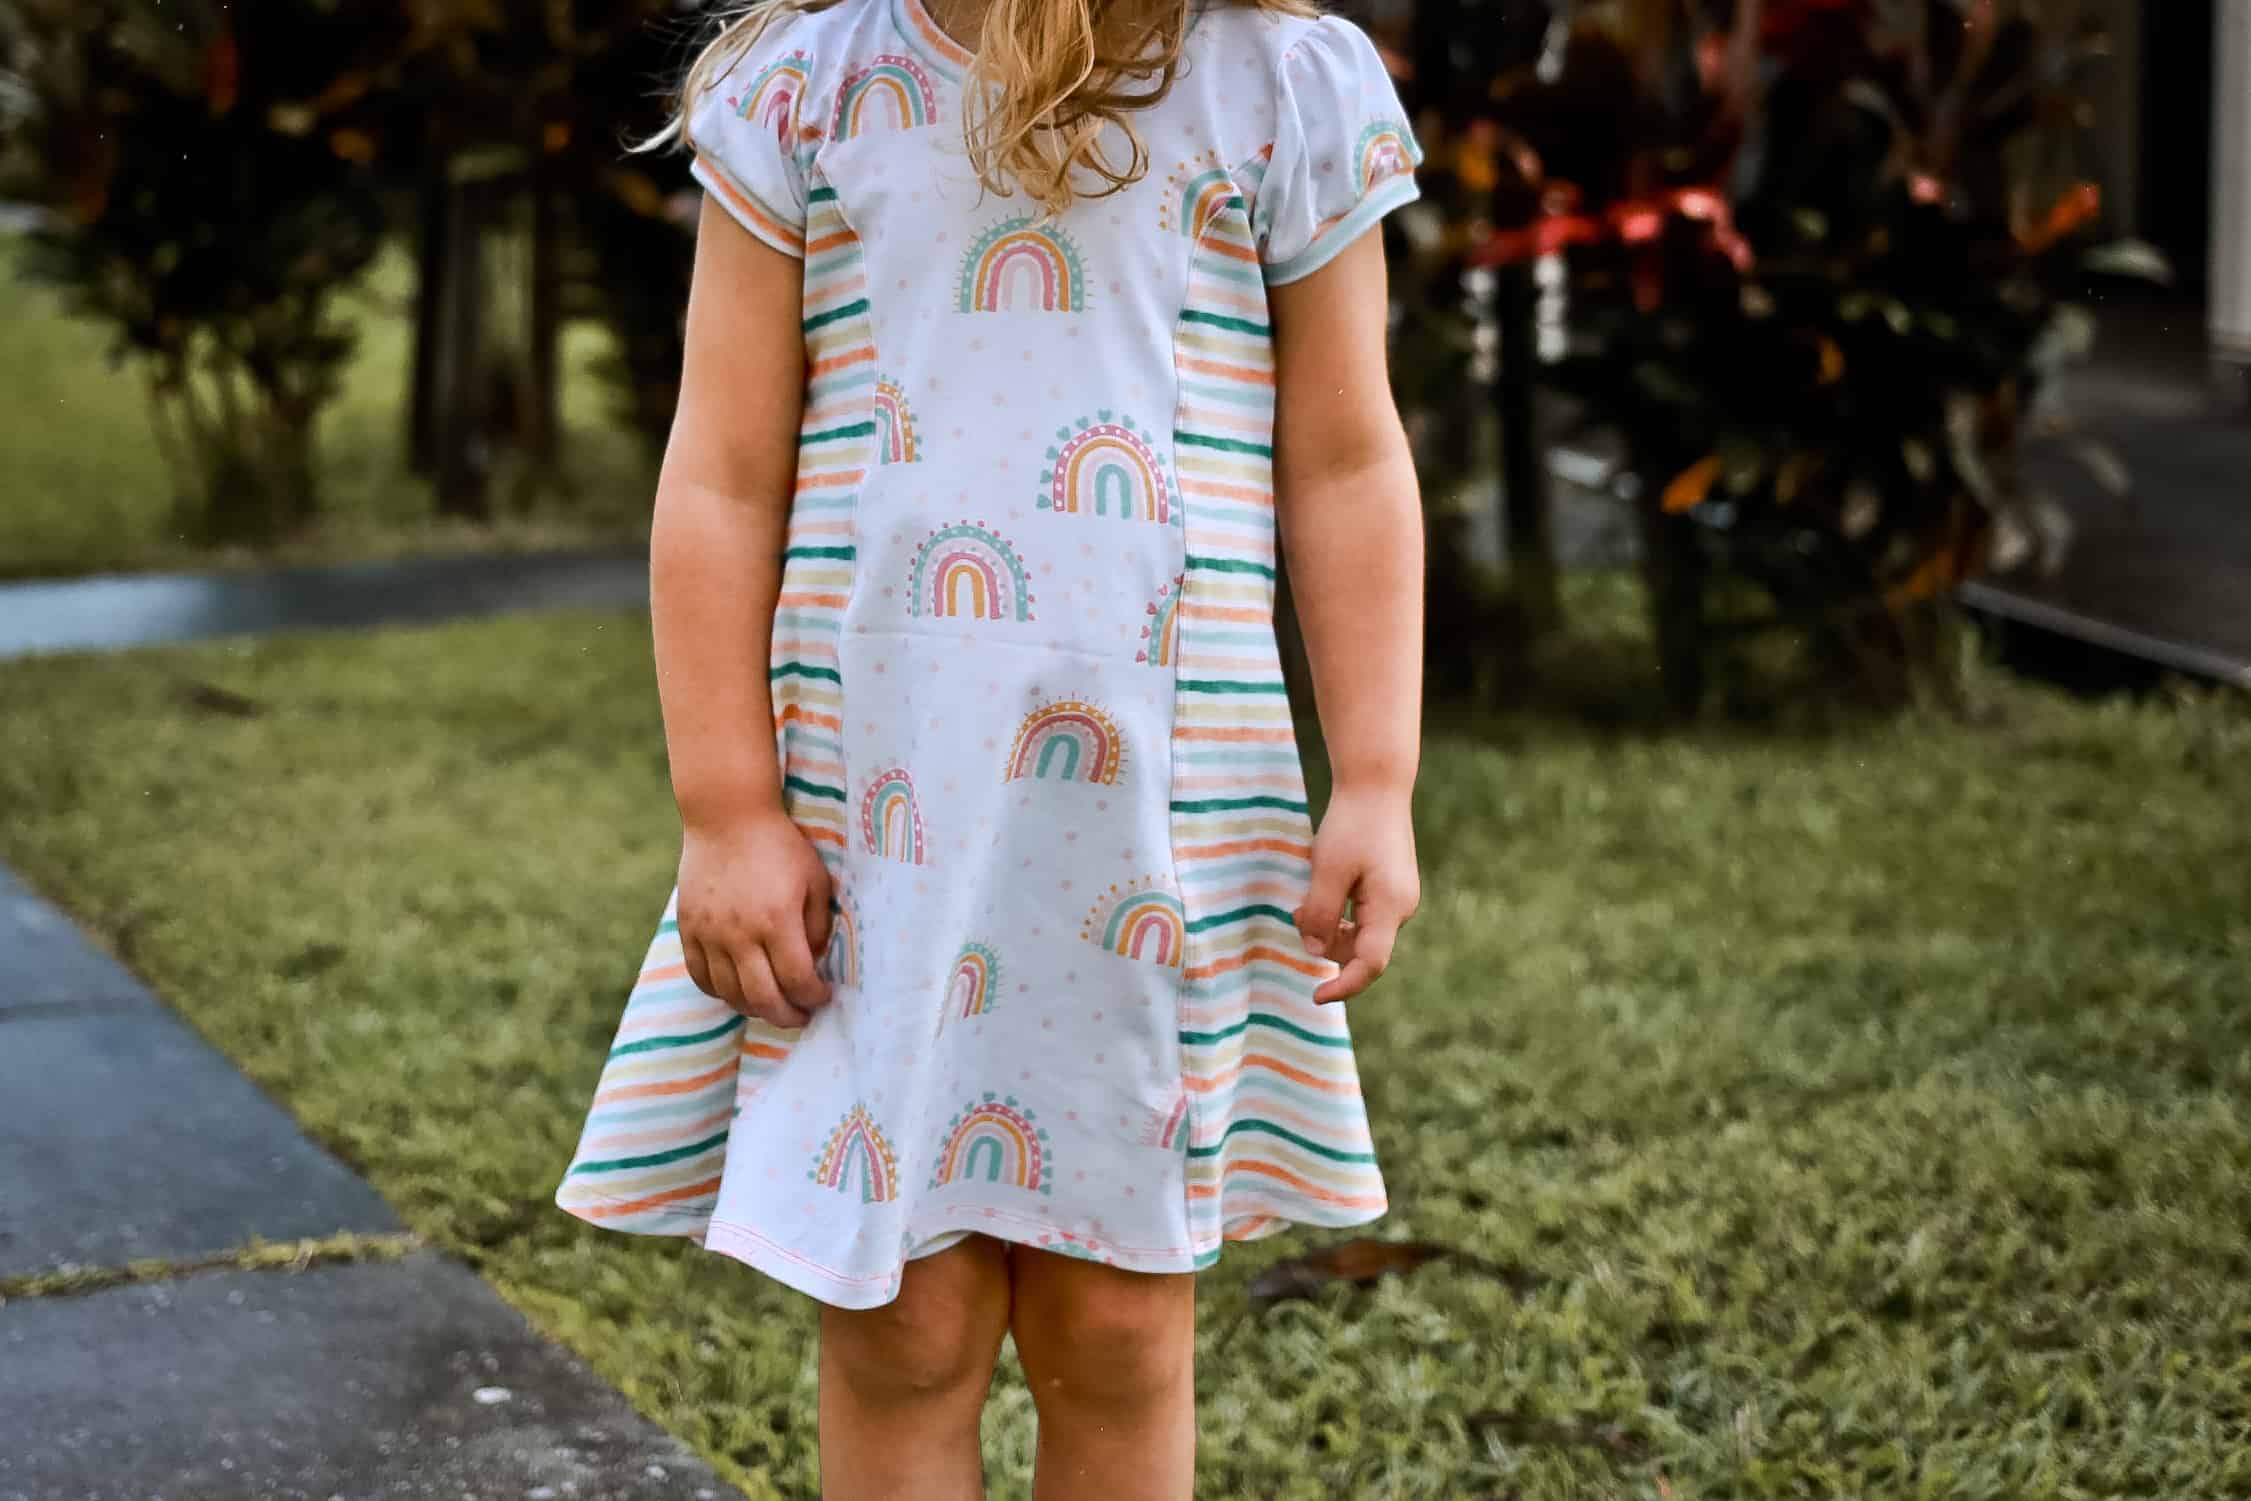
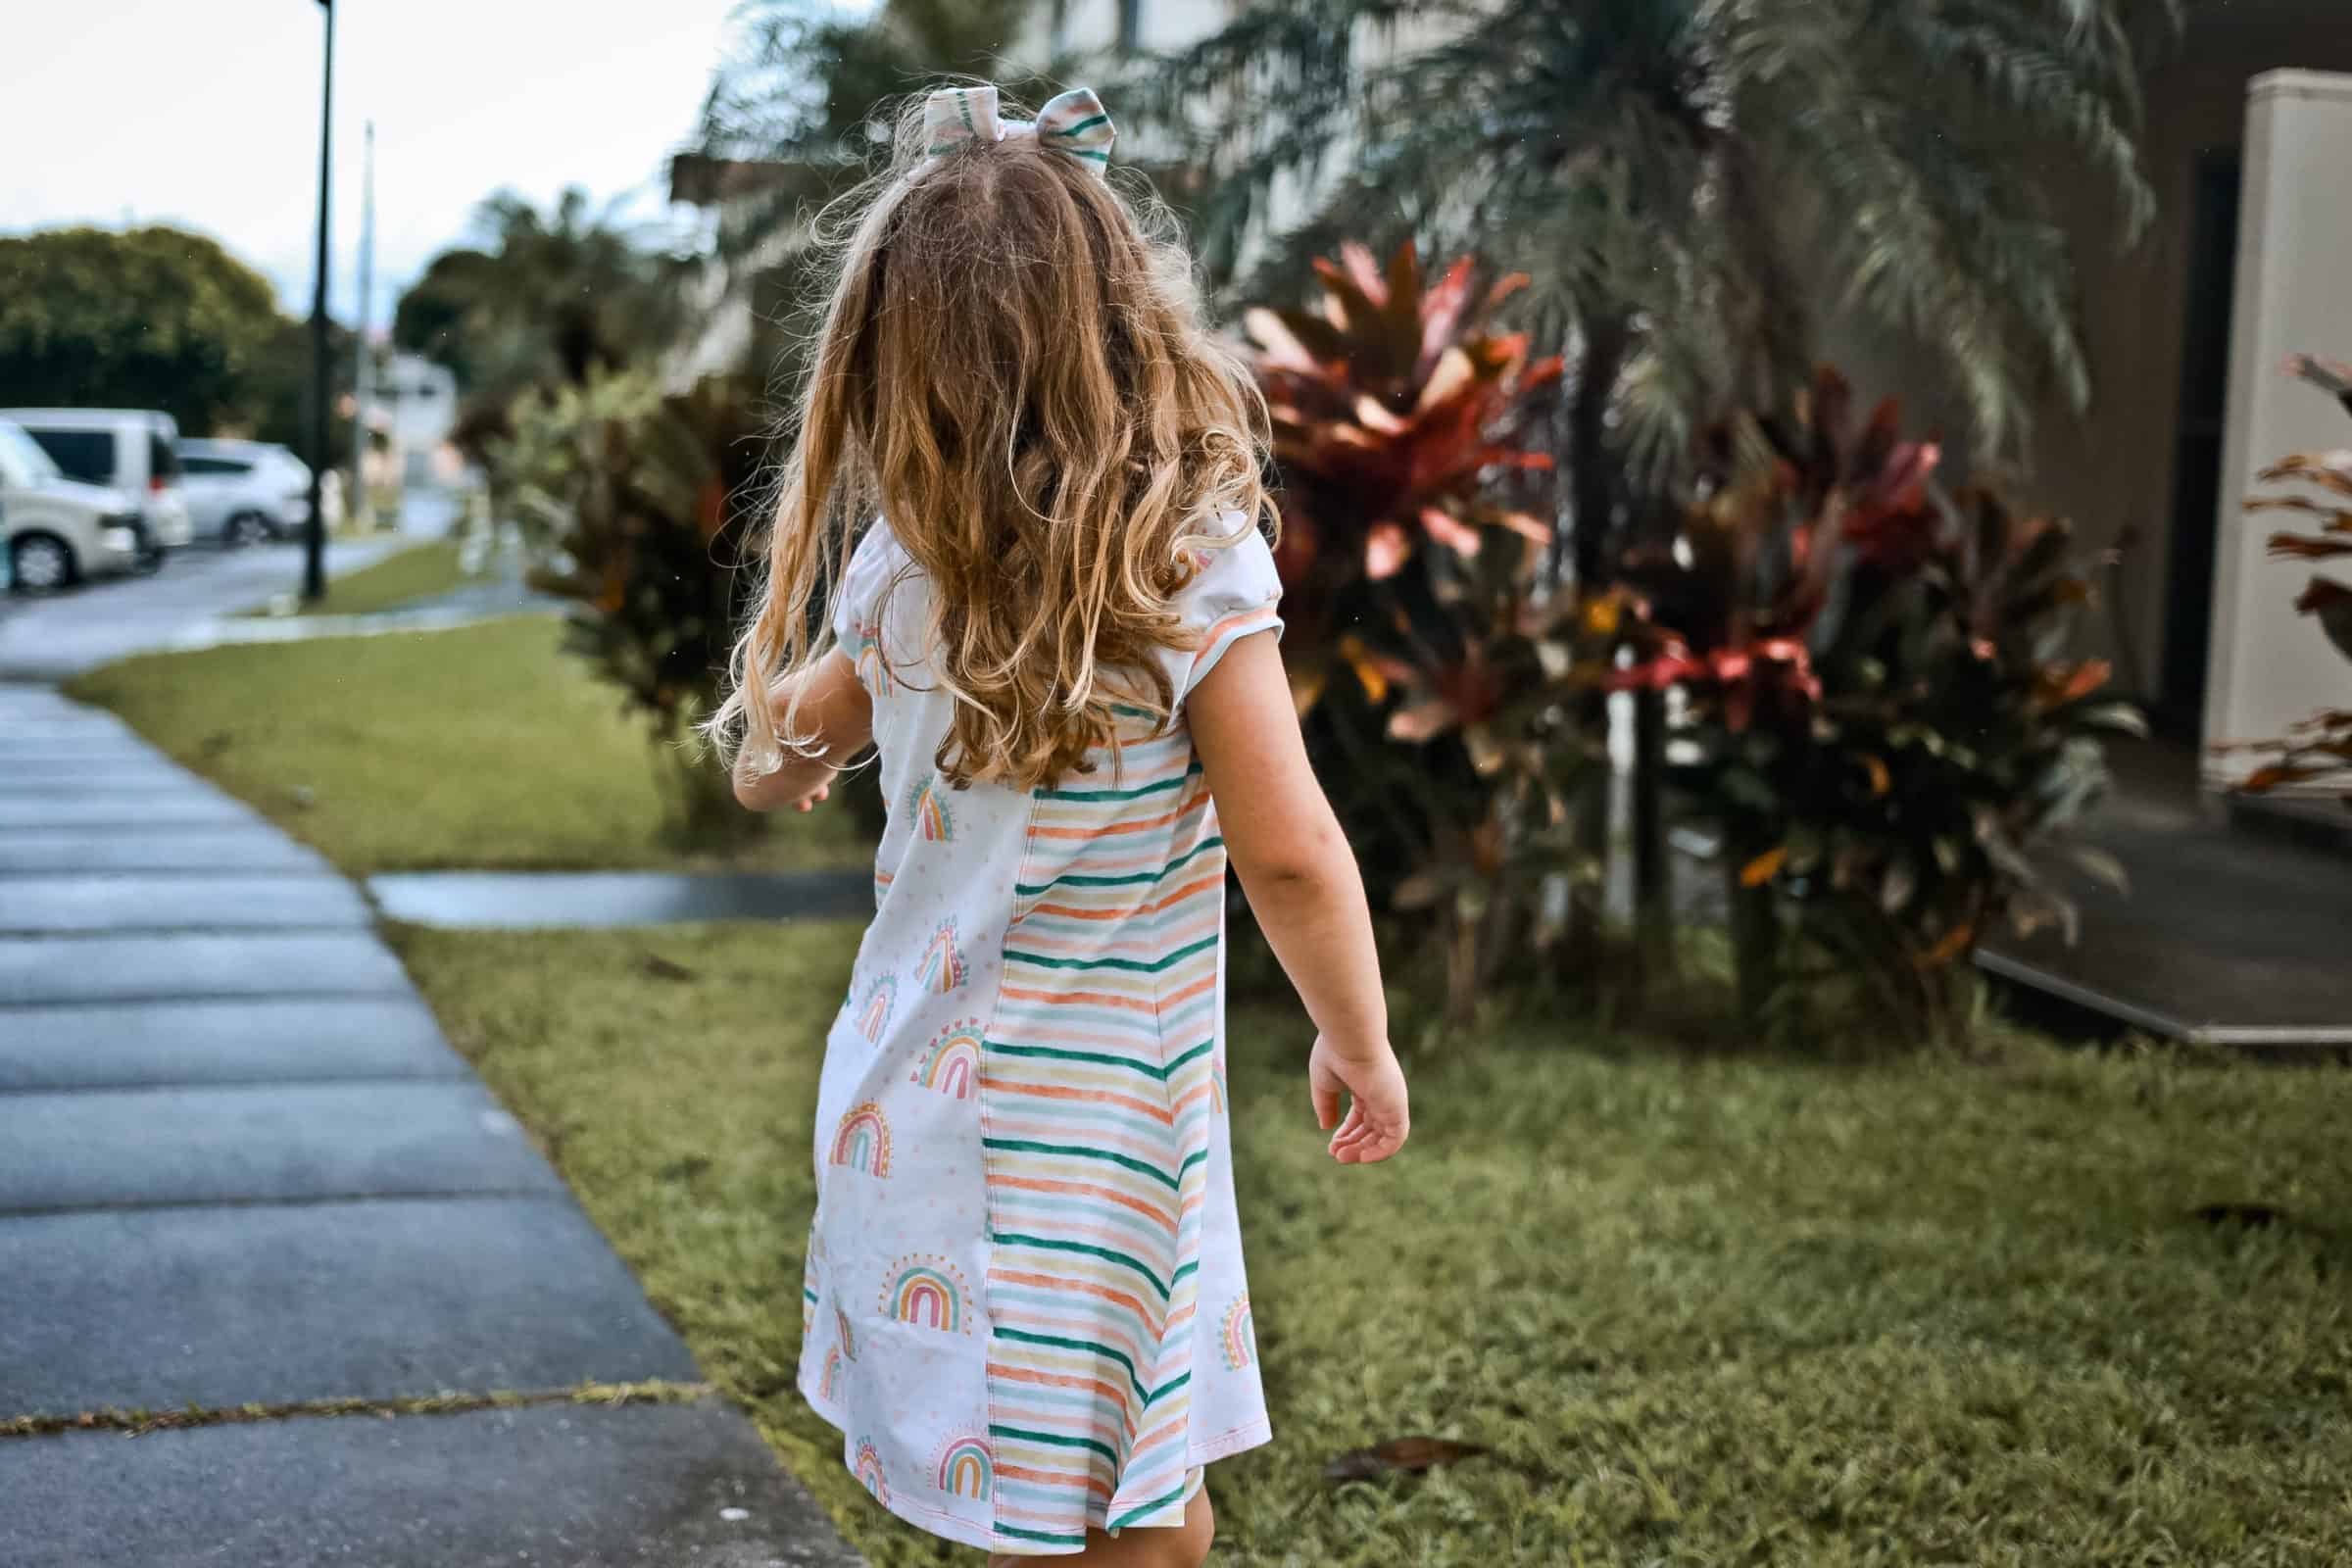
Today is Day 2 of our Penelope sew-a-long! We’re working on constructing our front and back bodices using the side panels and center panels, for both front and back.
It’s important to remember that clipping the seams together will require some manipulation/rotation due to the curve of the princess seams. The tutorial details the rotations and notches very specifically. Just keep in mind that you won’t be able to clip it without moving the fabric around some. I also highly recommend clipping the notches first, and then clipping along the remaining portions of the seam, to decrease the waviness/any puckering.
You will need to ease the pieces together due to the curves, but you will not really be doing any stretching. If you find yourself having to stretch your pieces to fit, I recommend going back to your paper pattern pieces to check the sizes you cut.
Don’t forget:
- Make sure you are taking an accurate and consistent seam allowance; you want to make sure the armscye is smooth!
- Be sure that all of side panels (both front and back) are attached in the correct order; I like to lay mine out before clipping or sewing, just to be sure! Nobody likes to spend their precious sewing time seam ripping instead 🙂
Want to sew along with me? Check out today’s video!
If you have questions about assembling your dress pieces/panels, you are always welcome to post in our SAL group so we can help you! Be sure to check in each day during the SAL, and look for daily posts to enter our giveaways. We can’t wait to see what you create this week!







Leave a Reply