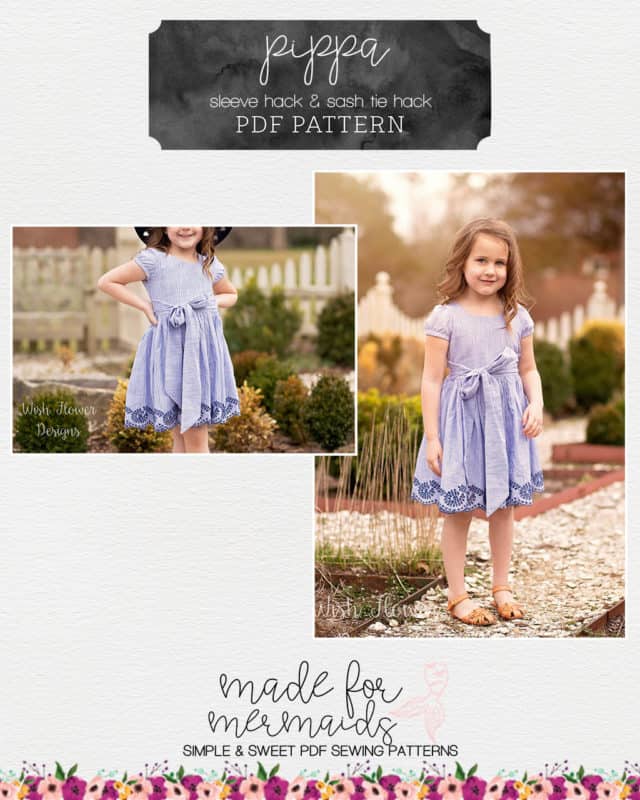
Pippa is one of the patterns in our newest collection, The Tea Party Collection! I just love the sweet and classic look of all the patterns in this collection, and I cannot get enough of all the sweet treats, our first felt food pattern!! Pippa is a classic style dress, with a bodice that hits at the natural waist. It’s finished off with a fun knotted open back style or button open back style and elastic at the waist, making it beginner friendly.
If you love Pippa as much as we do, check out these fun variations on Pippa!
SLEEVE HACK
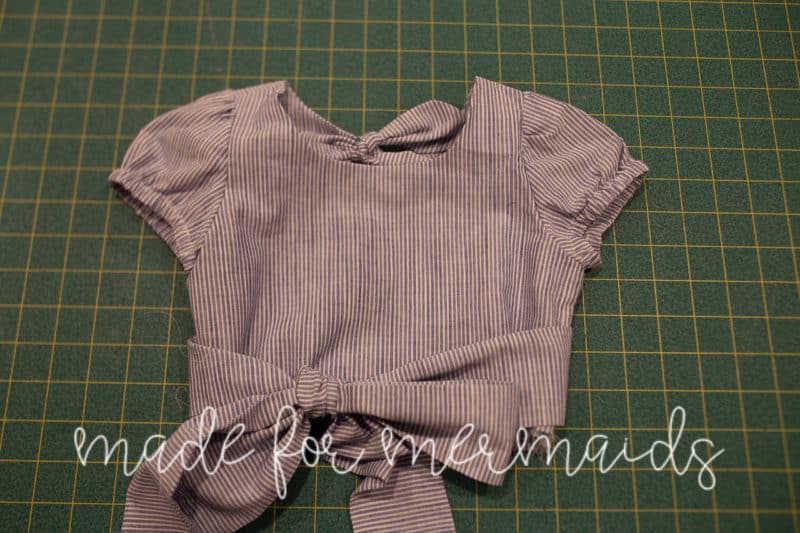
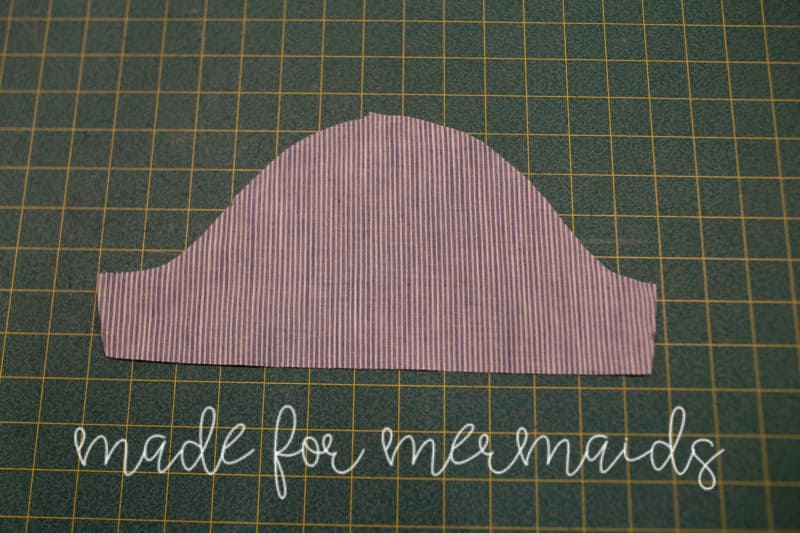
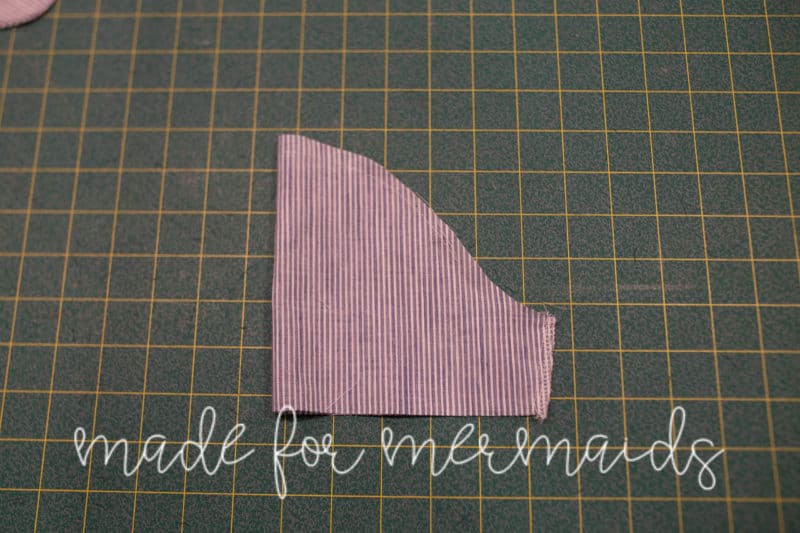
To start, you will need to own one of our other sleeved woven set-in sleeve patterns. This includes Holly, Harper, Lauren, or Sutton. I used the sleeve from the Harper pattern. Cut out 2 sleeve pieces from one of these patterns, mirror images. For the version I made, I wanted a little more poof so I split the sleeve down the middle and added 1″ total width. Then cut out the rest of the pattern pieces from the pippa pattern as per the tutorial.
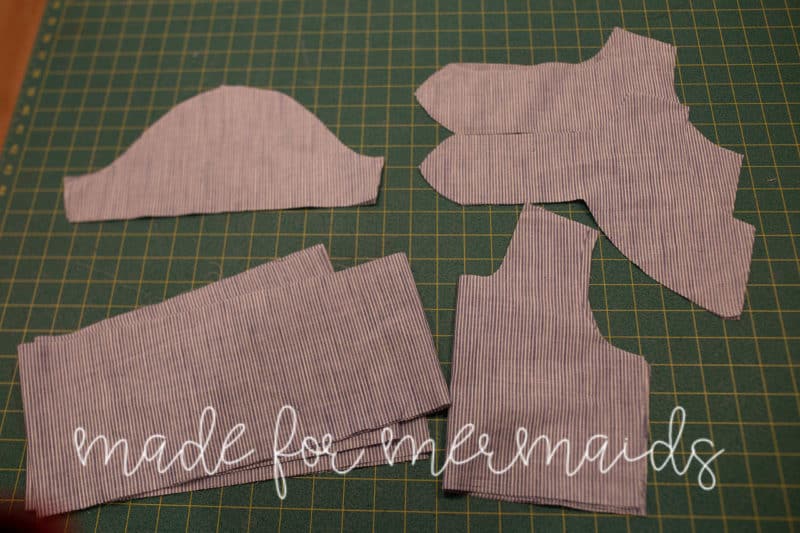
Construct the pippa pattern up until you sew the armscye together. Omit this step, leaving the armscye OPEN. Turn the bodice right side out and continue constructing the bodice as per the tutorial.
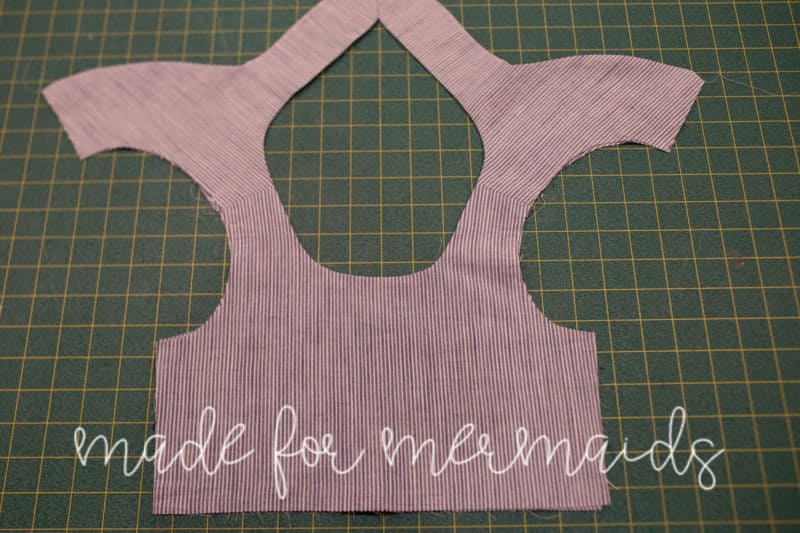
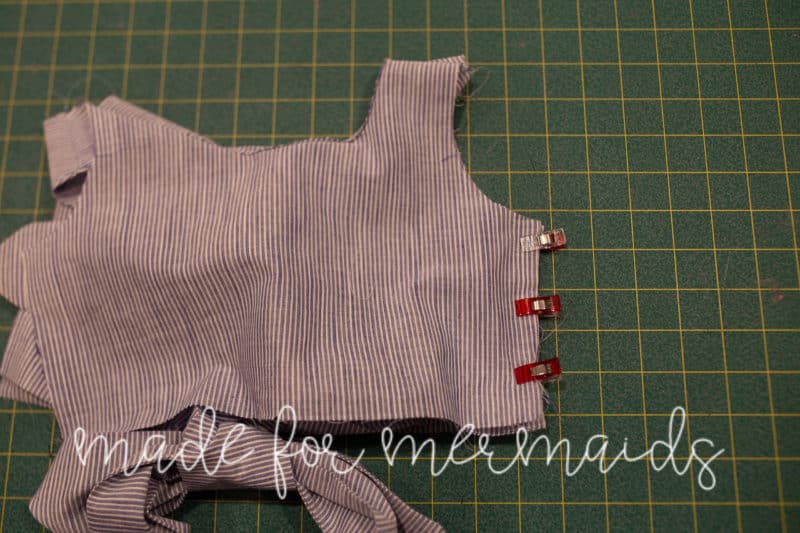
Once you are at the side seam construction, you will attach the side seam in the same manner as instructed in the tutorial, except you will not have the underarm seam. Simply sandwich the back bodice inside of the front bodice main and lining and attach.
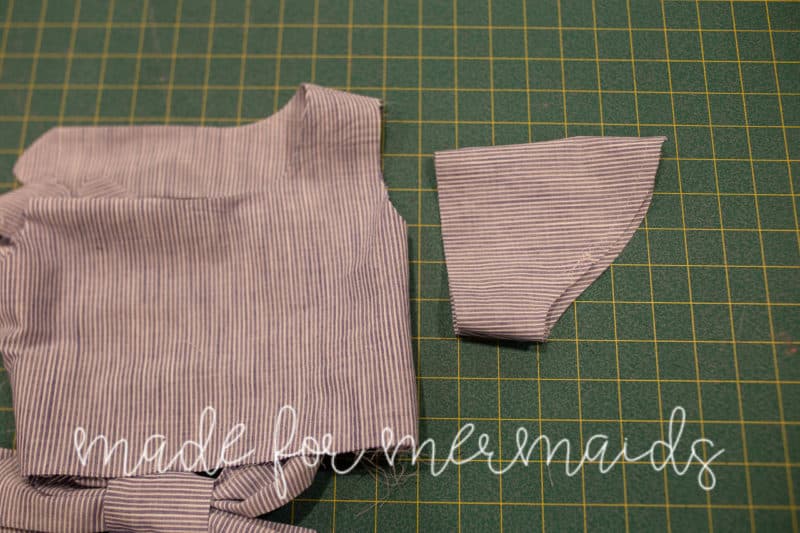
The bodice will now be complete, except for the raw armscye edges. Set the bodice aside.
Using the instructions for the sleeved pattern, gather the sleeve as instructed, and then sew the sleeves together along the side seam.
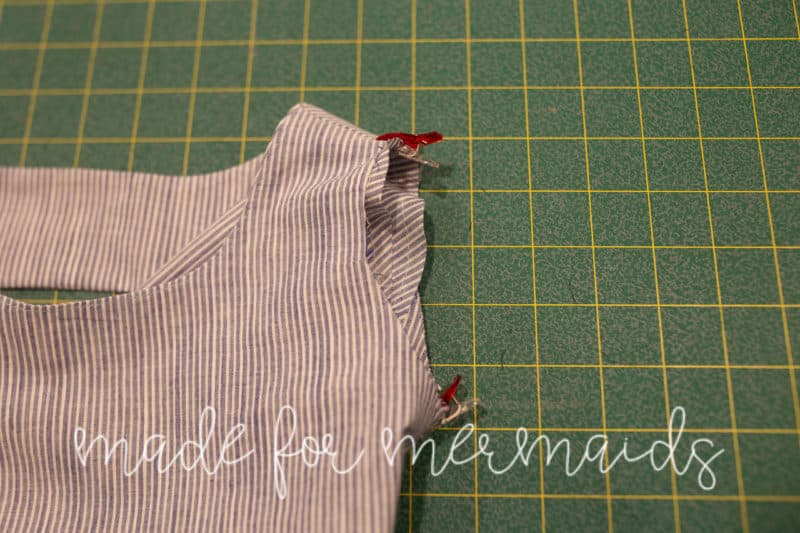
Flip the sleeve right side out. At this point, the bodice should still be wrong side out. Slip the sleeve inside of the bodice, matching the center notch of the sleeve to the shoulder seam of the bodice, with right sides together. Pin the seam of the sleeve to the underarm seam, and adjust the sleeve gathers to fit. Sew the sleeve to the bodice with a 1/2″ seam allowance. Finish seam and then repeat with the other sleeve.
Turn the bodice right side out and finish sleeve hem as instructed in the sleeved pattern tutorial.
SASH TIES HACK

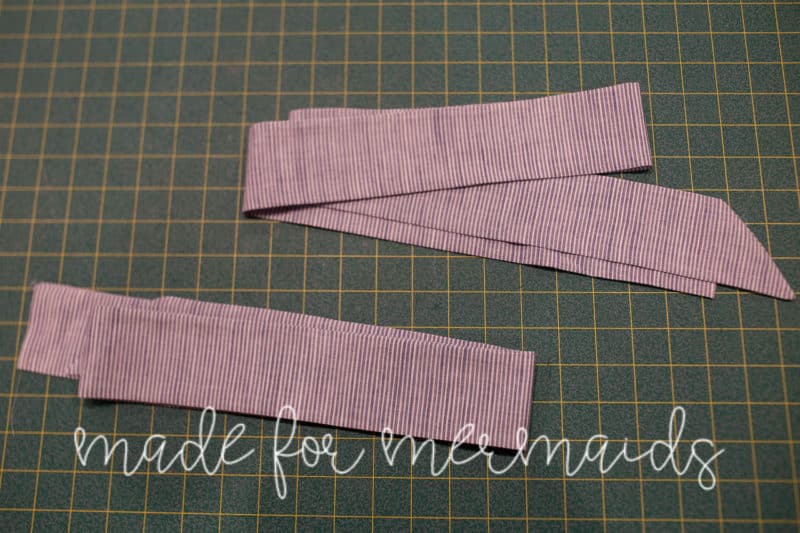
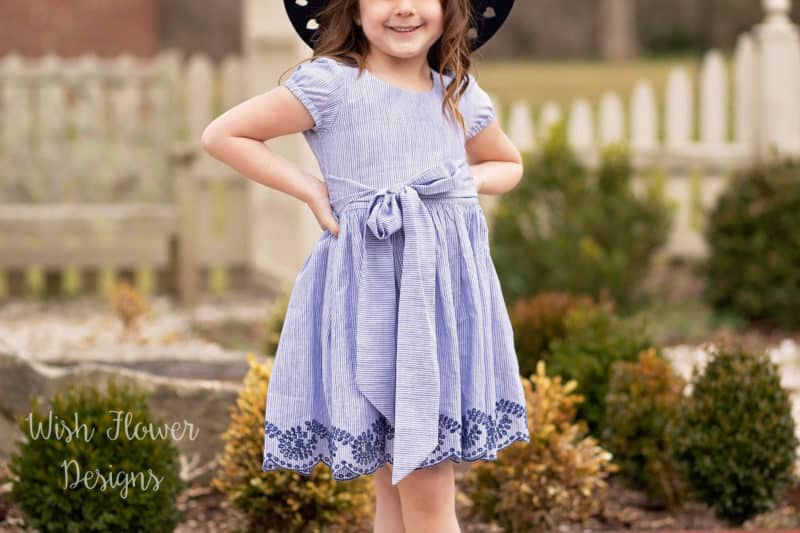
Another adorable and easy hack is the sash tie hack! Again, in addition to the pippa pattern, you will need one of our woven patterns that includes a sash tie, such as Harper, Ainsley, Lily, or Grace. Cut out 2 sash ties from one of these patterns. For the version I made, I used the Harper sash ties. Then cut out the rest of the pattern pieces from the pippa pattern as per the tutorial.
Construct the sash ties as per the tutorial in which your sash ties came from.
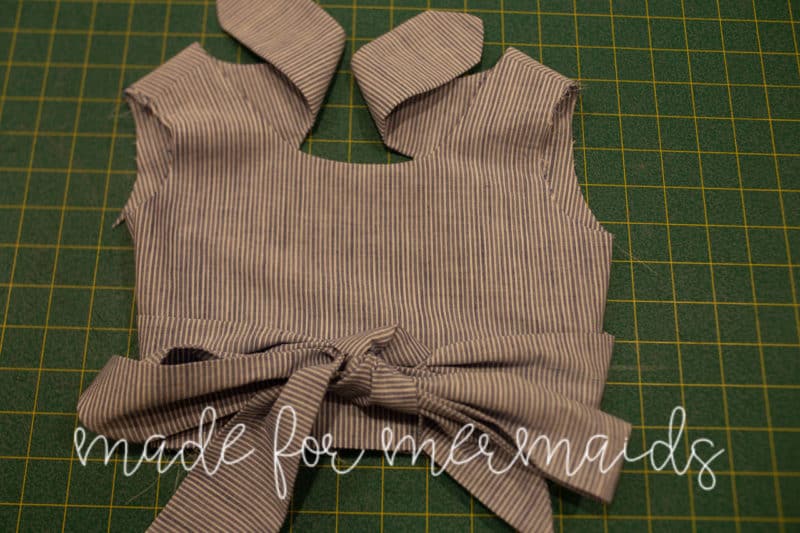
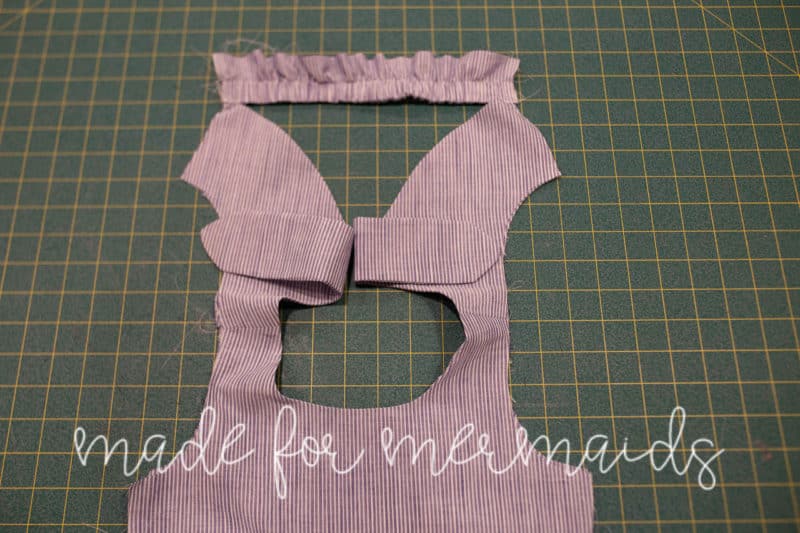
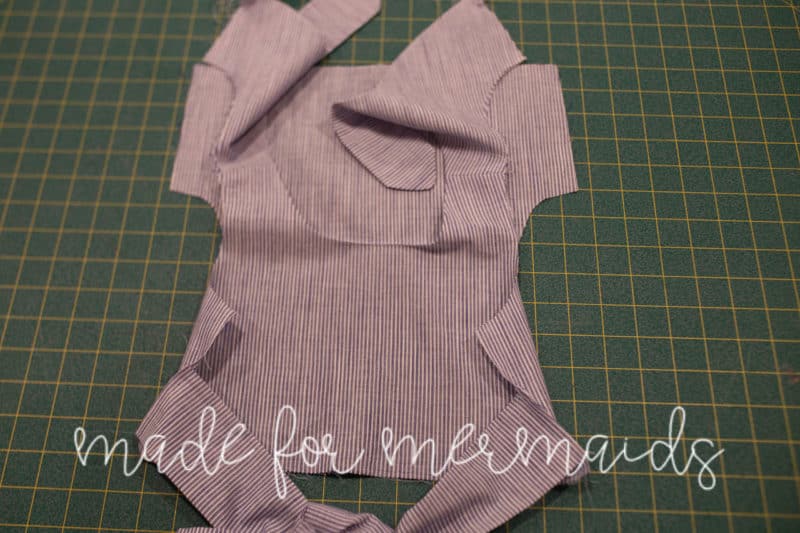
Construct the pippa bodice up until you attach the front and back side seams. Open up the front side seams so that the front main and front lining are apart. Place one of the raw edges of the sash along on of the side seams and pin in place. You want the sash to be place a little above 1/2″ from the bottom edge of the bodice to account for the seam allowance. If need be, pleat the sash to fit. Repeat with the other side seam/sash tie. Baste both sash ties to the front bodice at the side seams.
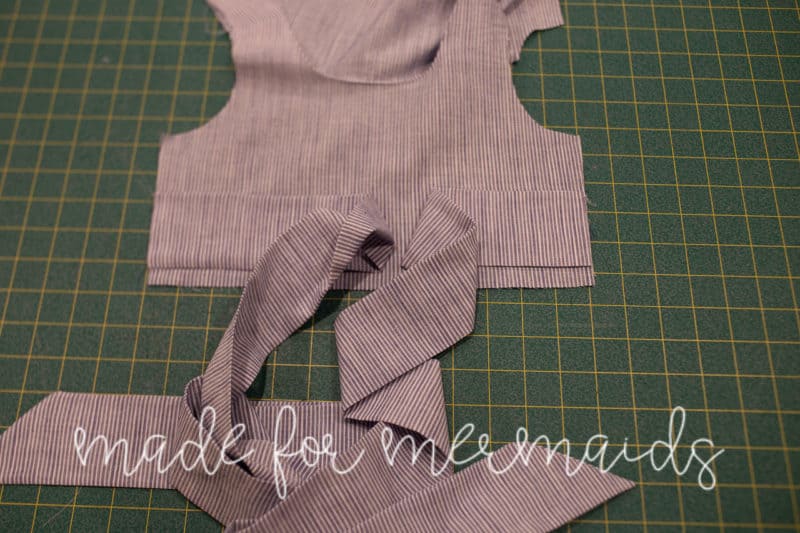
Continue constructing the pippa bodice as per the tutorial, making sure to keep the sash ties out of the way when stitching.

There you have it Mermaids! Two very easy hacks that will give your Pippa dresses a whole new look! Don’t forget to grab the whole Tea Party Collection while it’s on sale! We can’t wait to see what you create, so make sure to share with us in our Facebook group or on instagram! #pippapattern #teapartycollection
TEA PARTY COLLECTION
PIPPA
BABY PIPPA
ELIZABETH
LILY
KATE
SWEET TREATS



Leave a Reply