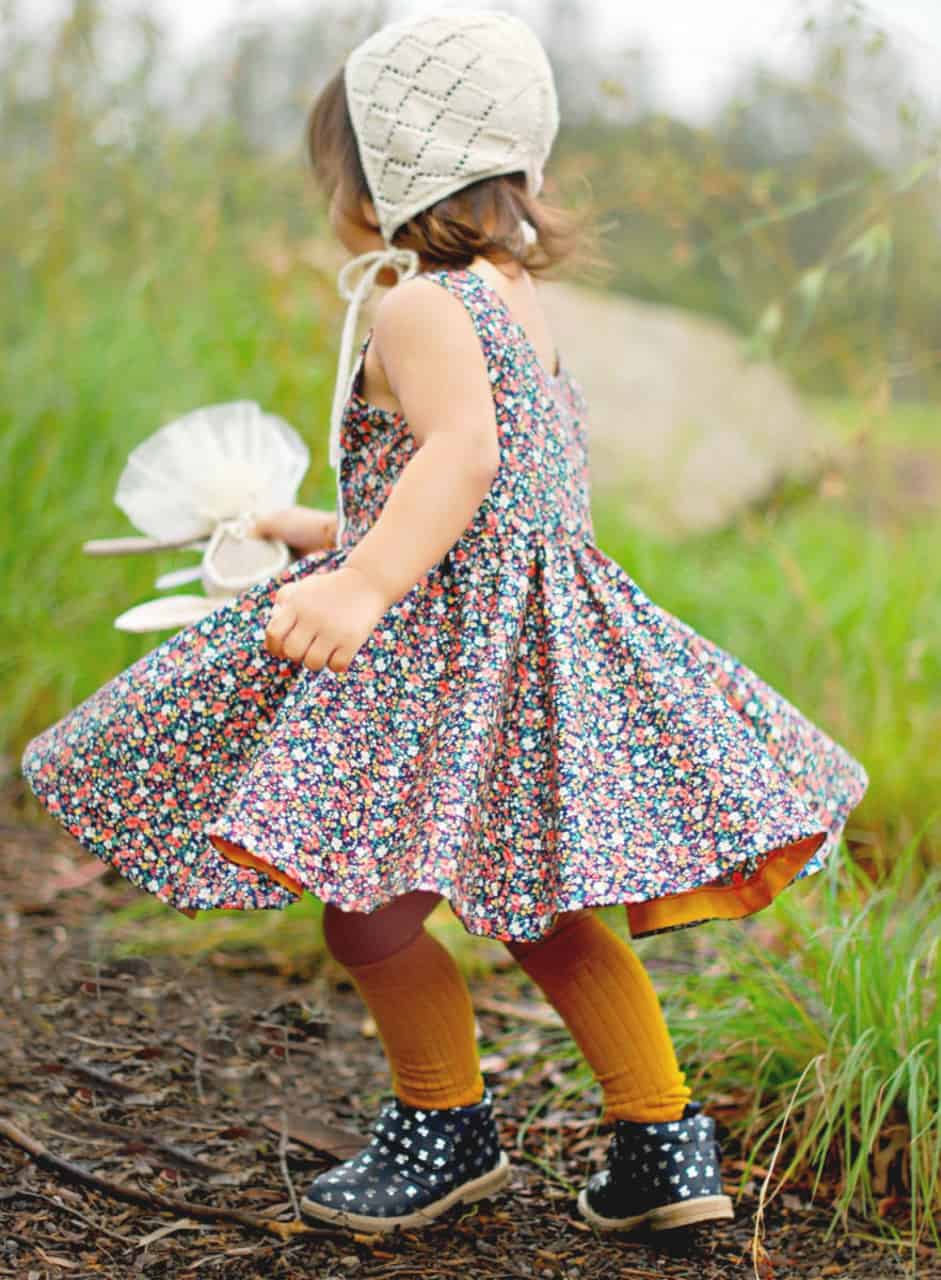
I absolutely love adding a pop of contrasting colour for a circle hemline using bias binding like I did with this Sutton dress pictured above. It has so many great uses for clothing. But what exactly is it? And how do you make your own?
What is Binding?
Binding is a long strip of fabric used to cover raw fabric edges neatly. It can finish raw edges in clothing such as necklines and hems. It may be used for woven fabrics such as cottons, rayons etc… and its uses depend on how it is cut.
Straight Grain Binding
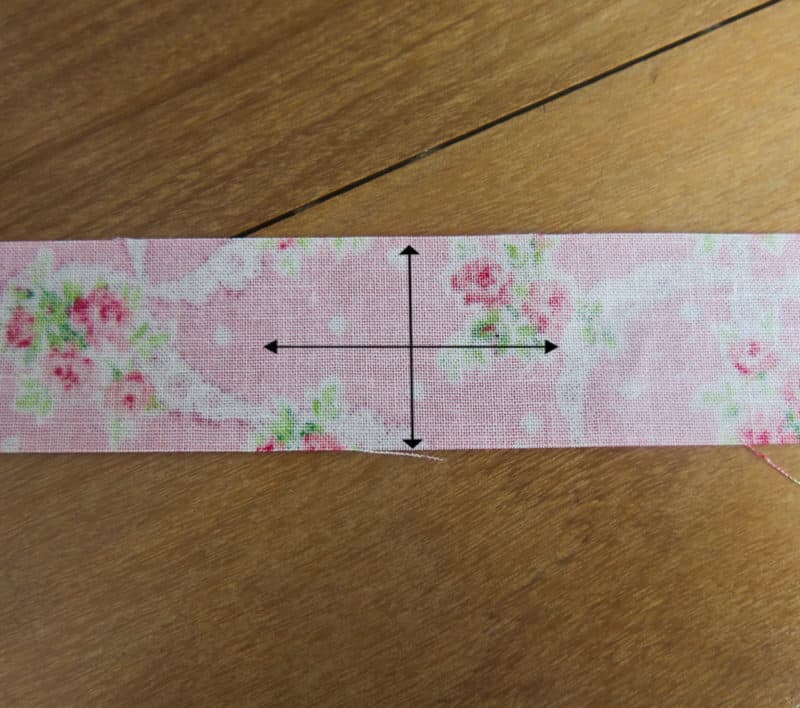
Straight grain binding refers to strips of fabric that are cut along the cross-wise grain of the fabric (from selvage to selvage) or the lengthwise grain (from raw edge to to raw edge). This binding is not very flexible so it is best used for binding straight edges.
You can check if the binding is straight grain by looking at the fabric weave. The fibres will run from side to side and parallel to the straight edge. When you gently pull the binding it does not stretch out.
Bias Grain Binding
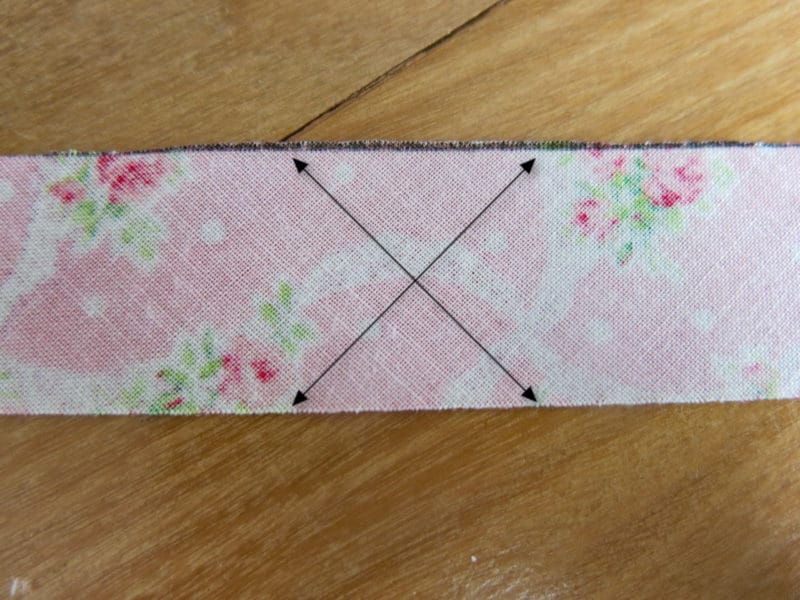
When the binding is cut along the bias grain of the fabric (which is 45 degrees to the crosswise or lengthwise grain) it is referred to as bias binding. Woven fabric has the most stretch in this direction, so using bias binding it allows the binding to stretch a little and lay flat on curved edges.
You can check if the binding is bias cut by looking to see if the weave of the fabric runs diagonal to the edges of the strip. When you gently pull the binding you will find it stretches a little.
For the remainder of this blog post I will be referring to bias binding.
Single-Fold Bias Binding
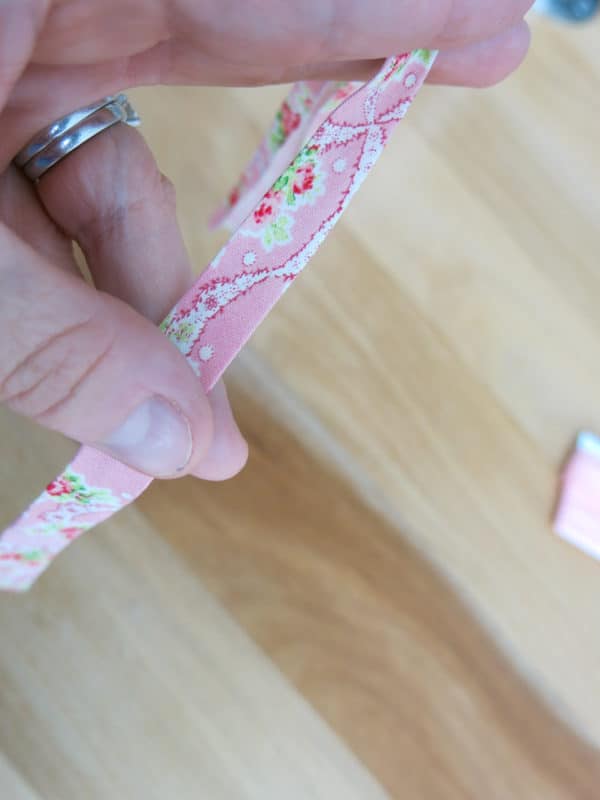
Single-fold bias binding is cut on the bias with both edges folded in. It is most commonly used for trimming a raw edge, facing or a hem when sewing clothing.
Double-Fold Bias Binding
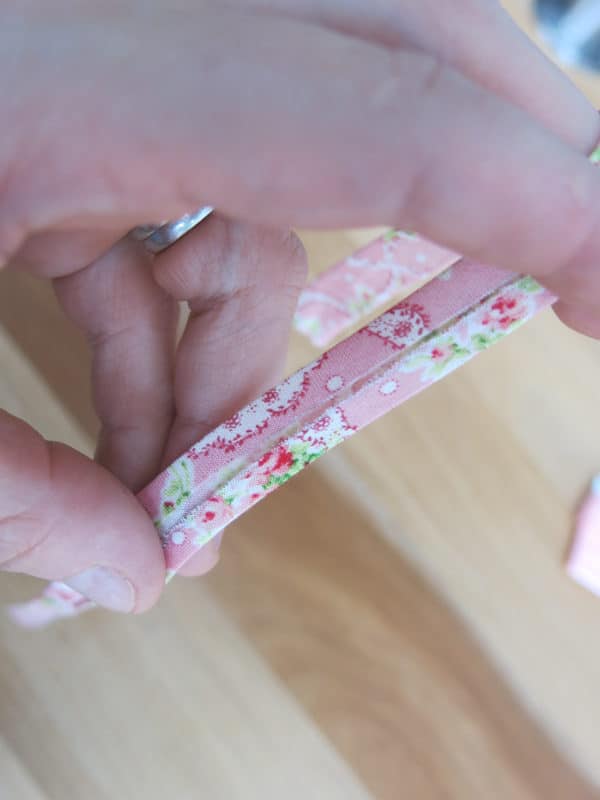
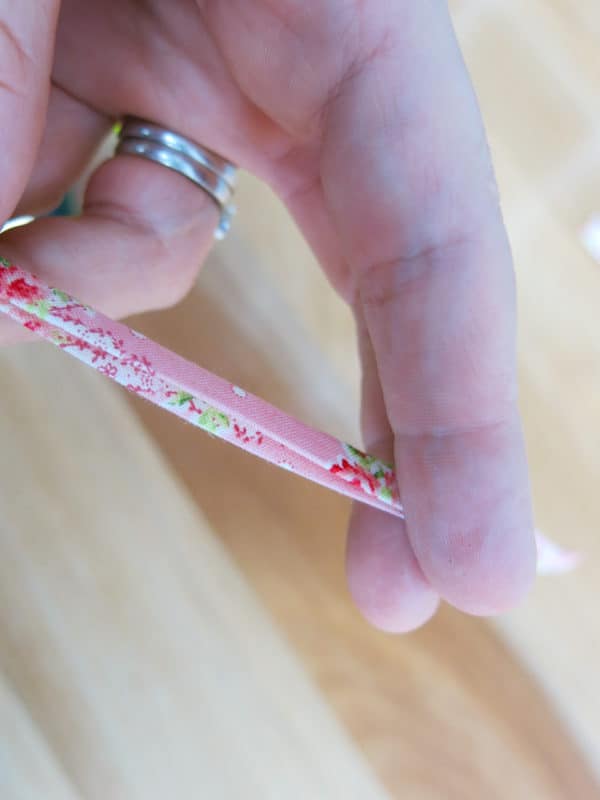
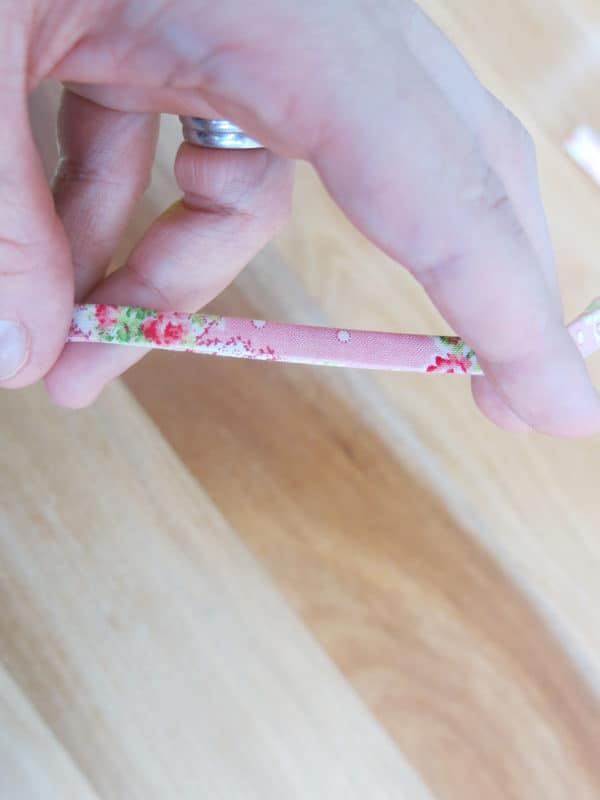
Double-fold bias binding is the most common type. Both raw edges of the fabric strip are folded in towards the centre of the fabric strip and then the fabric strip is folded along the centre strip. It is most commonly used to finish raw edges on clothes, accessories or toys.
Pre-Made vs. Home-Made Bias Binding
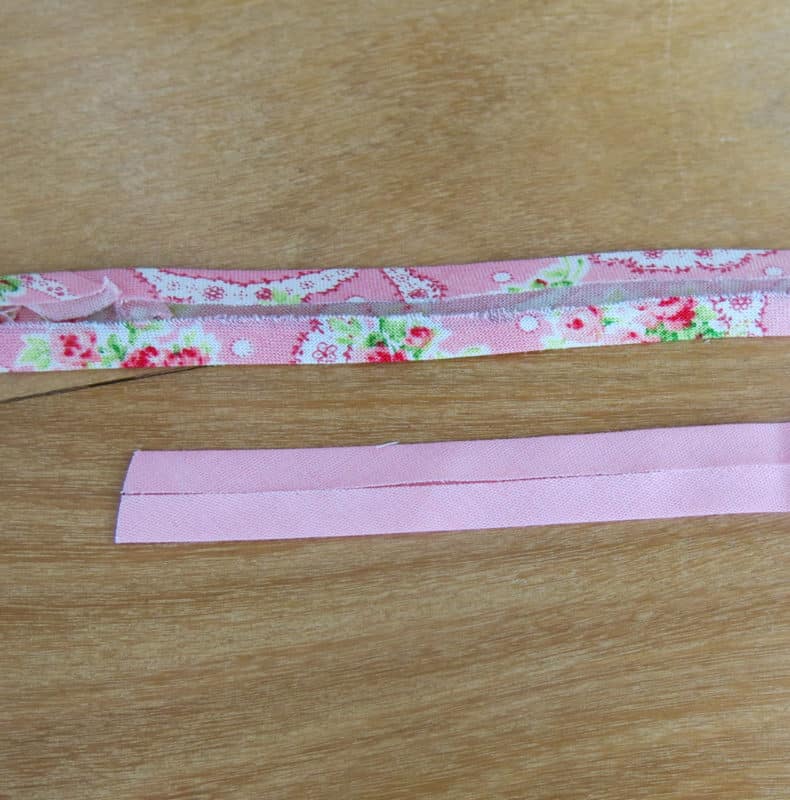
There are plenty of pre-made options in your sewing store but making your own isn’t hard at all and you can make them in whatever color and fabric you like.
How to Make Continuous Bias Binding
I like to start with a 10″x 10″ square of fabric but if you have a smaller amount of fabric it is a great scrap buster too. The only thing you need to remember is to cut out a perfect square.
Notions needed:
10″ x 10″ square of woven fabric
Fabric ruler
Fabric pen or chalk
Scissors
Thread
Iron
Optional: 1/2″ bias tape maker, like this one.
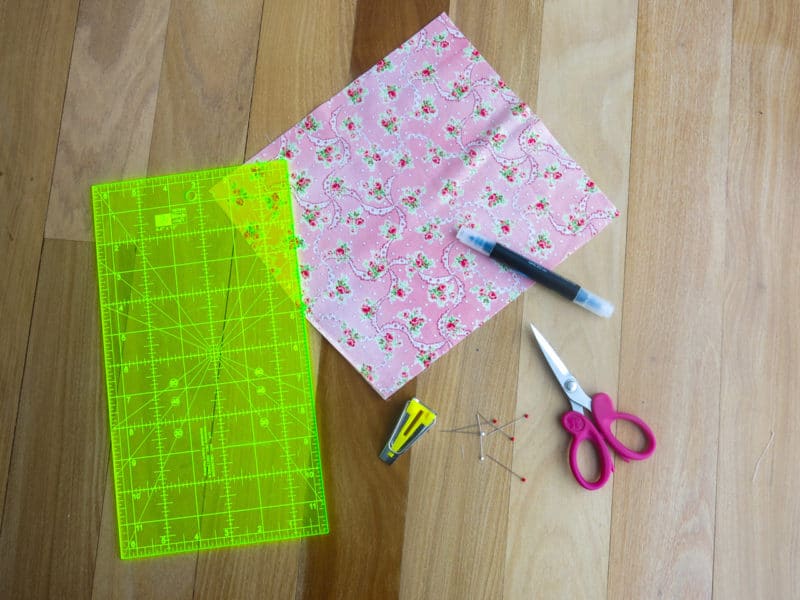
Step 1: Cut a square piece of fabric measuring 10″ x 10″, then cut it in half diagonally, along the bias (TIP: angle your ruler 45 degrees to the straight edge)
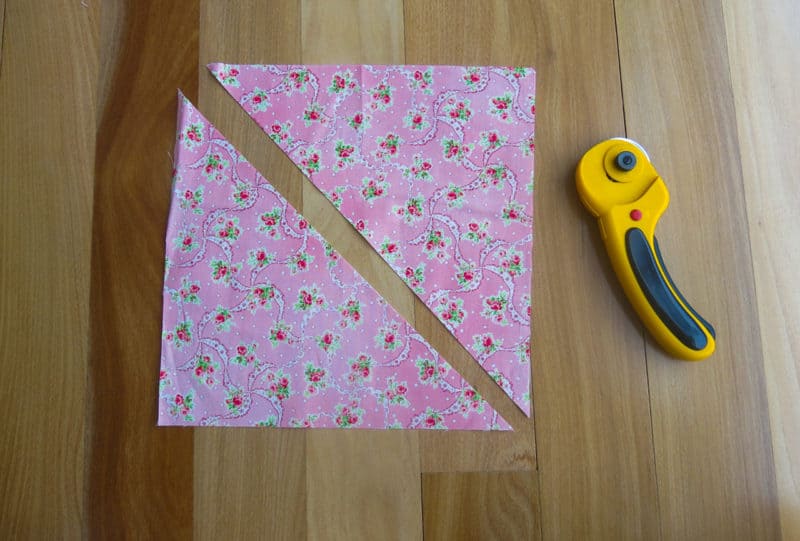
Step 2: With right sides together, pin the straight edge together as shown in the photo. Edgestitch the two pieces together with a ¼” seam allowance.
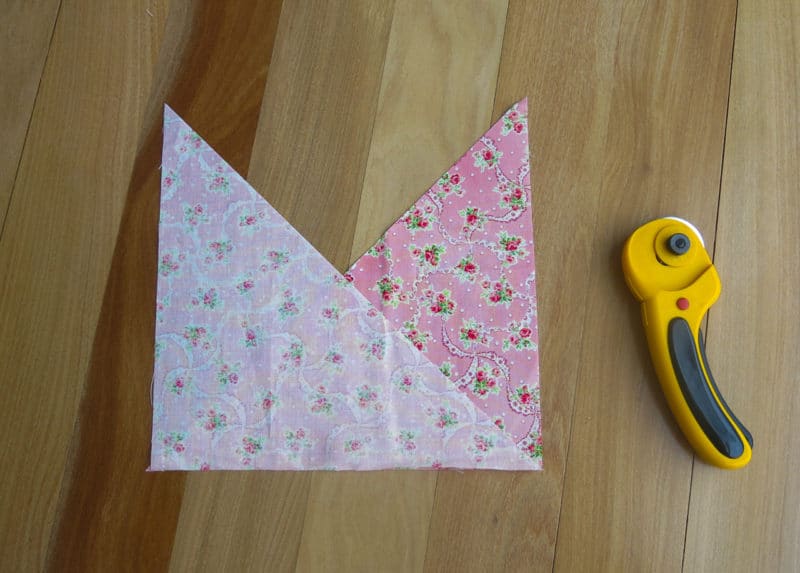
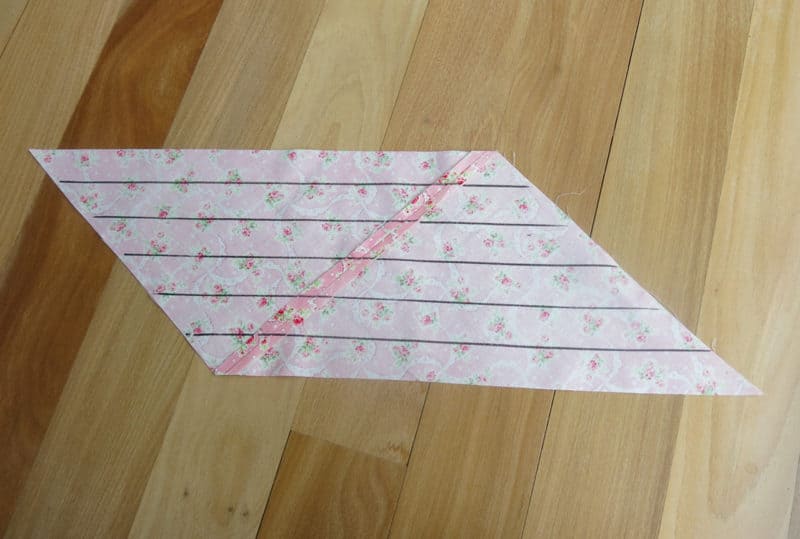
Step 3: Open up the sewn edge of the fabric pieces and iron the seam. The fabric should be the shape of a parallelogram now.
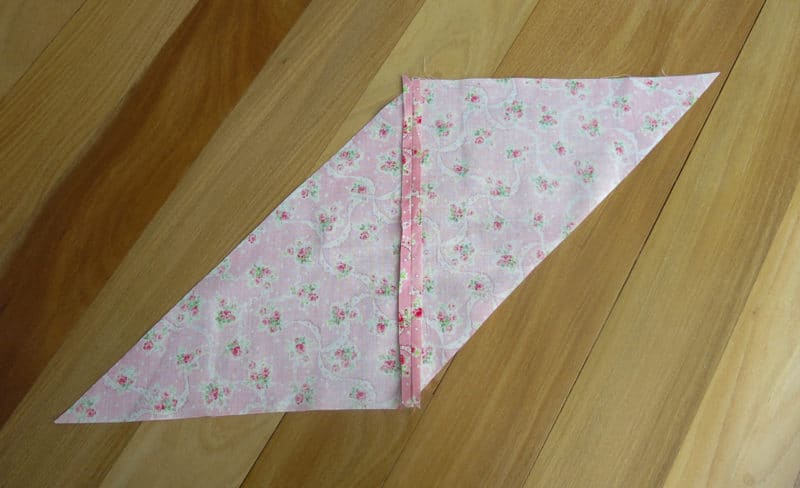
Step 4: Now you need to draw 1” wide parallel lines with a washable fabric pen, starting at the edge of the fabric (Please note I used a permanent marker to make it easier for you to see). Don’t cut yet! (TIP: Make sure to draw them on the wrong side of the fabric). Note- Marking 1″ will result in 1/2″ single bias tape OR 1/4″ double fold bias binding. Simply adjust the width of your lines to make larger or smaller bias tape. Example- Marking 1.5″ lines will result in 3/4″ single fold bias and 3/8″ double fold bias.
Step 5: Fold the narrow tips of your parallelogram lengthwise to make a small square with the right sides together. Then you need to offset your drawn lines by one row of lines (as pictured) and pin in place.
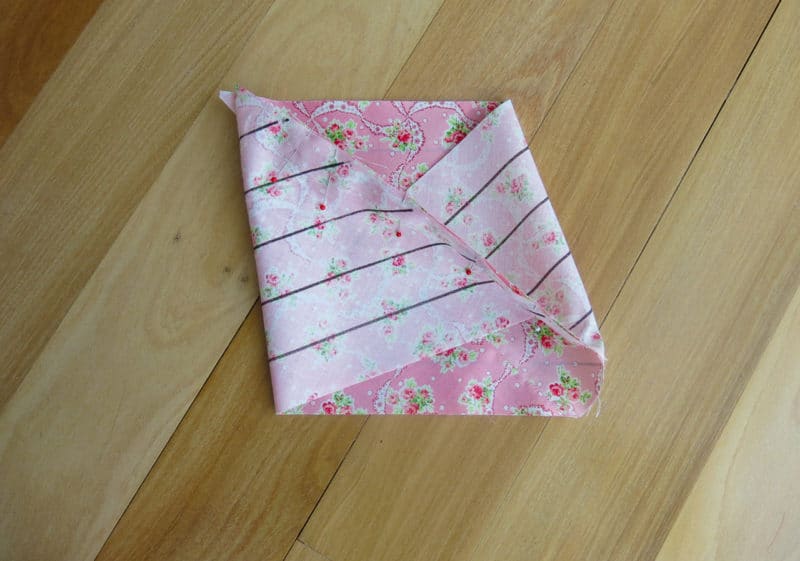
Step 7: When you pin it in place, you need to make sure all the lines match up. Then sew these pieces together with a ¼″ seam allowance. The fabric should now look tube-like with 1” of extra fabric at each end. Press this seam open.
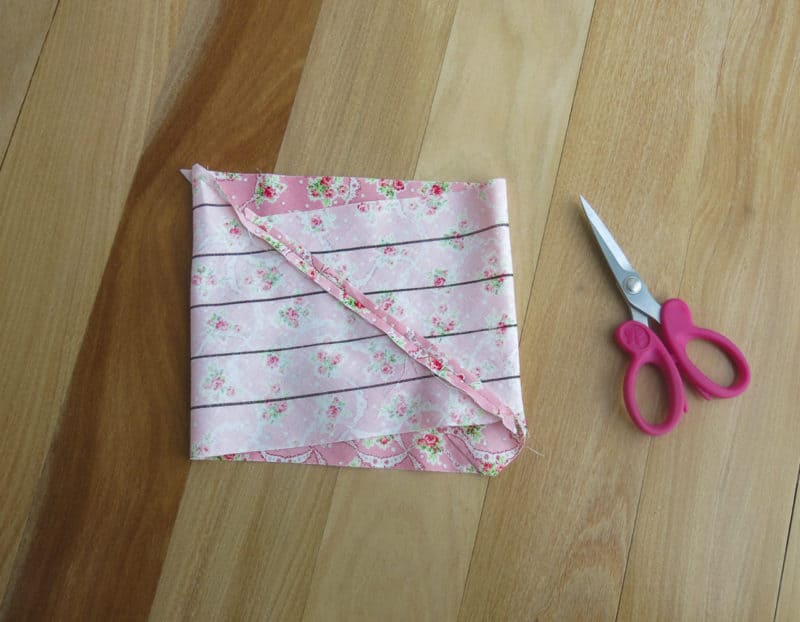
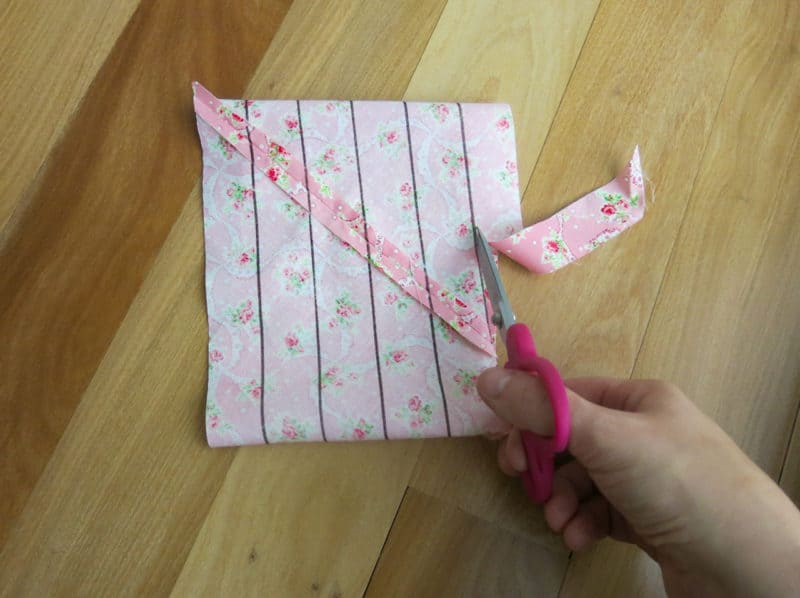
Step 8: Grab your scissors and starting cutting the first offset row of drawn lines. Continue cutting until you reach the end. You should now have a strip of bias-cut fabric approximately 100” long! Tip: Make sure you are only cutting through one layer of fabric for this step!
Step 9: The final step is to iron the folds into your bias tape. You can do this carefully by hand, but it is super easy to pull the long bias strip you made through a bias tape maker using your iron to press the folds.
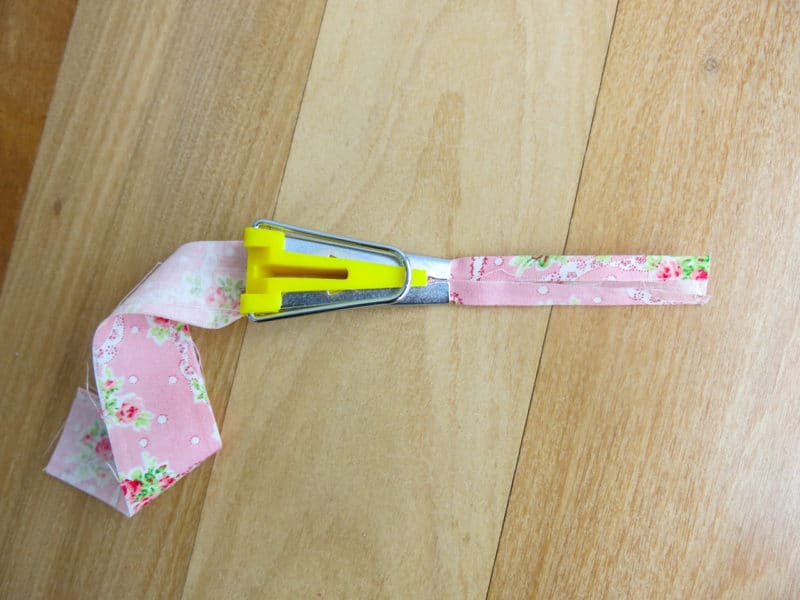
Now you can add all the pretty bias tape to your Made for Mermaids creations.
Happy sewing
Xx Katy
Leave a Reply