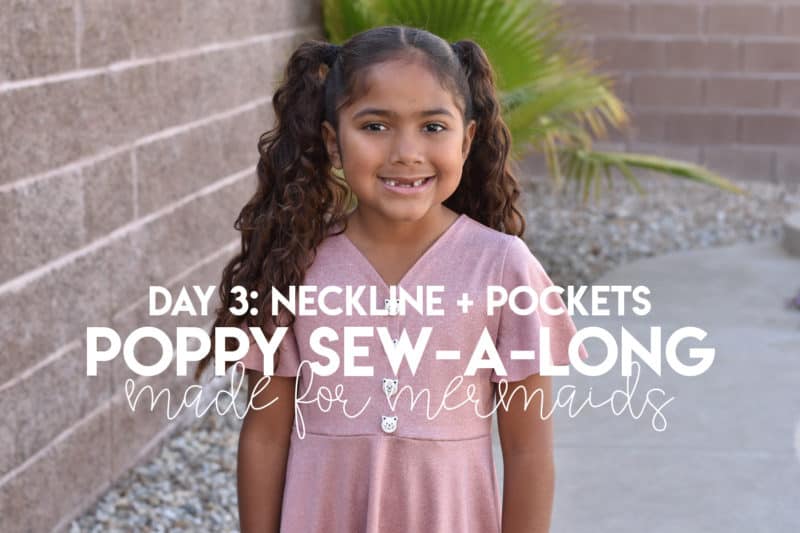
Day 3:
If you’re not sewing pockets, your steps today are quick and easy! If you are adding inseam pockets, you’ll have just a few more steps.
For a functional placket, you will want to use interfacing in the placket! Check out our Poppy hacks here for more information on a functional placket. Fold the neckline 1/2″ toward the wrong side, and then stitch in place. I used a overstitch for my neckline, but you can certainly use a stretch stitch on a sewing machine as well.
Be sure to transfer the front bodice marking point on to your bodice piece if you haven’t already; this is used as the guide for the top button placement.
Next, we’ll need to baste our bodice pieces closed. Overlap the front bodice pieces by 1/2″. Traditionally, the wearer’s right side would overlap the wearer’s left side, but truthfully it doesn’t matter.
If you’re sewing up the pockets, we have a bit more sewing to do today! Attach your pocket pieces with right sides together, lining up the skirt side seam with the straight edge of the pocket. I placed mine 2″ down from the waist/top of the skirt. USE YOUR SEWING MACHINE FOR THIS STEP. 🙂 I know, it is SO tempting to just serge a quick straight line. Understitch by edgestitching the straight edge of the pocket to the skirt/pocket seam allowance.
Repeat those steps for the other side of the front skirt, and then again (x 2!) for the back skirt, In total, you will attach four pocket pieces. Do a quick check to make sure you have two sets of mirror images, and that all of your pocket pieces are facing the correct way.
Don’t forget:
- Make sure you are taking an accurate and consistent seam allowance; seam allowance is already included on all pattern pieces, and is 1/2″ unless otherwise indicated in the tutorial.
Want to sew along with me? Check out today’s video!
If you have questions about sewing up your neckline or attaching your pocket pieces, you are always welcome to post in our SAL group so we can help you! Be sure to check in each day during the SAL, and look for daily posts to enter our giveaways. We can’t wait to see what you create this week!

DAY 1: CUTTING + PREP
DAY 2: SHOULDER SEAMS + SLEEVES/BANDS + SIDE SEAMS
DAY 3: NECKLINE + POCKETS
DAY 4: SKIRT + TIERED RUFFLE
DAY 5: ADDING BUTTONS
DAY 6: HEMMING
OUR SPONSORS:
Be sure to visit our friends at Sincerely Rylee Fabrics – let me know which fabric is your fave!!


Leave a Reply