Day 5:
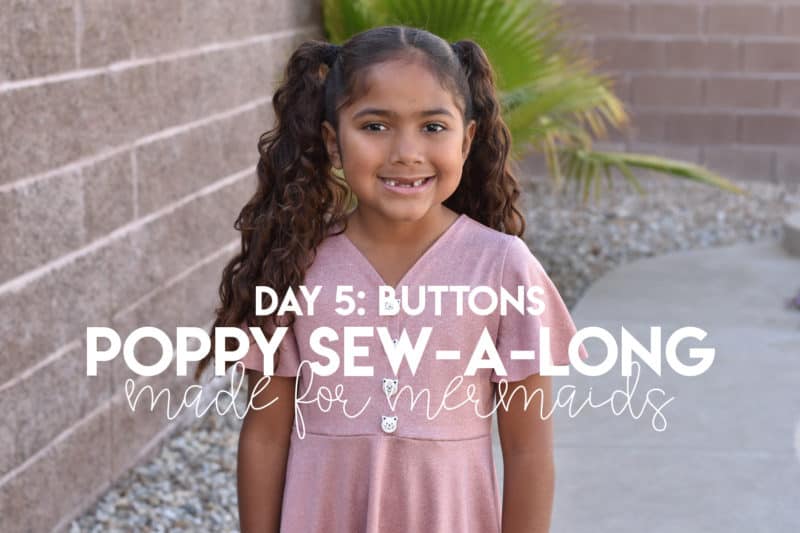
We’re almost finished with our Poppys! Today, we are spacing and attaching our buttons. If you have an expandable sewing gauge, this is a perfect opportunity to use it! If not, no worries at all; you can use any hard measuring tool to space your buttons. If you’re using a flat button, you can also place a piece of tape to hold the buttons in place to ensure they don’t shift. Since I’m using decorative buttons, I opted not to tape them down, but instead just marked the placement with pins.
Working on functional buttonholes and need some help? We have lots of helpful tips in our Buttons & Buttonholes 101 post. Want to learn more about an expandable sewing gauge? Check out our Sewing Tools 101 post. Have a big stash of random buttons that you’d like to use up instead of buying new buttons? I used random buttons for the Reese SAL we did last July, and I actually loved the results for my daughter! You can check out more button/buttonhole tips and a photo of my random Reese buttons over here if you’d like. 🙂
Don’t forget:
- Make sure to space your buttons out evenly, whether you’re using a hem gauge, a ruler, or an expandable sewing gauge!
Want to sew along with me? Check out today’s video!
If you have questions about attaching your buttons, you are always welcome to post in our SAL group so we can help you! Be sure to check in each day during the SAL, and look for daily posts to enter our giveaways. We can’t wait to see what you create this week!

DAY 1: CUTTING + PREP
DAY 2: SHOULDER SEAMS + SLEEVES/BANDS + SIDE SEAMS
DAY 3: NECKLINE + POCKETS
DAY 4: SKIRT + TIERED RUFFLE
DAY 5: ADDING BUTTONS
DAY 6: HEMMING
OUR SPONSORS:
Be sure to visit our friends at Sincerely Rylee Fabrics – let me know which fabric is your fave!!



Leave a Reply