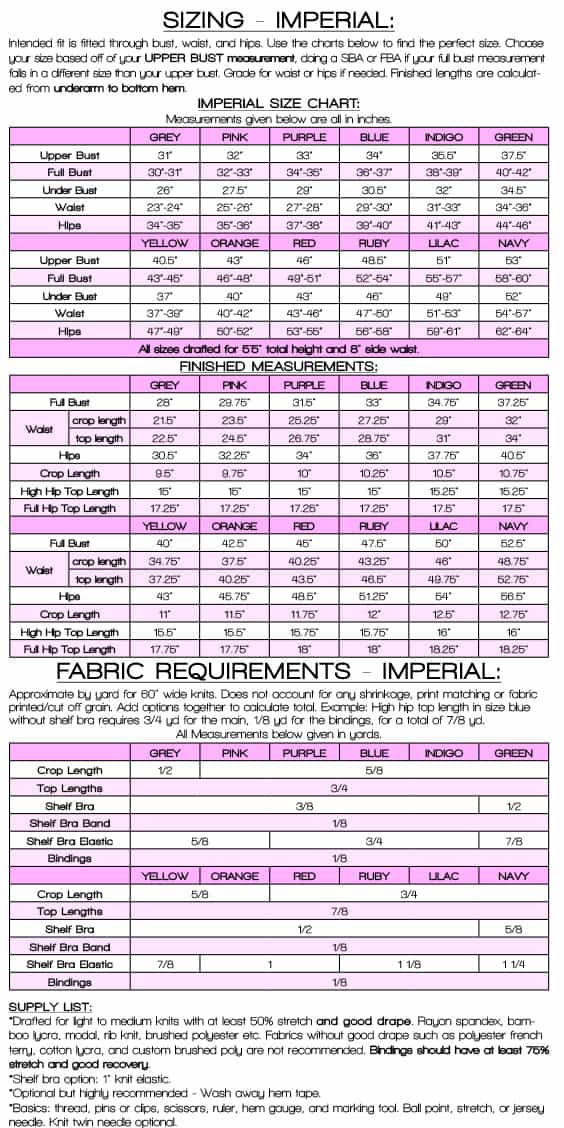
The Remi patterns are releasing just in time to pair up with Saraya, or you can sew Remi up on its own! The Remi tank pattern is drafted for light to medium weight knits with at least 50% stretch and good drape. Look for fabrics such as rayon spandex, bamboo lycra, modal, rib knit, brushed poly, etc. If you’re making the shelf bra option, you will also need 1″ knit elastic.
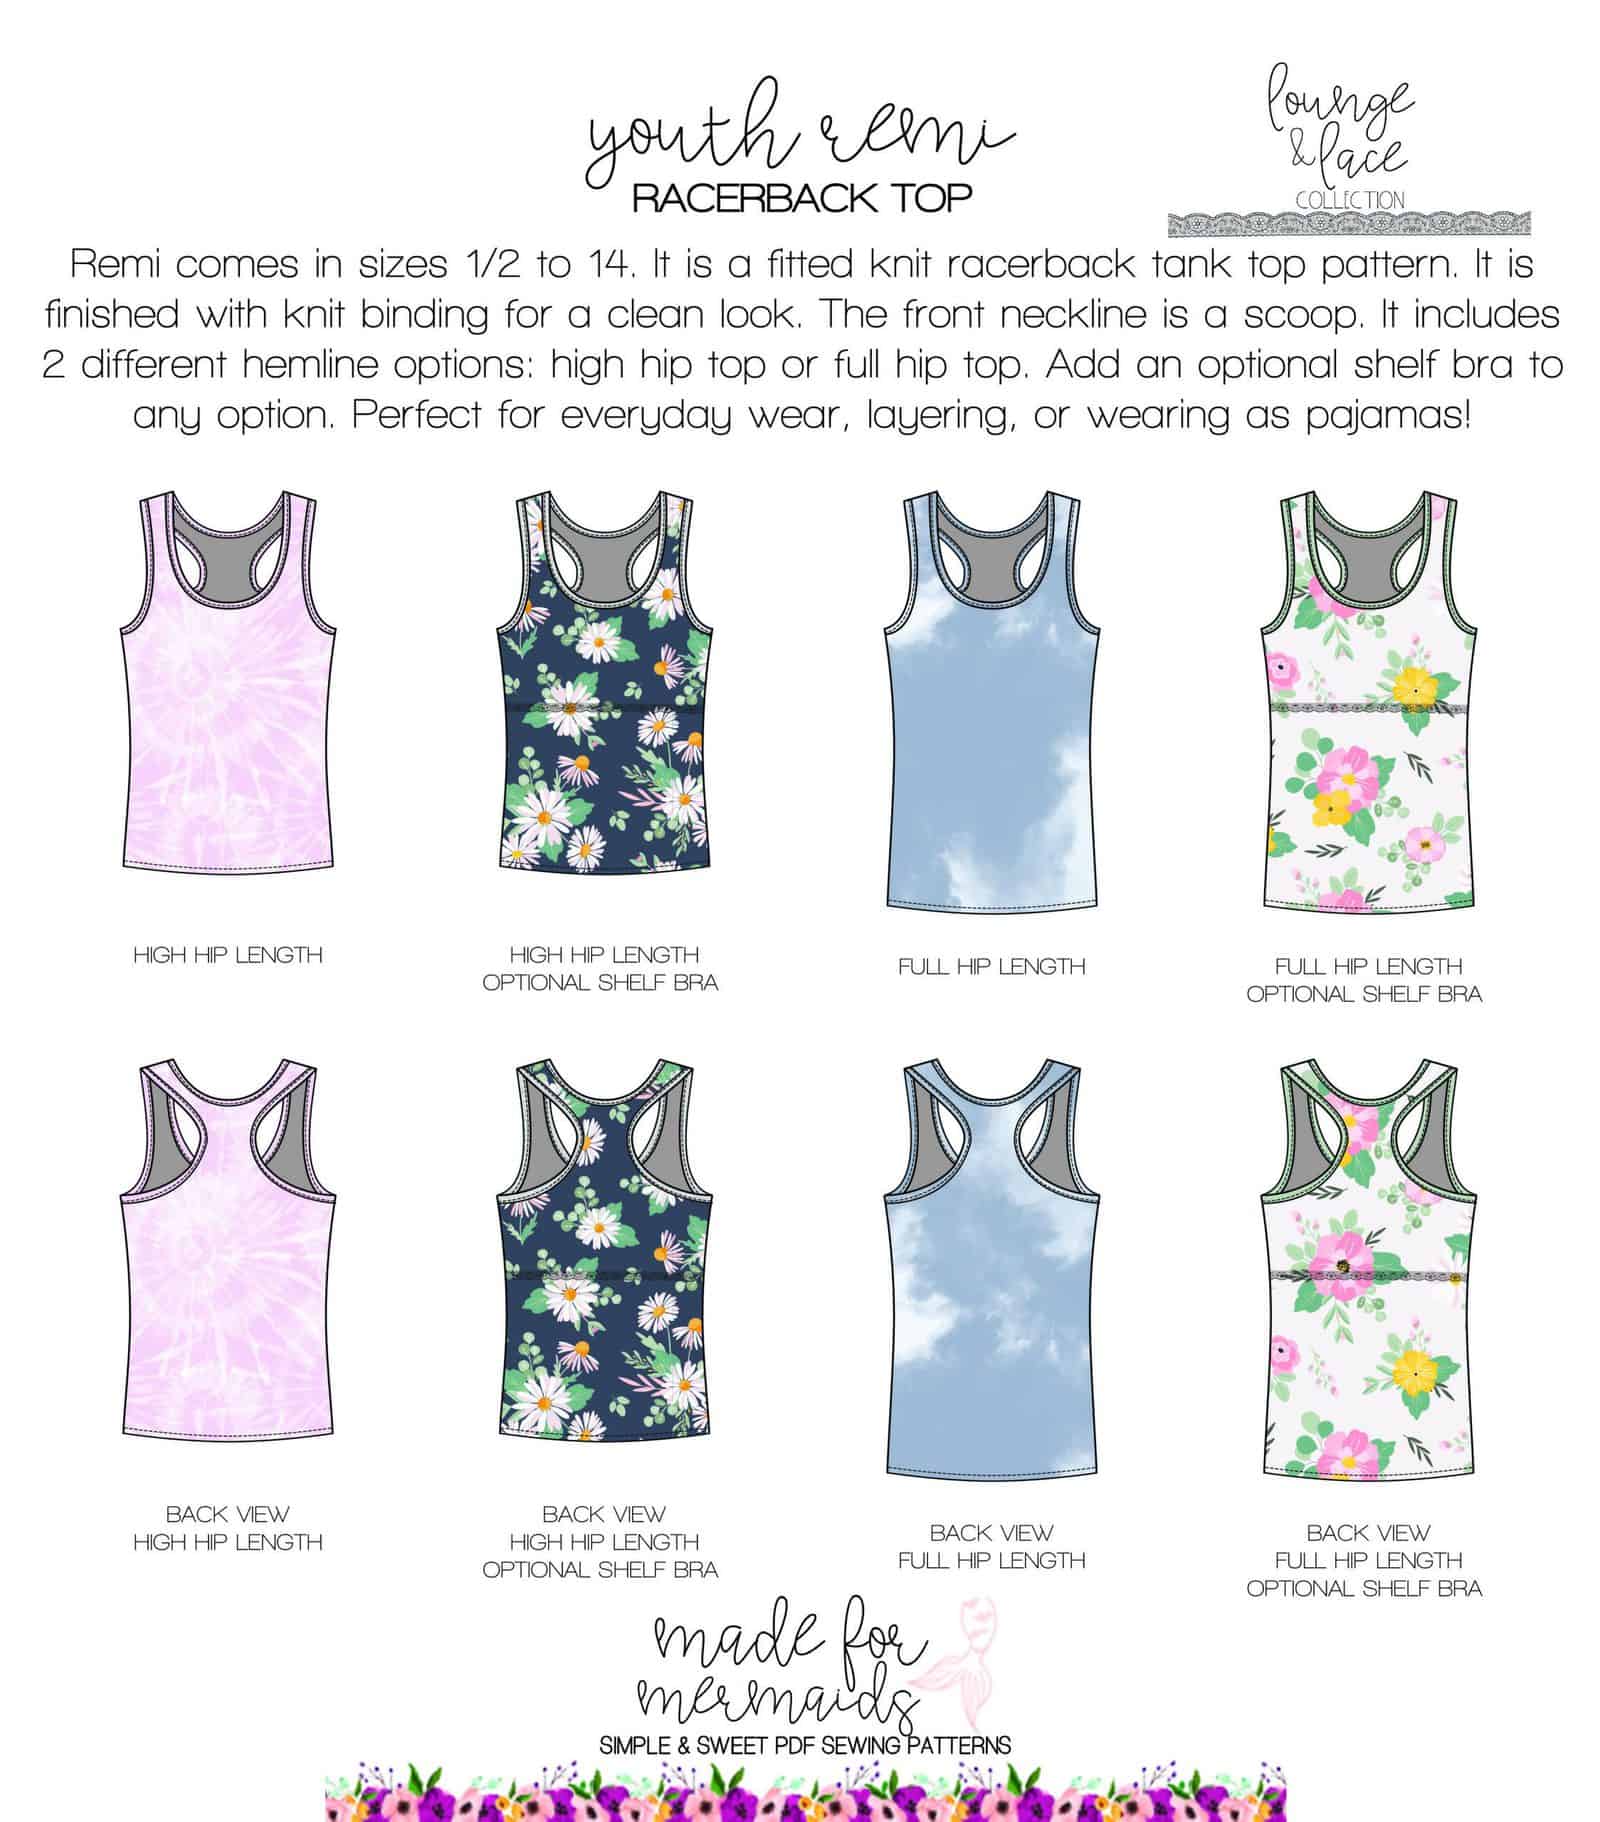
The Youth Remi features a high hip top length or a full hip top length, as well as an optional shelf bra. Women’s Remi features several lengths (crop, high hip top length, and full hop top length), an optional shelf bra, and two necklines (high or low).
Need a little extra from your Remi pattern? You know our mermaids have you covered with a few hacks!!
Picot/Elastic Hack
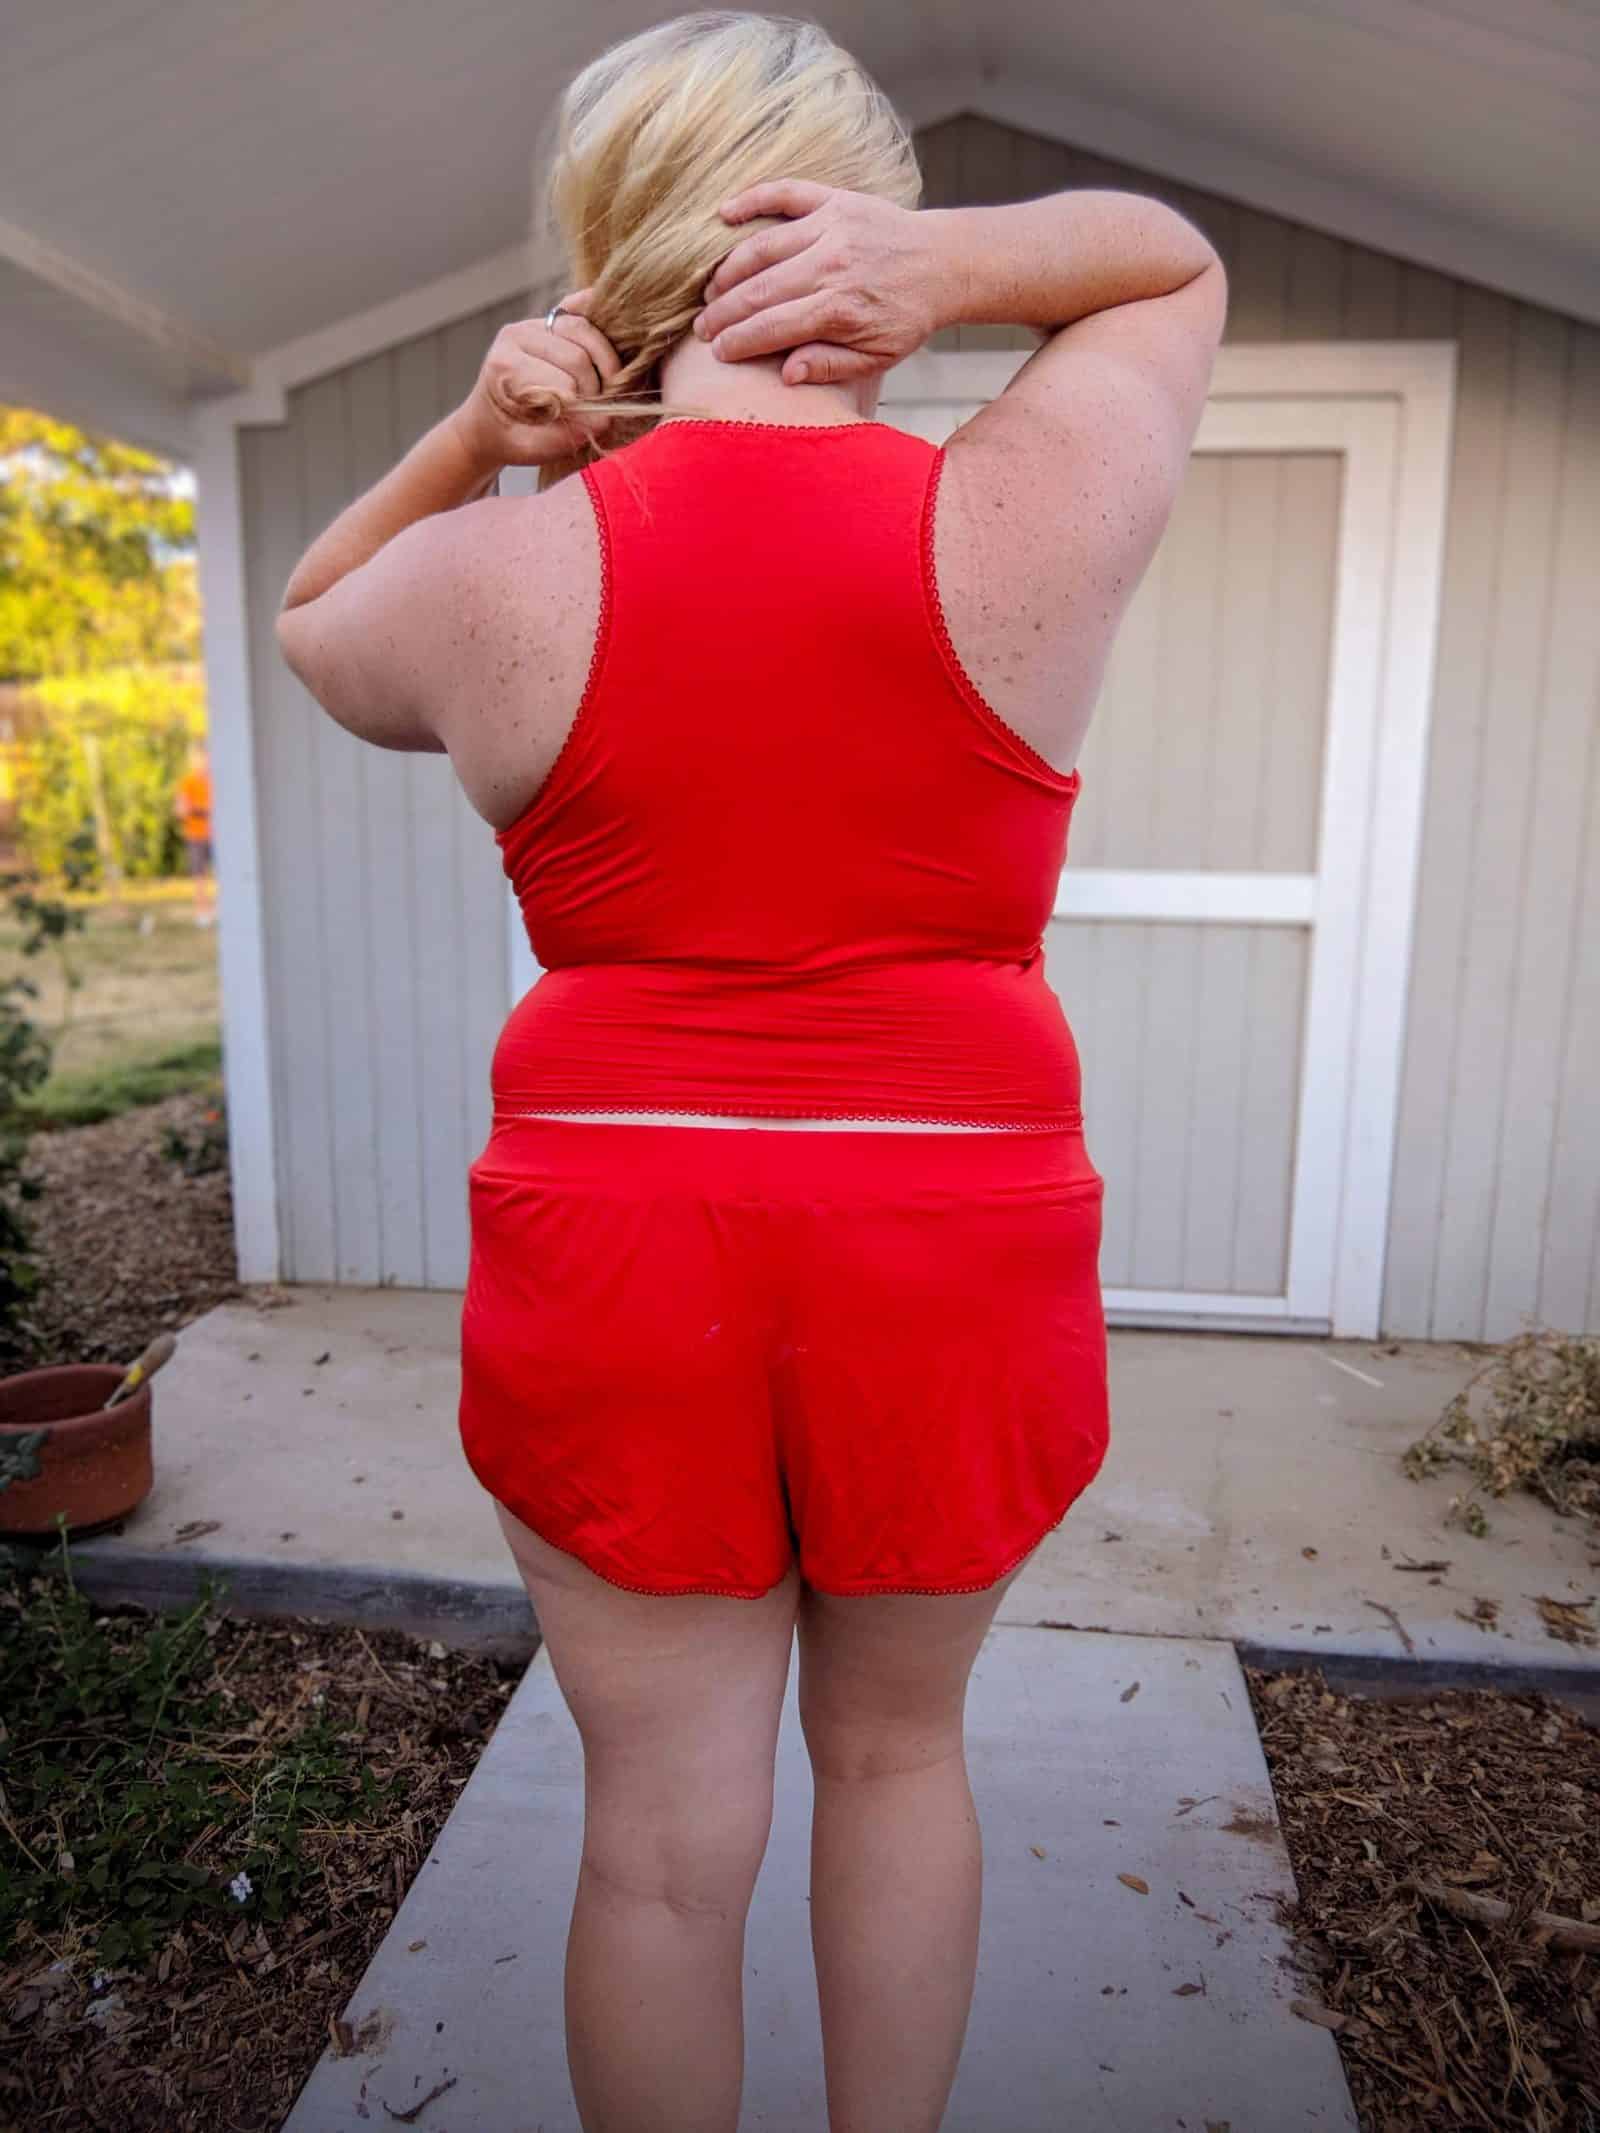
With an easy switch from bindings to elastic, Remi is the perfect fit for sleepwear and swim.
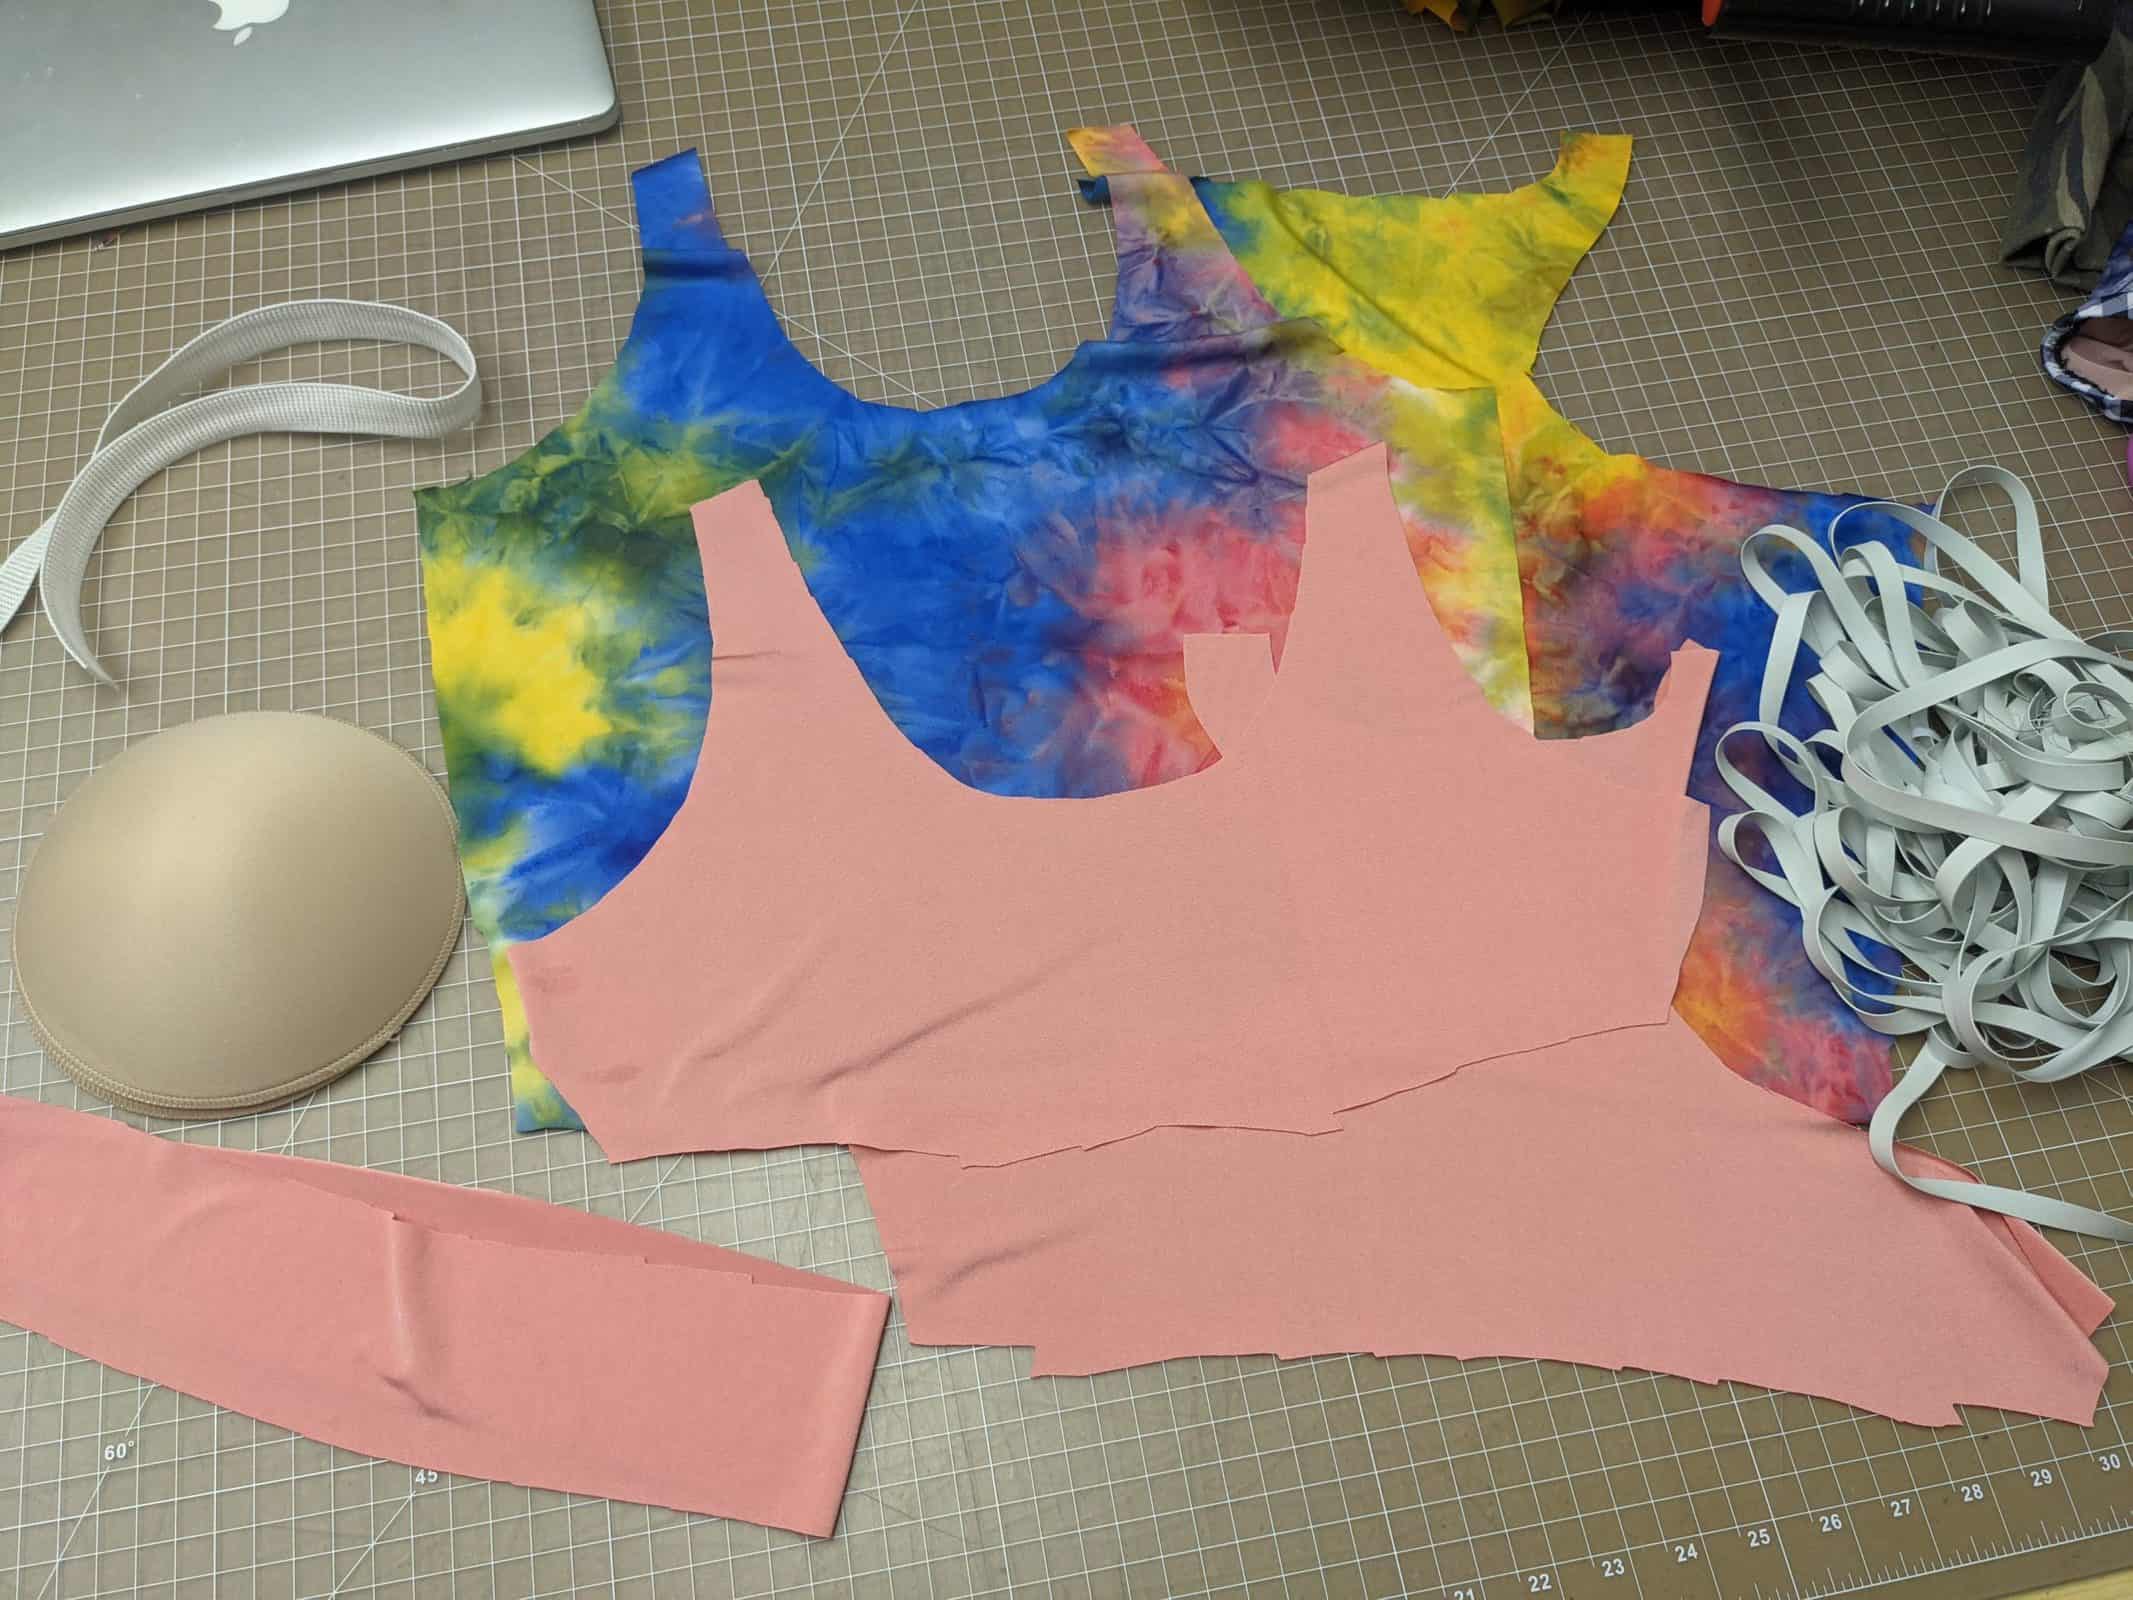
Cut the pieces for the Remi style of your choice. Exclude the binding fabric pieces. If you would like to make a swim top, cut your pieces in swim fabric.
- *if you would like to add cups to your swimsuit, sew them to your shelf bra fabric before construction. If you need help with this step, see any of the Mermaid Shore swimsuit pattern instructions.
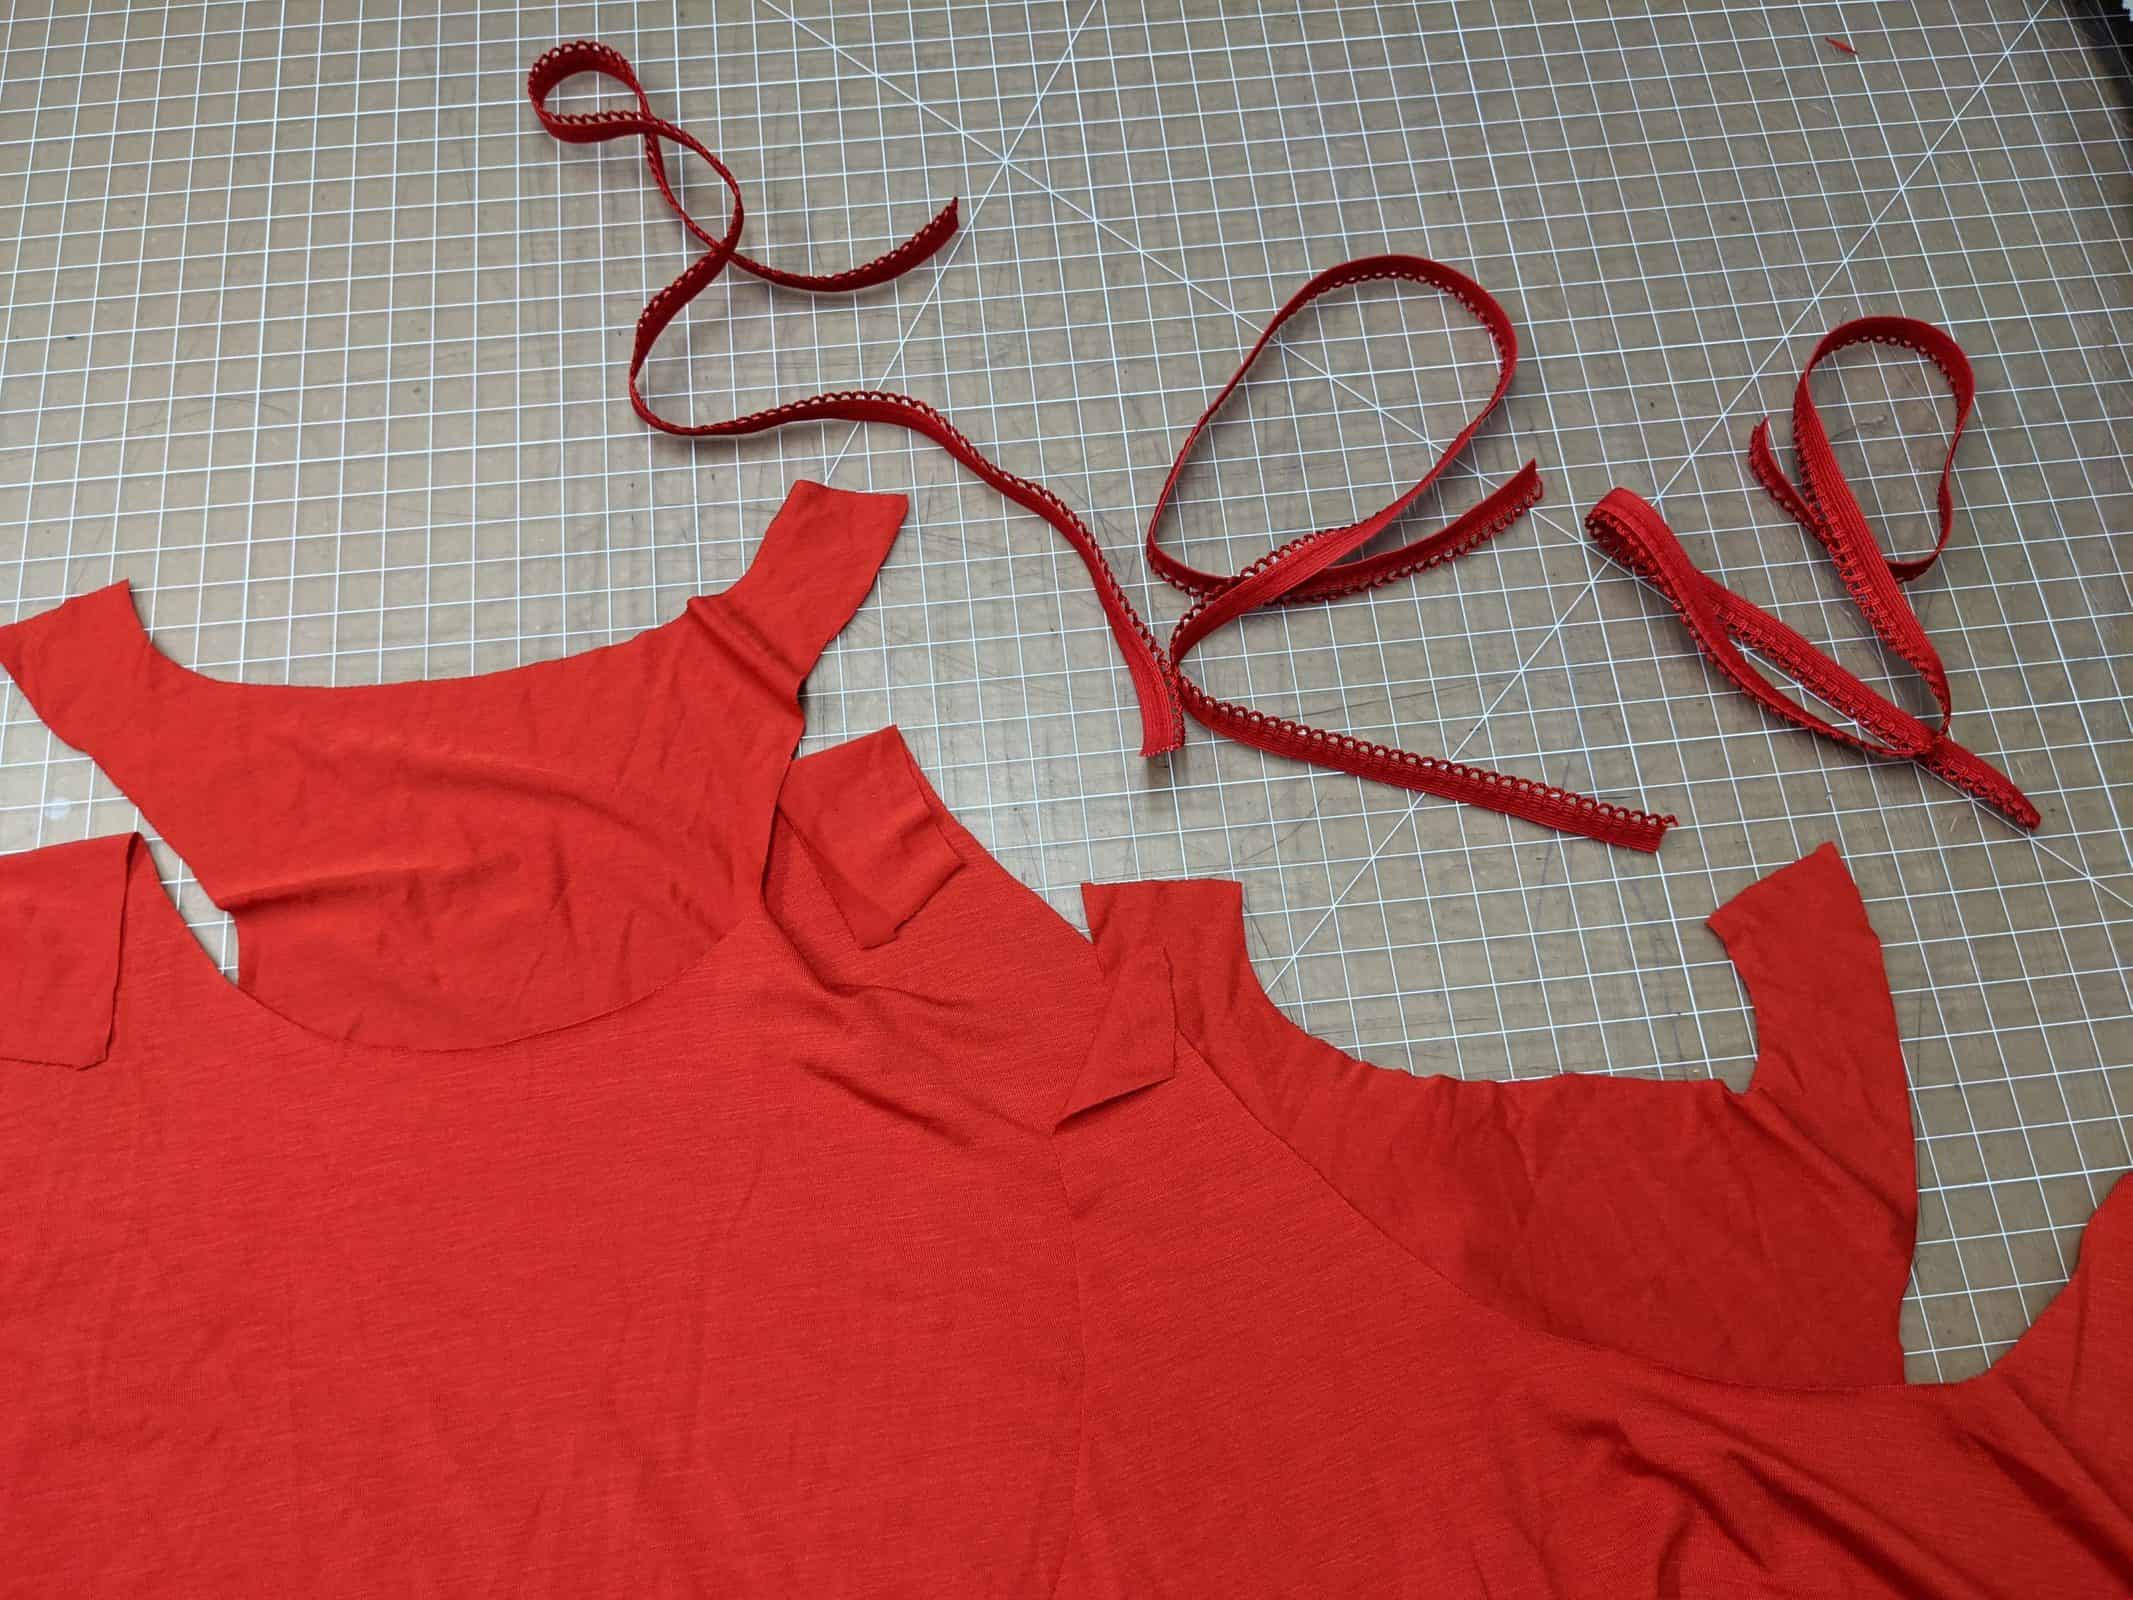
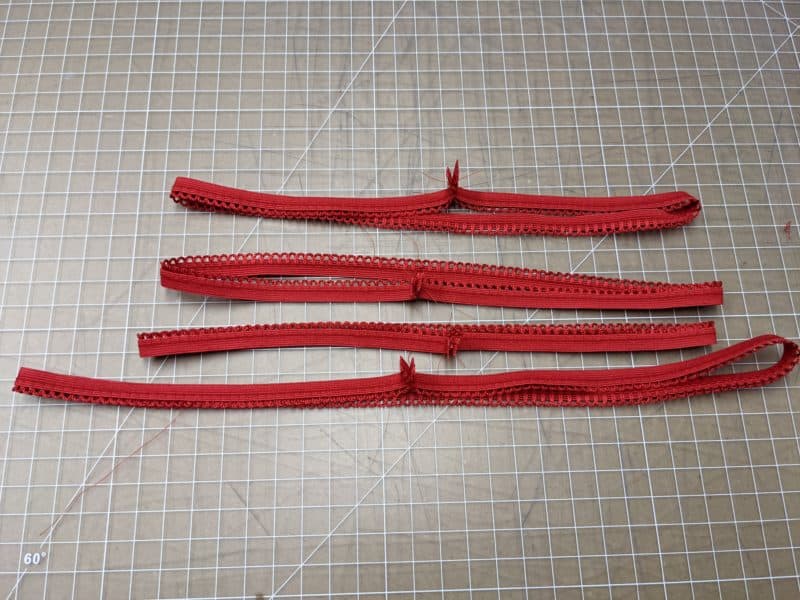
Cut picot or swim elastic the length of the binding pieces. Also cut a piece of elastic the length of your hemline.
Sew your elastic into loops.
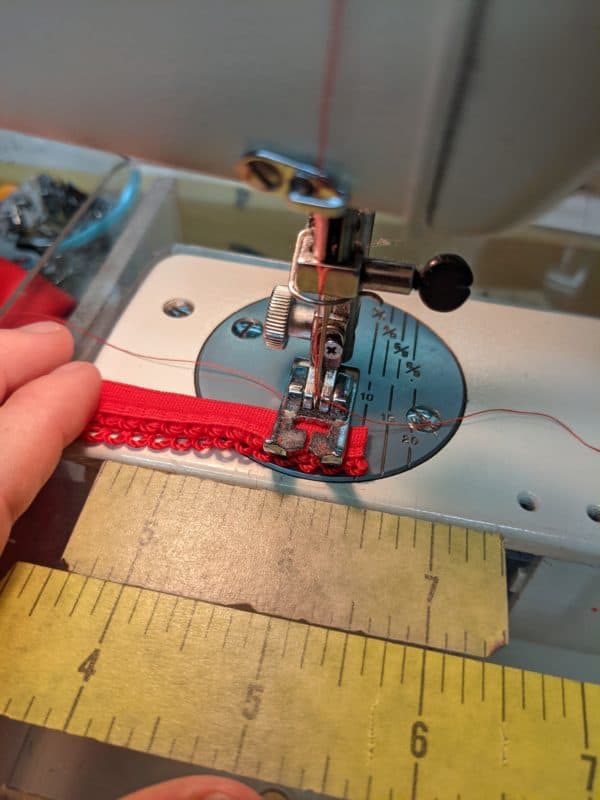
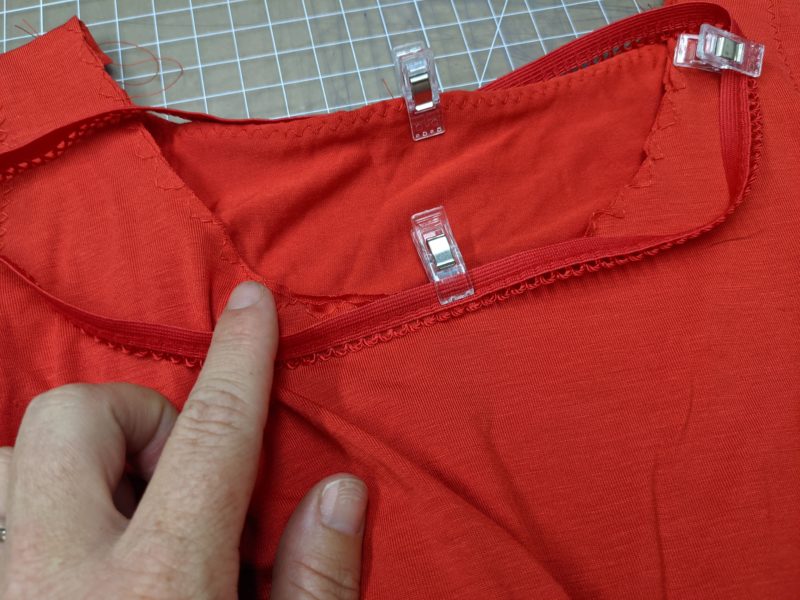
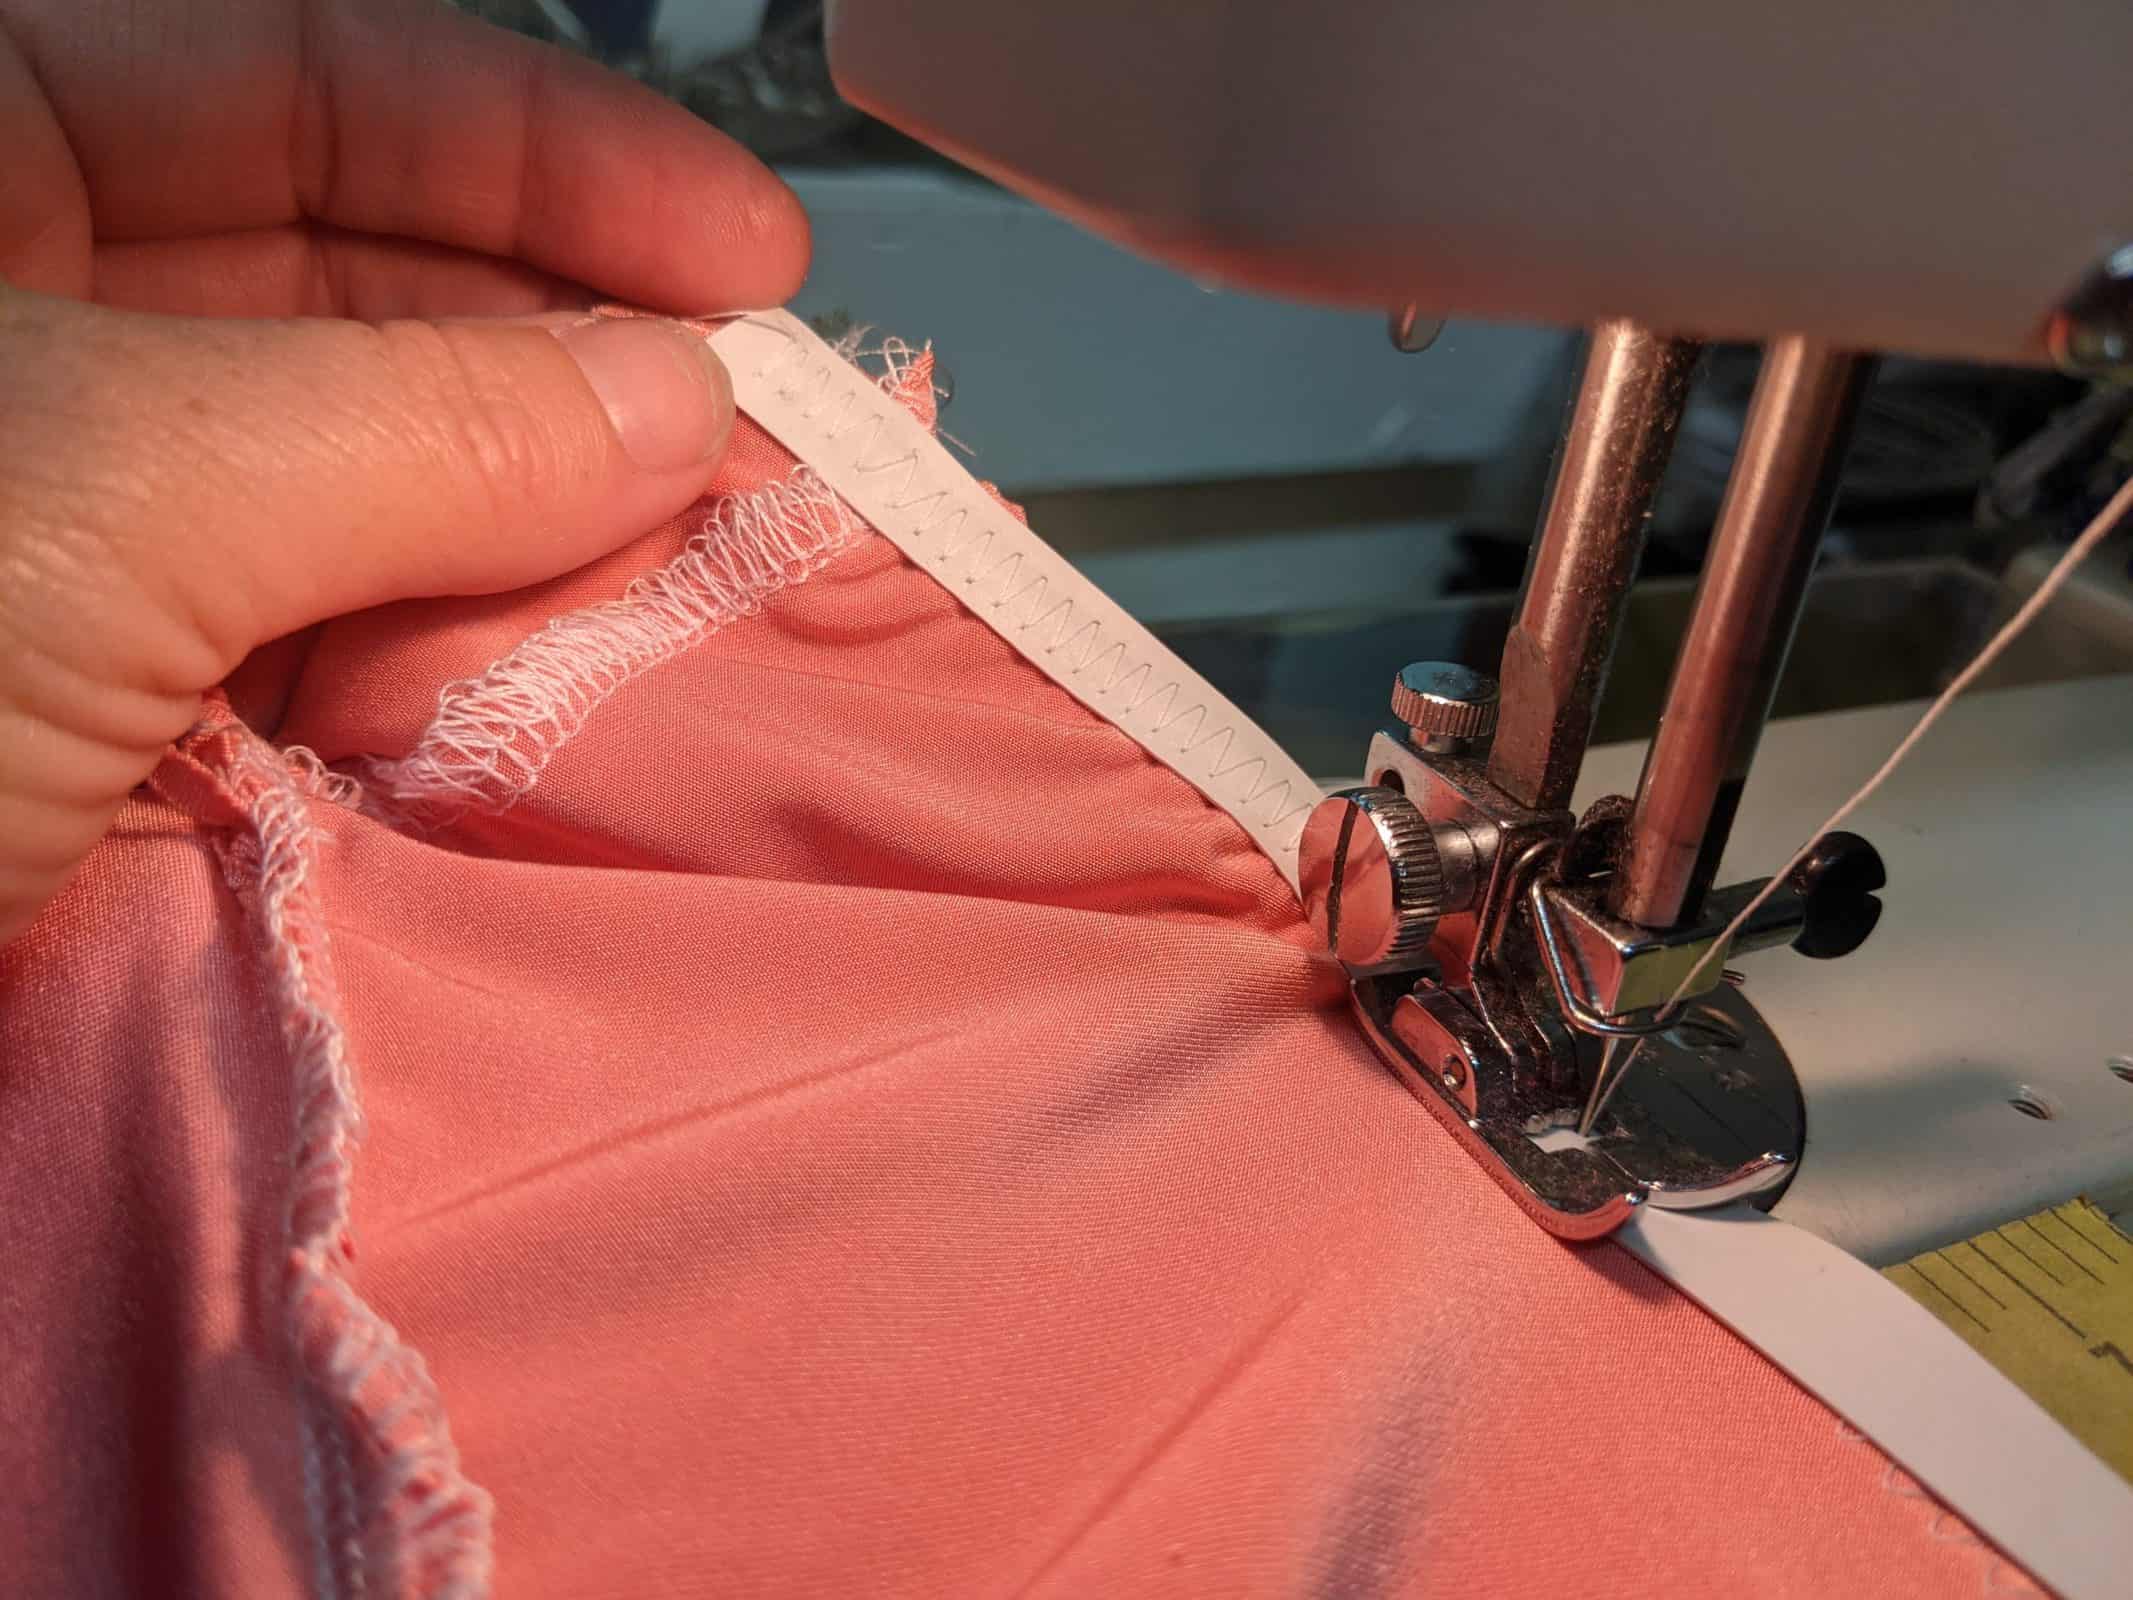
FOR PICOT: Mark and evenly pin the elastic to the FRONT SIDE of your bodice. The flat side of the elastic lined up with the edge of the fabric. Stretching the picot to fit the bodice neckline, attach with a zig-zag stitch at 1/4″ seam allowance. Be careful to not catch the picot loops with your stitches and do not stretch your bodice.
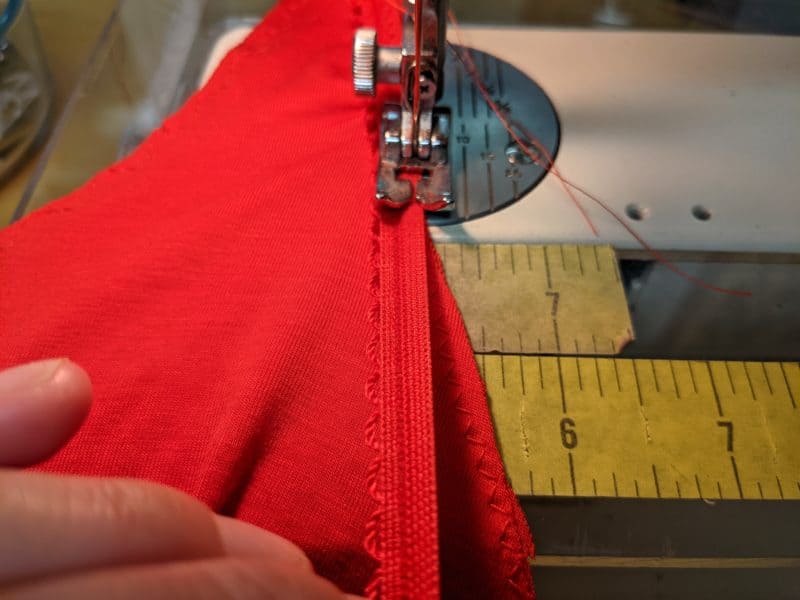
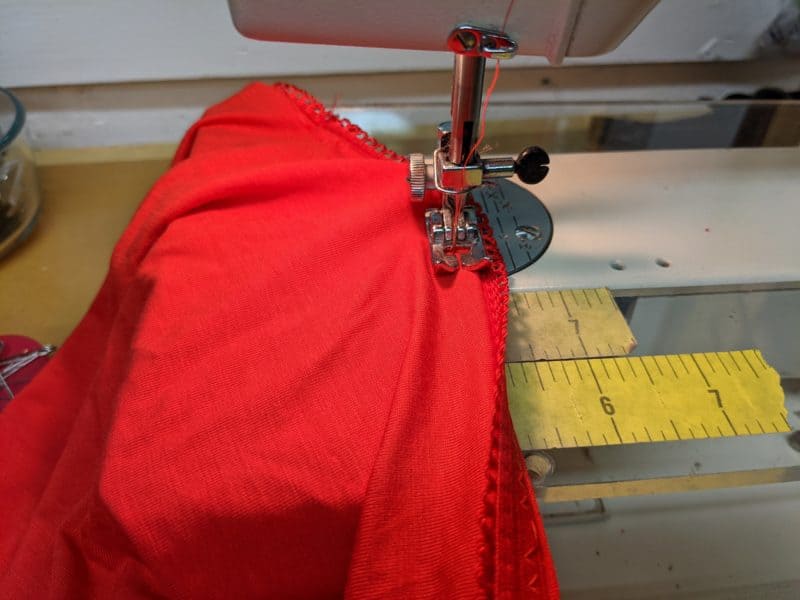
The last step is to flip the picot elastic over to the wrong side and finish with the top stitch of your choice.
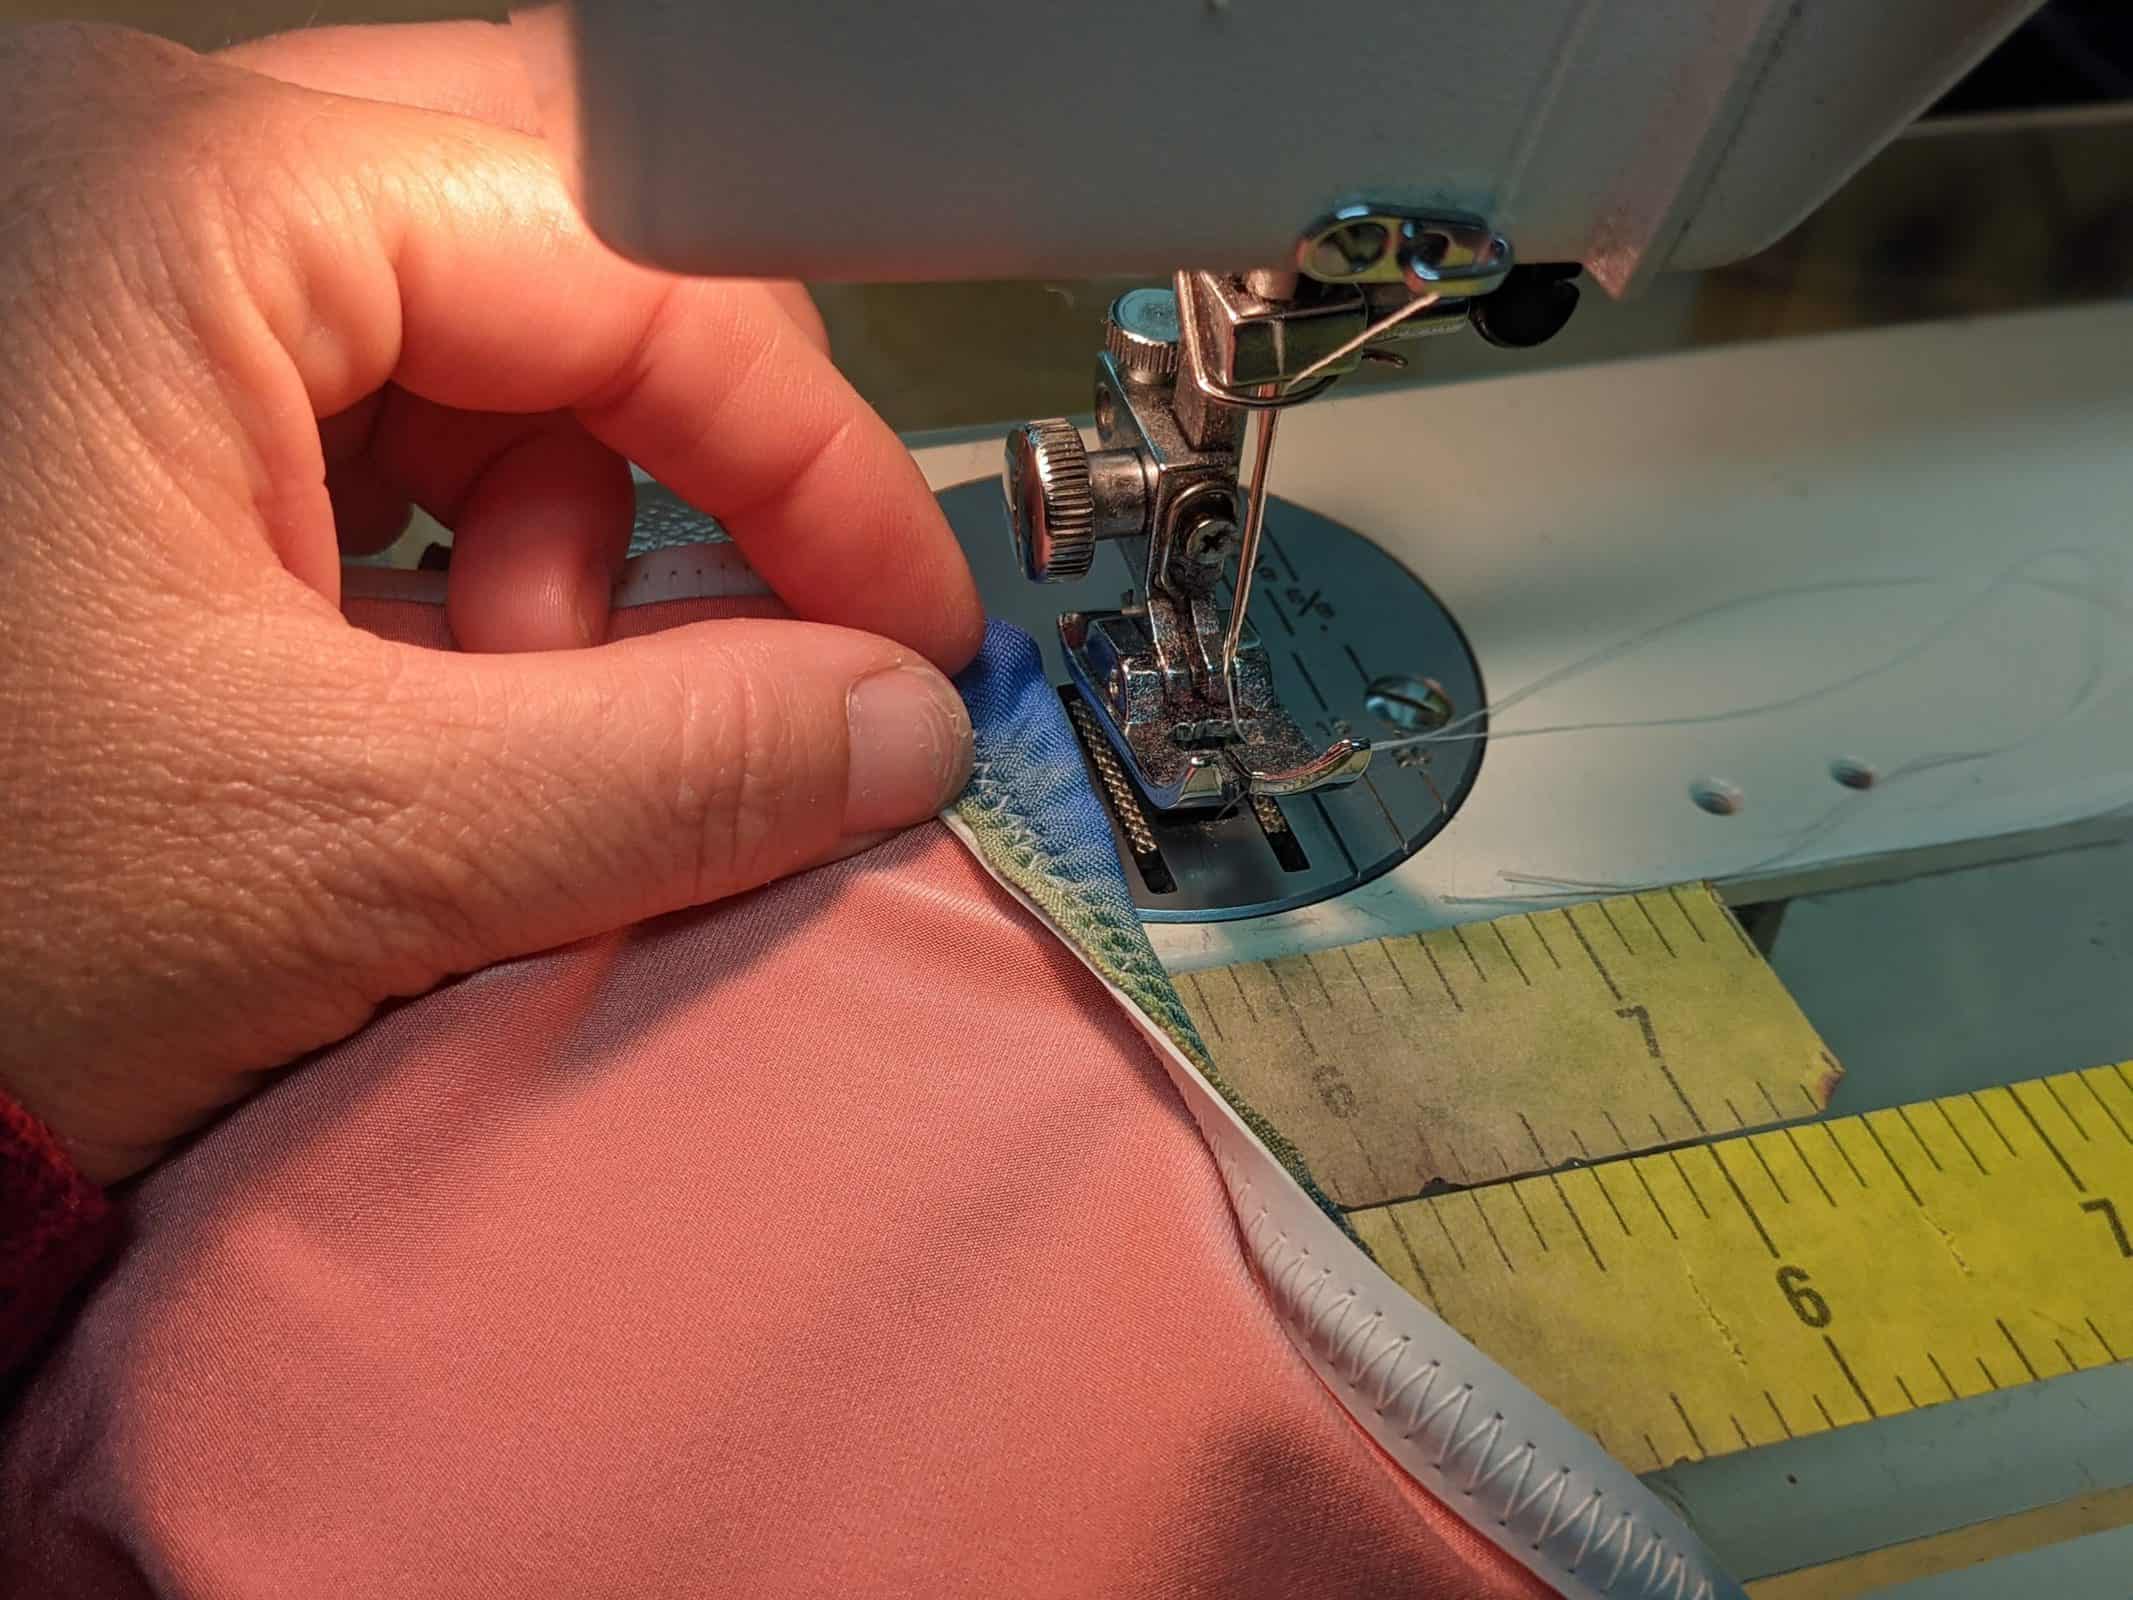
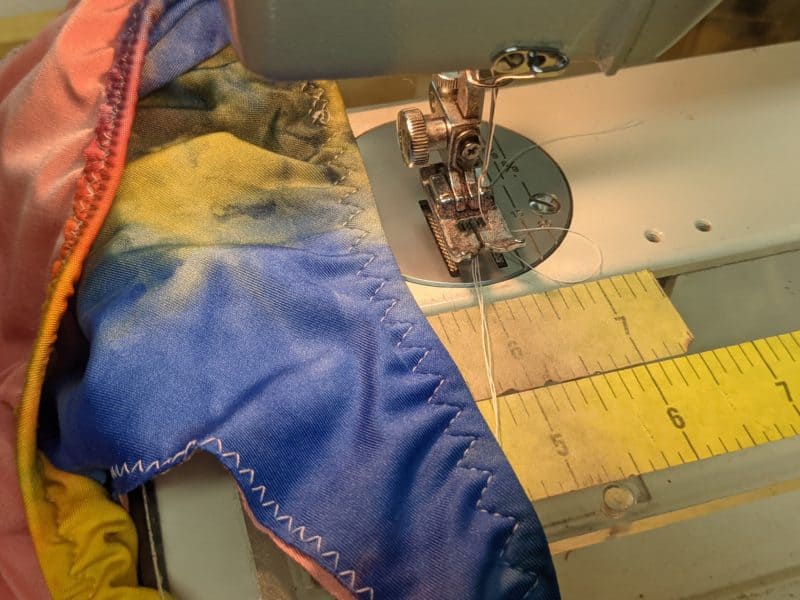
FOR SWIM: Mark and evenly pin the elastic to the WRONG SIDE of the fabric. Stretch the elastic to fit the bodice neckline, attach with a zig-zag stitch at 1/4″ seam allowance.
- attach swim elastic to edge, stretching to fit
- flip elastic under
Flip the elastic under and topstitch.
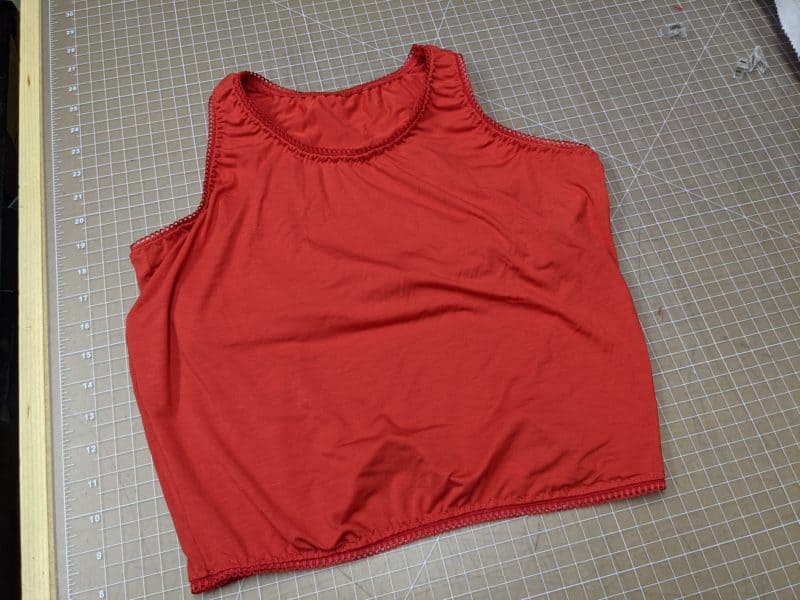
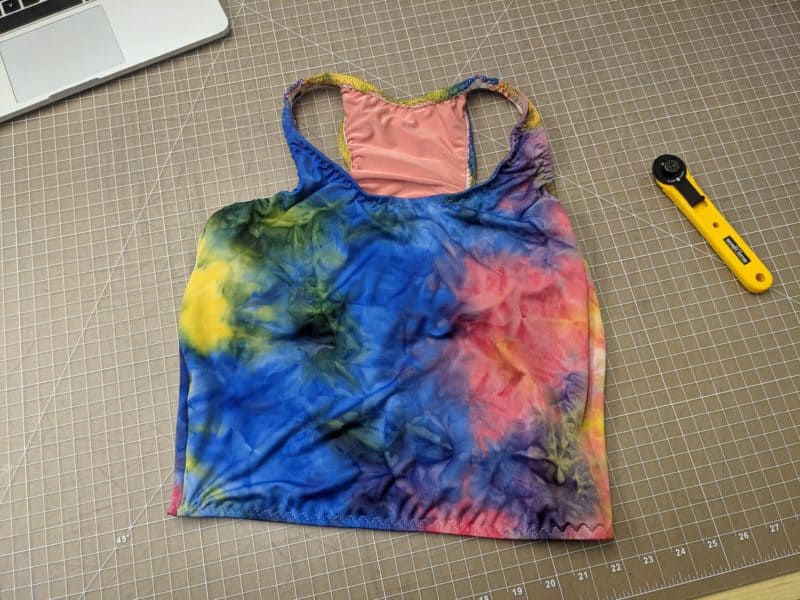
Complete with all the elastic on the armscye, neckline, and hem. Enjoy! –Bekah
Nightgown Hack
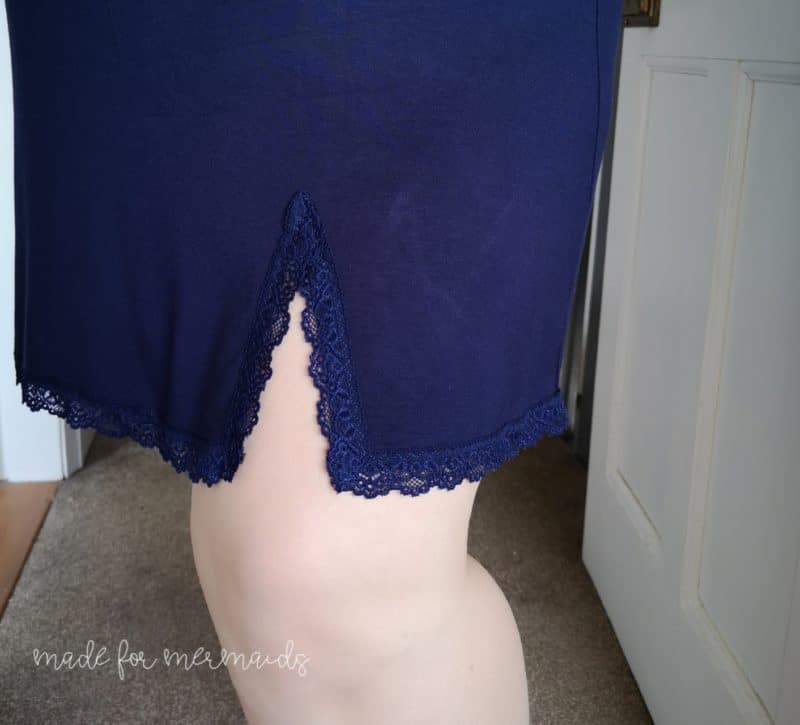
Whilst I do love a shorts and tank set for bedtime, sometimes I like a nightgown too, so I couldn’t resist doing a little pattern hacking to the Remi to make a super cute little tank-nightie for sleeping in. Finished off with this lovely stretch lace trim, it’s just as pretty as it is comfortable to wear!
PATTERN CUTTING
The left picture below: First I hooked my Remi pattern up to my projector, and used tracing paper to trace the top neckline, armscye, and side seam of the Remi front piece for my size, Red. If you are using a paper pattern, you will still trace your pattern, but it will be traced from your paper pattern instead of my projected one.
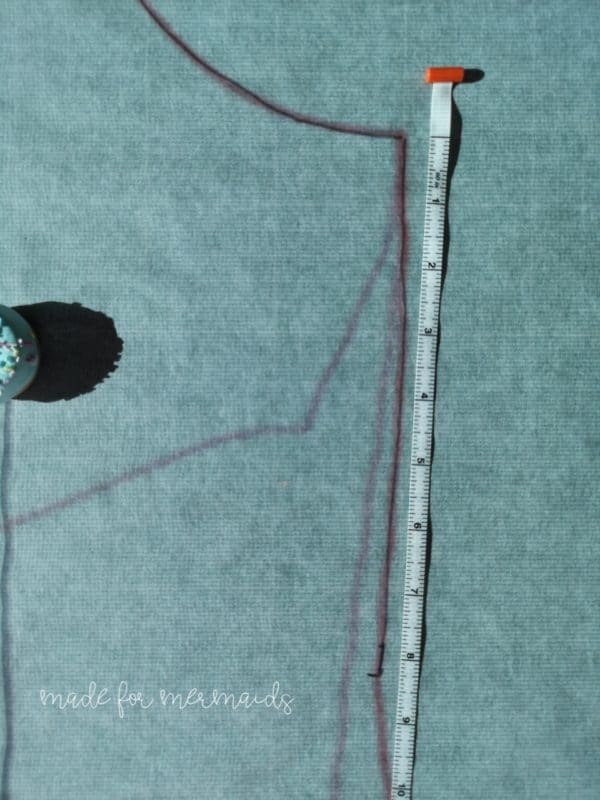
I stopped tracing along the side seam when I reached the waist point. For my size, that was about 8.25 inches down from the bottom of the armscye, but it’s basically just where the pattern is narrowest.
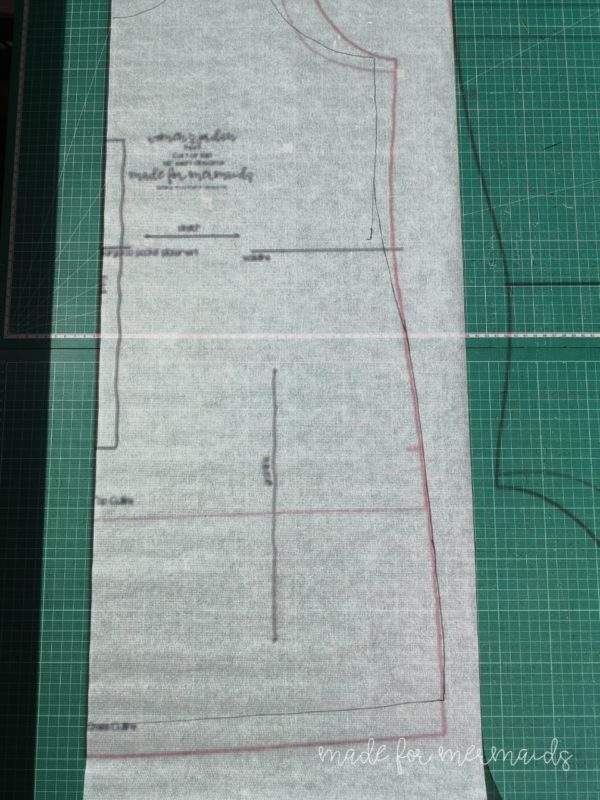
The right picture below: I knew that I wanted a little extra ease in my nightie over the waist and hips, so I then brought up my Jordan pattern and mashed the two together at the side seam, easing the curves together from a couple of inches above the waistline marking. The black pen is the Remi, the red projected line is the Jordan. You can see how I have drawn a gradual line from the Remi out to the Jordan to mash them together. I also took 1.5 inches in length off the Jordan dress length, because I knew I wouldn’t be hemming the nightie.
- Remi traced to waistline mark
- Mashed with the Jordan
If you want a different fit you could trace off the bottom section of another favorite tee shirt dress of yours, or alternately just extend the bottom of the Remi pattern down and maybe grade out a size or two to get the extra ease you may want over the hips. I just knew that I liked the fit of the Jordan dress as being fitted but not figure-hugging.
Do the same for the back pieces, and then cut out all your pattern pieces as per the instructions in the tutorial. I used a rayon/spandex for my nightgown here, in a lovely midnight blue color. It has a wonderful drape, and I knew it would be comfortable for sleeping in.
CONSTRUCTION
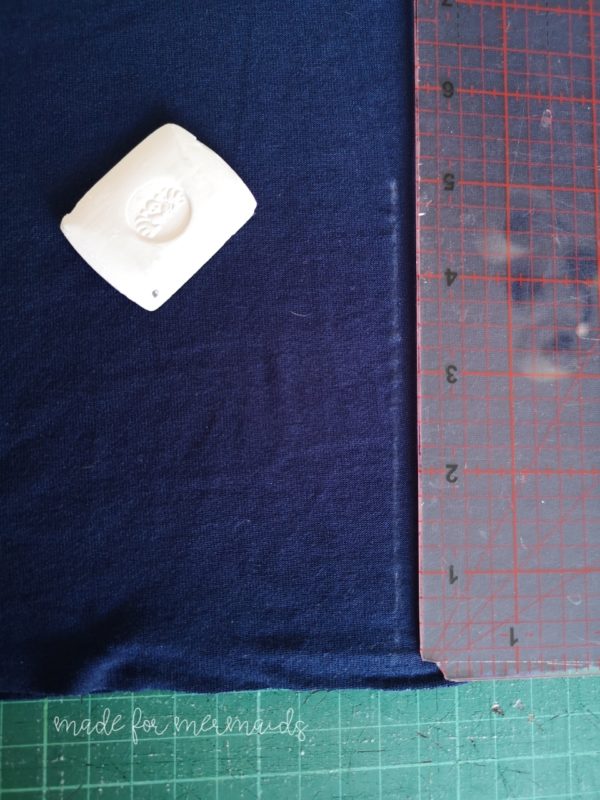
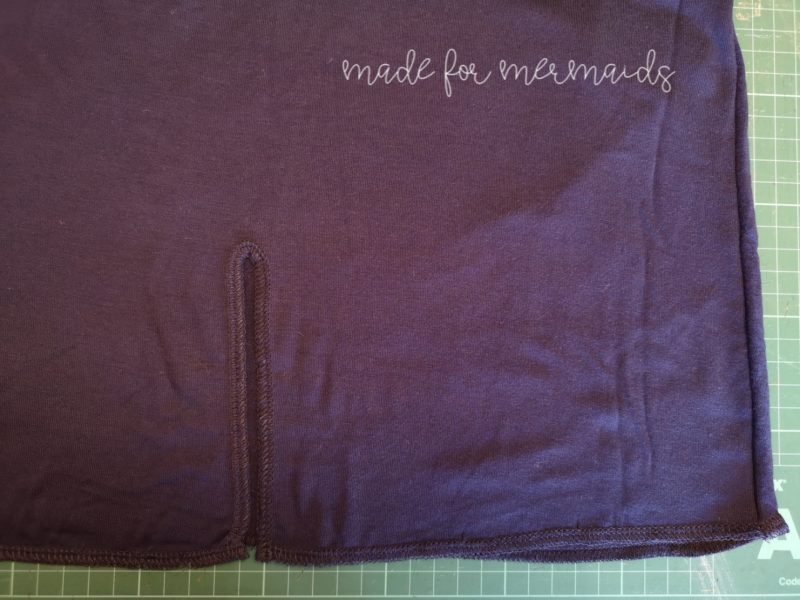
Then assemble your Remi as usual until you come to hem the bottom. Instead, turn your garment inside out and lay the nightgown on your cutting table, front side uppermost. Making sure it is nice and flat, at about 1/3 of the way in from the side seam, using your preferred marking method (I used chalk), draw a line from the hem upward, approximately 5 inches, or however long you would like your slit to be.
- 5 inch slit marked
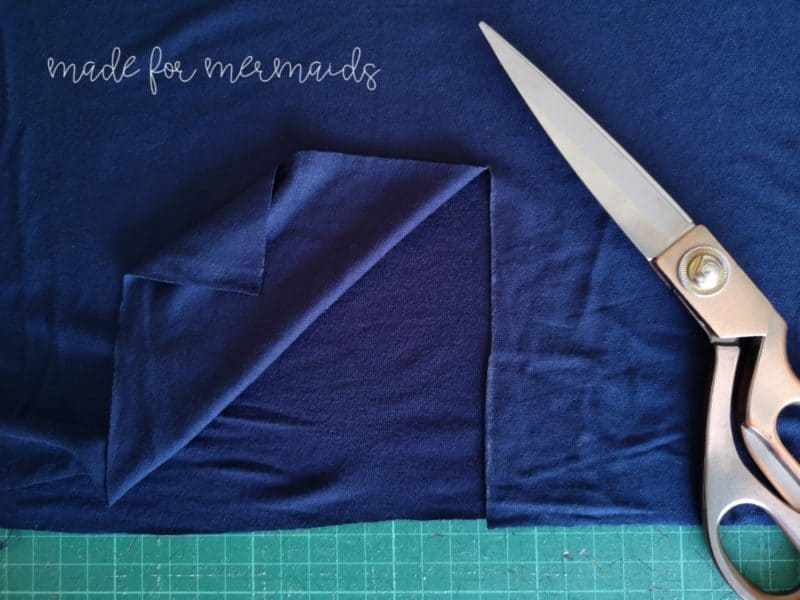
Then, being very careful not to cut through the back fabric too, use scissors to cut up the slit, on the front fabric only.
- slit cut out
NOTE: The next step is optional, but I find it easier to attach the stretch lace if I do it, as it gives a more stable edge to the fabric.
I then use my overlocker/serger to serge around the edge of the fabric along the whole hemline, and up, over the top, and down the side of the slit. I find it easiest to start and stop stitching along the bottom hem, you will need to turn the corners at the bottom of the slit, and open out the top of the slit to flatten it into a straight line, in order to stitch around it.
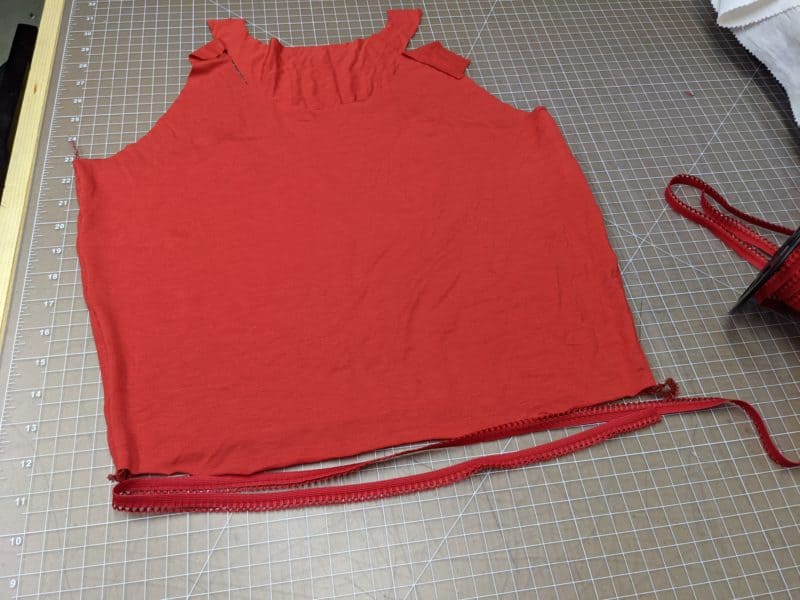
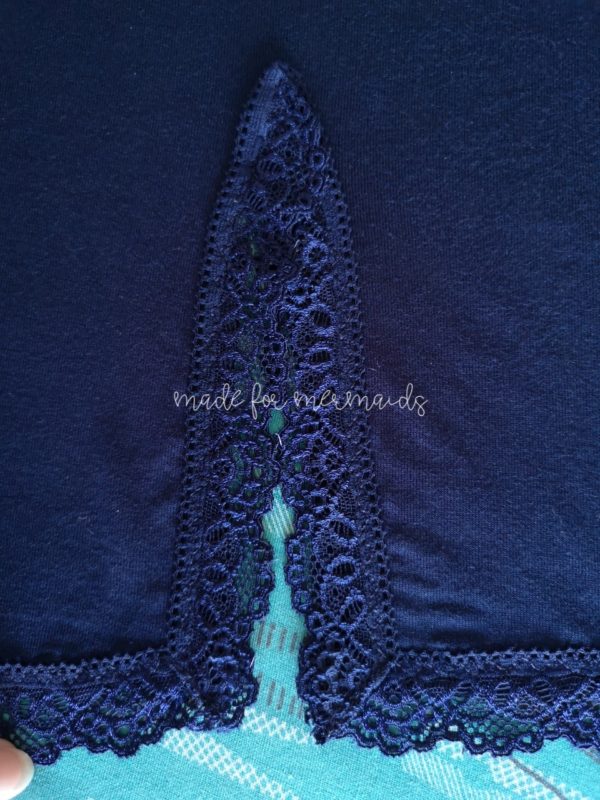
Then I attached my stretch lace trim onto the hem and around the slit by topstitching it on. Starting with the slit, and folding the lace over on itself around the top, to make a corner, like this.
Then once that is attached, I sewed the lace trim along the bottom hem of the nightgown, too. Angling the corners when they reach the slit to give a pretty finish. It may take a little fiddling about to get it to lay nicely.
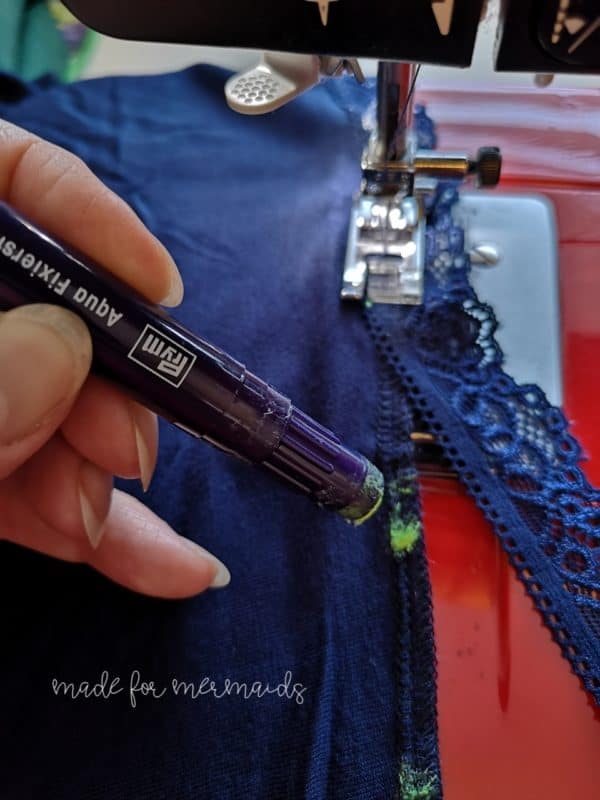
I also find a Prym glue pen is handy when sewing on trims like this. I dab a bit on every couple of inches, and it stops it from shifting around as I sew.
That’s it, you’re done! I hope you enjoy your new nightgown.
Happy sewing! – Dana x at The Slippy Chicken Company
Band Hack
Want to add bands instead for a different look? No problem! Simply construct your Remi, measure your openings, and then calculate 85-90% of the opening + seam allowance to determine the band width. For example, if the neckline opening measures 26″, your band calculation would be 26 x .85 = 22.1 + 1 = 23.1″. I would just go ahead and round down to 23″. Depending on your fabric, you may need to calculate closer to 90%; however, if you’re using the recommended fabrics, 85% should work well.
Which pattern are you hoping to tackle first, Remi or Saraya?? I am in desperate need of a pajama/loungewear overhaul, so I might have to devote some time to both!!! Don’t forget to share your makes with us over in our Facebook group and on Insta.
#madeformermaids #remipattern #sarayapattern #loungeandlacecollection












Leave a Reply