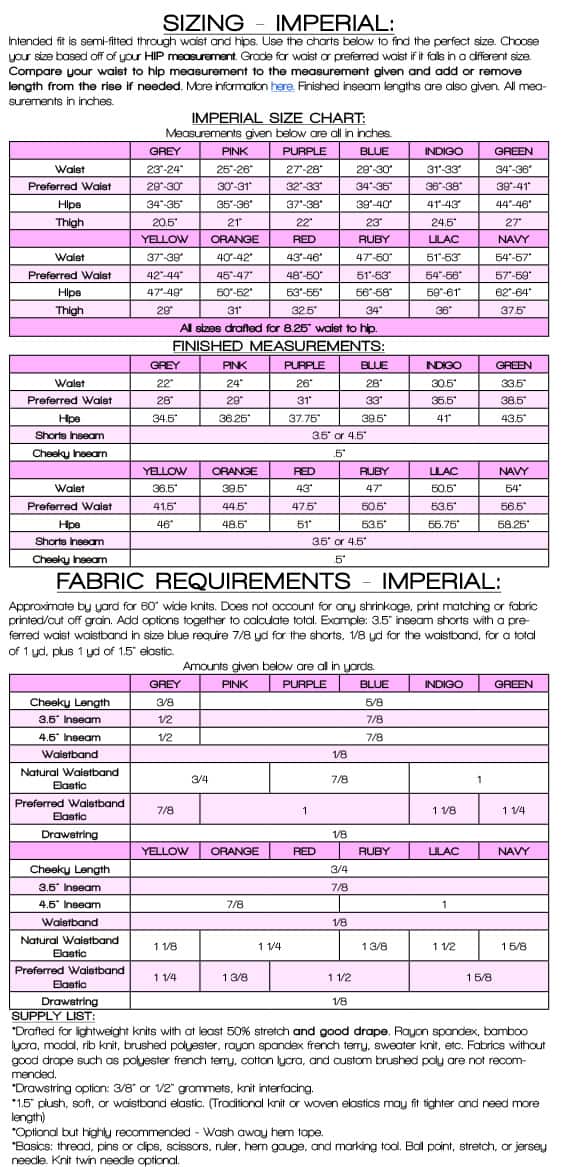
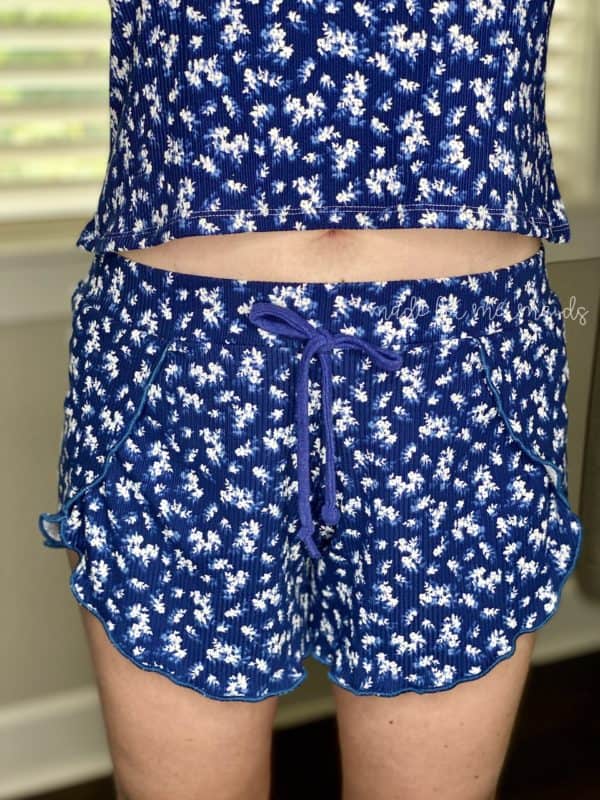
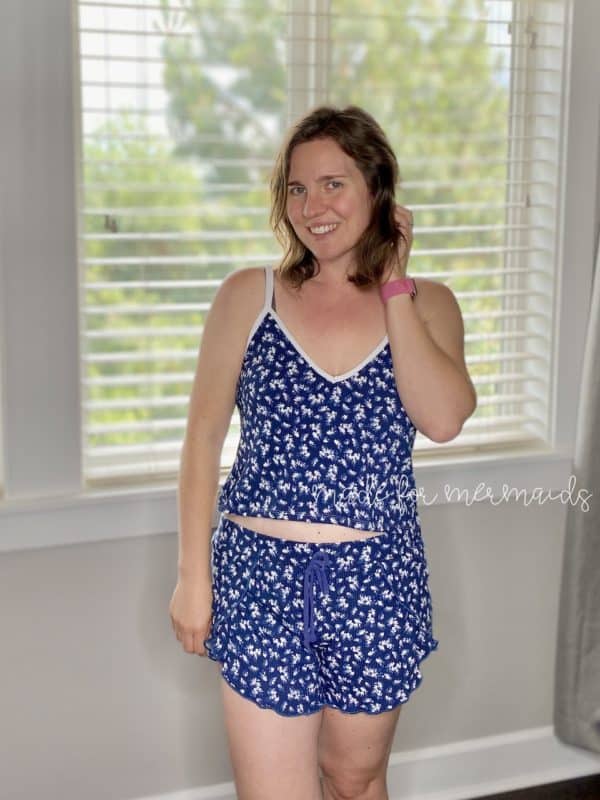
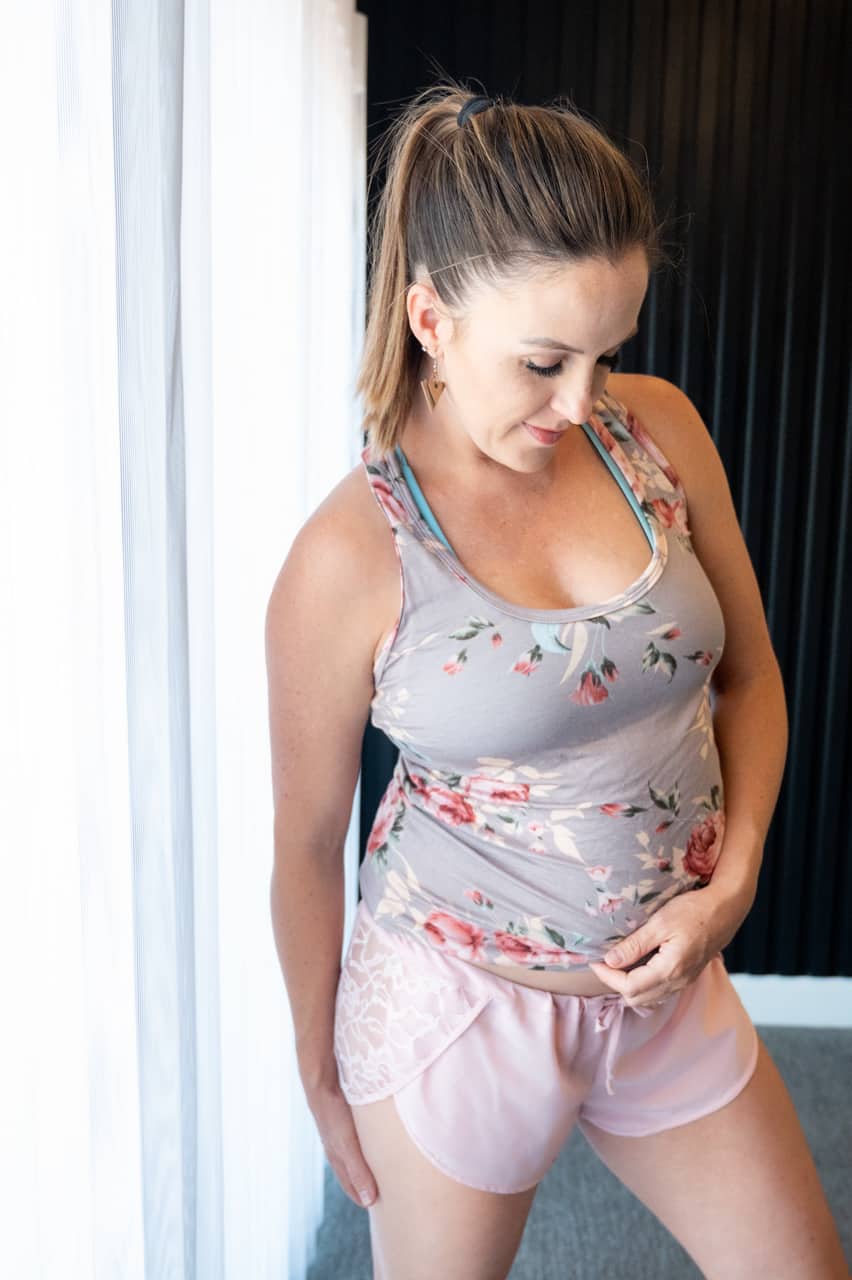
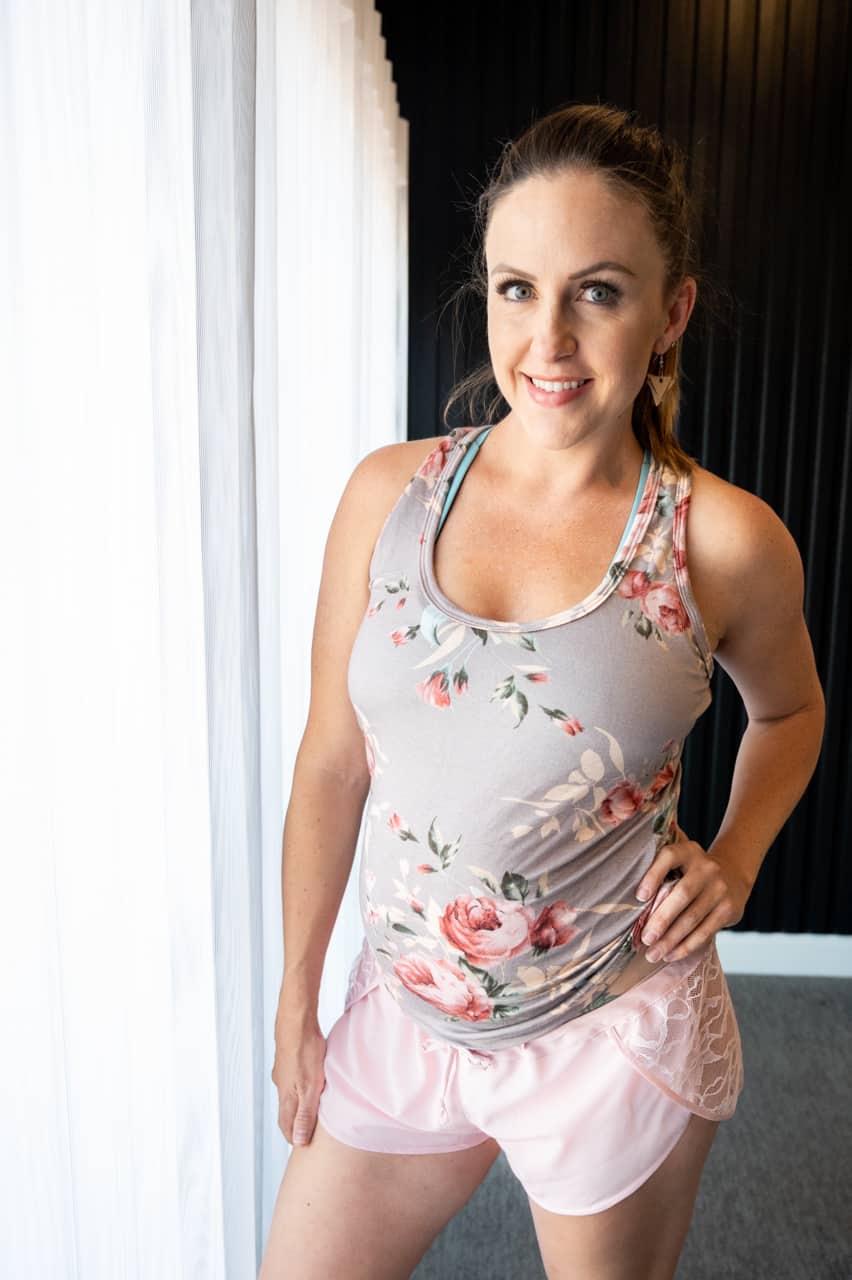
Our new Saraya Shorts are the CUTEST lounge shorts! I think they’d also be adorable in stretch mesh or swim fabric to throw on over a swimsuit. Anddd now I know what I’m sewing up this week 🙂 Saraya is drafted for lightweight knit fabrics with at least 40% stretch and good drape; some of our favorite options are brushed poly, rib knit, modal, rayon spandex, bamboo lycra, rayon spandex French Terry, sweater knit, and more!
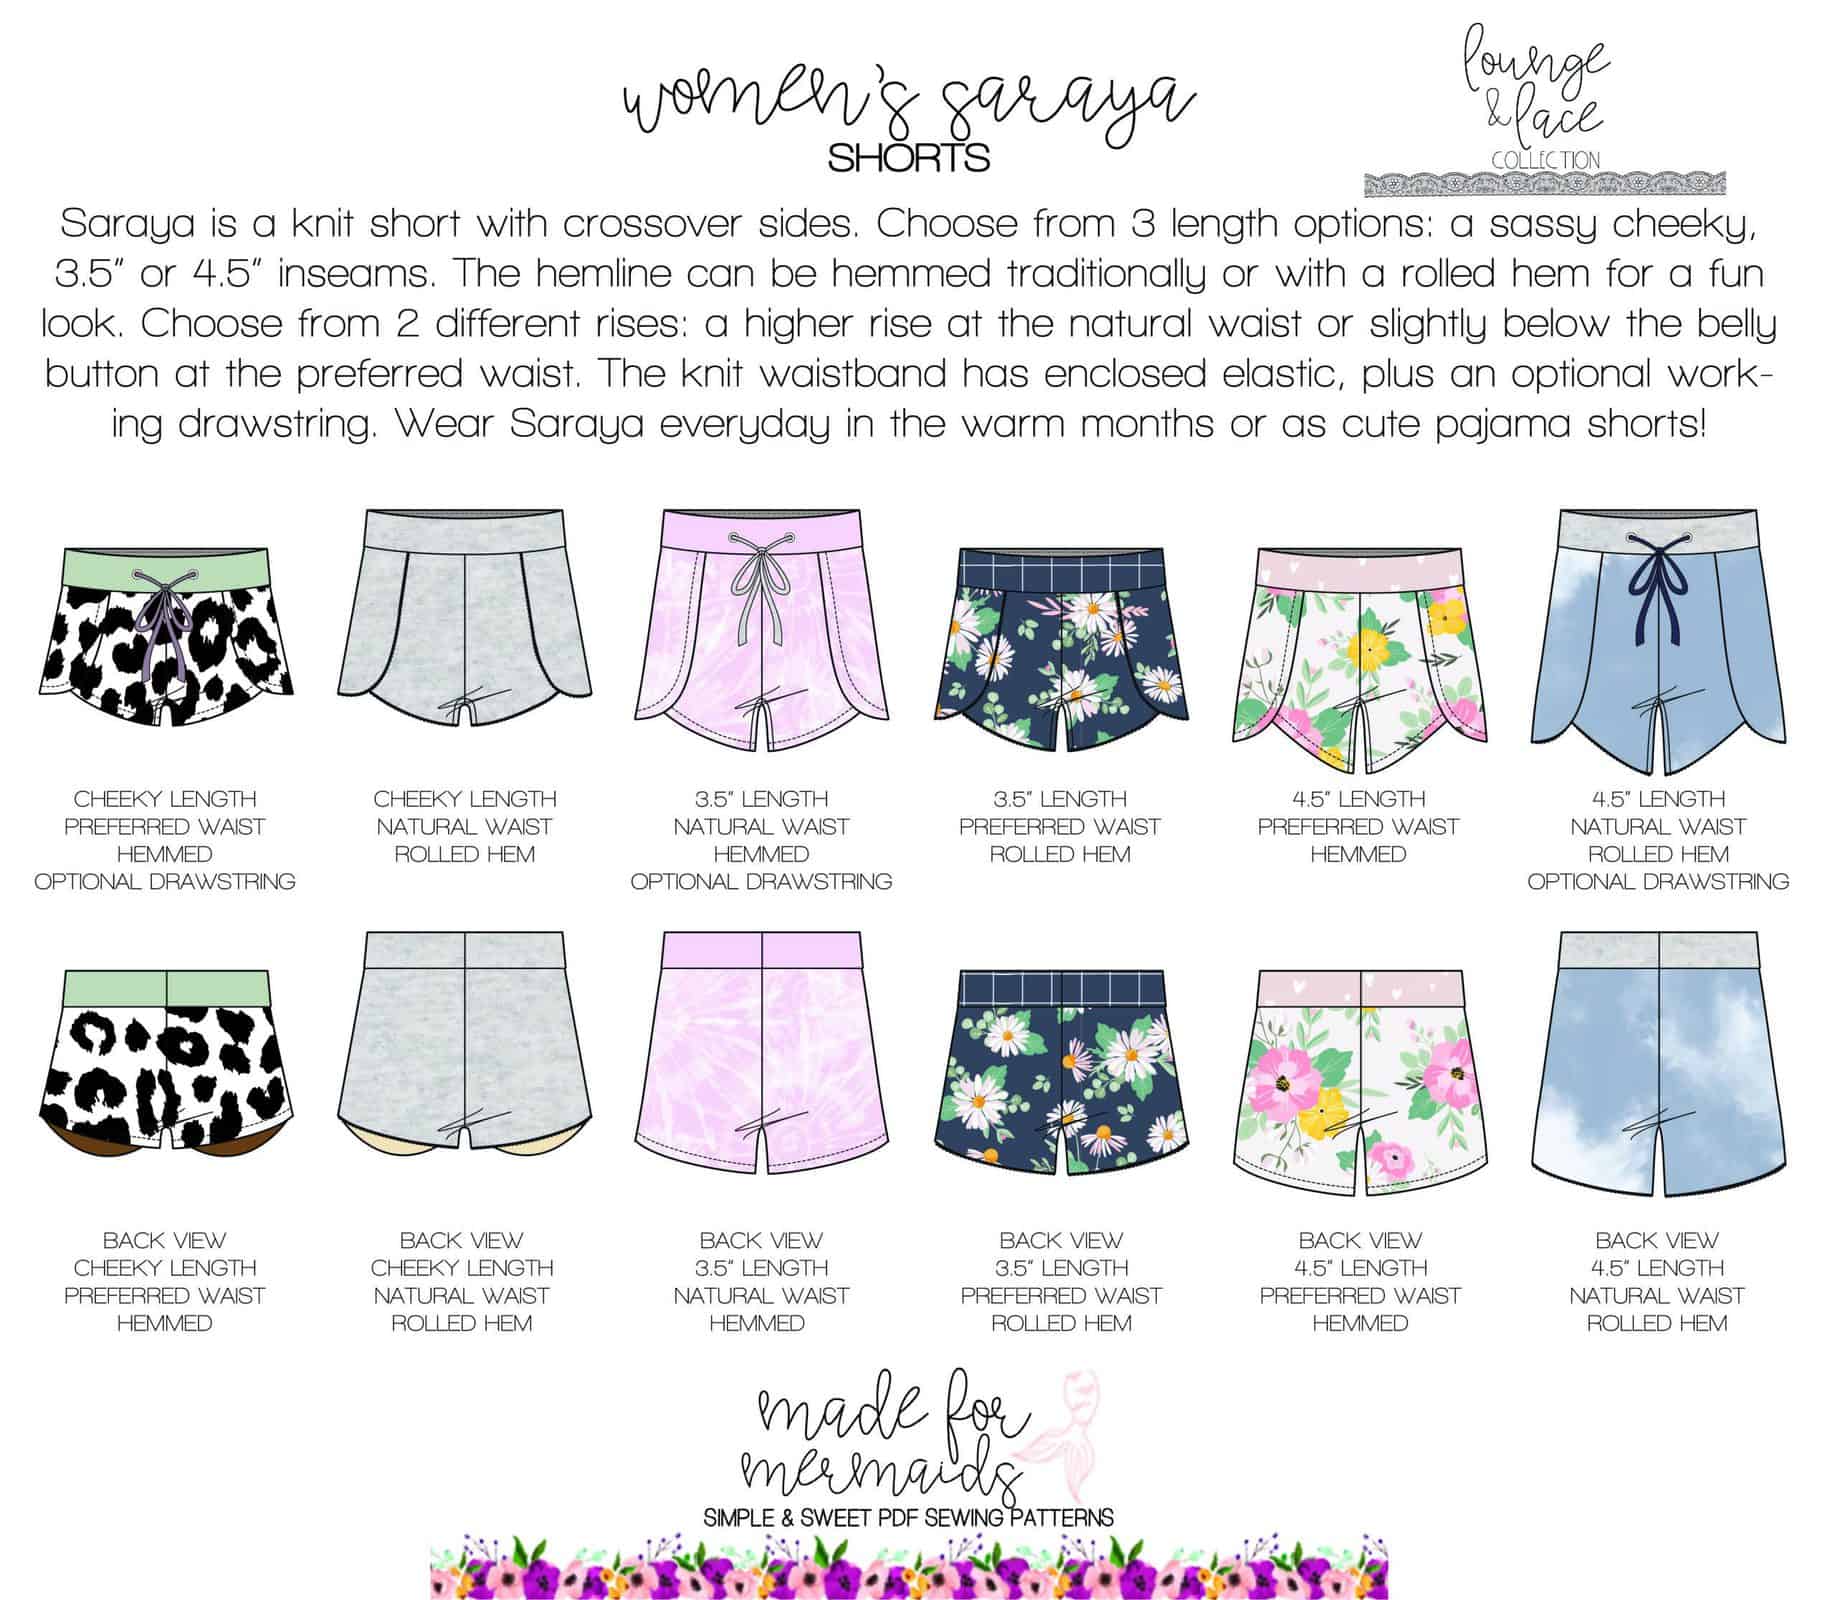
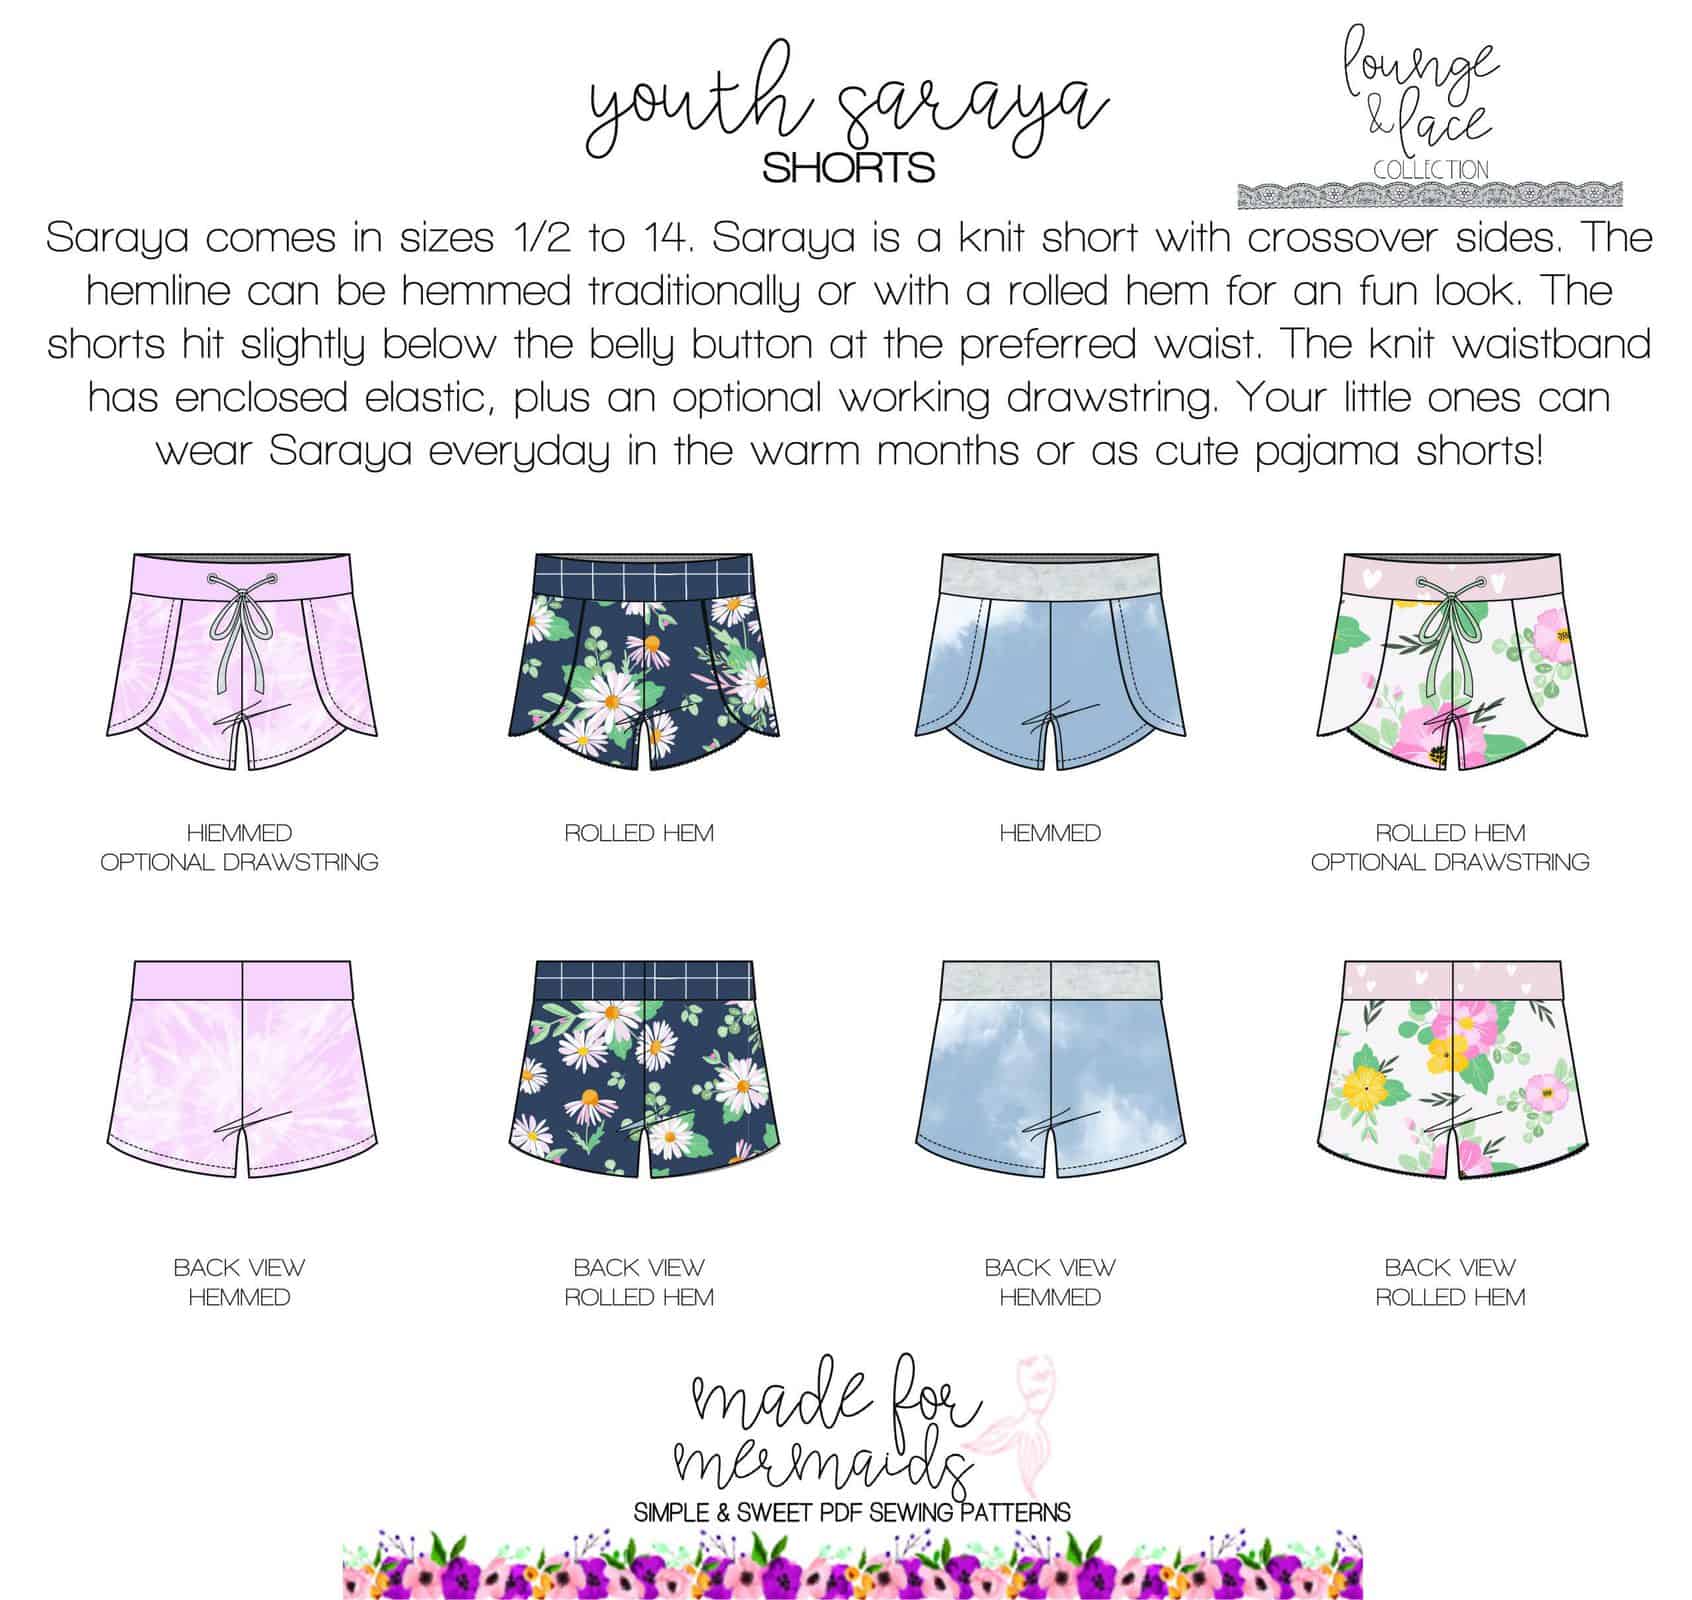
Youth Saraya includes an optional drawstring and is intended to hit at the preferred waist. Women’s Saraya has a little more variety, with two waist options (preferred or natural), three hemlines (cheeky – and we do mean cheeky!!!!, 3.5″, and 4.5″), and an optional drawstring.
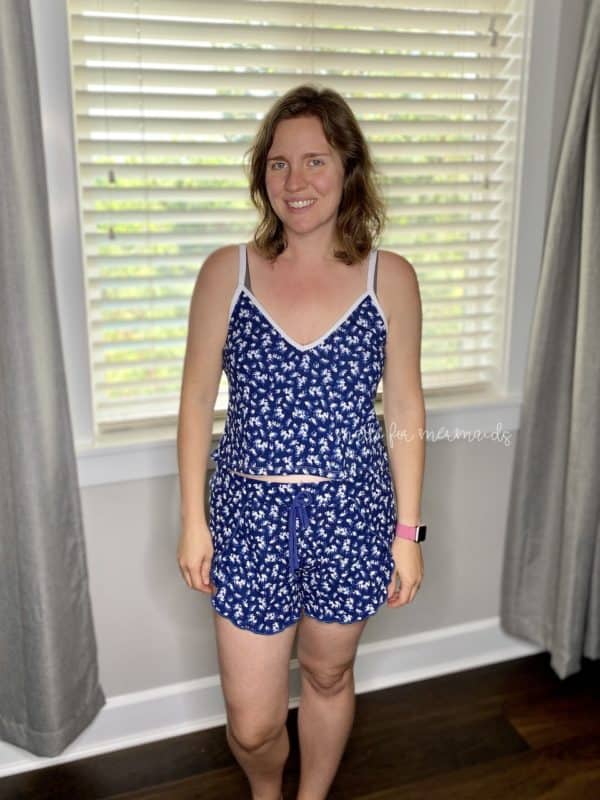
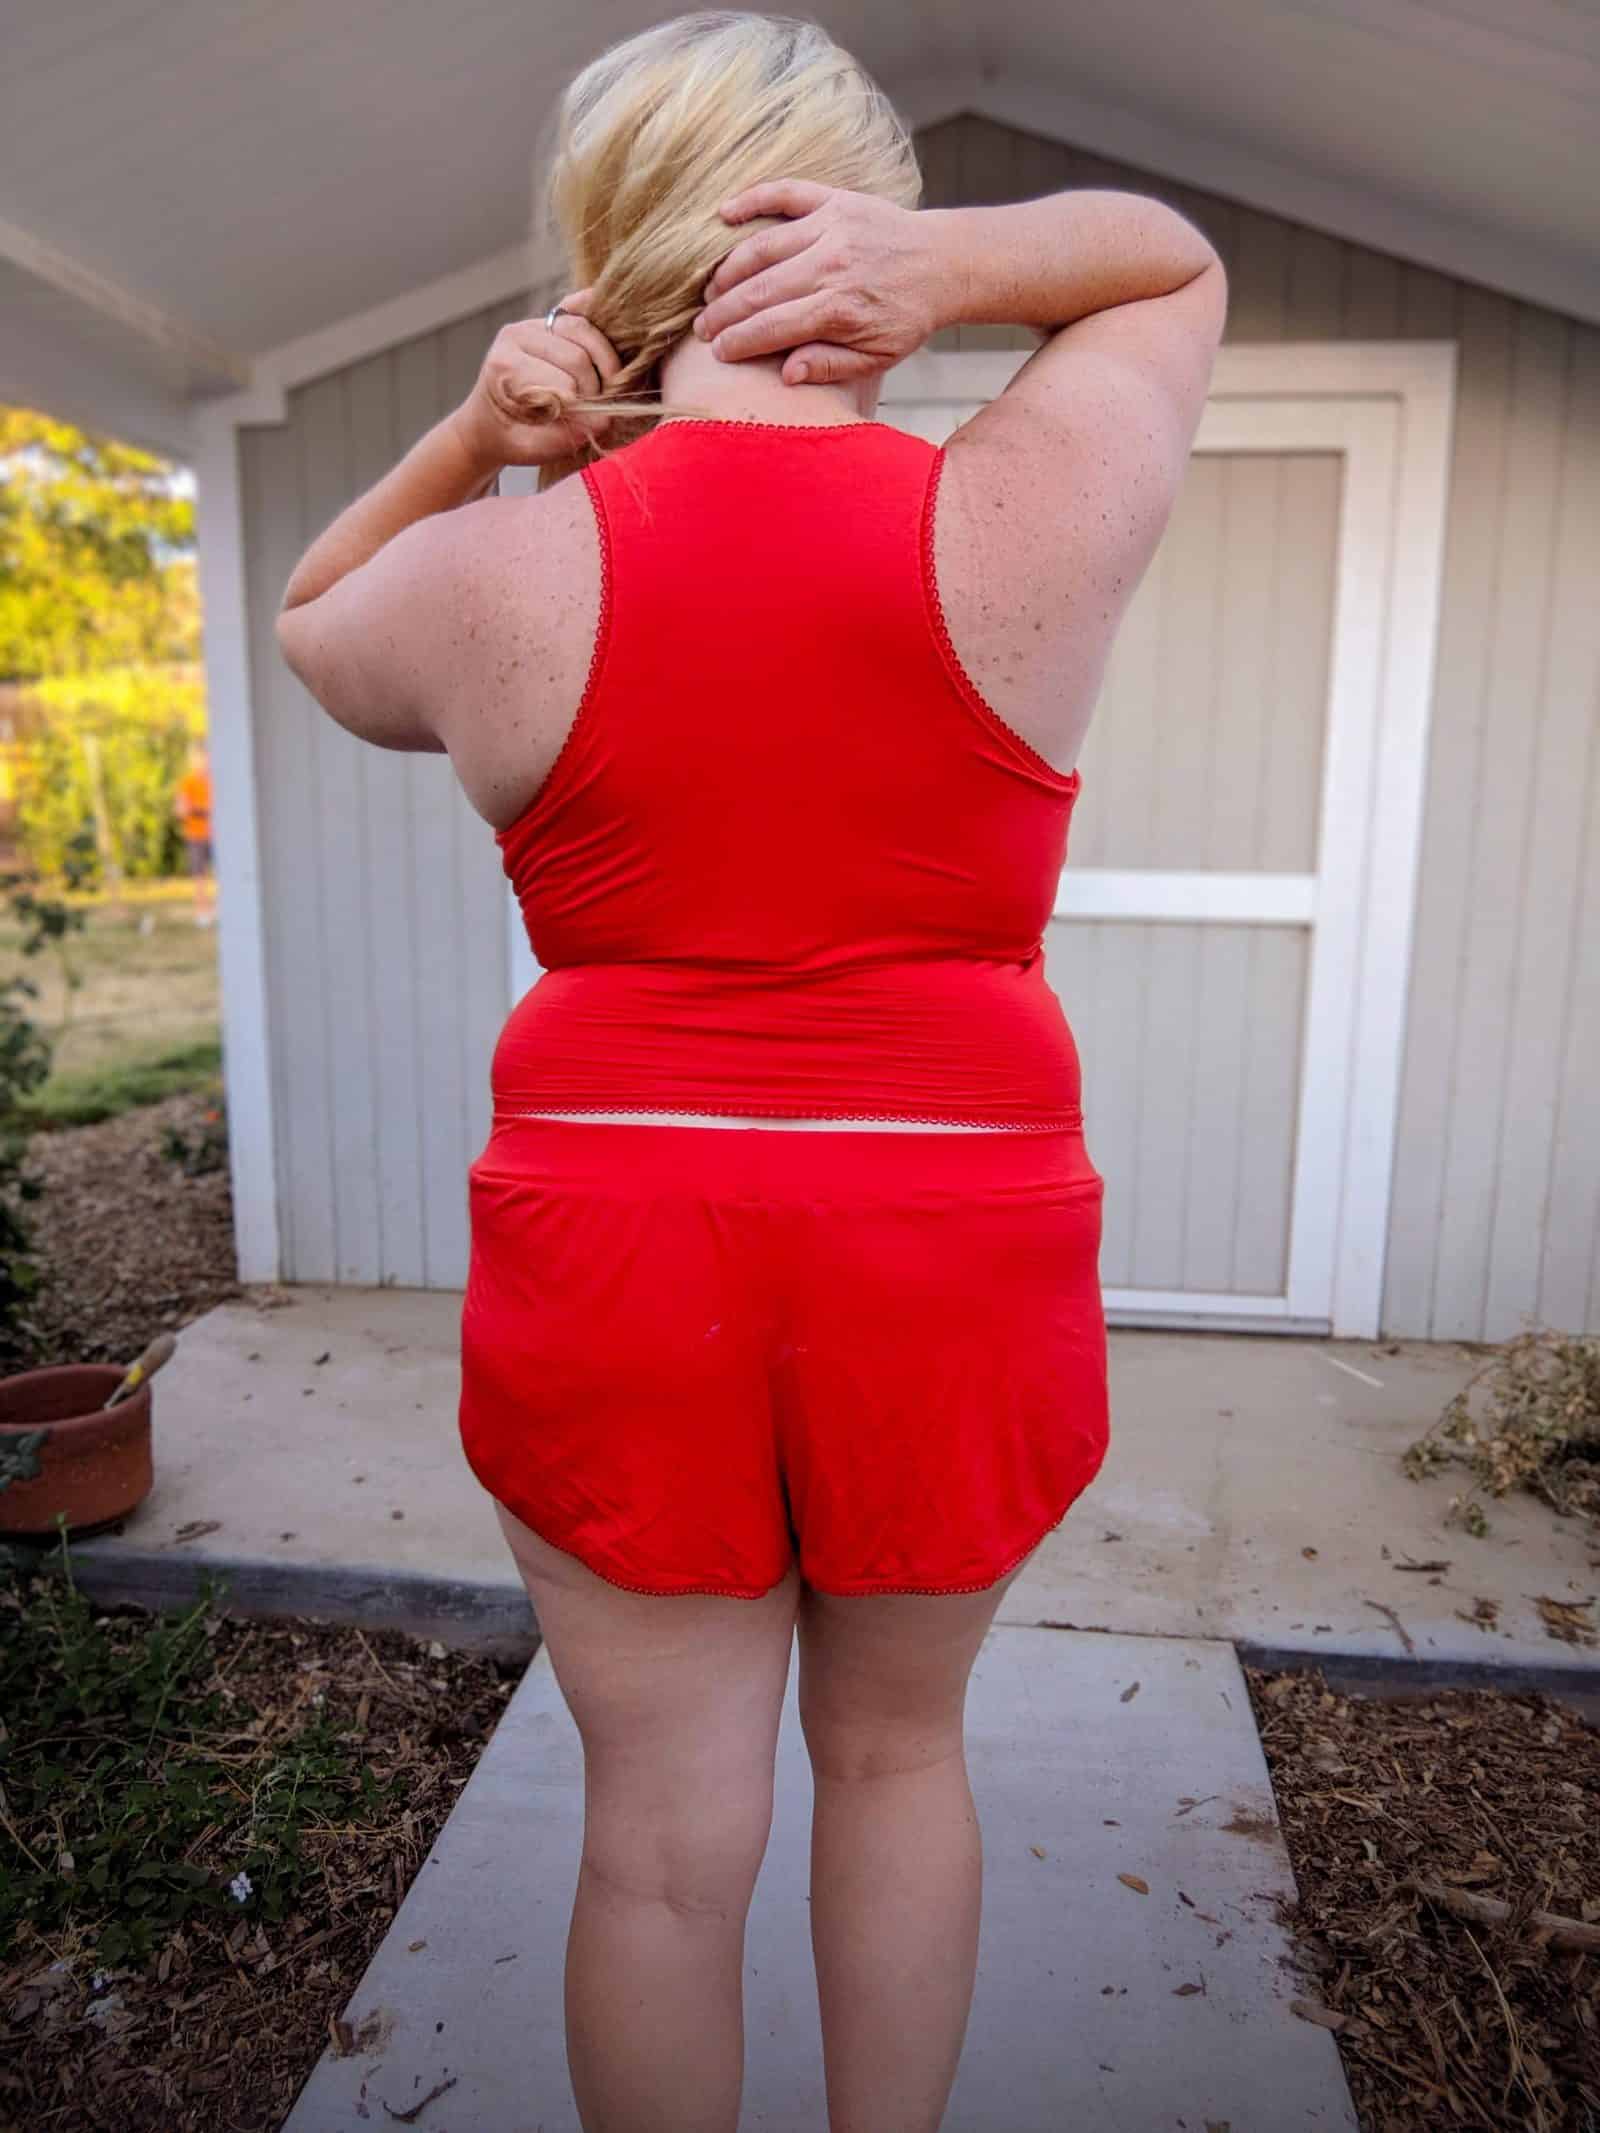
Saraya is cute by itself but also pairs perfectly with our new Remi patterns as well. You can give your whole loungewear collection a makeover!
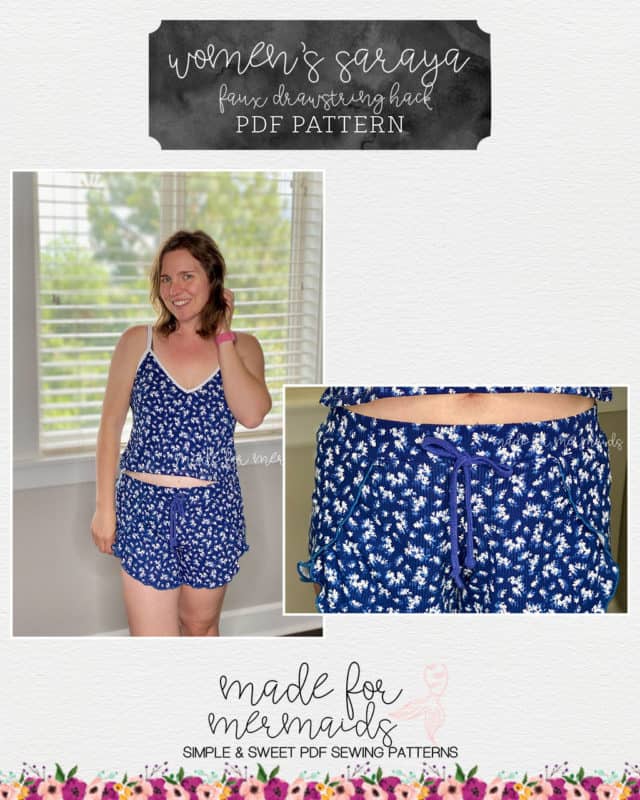
Faux Drawstring Hack
Do buttonholes or grommets seem like too much work? Or maybe you don’t have all the pieces or patience to install them? I have a simple and quick hack to maintain a drawstring look but with no extra tools!
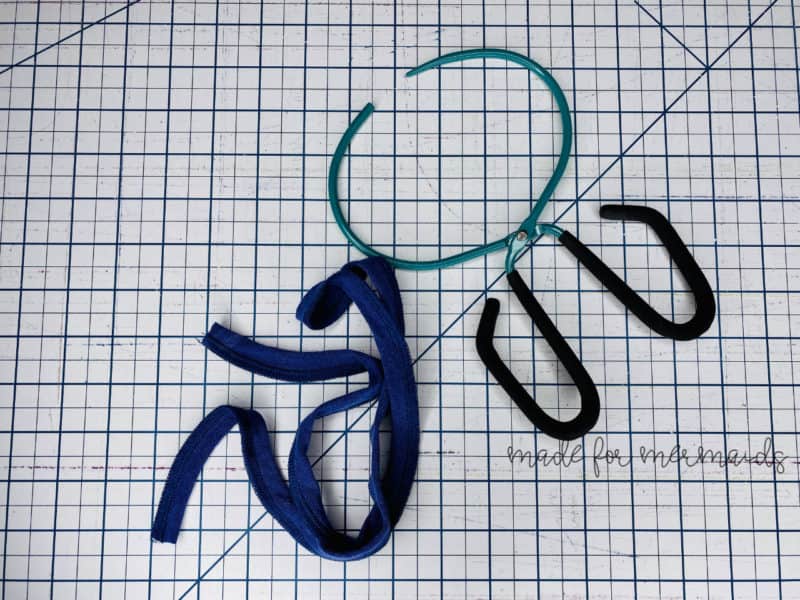
For this hack, you will cut all of your pieces the same except for the drawstring. You can choose to cut any length you’d like, but cutting half the drawstring pattern piece length is best. To do this, just pretend like it doesn’t say to cut on the fold. We can always trim the drawstring to be shorter at the end. Construct your Saraya shorts according to the tutorial, including adding the waistband and elastic. Skip any steps for adding grommets or buttonholes for the drawstring.
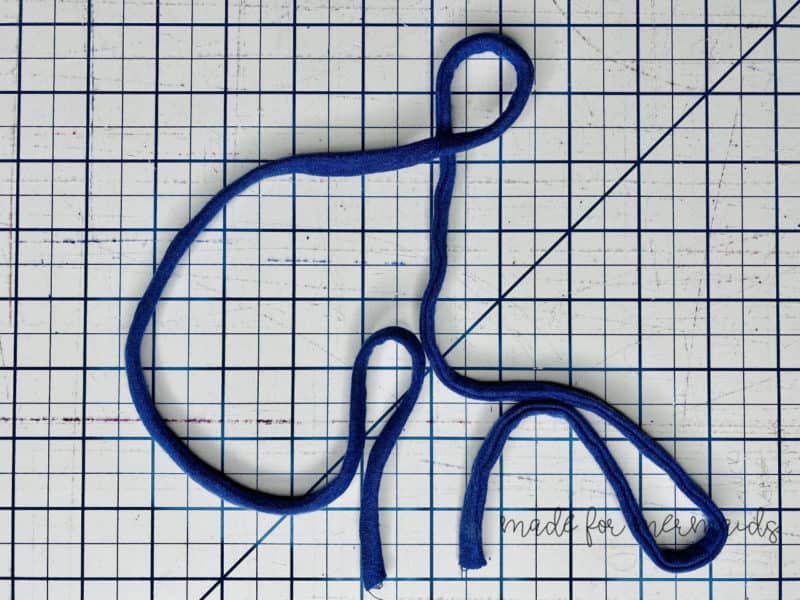
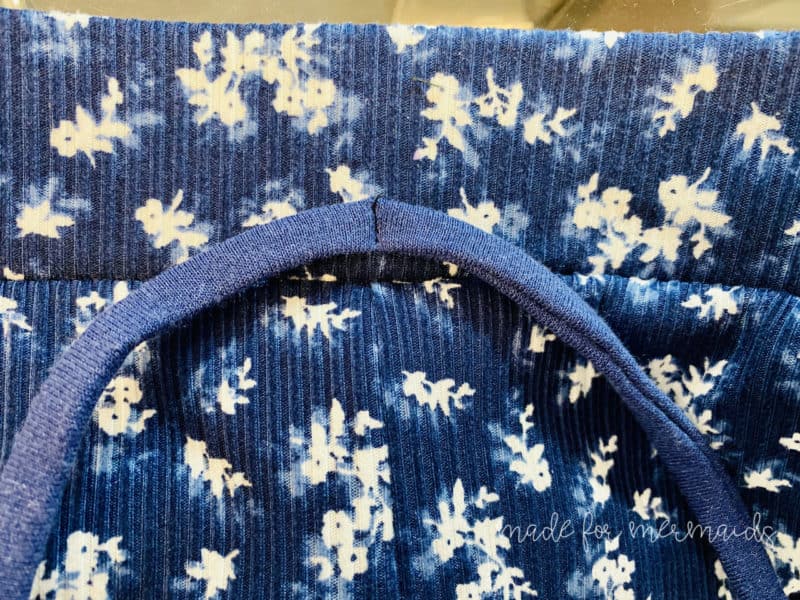
To sew the drawstring, place the right sides together (RST) and stitch with 1/4″ seam allowance along the entire length of the drawstring. Turn it right side out.
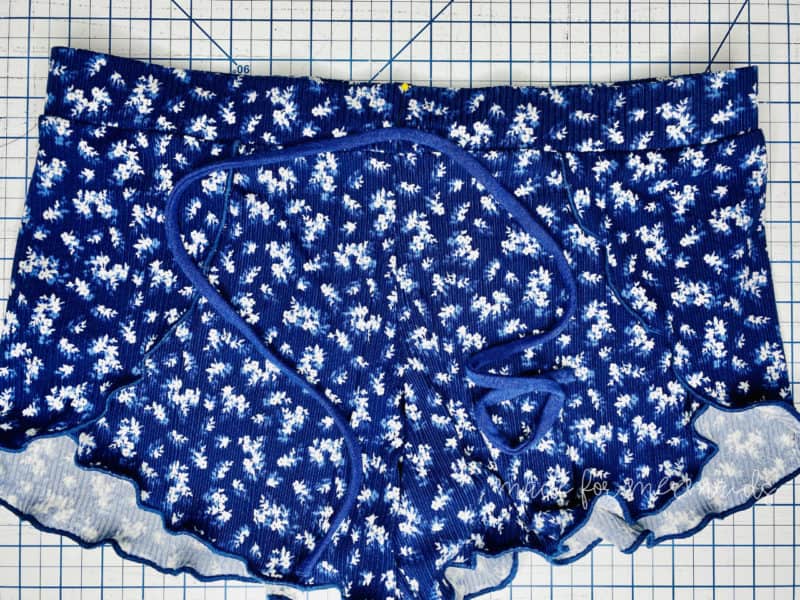
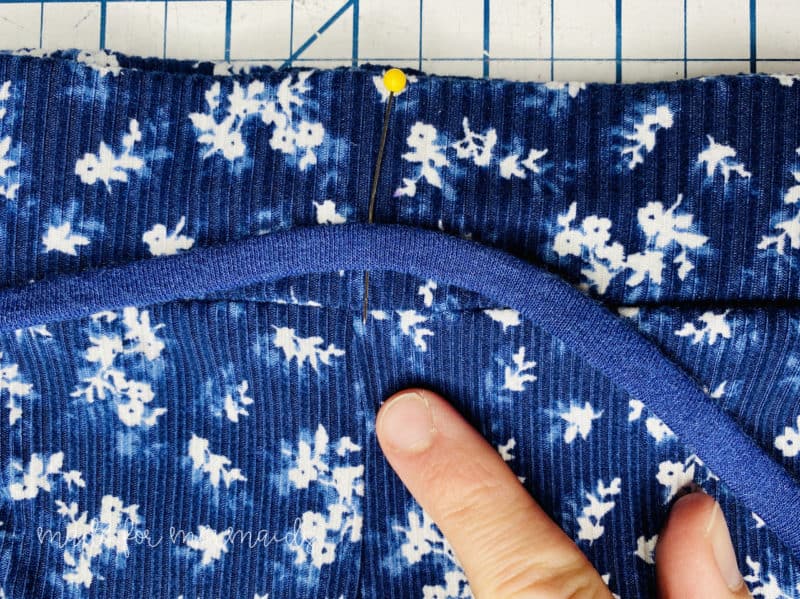
Take your completed shorts and lay them with the front laying up. Find the center of the drawstring and the center front seam of the shorts. Pin the drawstring to the waistband about 1/2″ up from the waistband seam.
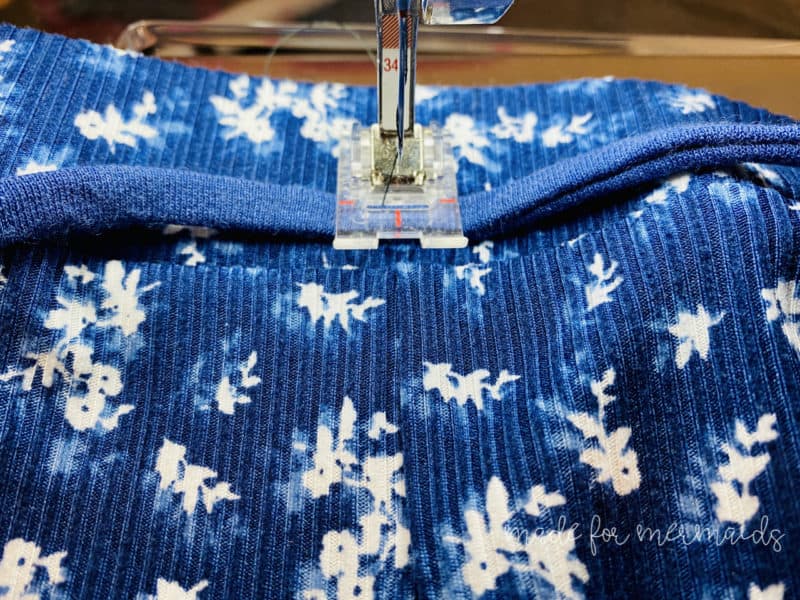
Using a straight stitch on your sewing machine, sew a vertical line to secure the drawstring to the shorts, backstitching 3-4 times to ensure it’s secured. You will want to make sure this is lined up with the front seam and you stitch through the elastic without catching the back of the shorts.
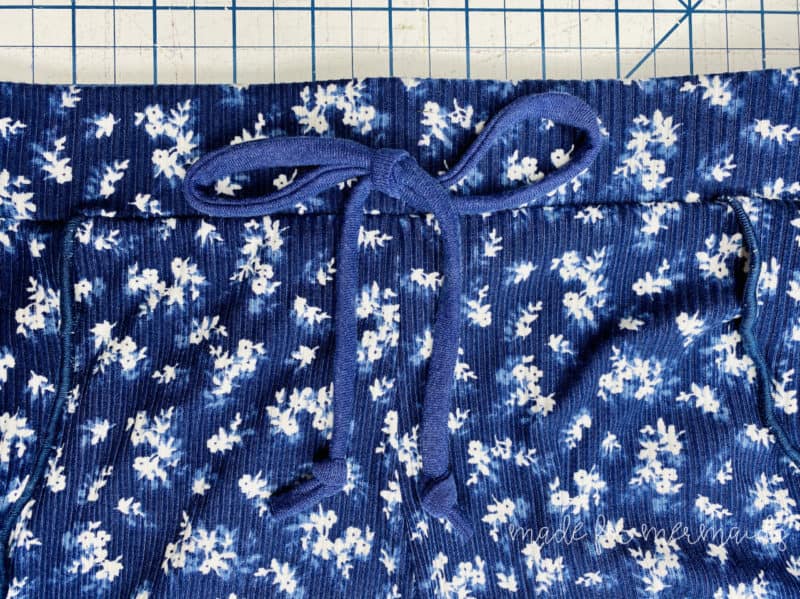
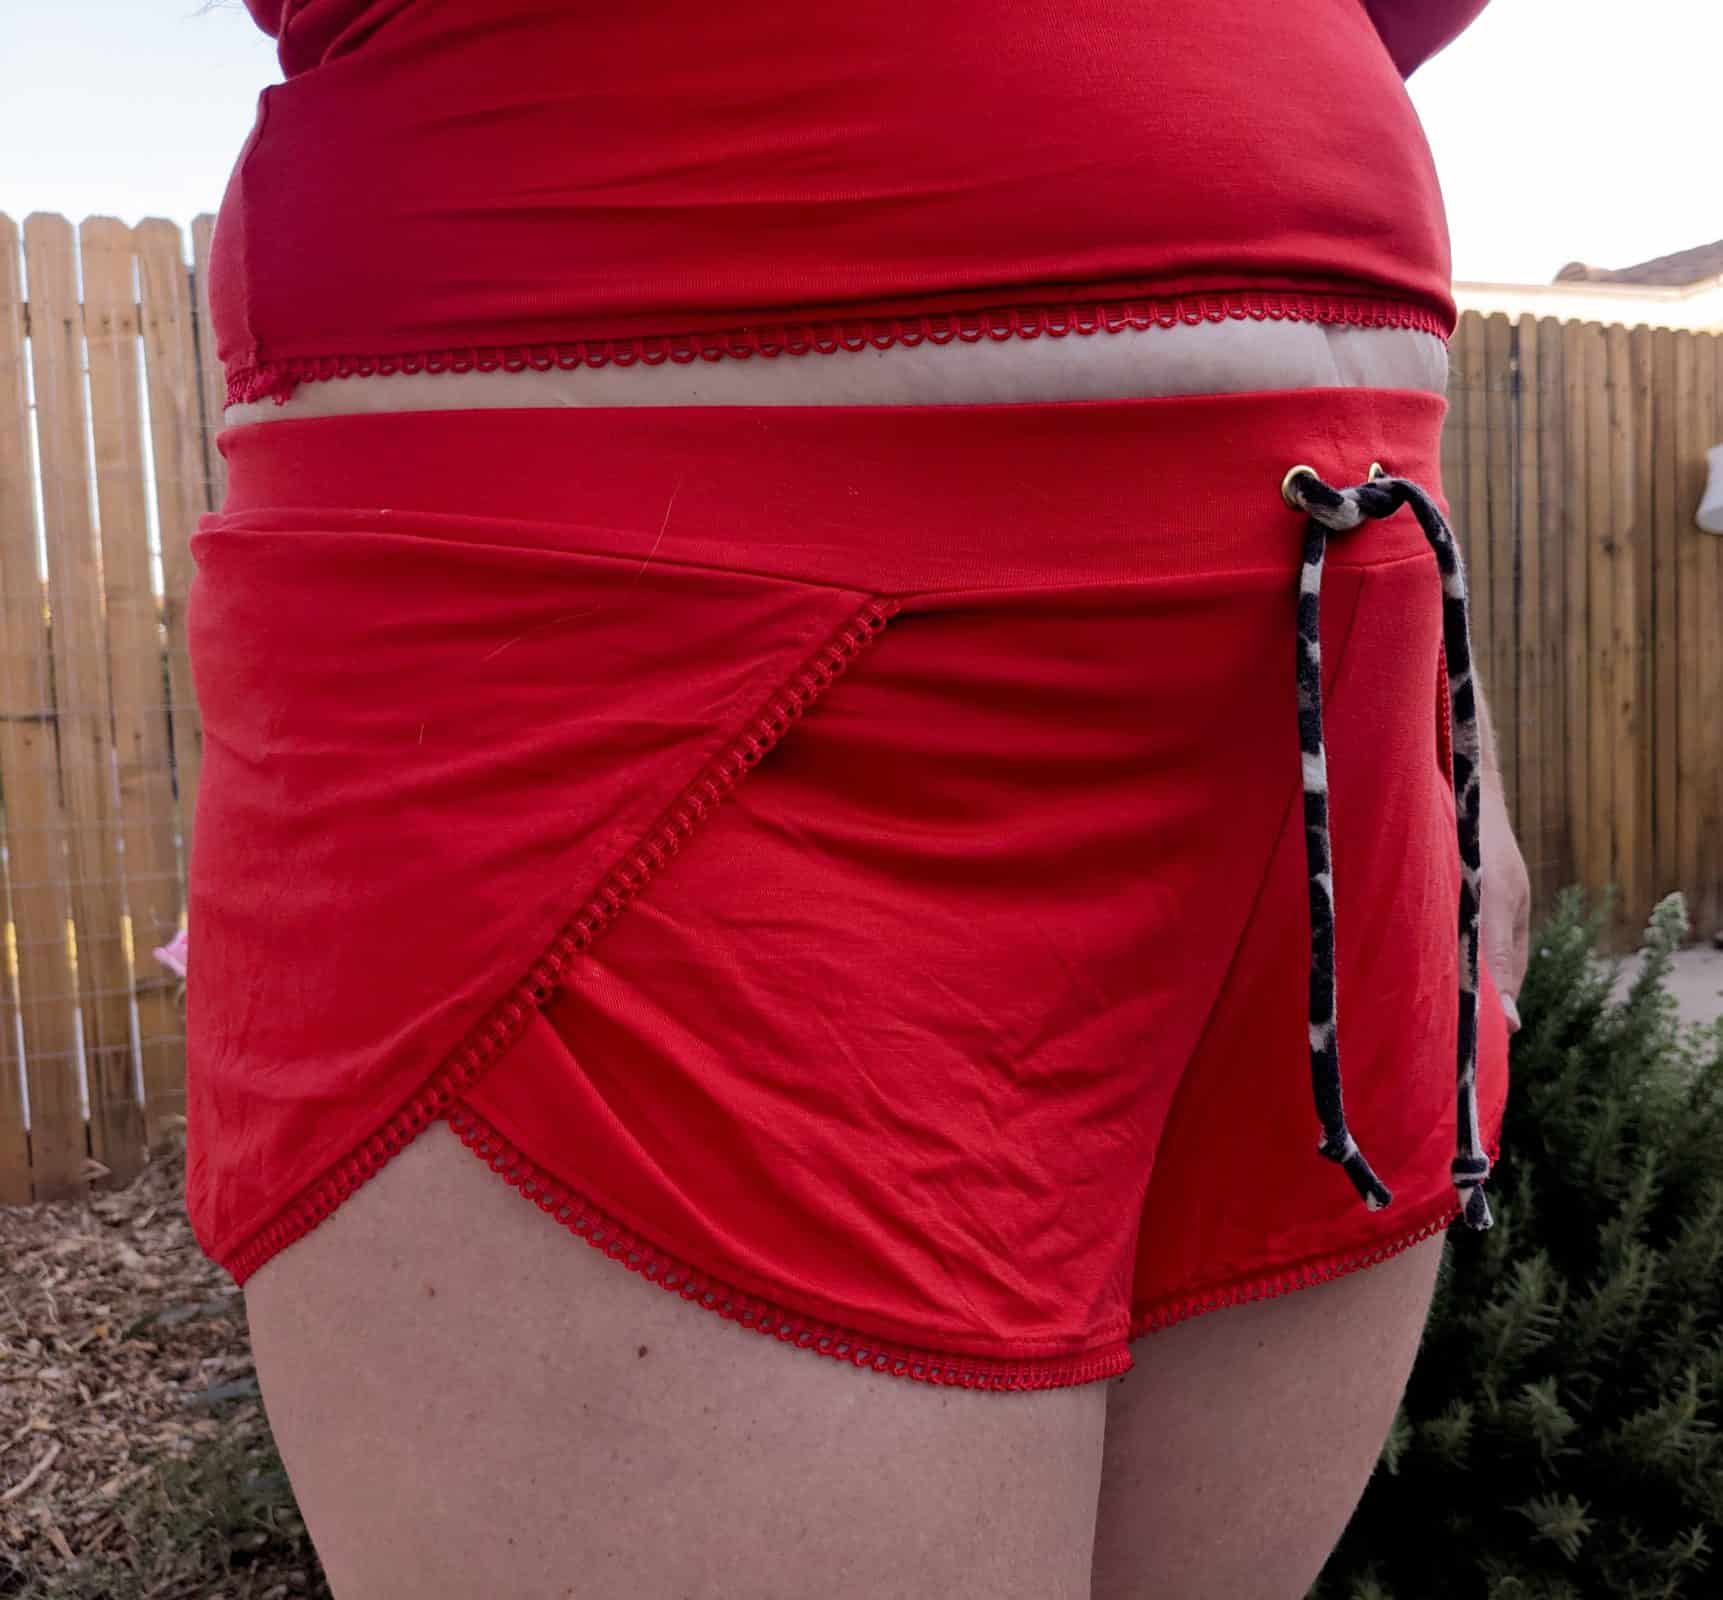
Tie the stitched drawstring into a bow. Knot the ends and cut shorter if desired.
Now you have the fun drawstring design on your Saraya shorts without the extra time and work of adding grommets or buttonholes. Happy sewing! ~Katie
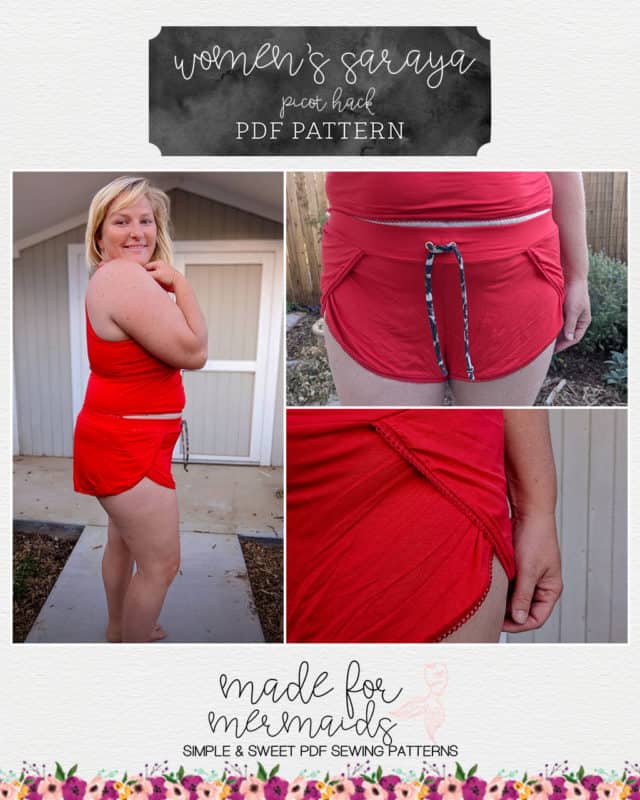
Picot Hack
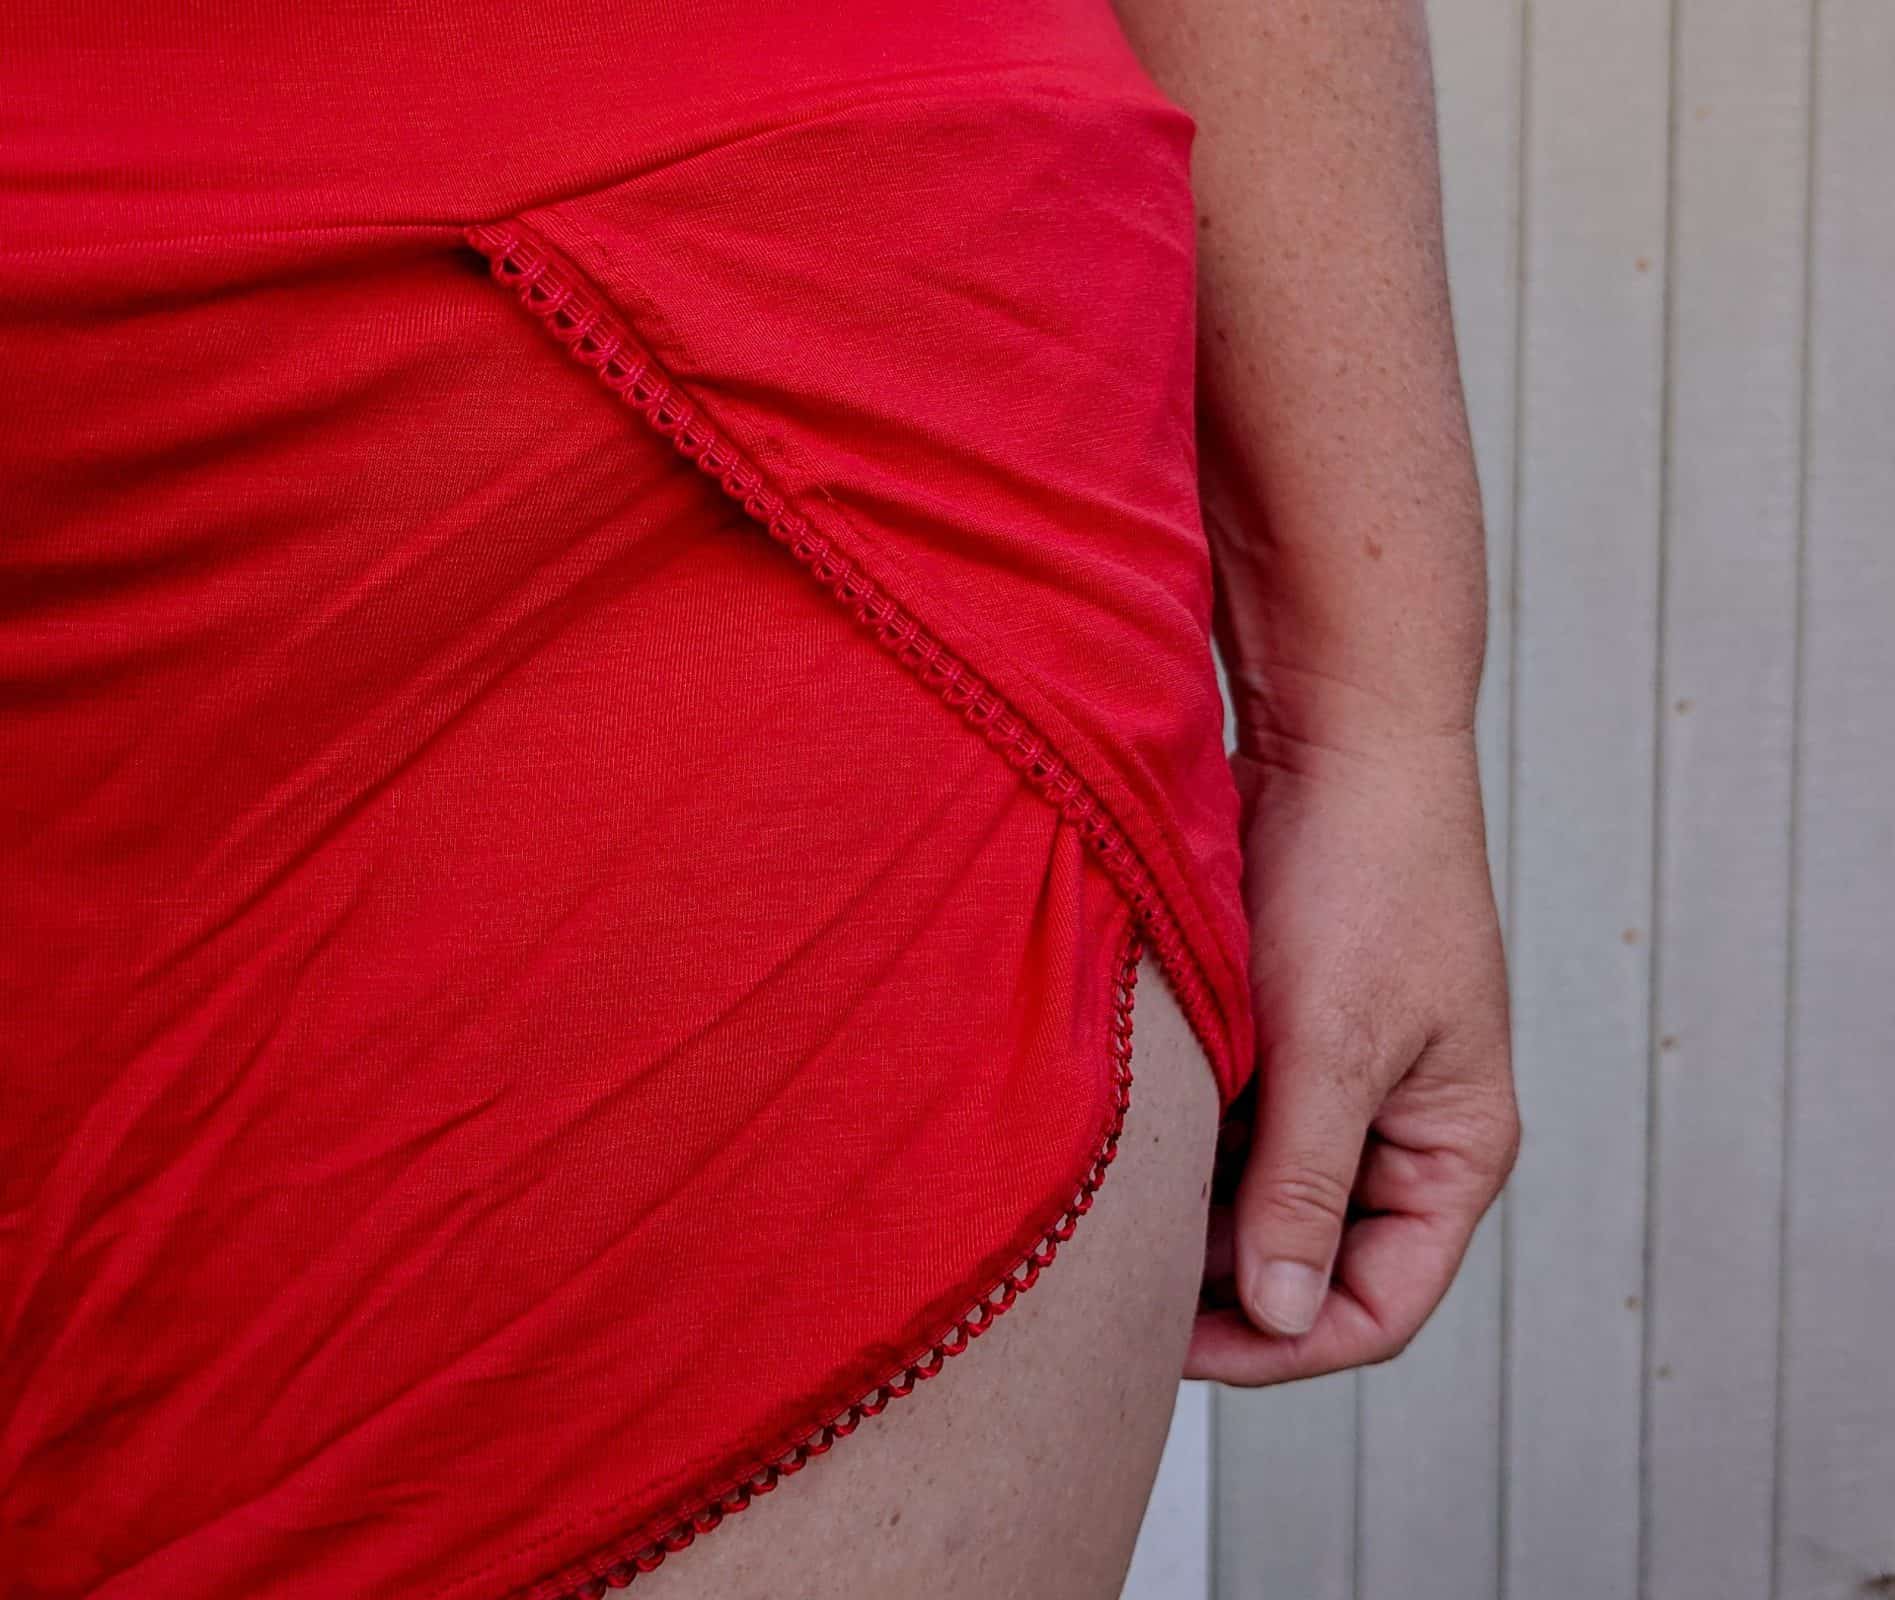
Let’s try a cute picot finish hemline.
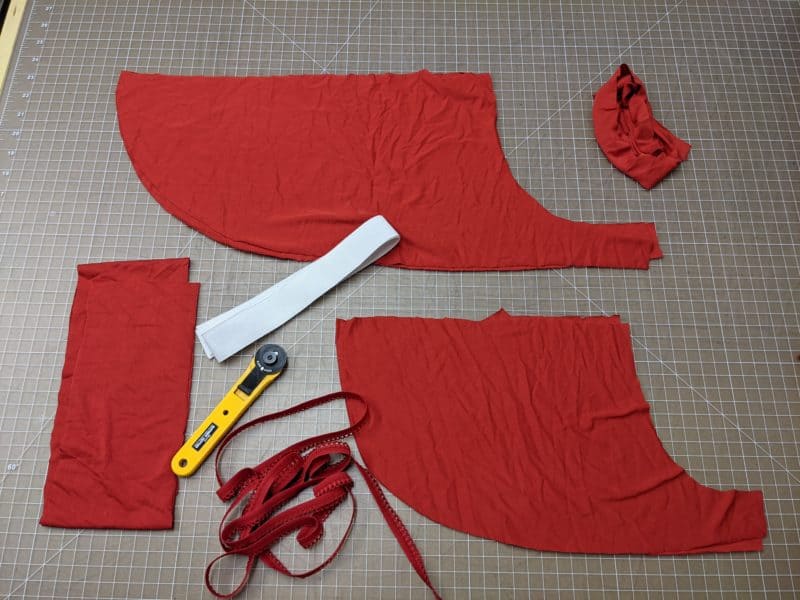
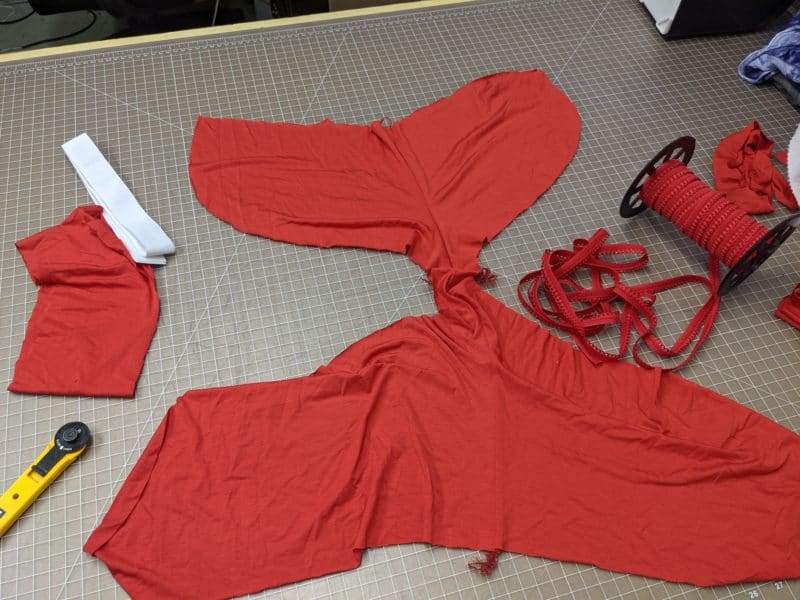
You will need: picot elastic (a soft elastic with loops on one side)
Cut the pieces for the Saraya style of your choice and grab picot elastic (you will need the same length as your hemline. Follow the pattern instructions until you come to the hem section.
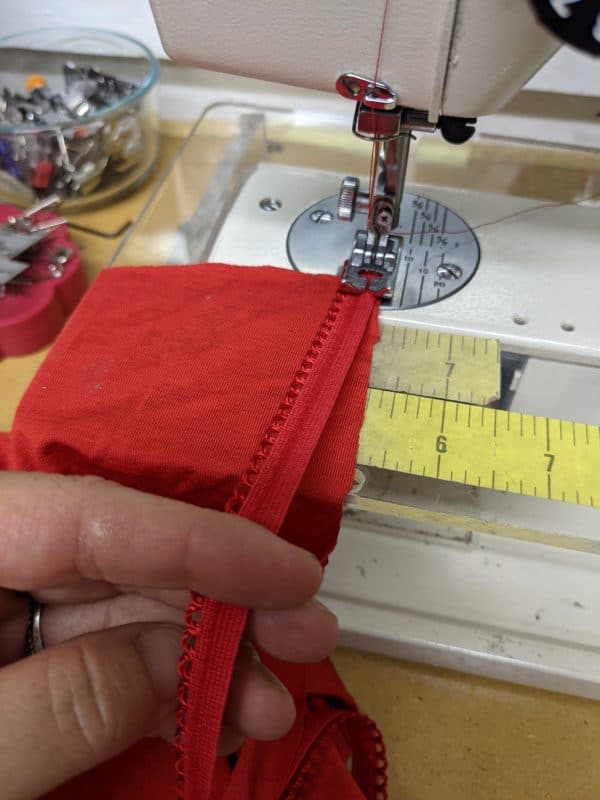
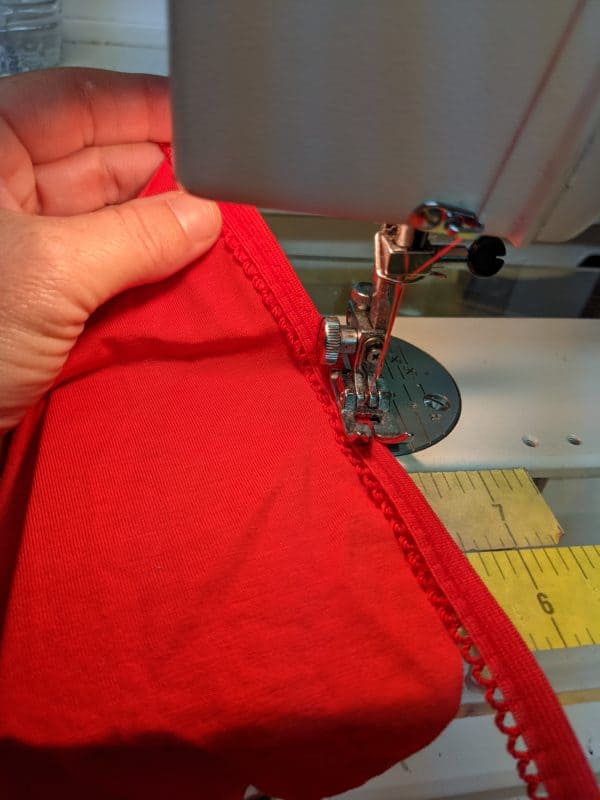
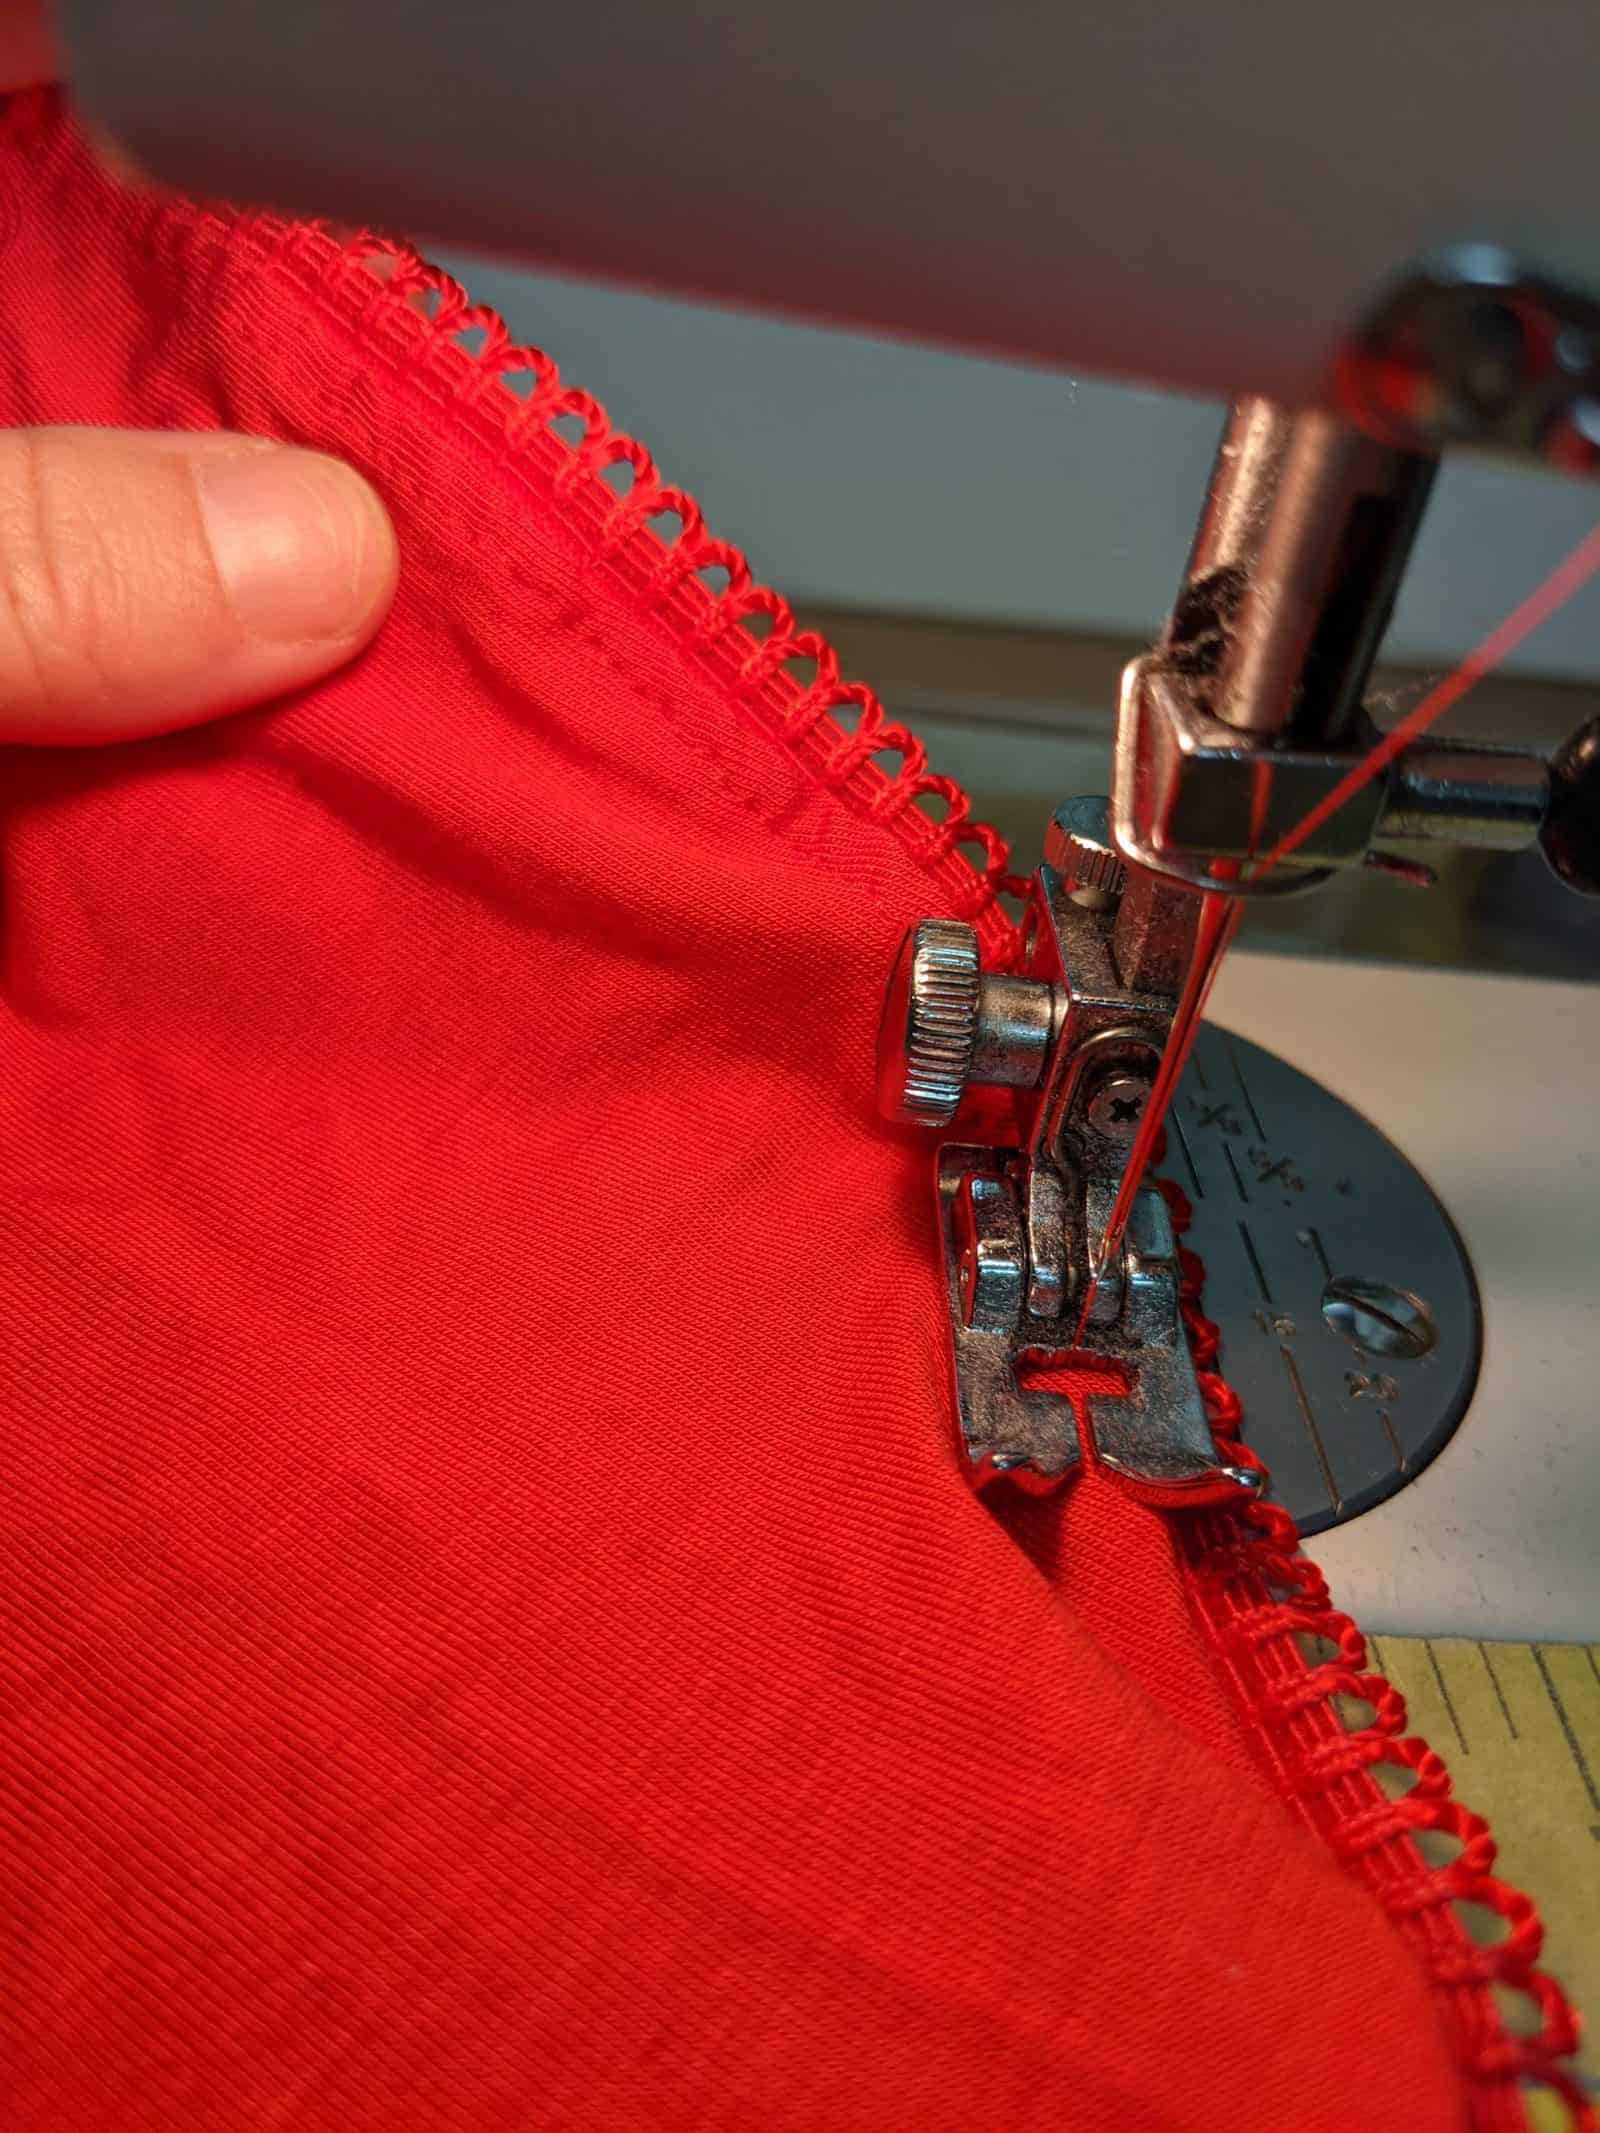
Instead of hemming, with the right side of your fabric facing up, line the flat edge of the picot elastic to the edge of your hem. WITHOUT stretching the picot or the fabric, attach with a zig-zag stitch at 1/4″ seam allowance. (a 1:1 ratio with your fabric is important to keep everything laying smoothly) Be careful to not catch the picot loops with your stitches and do not stretch your main fabric.
- match flat side of picot with hem edge
- attach with a zig zag stitch. DO NOT STRETCH your elastic or fabric
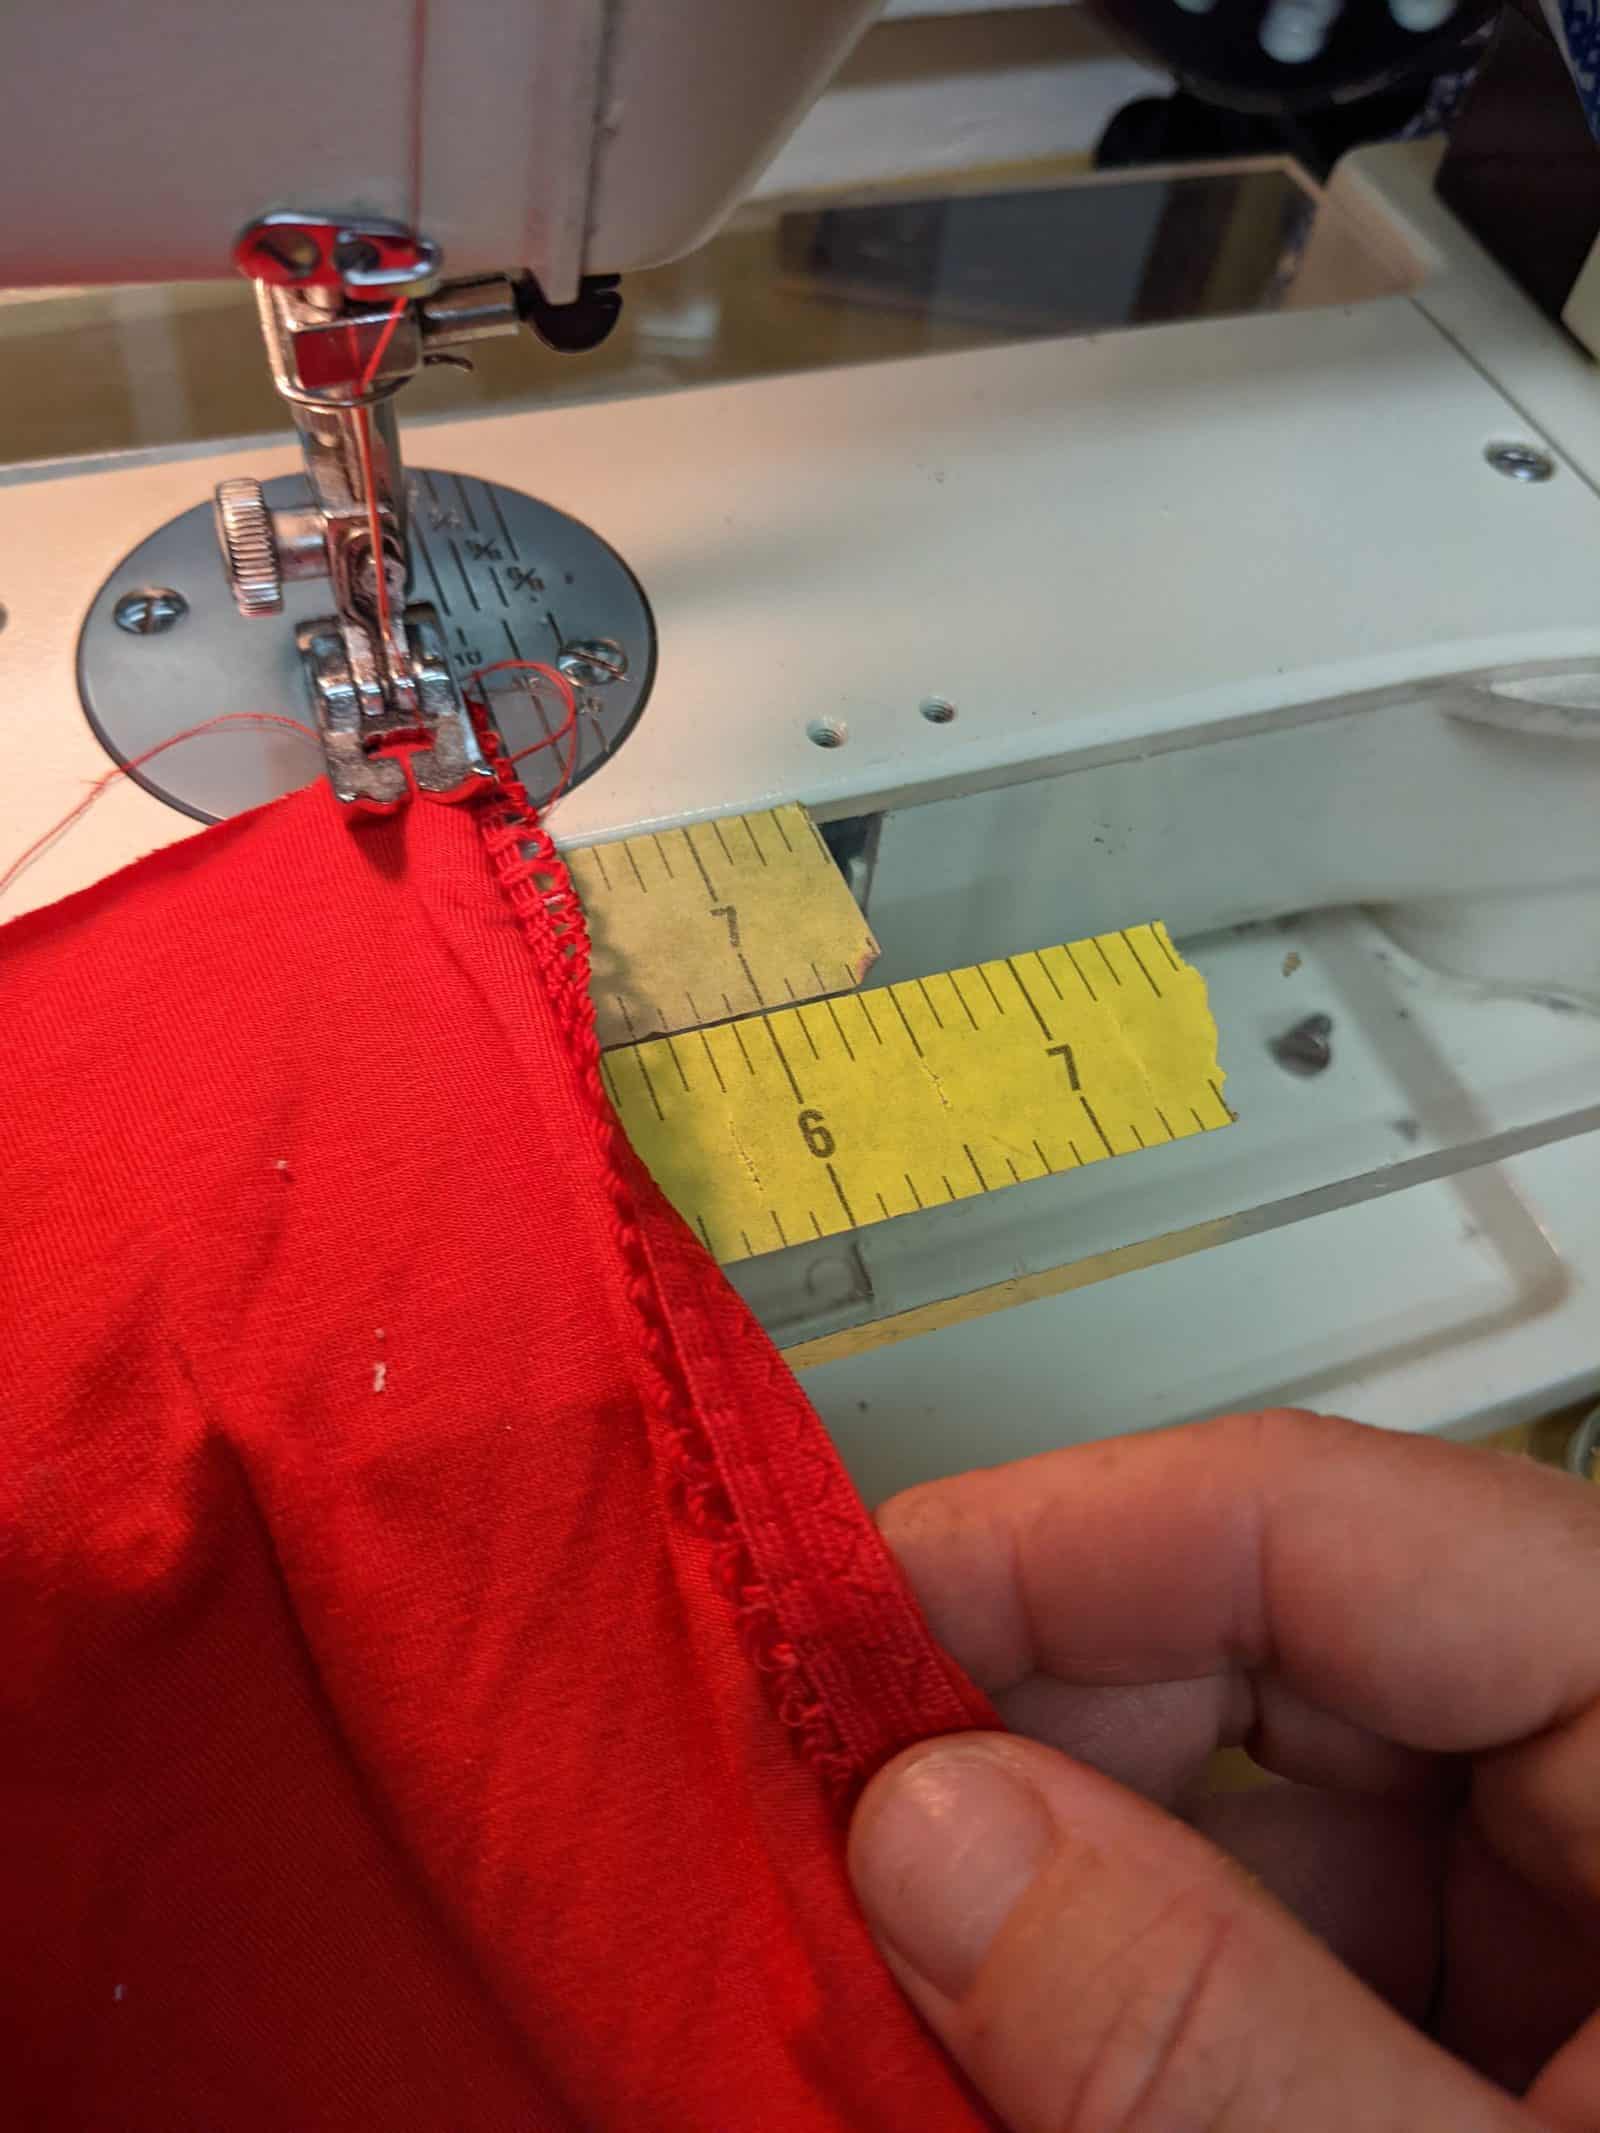
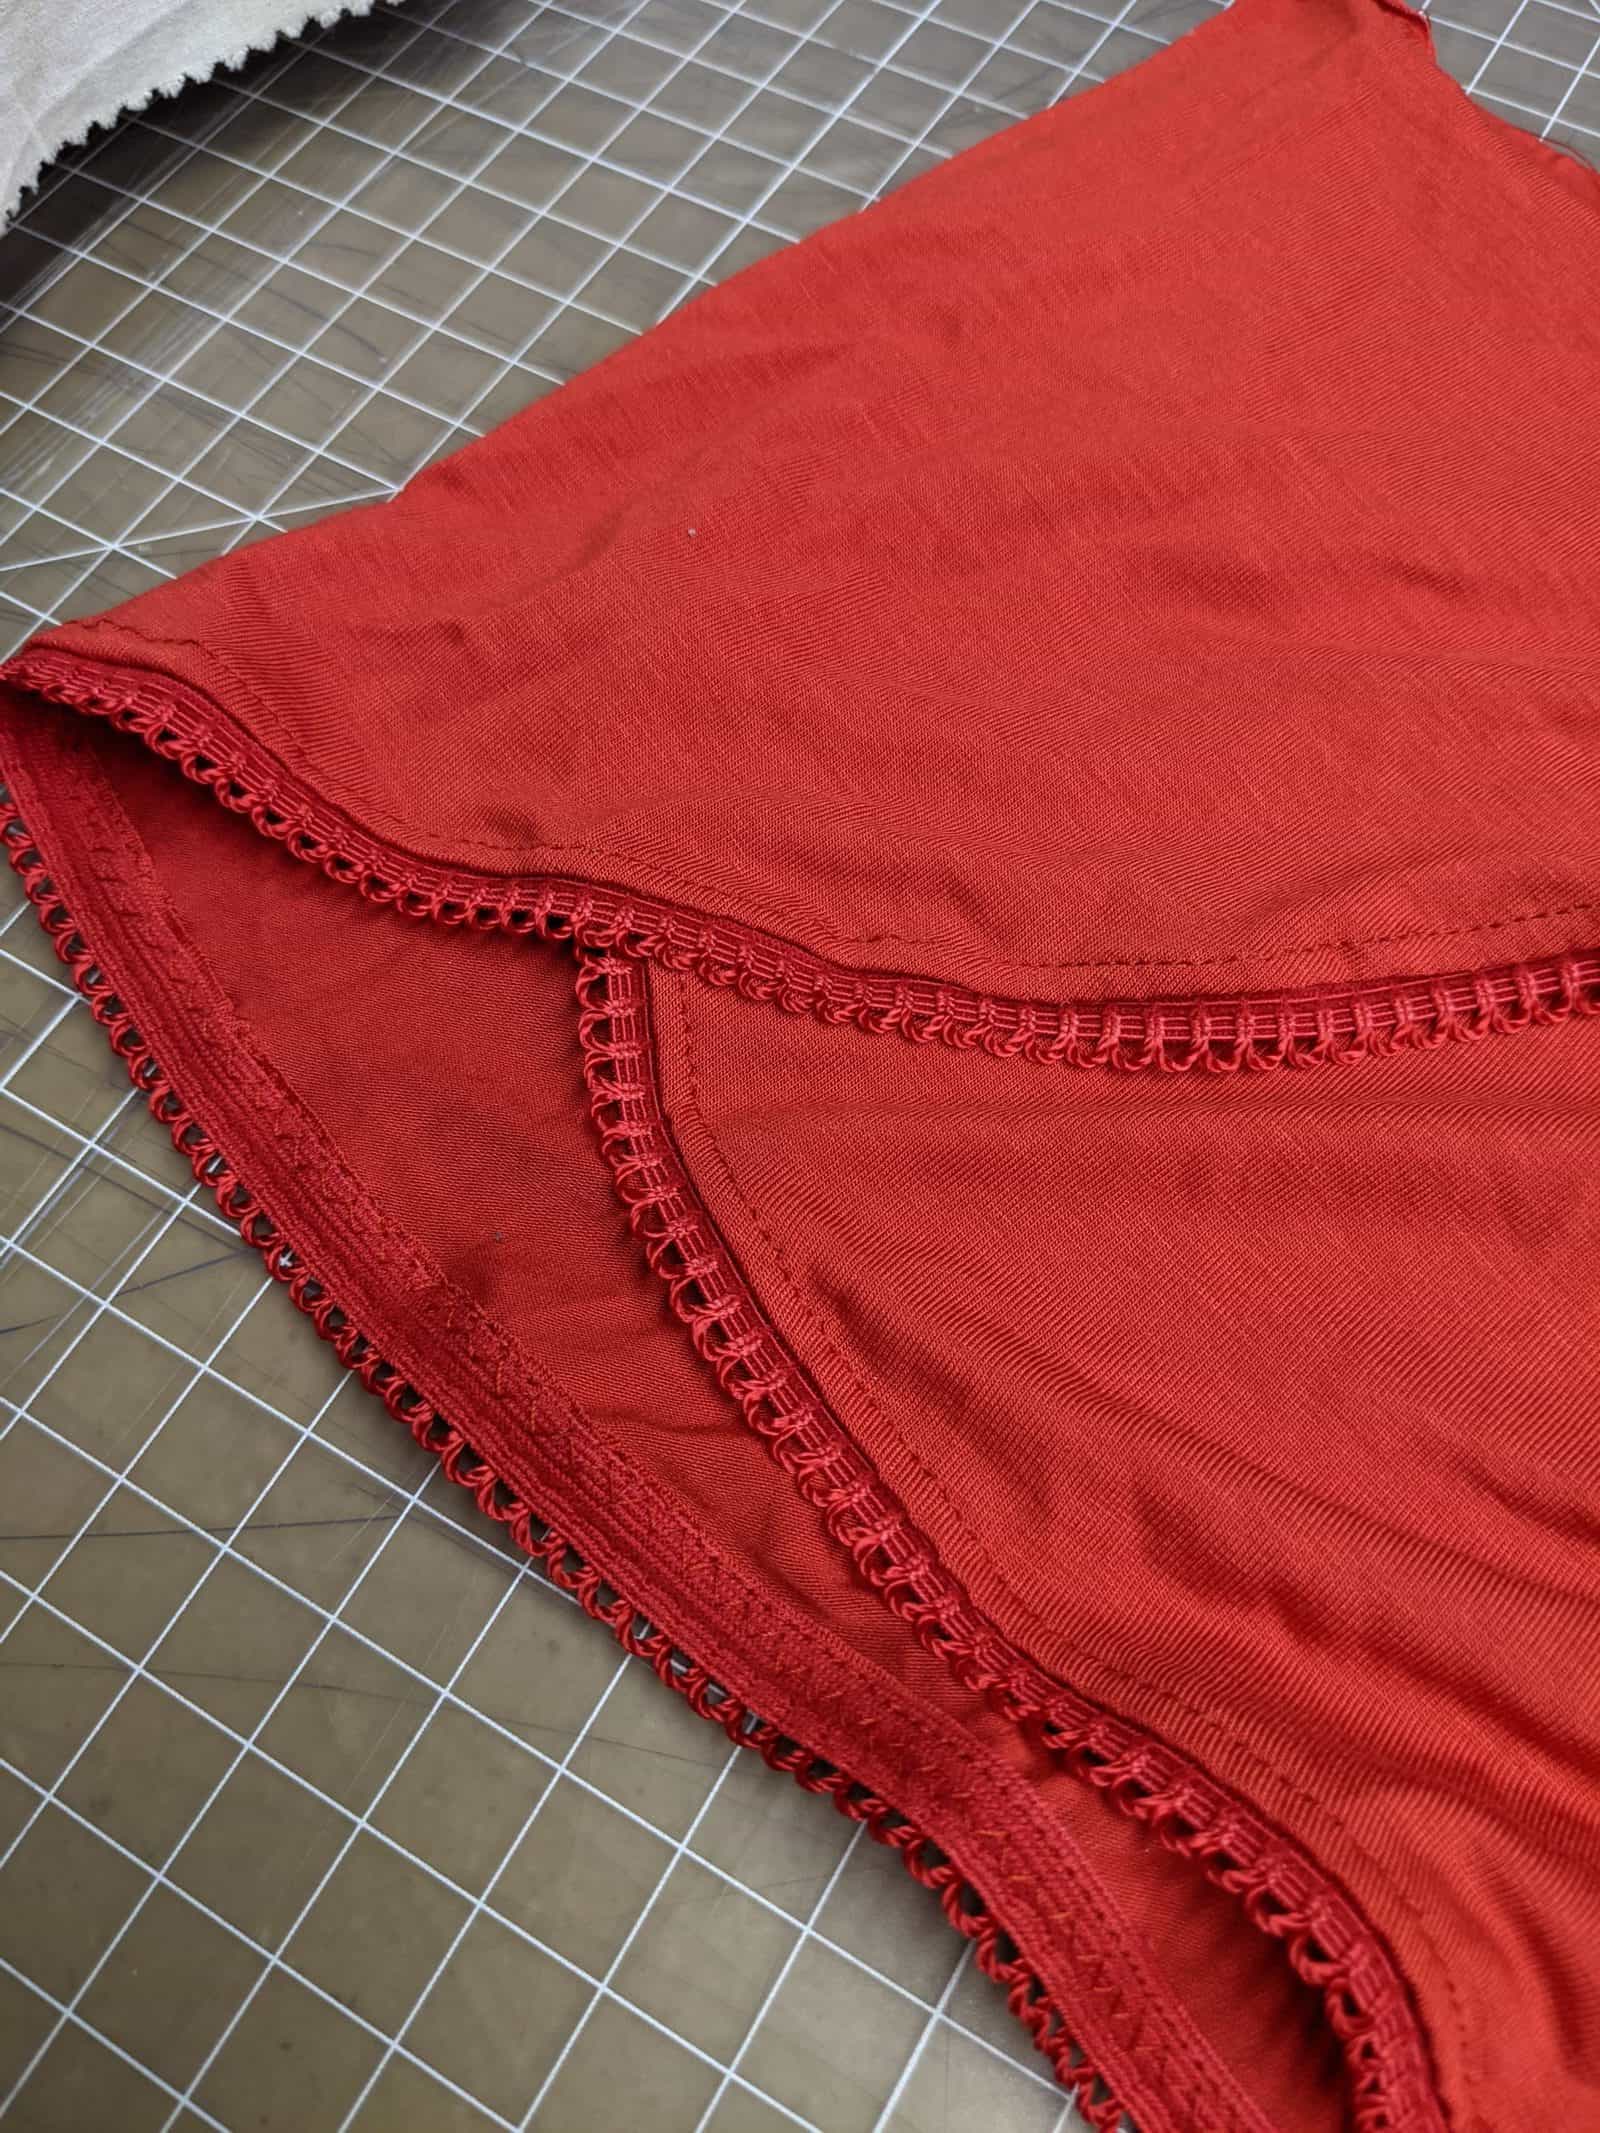
The last step is to flip the picot elastic over to the wrong side and finish with the top stitch of your choice.
- flip picot to wrong side of fabric
- top stitch
- complete pattern instructions
Enjoy your new Saraya shorts! -Bekah
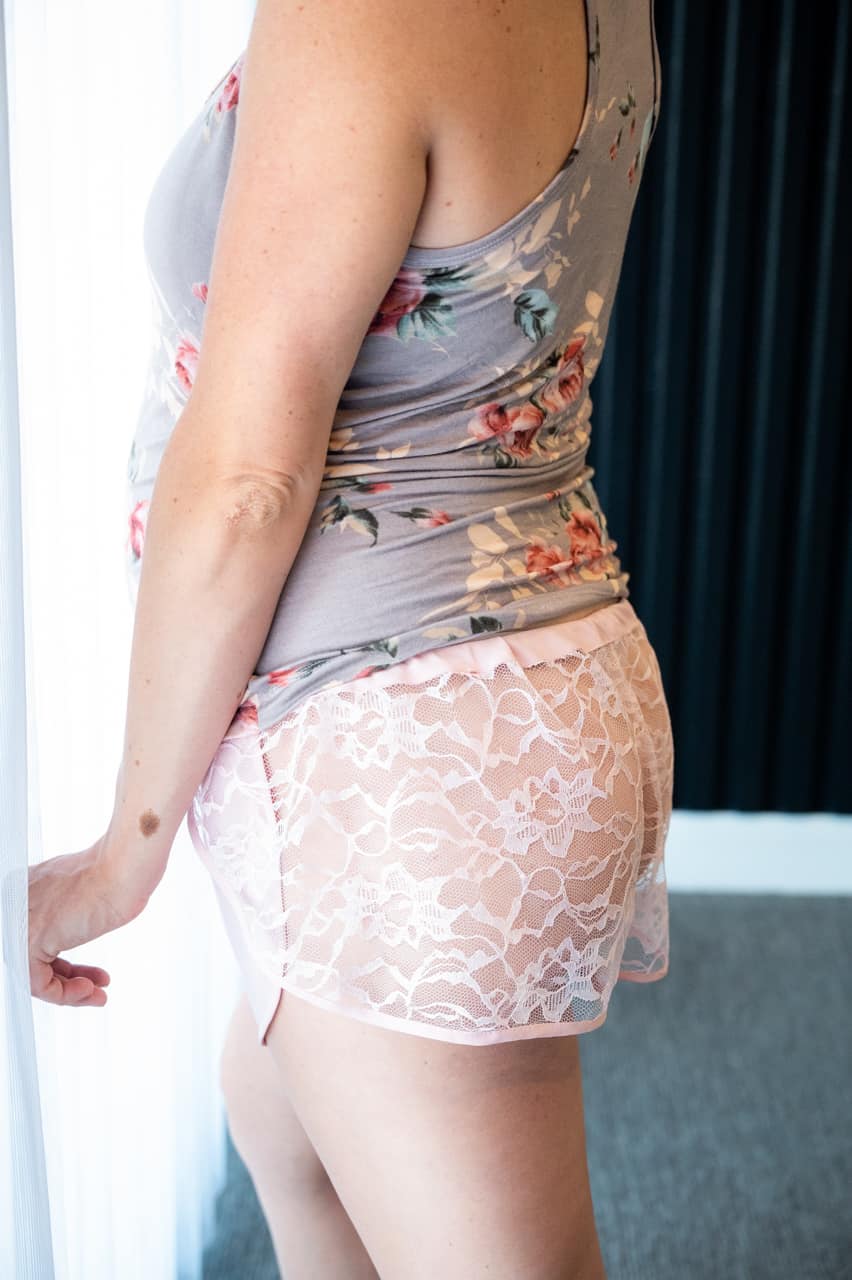
Lace Back Hack
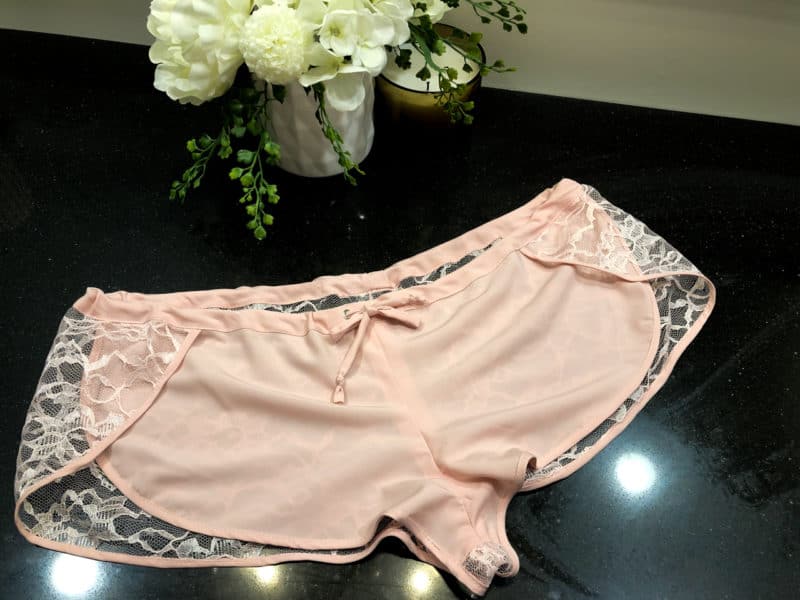
Hey friends! Sonia here with a Pinterest-inspired hack for the beautiful Saraya shorts. I love the femininity and allure of the lace back! Here is my inspiration for these:
Ok, now on to the tutorial!
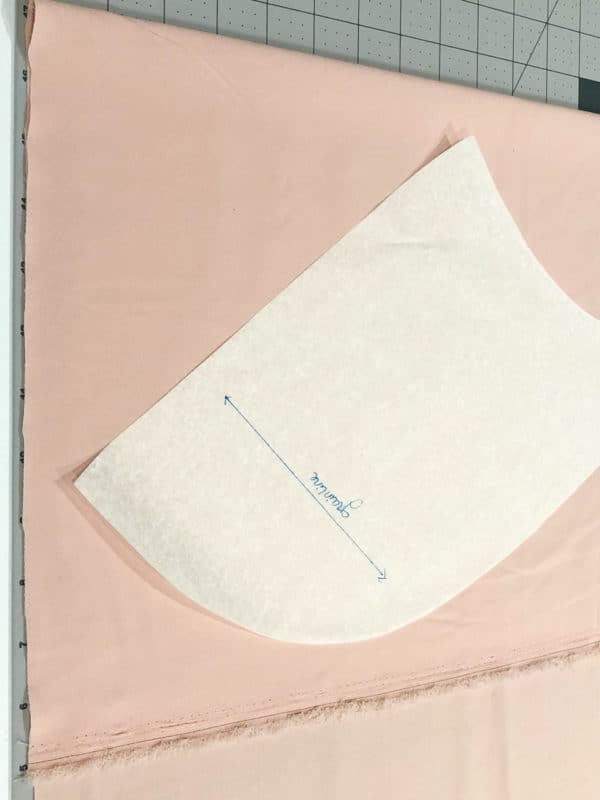
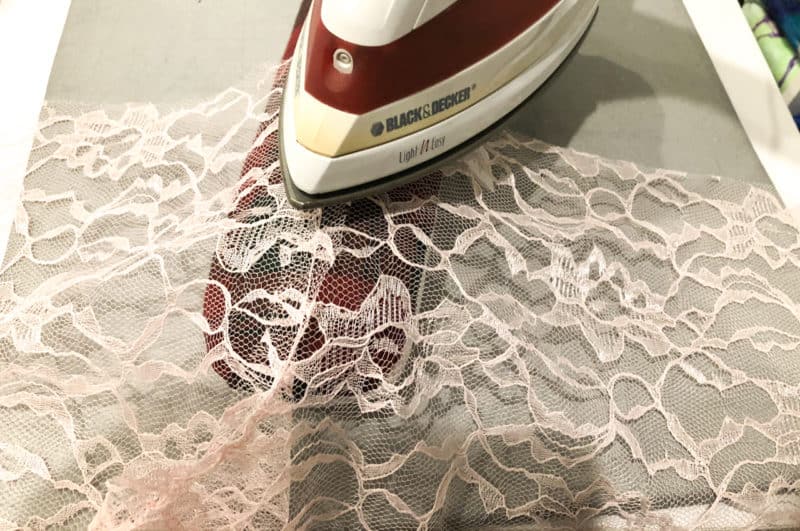
Notes before we begin! Fabric choice! I used a “stretch” chiffon and a “stretch” lace from Joann’s. Both have maybe 10% stretch, so I cut on the bias (45° angle from the grainline) for a little added stretch. Personally, I cut my fronts on the bias, but not my back pieces as the lace had a tiny bit more stretch and I didn’t want to angle the design in the lace. You can play around with cutting on the bias (which will give a bit more stretch) and or sizing up if you want! Sizing note! I did not size up for mine. If your fabric has zero stretch, you may want to.
Sew inseams and crotch into butterfly shape as per instructions (through step 4). For this lace hack especially, use a stretch stitch on the sewing machine (triple straight stitch recommended: ||| ) and iron seam allowances open. Finish the seam allowance edges if your fabric frays, using pinking shears or a serger.
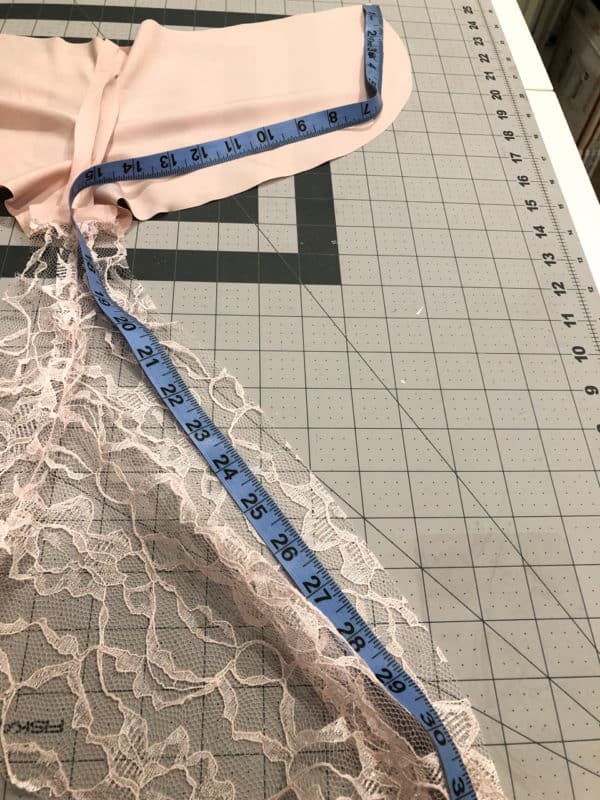
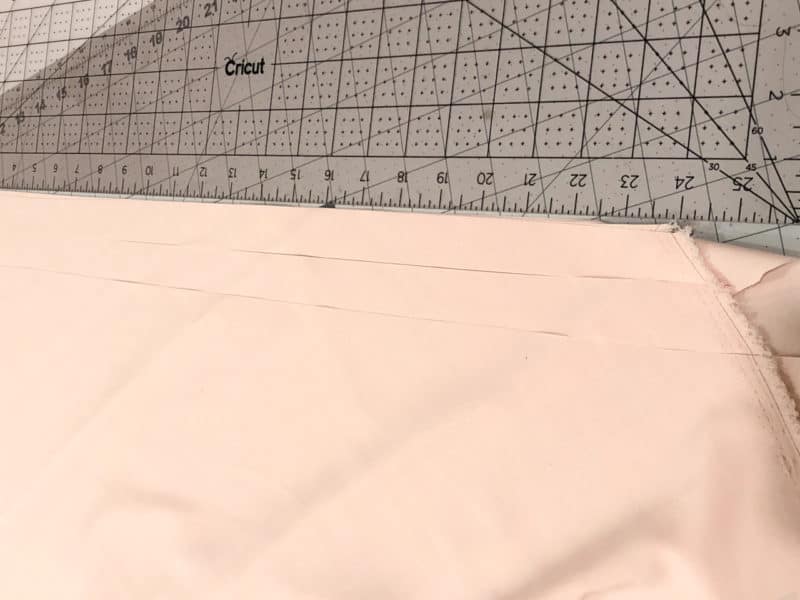
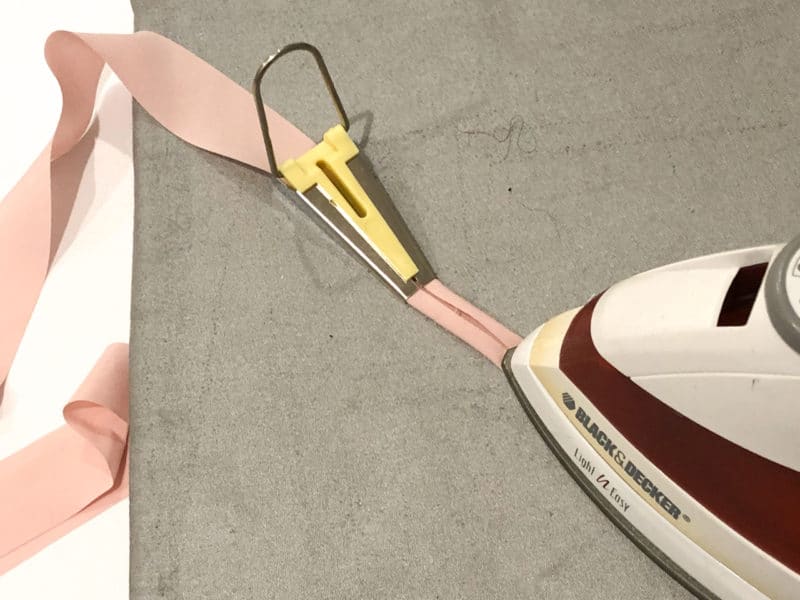
Measure the long edges and cut bias tape long enough for each edge by 1″.
Using a bias tape maker (available on Amazon) is a lifesaver for all of this bias tape! I LOVE this set: https://amzn.to/2SpbPoL
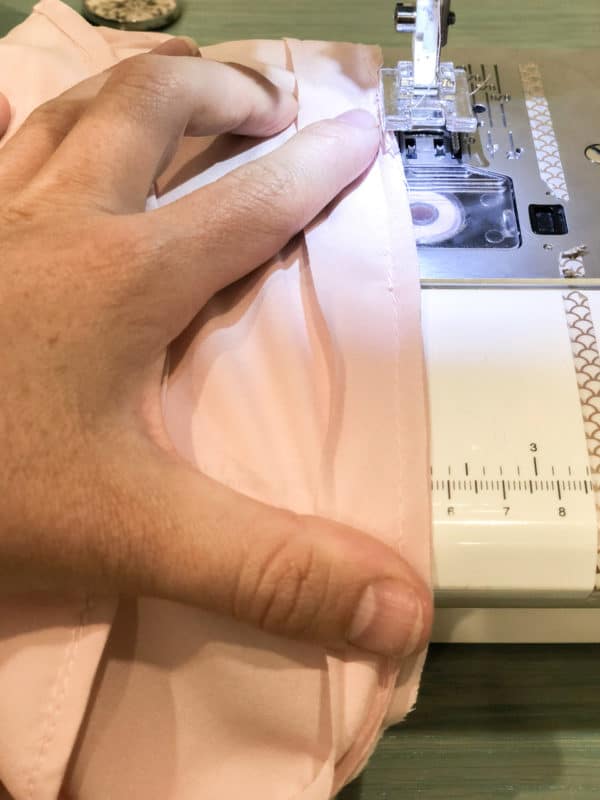
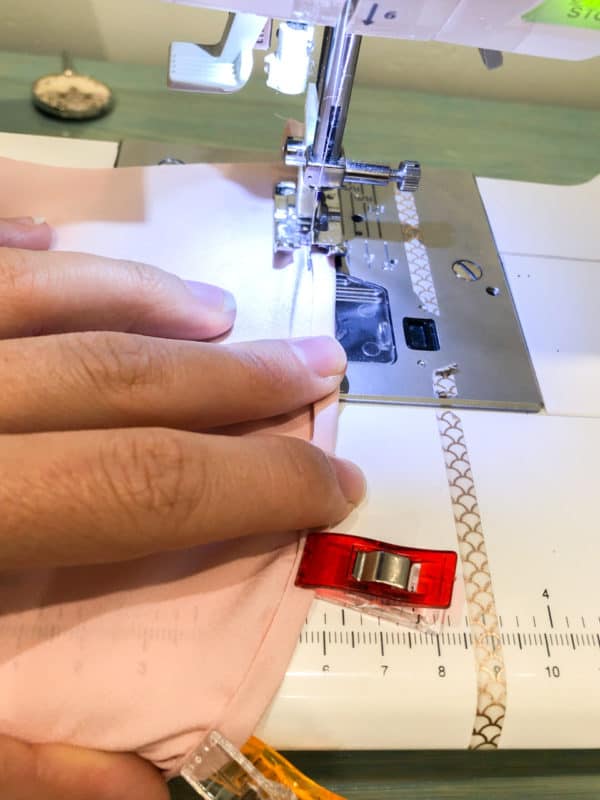
Then, apply bias tape instead of hemming (apply to the wrong side first just like binding, then wrap around the front and topstitch). I use a stitch in the ditch foot for my topstitching and move my needle a few clicks to the right. This makes sure my topstitching is a perfectly even distance from the edge at all times!
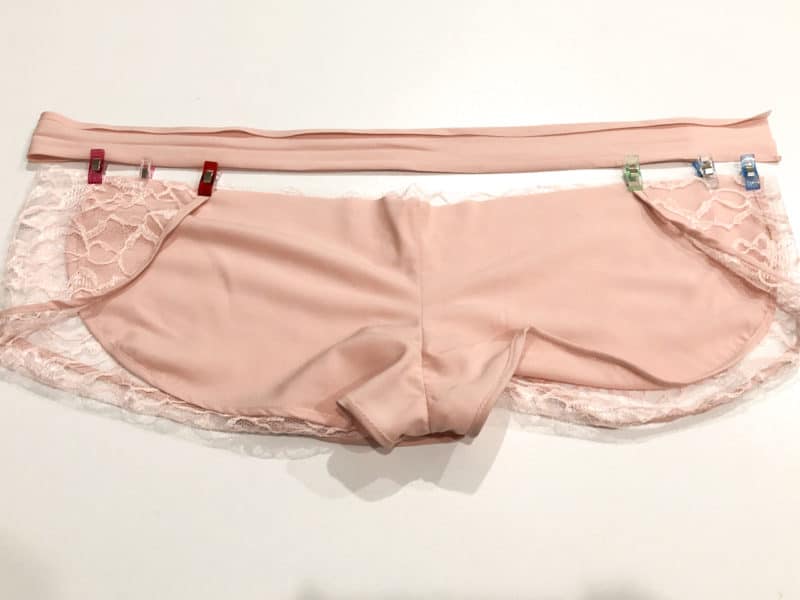
Lay shorts out and align at overlap marking (step 6), and baste the overlap. Then measure the top edge of the shorts, this (plus 1” seam allowance) will be your waistband measurement (we’re using a 1:1 ratio).
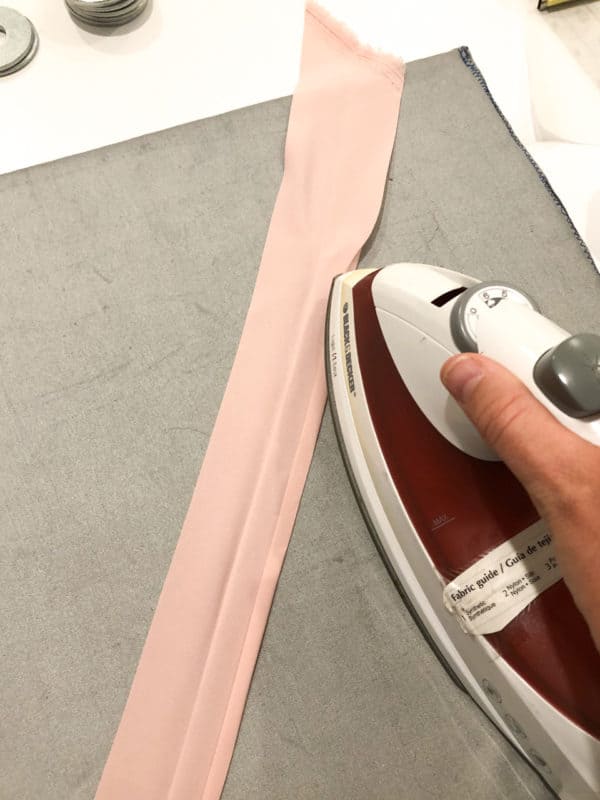
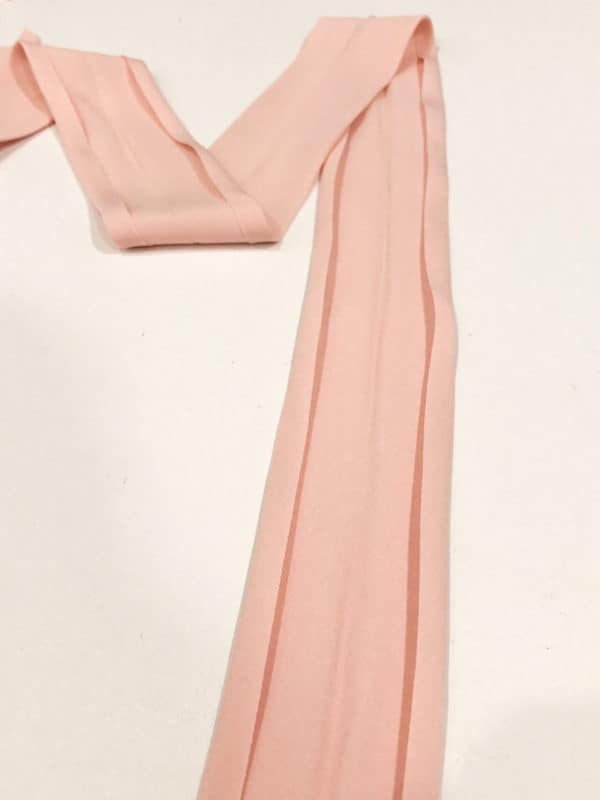
Cut your waistband 2.5” high by the length of your shorts (don’t forget to cut on the fold and add 1” seam allowance!) Fold the waistband in half lengthwise and iron to create a memory crease. Unfold the fold each edge up .25”. We’ll apply the waistband just like bias tape (from the wrong side first at .25”, folding up and over to the front, and topstitch).
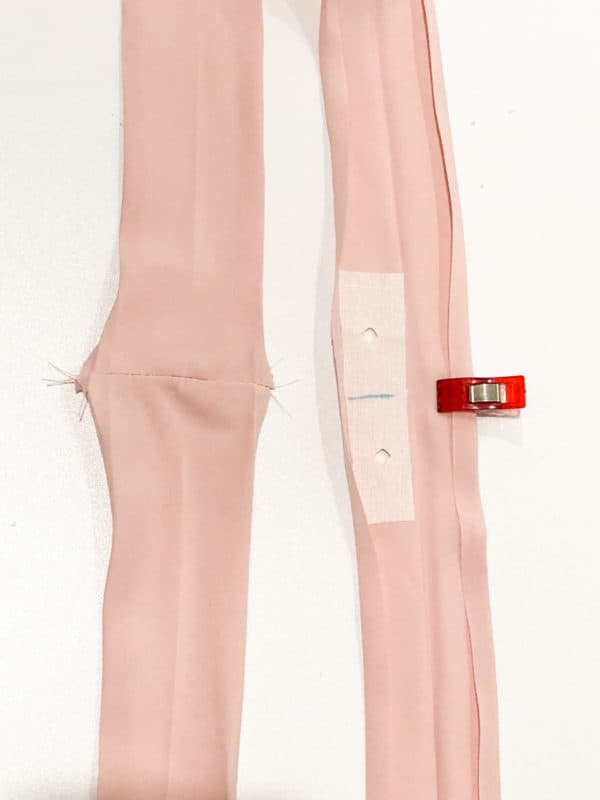
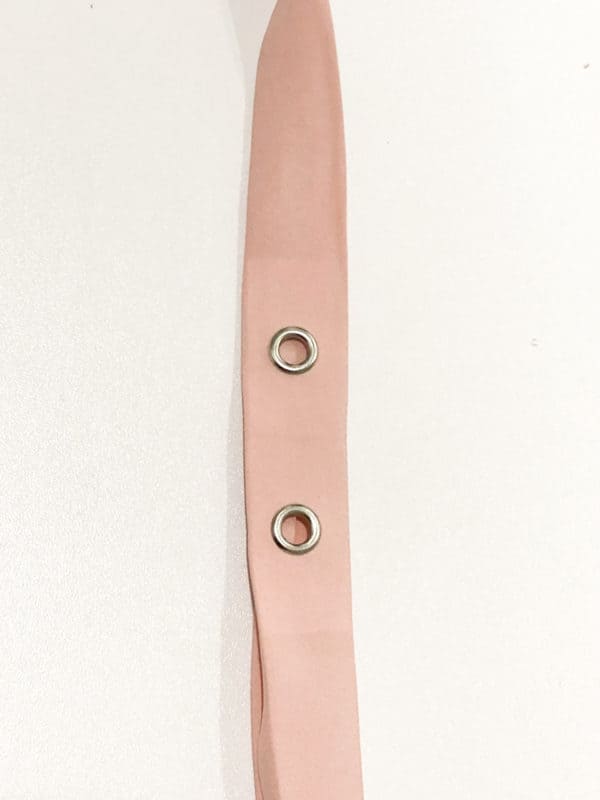
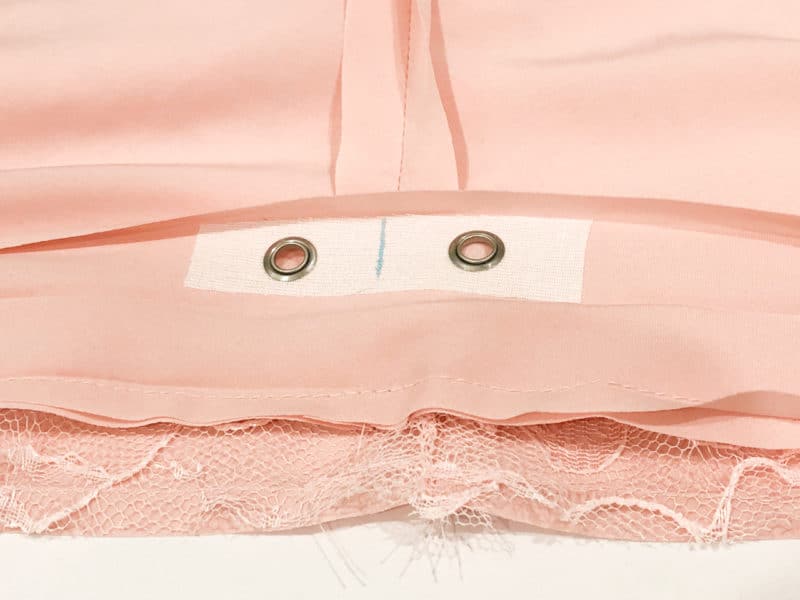
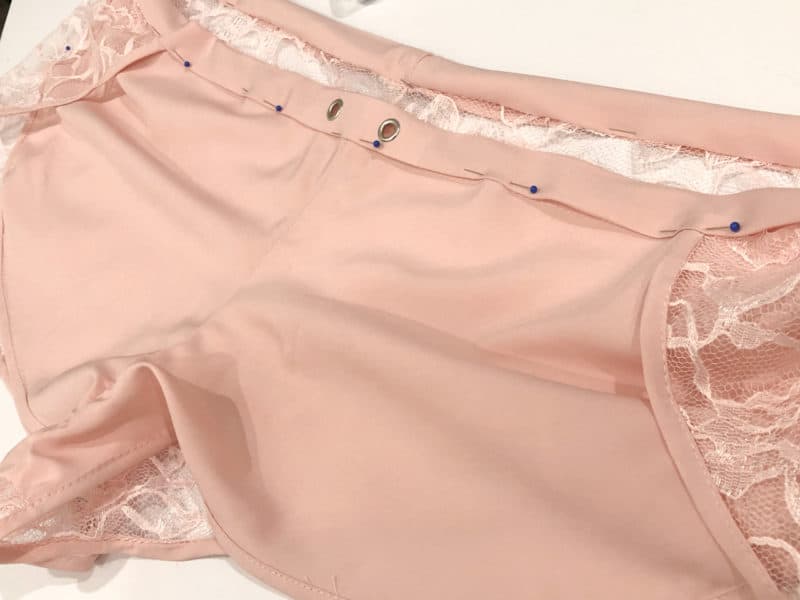
Add scraps of interfacing (I used SF101) and grommets at the center front if you desire.
Attach waistband (to the wrong side first) by quartering, pinning, and stitching. The waistband shouldn’t need to stretch as we cut it at 1:1 length with the top edge of the shorts. Fold around the top edge, pin, and topstitch.
Lastly, create a waist tie by measuring your high hip or waist (depending on your rise choice) and adding 14”, so you have enough tie to tie in a bow at the front. Cut this length by 1.25”, sew wrong sides together, and turn your tube. Then thread your tie through the waistband, knot the ends, and you’re done!
Happy sewing! ~Sonia, @mamascraftroom
Which pattern are you hoping to tackle first, Remi or Saraya?? I am in desperate need of a pajama/loungewear overhaul, so I might have to devote some time to both!!! Don’t forget to share your makes with us over in our Facebook group and on Insta.
#madeformermaids #remipattern #sarayapattern #loungeandlacecollection








Leave a Reply