Rory is such a great raglan hoodie with a nifty v-neck, but sometimes ya just don’t want a hood. We’ve seen some questions in fan group about how to go about this, so here are a couple of options for ya, depending on how you want your neckline to be finished!
First up! A simple hemmed neckline hack!
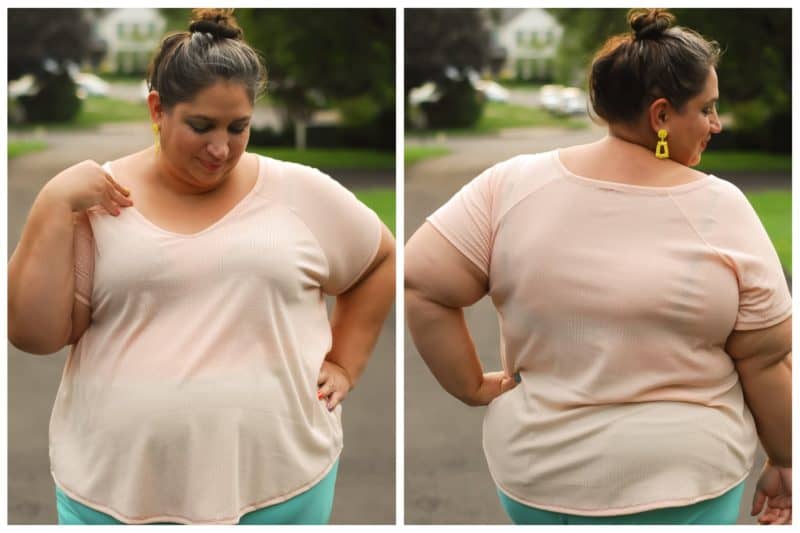
Yes, folks, it really is that simple. Cut and assemble your Rory as patterned, turn the neckline under .5” or so, topstitch with your favorite finishing stitch or coverstitch (ignore my imperfections! I did it on purpose because I’m sloppy, I mean, because I just don’t care, I mean, so as to show you how not to do it. Yeah, that’s it.) You might have to narrow the hem slightly at the bottom of the V, as it can be a tricky curve to get to lay flat otherwise. You can add a bit of washaway hem tape to hold it steady if it gives ya trouble, but I was able to do it without.
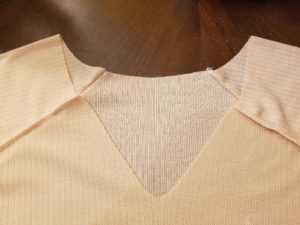
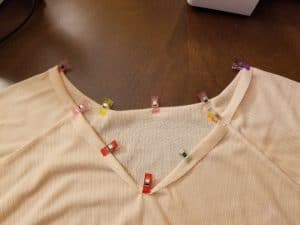
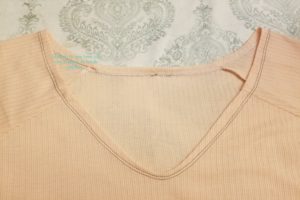
It is important to note that this finishing method DOES make your neckline bigger and the V deeper. I did the higher of the two V’s for that reason. Just something to keep in mind before you proceed!

Ta da! What do you think?
Version 2! Facing Neckline!
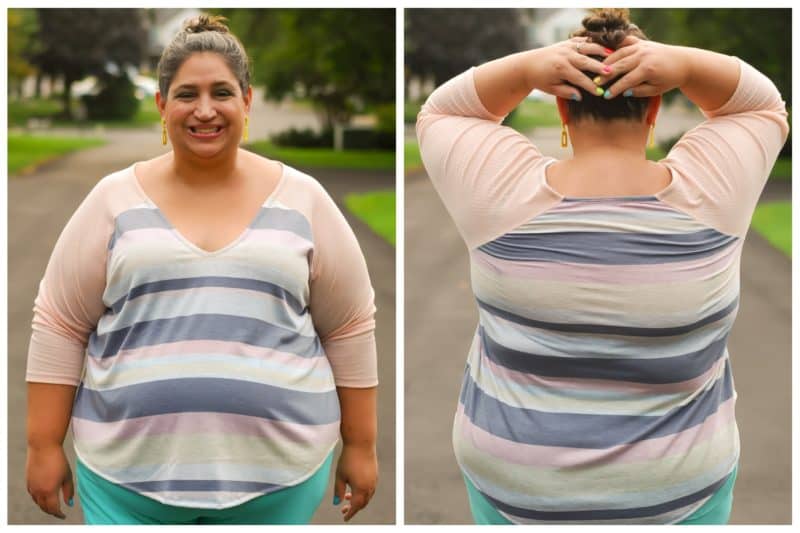
This method is a lil’ more involved, but it DOES give a nice finish to your neckline. It’s also easier to do for fabrics with less stretch that might give you more trouble hemming around curves. It also maintains the integrity of the neckline, so you’re not making your neckline wider/lower.
First thing you’ll need are your pattern pieces. I actually use a projector to cut out my pieces, but for this, I did print the top of the sleeves and back bodice. Just along the neckline is all you need, so for adult sizes, it’s like 3 pages total.
Trim off the top 1″ or so of both the sleeve pattern piece and back neckline. (I believe the facing piece for the front neckline is about .75”, so try to match that but it doesn’t have to be exact.) This will create your facing pieces for the sleeves and back neckline.
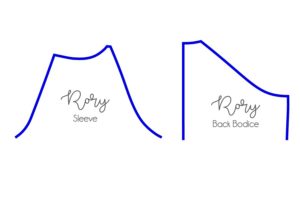
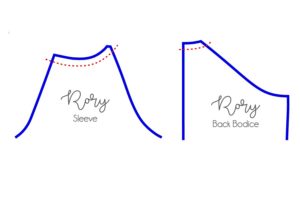
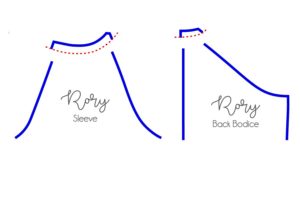
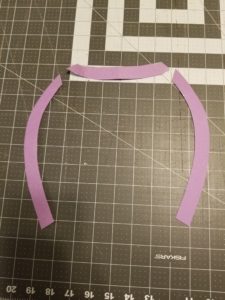
IF YOU WANT, you can attach the sleeve facing to the front V facing piece and cut as one, just remember to remove the .5” seam allowance from each piece. I did not, but totally your call! I wouldn’t recommend cutting with the back neckline facing piece, tho, as that has a rather dramatic curve where it meets the sleeve and will lay nicer if sewn together vs. cut as one, but YOU DO YOU. If you keep them separate, you can cut facing pieces that match the sleeves (if you used a different fabric, of course!) Up to you!
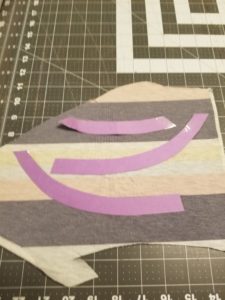
Now, cut out your facing pieces and sew together to have one big facing piece. Don’t worry if the width is slightly off, just line them up at the edge that will attach to your pattern.
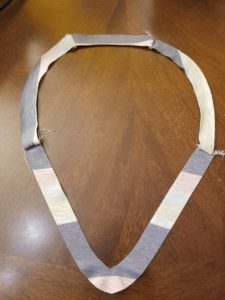
Back to the regular pattern!
Go ahead and sew up your Rory, attaching according to the directions, until you’re at the neck facing step. Lay your facing piece on your sewn up Rory, aligning the V and seams, right sides together. Pin/clip and sew, following the seam allowances in the pattern.
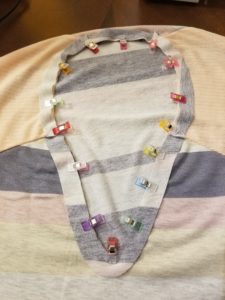
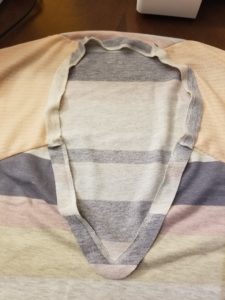
Flip your facing to in the inside of your Rory and press well! Pin/clip to secure and topstitch using your favorite topstitching method. Boom! Done!

Finally, ROCK IT!

That’s it! Two different methods to hack Rory to be hood-free! Which way do you think you’ll try first??
Catch ya next time!
~jess w

Leave a Reply